
Bold blackwork and subtle kakugan details age differently than watercolor splashes, and the Tokyo Ghoul pieces that still read sharp after five years are usually the ones designed with space and contrast in mind. If you want an edgy nod to the series that holds up, think beyond a direct screenshot and toward motifs you can live with. Start with small placements that show off linework and scale up once you understand how these themes settle on your skin.
1. Minimal Kaneki Mask on Inner Forearm
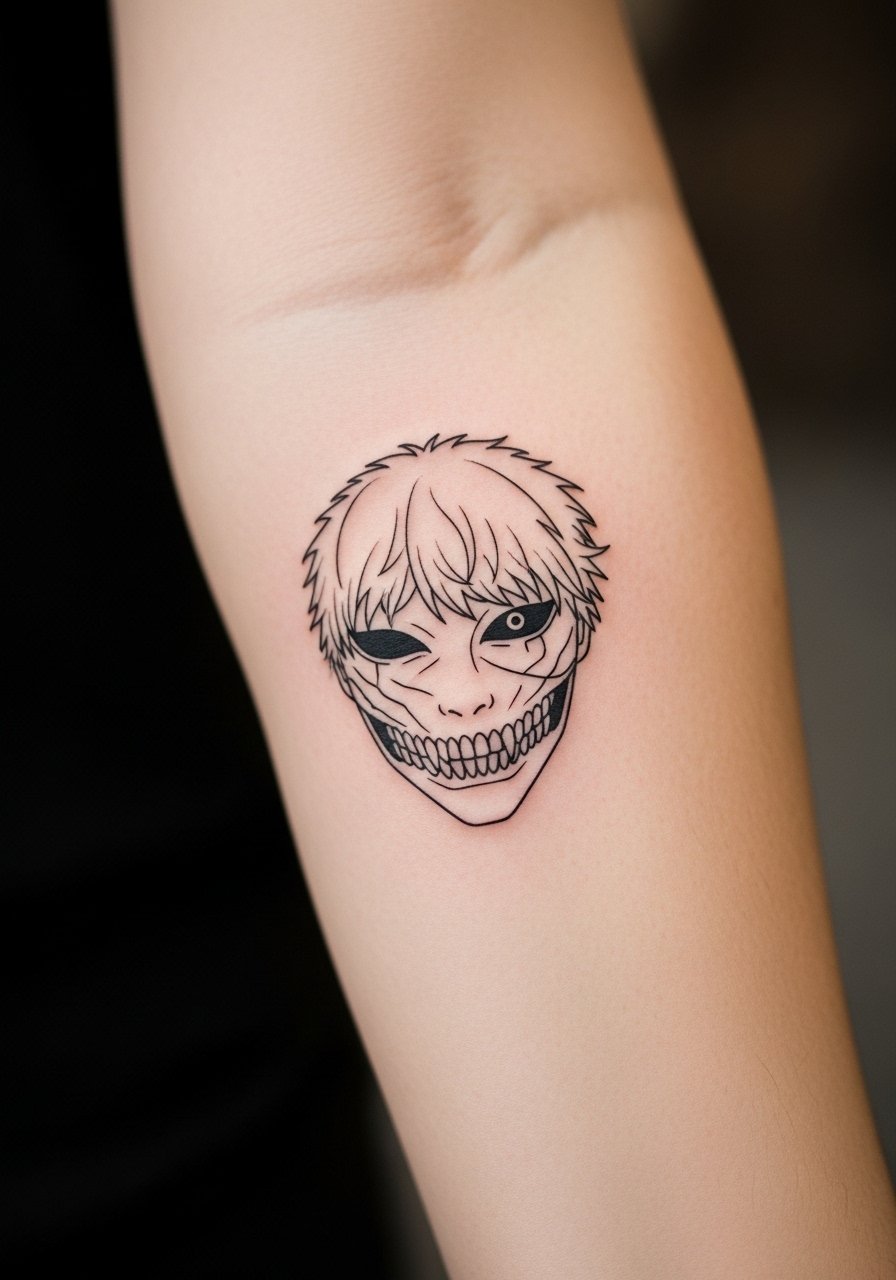
A pared-down Kaneki mask rendered in fine line makes a quiet, wearable statement. I suggest asking for slightly heavier outline than a pure micro piece so the teeth and eye hole still read at year three. Fair warning, the inner forearm can show faint blowout if the needle goes too deep. Session time is short and the pain is moderate, which makes touch-ups easy to schedule. For showing it off, roll up a linen short-sleeve shirt or wear a loose button-down you can cuff to frame the design.
2. Kakugan Micro on Wrist Band
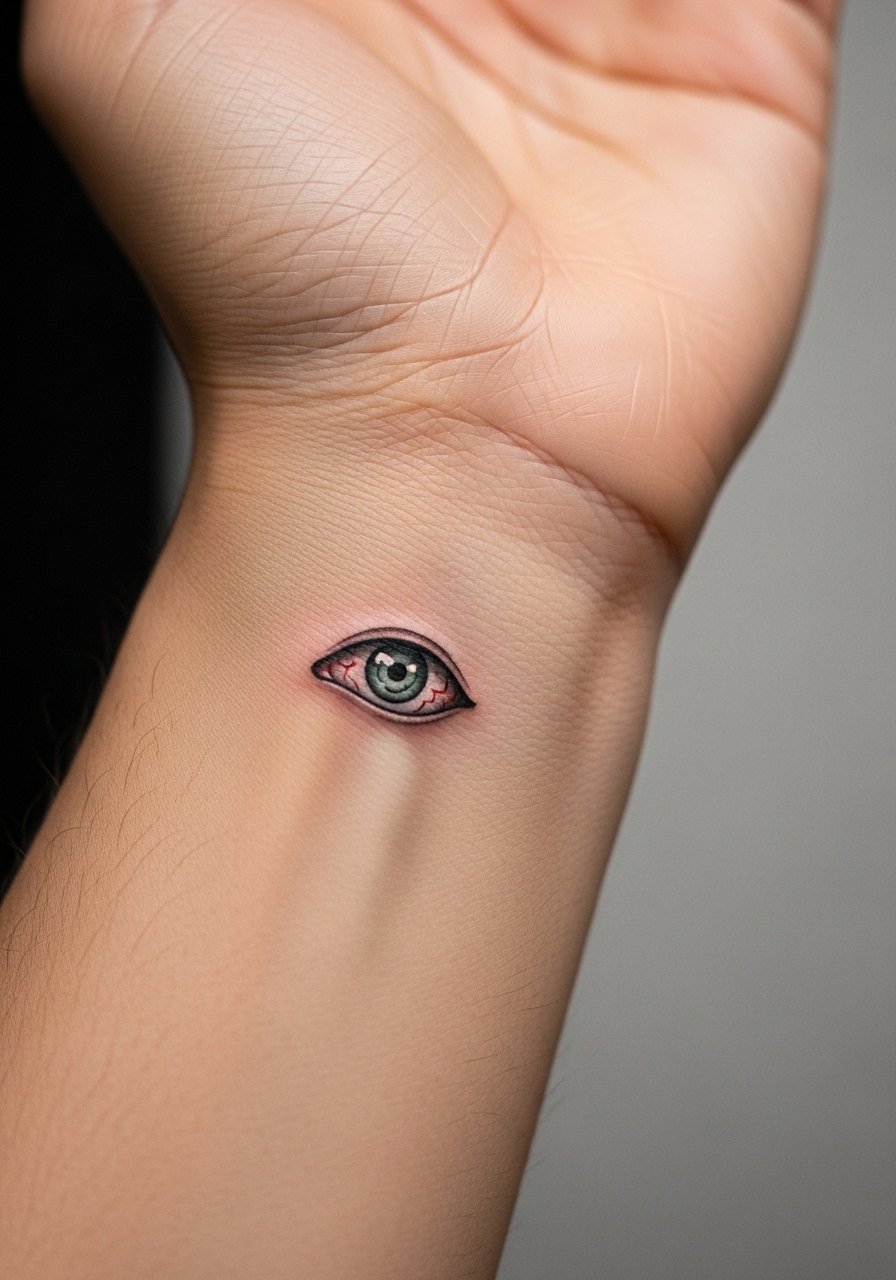
A small kakugan eye wrapped as a wrist band reads like a secret symbol. Tell your artist you want the pupil saturated but the surrounding iris stippled, this keeps the center bold while preserving texture. Expect high friction from washing and bracelets, which accelerates fading. A thin protective film during the first week and touch-ups at year two are common. Session feels quick but the wrist is sensitive. Pair this with a minimalist watch strap or thin stacked bracelets to frame the piece without rubbing it raw.
3. Half-Ghoul Face Chest Panel
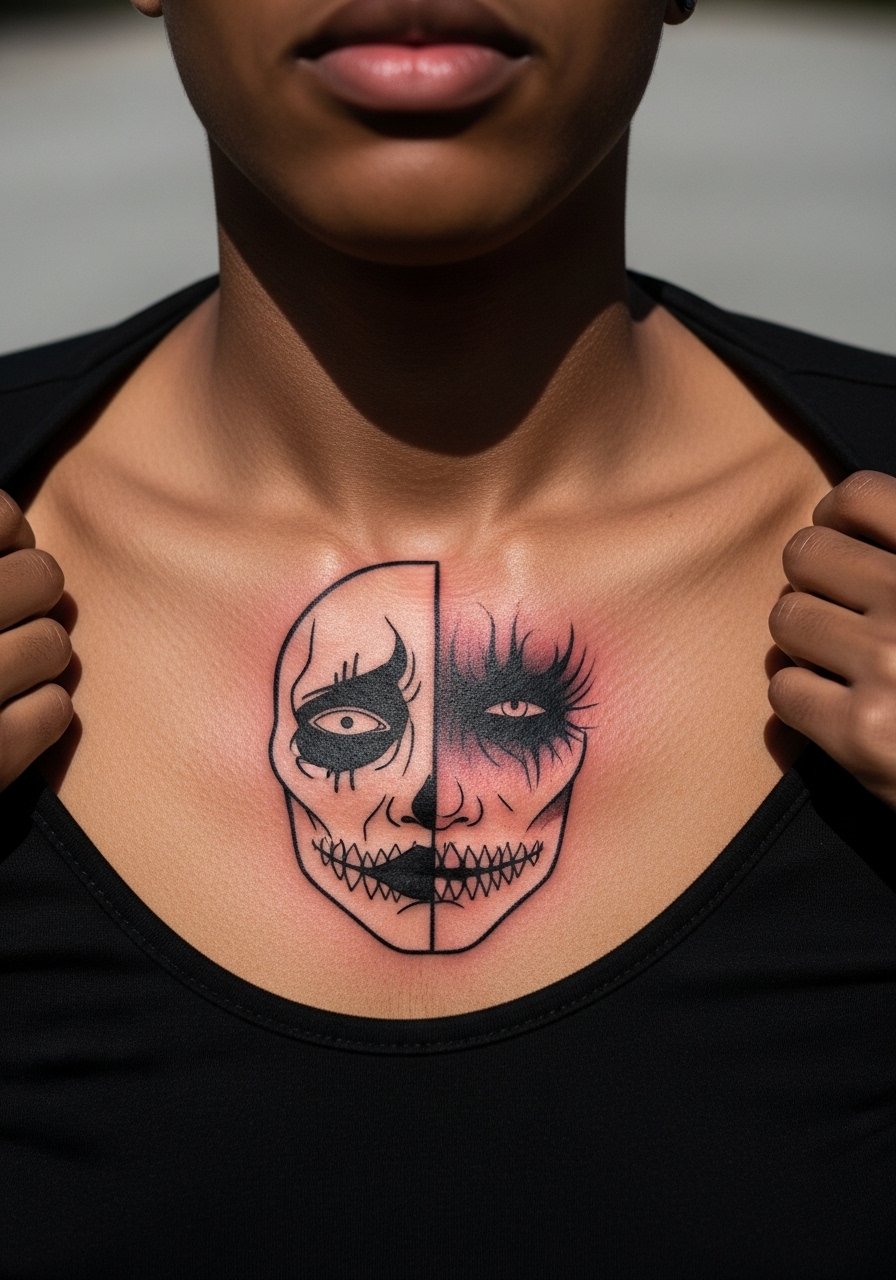
A half-ghoul face that crosses the sternum and peeks toward the collarbone reads cinematic. The sternum is a sensitive area, so plan for a longer session with breaks. One common mistake is packing too many fine details over the sternum curve; request simplified shapes across the bone so the design heals clean. Artists split on how well micro details hold on chest curves. One camp says spacing and depth are crucial. The other camp argues thorough consultation and touch-ups solve most problems. If you want something showy, pair it with an open collar that reveals just enough of the piece.
4. Ribcage Surgical-Scar Script
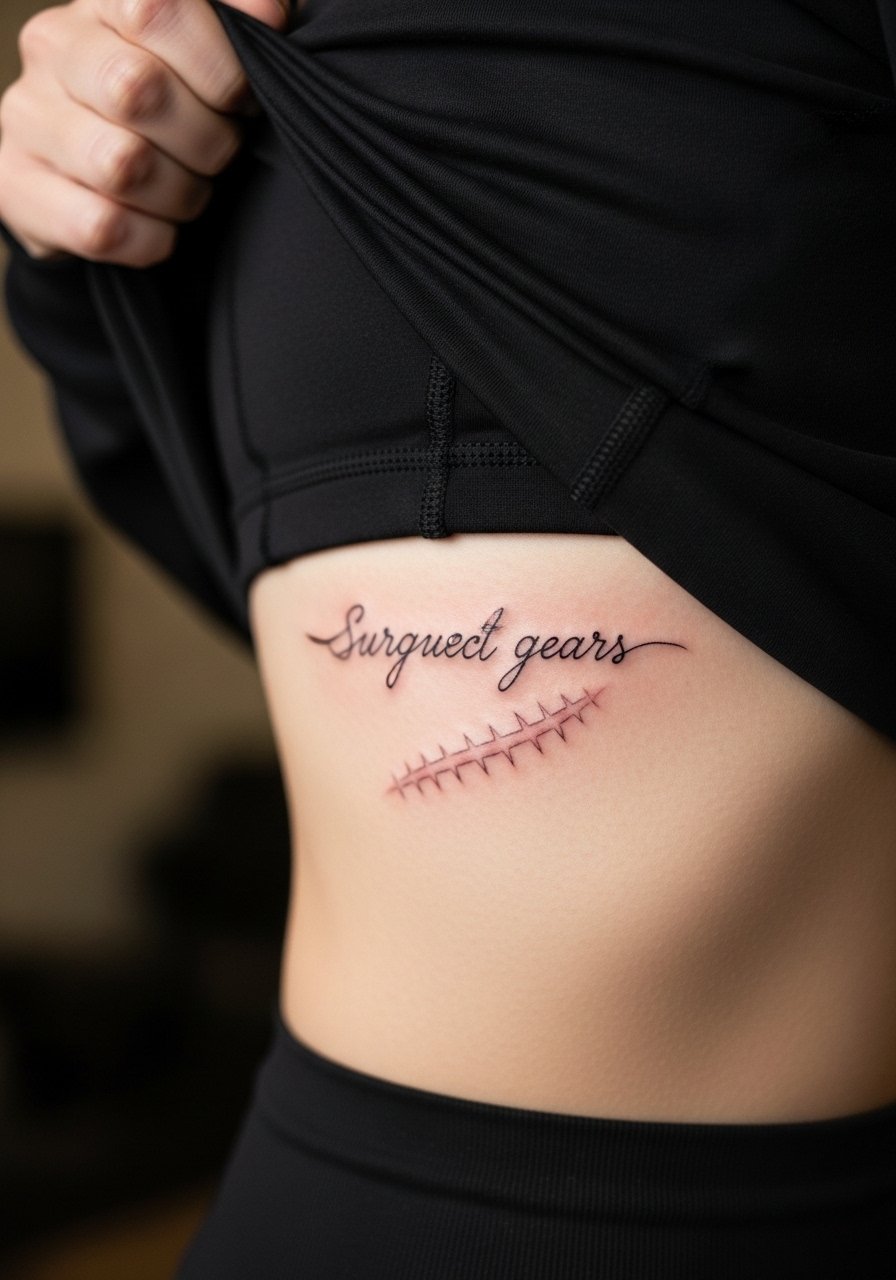
A thin, surgical-scar style script along the ribs can feel intimate and raw. Fair warning: the ribcage stretches and moves a lot, which can blur ultra-fine lines. The controversy here is direct. One camp says fine line on ribs blurs within two years. The other camp insists that with correct needle depth and spacing it can settle well. In practice, ask for slightly bolder line weight and plan for a touch-up at year three. Pain is high for this placement. For the session, wear a cropped athletic top so the artist can access the area without you being uncomfortable.
5. Kagune Shoulder Blade Splash
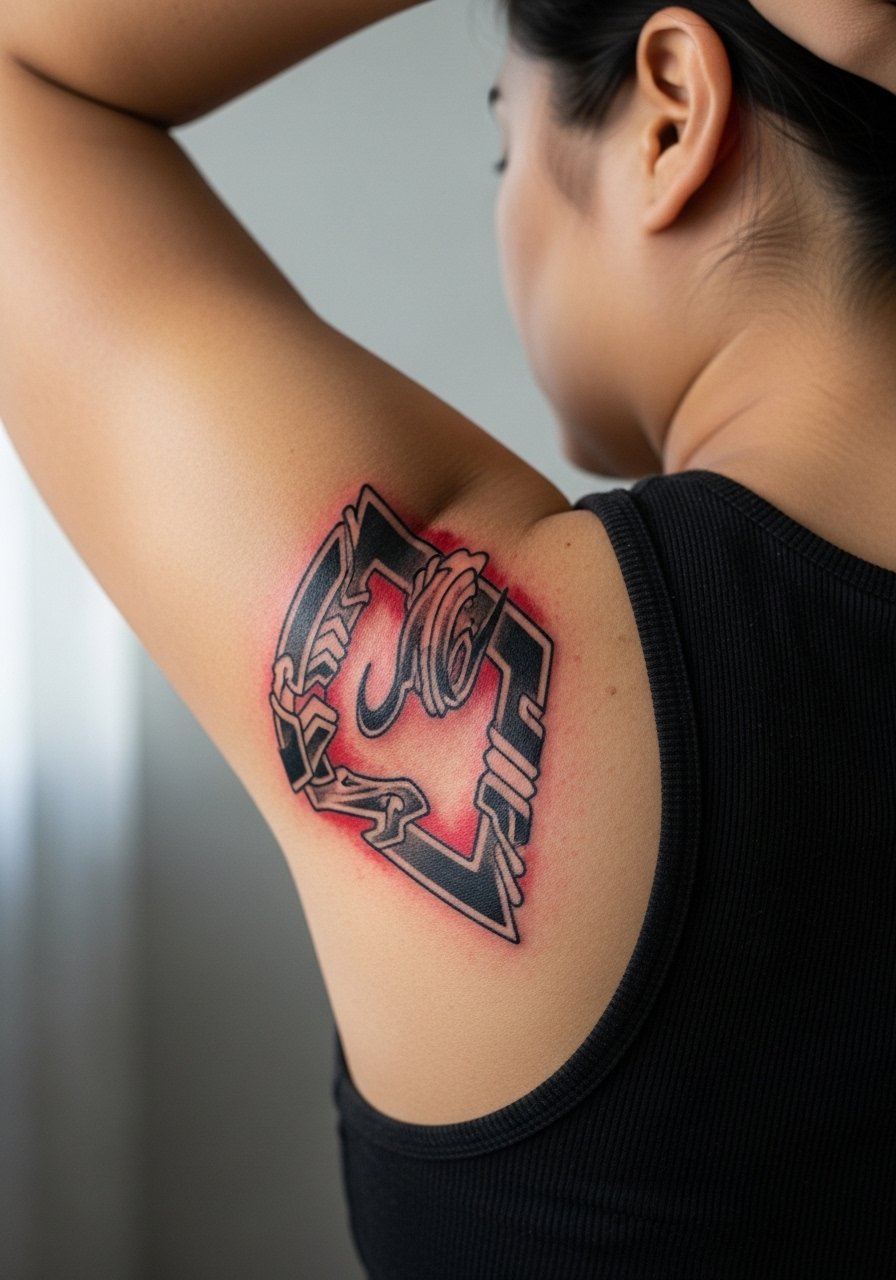
A shoulder blade kagune allows broad strokes and confident saturation, which age very well. This placement is forgiving because the skin there holds saturated black and color without much blowout. Tell the artist you want clear negative space between tendrils so the kagune keeps its shape as it ages. Session pain is low to moderate and you can usually finish in one long sitting. For evenings out, let the piece peek from a racerback tank or an open-back dress to make the shape part of your outfit.
6. Ankle Constellation Ghoul Sigil
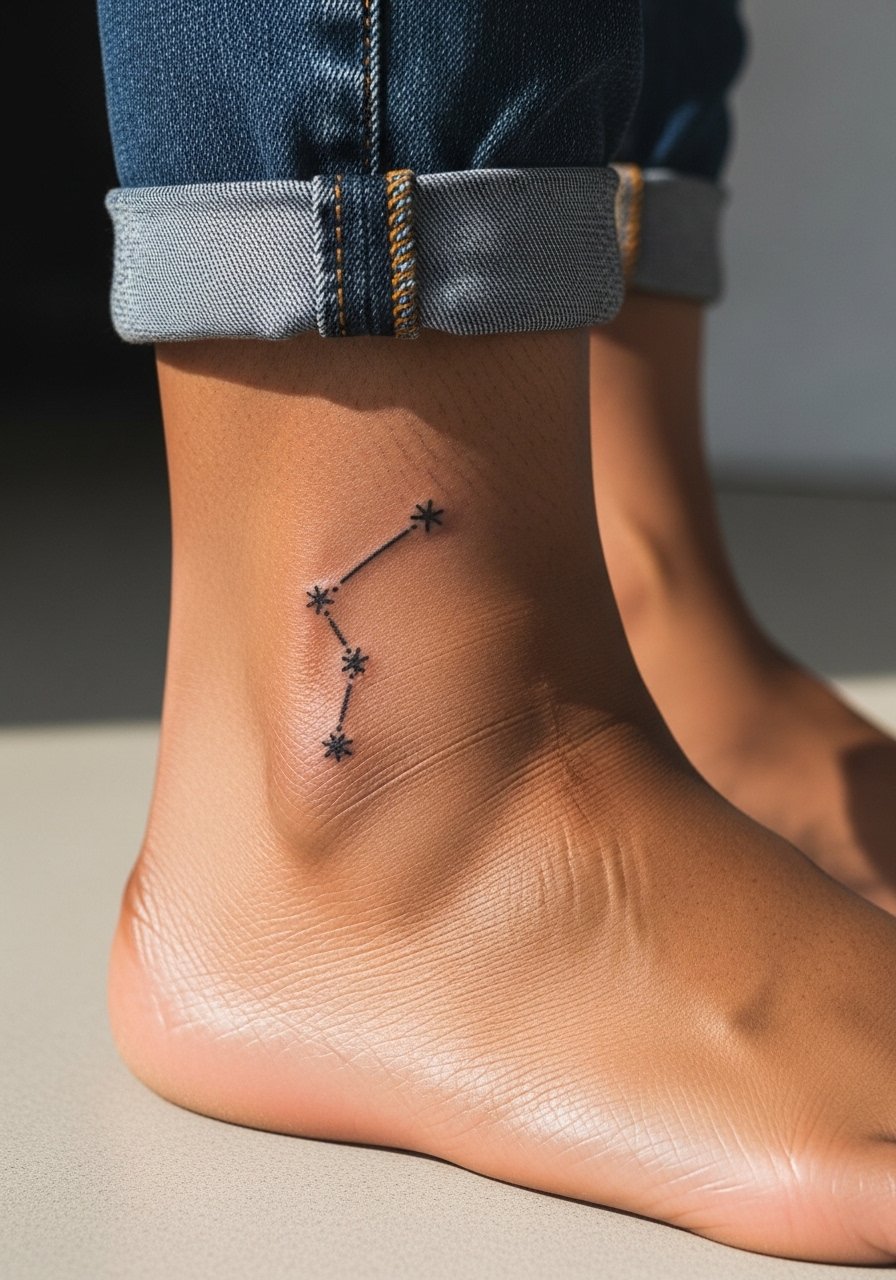
Tiny sigils at the ankle are discreet and edgy, but they live in a high-friction zone. The biggest mistake is going too small with positive space. Request slightly larger dot spacing to avoid early merging. Expect a one-hour session and frequent rubbing from socks and shoes in the first two weeks. For showing it off, roll your jeans or wear low-cut sneakers and a simple ankle bracelet that does not sit directly over the ink. If you work in a setting that forbids visible tattoos, keep this placement in mind.
Studio Day Picks
The wrist, forearm, chest, ribcage, shoulder blade and ankle pieces above each have different prep and first-week needs, so these items smooth the session and early healing.
-
Stencil transfer paper kit. Lets you preview placement on skin and reposition easily, which is handy for wraparound forearm and ankle designs.
-
Topical numbing cream. Applied per instructions before a ribcage or sternum session to make longer sittings manageable without changing the artist's linework.
-
Thin protective film roll. Keeps ankle and wrist tattoos clean during the first week of frequent hand washing.
-
Fragrance-free gentle body wash. Cleans healing areas without stripping the skin, useful for shoulder blade and chest placements.
-
Aquaphor healing ointment. Thin layers in the first days help keep fine line work moist without clogging delicate needle channels.
7. Watercolor Rize Ribbon Thigh Piece
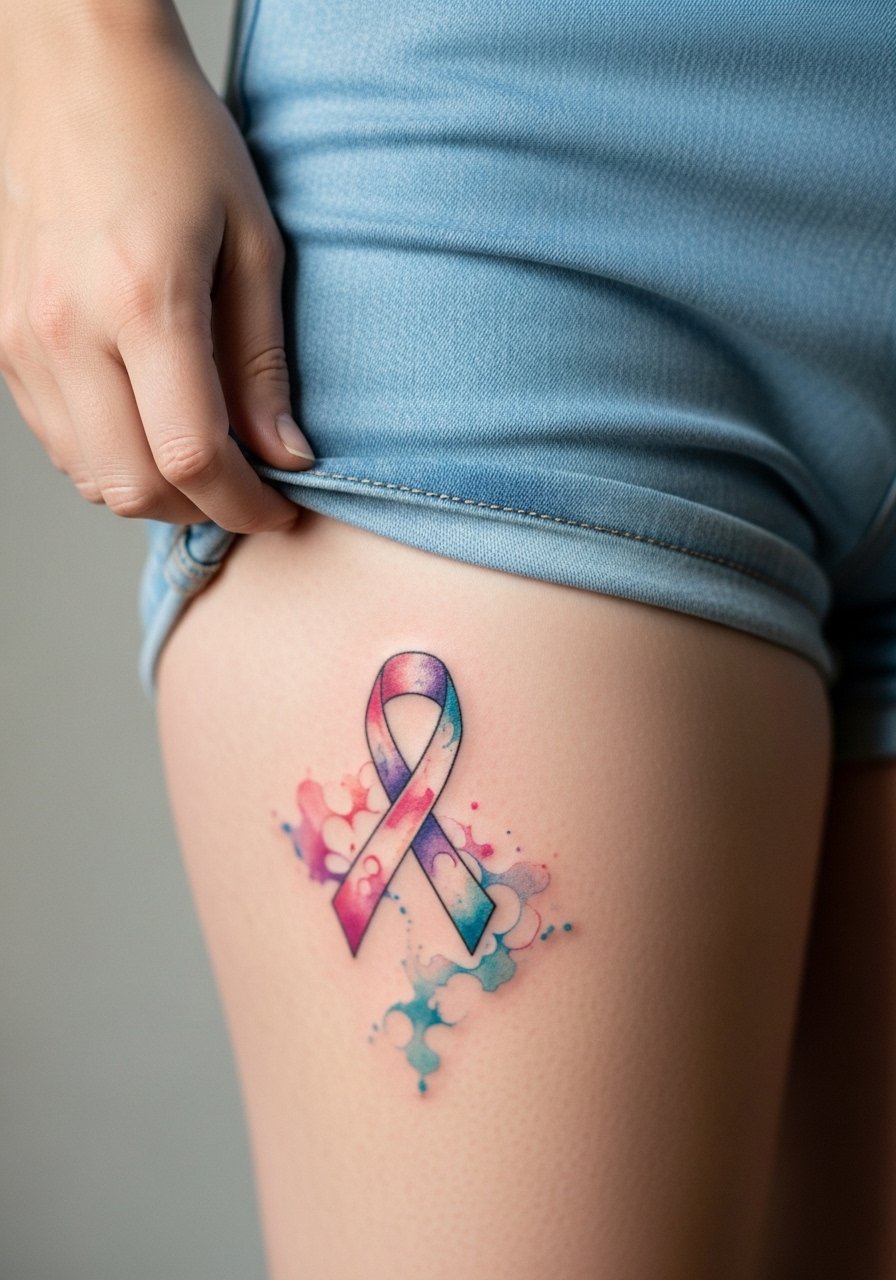
A watercolor ribbon on the thigh gives you color and movement without screaming anime. The inner thigh is intimate and stretches, so the danger is bleeding color into one blob. Ask for soft edges and controlled saturation to avoid muddying. Sessions are comfortable if you wear loose bottoms, and healing benefits from limited friction. This style ages differently from blackwork. Expect gradual fading at the edges over three to five years and budget a touch-up if you want to revive vibrancy. For the appointment, a pair of high-waisted shorts makes access straightforward.
8. Sleeve Segment: Kaneki’s Kagune Tendrils
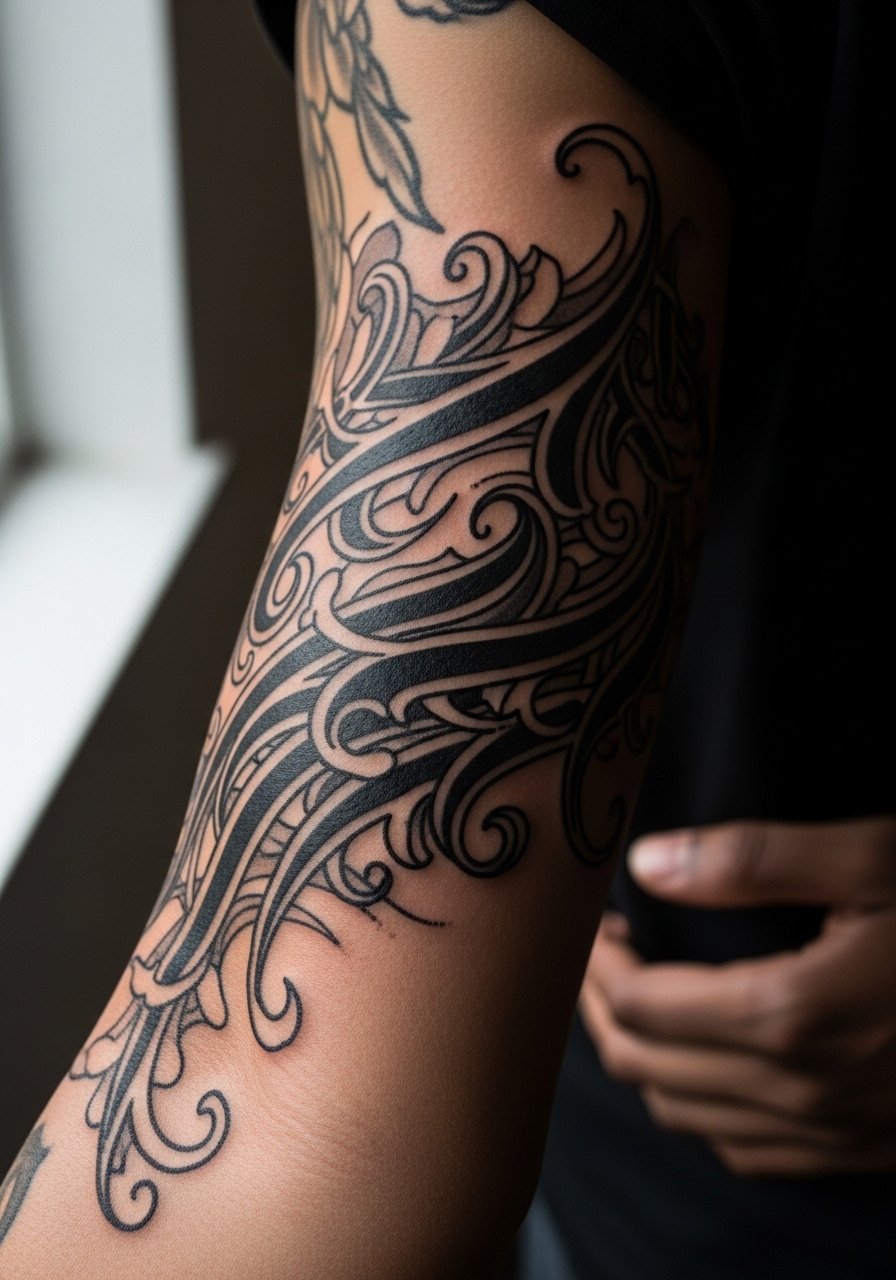
A sleeve segment of kagune tendrils is graphic and readable from a distance. One practical tip is to arrange negative space that follows muscle flow. That keeps details from merging as the arm moves and the skin stretches. Expect multiple sessions and a moderate pain curve on inner sections. If you plan a full sleeve, map out the negative spaces during consultation so each piece complements the next. This design benefits from saturated black that ages into a coherent shape rather than indistinct smudge. Pair with rolled sleeves or short-sleeve button shirts to show off the flow.
9. Collarbone Kaneki Quote in Script
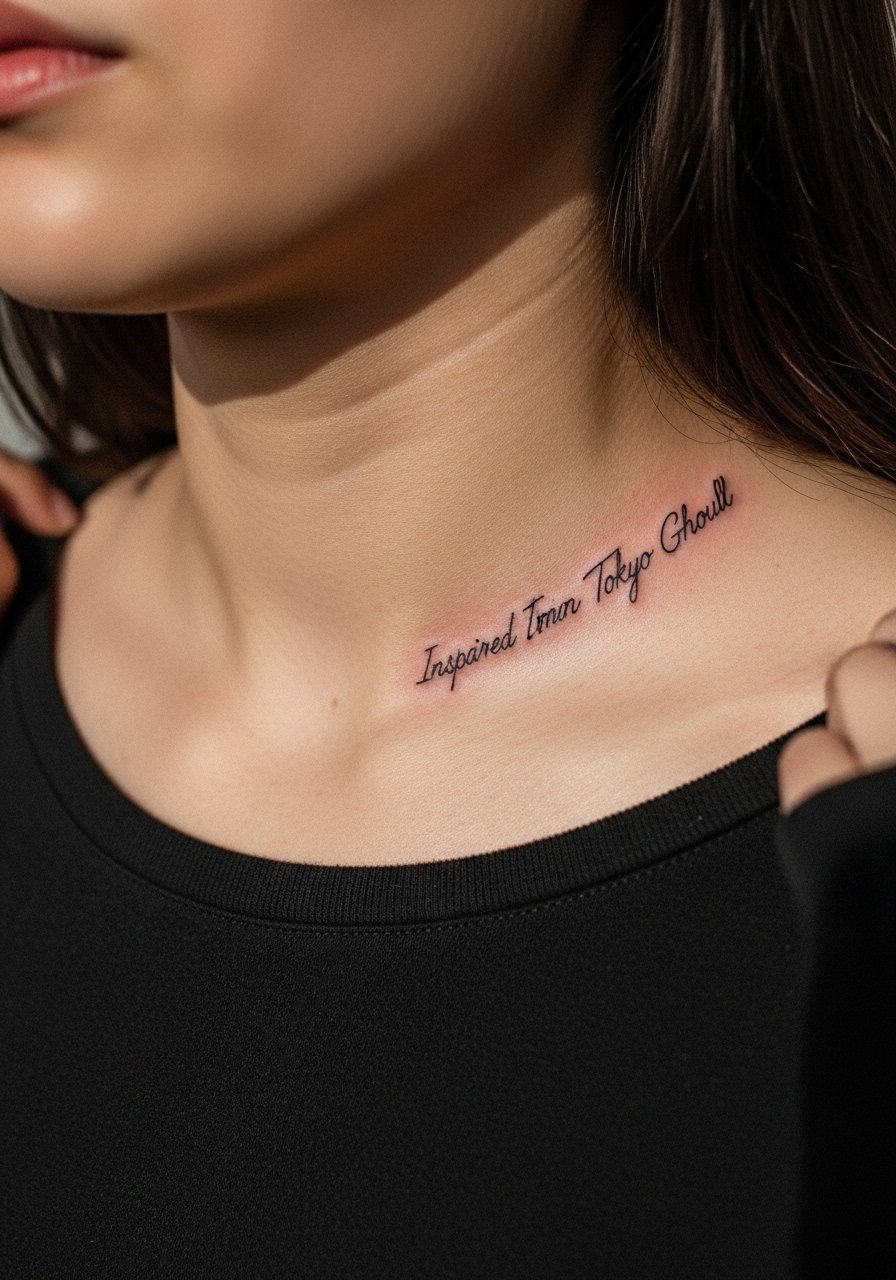
A short Kaneki quote along the collarbone reads intimate and deliberate. The common error is running the script too small across curved collarbone bone. Ask for slightly larger letterforms and a test stencil to check spacing. Expect low to moderate pain and a quick session. Script on this spot shows well in open-neck tops. For evenings, wear an open-back midi dress or a wide-neck tee to let the lettering breathe without competing accessories.
10. Single-Panel Finger Kakugan
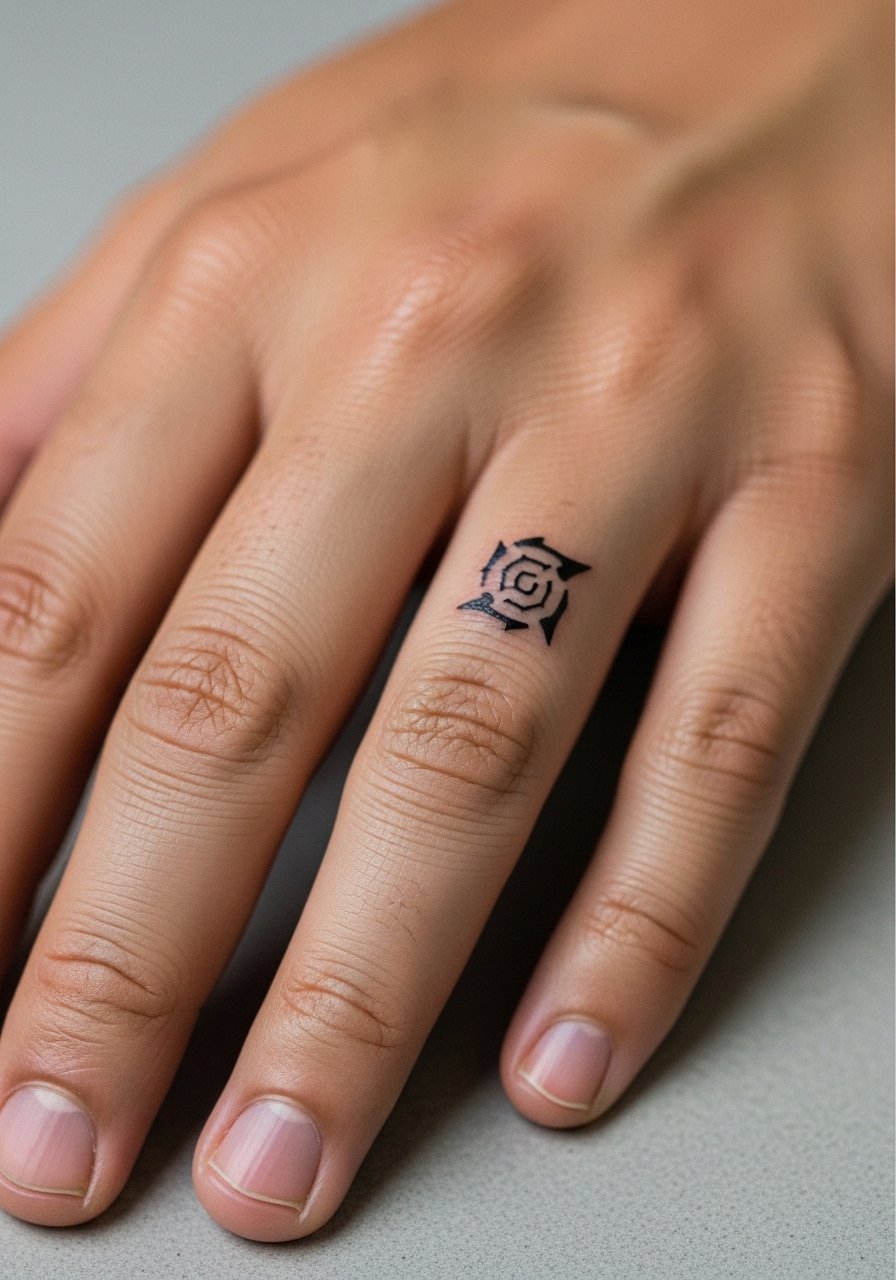
Finger tattoos make a bold commitment. The skin is thin and constantly washed, so the piece will likely lighten faster than other placements. Pick a slightly bolder glyph and plan for periodic touch-ups. A common mistake is asking for ultra-fine detail that fades into a smudge within a year. The initial session is quick but expect touch-ups at year one or two. For a wearable look, keep rings minimal so jewelry does not sit over the ink and rub it. A slim stacked ring set can complement the design without damaging it.
11. Sternum Script with Floral Accents
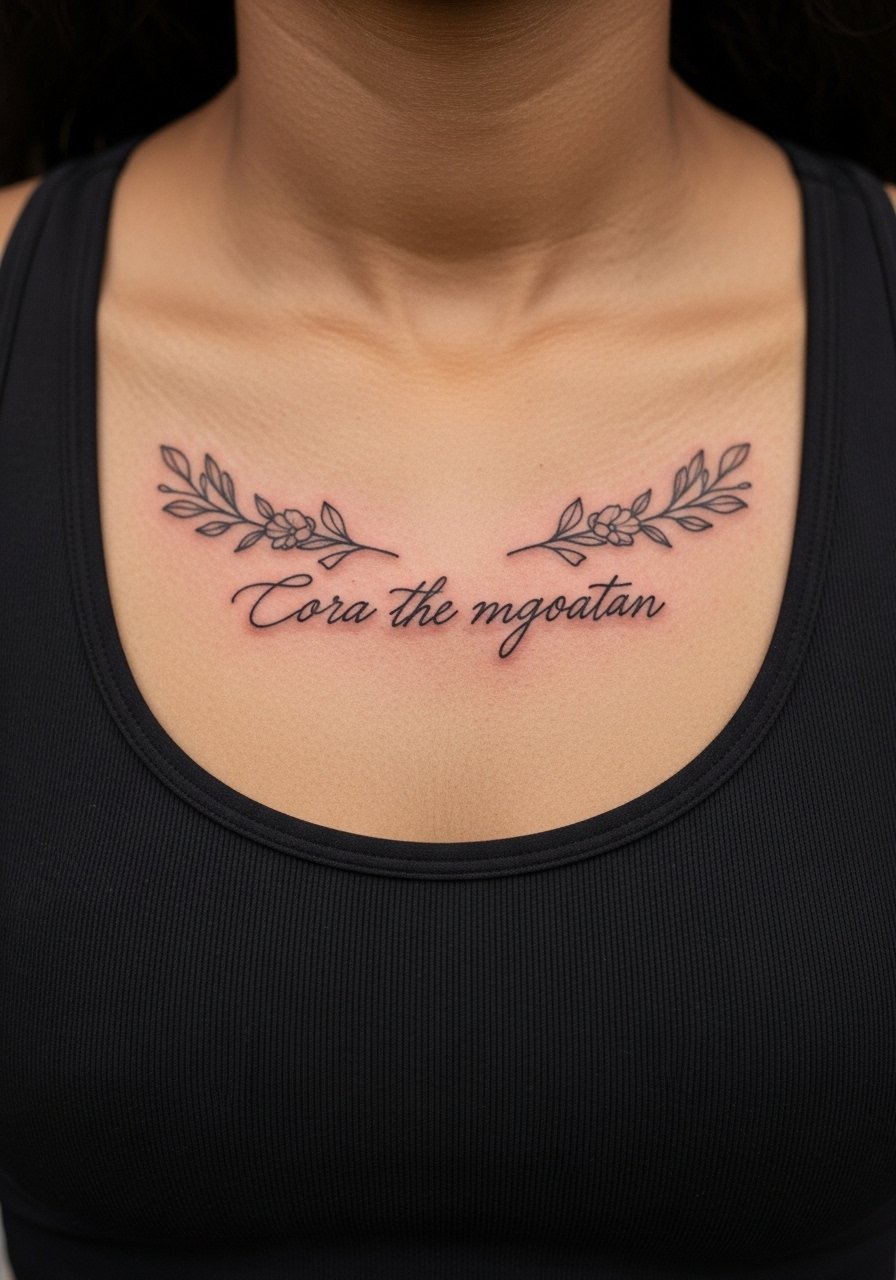
Sternum pieces read intimate and dramatic. The area is tender and the skin moves with respiration, so avoid dense micro detail over the bone. One mistake I see is packing too many tiny florals into the sternum band; this blurs into an indistinct texture. Choose balanced negative space and be prepared for a longer session with breaks. Recovery requires sleeping adjustments if the piece sits under clothing seams. Because this placement is private, consider how it fits with wardrobe choices before committing.
12. Calf Kagune and Urban Skyline
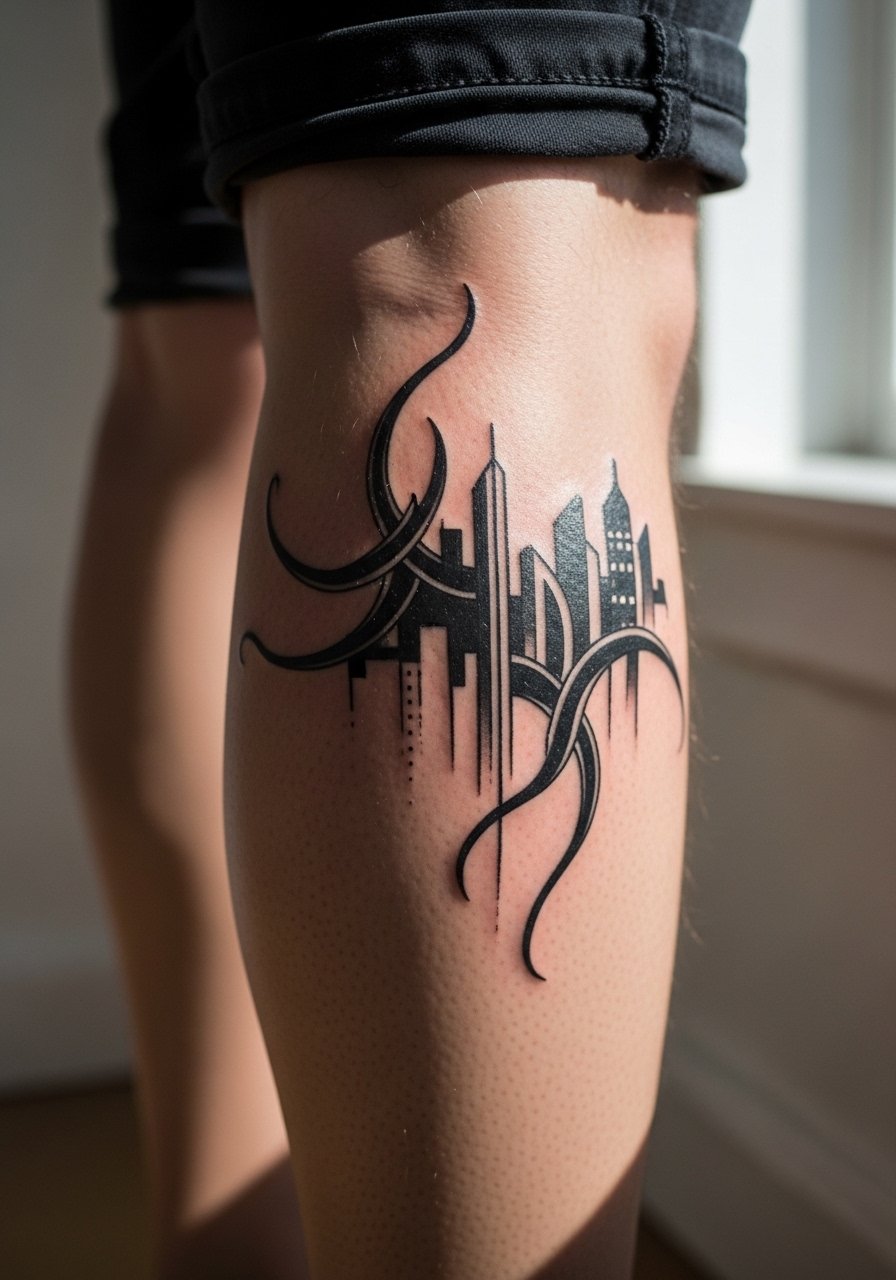
The calf is often overlooked but it is great for narrative pieces that need space. The skin accepts saturation well, and shading holds reliably. Tell your artist you want clear separations between the kagune and skyline so washout at the boundary is avoided. Sessions are generally tolerable and you can stand between passes to stretch. For showing off on casual days, shorts and mid-calf boots work. Try pairing with loose drawstring linen pants that you can roll up without pressure on the fresh ink.
13. Lower Back Panel: Mask Fragments
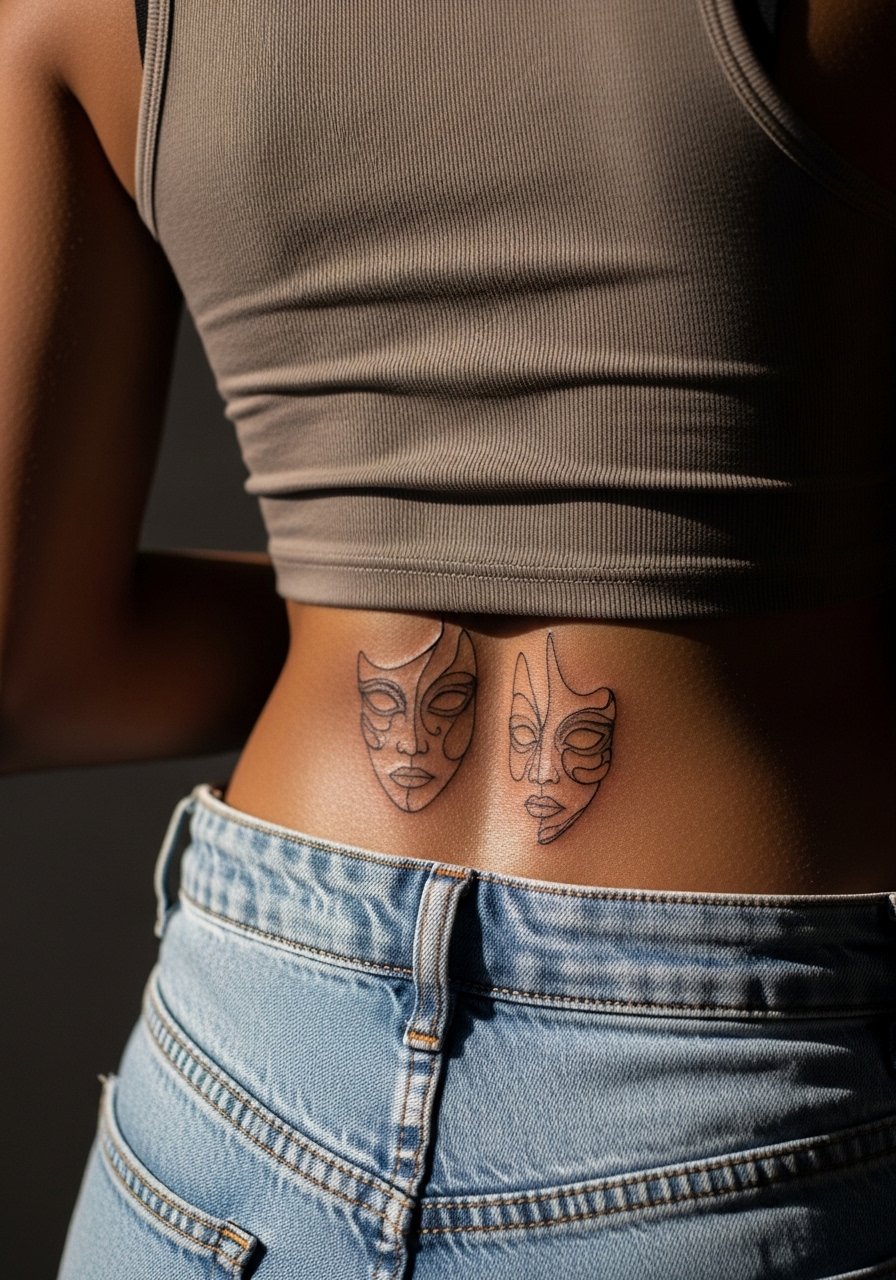
Lower back panels let you compose fragments that peek out from clothing. Because this area endures waistband friction, avoid tiny details that will blur with wear. A practical tip is to place the most delicate lines above the waistband line so they do not get constant rubbing. Sessions are moderate and healing benefits from high-waisted garments that avoid direct pressure. Some people prefer this spot for pieces they want to hide at work and reveal casually.
14. Inner Bicep Kakugan Dot Work

Inner bicep placements allow delicate dot work that stays private. The skin there can be softer, so blowout risk is moderate if the artist pushes too heavy. Ask for stipple shading with measured needle depth and expect lower visibility while clothed. Sessions are moderately painful near the armpit edge but usually short. For the appointment, wear a loose tank top so the artist can lift the sleeve without discomfort.
15. Upper Arm Traditional Blackwork Mask
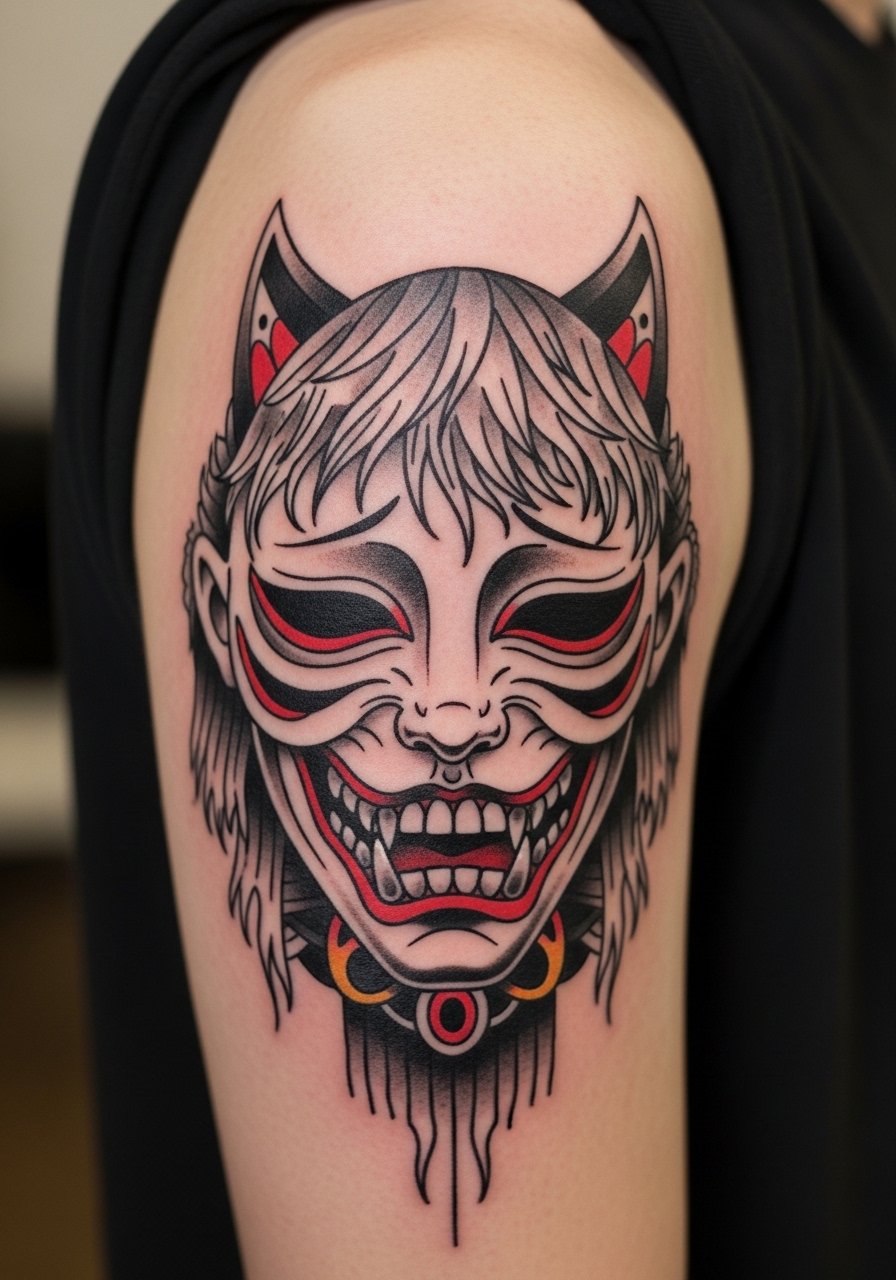
A traditional blackwork mask on the upper arm is classic and low maintenance. This placement tolerates heavy saturation and ages into a strong silhouette rather than a blur. The common mistake is over-detailing a design intended to be seen at a distance. Tell the artist you want contrast between solid black areas and open negative space to maintain shape over time. Sessions are comfortable and often finished in one visit. Wear a loose button-down shirt that you can pull aside for easy access.
16. Behind-the-Ear Ghoul Glyph

A tiny glyph behind the ear is discreet and symbolic. Because of the location, only very small, simple shapes hold up well. The skin there is thin which raises blowout risk if the artist uses heavy hand pressure. One practical note is to ask for a slightly simplified version of any symbol. Healing is quick but visibility is limited unless you show it off intentionally. This placement sometimes requires a specialist who is comfortable with neck-area work, so use discovery pathways like convention listings and local studio directories to find someone with that experience.
17. Full Back Panel: Manga Panel Scene
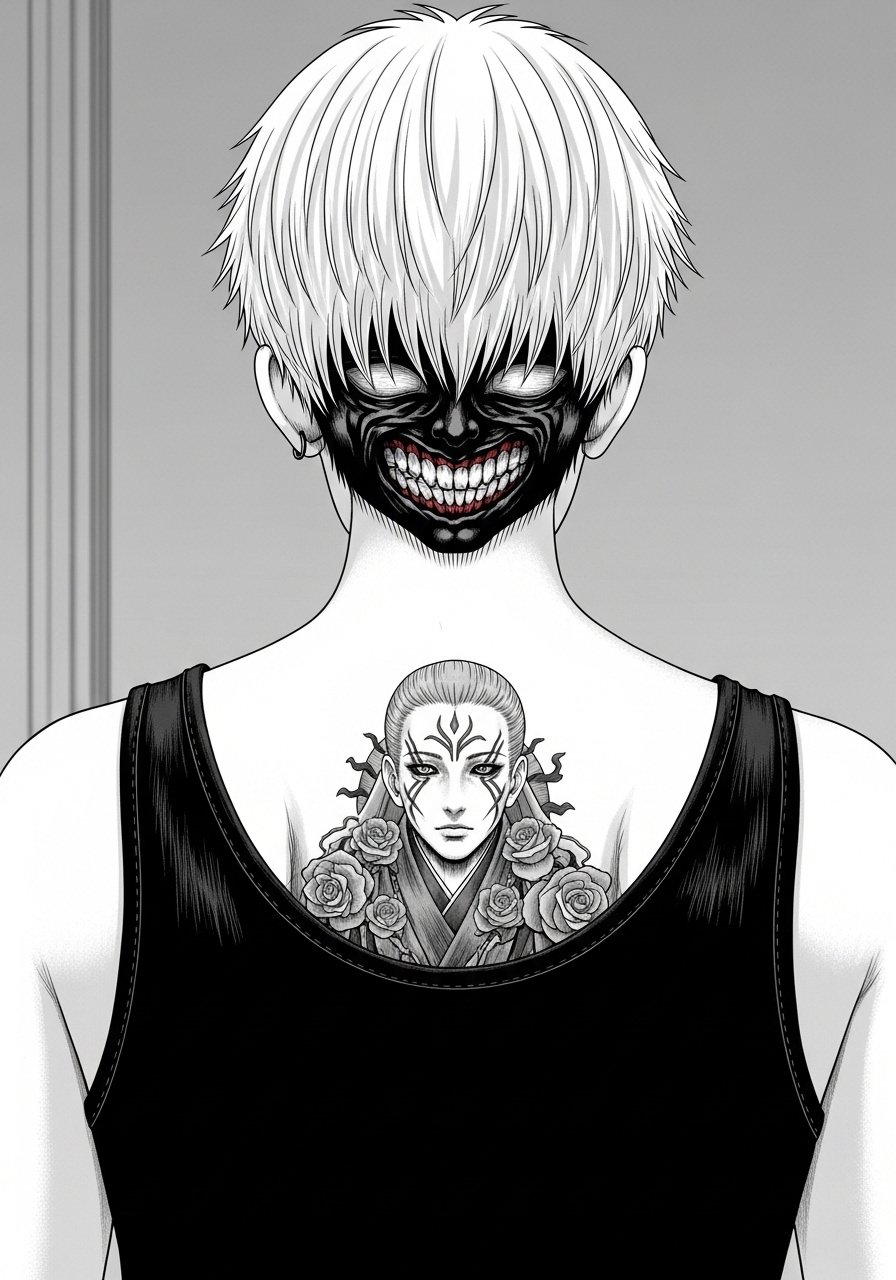
A full back panel gives you a storytelling canvas for a favorite scene, but plan it carefully. The common error is bringing a screenshot-level reference that reads cluttered when scaled to the body. In the consultation, break the image into bold planes and simplified faces so the piece reads across years. Expect several long sessions and a realistic timeline for shading touch-ups. The back holds saturation well, and properly paced sessions minimize discomfort. If you want this as a statement piece, plan wardrobe that reveals the back when you want to show the narrative.
Frequently Asked Questions
Q: Will fine line kakugan details blur faster than blackwork if I place them on my forearm?
A: Fine line tends to soften faster than saturated blackwork because there is less pigment per needle pass. On the forearm you can slow that by increasing line weight slightly and spacing details. Expect touch-ups at year two to three for very fine motifs, and ask your artist to show healed examples of similar work.
Q: Is ribcage script a bad idea for a Tokyo Ghoul quote given the debate among artists?
A: It depends on how bold you want the script. One camp warns that the ribs stretch and blur fine lines within two years. The other camp says proper depth and spacing keeps script legible. If you want ribs, plan for slightly larger lettering, a test stencil, and a touch-up at year three to maintain clarity.
Q: How should I dress for a sternum or chest session to make the artist’s life easier?
A: Wear a fitted sports bra or a wide-neck shirt you can pull aside so the artist can work without you being exposed. A fitted sports bra is discreet and keeps you comfortable while giving clear access to the area.
Q: What is the realistic touch-up timeline for ankle and finger Tokyo Ghoul symbols?
A: Fingers and ankles face frequent washing and friction, so expect to need touch-ups earlier than larger placements. A common timeline is a top-up at year one and then as-needed every two to three years depending on wear.
Q: Can watercolor-style kanji or ribbons be adapted to hold up longer on the thigh?
A: Yes. Ask for controlled saturation with soft edges and clear negative space. The thigh tolerates color well, but limiting the number of high-contrast micro details will keep the watercolor effect readable for longer.
