
The stencil pressed to the ankle, the client flexed their foot, and the artist made a tiny adjustment so the curve sat exactly where the shoe would reveal it. Ankle tattoos live in motion, they disappear under socks, and they peek out with sandals. That moment of adjustment is why small placement and line weight matter more than flash photos, and why the first idea below starts with what holds up best.
1. Tiny Butterfly on the Inner Ankle
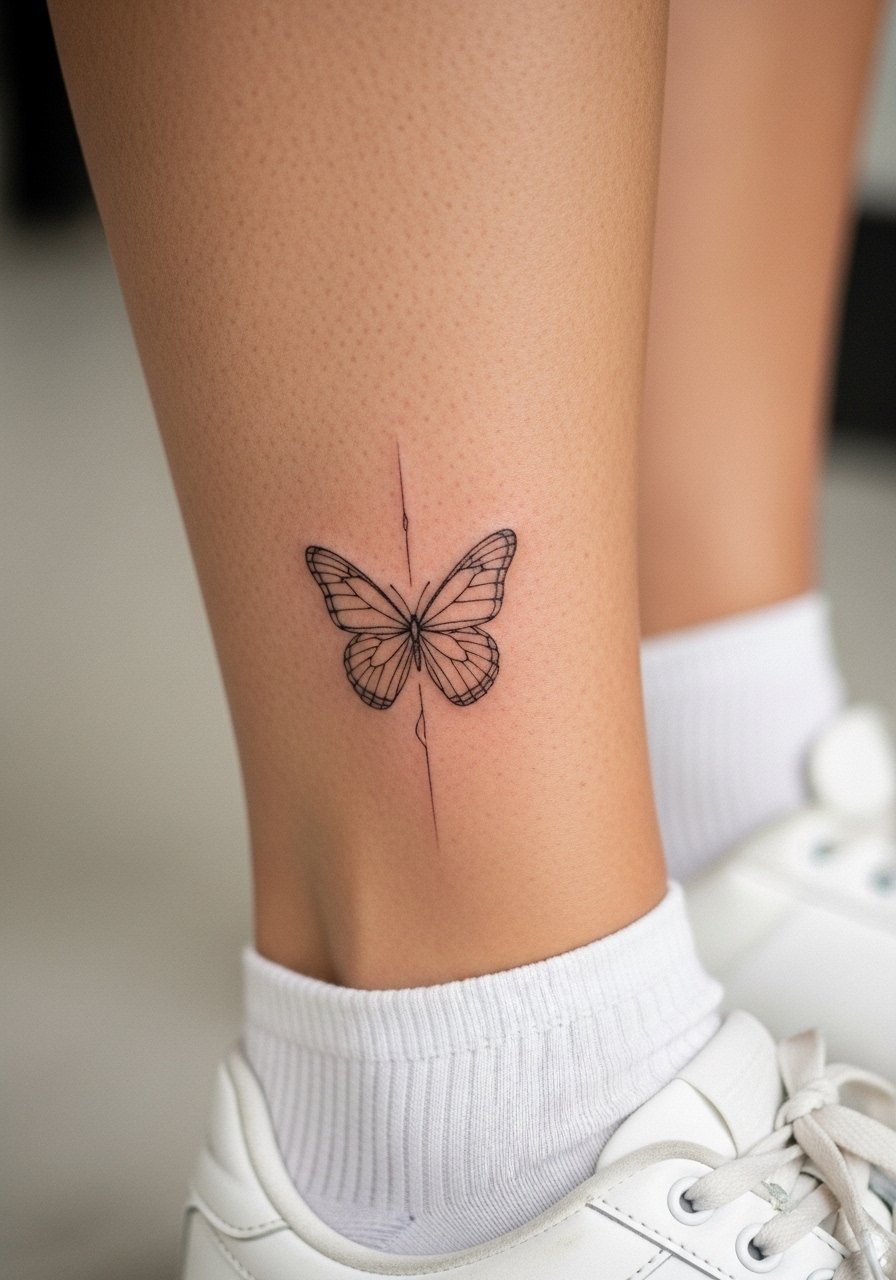
I recommend this for people who want a discreet marker that reads feminine without being ornate. Ask your artist for slightly heavier single lines and small negative space between wing veins so the pattern keeps shape as it ages. Common mistake is asking for hair-fine veins that blur with movement and walking, so build a little room. Expect a short session, about 30 to 45 minutes, and a likely touch-up around year two if you wear low-cut shoes often. For show-off days, pair with strappy sandals that expose the inner ankle and keep attention on the wing.
2. Minimalist Crescent Moon at the Ankle Bone
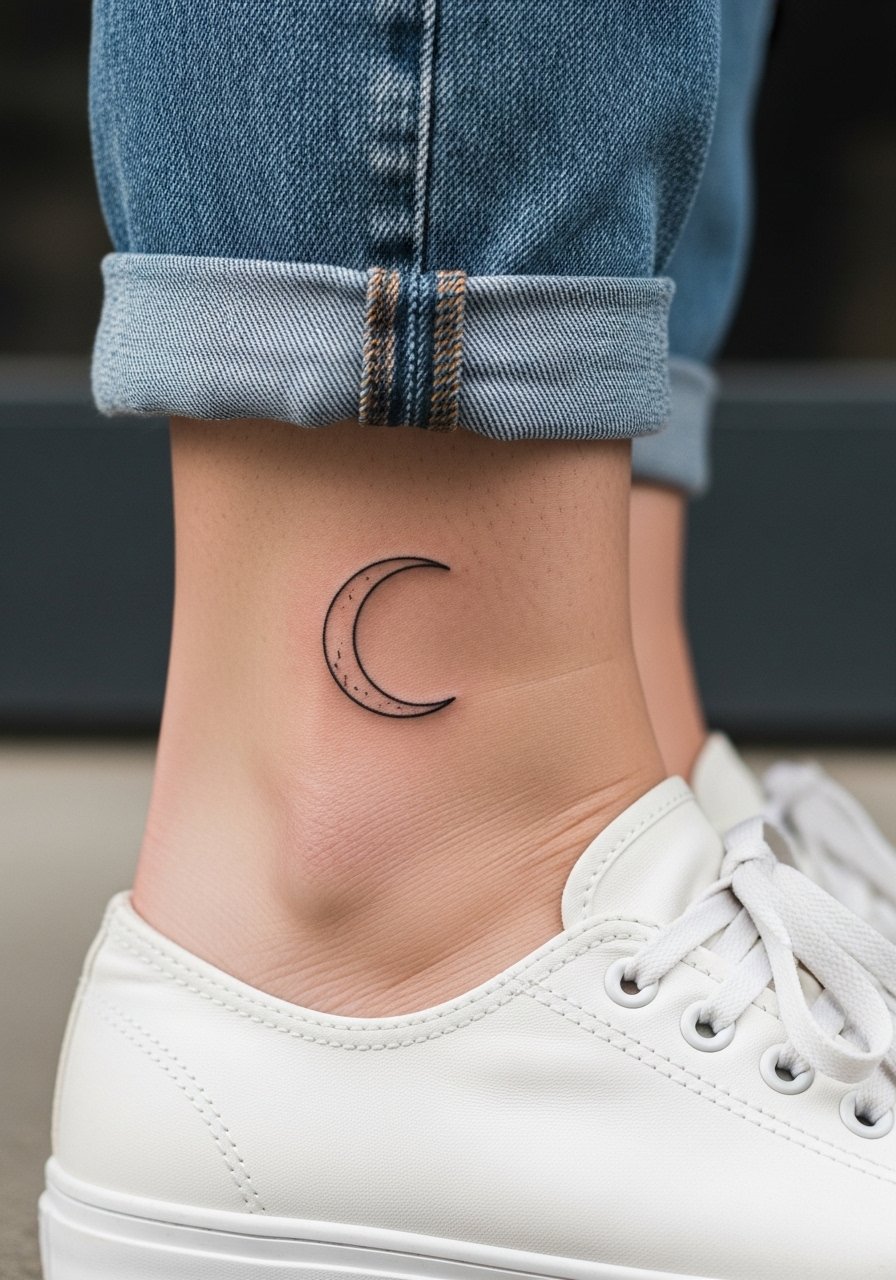
This one works when you want symbolic ink without bulk. Tell your artist to center the moon at the ankle bone instead of on the side so it sits naturally when you stand. A common mistake is placing it too close to the heel where the curve distorts with walking, and that causes early blurring. Pain is mild to moderate on the bony ridge, and the session is brief. Over two years the thin crescent softens unless lines were given intentional spacing. Wear low-cut canvas sneakers when showing it off for a casual look.
3. Micro Script Name Along the Ankle
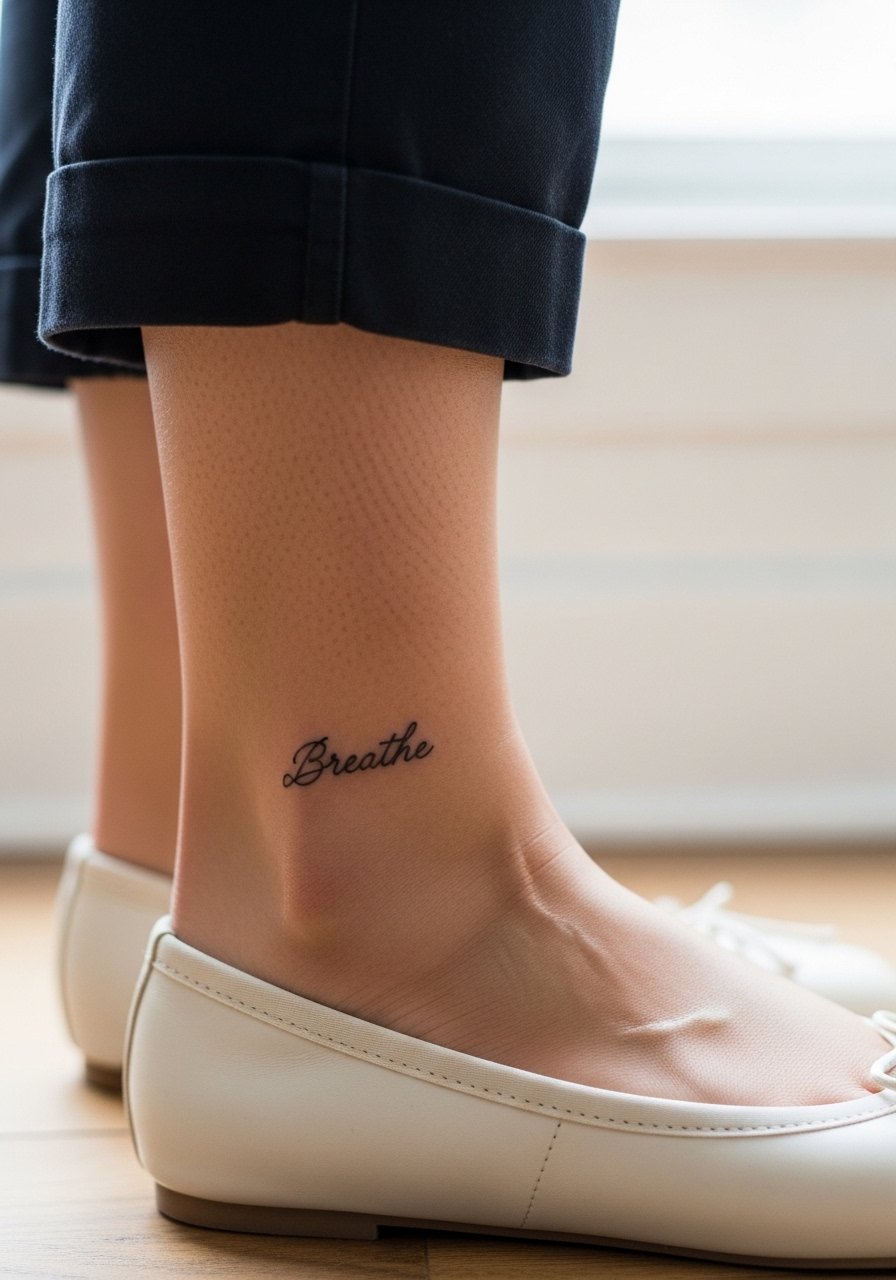
This is a go-to when you want personal text that stays subtle. Make sure you bring the exact text and a few font samples so the artist can size letters for the ankle's curve. There is a two-camp debate about fine script here. One camp says ultra-fine lettering on ankles blurs quickly because skin stretches and shoes rub. The other camp says with slightly bolder strokes and deliberate spacing script holds well. Ask which approach the artist prefers. Sessions are short but expect a touch-up at year three for tighter scripts. Pair the design with ballet flats to frame the lettering.
4. Tiny Anchor Near the Heel
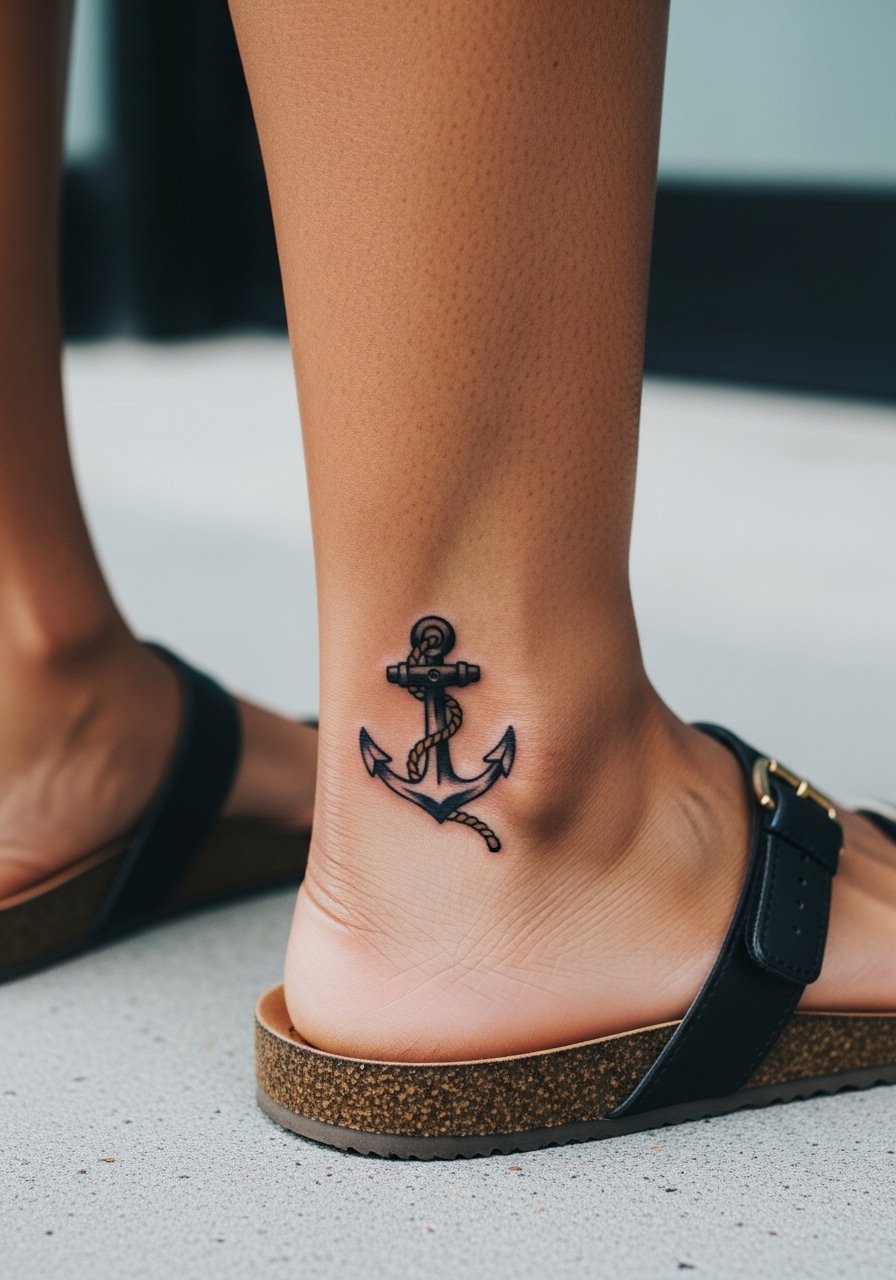
Anchors handle small scale because bold black anchors age into a readable mark. Tell the artist you want slightly thicker outline and minimal shading so the shape stays crisp under friction from shoes. A mistake is packing too much dot shading into a tiny anchor, which can muddle quickly. The ankle near the heel experiences more friction from shoes, so expect slightly more fading and a likely touch-up at two to three years. For sessions, wear slip-on sandals that you can remove easily so the artist has access while keeping the area comfortable.
5. Petite Floral Cluster Wrapped Around Ankle
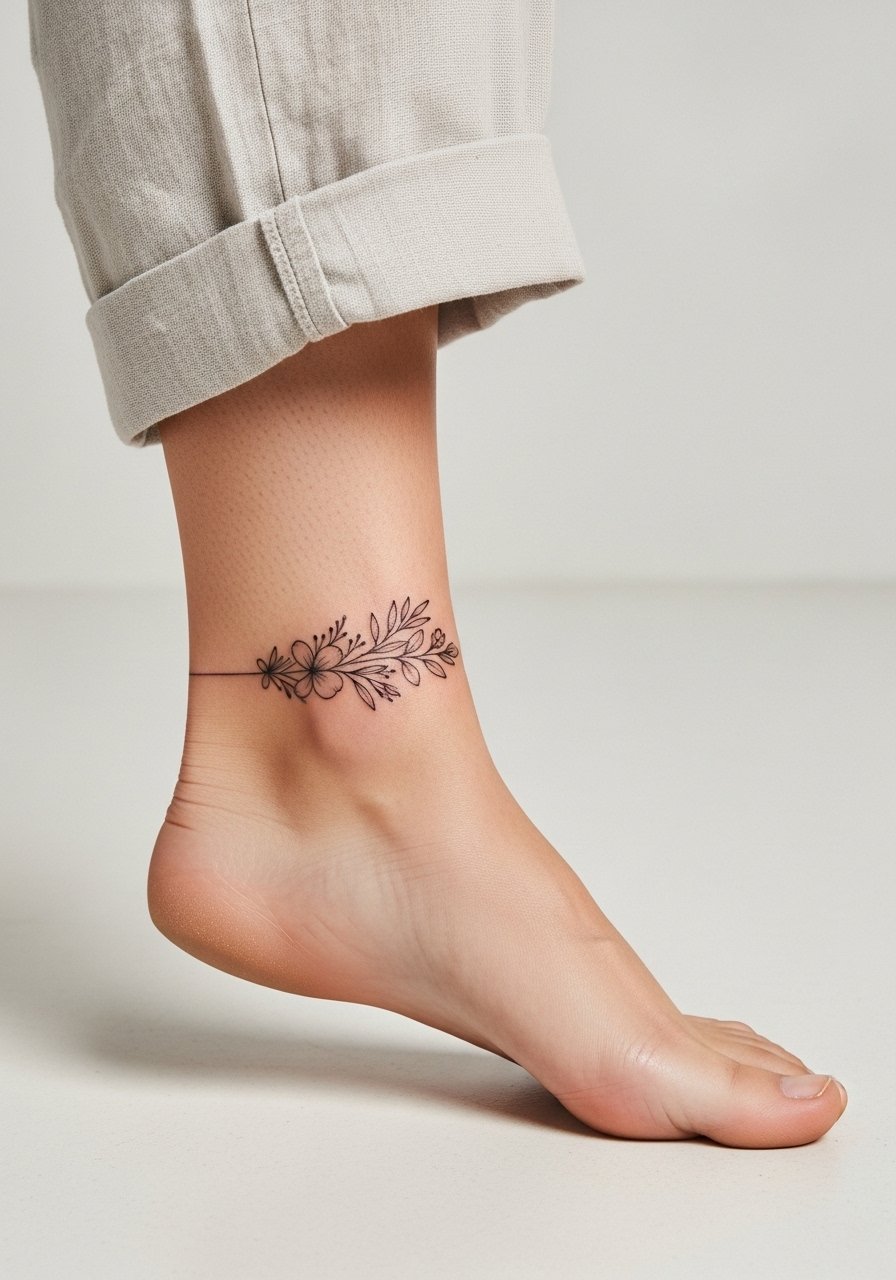
This reads like jewelry when placed with careful spacing. In consultation, request negative space between blooms to avoid merging as the skin moves. Common aging issue is overcrowding; tiny petals placed too close will lose definition by year four. Session time can be 60 to 90 minutes depending on wrap length, and touch-ups are common for fine petals. For show-off looks, style with rolled linen pants so the design peeks out like an anklet.
6. Tiny Geometric Arrow on the Side Ankle
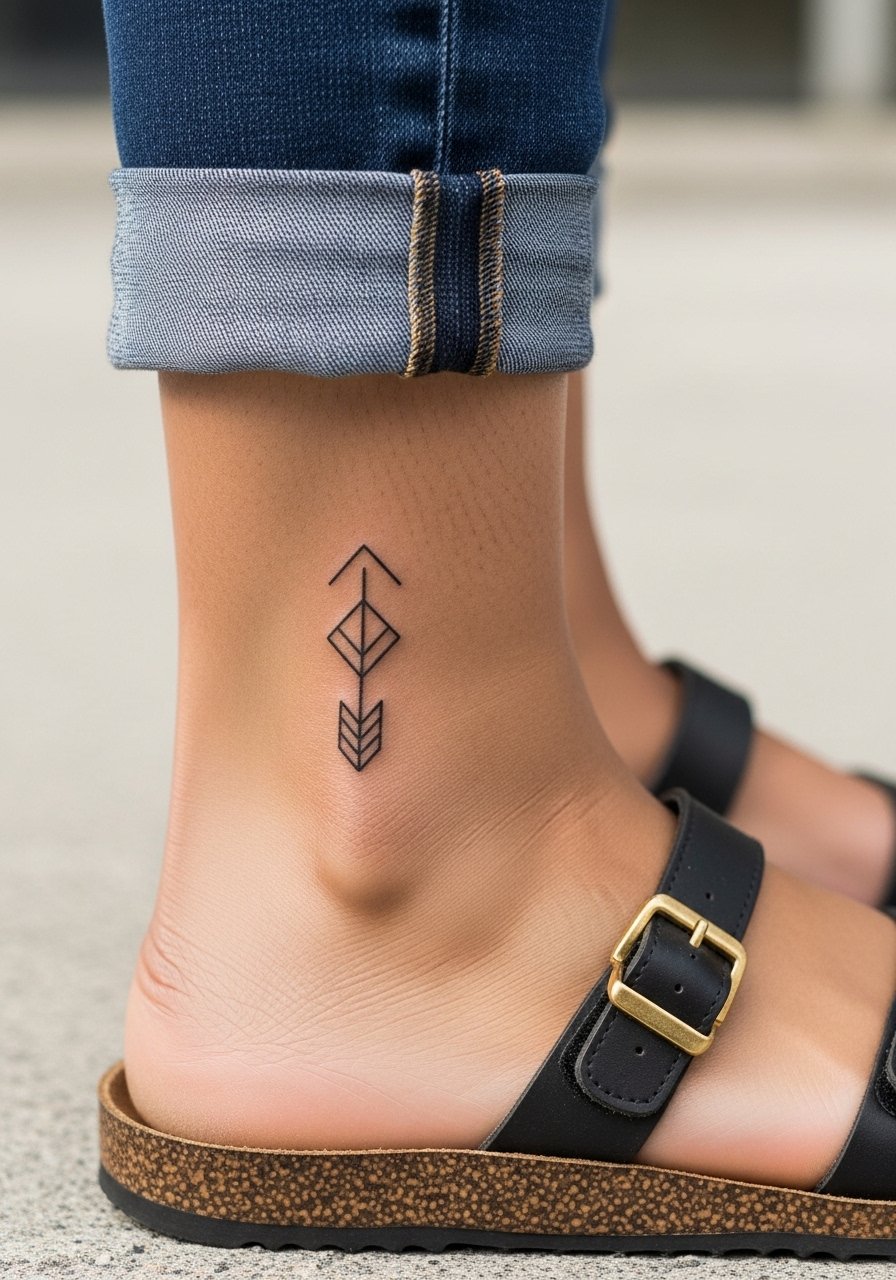
This is for people who want a directional piece that reads clean at a glance. Tell your artist you want open spacing within the arrowhead so the geometry does not blur into a dark wedge over time. The biggest mistake is scaling the lines too thin on the ankle's curved surface. Expect mild pain on the bony side and a session under an hour. Over five years the arrow keeps shape if the linework had intentional breathing room. Pair it with cuffed jeans for casual days that show off the silhouette.
Pack Smart
These ankle placements see a lot of shoe contact and movement, so a few small items smooth the session and the first week.
-
Stencil transfer paper kit. Lets you preview exactly where small anklet pieces land on your skin before the needle goes in.
-
Topical numbing cream. Applied about 30 to 45 minutes before can ease the edge for bony ankle spots without changing ink saturation when used correctly.
-
Thin protective film roll. Keeps ankle tattoos clean during the first week when socks and shoe straps would otherwise rub the area.
-
Fragrance-free gentle body wash. Cleans the healing ankle without stripping natural oils that help fine line work settle.
-
Aquaphor healing ointment. Thin layers in the first days lock moisture in small line channels without clogging them.
7. Tiny Paw Print at the Ankle Side
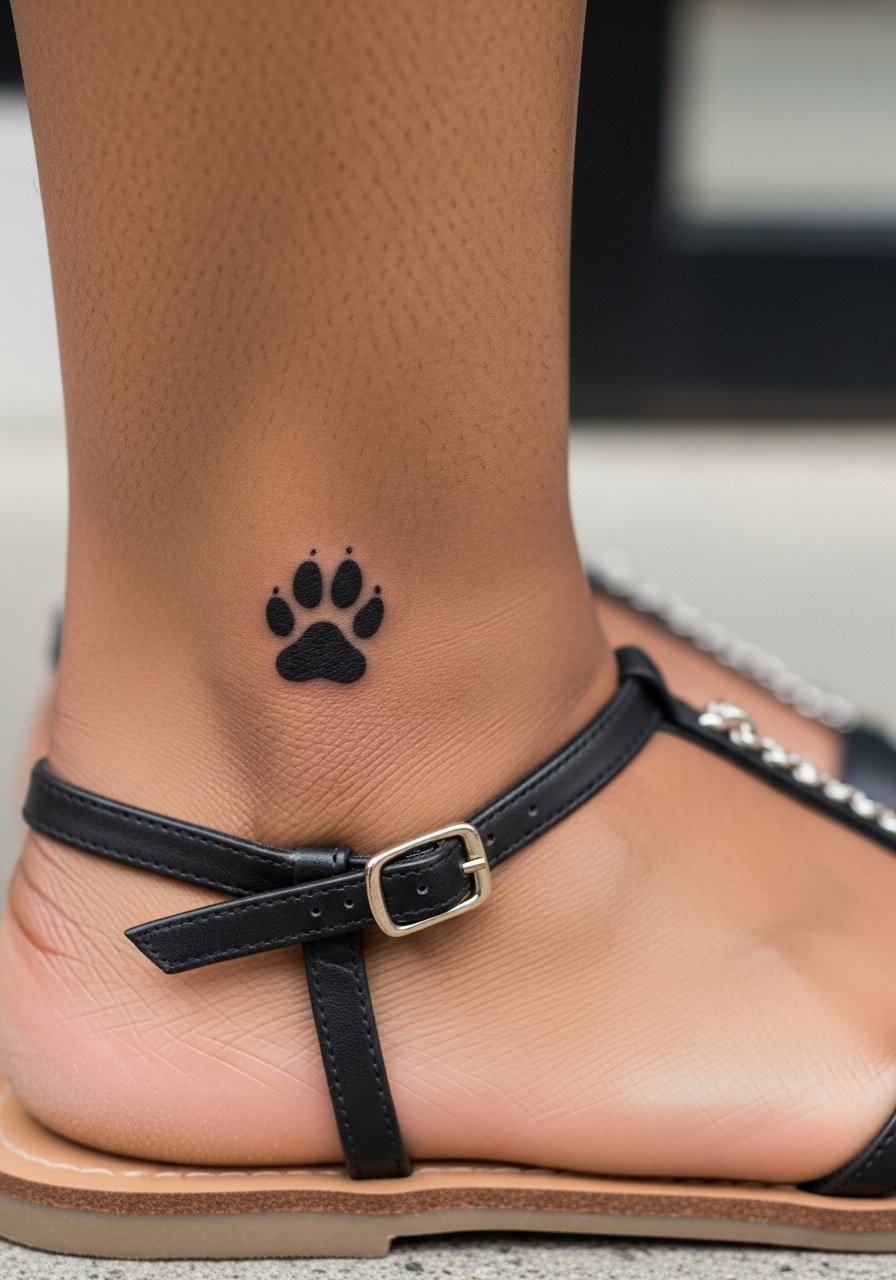
Pet memorial pieces work well in compact paw motifs. During consultation, bring a photo of the pet and decide on silhouette size so the toes stay distinct. A common error is shrinking the print too much, which makes the toe pads merge under wear. This placement sees shoe rubbing near straps, so expect slight fading along one edge. The session is short and tolerable. For showing it off, a thin anklet chain sits above the print and draws eyes to the spot.
8. Tiny Compass Rose on the Inner Ankle
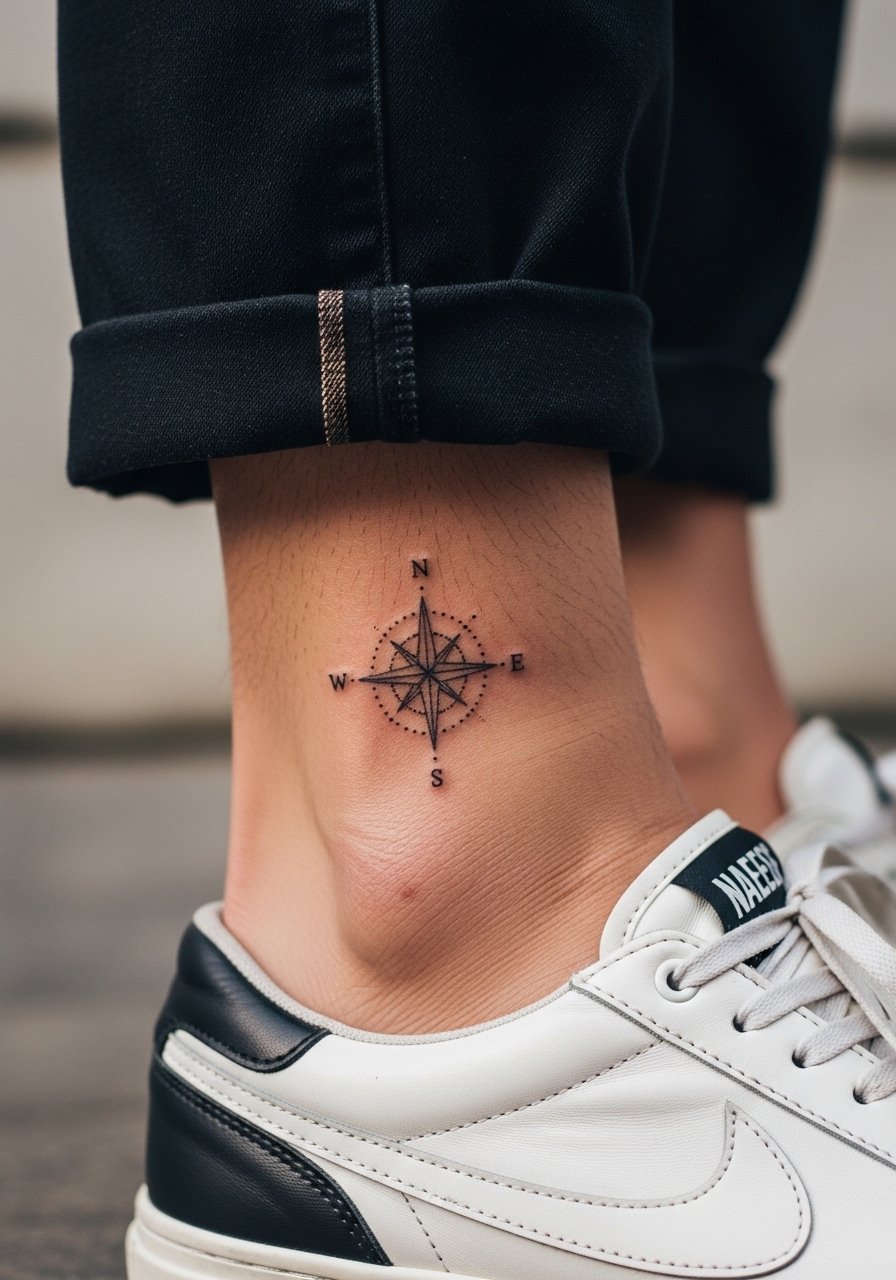
Choose this if you want a symbolic compass that reads quietly. Ask for slightly thicker primary points and minimal inner detail so the compass does not blot over time. People often request overly dense dot shading in the center which becomes a single dark dot after a couple of years. Expect a 45 to 60 minute session and a likely touch-up if you wear boots a lot. For styling, pair with low-profile sneakers to show the inner ankle during walks.
9. Tiny Wave Line Along the Ankle Ridge
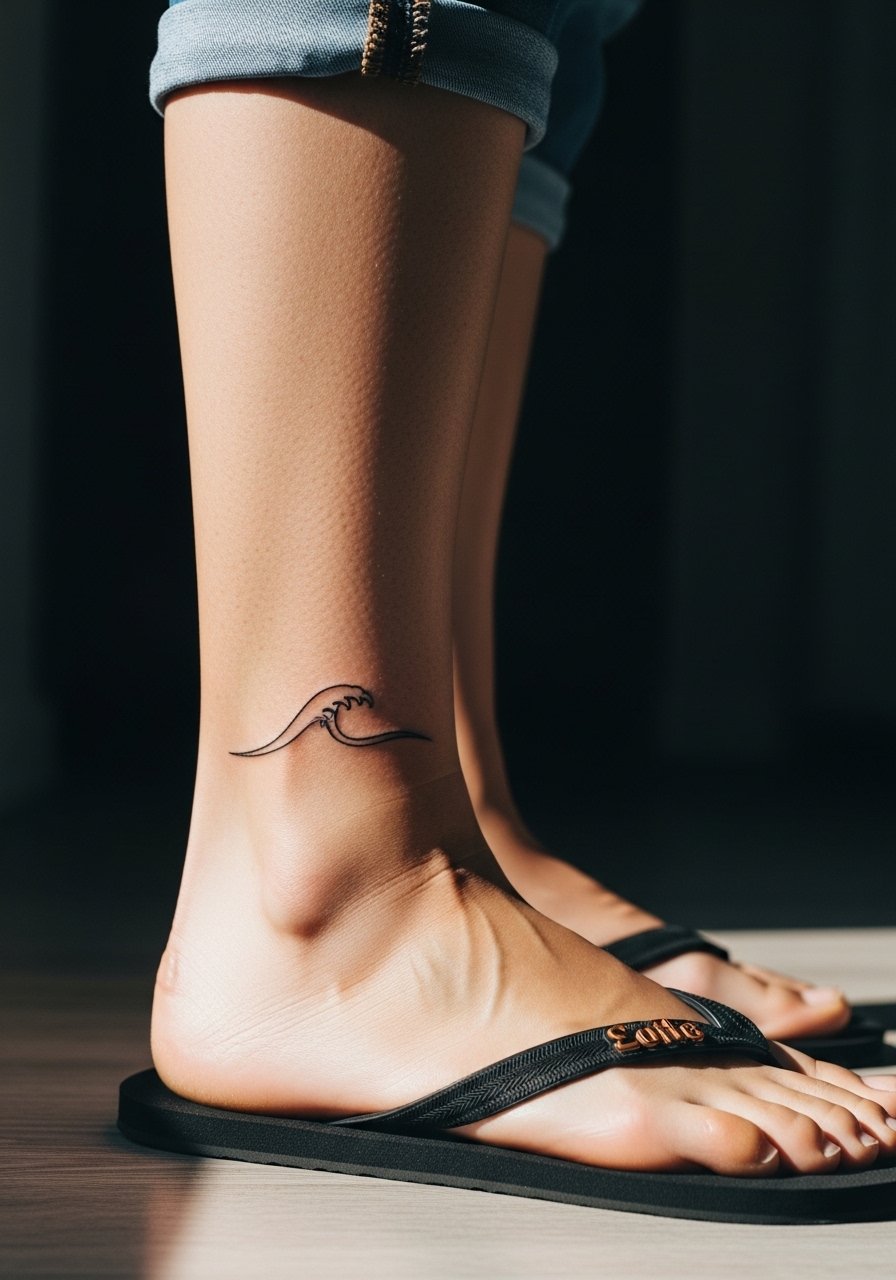
A simple continuous wave reads as motion even when still. Tell your artist you want consistent line weight and gentle spacing to prevent parts from becoming thicker spots as skin shifts. Mistake to avoid is wavy lines that vary in pressure, which age unevenly. The session is usually laughably short but the ankle's motion means plan for a touch-up at year two. Wear flip-flops at the beach to reveal the curve naturally.
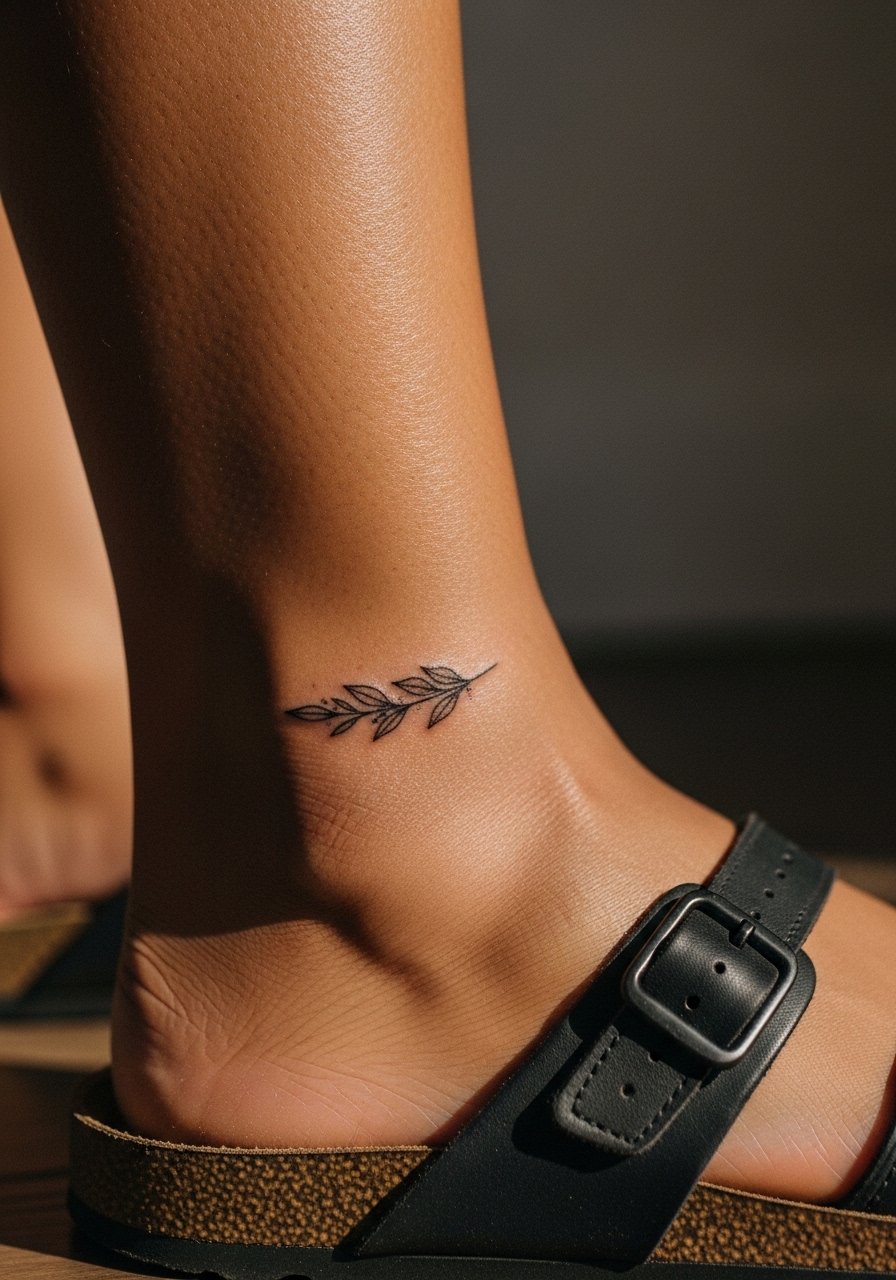
10. Tiny Leaf Sprig Tucked by the Ankle Bone

This works for people who want organic detail without bulk. Ask the artist for tapering stems and deliberate spacing between leaf veins so the silhouette stays readable. A common mistake is packing too many veins into each leaf which merges into a gray smudge. Sessions are brief and pain levels low except right over bone. For show-off looks try slip-on espadrilles that keep the focus on a single exposed ankle.
11. Tiny Zodiac Glyph Behind the Ankle
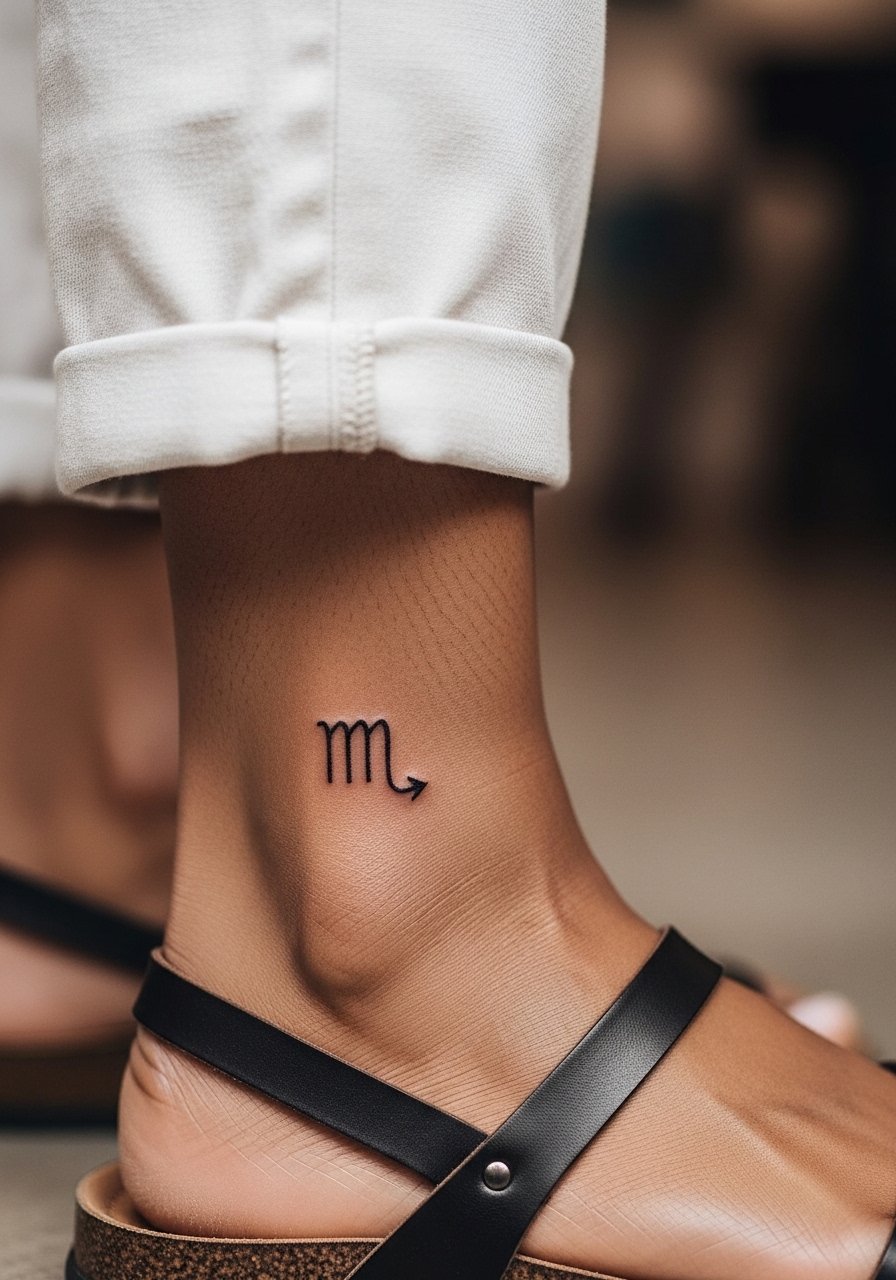
Symbolic glyphs are compact and readable when sized properly. Provide your artist the exact symbol and confirm scale because generators and screenshots sometimes distort proportions. The two camps argue here too. One group says glyphs survive well if bold. The other group says ultra-fine glyphs on moving skin blur fast. The practical move is to choose moderate line weight and plan a touch-up in a few years if you wear boots often. Pair this with a thin chain anklet to frame the symbol.
12. Micro Floral Vine That Curves Under the Ankle
Curving vines look like jewelry when the spacing is intentional. Tell your artist you want thinner stems but bolder petal outlines for durability. A mistake is placing too many tiny blossoms that merge where the skin flexes under straps. Sessions for a short vine can reach an hour because the artist will pace the linework carefully. Expect subtle softening after a few years. Style it with a long skirt with side slit to let the vine appear in motion as you walk.
13. Tiny Heart Outline on the Ankle

A heart is classic and reads well if the curves are rounded enough. Make sure the artist spaces the top lobes slightly wider so they do not merge. A common mistake is making the heart too narrow which becomes a teardrop after healing. Pain is mild and sessions are quick. Over time the outline will thin but remain readable if initial line weight was balanced. For a polished look pair it with minimalist anklet chains.
14. Tiny Star Cluster Along the Ankle Ridge
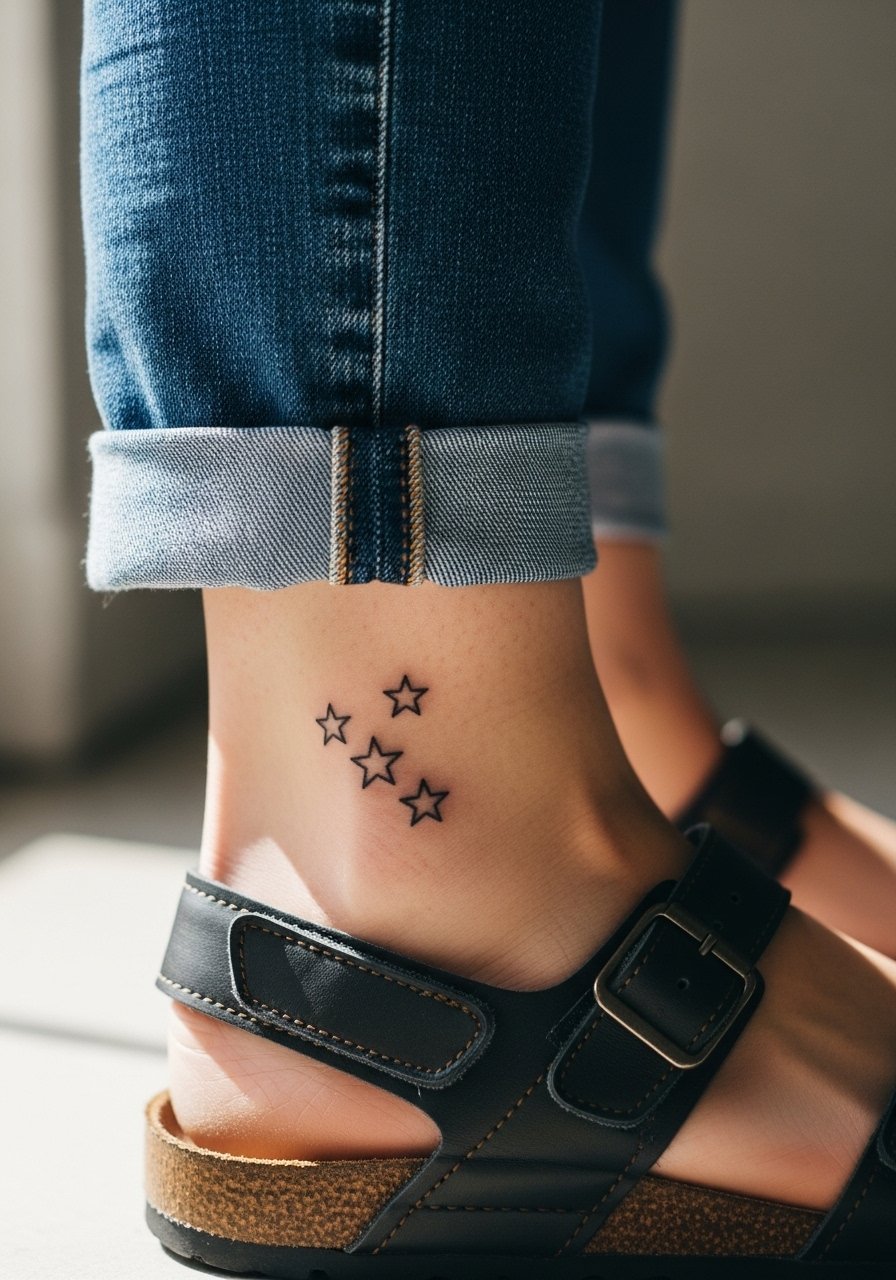
Clusters read better than single micro stars because spacing keeps them distinct. Tell the artist to vary sizes slightly and leave breathing room between points. The mistake is packing too many tiny stars into a narrow band which creates gray patches over time. Sessions are painless and short. Expect the smallest star to need a touch-up before the larger ones do. Style with strappy sandals that put the cluster on display.
15. Tiny Pawprint Line Around the Ankle Bone
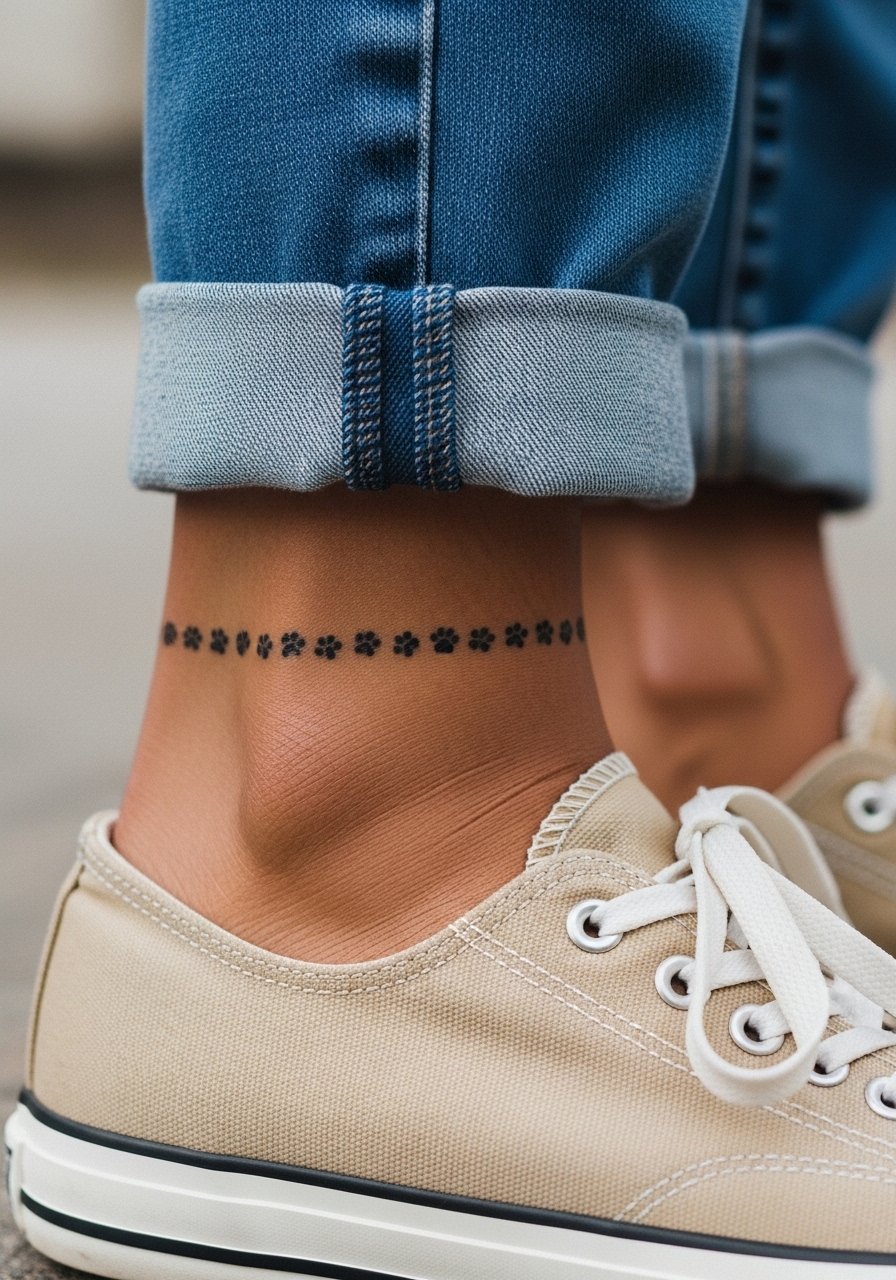
A small repeated motif reads like a personal anklet. For consultation ask for distinct pad spacing so the prints do not fuse into a strip after healing. Mistake to avoid is using too many repeats in tight proximity. Session is moderate in time depending on band length. Because the pattern sits near shoe edges, expect slightly uneven fading where straps rub. For casual show-off, pair with canvas sneakers.
16. Tiny Paper Plane Tucked by the Achilles Area
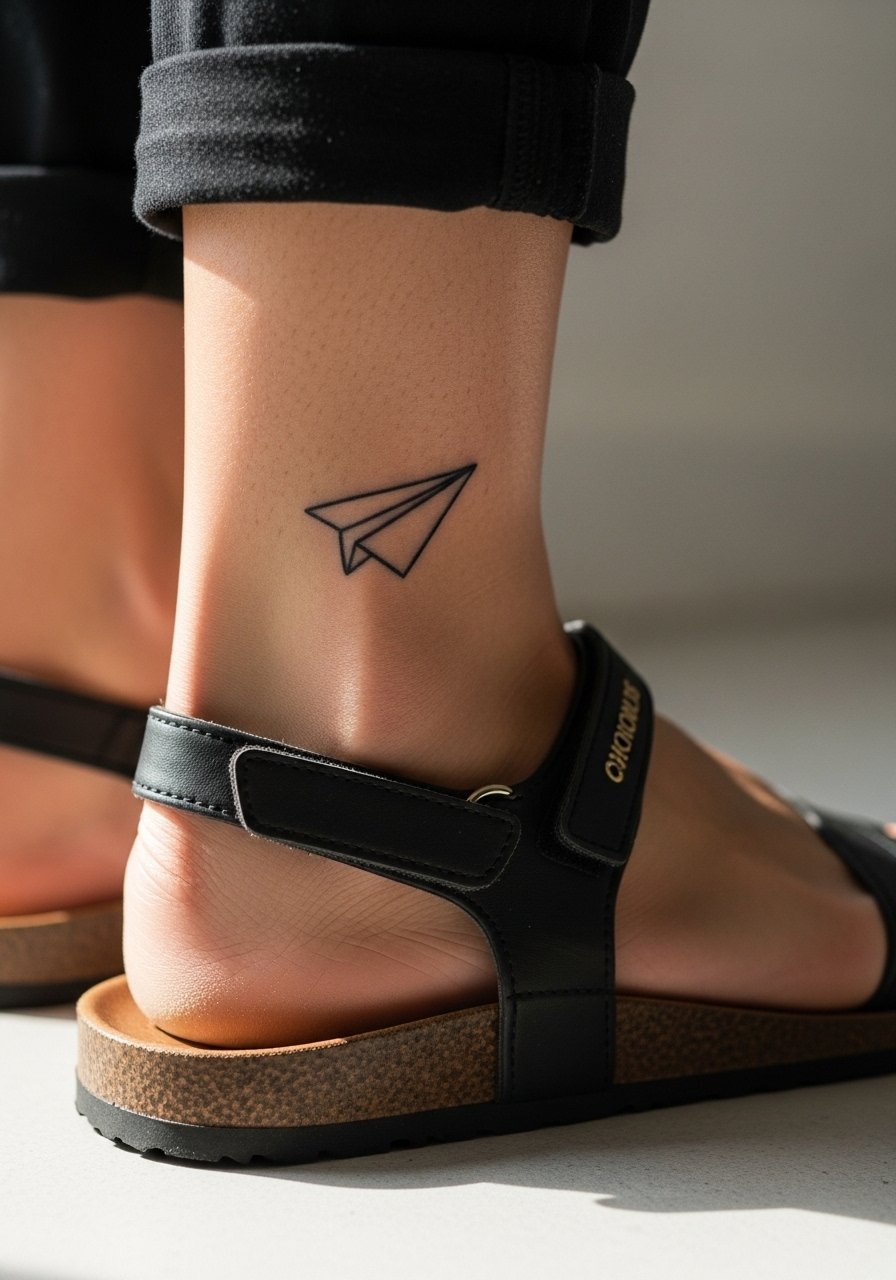
This playful motif suits travelers and storytellers. Place it slightly above the tendon so movement does not distort the plane's nose. A common error is centering it on the tendon where flex makes lines wobble. Sessions are short but expect mild sensitivity near the Achilles. Over time the nose of the plane may soften, so plan for a small touch-up if you want crisp edges. Wear low sandals to reveal the little plane.
17. Tiny Music Note on the Inner Ankle
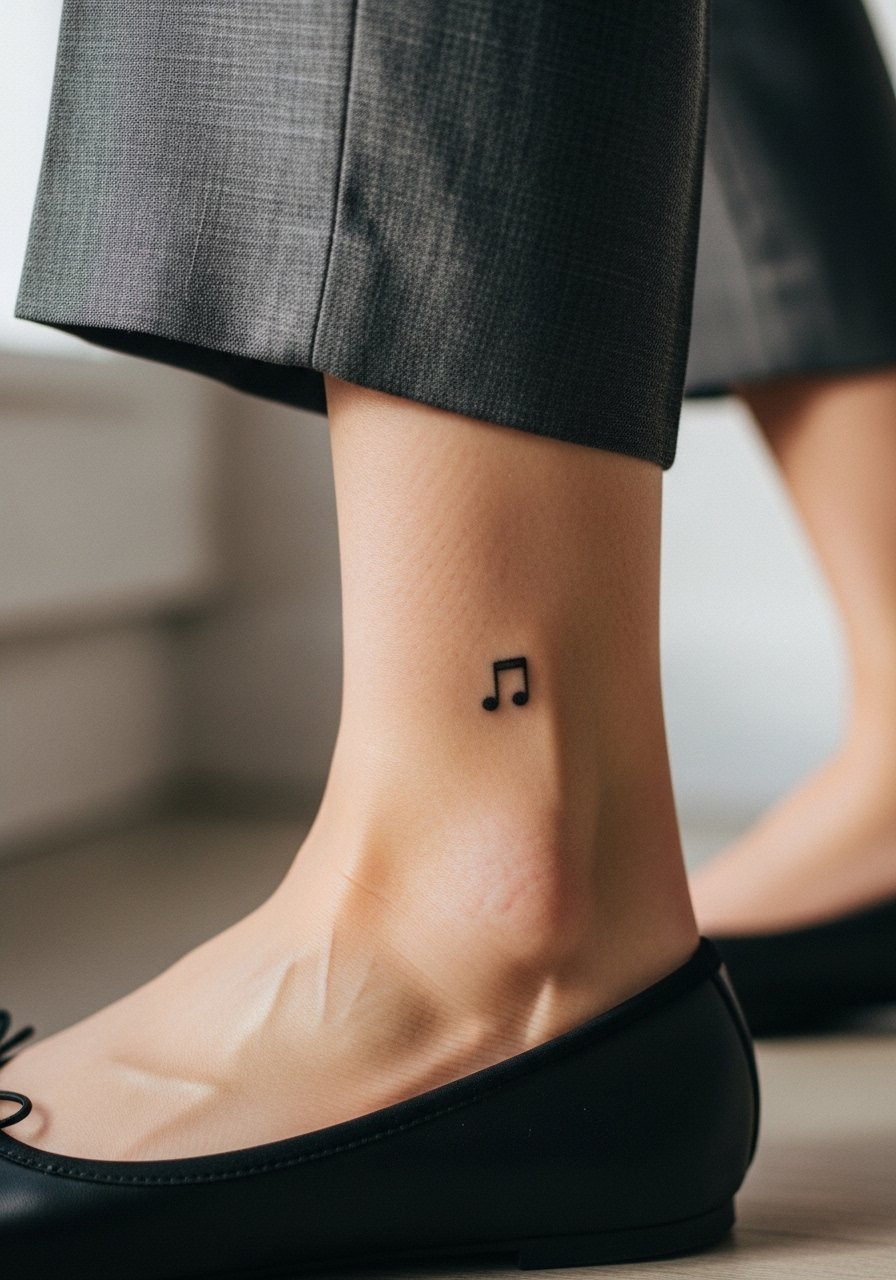
This works for anyone who wants a subtle tribute to sound. Bring a sample of the exact note shape and ask for clean, slightly bold stem lines so the note retains its identity. A mistake is requesting micro stems that vanish under wear and movement. Expect a quick session and a touch-up around year three if you wear lots of socks. Pair with ballet flats to let the note peek out during casual outings.
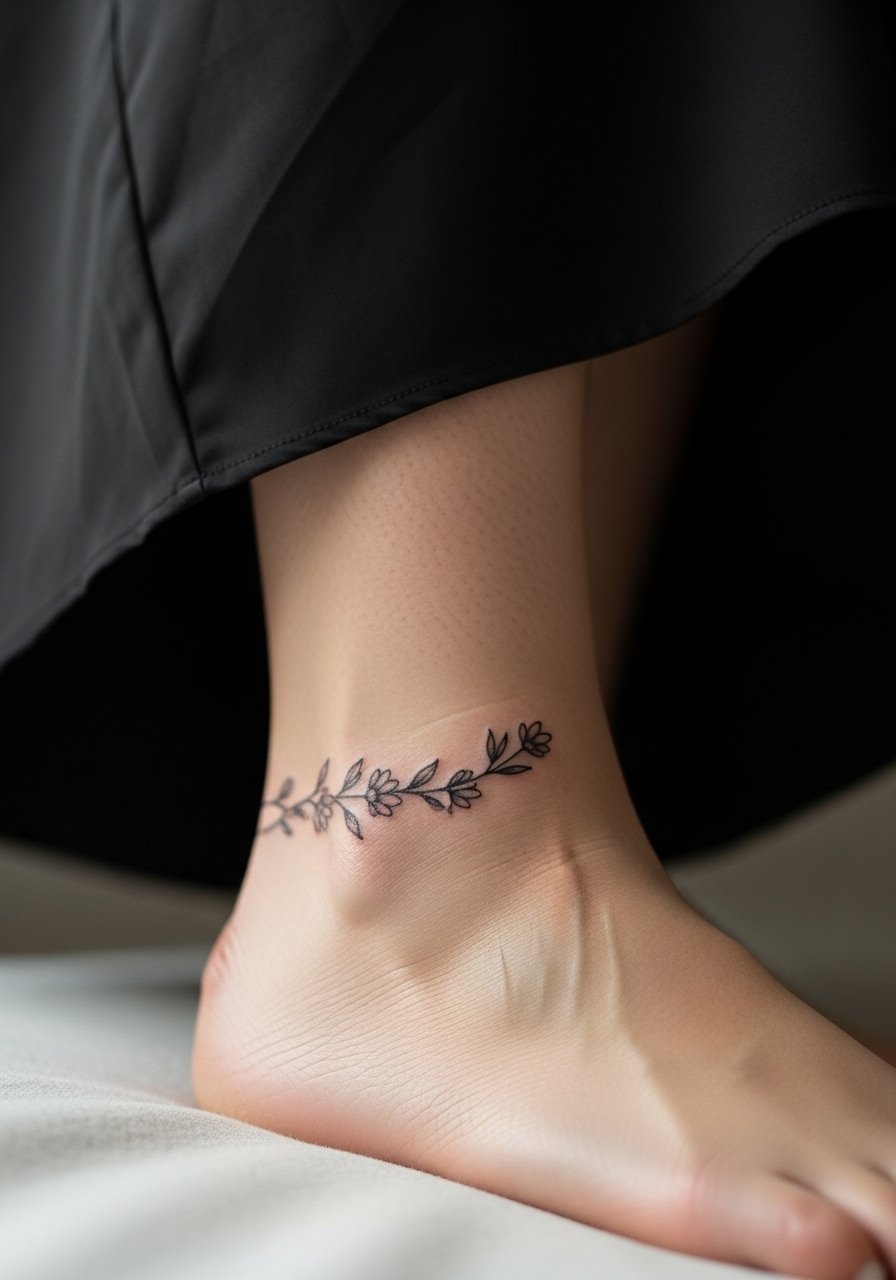
18. Tiny Botanical Ring Around the Ankle
Full rings read like jewelry when the elements are spaced well. Ask the artist to keep motif repeats minimal and to avoid filling tiny negative spaces that will blur. Mistake to avoid is making the ring too tight on the bone which results in pressure points and faster fading where shoes contact it. This takes longer than a single motif and may be split into two short sessions. For a coordinated look, wear open sandals that let the ring sit visibly.
19. Tiny Crescent and Star Duo Near the Ankle
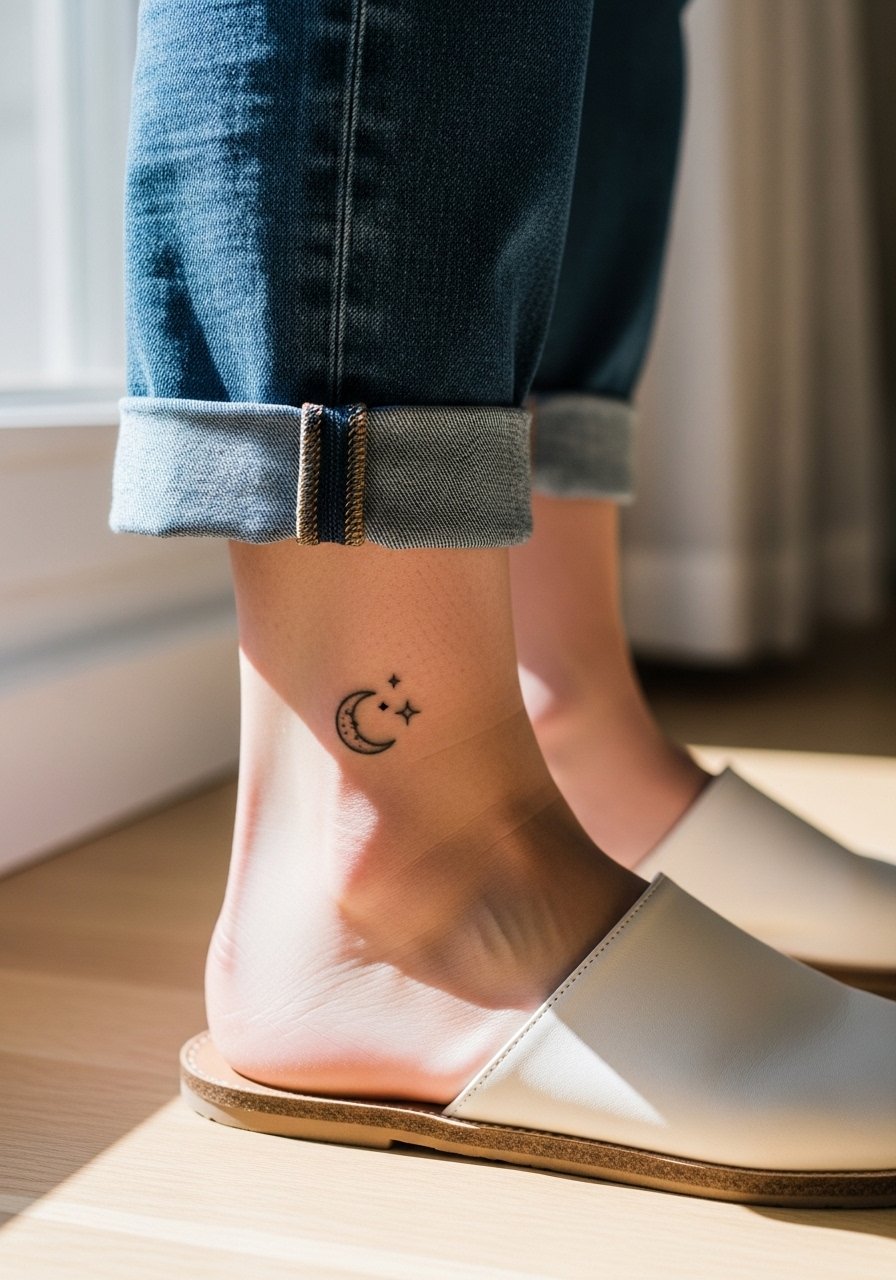
Pairs are simple but evocative. In the consult, ask for slightly heavier crescent edge and a small gap between elements to prevent merging. People often want both elements too close, which makes a single blob with time. Sessions are short and sensitivity is low except over bone. Expect the star to fade slightly faster if it's the tiniest element. Show this combo with slip-on sandals that let them peek out.
20. Tiny Arrow Band Along the Ankle
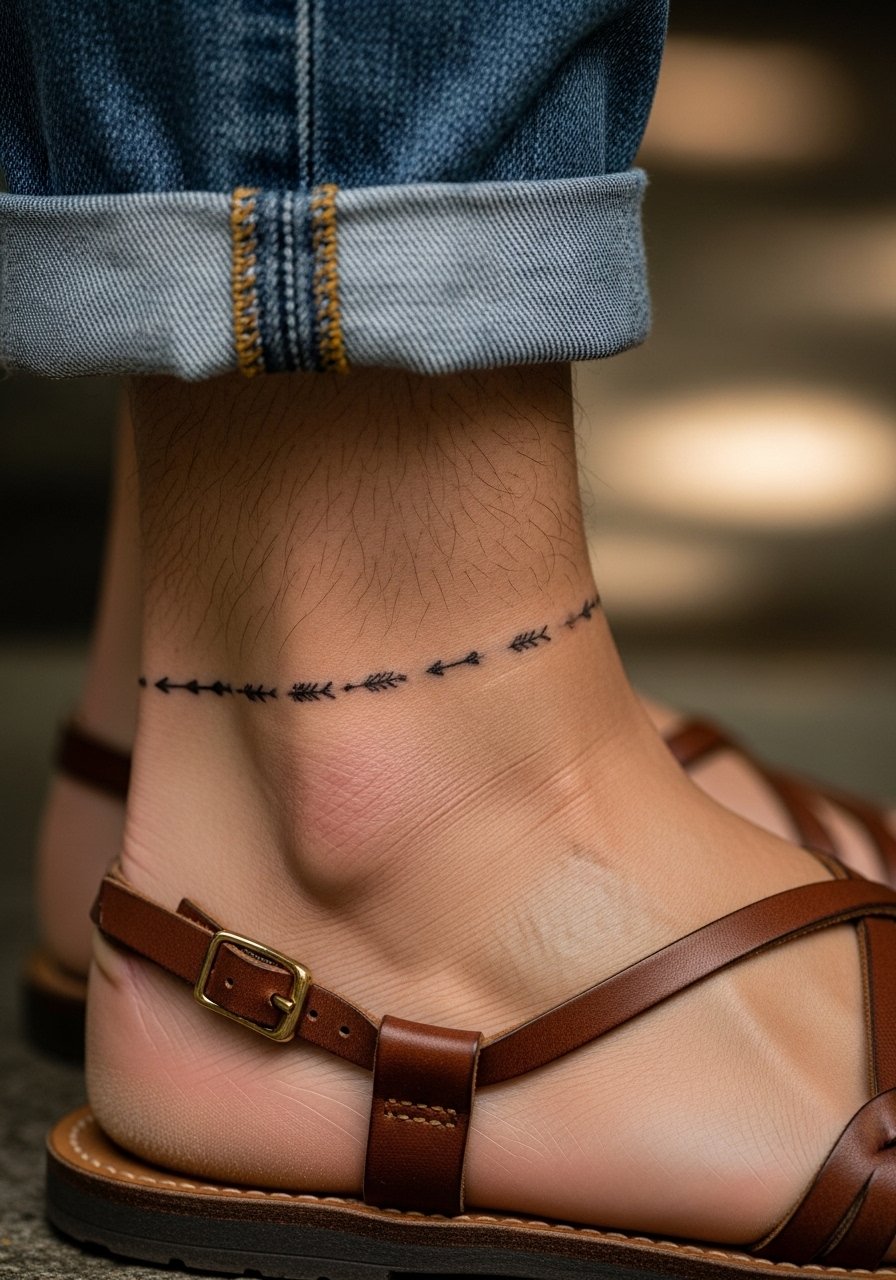
A band of small arrows works like minimalist armor. Communicate consistent spacing and uniform line weight so arrows age evenly. The mistake is erratic spacing or varying tip sizes which create uneven fading. Time in the chair depends on band length and the artist's pacing. Because of shoe friction, expect touch-ups in high-contact points. Pair with cuffed trousers to show the band like a bracelet.
21. Micro Mandala Petal Near the Ankle Bone
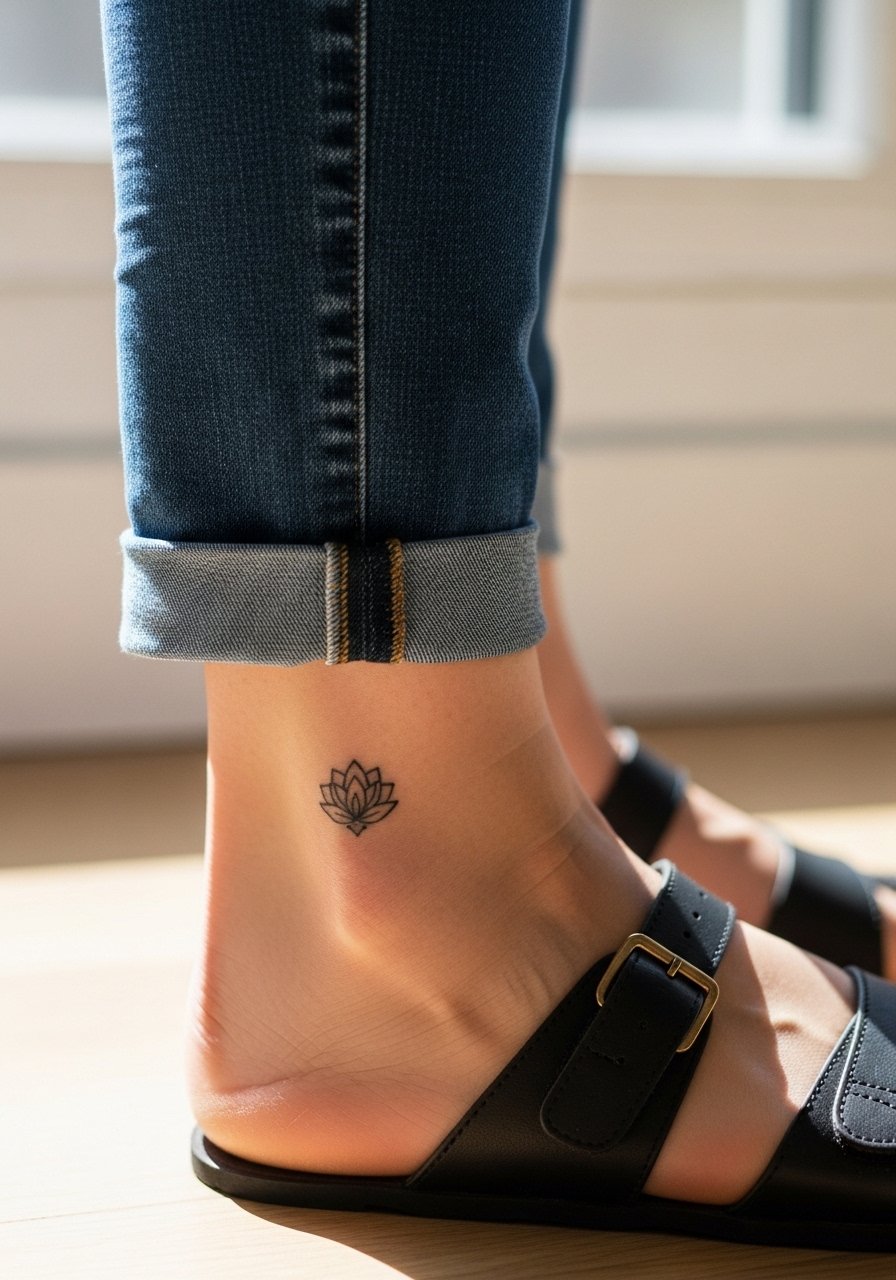
Micro mandala work needs breathing room. Tell the artist you want fewer inner lines and more negative space so petals keep definition. There are two camps on micro mandalas at ankles. One argues dense detail is unwise at this scale because motion and rubbing cause merging. The other says simplified mandalas with spaced tips hold well. My suggestion is to simplify at the start and plan for a touch-up if you want more detail later. For evening looks, a delicate anklet complements the petal.
22. Tiny Constellation Mapped Along the Ankle Ridge
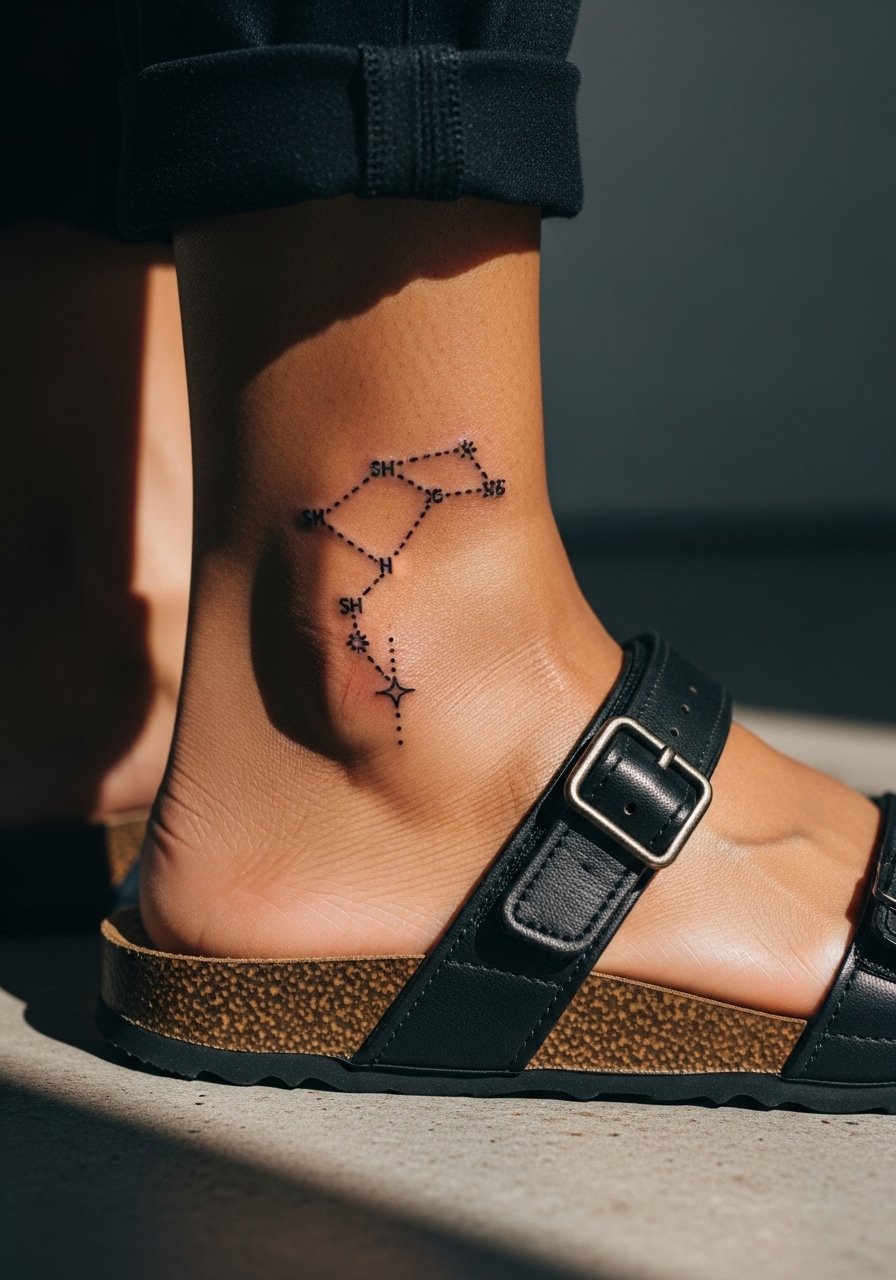
Constellations are ideal for linear ankle placement because the negative space between stars keeps the pattern readable. Bring the exact star map you want because coordinates and placement matter. A common mistake is crowding stars too close which turns a map into a smudge. Sessions are quick and usually low pain. Over years, the smallest dots lose crispness first, so plan a touch-up if you want pin-sharp points. Pair with open-toe sandals that reveal the map.
23. Tiny Lock and Key Duo on Either Side of the Ankle
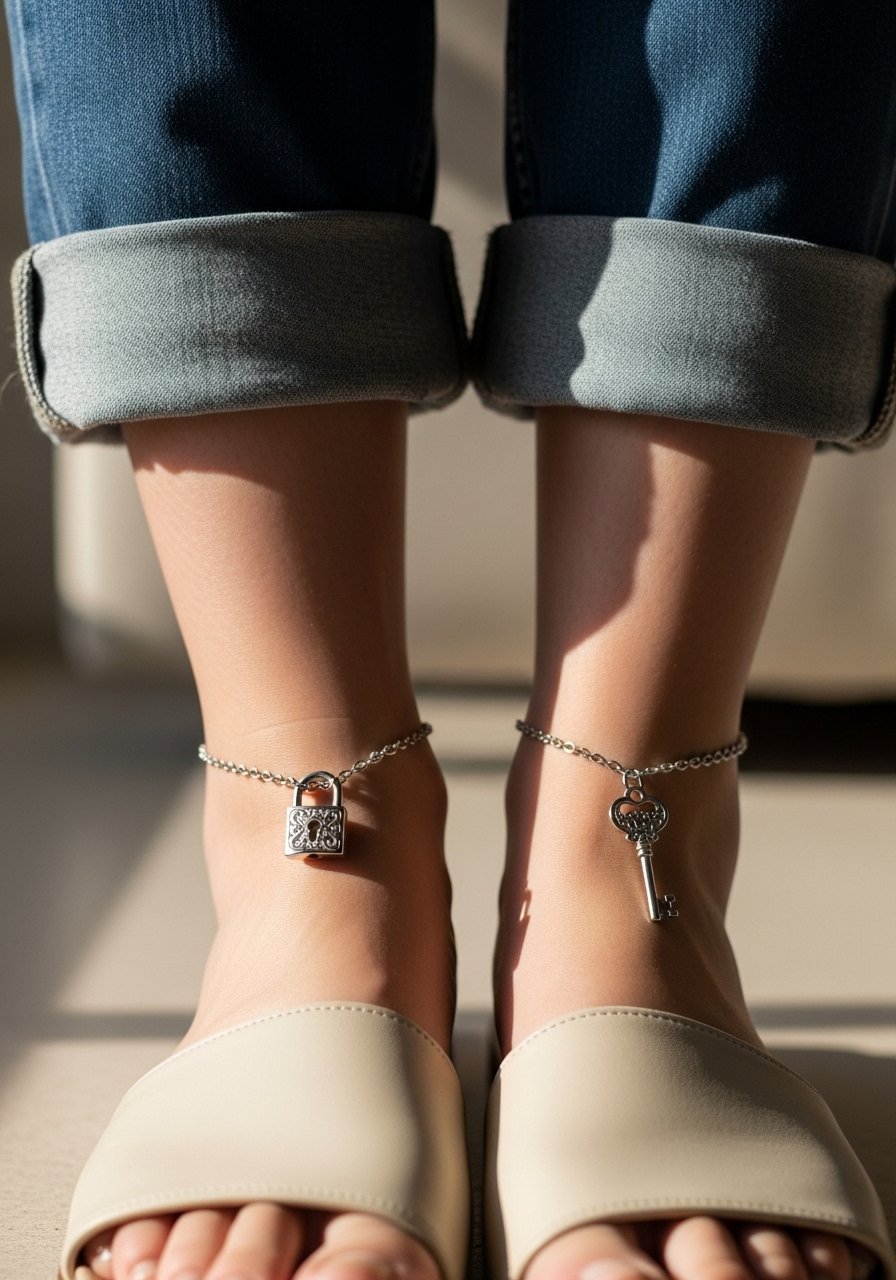
Dual placements let you play with symmetry. Ask your artist to keep both pieces at similar scales and to mark exactly where they will sit when standing. A mistake is mismatched sizing which reads unbalanced when you wear shoes. Sessions are two short passes, one per side. Because one side may get more shoe contact, expect slightly uneven fading. Style with slip-on sandals to reveal both.
24. Tiny Arrow and Dots Along the Lateral Ankle
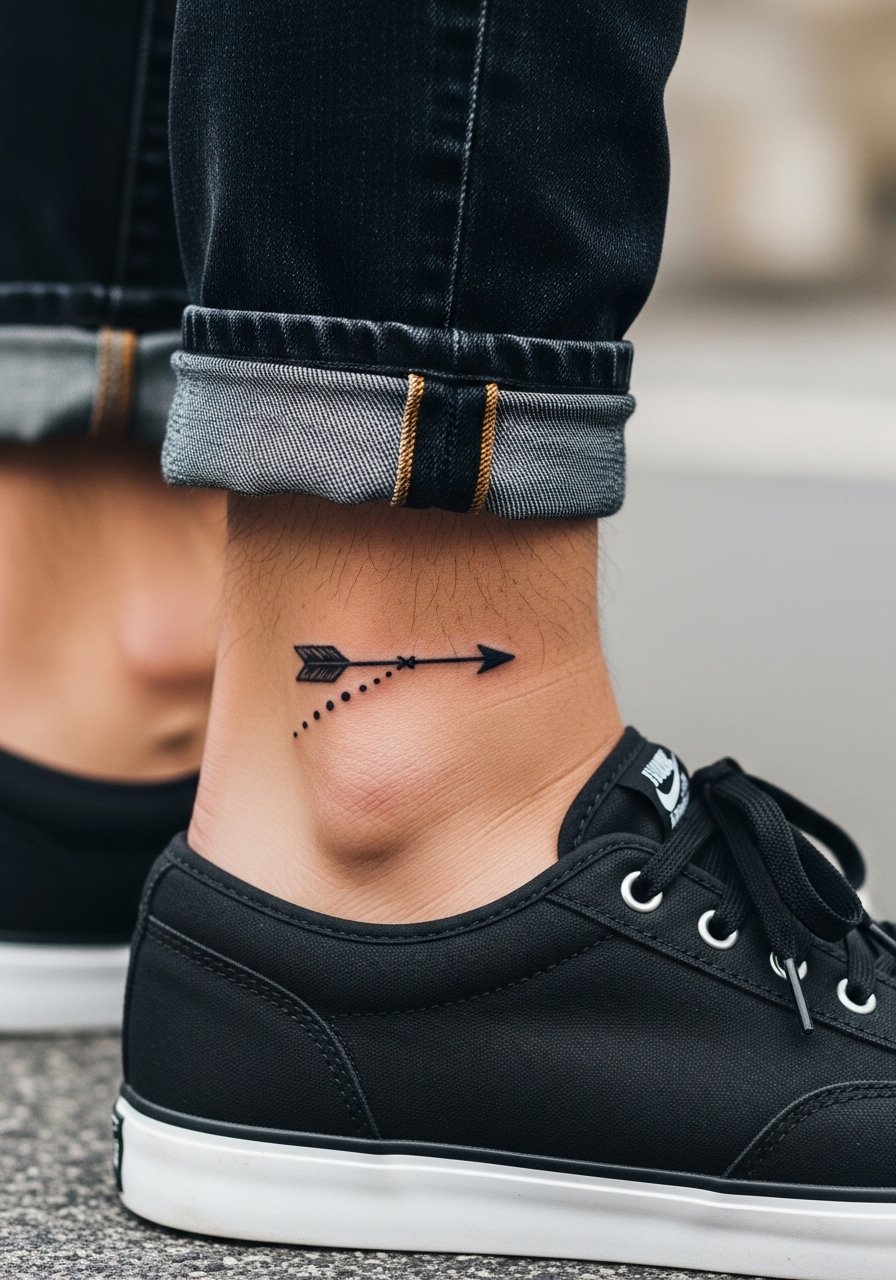
This linear motif reads well if the dots are spaced deliberately. Tell the artist you want dots as negative space between them rather than filled blobs to reduce early merging. Mistake to avoid is using too many tiny dots close together which forms a gray line over time. The session is brief and sensitivity is mild on the side ankle. Pair it with cuffed jeans and low sneakers when you want a subtle reveal.
25. Tiny Pillar or Roman Numeral Sliver at the Ankle

Vertical numerals need deliberate kerning so digits read as intended when the ankle flexes. Provide the exact numerals in the consult because spacing makes the difference. Mistake is compressing digits into a narrow column which becomes unreadable as skin moves. Sessions are short yet precise. Expect touch-ups for very thin numerals after a few years. Style with open sandals that show the vertical line cleanly.
26. Tiny Nautical Star on the Outside Ankle
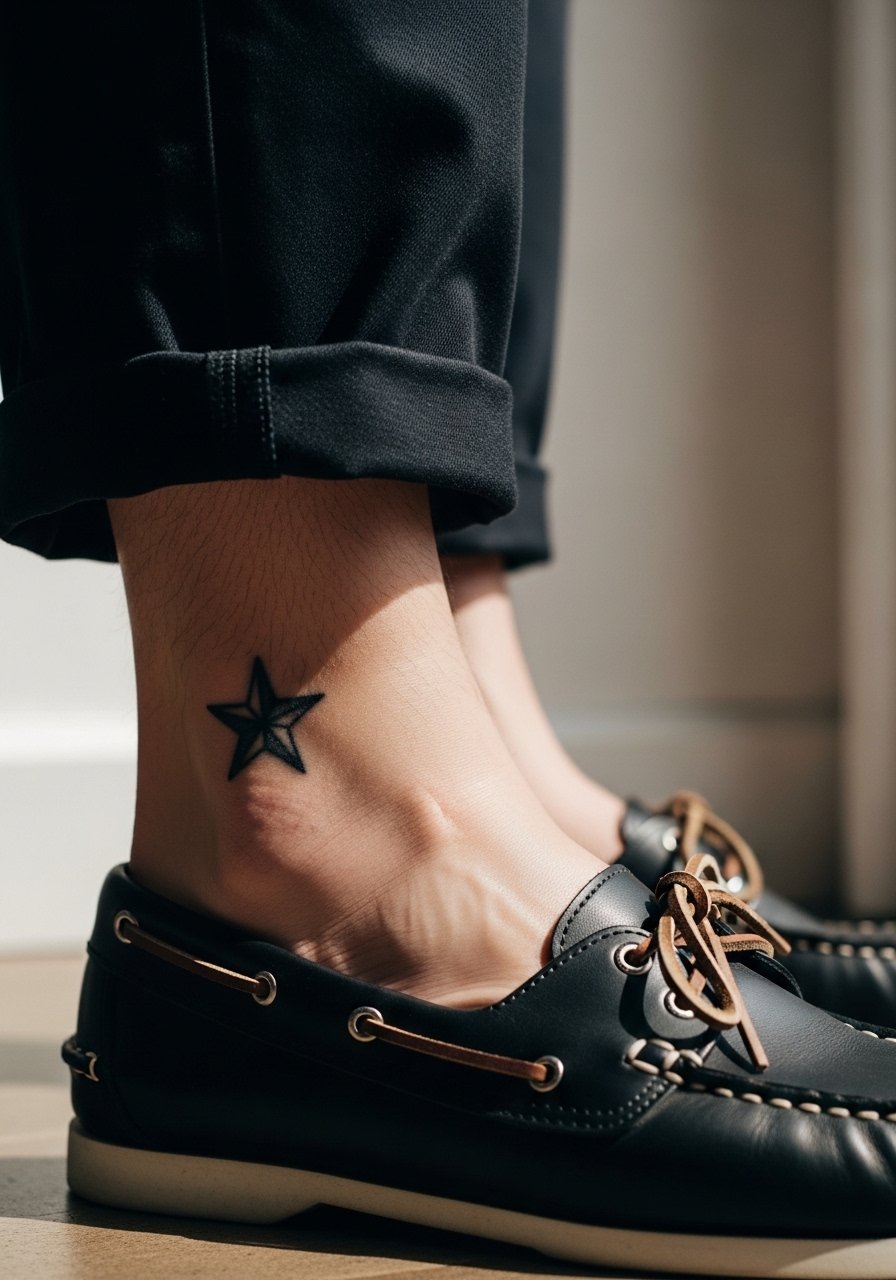
Nautical stars hold up because of their bold points. Ask for slightly firmer outer points and minimal inner shading so the star keeps clarity. People sometimes request graduated dot shading inside which fades into an indistinct blob. Sessions are quick and tolerable. For show-off styling, a pair of boat shoes frames the star in a maritime look.
27. Tiny Crescent Anklet with Dots

A thin crescent anklet reads like jewelry when dots are spaced evenly. Tell the artist to avoid ultra-fine dot clusters which can melt together under shoe friction. Session time depends on anklet length and is usually under an hour. Expect touch-ups on spots that sit under straps or boot seams. For an elegant reveal wear a midi skirt with side slit that lets the anklet show when you walk.
Frequently Asked Questions
Q: Will fine line ankle tattoos blur faster than bolder designs?
A: Fine line ankle tattoos can blur faster because the ankle moves and rubs against shoes. Some artists favor slightly bolder single lines to prevent early merging. The practical approach is to talk to your artist about spacing and plan a touch-up around year two to three if you want to keep lines crisp.
Q: What should I wear to an ankle tattoo session for easy access and comfort?
A: Wear slip-on shoes or sandals and cuffed pants so the artist can access the ankle without you having to undress the lower leg. A loose pair of drawstring shorts also works for longer wrap pieces. I often recommend something you can step into so the bandage stays clean when you leave.
Q: How does shoe friction affect ankle tattoos and which placements avoid it?
A: Shoe straps and seams cause uneven fading, particularly on outer ankle and near the heel. Placing motifs on the inner ankle or slightly above the bone reduces constant contact. If you often wear boots, expect more friction and plan touch-ups accordingly.
Q: Are ankle tattoos suitable if I need to keep them hidden for work?
A: Yes. Ankles are easy to conceal with socks, trousers, or boots. For professions with strict dress codes, choose inner or upper ankle placements that remain hidden with standard footwear. Keep in mind seasonal visibility if you travel between climates.
Q: How many sessions should I expect for small ankle wraps versus single motifs?
A: Single motifs like tiny stars or symbols are usually one short session under an hour. Wraps or bands that circle the ankle often take longer and may be split if the artist needs to rest the area. Always ask the artist for a realistic session plan during consultation.
Q: Where should I look to find an artist who specializes in small ankle work?
A: Search local directories and look for portfolios with healed close-ups of small placements. Hashtags tied to your city plus keywords like "fine line ankle tattoo" help you find relevant examples. Spending time in community forums gives practical perspectives on longevity and touch-up frequency.
