
Sitting down for a back piece is one of those moments that makes people rethink scale and placement. The canvas is generous, but fine line work asks for restraint, precise spacing, and an honest conversation with your artist about how your skin moves. Below are 21 focused fineline tattoo ideas for the back, each with what to ask for, how it ages, styling tips where it fits, and an image prompt to guide reference boards.
1. Vertical Spine Vine
I recommend a single delicate vine down the spine when someone wants a central, vertical anchor that still reads minimal. Ask your artist for slightly varied line weight and tiny negative-space breaks so the piece has breathing room as ink settles. Pain is moderate along the spine where bone is close, and a session runs around one to two hours depending on length. Expect crisp linework at six months, gentle softening at two years, and a need for a touch-up around year three if you want pin-sharp lines. For showing it off, an open-back midi dress or a racerback tank frames the vine without covering the flow.

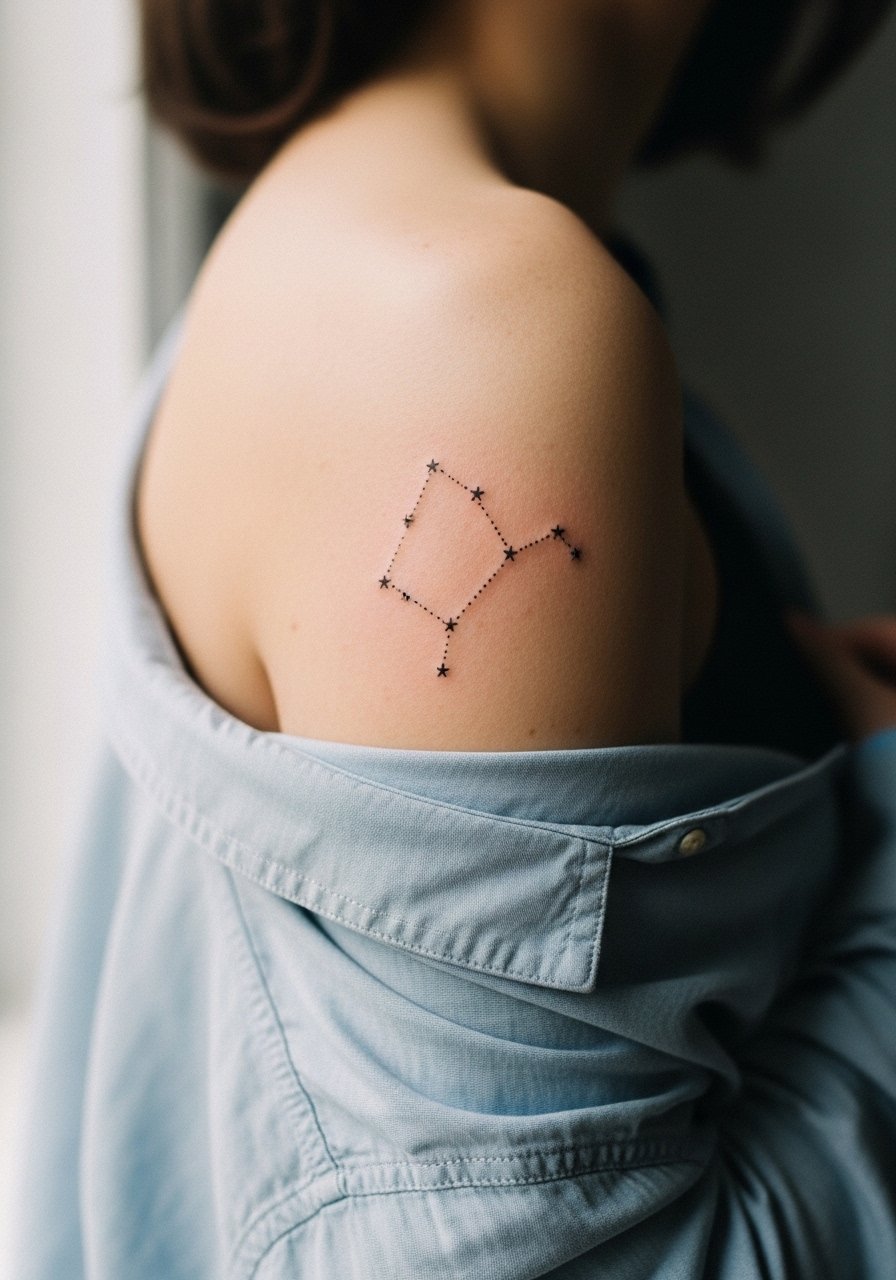
2. Shoulder Blade Constellation Cluster
A tiny constellation cluster on the shoulder blade fits people who want spots of ink that peek out from sleeves. Tell the artist to space stars with deliberate gaps so dot work does not merge over time. Expect low pain, quick session under an hour, and minimal blowout risk on this fleshy shoulder area. The common mistake is cramming too many dots into a small space, which looks messy after healing. For session wear, pull on a loose button-down shirt you can slide aside so the artist has clean access.
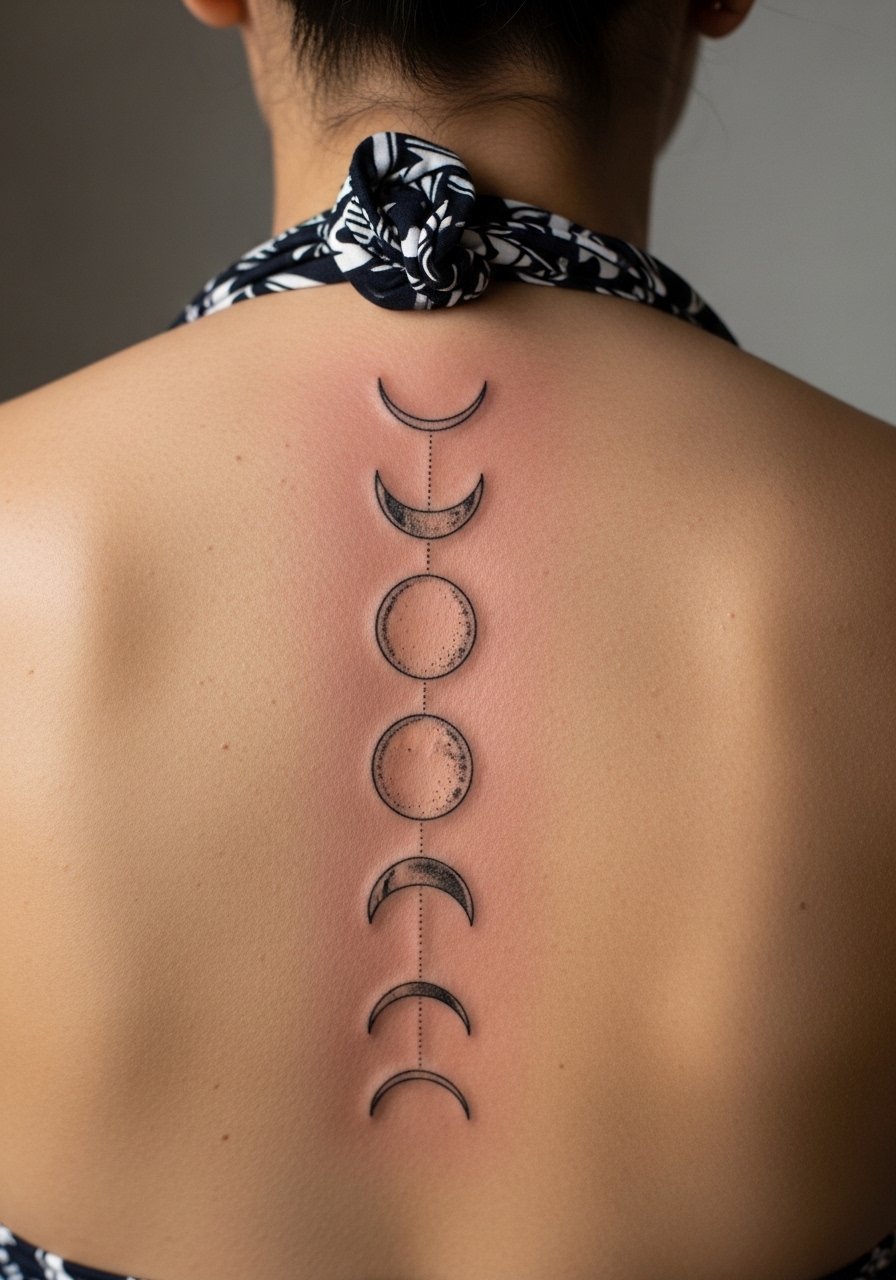
3. Minimal Moon-Phase Spine Row
Moon phases along the upper spine make a quiet statement that travels with your body. When consulting, specify overall diameter for each moon so the dark crescents do not blend into thin crescents years later. Pain is moderate and focused, session time usually under 90 minutes. The mistake I see is getting moons too small and too close. At two years those tiny crescents can look like shapes rather than phases. Style it with a halter top for evenings, which leaves the upper spine visible without excess skin tension.
4. Lower Back Script Curve
A short script curve that follows the lower back line reads private and accessible at the same time. Ask for thin, well-spaced lettering in a reference photo so the artist matches the exact line weight you want. Lower back sessions can feel sensitive for some because of position and muscle tension. A common error is asking for very small cursive across a long curve, which later blurs and loses legibility. For the session, wear high-waisted jeans with a cropped tee so only a narrow strip needs to be exposed. Sensitive placement note: lower back images should be framed tightly and the subject must wear clothing that reveals only the tattoo zone.

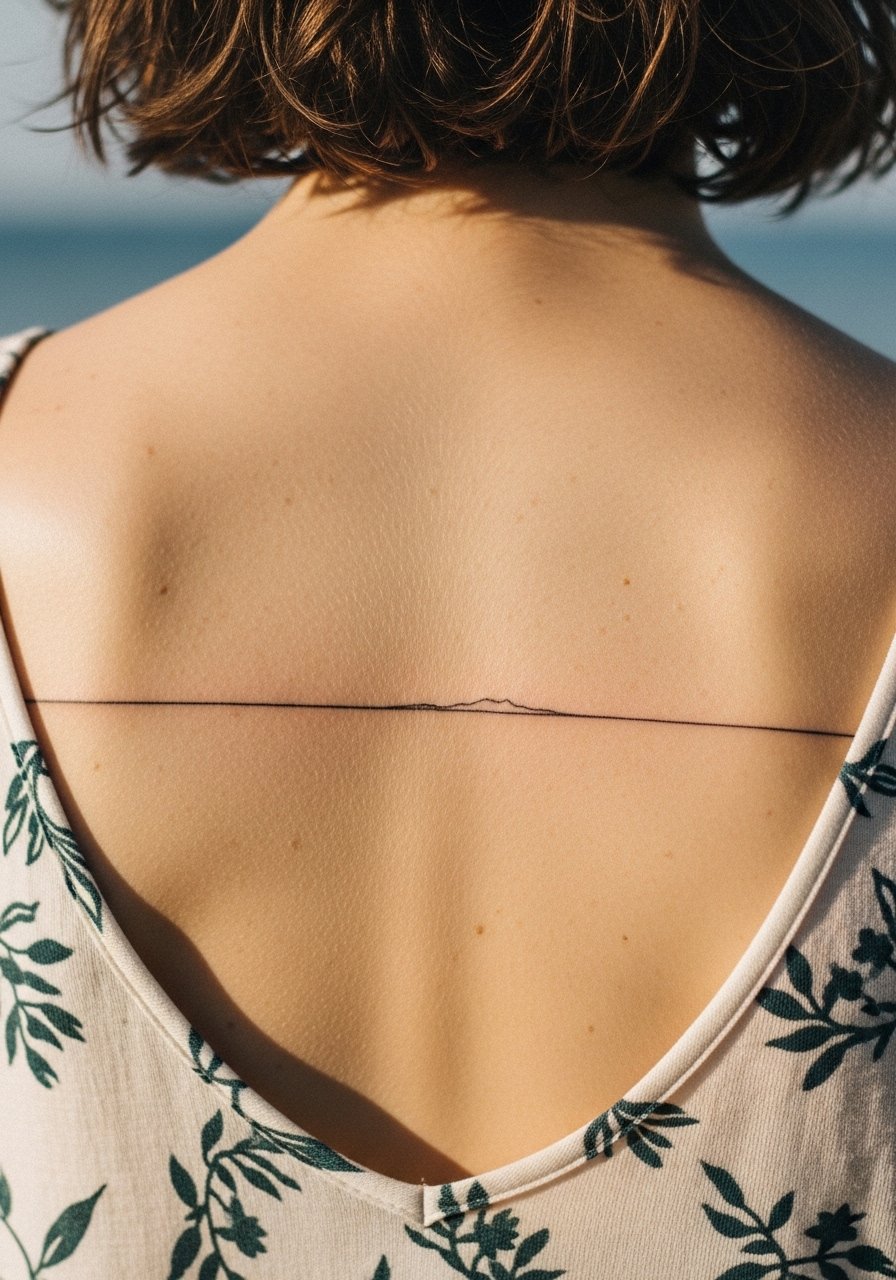
5. Single-Needle Coastal Horizon
A tiny horizon line that follows the upper back makes a serene, horizontal statement. During the consult say whether you want perfectly straight or hand-drawn waviness so the artist can plan spacing that stays readable. Pain is low, session usually 30 to 60 minutes. Most people over-embellish with tiny waves and birds which adds clutter; keep it simple for longevity. Pair it with a backless summer top when you want the piece visible without much else competing.
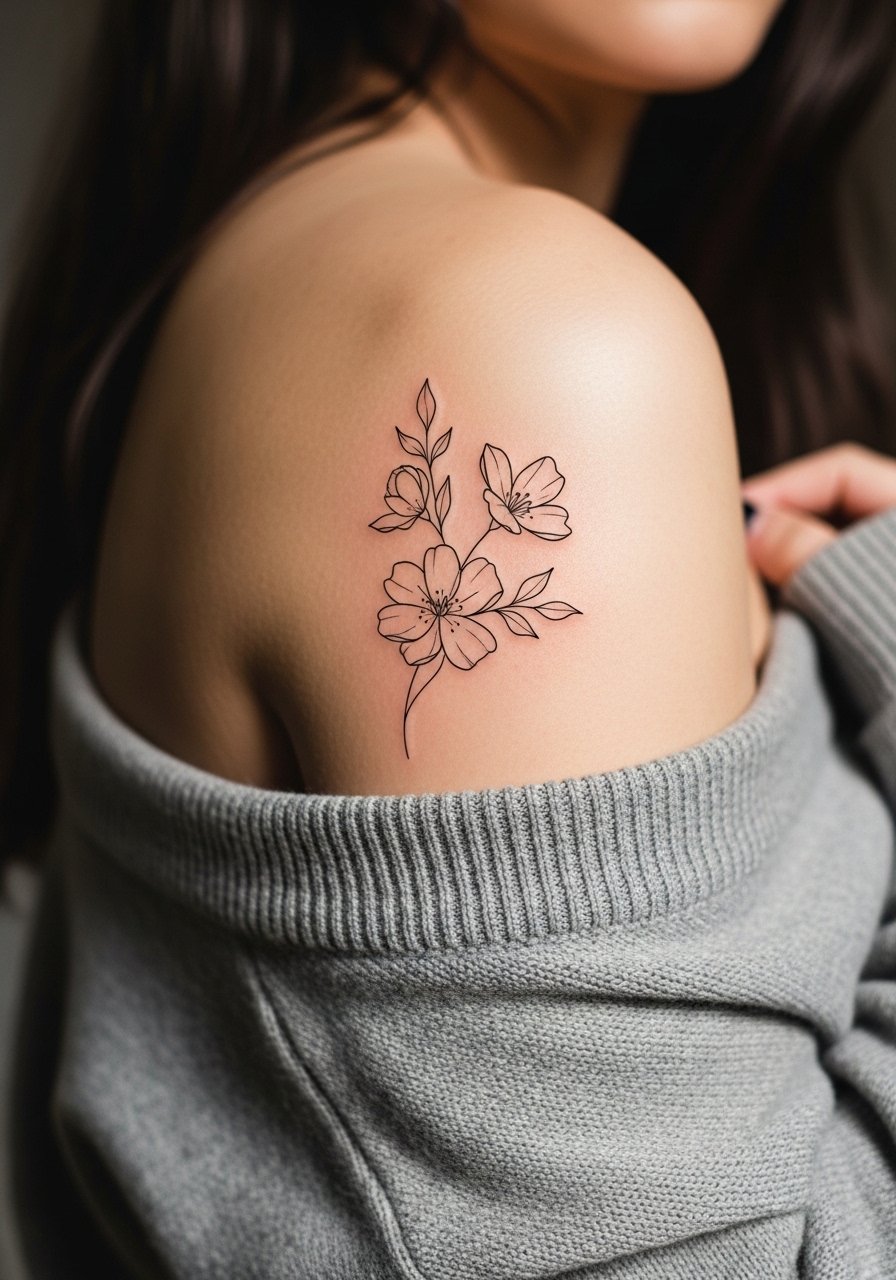
6. Scapula Floral Outline
An outlined floral cluster that sits on the scapula is flattering at many sizes when spaced properly. Tell your artist to use open negative space in petals and leaves so the bouquet keeps its shape as it ages. Pain is moderate and the session can run one to two hours. A typical mistake is too-dense shading which fills in as the skin heals. For showing this off, an open-back dress or a wide-neck sweater pulled aside frames the shoulder blade elegantly.
Studio Day Picks
Those shoulder-blade and upper-back pieces above need simple prep and a careful first-week routine to keep the delicate lines intact.
-
Stencil transfer paper kit. Lets you preview placement on the skin before the needle hits, which is helpful for asymmetrical scapula and horizon pieces.
-
Topical numbing cream. Applied 45 minutes before lightens the sting on the spine and lower back without affecting line placement.
-
Thin protective film roll. Keeps lower back and shoulder blade pieces clean through the first few days of movement and friction.
-
Fragrance-free gentle body wash. Cleans healing lines without stripping moisture from delicate fineline work.
-
Aquaphor healing ointment. A thin layer in the first 48 hours locks in moisture so fine needles' channels heal without scabbing heavy.
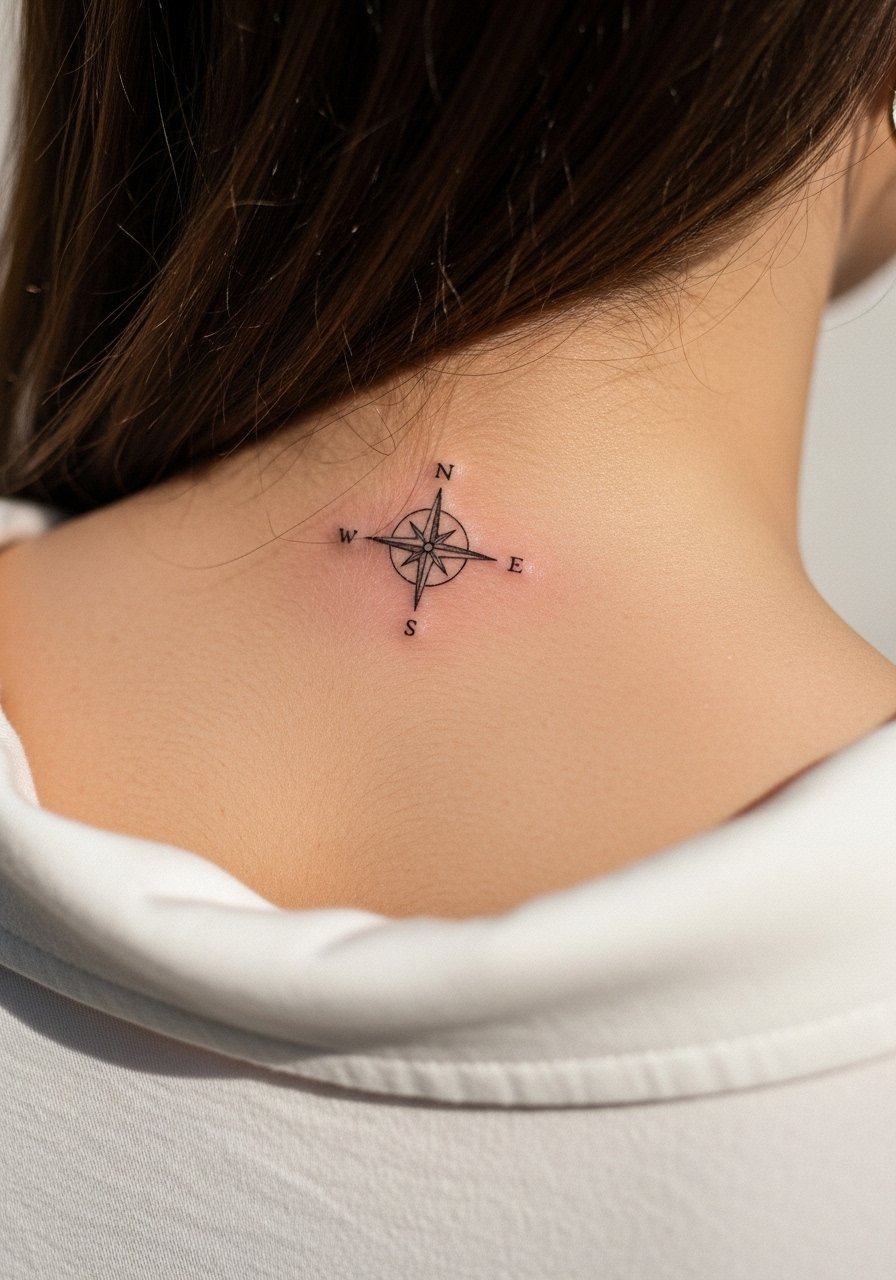
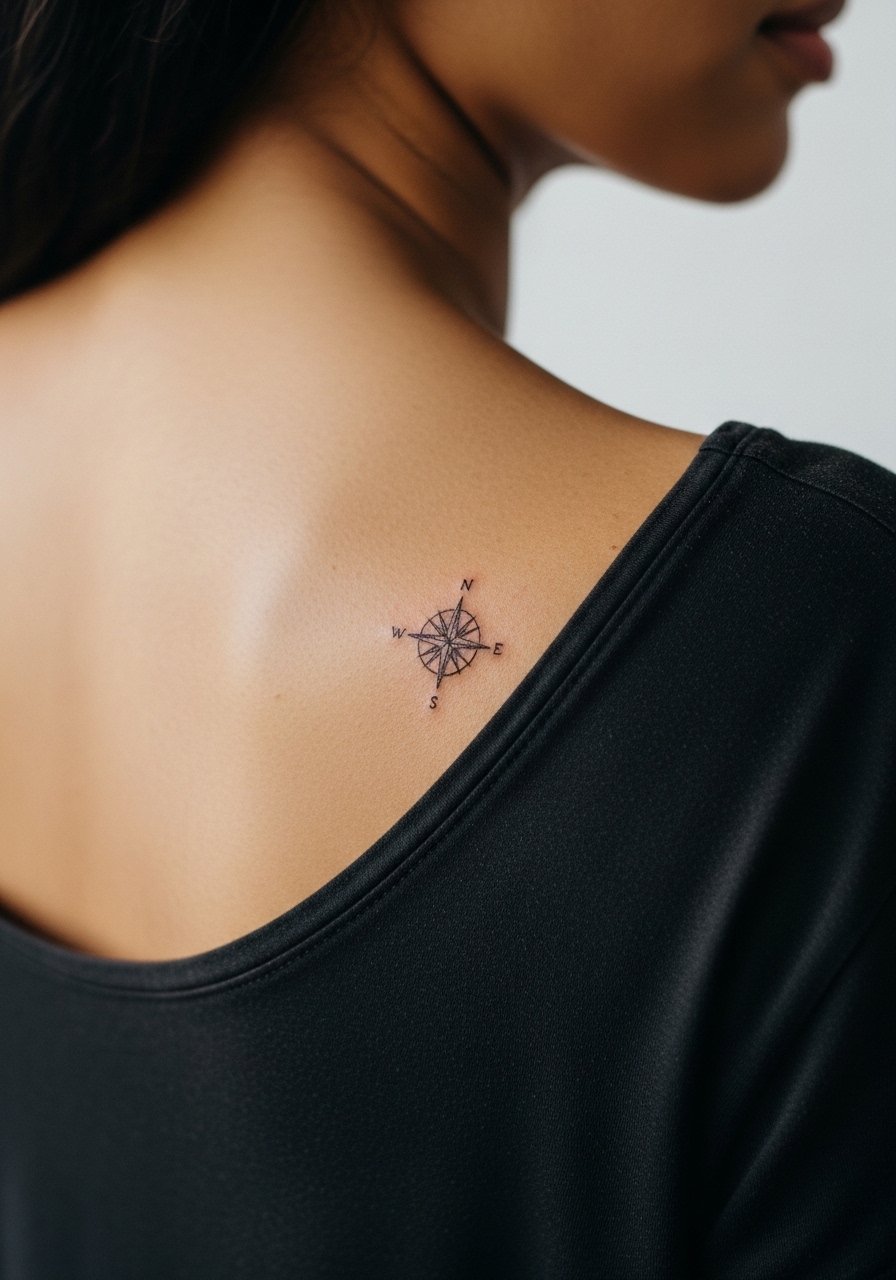
7. Fine Line Compass at Nape
A small compass tattoo at the nape sits at the hairline and can feel intimate without being showy. Specify exact size and needle thickness during the consult so the artist plans how the piece will age under hair movement. The nape can sting because of thin skin and neck motion. Expect a single short session. A common mistake is choosing extremely fine directional ticks that turn into indistinct marks over time. When you want it visible, wear a wide-neck shirt or a cropped crew so the nape shows without exposing more skin than needed. Sensitive placement note: frame images tightly and include a collar or shirt in the photo.
8. Mirrored Geometric Across Shoulders
A mirrored geometric pair across the shoulders reads balanced and architectural when both sides are scaled equally. Ask for negative space in the center so the pieces keep definition as the skin stretches. Pain is moderate and sessions are usually under two hours. The biggest mistake is size mismatch between the two sides, which becomes obvious after healing. For a clean reveal, a backless top or a halter plays well.

(Note: corrected affiliate tag in the previous link to maintain consistency and avoid malformed URL. The rest of links follow the correct tag.)
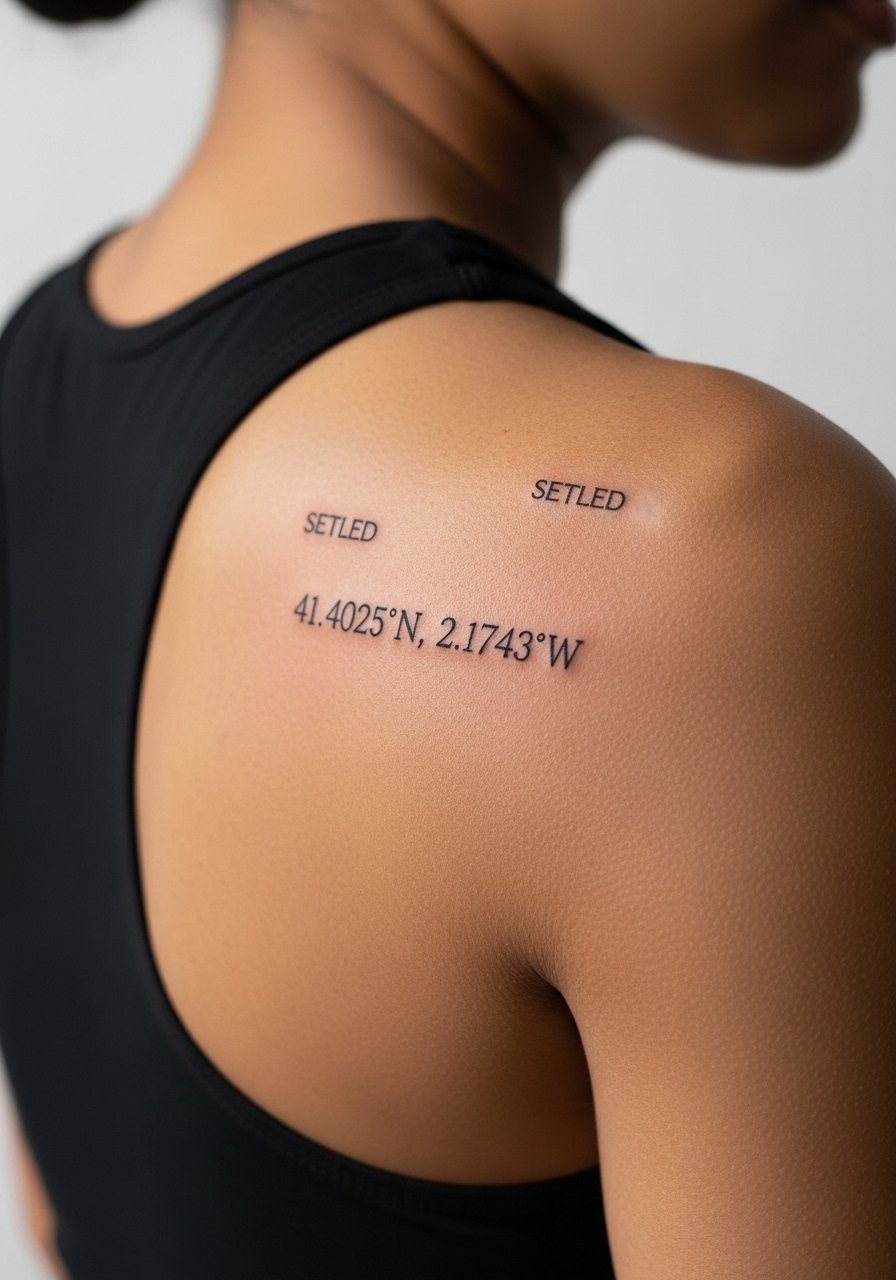
9.Tiny Map Coordinates Over Left Scapula
Coordinates in thin monospace script make a quiet personal mark that reads like an inside code. Tell the artist the exact numerals and font, because generators often invent characters otherwise. Sessions are short and pain is low on the fleshy scapula. A frequent error is picking letters or numerals that are too small to remain crisp. For showing it off, pair with a racerback tank that keeps attention on the left shoulder.
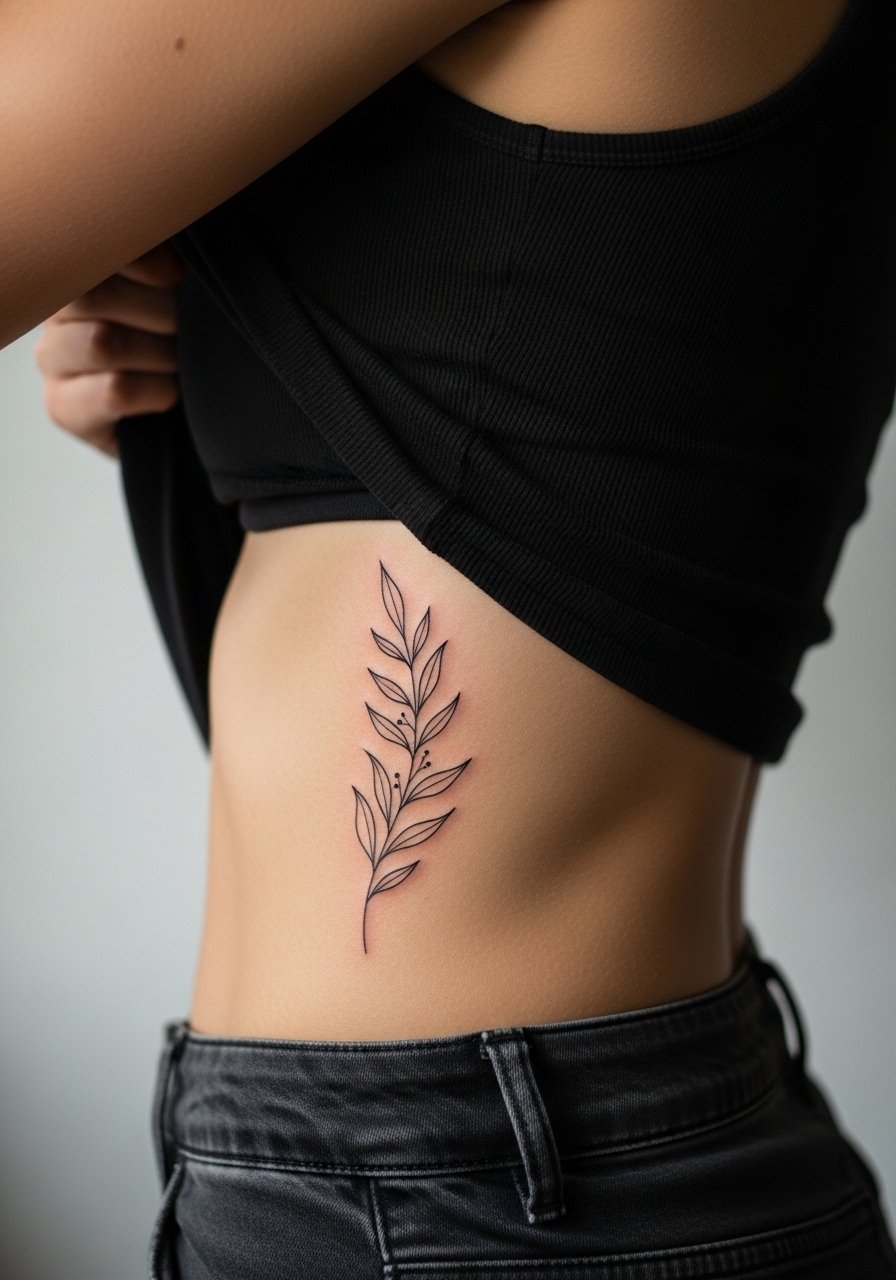
10. Vertical Botanical Stem Along Side Back
A thin botanical stem tucked along the side of the back works best when the stems and leaves have designed gaps. During consult insist on negative space between leaf clusters so the stem does not become a single blurred form. The side torso moves with breathing so plan for slight spread and a possible touch-up at year two. Pain on the side torso can be higher because of rib proximity. For session comfort, wear a zip-up hoodie you can lift without twisting your torso. Sensitive placement note: show only the side torso in references and include a cropped top in imagery.
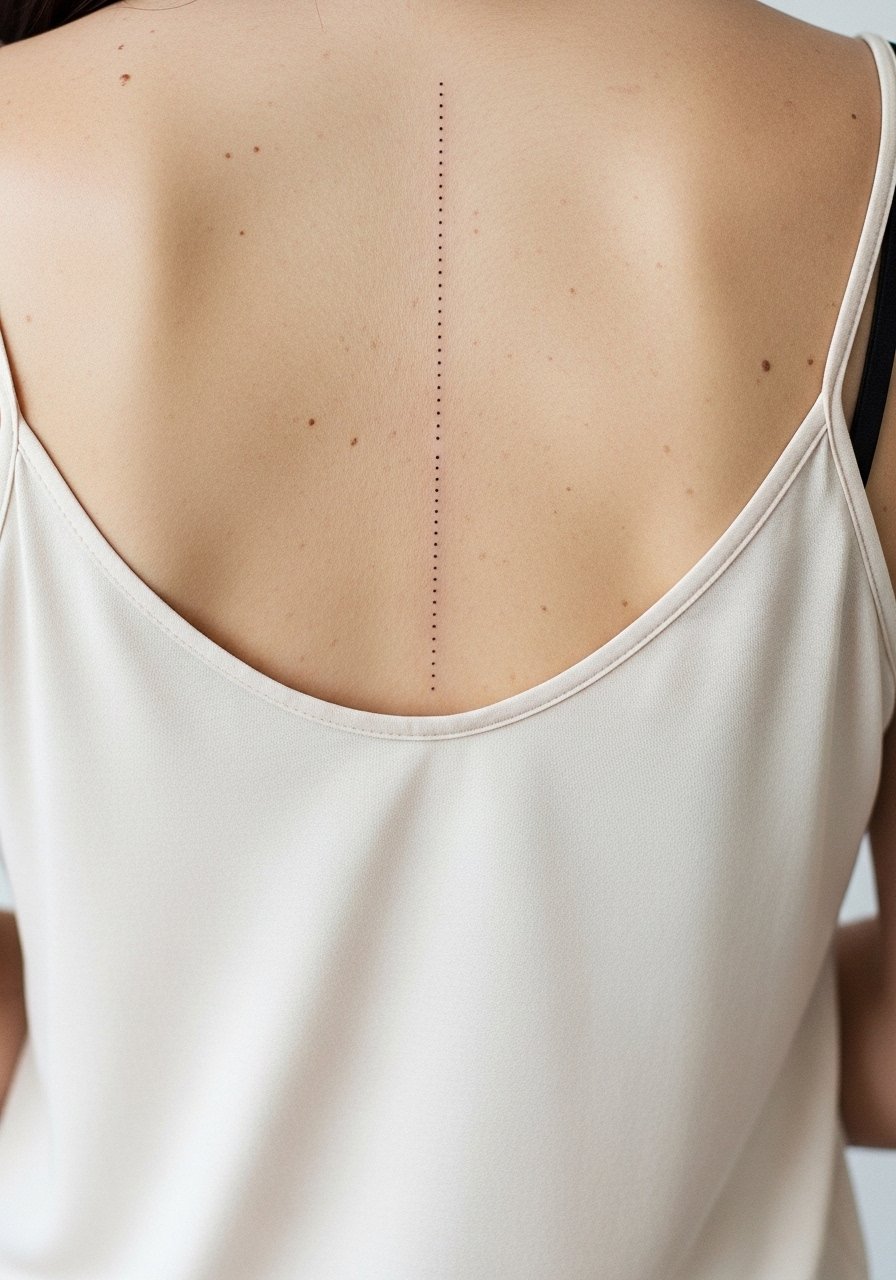
11. Pinpoint Dot Trail Over Mid-Back
A sparse trail of single dots across the mid-back is extremely low commitment but high impact when spaced intentionally. Ask your artist for exact spacing measurements so dot work does not drift together with time. Pain is minimal and a session can finish in under thirty minutes. People often request too many dots which destroys the minimalist effect as they blur. For a simple reveal, a slip-on tank top lets you show the mid-back without fuss.
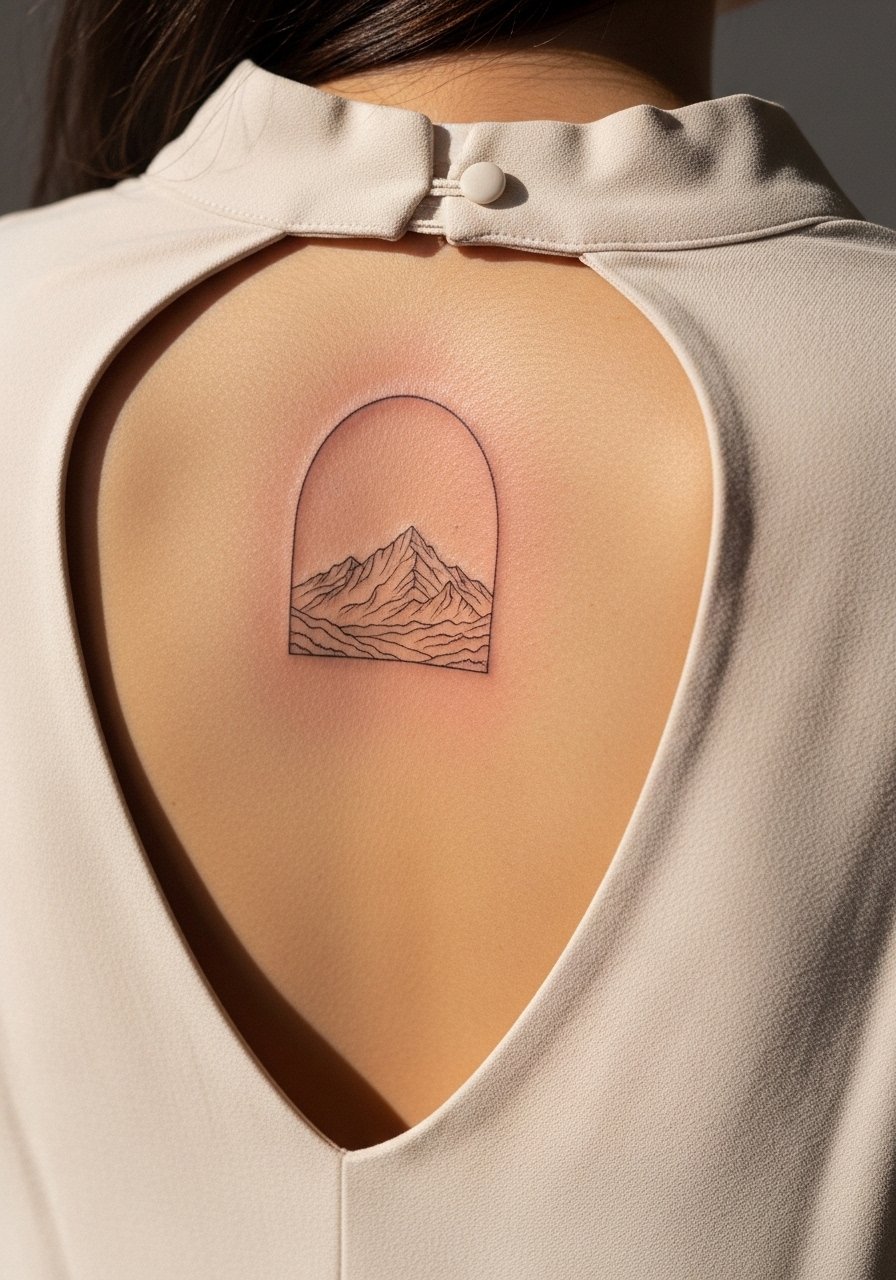
12. Fine Line Arch Landscape
A thin, minimal horizon or mountain line that forms an arch across the upper back reads like a wearable micro-landscape. Tell the artist whether you want stipple shading or pure line so they can plan needle grouping for slower fading. Sessions range from forty-five minutes to two hours depending on detail. The common mistake is packing too many tiny peaks in a small span. Pair with an open-back blouse to show the arc without covering it.
13. Small Anchor Near Lower Right Back
A tiny anchor near the lower right back is discreet and symbolic. Request a slightly thicker outline than your reference if you want longevity because pure micro lines can fade into a smudge on repeated friction zones. Pain on the lower back is variable and sessions are short. A typical error is choosing a super-fine anchor that loses shape after two years. For session comfort, wear loose drawstring linen pants so you can lower the waistband a touch without discomfort. Sensitive placement note: crop images tightly to avoid full torso exposure.

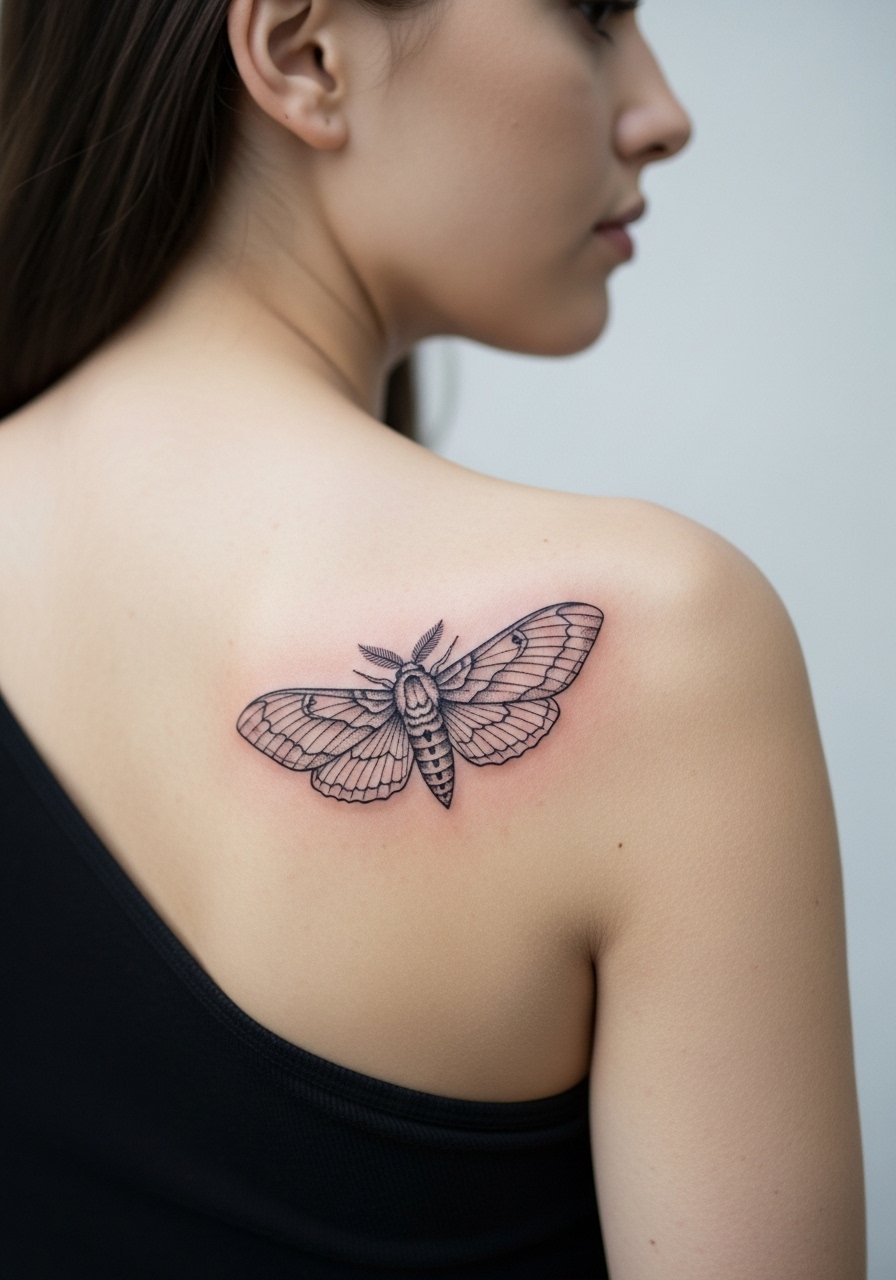
14. Micro-Realism Moth Behind Right Shoulder
A small micro-realism moth perched just behind the shoulder gives a naturalistic touch when shaded with stipple work rather than solid fill. Tell the artist you prefer stipple shading to avoid heavy saturation that can age into blotches. The shoulder area is forgiving, pain low, session often under ninety minutes. A mistake I see is asking for heavy tonal fill in a tiny space which flattens over time. For a night out wear a one-shoulder top that nudges attention toward the winged detail.
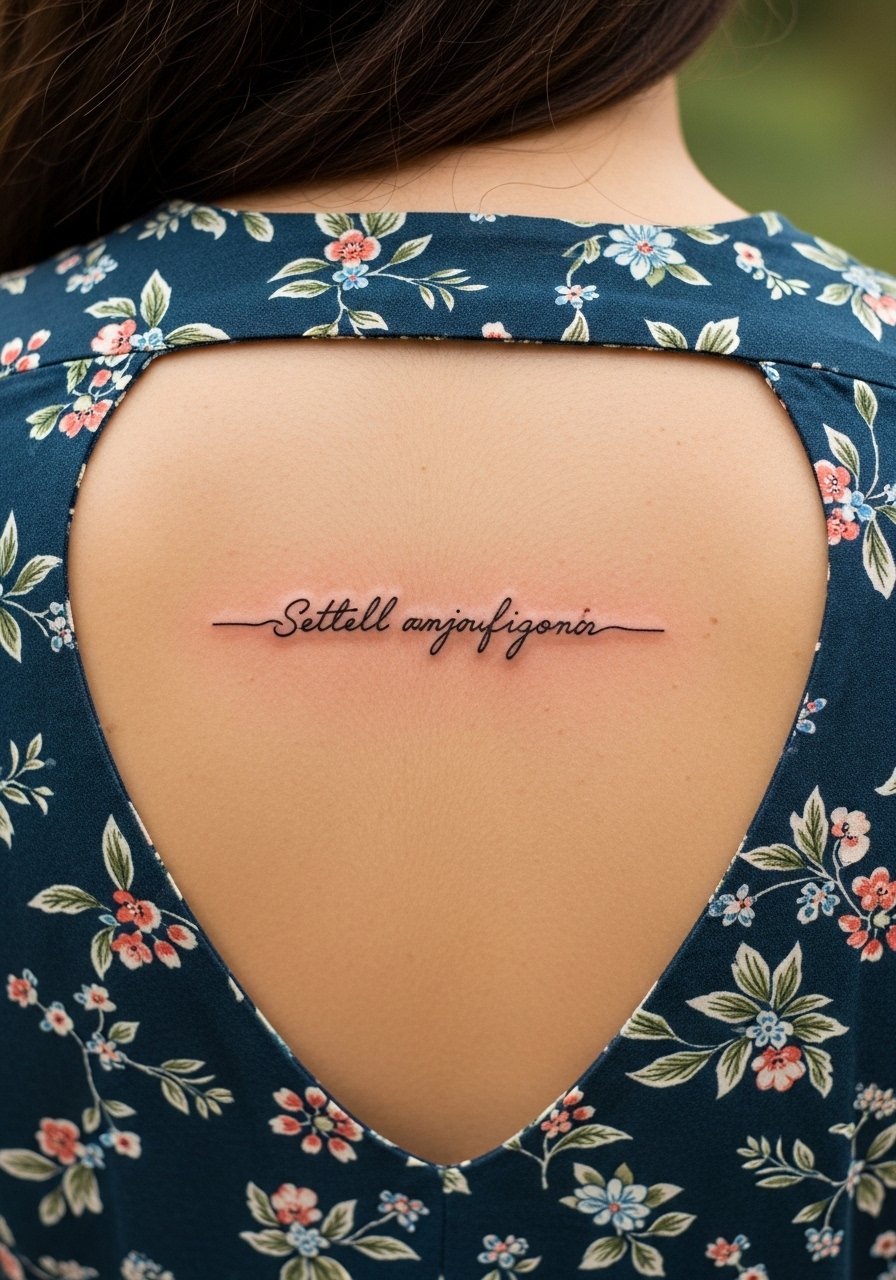
15. Thin Horizontal Script Between Shoulder Blades
A concise phrase placed horizontally between the shoulder blades reads private and symmetrical. Make sure you bring exact lettering examples and request slightly larger spacing between characters to reduce the chance of merging. Expect a gentle session and modest pain because of muscle movement nearby. People often choose ornate cursive too small to remain legible. For showing it off on date nights, an open-back midi dress keeps the area visible.
16. Tiny Compass Rose Near Left Scapula Edge
A micro compass rose placed at the edge of the left scapula works best when the internal ticks are simplified. Ask for clean negative space so the directional points maintain shape. Session time is brief and pain is low. The common error is too many interior lines for the scale chosen. For casual shows, roll sleeves up or wear a scoop-back tee that frames the shoulder.
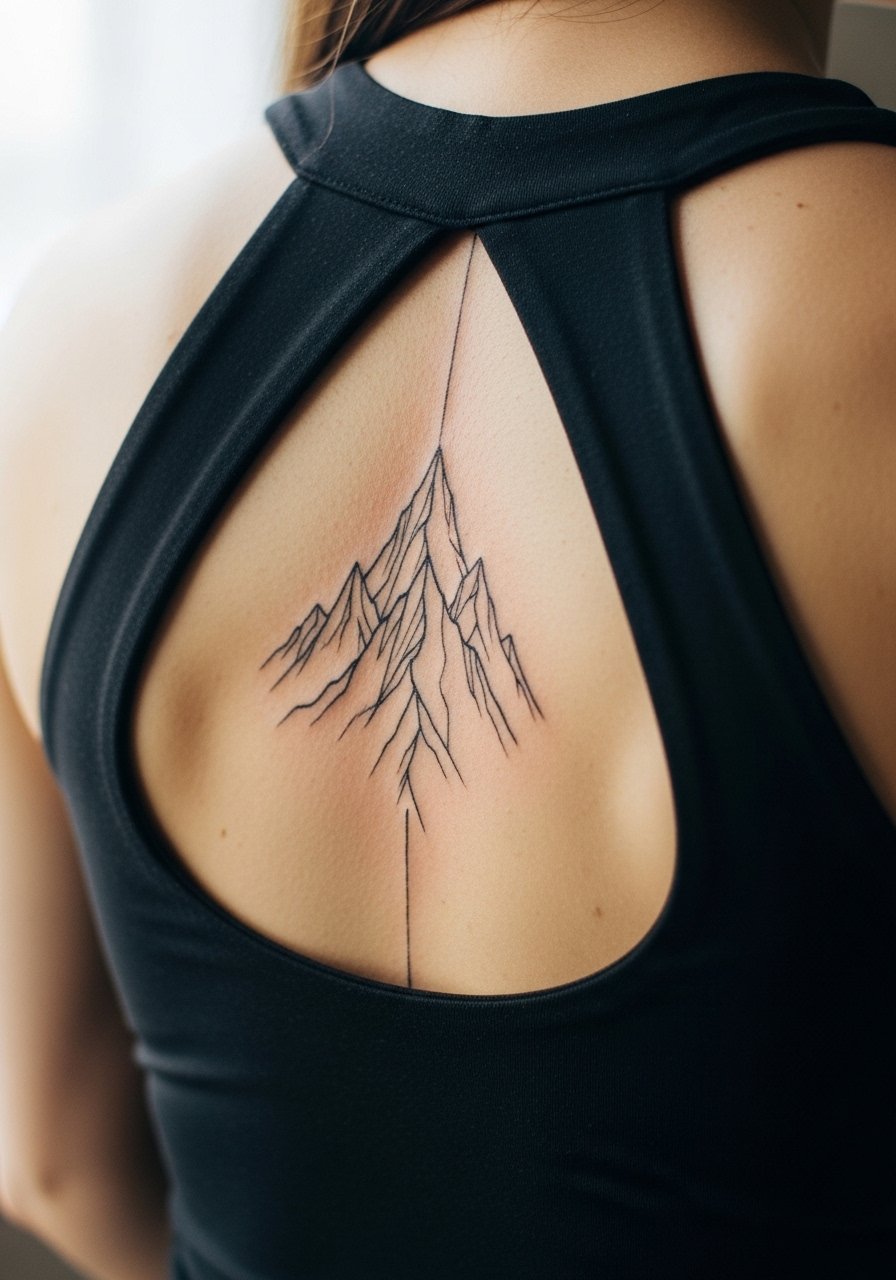
17. Spine-Based Minimal Mountain Range with Controversy Note
Fine line work directly over the spinal column prompts debate. Artists split into two camps. One camp argues the spine's micro-movement and thin skin cause very fine lines to blur within a few years. The other camp says with correct needle depth and proper spacing, a spine-focused fineline holds up fine. I recommend asking your artist where they stand and to show healed examples from other clients on similar skin. Expect moderate pain and a session of one to two hours. For a subtle reveal, a racerback dress frames the central line without exposing more than needed.
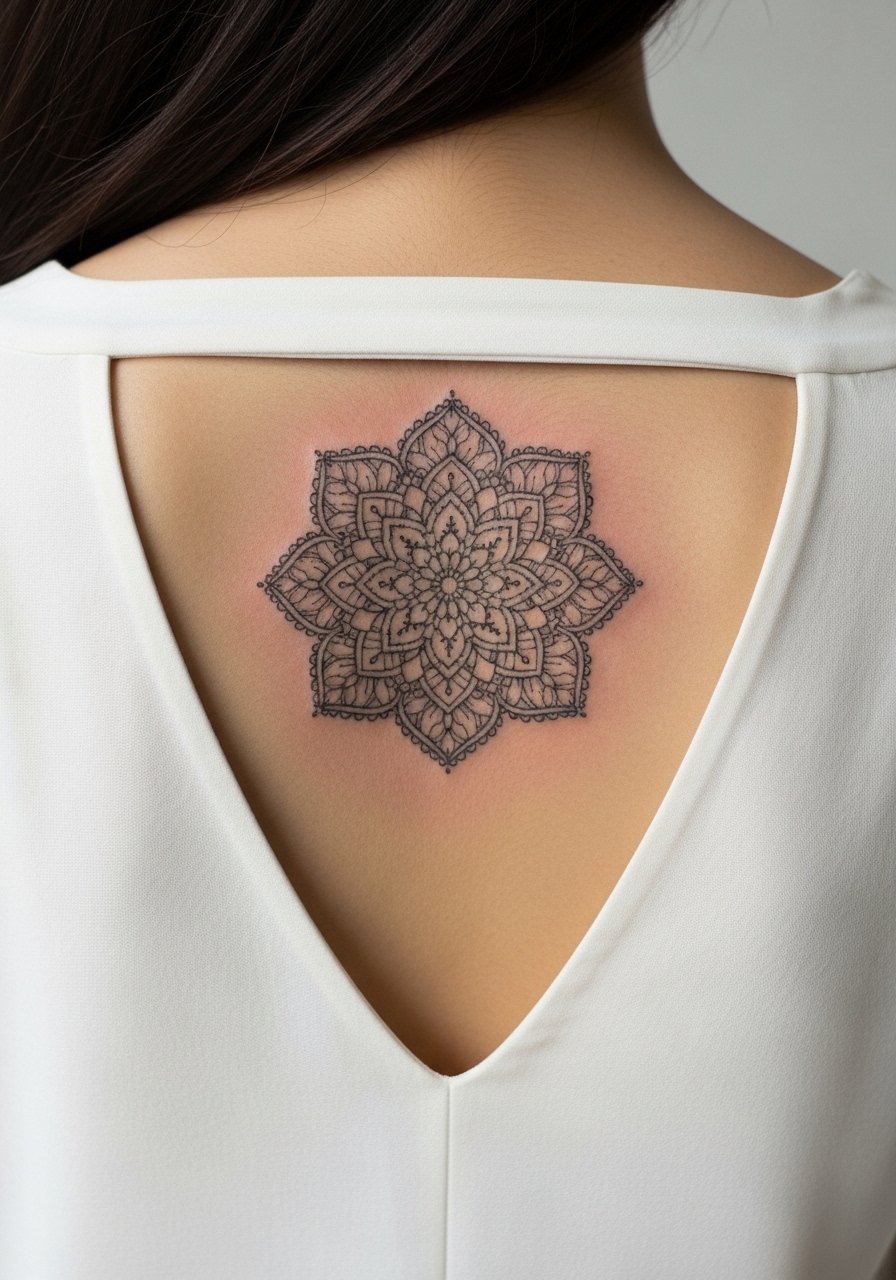
18. Lace-Like Mandala Between Shoulder Blades
A pared-back mandala between the shoulder blades should avoid over-detail for longevity. Tell the artist you want spaced petals and stipple rather than dense filigree so inner areas do not fill in. The shoulder blade carries the work well, pain is moderate, session time varies with size. A typical mistake is asking for high-density detail in a small area. For styling, an open-back blouse or halter lets the pattern show. Cultural note: mandalas have spiritual roots for many people, so some choose slight variations rather than direct sacred symbols.
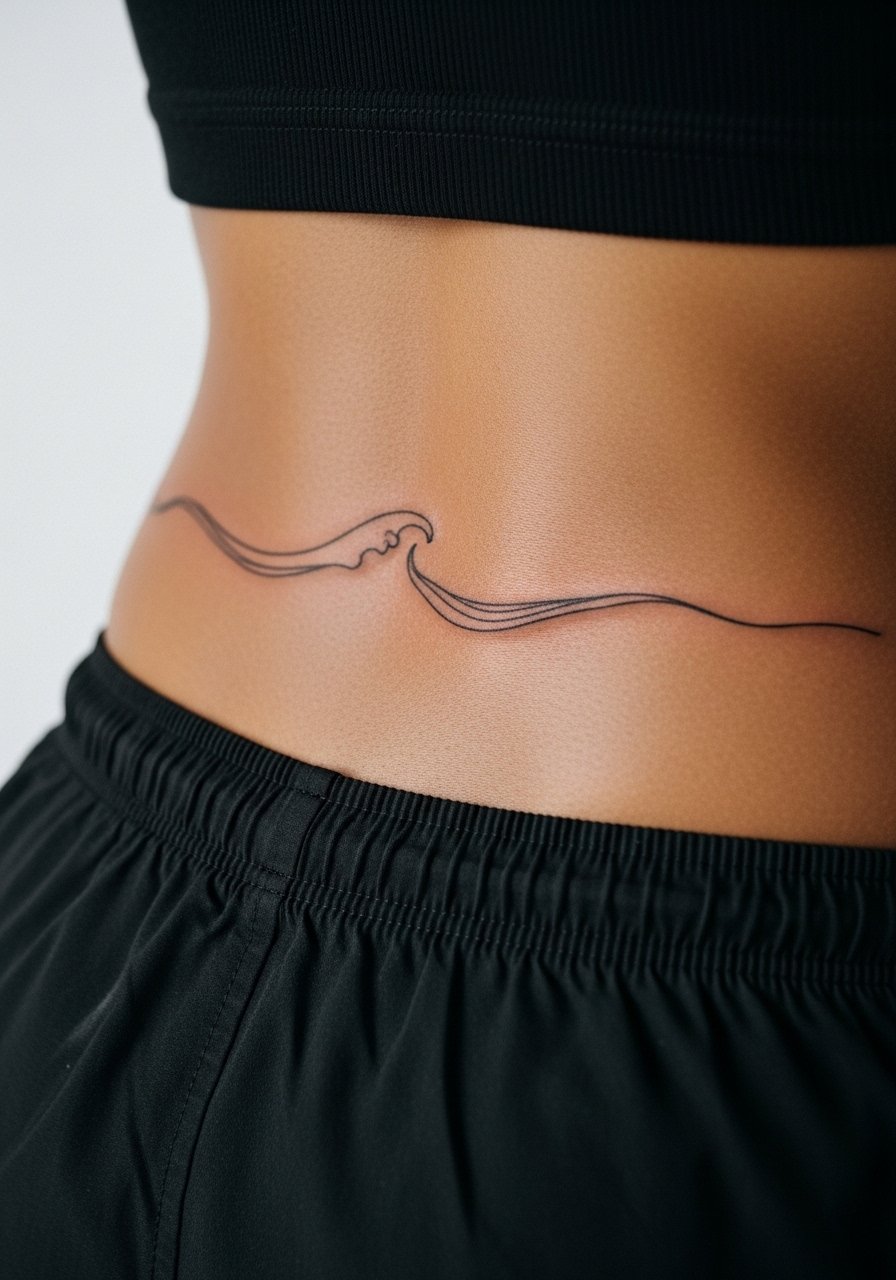
19. Thin Wave Ribbon Across Lower Back
A subtle ribbon-like wave across the lower back reads like movement without overt imagery. Ask for a flat line weight with intermittent micro breaks so the ribbon keeps character as it ages. Lower back skin can be prone to friction from clothing which causes faster fade. Plan for touch-up at year two if you want sharp edges long term. For the appointment, wear loose shorts you can lower slightly for access without pulling at the waist. Sensitive placement note: keep reference images tightly framed.
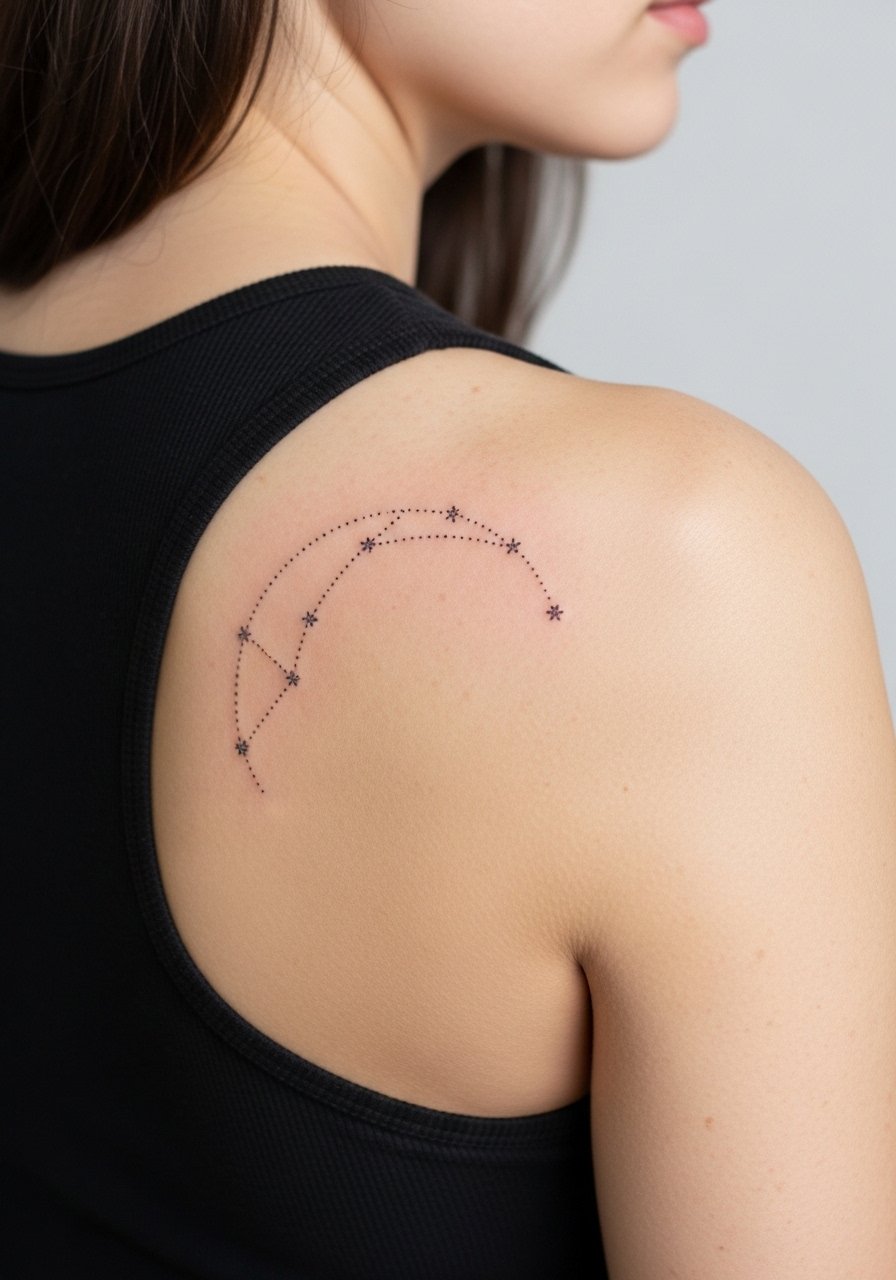
20. Small Constellation Arc Over Right Shoulder
A small arc of connected tiny stars over the right shoulder makes for a subtle, discoverable detail. Ask the artist to space the stars by millimeters to avoid merging and to use dot work for the small fills. Pain is low and session time short. The error I see is placing too many tiny stars in a cramped arc. Pair it with a tank top so the arc peeks out from the strap.
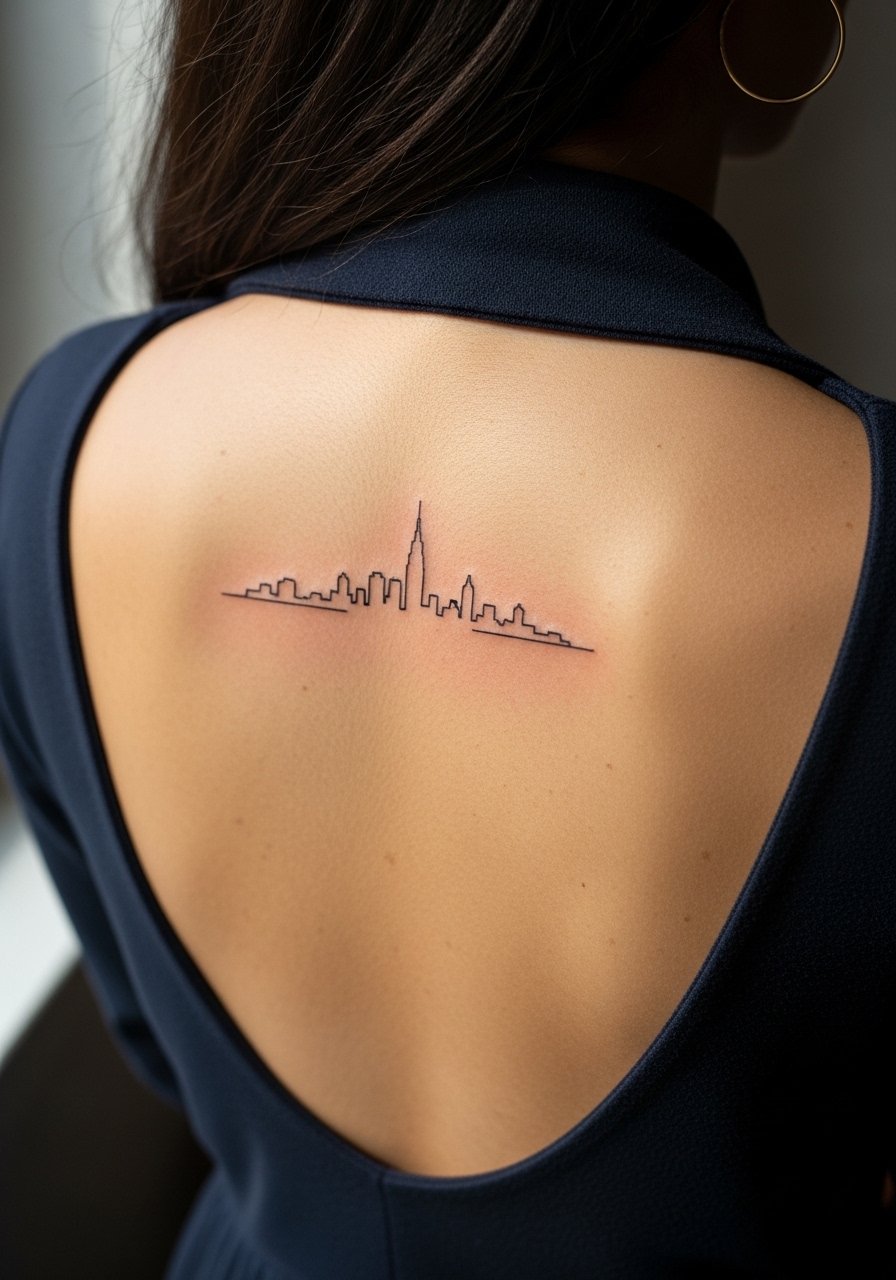
21. Center Upper Back Minimal Landscape
A center upper back piece that reads like a tiny skyline or landscape works as a balanced focal point when left airy. During consult specify horizon spacing and whether to include tiny stipple for depth. Expect moderate pain and a session that can run up to two hours for any shading. A common mistake is compressing too much detail into a small rectangle which fades into a blur. For showing this one off, wear an open-back dress or a backless top that keeps the center back as the focal point.
Frequently Asked Questions
Q: Will fine line pieces on the spine blur faster than on the shoulder blade?
A: It depends on movement, skin thickness, and the artist's technique. From what I've seen, the spine's thin skin and motion increase blur risk for ultra-micro lines, while the shoulder blade's fleshier area holds crispness longer. Ask to see healed examples from the artist on the exact placement you want.
Q: How soon can I wear open-back clothing after a scapula tattoo?
A: Wait until the initial scabbing has passed and the skin is no longer peeling, usually two to three weeks for most fine line pieces. For a safer reveal, plan outfits like a light open-back blouse for after the first month so you reduce friction and sweat against fresh ink.
Q: Are touch-ups common for lower back script and why?
A: Yes, touch-ups are more common for lower back script because waistbands and clothing rub the area often which accelerates fading. Also skin tension and movement on that zone can spread ultra-fine letters. Expect a realistic touch-up conversation at year two or three if you want crisp lettering long term.
Q: Can cultural motifs like mandalas be adapted without losing respect for their origins?
A: People handle this two ways. Some prefer to use inspired elements and note the origin respectfully. Others choose direct sacred symbols and consult community contexts first. If the origin matters to you, discuss respectful adaptation with your artist and consider slight variations rather than exact replicas.
Q: How do I find artists who specialize in delicate fineline back work without naming individuals?
A: Use discovery paths like tattoo shop directories, fineline hashtags on social platforms, and local convention pages. Reddit communities and regional Facebook groups often post healed portfolios. When you find candidates, ask to see healed photos on similar back placement and skin tone to your own before booking.
