
The old-school charm of a tiny, black script tucked behind the lower lip is a small rebellion and a private nod to a bygone aesthetic. Vintage inner lip tattoos lean on classic motifs shrunk to a whisper, and they live somewhere between impulse and intention. Expect fading, a rough heal, and charm that is short-lived. Start with a clear plan and a simple stencil, and the ideas below show what reads best in the short run and what wears with time.
1. Tiny Anchor in Old Script
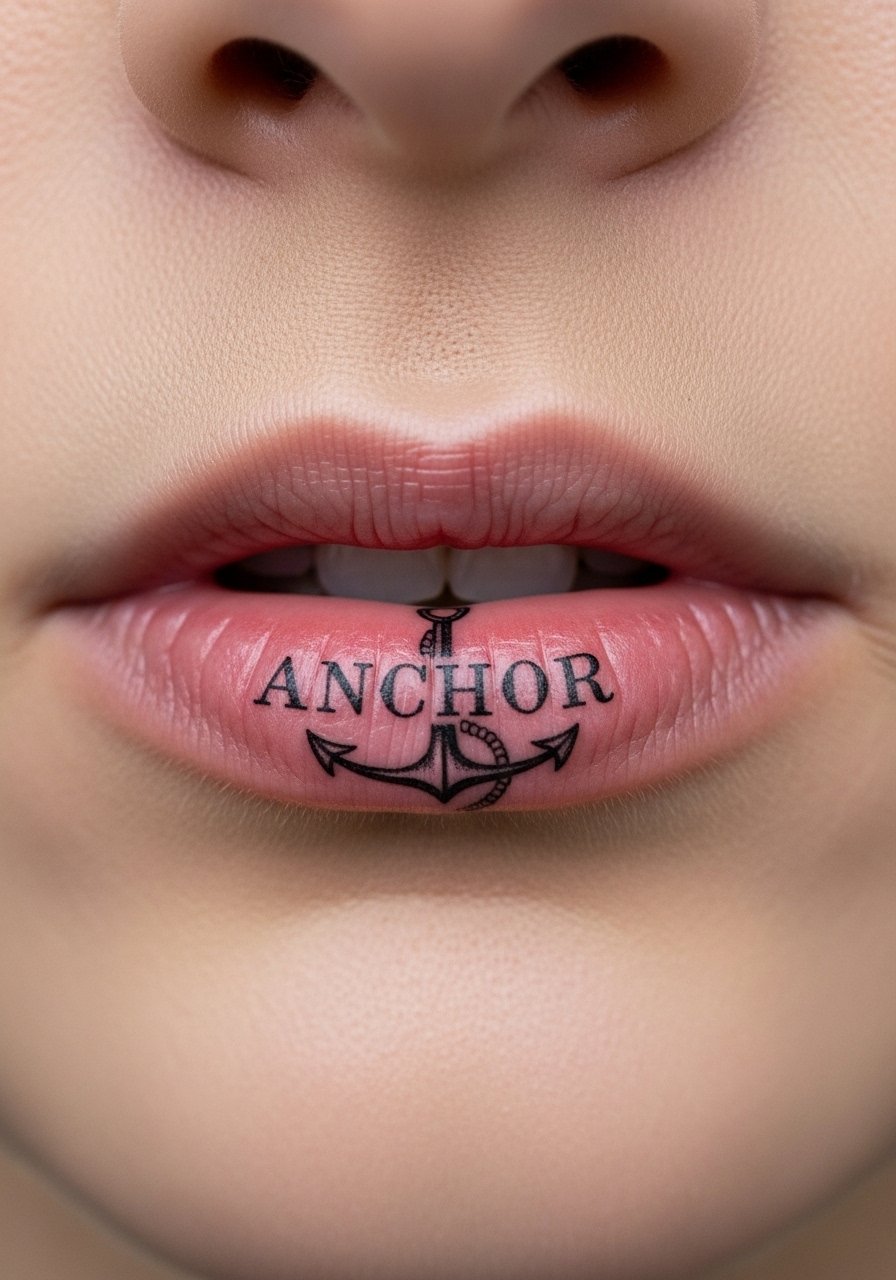
An anchor is a classic sailor motif that shrinks well for the inner lip. Say you want a vintage feel, ask your artist for condensed script and a tiny solid base so the silhouette stays readable as the ink softens. Expect heavy fading by year three to five and occasional patchy loss at six months. Pain is sharp but brief because the needle works on soft tissue. A common mistake is asking for too much detail. Keep linework bold and letters spaced so the characters do not blur into one another as the tattoo settles.
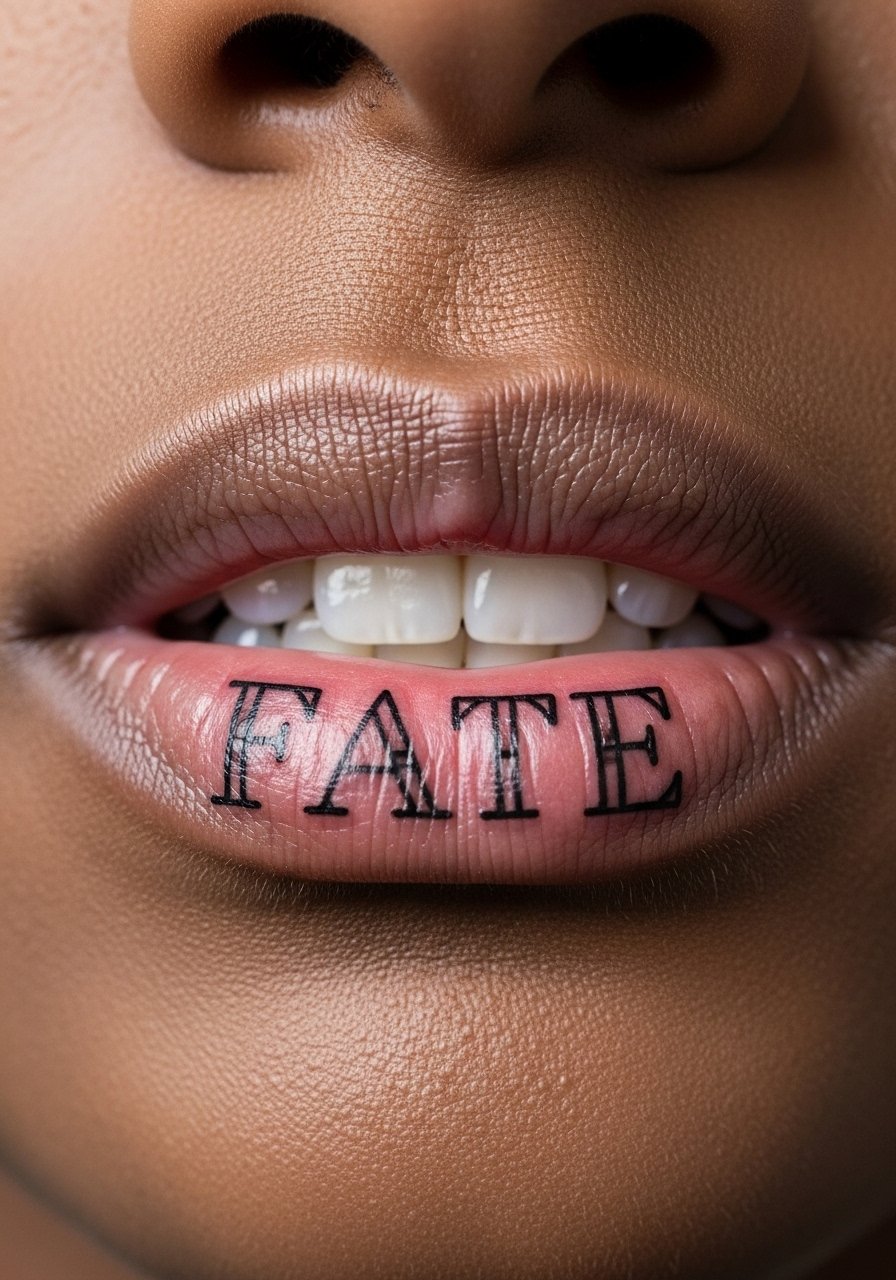
2. Micro Banner With a Single Word

A tiny banner with one word plays vintage without overworking the small canvas. Tell your artist you want the banner shape simplified and the lettering in condensed caps so the form reads when partially faded. The session is quick and the sting strong, then gone. At six months the edges usually soften, and by two to five years the banner may look like a faint curve with ghosted letters. For session comfort, wear a loose button-down that you can unbutton if needed, and bring a soft hair tie so hair stays out of the way during the appointment. Loose button-down shirt
3. Small Traditional Rose Silhouette

A reduced rose uses bold silhouette rather than petal detail, which helps it survive the inner lip environment. Ask for solid black fills and minimal petal overlap so saturation holds longer. The main mistake is asking for shading that the lip tissue cannot keep. Expect the black to break into a softer gray patch within a year or two, and plan on touch-up if you want a longer life. The session feels sharp and quick. Because the lip moves constantly, avoid tiny overlapping dots that will merge into a blob over time.
4. Mini Nautical Star
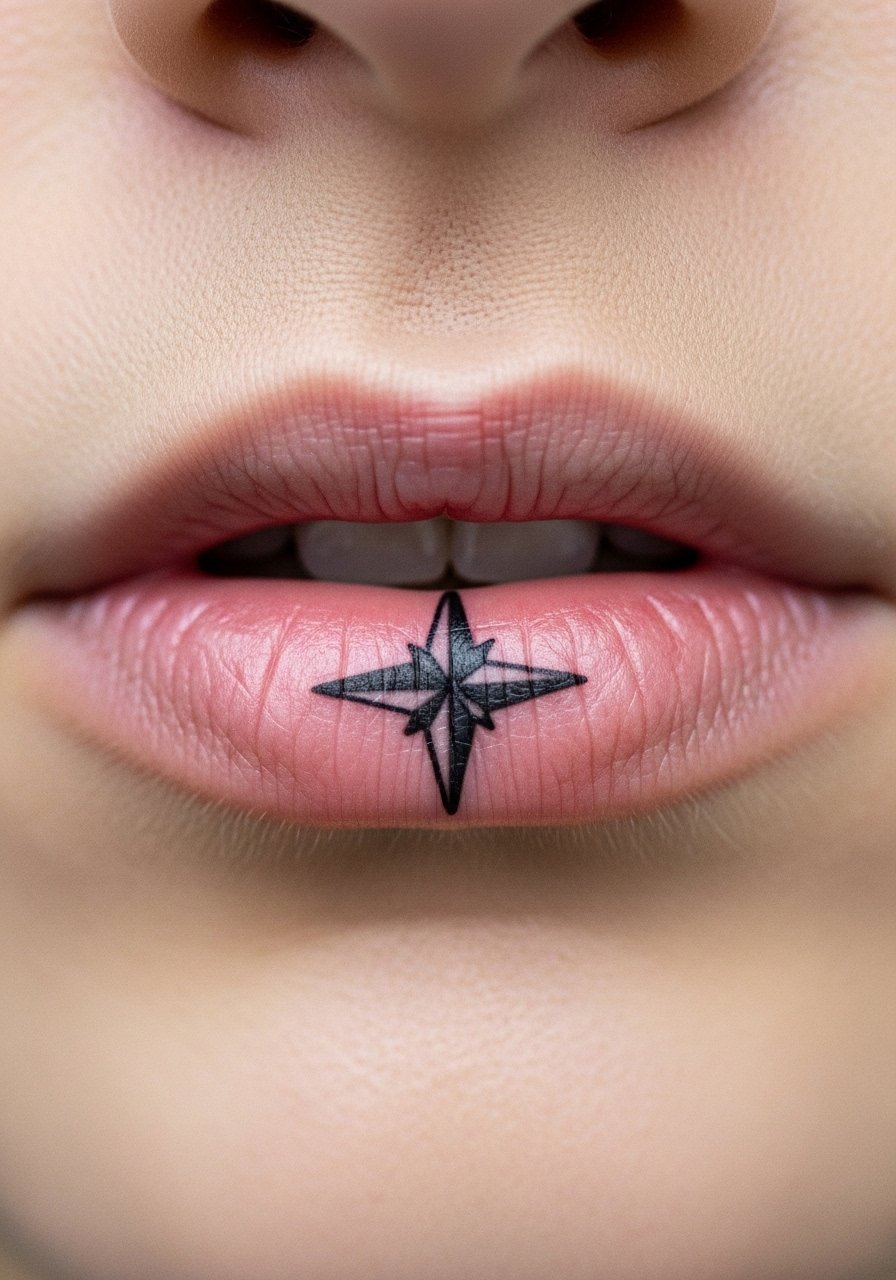
A nautical star is a vintage flash staple that simplifies well for the lip. Tell the artist to keep the star bold with wide spacing between points so the negative space survives. Two camps exist on inner lip work. One group argues these pieces are pointless because they fade and migrate fast. The other group says they are perfect for ephemeral flavor and private symbolism. Both sides have merit. If you want longevity, accept heavier line weight and anticipate a touch-up in a year. For session prep, skip heavy lipstick and opt for a longwear matte option if you plan a reveal later. Longwear matte lipstick
5. Tiny Dagger Outline

A dagger trimmed to its simplest outline makes a strong micro-motif. Request a single strong spine line and minimal cross-guard detail so the form stays recognizable as the ink blurs. The pain is quick and concentrated. Many people expect line-level detail to survive, and that is the usual error. At six months the dagger looks softer and by two to five years it often needs a touch-up to keep the tip legible. If you plan to show it off later, wear a bold lipstick shade that creates contrast when you smile.
6. Micro Swallow Silhouette
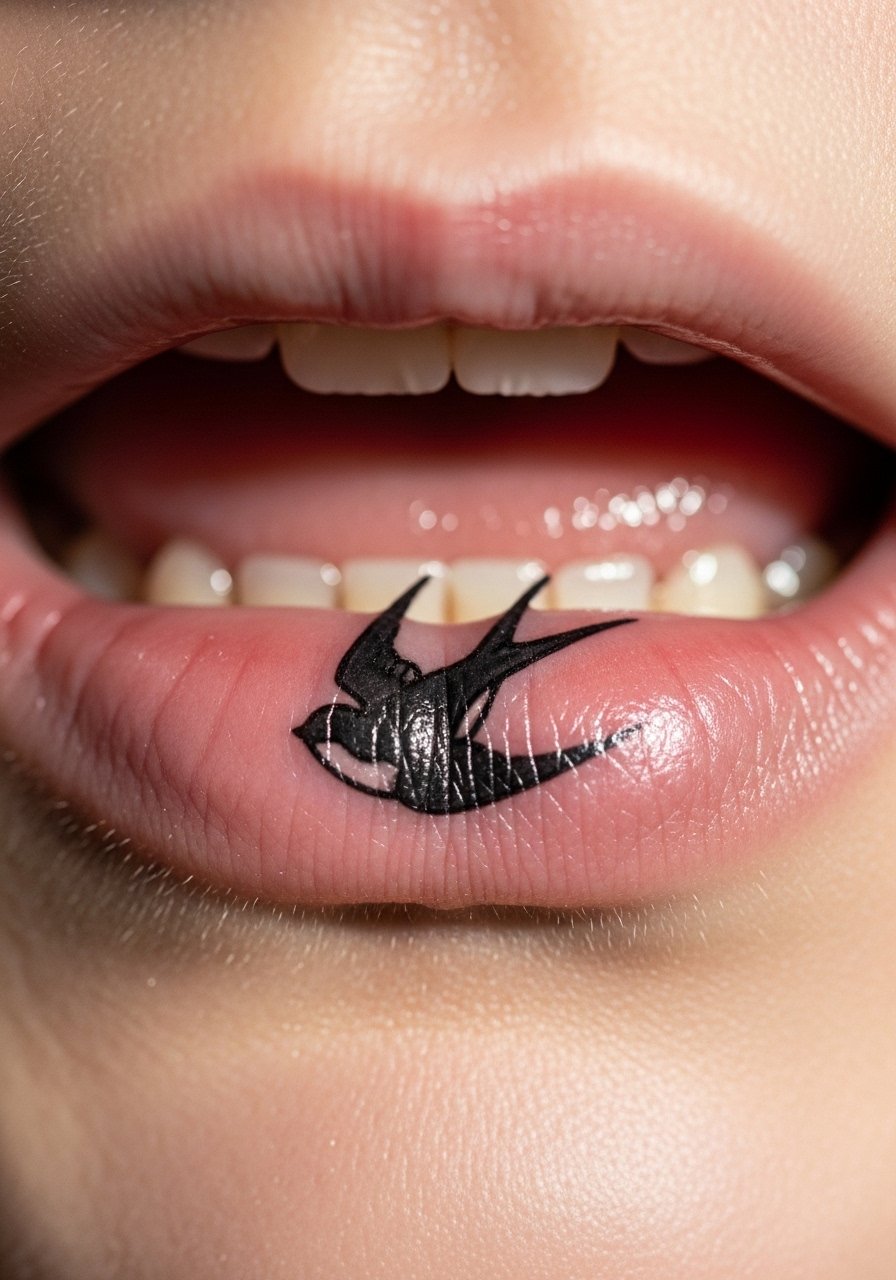
Swallows are an old-school choice that translate into compact silhouettes nicely. Ask for a single compact wing shape and a dark fill rather than feathers. Swallows on the inner lip tend to look crisp at first and then simplify into a dark smudge. A common mistake is trying to include wing feathering. The session is brief, and bleeding is minimal compared with surface work. For the appointment wear a loose tank top so nothing binds your neck or jaw area, keeping you comfortable during the quick procedure. Loose tank top
Pre-Session Essentials
These items smooth out small, quick mouth placements and the first week of healing for the designs above.
-
Disposable stencil transfer sheets. Lets you preview where text and tiny symbols land inside the lip, which is critical for legibility.
-
Numbing topical cream. Applied as directed before the session reduces sharpness without changing the artist's ability to work.
-
Thin protective film roll. Useful for covering small exterior marks that can occur after the procedure and for protecting the area while the mouth settles.
-
Fragrance-free gentle cleanser. A non-irritating wash keeps the mouth area clean without disturbing nearby skin when you rinse.
-
Aquaphor healing ointment. A mainstream, gentle ointment for external skin irritation around the lip after contact with topical products.
7. Tiny Roman Numerals

Roman numerals read vintage and compress well for dates. Specify the exact sequence you want during consultation so the letters are spaced intentionally. Small numerals will blur faster than letters with wider forms, and by two years they may look like a thin dashed line. People sometimes try to cram long dates into the lip and then regret the legibility loss. The session time is short and the sting is intense. If the date matters, capture a photo early because the crisp second-day contrast may fade.
8. Tiny Playing Card Suit Set

Playing card suits are iconic and translate to tiny, bold black shapes. Ask the artist to space each symbol with a small gap so they do not merge as the pigment shifts. These work well for someone who wants a set rather than a word. Expect the symbols to soften unevenly at six months and to become faint by year three without touch-up. For the session, keep hair tied back and choose a soft microfiber hair tie to avoid distraction while your jaw is held open. Soft microfiber hair tie
9. Mini Heart With Arrow

A heart and arrow compact into a strong vintage symbol if you avoid fine arrow fletching. Ask for a bold heart outline and a simple barbed arrow so the icon remains clear as the ink migrates. The biggest mistake is asking for thin cross-hatching inside the heart. Expect the heart to become a softened gray shape in time. The session is short and the sensation sharp. If you plan a reveal, a thin chain pendant can frame the smile without drawing attention away from the tiny symbol.
10. Micro Key or Skeleton Key

A tiny key reads vintage and symbolic when reduced to a basic head and shaft. Tell the artist you want minimal teeth and a solid head so the motif survives. Keys with intricate teeth are the usual error. Expect the shaft to blur slightly by year two. Because the lip moves constantly, choose bold elements over filigree. For a reveal, pair the look with a thin chain pendant worn slightly higher so the necklace frames your smile. Thin chain pendant necklace
11. Tiny Skull Outline
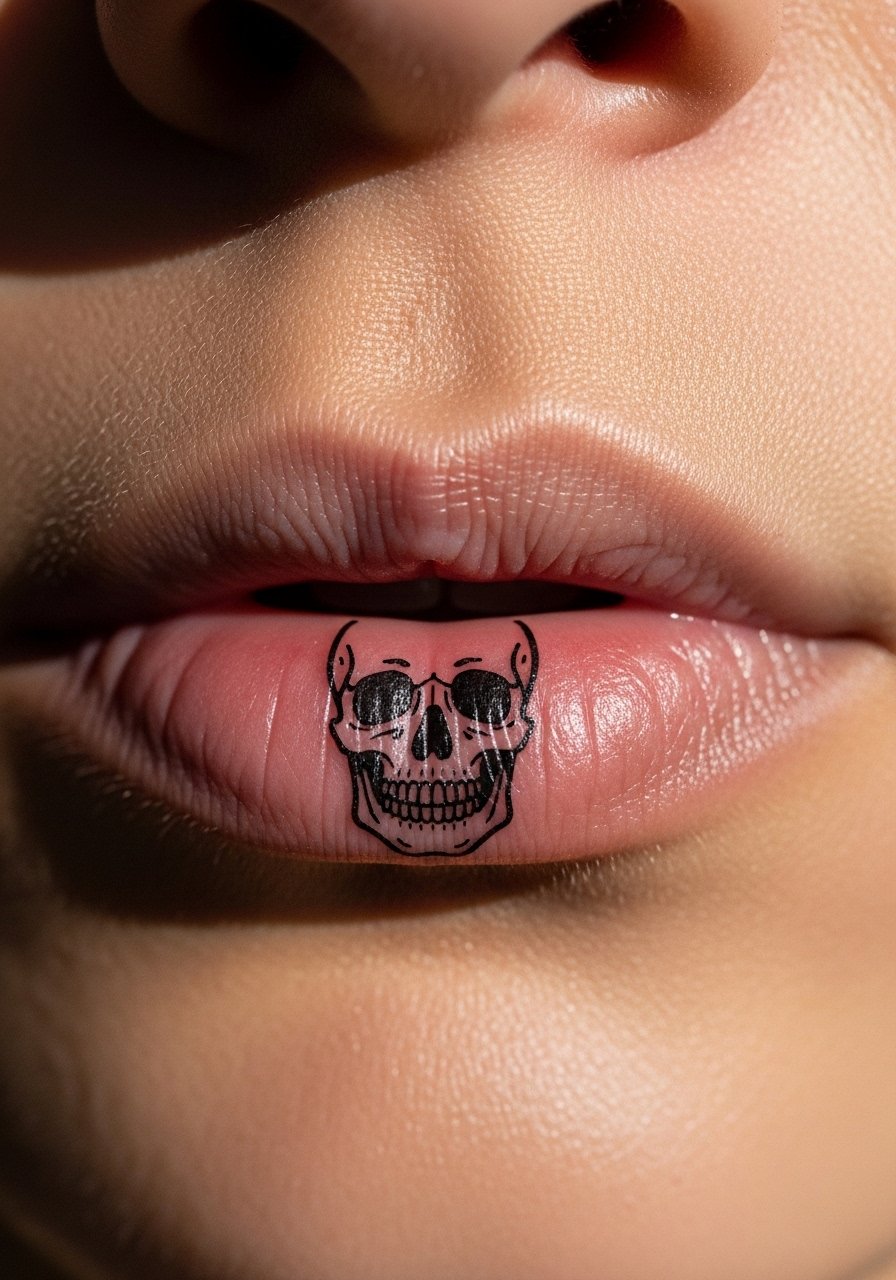
A skull reduced to essential negative spaces can work if the eye sockets are large and the jaw is suggested rather than detailed. Many request tiny teeth and shading which the lip cannot retain. Plan for the piece to soften into a ghosted shape within a year. This motif is best for someone who likes the idea of a private token rather than a long-term visible mark. The pain is quick and sharp and the session tends to be under ten minutes.
12. Micro Script Name
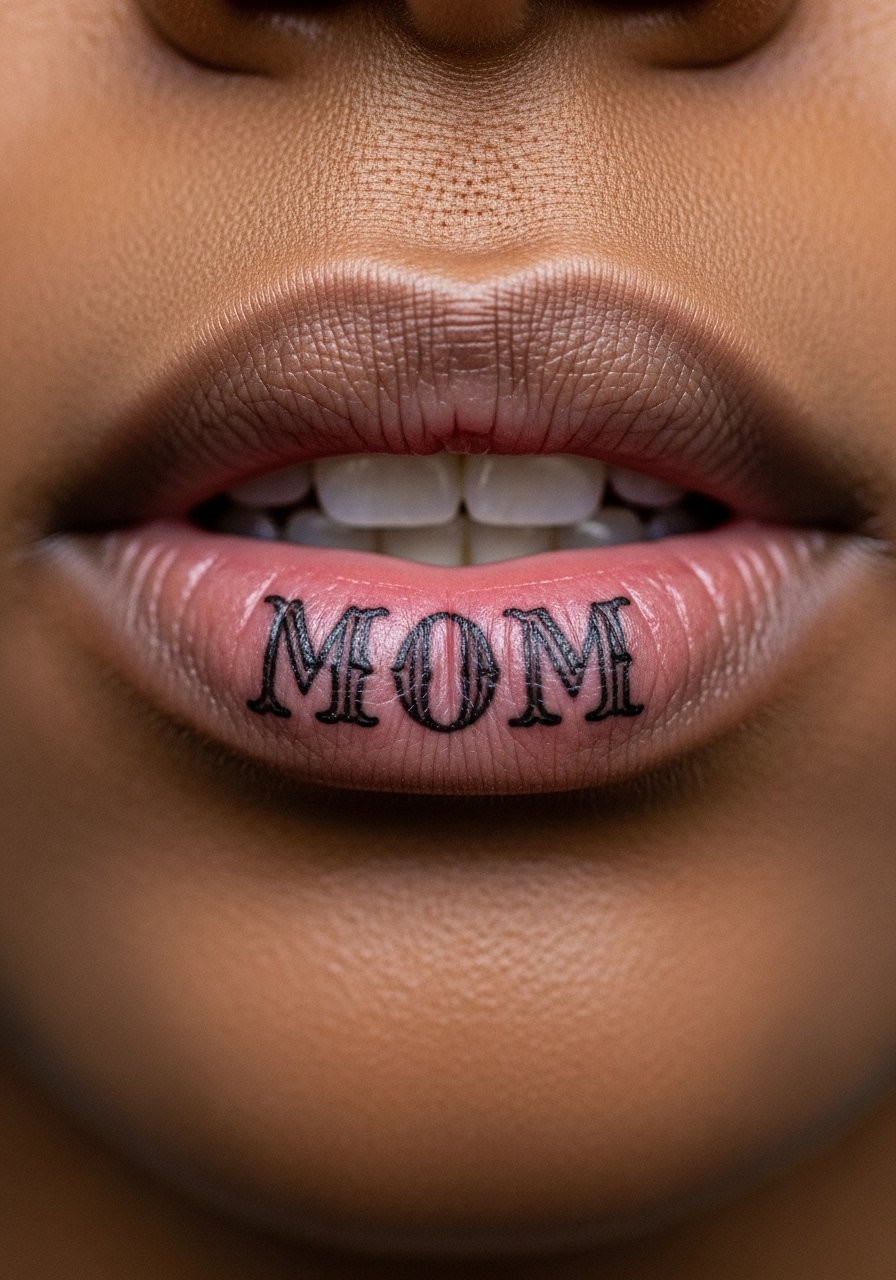
Names in condensed vintage script are a classic choice, but letter spacing matters more than flourish. Tell the artist the exact spelling and ask for slightly wider gaps between characters. A common mistake is requesting looping flourishes that melt together. Script can look crisp for a few months, then drift into faint shapes. If you must have a name, keep it short and bold. For session prep, wear a loose crew neck so the artist can access your jaw without a constricting collar. Loose crew neck shirt
13. Tiny Lightning Bolt
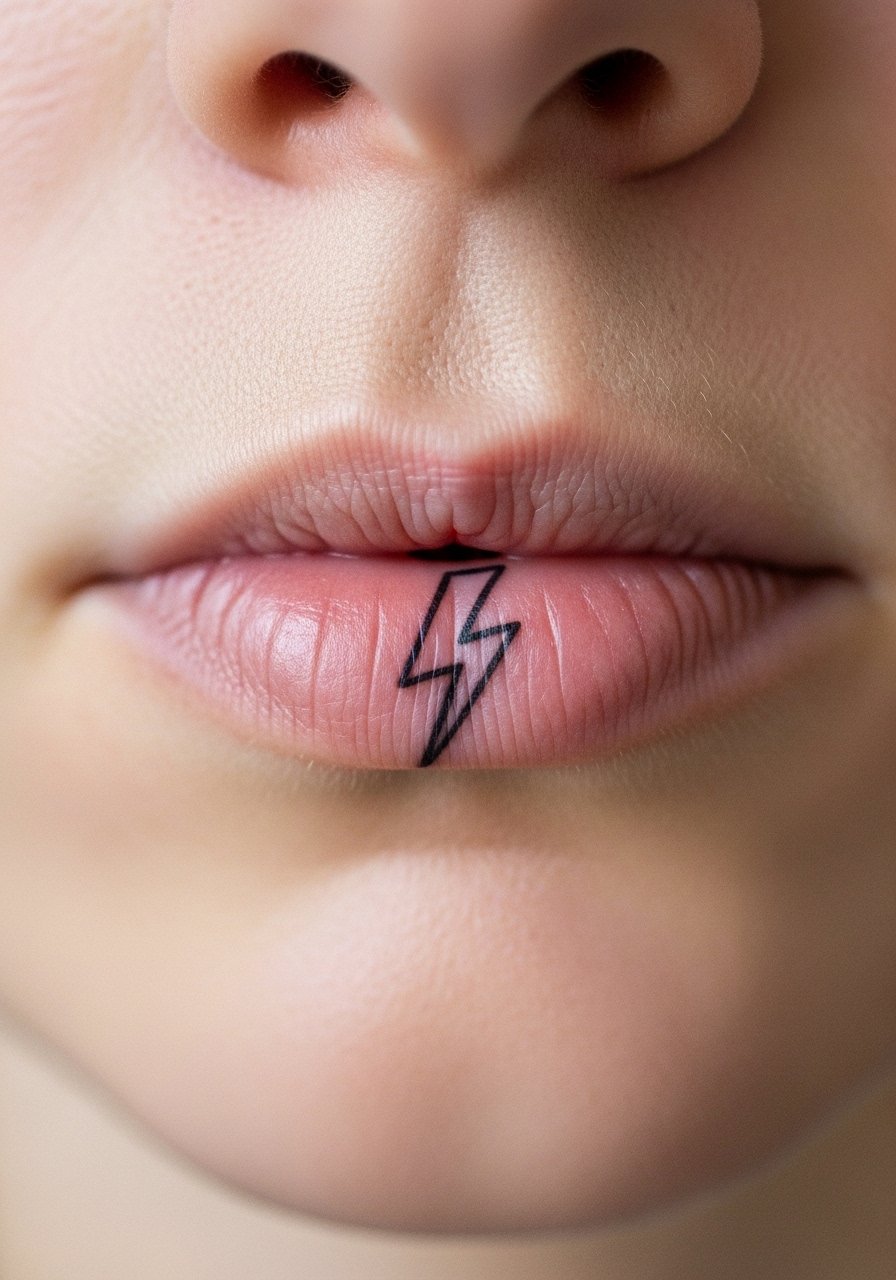
A lightning bolt is a high-contrast icon that translates well at a micro scale. Request a single bold zigzag with no internal shading so the shape reads as pigment softens. The error is adding thin internal lines or stars that vanish quickly. Expect the bolt to remain visible longer than fine script because of its solid geometry. The session is fast and the discomfort is intense but brief. If you plan to reveal, a cropped tee pulled slightly down can highlight your smile without feeling forced.
14. Micro Fleur-de-Lis

A fleur-de-lis needs heavy simplification to survive inside the lip. Ask for three clear petal shapes with broad negative space and avoid fine filigree. The main mistake is asking for ornate detailing that disappears within months. The piece will soften into a rounded dark form over time. For session comfort, wear a top with an open neckline so you can tilt your head without button or collar interference. Open neckline top
15. Tiny Cross
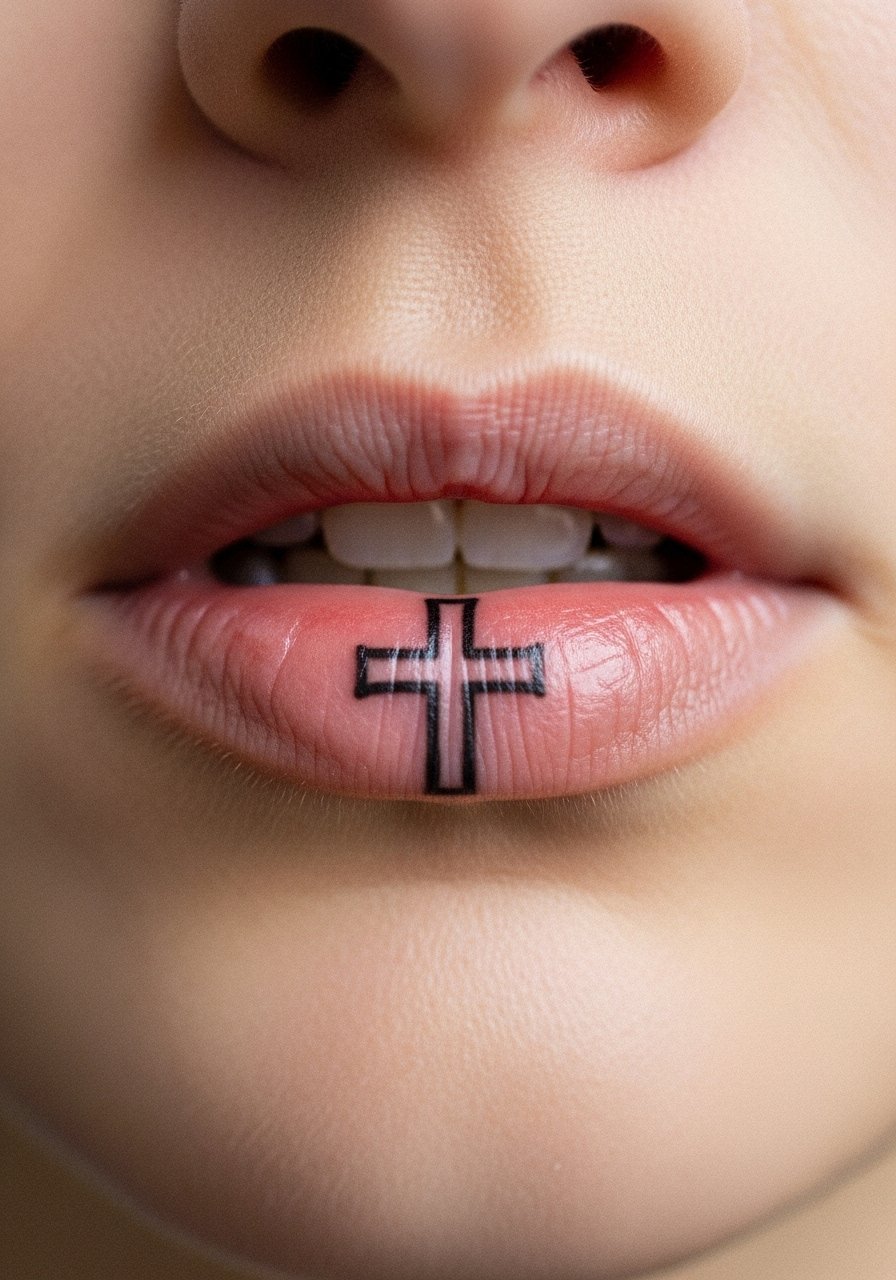
A simple cross is a durable vintage choice because of its straight geometry and equal arms. Request a slightly thicker arm width so the cross remains distinct as the pigment breaks up. The common error is making the arms too narrow. Expect clear form at six months and a softened silhouette by year three without touch-up. A short session and sharp sting are typical. This motif suits someone who wants a private reminder more than a permanent, visible mark.
16. Mini Compass Needle

A compass needle reduced to a single diamond center and needle lines reads vintage and directional. Tell your artist to avoid the full compass rose and instead focus on a central diamond and two pointer lines. Without that restraint, detail collapses. The piece ages into a faint directional smudge by year two. The session is short and the pain is concentrated. For a reveal, a minimalist pendant or small choker can draw the eye toward the mouth when you smile. Minimalist chain necklace
17. Micro Horseshoe
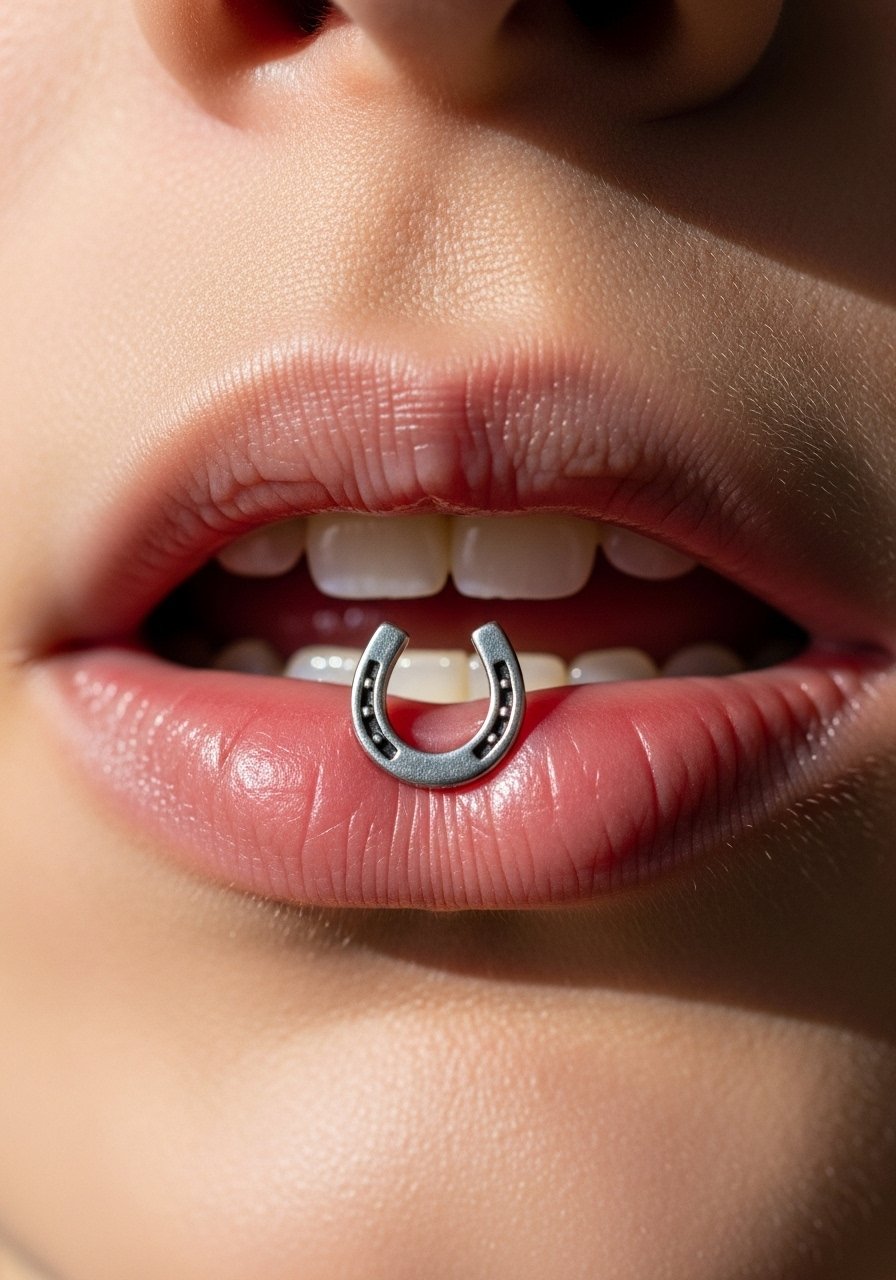
A small horseshoe is a luck symbol that compresses into a clear U-shape. Ask for a thicker outline and avoid tiny nail marks that will blur. The usual mistake is trying to include interior dots that vanish. Over time the horseshoe will look like a soft gray crescent. The session is quick but sharp. If you want to preserve meaning more than line clarity, consider a slightly larger size so the curve keeps its shape longer.
18. Tiny Keyhole

A keyhole uses heavy negative space to suggest form, which helps when detail is unreliable. Request a solid round head and a narrow shaft instead of ornate teeth. The keyhole tends to remain visible longer because of the solid top. A common error is engraving tiny surrounding filigree. The session is brief and uncomfortable. For session prep, pull hair back and wear a shirt with a simple neckline so nothing interferes with jaw movement. Simple neckline shirt
19. Micro Script Word in Blackletter
Blackletter compresses densely and gives a vintage gravitas, but only if spacing is intentional. Ask for larger counters inside each letter and avoid tight serifs that will fill in. The main mistake is shrinking a full gothic word into unreadable shapes. Expect the letters to soften into connected strokes by year two. The session is short and the sting is sharp. If the script is important, photograph it within the first week for a record of the crisp version.
20. Tiny Matchstick With Flame
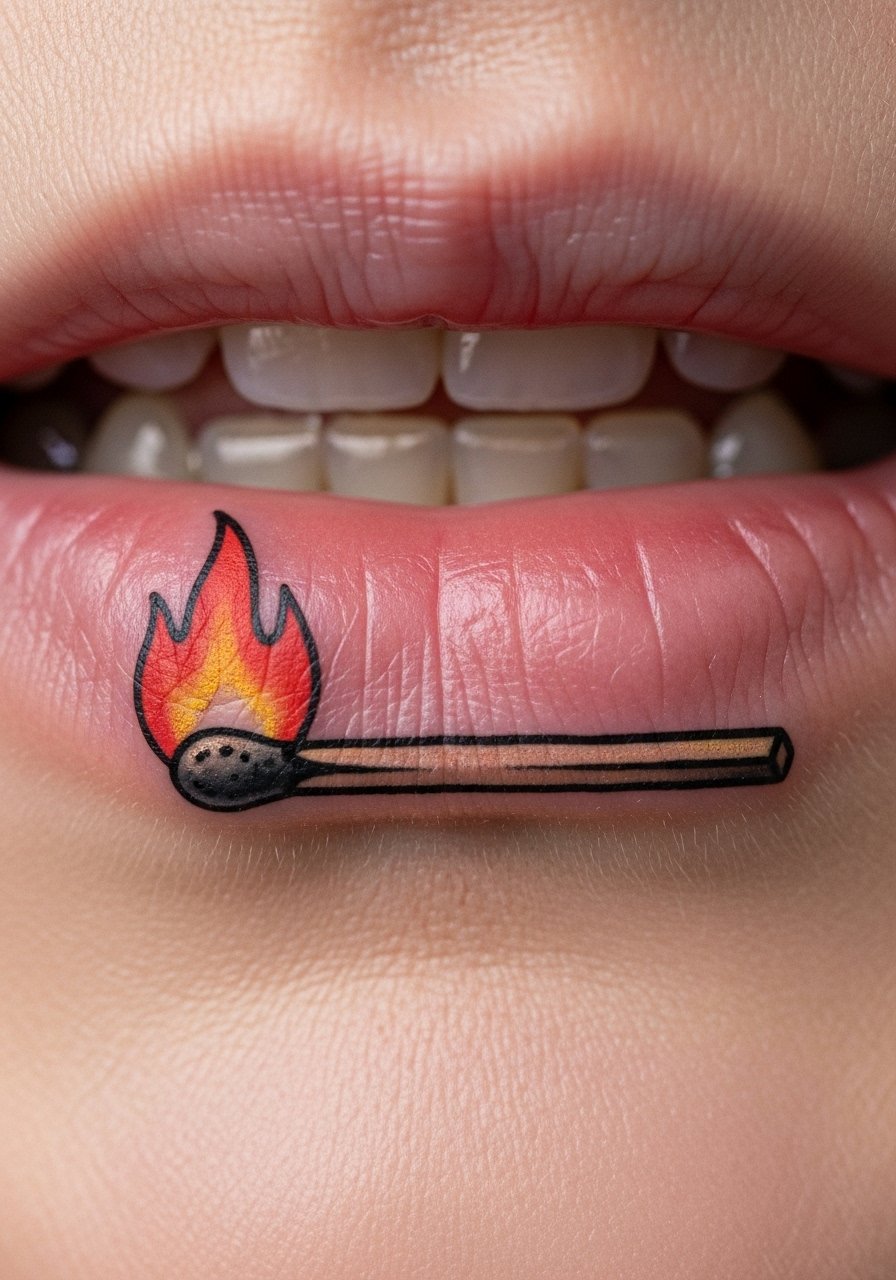
A matchstick reduces to a simple shaft and a solid flame. Ask for a bold match head and avoid small internal flame details. The error is adding tiny flicker lines that will disappear. Over time expect a soft dark smudge where the flame was. The session is fast and the sensation sharp. For a later reveal, a thin gold ring on your finger can balance the smallness of the motif when you gesture while speaking.
21. Micro Crescent Moon
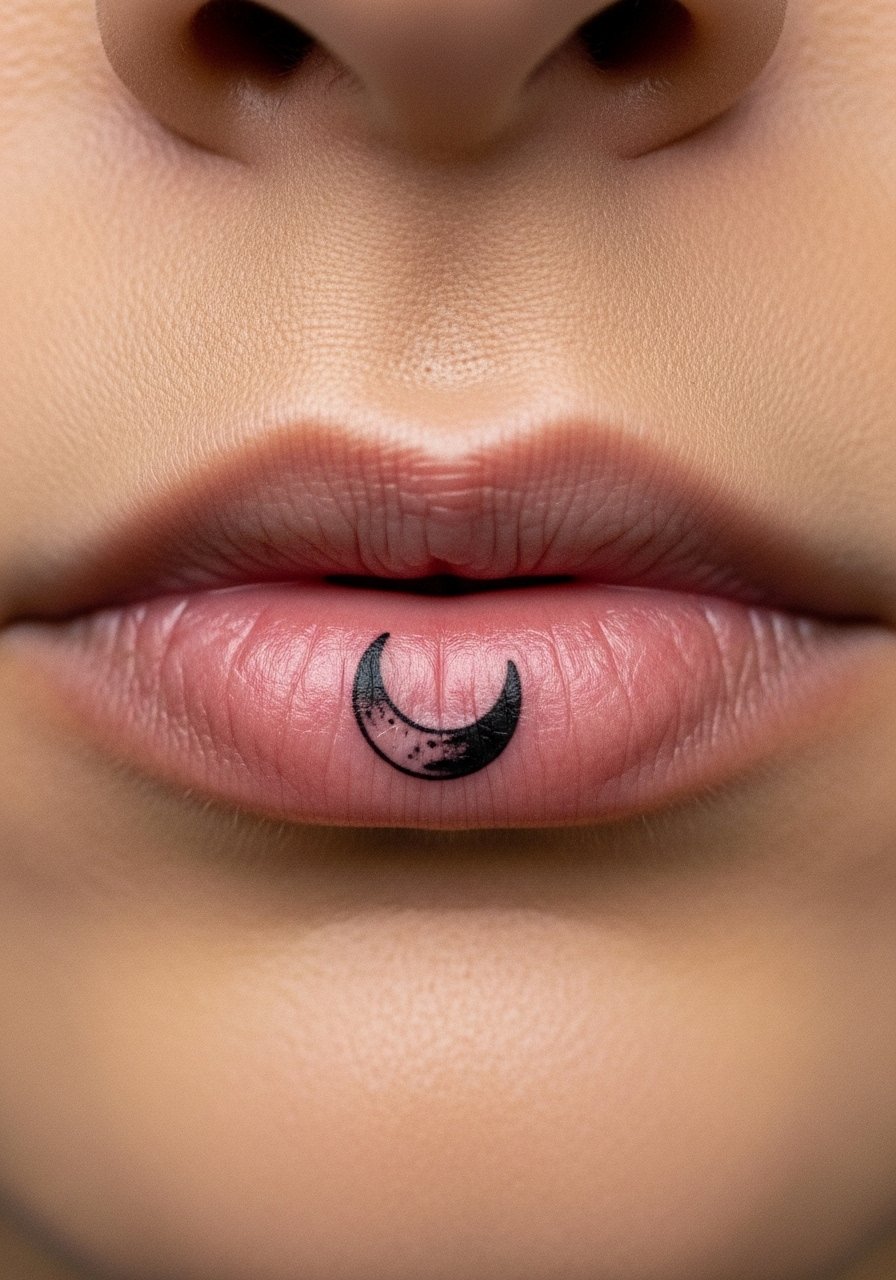
A crescent moon is a classic symbol that survives reduction because of its simple curve. Ask for a thick crescent with open negative space inside. Tiny stars or stippling will not age well in this placement. The moon usually holds a recognizable shape longer than ornate motifs. The session is brief and the sting is notable. If the symbol has a personal meaning, plan on a touch-up later to keep the curve defined.
22. Micro Anchor Wheel

A ship wheel needs brutal simplification to avoid looking like a blob. Request a single circle and only two or three spokes rather than the full set. People try to cram spokes in to look period accurate and then the design collapses. Expect a faint wheel that hints at the original by year two. For pre-session comfort, wear a button-down shirt you can loosen so the artist can position your head without a tight collar. Loose button-down shirt
23. Tiny Anchor Heart Combo

Combining two vintage motifs works only when both are reduced to single planes. Ask for the heart shape to be the anchor's base and avoid extra lines. The usual mistake is layering too many details. The fused form will typically blur into a single dark shape within a couple of years. The appointment is fast and the sting is intense then fades quickly. Keep expectations modest for permanence when you choose layered small motifs.
24. Micro Scrollwork Dot Cluster
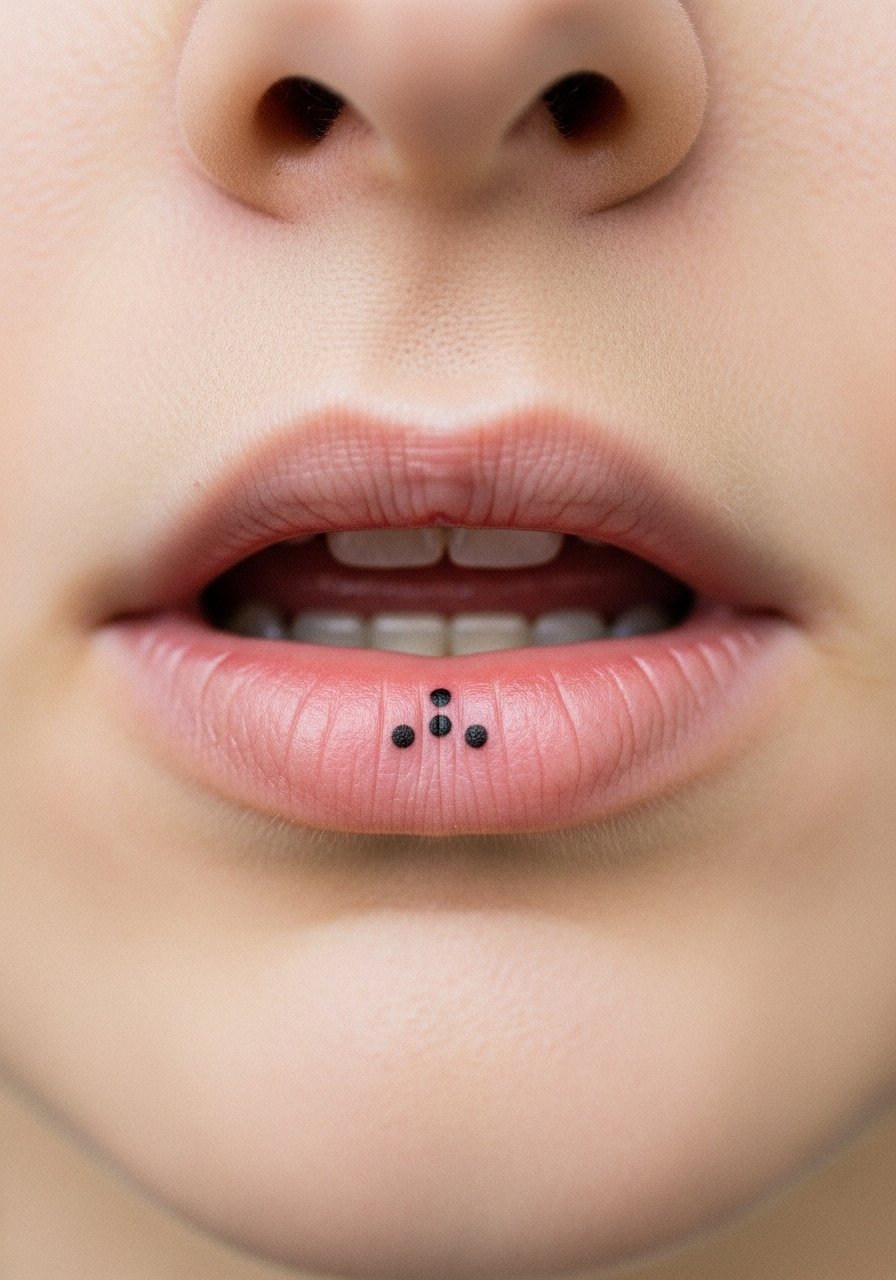
Instead of full scrollwork, three bold dots in a curved line can suggest vintage ornament without risking smudged filigree. Tell the artist you want solid dots spaced for negative space. The error is trying to include fine swirls. Dots remain legible longer than thin lines, and they often make the best compromise for an inner lip decorative note. For session ease, wear a racerback tank to keep shoulders relaxed and jaw steady. Racerback tank top
25. Mini Shield Motif

A shield becomes a readable vintage emblem when reduced to a single solid shape with a clear negative boss. Ask for broad edges rather than engraved heraldry. People often try to shrink a full coat of arms and end up with an indecipherable blob. The shield will soften into a rounded dark mark over time. The session time is short and the sting ends quickly. If you want slightly more longevity, accept a bolder size so the silhouette lasts longer.
26. Tiny Arrowhead

An arrowhead is an efficient symbol for this placement because of its compact geometry. Request a bold triangle with a short base and avoid extra linework. The usual mistake is adding tiny barbs or a shaft that disappears. Expect a simple dark triangle for longer than a thin linear arrow. Quick session, sharp sensation. For a reveal, a thin band ring can draw attention to hand movement while you speak.
27. Micro Script Word as a Whisper

A single small word captured in compressed vintage script is the quintessential inner lip decision. Ask for slightly wider letter spacing and minimal flourish so each character keeps its identity as the ink settles. Two camps debate this placement. One camp says inner lip script is meaningful even if temporary because it is private and changeable. The other camp discourages it, arguing the fading and migration create blurred letters that lose all meaning. Both views are fair. If you want to keep the word legible, accept slightly bolder strokes and plan for a touch-up later. For the appointment wear minimal makeup and a longwear lipstick if you plan a reveal after the session. Longwear lipstick
Frequently Asked Questions
Q: How long do vintage inner lip tattoos typically last in a readable form?
A: From what I have seen, inner lip tattoos start to lose crispness within months and often need a touch-up by year one or two to remain readable. By year three to five many are faint or patchy. Expect fading and plan accordingly if permanence matters.
Q: Are there designs that hold up better on the inner lip than others?
A: Yes. Solid geometric shapes, thick silhouettes, and bold symbols usually age better than fine script or detailed filigree. Simple black fills outperform tiny strokes because the tissue handles saturated areas better.
Q: Should I be worried about the ink showing through my chin later on?
A: There is a small risk that ink placed too deep can show through. One camp says it is rare with correct depth. The other camp warns it can happen with aggressive saturation. Ask your artist how they control depth and whether they recommend the inner lip for your design.
Q: Can I wear anything to make the reveal more striking after a session?
A: For a clean reveal consider a bold, longwear lipstick or a minimalist pendant that frames the mouth. These styling touches create contrast without altering the tattoo. Longwear matte lipstick
Q: What should I tell my artist during consultation to get a vintage look that lasts?
A: Describe the exact motif, request simplified lines, and ask for slightly wider spacing between elements. Say you prefer solid fills over tiny detail and that you understand the placement fades faster than external skin. That clarity helps avoid the common mistake of over-detailing.
