
Fine line is everywhere online right now, and the feed makes tiny geometric bands look effortless. The reality I see in shops is messier. Pieces that do not flow into the shoulder can look like they are floating after healing, fine single-needle work can soften faster than clients expect, and booking chaos means deposits and refundable windows matter. Read these upper arm tattoo concepts with placement tips so the finished piece still reads strong after a year or three.
1. Portrait Traditional Upper Arm Piece
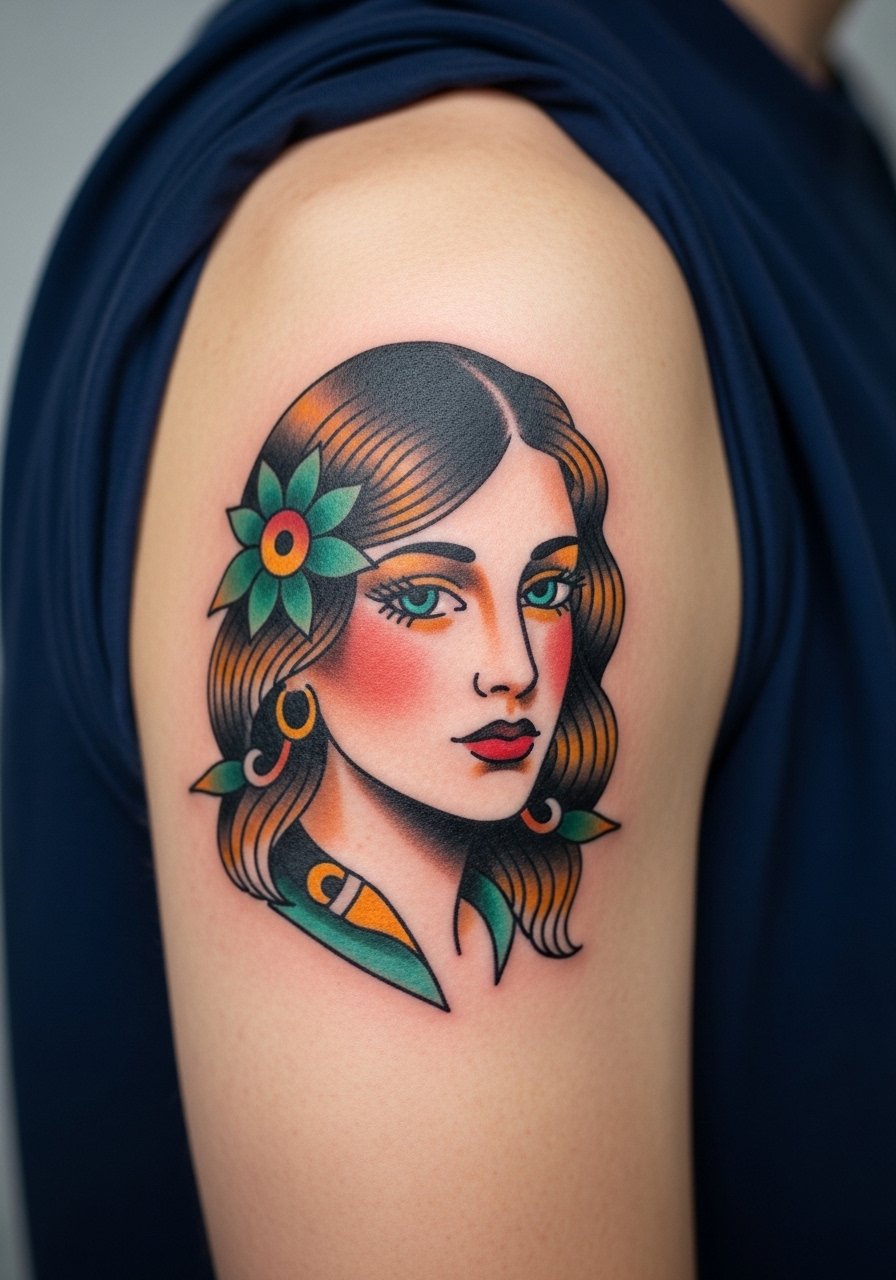
A classic portrait in traditional style reads well on the outer upper arm because the curves of the deltoid add motion when you flex. Tell your artist you want strong black outlines and solid color saturation, not tiny facial detail that will blur. Most sessions run two to four hours for a 6 to 12 inch piece and pain is moderate near the shoulder. Common mistakes include starting the portrait too small and stopping short of the shoulder, which creates that "floating" look. For showing it off, pair this with a fitted tank top men in black or navy so the colors frame the deltoid, and wear a loose short-sleeve or button-up to the session for shoulder access.
2. Dragon Neo-Traditional Sleeve Starter
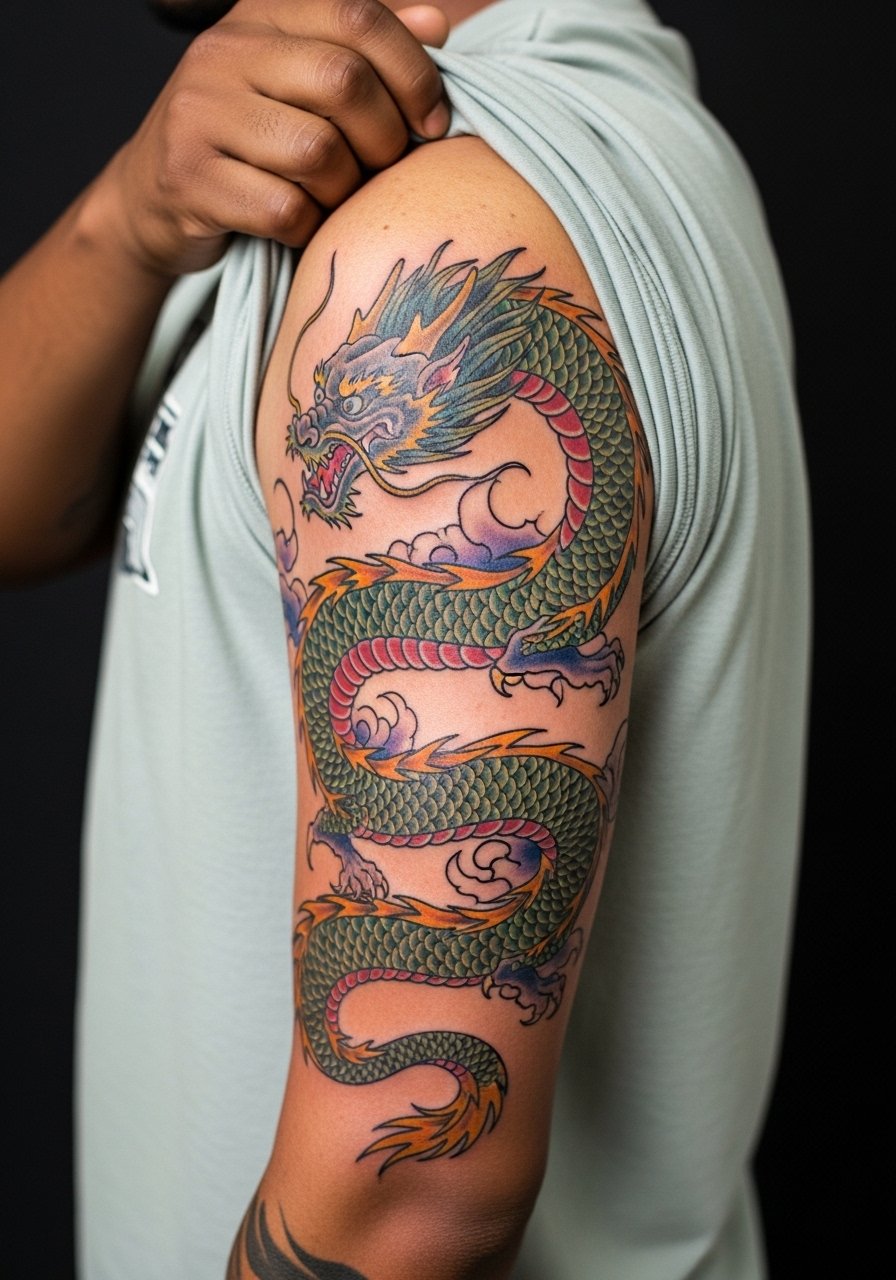
This is a go-to for people who want a modular half sleeve that can grow. Start the dragon as a wrap that leans toward the shoulder, not ending mid-bicep. In consultation, ask for weight in the scales and thicker outlines near joints so the design remains legible if you bulk up. Expect three to six sessions for an 8 to 15 inch wrap and a stinging, steady pain near the inner arm. A common aging issue is small decorative fills that blend into the body over time. For nights out, a slim fit henley shirt in olive or charcoal frames the wrap without patterns that compete.
3. Minimalist Geometric Armband
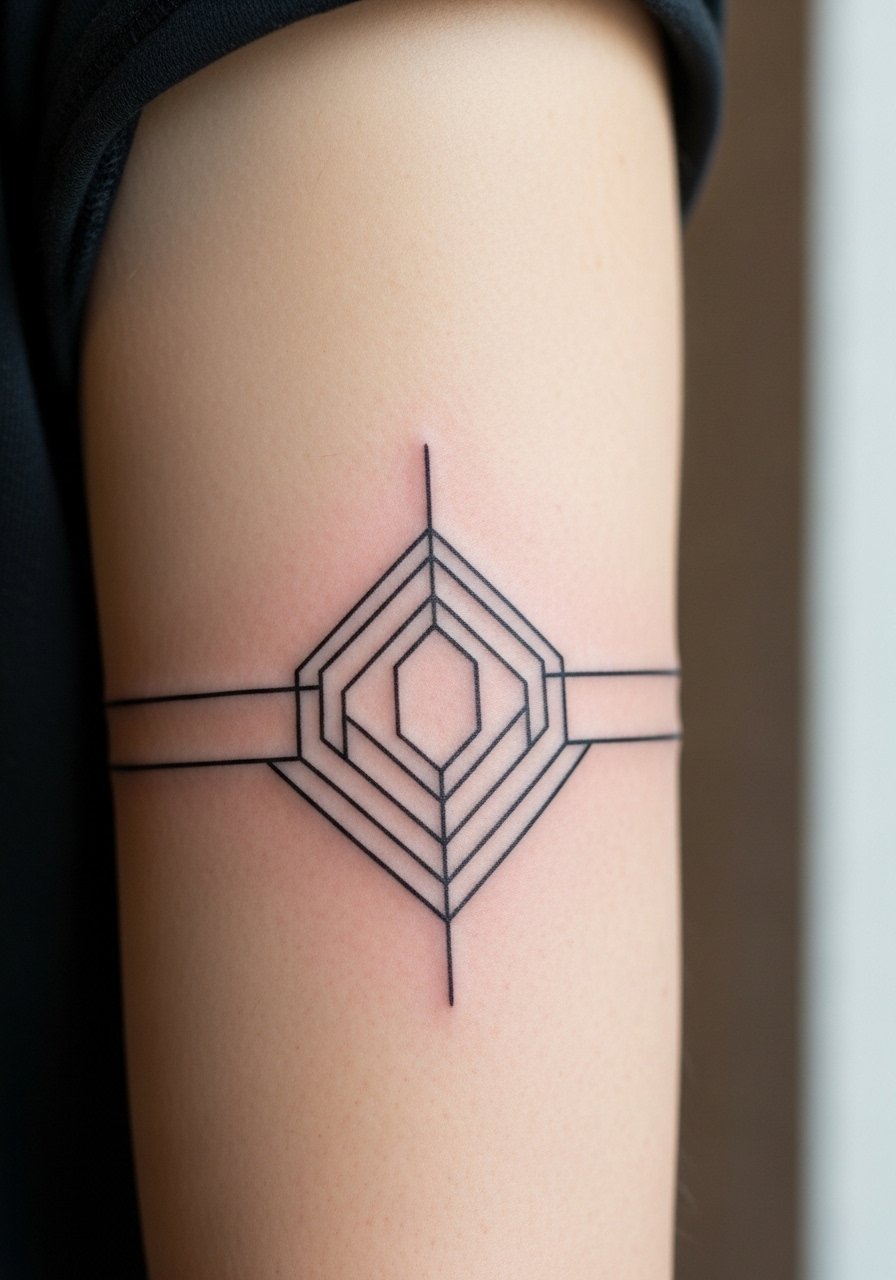
Bands are deceptive because muscle gains or weight shifts change the circumference. For a geometric armband, ask the artist to leave breathing room between repeating elements and to set the band slightly higher on the outer arm to avoid stretching. Session time is short, one to two hours, and pain is usually mild. The biggest mistake is going too tight or too thin. Over the years, dense parallel lines can merge unless the spacing is planned. Pair this with a muscle tee white to show the band cleanly, and bring a short-sleeve tee to the appointment so the artist can access the area.
4. Lone Wolf Blackwork Emblem
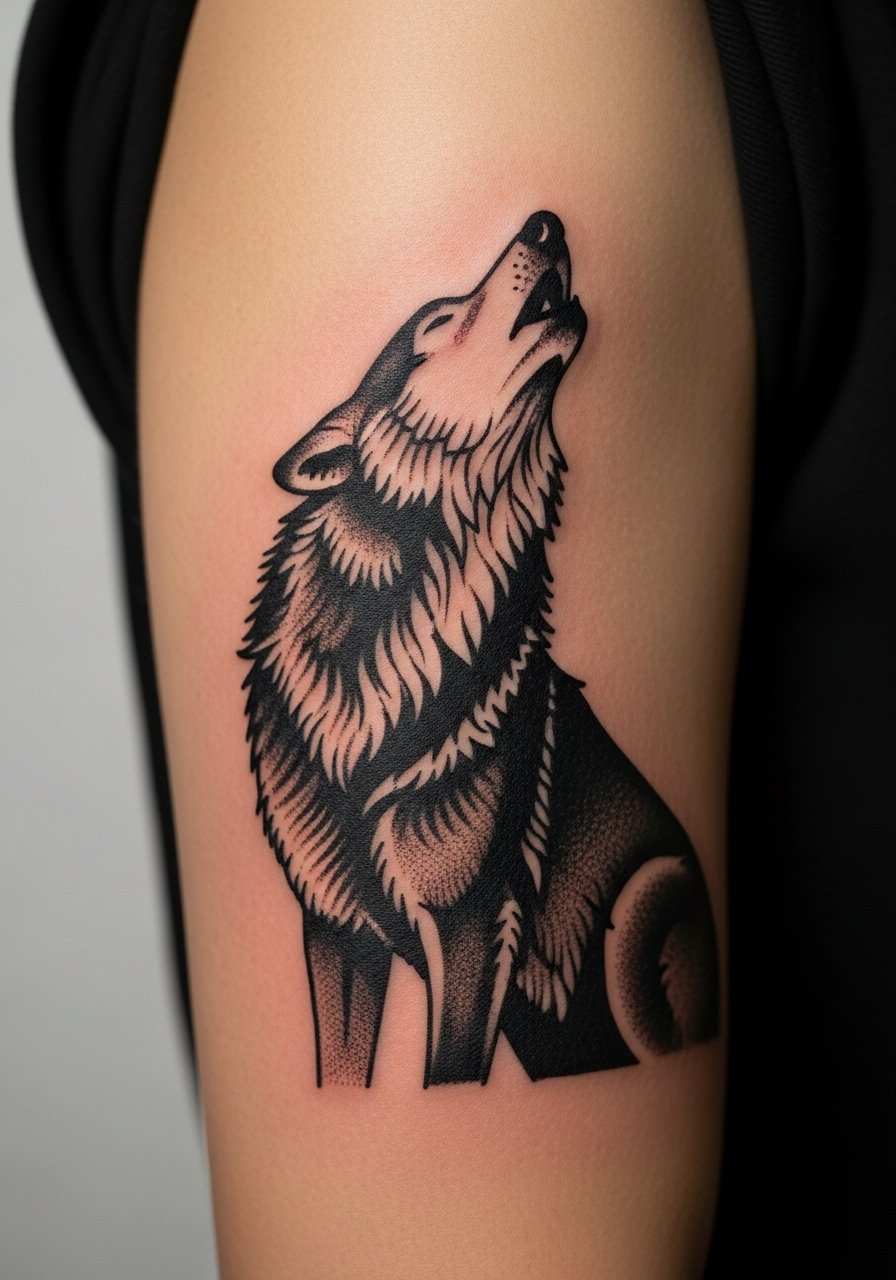
Blackwork holds up extremely well on the upper arm because saturation ages into a strong graphic lock. This style suits someone who wants impact without color maintenance. Expect two to three sessions for a 6 to 10 inch piece and a solid, deep ache level during inking. A common misstep is requesting tiny inner details that get lost inside large black fills. Place the emblem on the outer arm rather than inner if you worry about stretch when bulking. For an everyday look, a leather cuff bracelet on the opposite arm balances the heavy blackwork.
5. Vintage Rose in Black and Gray
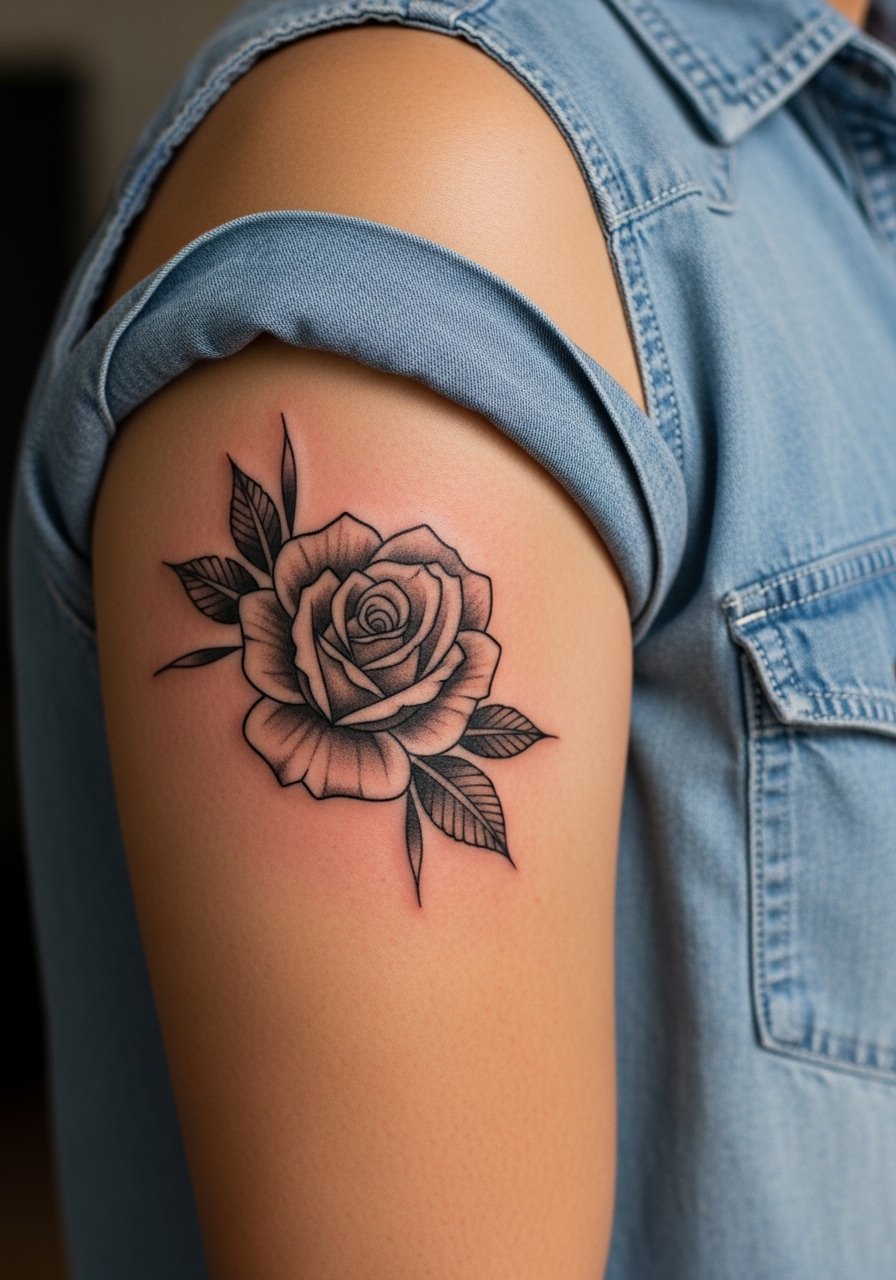
An inner upper arm rose ages differently because it sees less sun and less friction, so it often holds shading longer than outer placements. Tell your artist you want a bloom about 5 to 8 inches with gradual stipple shading rather than heavy contrast, which can flatten on healing. Pain is mild to moderate when the arm is raised and the session is usually one to three hours. A frequent complaint is photos washing out on tan skin. For showing it off, roll the sleeves of a chambray shirt rolled sleeves in white or gray and add a thin silver chain necklace to echo the subtlety.
6. Mandala Ornamental Band

Mandala bands require spacing that respects the arm's curve. Ask for an 8 to 12 inch diameter and for the artist to test the stencil around the arm to ensure the repeat reads continuous. Pain is tolerable and sessions run two to four hours depending on detail. One common aging issue is packing too many fine concentric rings, which can blur into each other. For workouts or casual wear, a muscle tee white keeps attention on the symmetry. If you plan additions later, have the artisan leave a margin for shoulder links.
Pack Smart
The first six designs above include wraps, inner-arm work, and dense line detail, so a few targeted items make the session and the first week smoother.
- Tattoo Goo aftercare balm. A thinner non-greasy balm preferred by some for humid climates, useful for inner arm pieces that see sweat during healing.
- Frida Aftercare Spray. Alcohol-free mist that avoids rubbing lotion into tight band or mandala work.
- Ink-Ich compatible soothing salve. A lighter natural salve option noted by users for antibacterial properties without heavy clogging.
- Australian tea tree dressing salve. Lighter than thicker balms, handy for areas that contact gym gear during the first week.
- Aquaphor healing ointment. A familiar go-to for the first 48 hours to lock in moisture on denser blackwork or portrait edges.
7. Thor’s Hammer Runic Front Piece

Mjölnir-style pieces sit well on the front of the upper arm and read as a compact symbol of protection. Ask your artist for bold outlines and runes spaced away from the hammer head so the script stays crisp. Two sessions often cover the stencil and shading, and pain is moderate near the shoulder joint. There is a split among artists about using ultra-fine runes. One camp says thin runes blur quickly, and the other camp says single-needle runes hold if placed on low-movement skin. Ask the studio where they land before booking. For casual framing, a v neck polo shirt in black helps the piece sit visually with the collar.
8. Angel Wings Religious Wrap
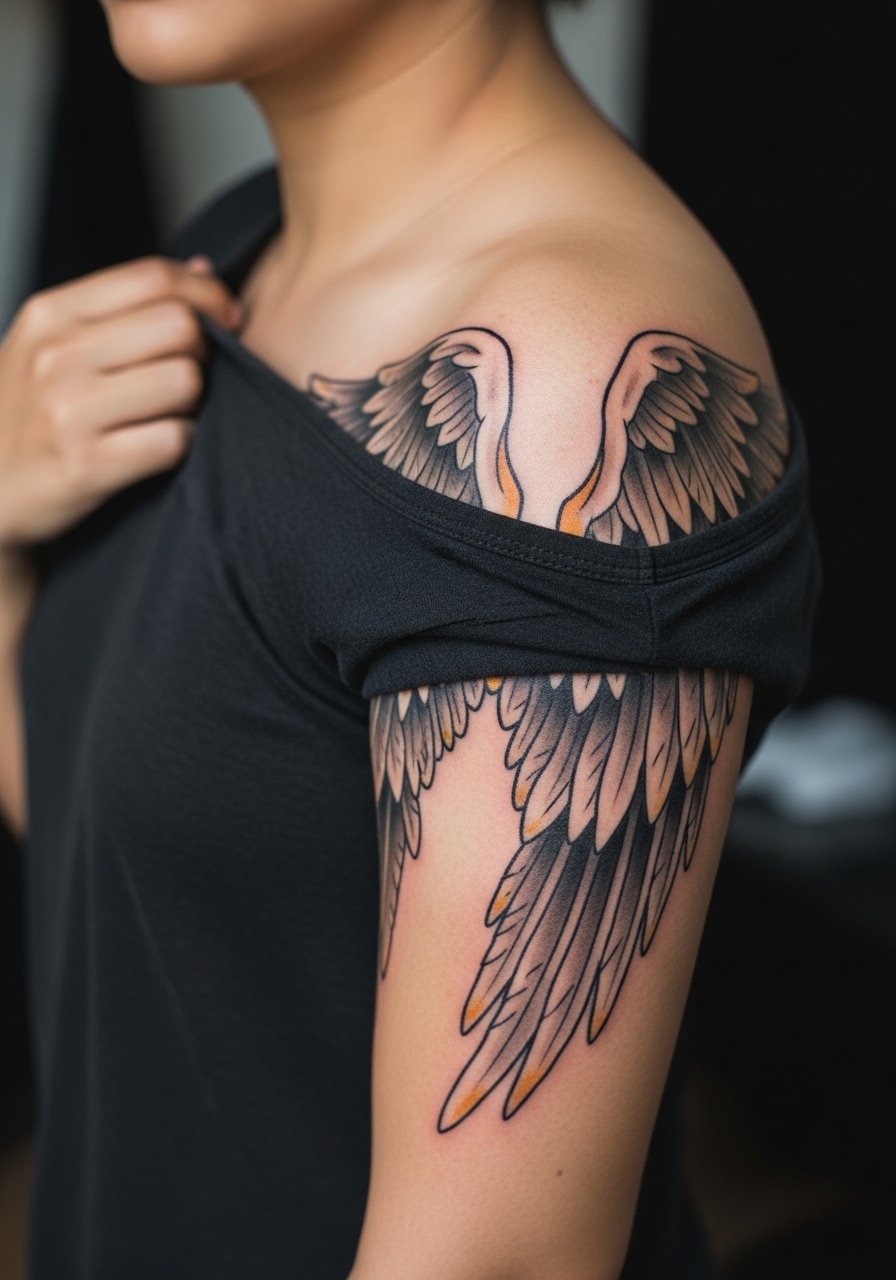
Large wraps like wings need to respect shoulder flow or they will look disconnected. Tell your artist you want the feathers to follow deltoid lines and for the tips to tuck toward the clavicle and back of arm. Expect three to five sessions and noticeable soreness near the shoulder. A common mistake is stopping the wings short of the shoulder, which makes the piece look like an afterthought. Many people pair this with a strapless tank top when showing it in summer. Because this design references religious imagery, consider small stylistic variations rather than direct replicas out of respect.
9. Odin Norse Portrait with Ravens
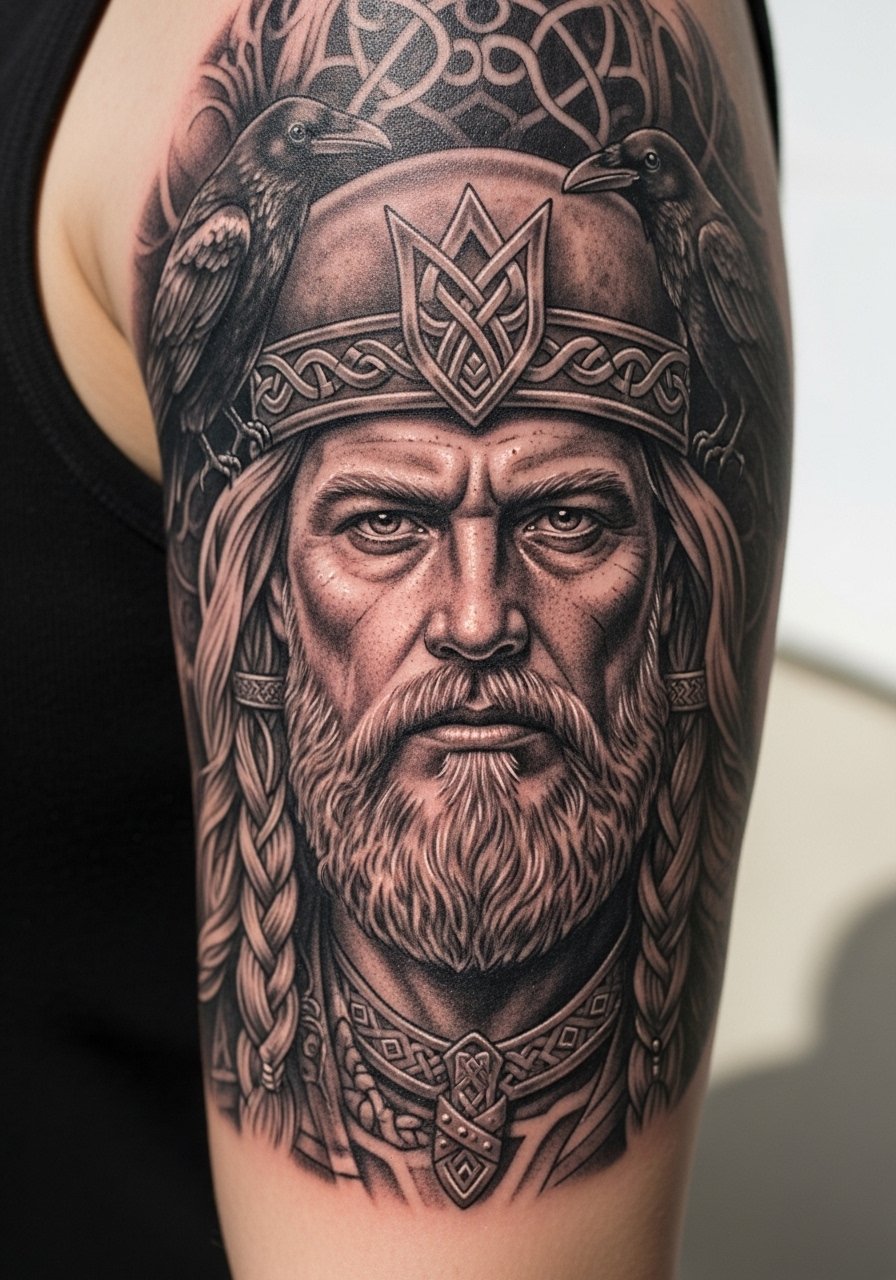
Micro-realism portraits need scale to hold facial detail, so plan for an 8 to 12 inch area and multiple sessions. Tell the artist you want contrast prioritized over tiny texture so it stays legible from arm distance. Expect four or more sessions and deeper tenderness around the arm muscle. The frequent error is compressing too much detail into a small patch. For a subtle nod to Norse styling, wear a minimalist stud earrings look and a neutral shirt that keeps focus on the portrait.
10. Tribal Armband Pattern Reimagined
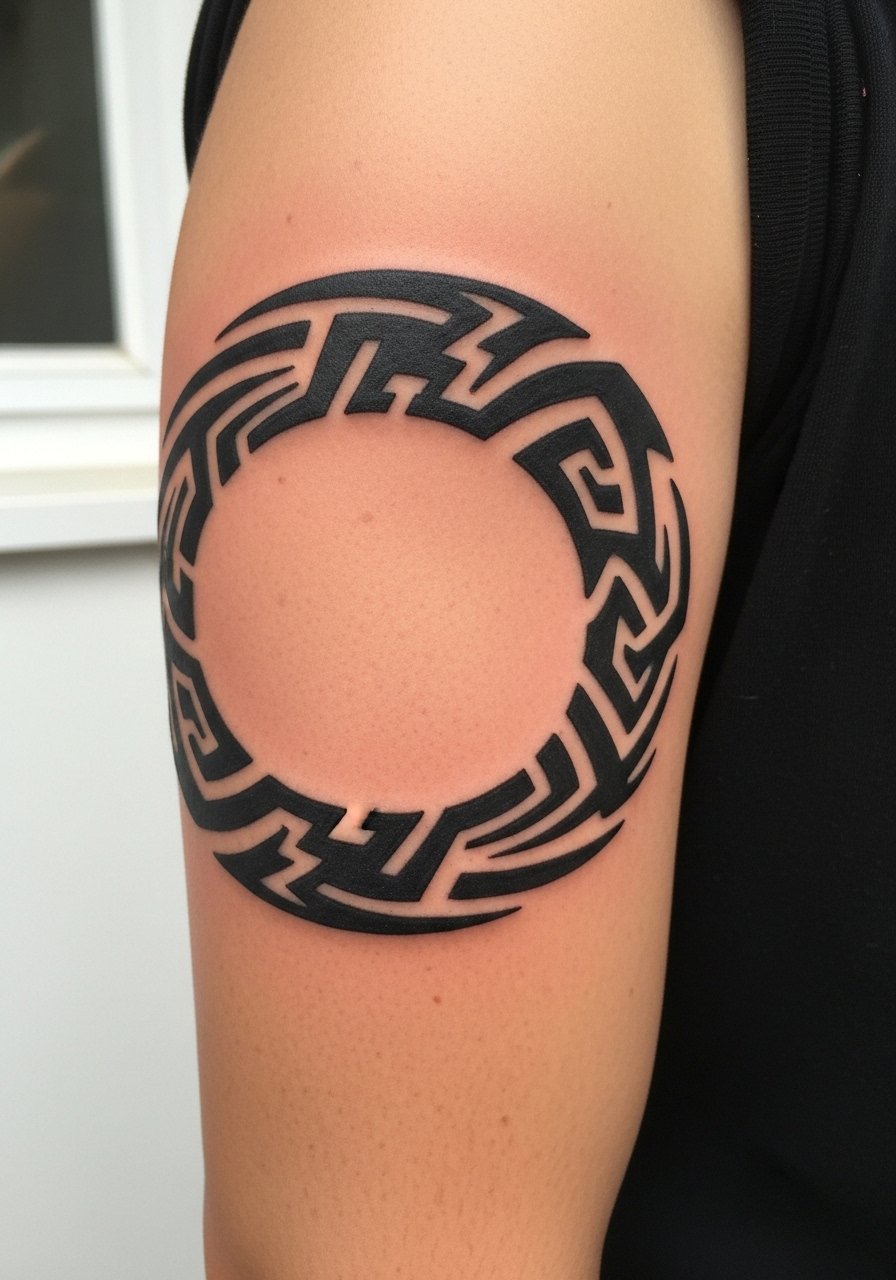
Tribal armbands are resilient because large solid fills age into a consistent silhouette, but they are prone to stretching if placed low on the bicep. Place the band on the outer arm and ask for a slightly wider repeat pattern so lines do not compress with muscle gains. One session often covers a 4 to 8 inch band. A mistake is copying a heavy cultural motif without variation. If the pattern has cultural roots, note its origin and discuss respectful adaptations with your artist. For daywear, a muscle tee white with bead bracelets opposite the arm keeps the look textured.
11. Half Sleeve Patchwork Starter
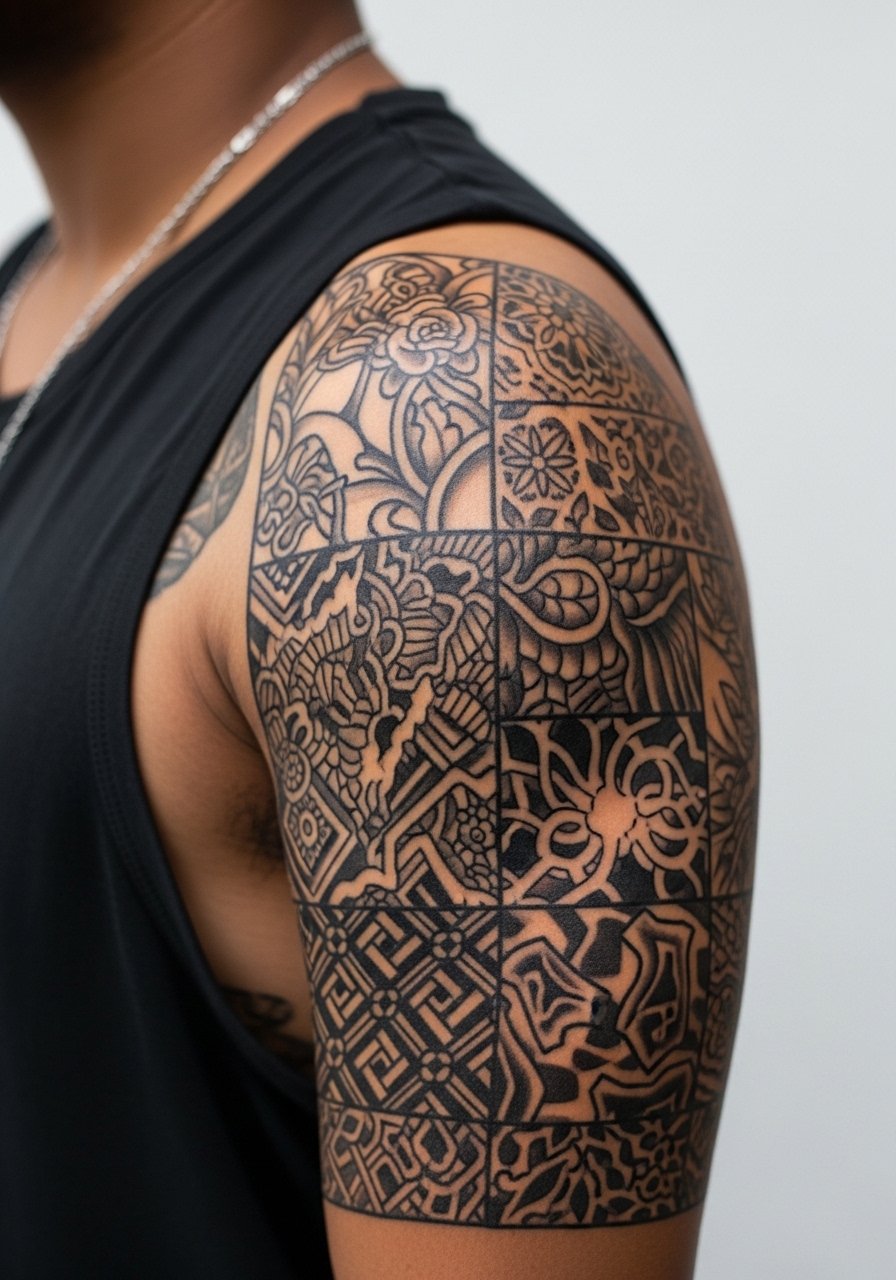
This is the modular storytelling approach. Start with a large anchor image near the shoulder and leave room below for future patches. Tell your artist you want flow to the shoulder and negative space pathways for later fills. Sessions vary by element and the project usually spans five or more sessions. The mistake is filling the upper arm evenly without planning transitions to the forearm or chest. For showing off incremental progress, try a slim fit henley shirt in olive so new pieces sit against a neutral backdrop.
12. Gym-Contoured Muscle Integration
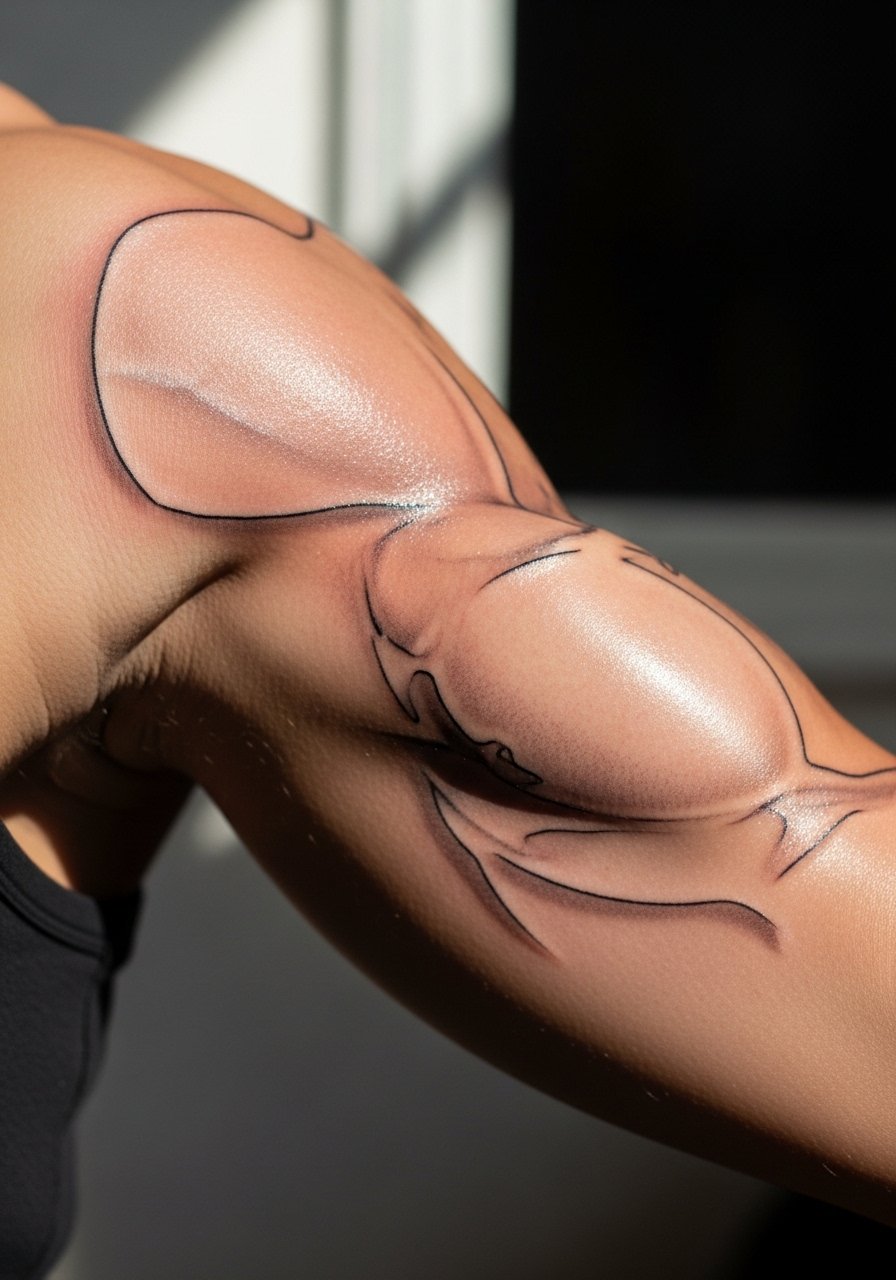
If you lift, placement matters. This concept maps the design to muscle contours so it stretches predictably when you bulk or cut. In consultation, bring recent photos of the arm at rest and flexed. Expect the artist to sketch multiple stencils and to suggest outer-arm placement for less distortion. The session feels like steady buzzing with skittering spots near tendon lines. A common regret is choosing a band that crosses the widest point of the bicep, which can warp after sustained hypertrophy. For the session, wear a loose tank top so the artist can access the shoulder and bicep without fabric tension.
13. Black and Gray Inner-Arm Mandala
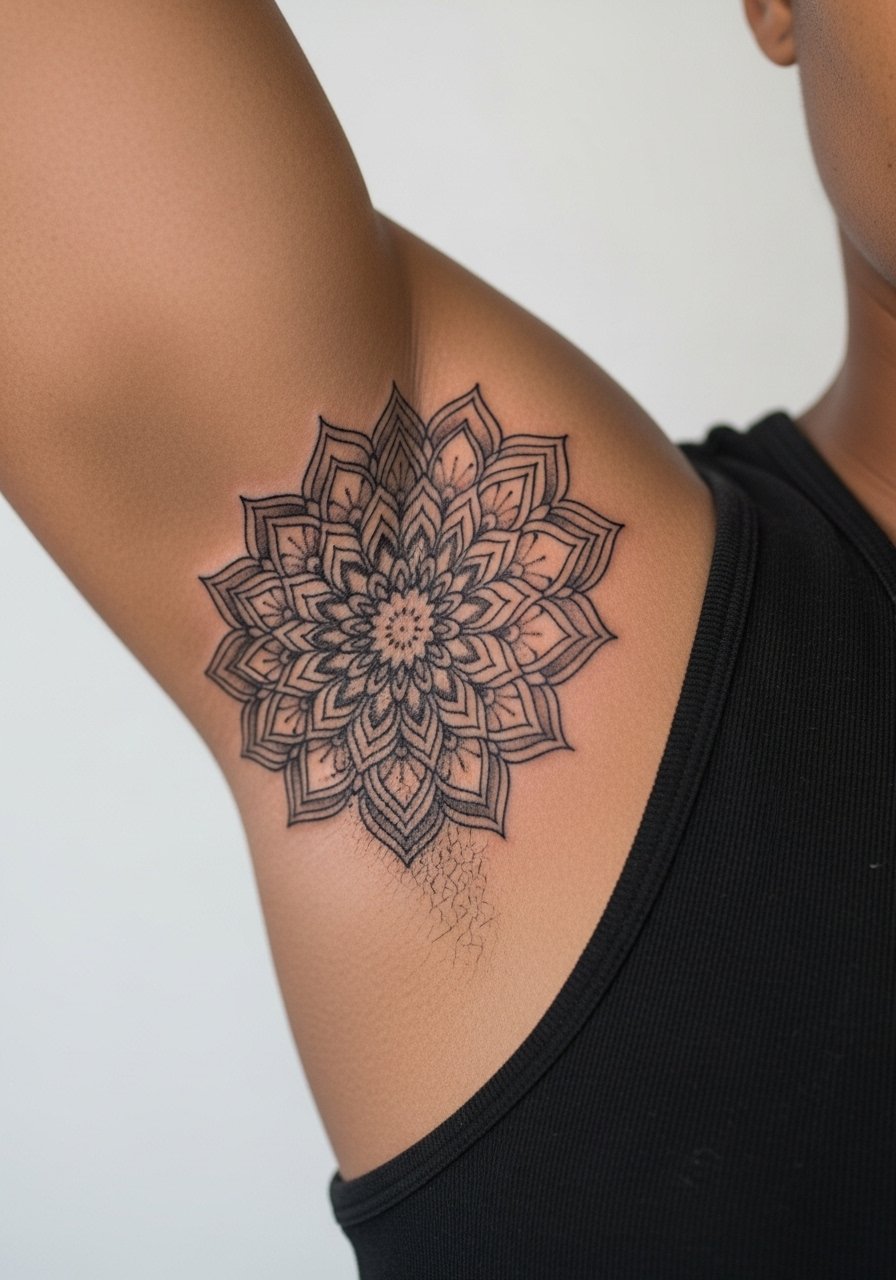
Inner-arm mandalas sit in a private zone that sees less sun, so they tend to hold contrast longer than exposed areas. Ask for broader spacing between rings to avoid density merging. Sessions are moderate length and the inner arm can be more sensitive. One common mistake is copying a dense reference sized for a flat canvas without accounting for the arm's curve. Controversy around fine line shows up here. One group argues single-needle work can blur on soft inner skin. The other group insists careful depth and spacing keep lines intact. Ask the artist where they stand and whether they recommend spacing or bolder linework.
14. Fine Line Geometric Cluster
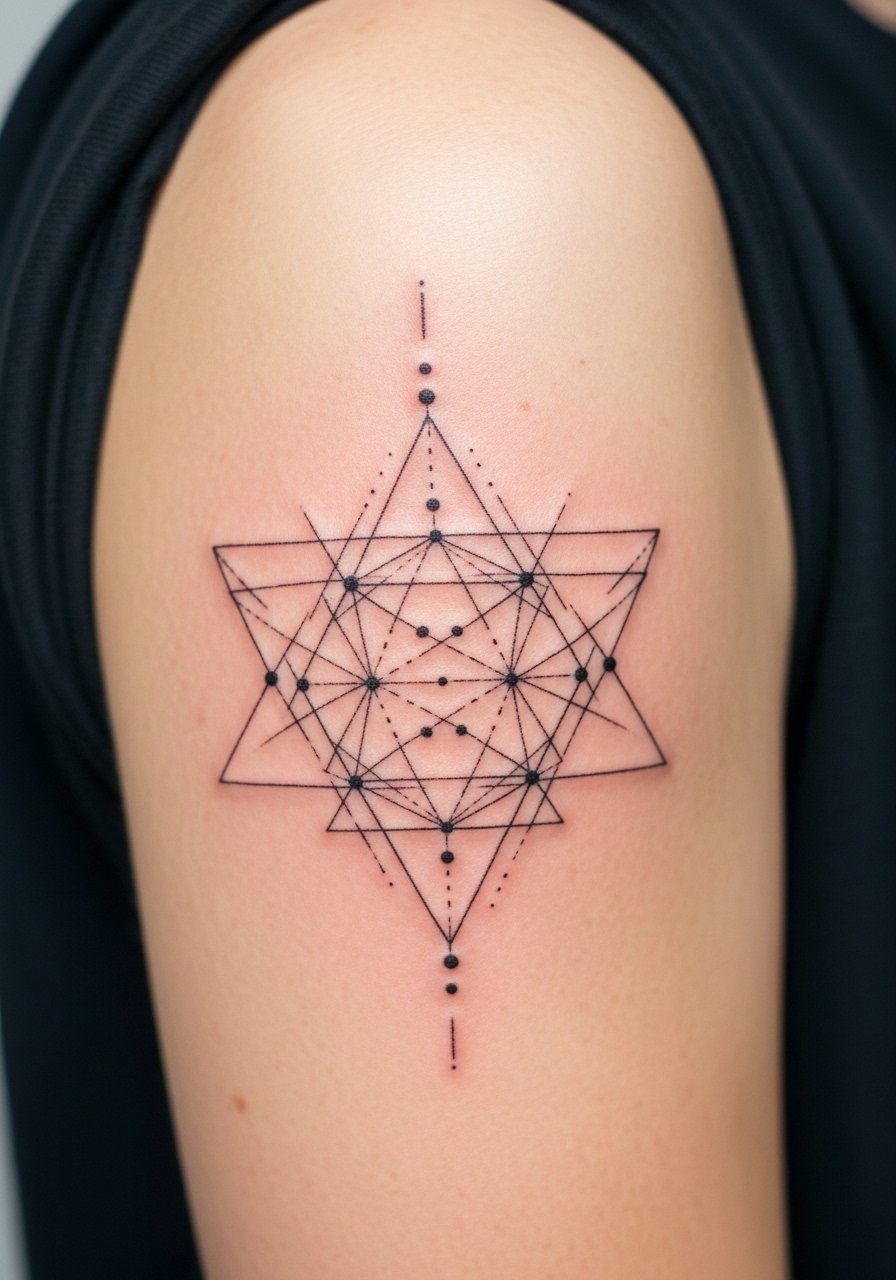
Fine line geometry can look crisp initially and then soften depending on sun exposure and movement. Tell the artist you want a mix of single-needle linework and small stipple shading with some thicker anchor lines so the motif ages legibly. Session time is short to moderate and the pain is mild. The common error is compressing too many lines into a small field. For casual wear, rolled sleeves or a chambray shirt rolled sleeves keeps the arm framed without overpowering the geometry.
15. Minimalist Negative Space Band

Negative space bands age predictably if the filled sections are given breathing room. Ask for an asymmetric repeat rather than perfect symmetry so the eye flows with the arm. Session time is short and pain low. Avoid the trap of going too thin in negative gaps. For daytime pairing, try wood bead bracelet stack on the other wrist to add texture without crowding the arm.
16. Patchwork Modular Starter with Story Anchors

This variation treats the upper arm like a living album. Start with one anchor that can connect later to forearm or chest work. Tell the artist to leave transition areas for color or blackwork fills. The first session focuses on the anchor and on negative space planning. A regular mistake is starting with many small unconnected elements that never cohere. For session comfort, wear a loose tank top so the artist can pivot around the shoulder area.
17. Micro-Realism Inset: Small Portrait or Token
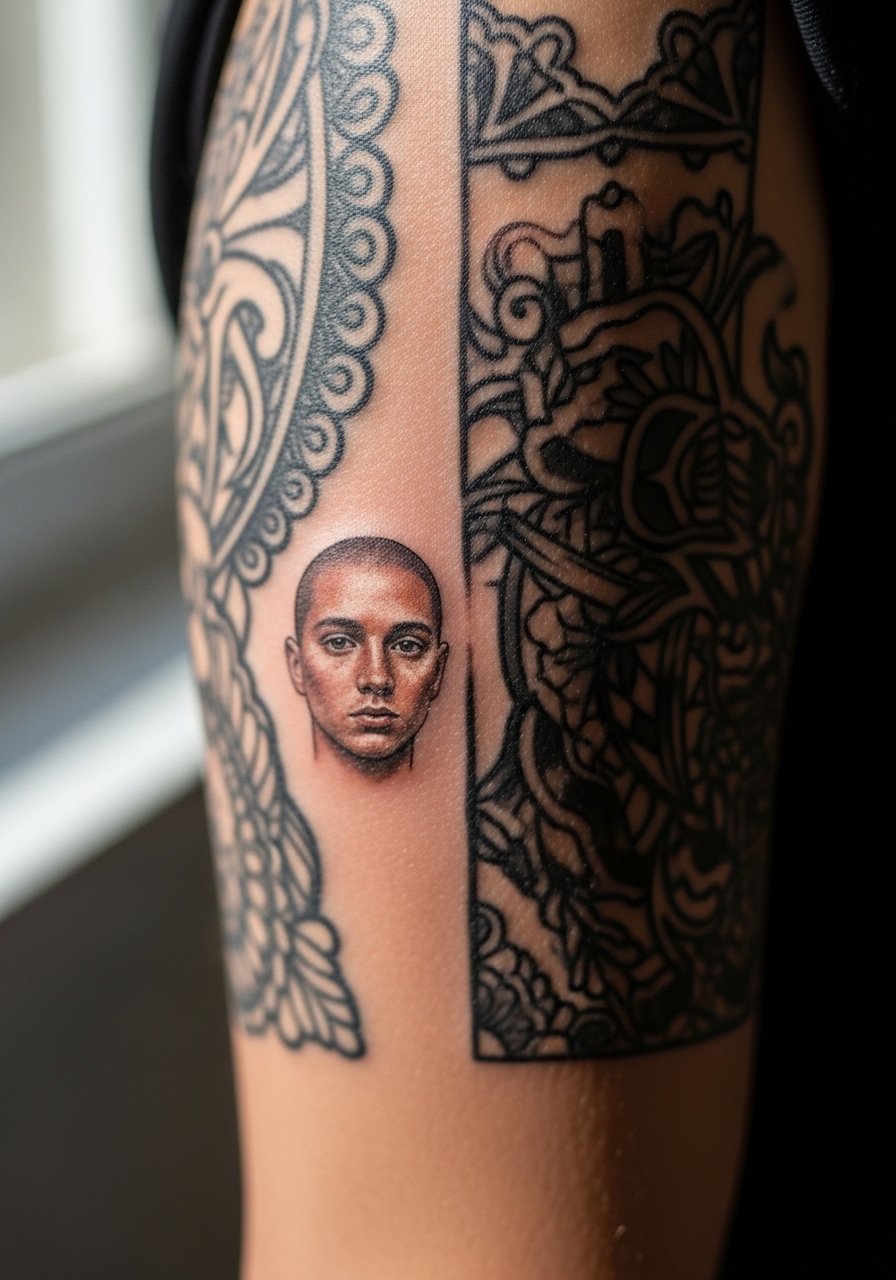
Micro-realism tokens work best as inset pieces inside a larger composition. Plan size carefully and prioritize contrast over tiny hairline detail. The session is precise and can be longer per square inch than bold work. A mistake is asking for a postage-stamp face that cannot hold eyes and expression after healing. When showcasing the inset, a neutral slim fit henley shirt keeps visuals clean.
18. Neo-Traditional Compass and Map Panel
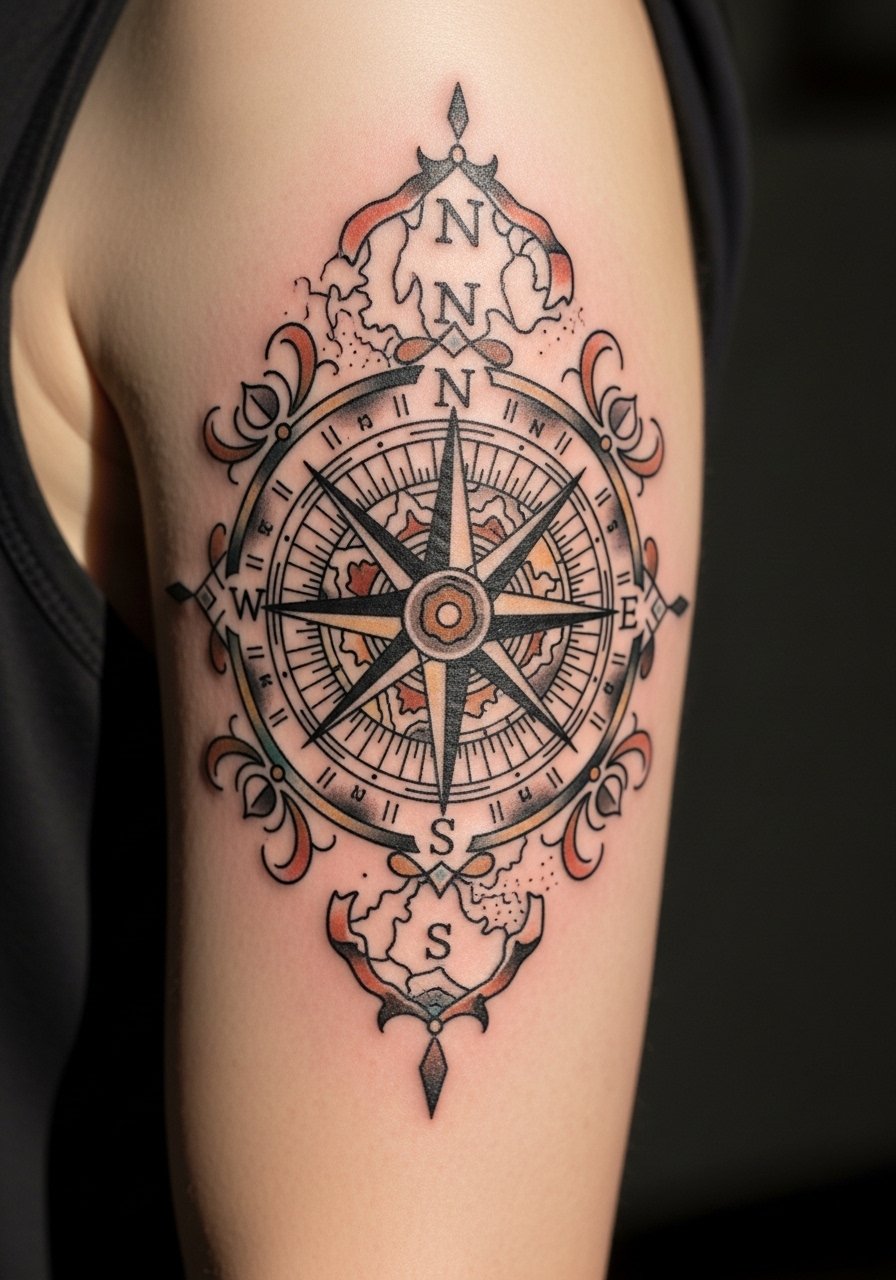
Travel motifs map well to the upper arm because they can wrap slightly and still read. Ask the artist for heavier outlines on the compass and softer washes in the map areas. Sessions vary but moderate density panels take two to three hours. A common error is crowding map detail inside a tight circle. For nights out, a fitted tank top men in navy frames the panel without competing.
19. Script Band with Date or Phrase

Text must be spelled exactly and sized to breathe on the arm. Provide the exact lettering or numerals during the stencil review. Sessions are short and pain is mild. A frequent misstep is choosing micro script that the artist cannot render consistently at the chosen scale. For subtle daytime wear, pair with a thin chain pendant necklace that sits above the band.
20. Botanical Wrap That Flows to the Shoulder
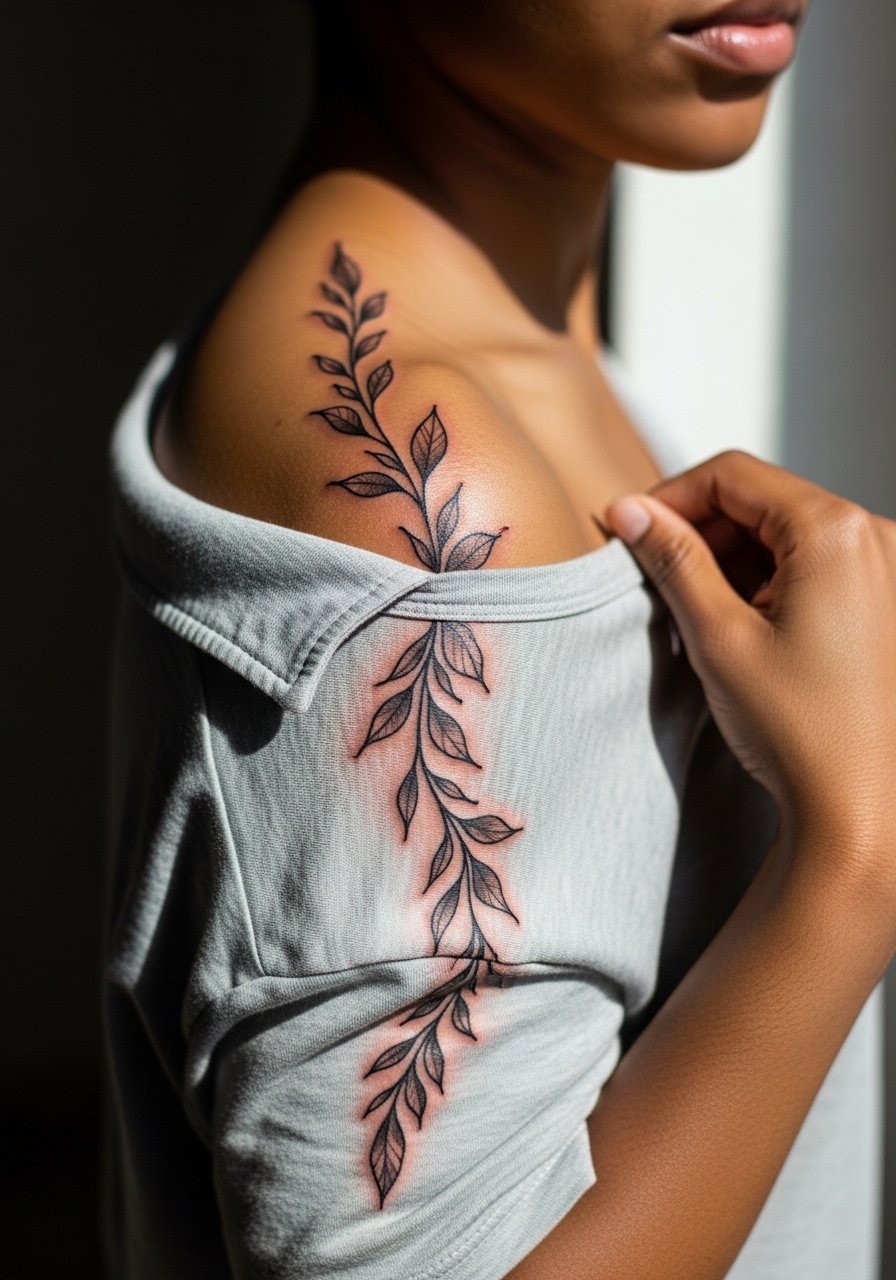
This idea fixes the floating problem by intentionally carrying the design into the shoulder. Tell your artist you want stems that tuck under the deltoid so the piece reads integrated on movement. Sessions are two to three hours, and the inner curves by the shoulder can be more sensitive. The common regret is stopping the vine abruptly at the shoulder. For show-off outfits, a v neck polo shirt in dark tones frames the shoulder line with subtle contrast.
21. Abstract Saturated Panel with Structured Borders

If you want color but are worried about early fading, choose large saturated fields with strong black borders to protect edges. Ask for pigments that the artist trusts and for well-saturated fills. Sessions vary and touch-ups at year two are common for high-motion areas. The mistake is tiny watercolor blobs without anchors, which can disperse into the arm's texture. For stylized evenings, a slim fit henley shirt in neutral tones keeps the panel readable.
Frequently Asked Questions
Q: How do I avoid the "floating" upper arm tattoo problem?
A: Scale the design to reach the shoulder or plan connecting elements that tuck under the deltoid. Ask your artist to show the stencil on you in flexed and relaxed positions and to leave margins for shoulder linkage. In my experience, pieces that end abruptly at mid-bicep often look disconnected after healing.
Q: Will fine line work on the upper arm need touch-ups sooner than bold pieces?
A: It depends. Fine line has two camps. One group says single-needle work can blur faster in high-movement zones, and the other group says careful depth and spacing keep it intact. Expect touch-ups around year two to four for delicate geometry, and talk to your artist about spacing and anchor lines up front.
Q: What should I wear to an upper arm tattoo session for shoulder or inner-arm placement?
A: For shoulder and inner-arm work wear a loose tank top or a button-down you can pull aside. That gives the artist access while keeping you comfortable. For shoulder-heavy pieces consider a strapless tank top or a shirt you can easily adjust during longer sessions.
Q: How do I plan for gym gains so a band or armband does not warp?
A: Place armbands slightly higher on the outer arm and allow extra width so muscle growth does not compress the repeat. Bring photos showing your current and recent bulk states and ask the artist about spacing increases. Outer placements generally stretch less than full-circumference bands over the bicep.
Q: My skin is darker and I worry blackwork will photograph poorly. Any tips?
A: Choose high-contrast compositions and fuller saturation rather than tiny fine-line fills. Matte black fills tend to photograph better than low-saturation gray washes. Test a small healed sample if you can, and plan for studio lighting or neutral clothing like a fitted tank top men when taking photos.
Q: What if my artist cancels or reschedules multiple times?
A: Ask about deposit, cancellation, and refund policies before you pay. Use booking platforms with verified availability and consider a backup shop or an apprentice for small pieces. Clear communication on timing saves months of delay.
Q: Should I use Saniderm or dry healing on the upper arm?
A: Two camps debate this. One camp likes Saniderm for clean protection in sweat-prone zones. The other camp prefers dry healing for traditional styles to preserve edge retention. The right choice depends on the artist's approach and your activity level. Ask where your artist stands and follow their recommended protocol for the style you pick.
