
Fine line tattoos are everywhere on mood boards right now, but the ones that actually look crisp years later are chosen deliberately, not on impulse. Trends favor single-line icons and tiny celestial dots, and longevity depends on placement, line weight, and how the artist spaces the work. Below are 21 tiny tattoo design drawings and clear notes on where they hold up and how to show them off.
1. Fine Line Arrow on Inner Forearm
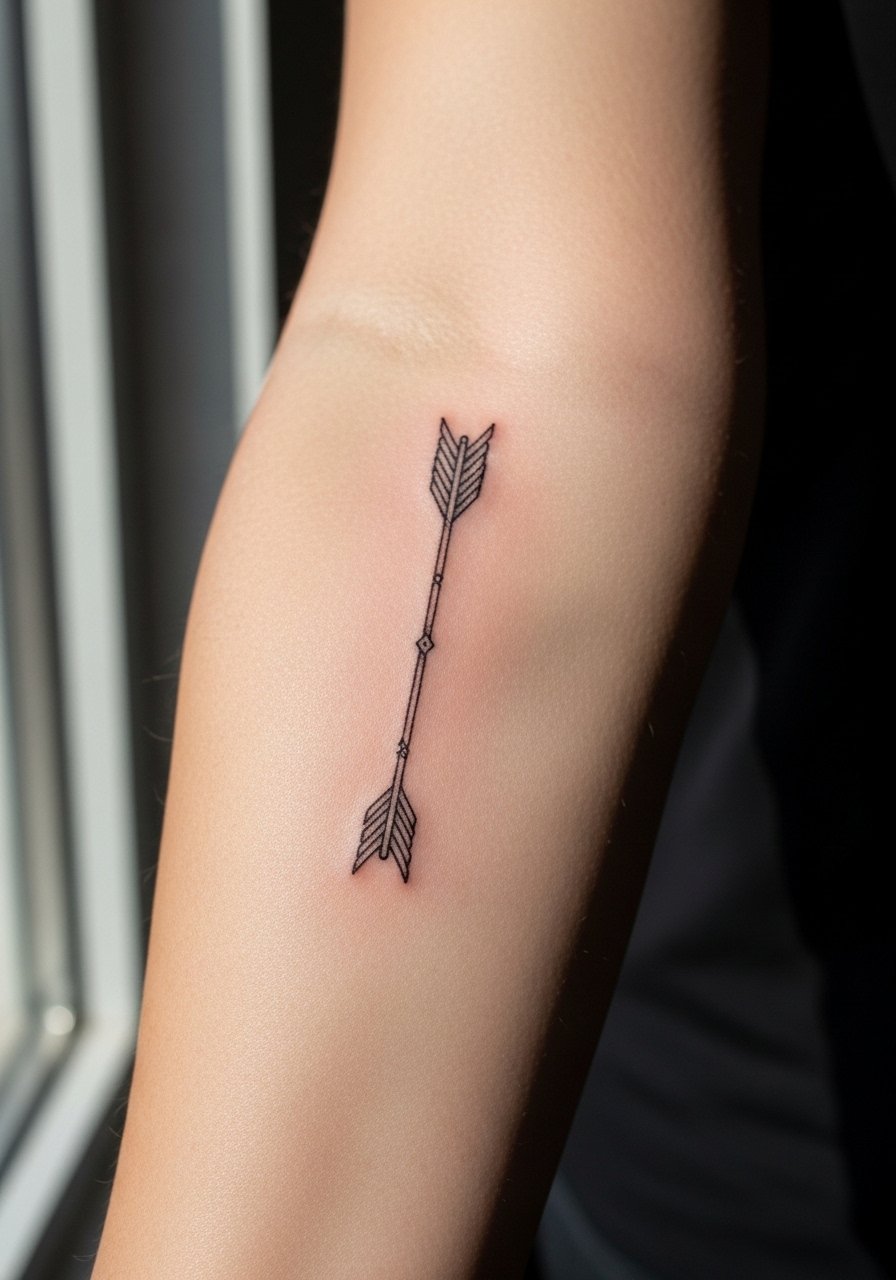
I recommend the inner forearm for single-line arrows because the skin there stays relatively stable and the linework reads for years. Tell your artist you want a slightly thicker hairline than the thinnest needle, so the arrow keeps definition where friction is low but daily wear happens. The session is quick and feels like a steady rasp under the skin, not a sharp sting, and most people are done within one short appointment. A common mistake is asking for the arrow too tiny with tight details, which crowds the direction marker and invites early blurring. For showing it off, roll up a rolled sleeve cotton shirt so the forearm sits in clean light without patterns competing with the linework. Expect a touch-up conversation around year two if you live in a hot-sun climate.
2. Tiny Cherry Outline on the Wrist
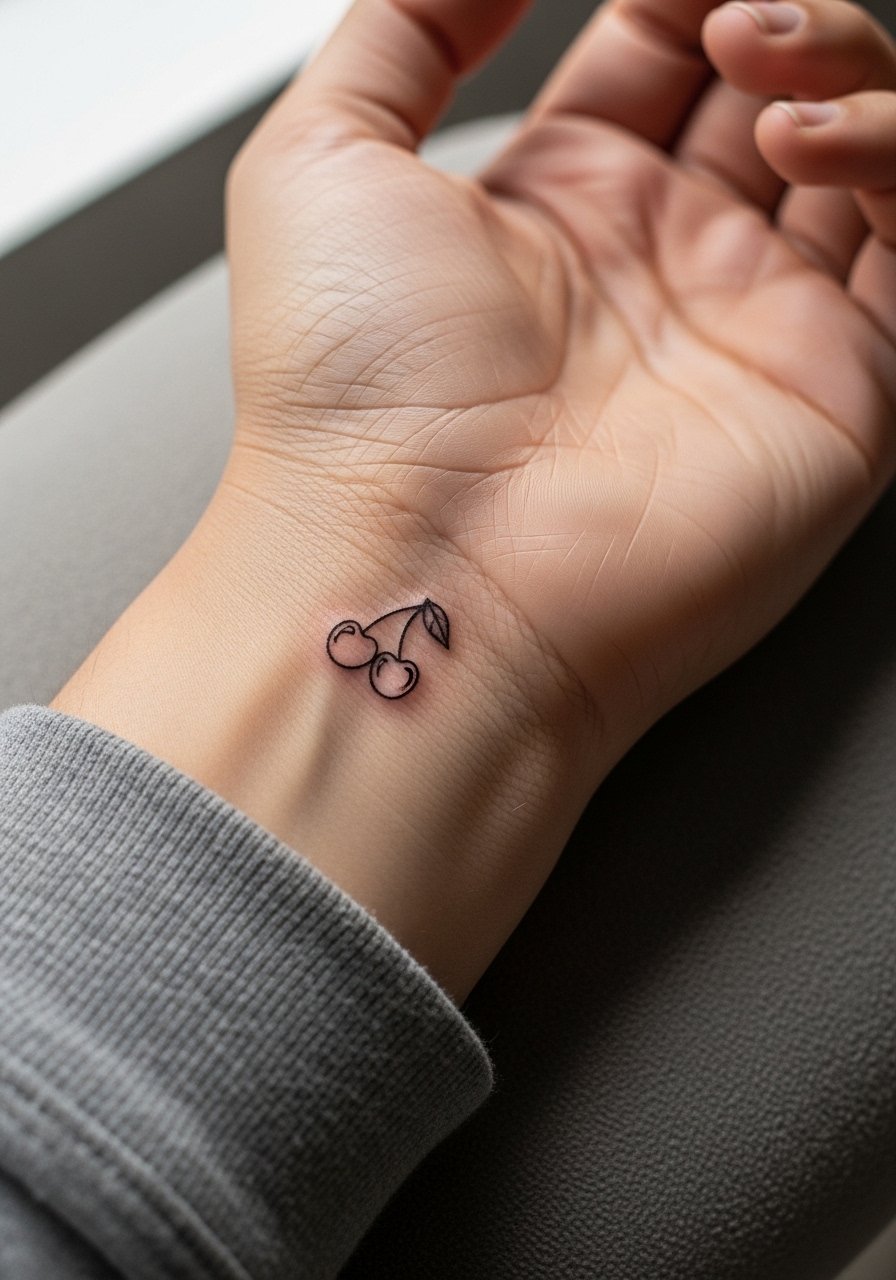
Wrist cherries are playful and fast to do, but the wrist is a high-friction zone that eats fine line unless the outline gets a touch more weight. Ask for a single-session flash with solid contour rather than micro hatch inside the fruit. The pain level is moderate because the area is bony, but numbing is optional. Common aging problems include softening where bracelets rub. For daytime styling, a thin gold chain bracelet on the opposite wrist frames the design without crowding it. For the session, remove all jewelry so the artist has unobstructed access. Plan on a possible touch-up at 12 to 24 months if you wear watches or bracelets daily.
3. Minimal Paw Print on the Collarbone

A collarbone paw print sits on relatively stable skin and holds fine line nicely when placed just off the bone. Tell your artist you want a compact outline with slightly rounded pads so the shape ages into a readable symbol rather than a smudge. The collarbone can be tingly during the session, but it is short and tolerable. A common mistake is placing the print directly on the sharpest edge of the bone where lines can spread. For showing it off, an off shoulder blouse lets the area breathe and keeps the eye on the tiny icon. Ask about a six to twelve month check-in for a light touch-up if the pads soften.
4. Thin-Line Floral on the Ankle
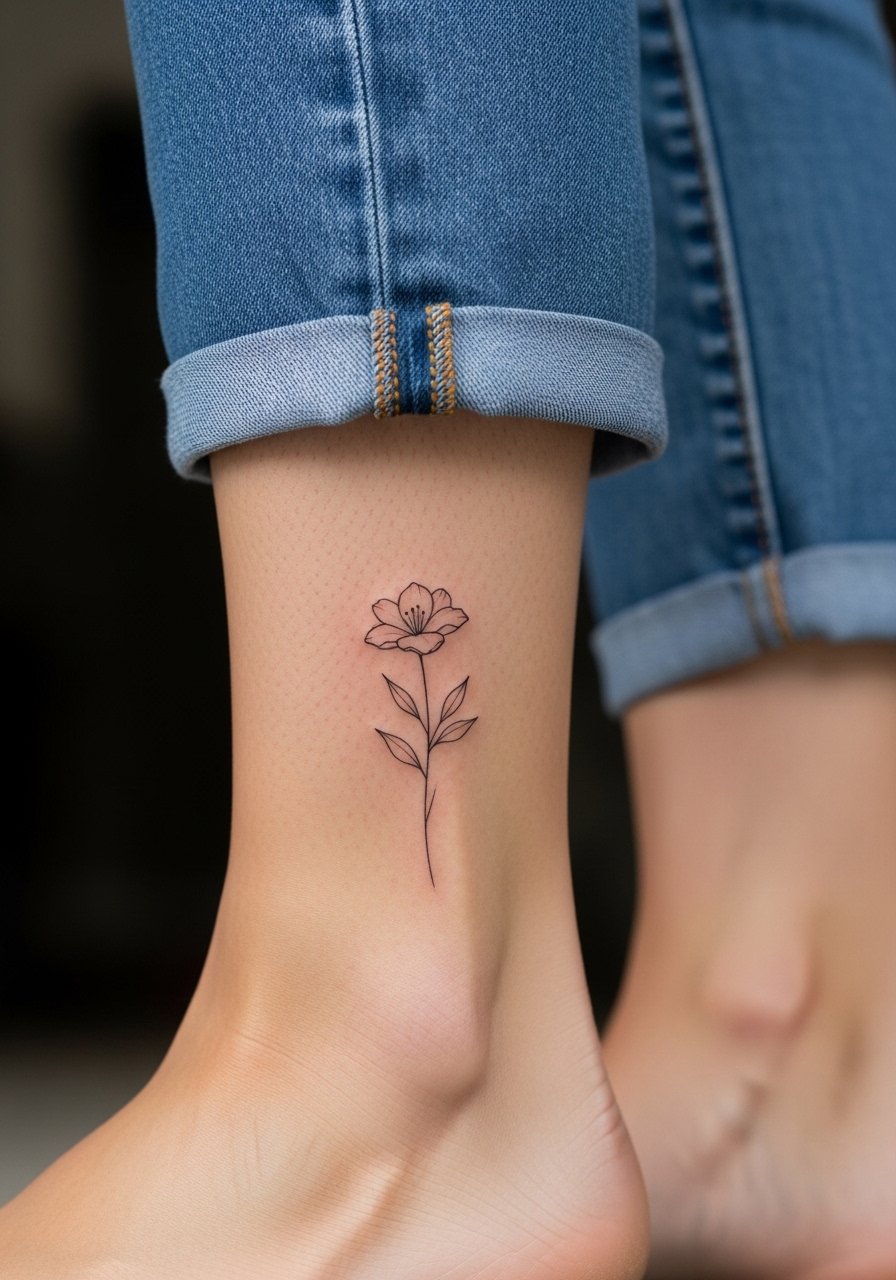
Ankle florals are perfect for seasonal visibility and they heal cleanly if you avoid tight socks and shoes for the first week. Request single continuous strokes and ask the artist to avoid too many tiny leaves, which can merge when the skin flexes. The session is short but expect light discomfort when the needle crosses the ankle bone. The big aging mistake is packing too many details into a one-inch space. For summer looks, pair the tattoo with strappy flat sandals or a dainty ankle chain to draw attention without rubbing the linework. Plan for a possible touch-up at 18 months if you wear heavy footwear frequently.
5. Micro-Constellation Dotwork on the Shoulder

Shoulder constellations work well because the area has low daily abrasion and plenty of room for dot spacing. During consultation, bring a simple star map reference and ask the artist to space the dots slightly wider than they would for a dense piece. The session feels like short repetitive taps and finishes quickly. There is a debate in the community about dot density here. One camp says tight dotwork gives crisp imagery now, while the other camp argues wider spacing prevents merging after a couple of years. Name both approaches in your consult and choose the spacing that matches how you want it to age. A sleeveless tank top during the session makes access easy and keeps the area clean.
6. Tiny Script Initial Behind the Ear
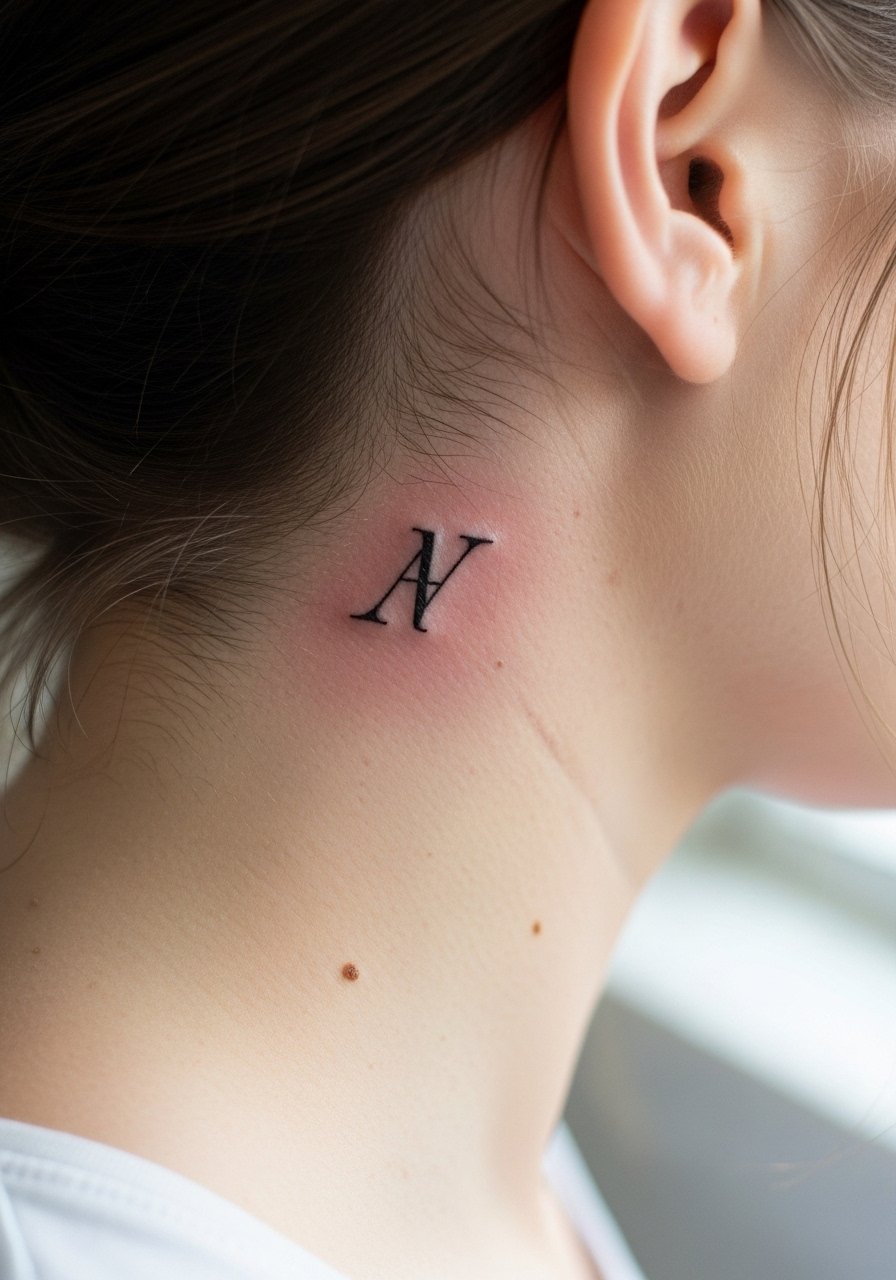
Behind-ear script is discreet and heals fast because it is shallow and compact, but the area requires careful stencil placement because small shifts are obvious. Ask the artist to print a transfer and have you check font size and angle before the needle touches skin. Pain is low to moderate and the session is brief, but you should wear hair up on appointment day. A frequent error is choosing a font with tight loops that blur into each other over time. Because this is near hair and friction from collars, plan for a touch-up conversation at year two to maintain crispness.
Pre-Session Essentials
The small pieces above demand different prep than larger back or leg work, and a few focused items smooth the session and the first week.
-
Stencil transfer paper kit. Lets you try the exact placement on skin before committing, especially helpful for tiny script and arrow work in ideas above.
-
Topical numbing cream. Applied per label about 45 minutes before can ease wrist and behind-ear sensitivity for first-timers.
-
Thin protective film roll. Useful for finger or ankle pieces that face constant friction from clothing and shoes in the first week.
-
Fragrance-free body wash. Gentle cleansing keeps fine line areas clean without stripping moisture that helps crisp lines settle.
-
Aquaphor healing ointment. A thin initial layer for the very first nights helps hold moisture for fine line work while you discuss longer term aftercare with your artist.
7. Single-Line Airplane Silhouette on the Inner Forearm
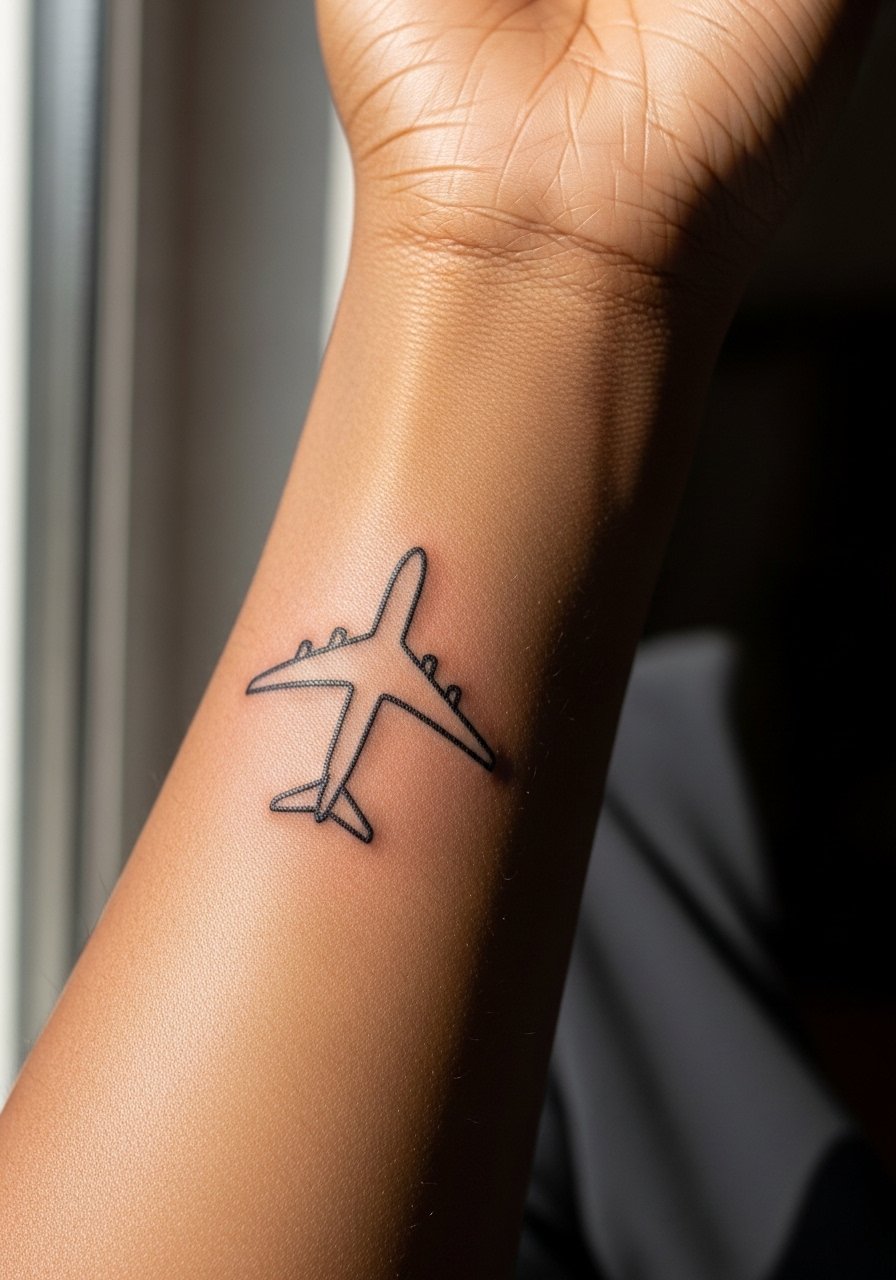
I often suggest the inner forearm for tiny travel icons because the area flatness keeps single-line forms legible. For a clean airplane silhouette, show an exact angle and tell the artist you want the fuselage to be slightly bolder than the wingtips to resist softening. The session is straightforward and low pain compared with rib or ankle spots. People sometimes ask for extreme miniaturization that loses the plane shape once healed. If you want to show it off, roll the sleeve of a rolled sleeve cotton shirt during casual wear so the icon reads against a neutral cuff. Expect to revisit small silhouettes at two to three years if your lifestyle includes frequent sun and pool exposure.
8. Single-Needle Bicycle Silhouette on the Calf
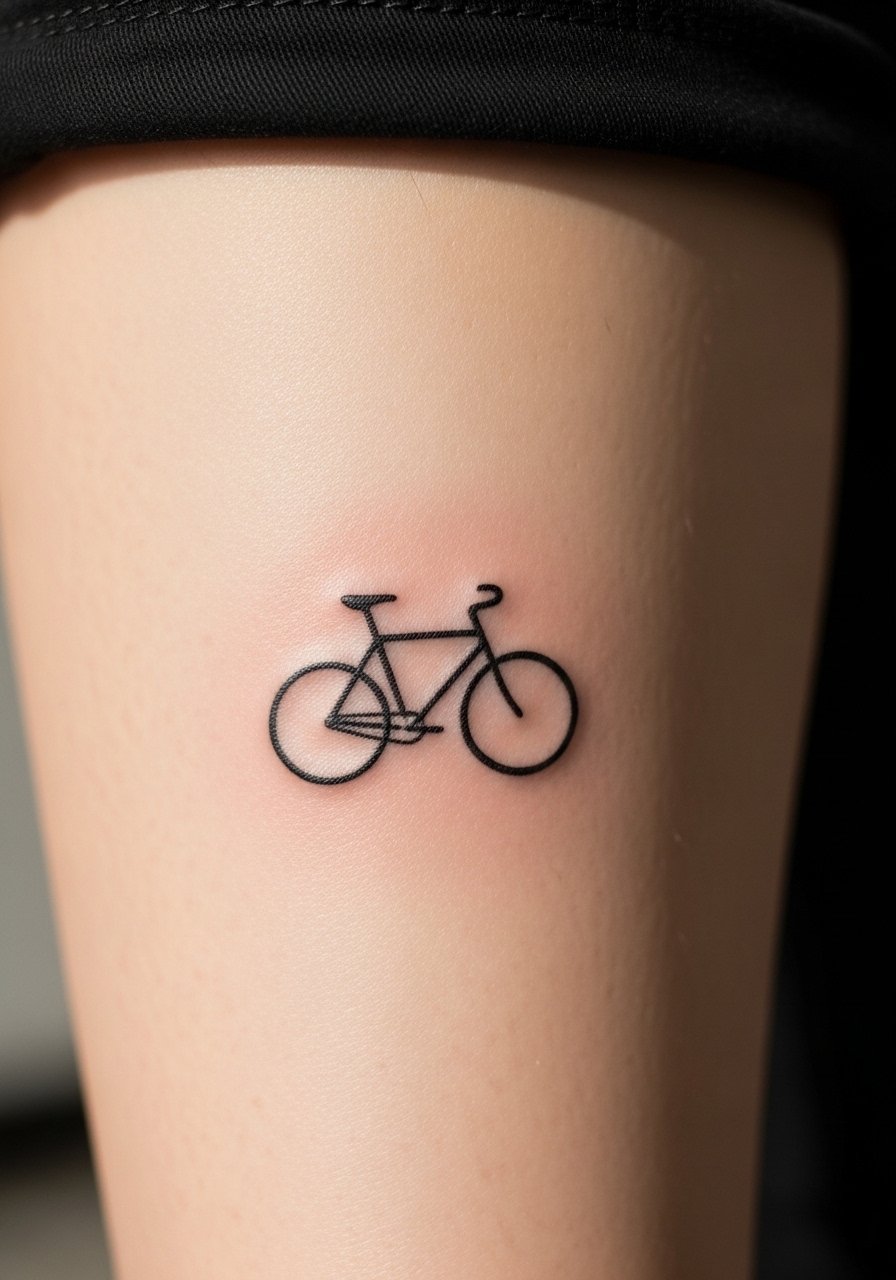
A calf placement gives tiny illustrative designs breathing room and reduces blowout risk compared with hands. For a bicycle, ask for clear, open negative space between the wheels and frame so the basic shape does not blur. The session feels like a steady vibration over muscle, and the area tolerates longer appointments. A mistake is compressing the spokes or frame into too small a patch. Pair casual looks with henley long sleeve roll-ups or shorts that let the calf show at midsummer. Touch-ups are uncommon here but discuss a follow-up if you plan to train heavily and expose the leg to sun.
9. Minimal Arrow on the Wrist with Directional Detail
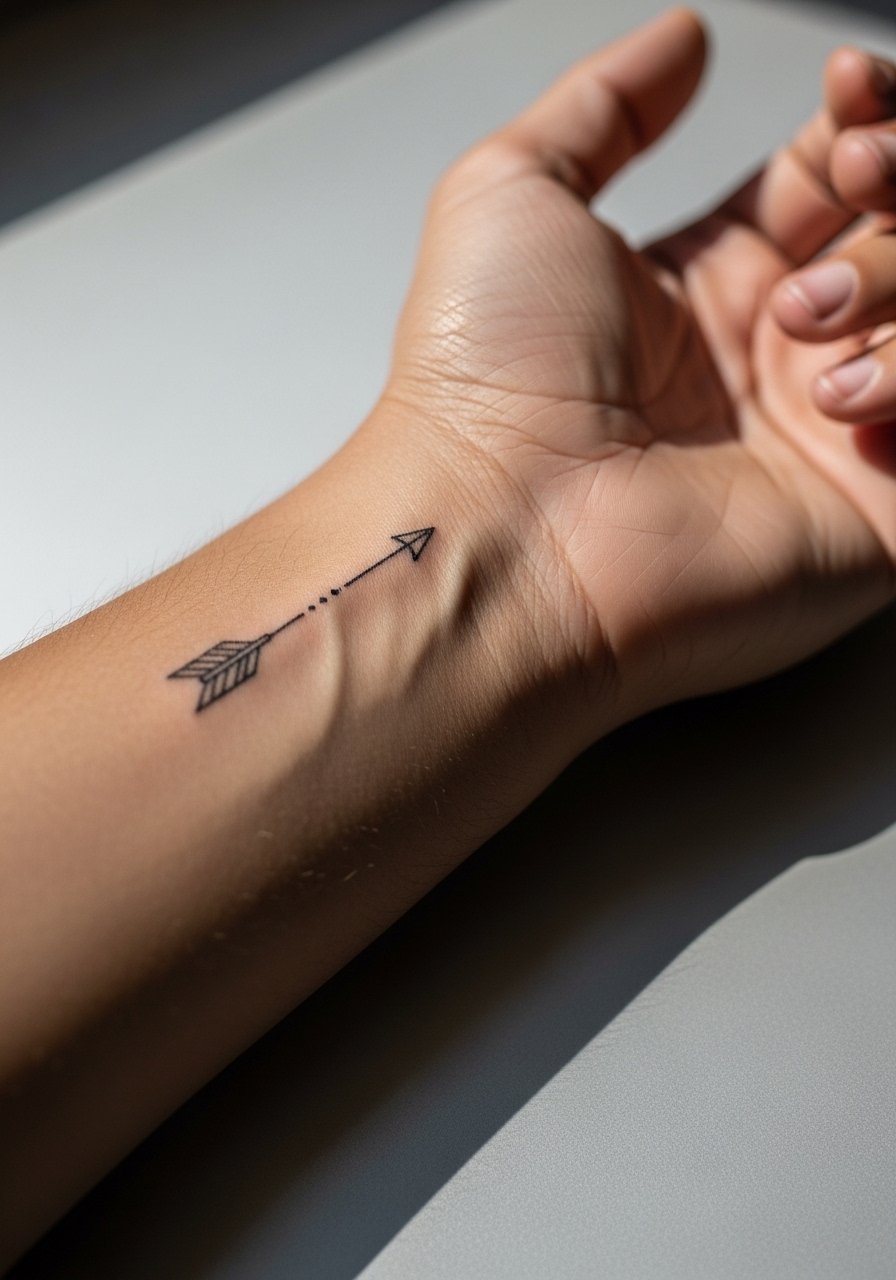
Wrist arrows read best when the shaft has consistent line weight and the head is not overly intricate. Ask the artist for a slightly reinforced shaft so daily wear from bracelets does not erase the direction cue. Sessions are short but the wrist can smart more than the inner arm. The common error is asking for micro chevrons that fill with ink and blur after a year. For easy styling, a dainty bracelet stack on the opposite wrist complements the piece without rubbing it. Plan on a touch-up at the one to two year mark for high-friction wearers.
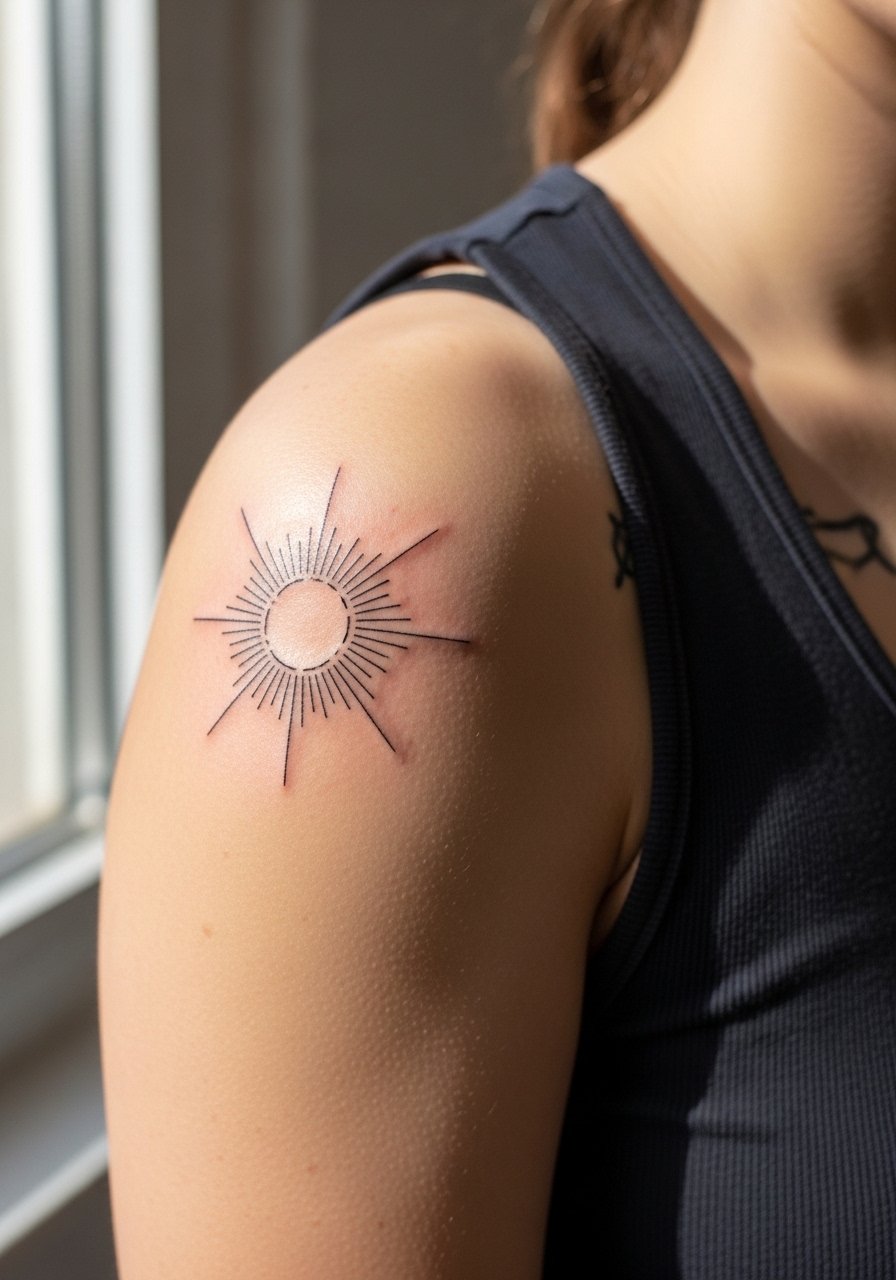
10. Negative Space Sun Rays on the Shoulder Blade

Negative space suns rely on crisp edges more than filled circles, so spacing matters more than saturation. In the consult, request a stencil check to confirm how the rays sit with your shoulder blade curve. The session is visually satisfying and does not take long, but avoid very tight rays that compress and join as the skin moves. There is a debate among artists about whether negative space holds better than filled shapes. One group favors negative space for reduced ink density, while another warns that too-small gaps will close over time. Wear a loose muscle tank to show the rays cleanly when you want them visible. Expect stable results with a possible light touch-up after a couple of years depending on placement.
11. Tiny Ladybug with Minimal Dots on the Collarbone
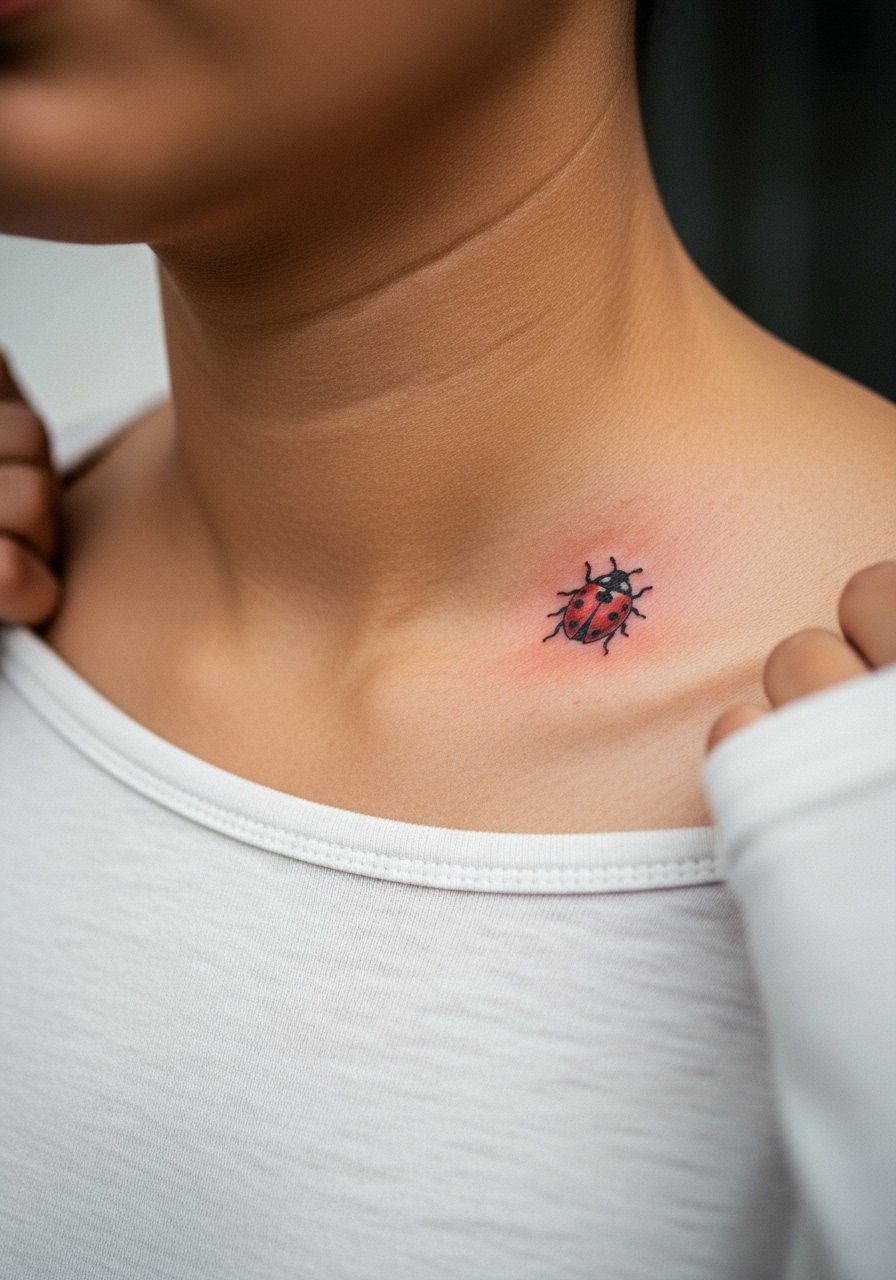
Ladybugs translate well into tiny illustrative work because bold spots anchor the shape. Ask for sturdy black spots and a simple red fill if you want color, and confirm the pigment saturation is not feathered into hair follicles near the collarbone. The session is quick and mildly tender. A common mistake is over-detailing legs or antennae in a tiny space which can blur. Pair the design with a delicate drop necklace that sits opposite the bug and keeps attention on the collarbone micro art. Touch-up may be recommended if the red pigment softens faster than black.
12. Micro-Geometric Mountain on the Wrist
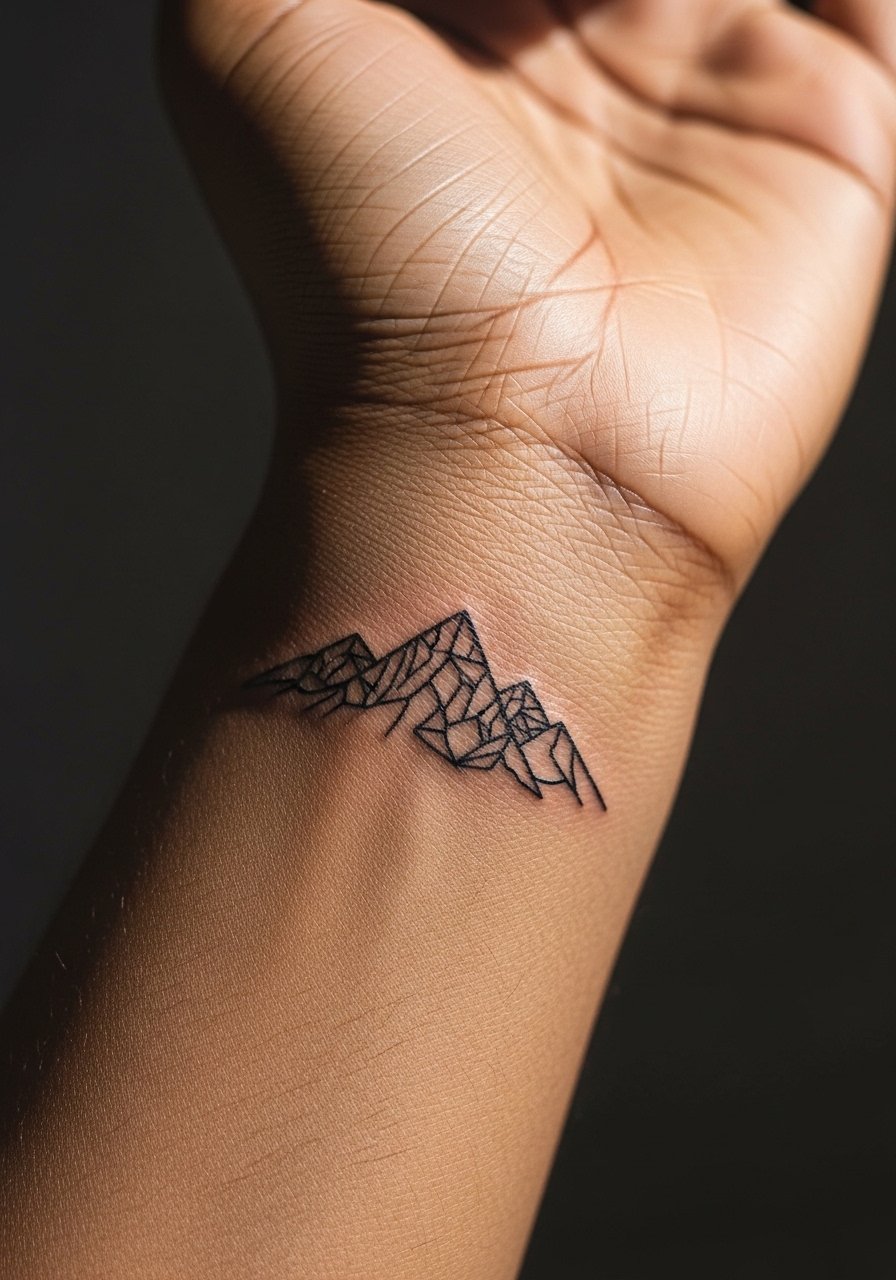
Micro mountains work when you keep triangles open and avoid tiny hatch shading. In consultation, bring reference showing the exact peak angles and ask for slightly thicker base lines. The wrist placement is visible but exposed to soap and sun, so expect some lightening over time. A common mistake is packing in micro stipple at the base which fills and softens. For casual framing, cropped jeans and strappy flat sandals or boots that show the wrist complement the outdoorsy feel. Touch-ups at one to three years are common for outdoor folks.
13. Tiny Moon Outline on the Inner Arm
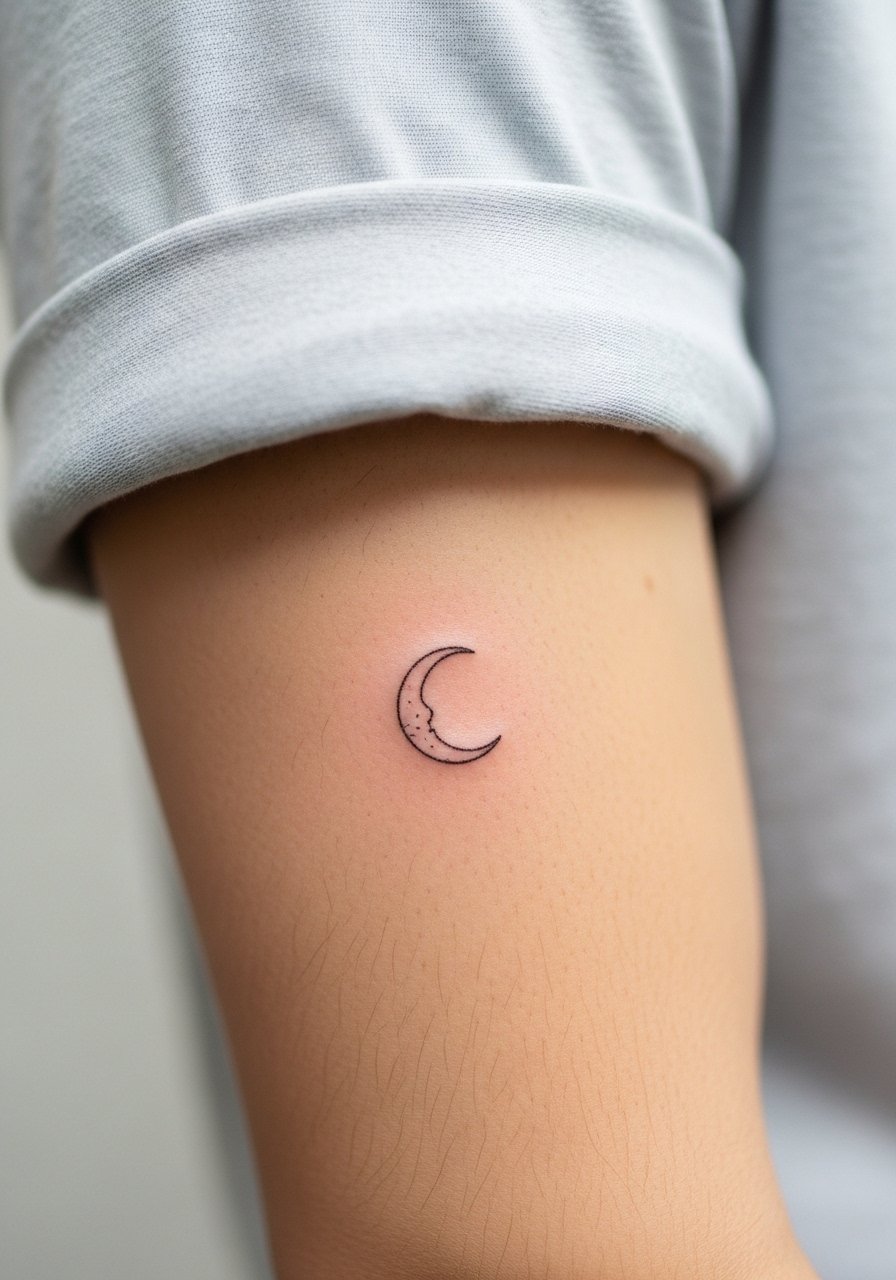
An inner arm moon avoids constant abrasion and keeps a simple crescent readable. Tell your artist you want the crescent open and airy with a slightly bolder outer curve. The session is comfortable because the inner arm has some cushion. People sometimes ask for micro shading inside the crescent that merges after a few years. Wear a loose button-down shirt to expose the patch when you want to show it off. Expect low-maintenance aging unless you actively scrub the area.
14. Outline Bow with Ribbon Tail on the Ankle
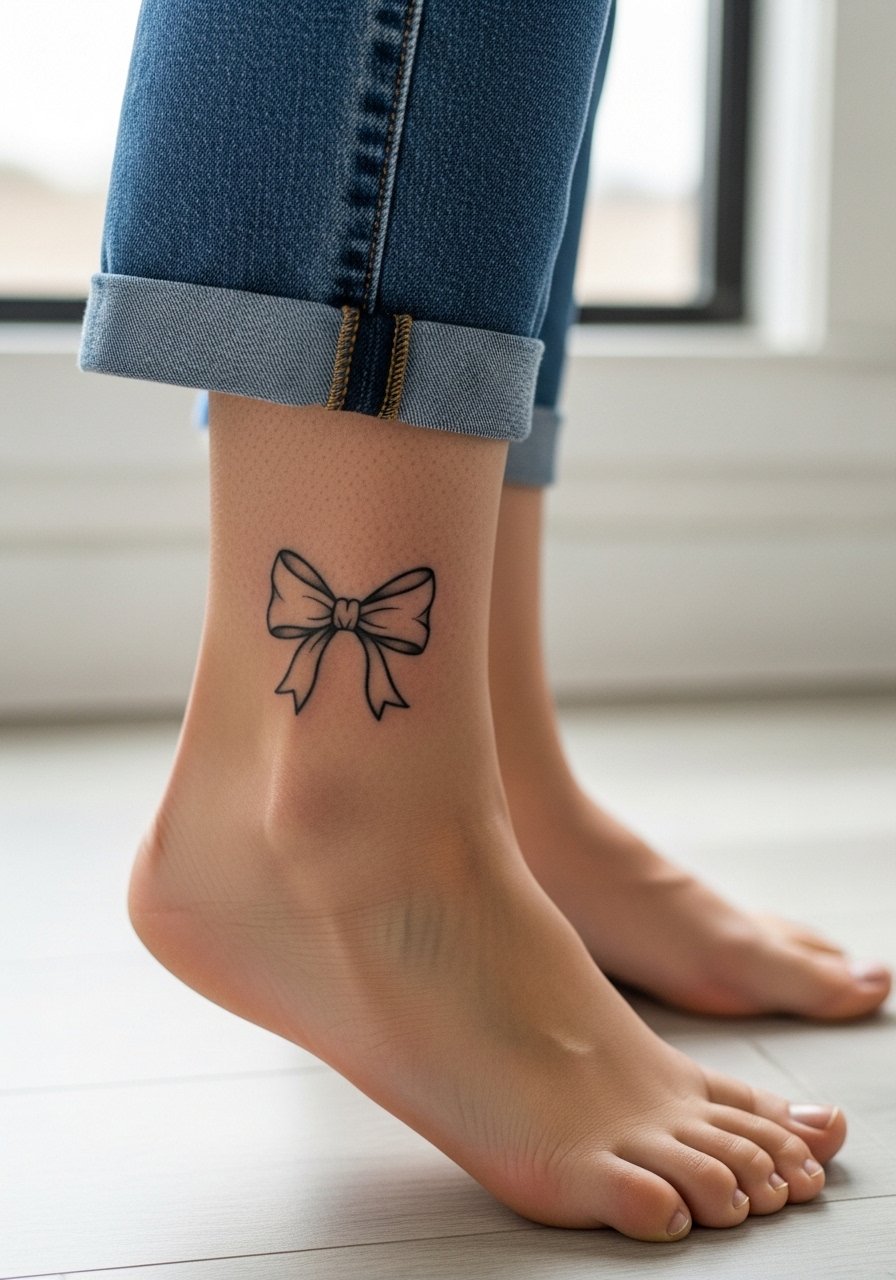
Bow outlines are feminine in scale and hide easily under socks or shoes. Request open loops and a clean ribbon tail without micro crosshatching so the knot stays defined. The ankle session is brief but can sting when the needle crosses bony ridges. A frequent mistake is ordering a bow with tiny texture that looks charming fresh but blurs on contact points. Pair the design with a dainty ankle chain or sandals to highlight it in summer. Touch-ups may be needed after activities that cause repeated rubbing.
15. Tiny Script Word on the Collarbone
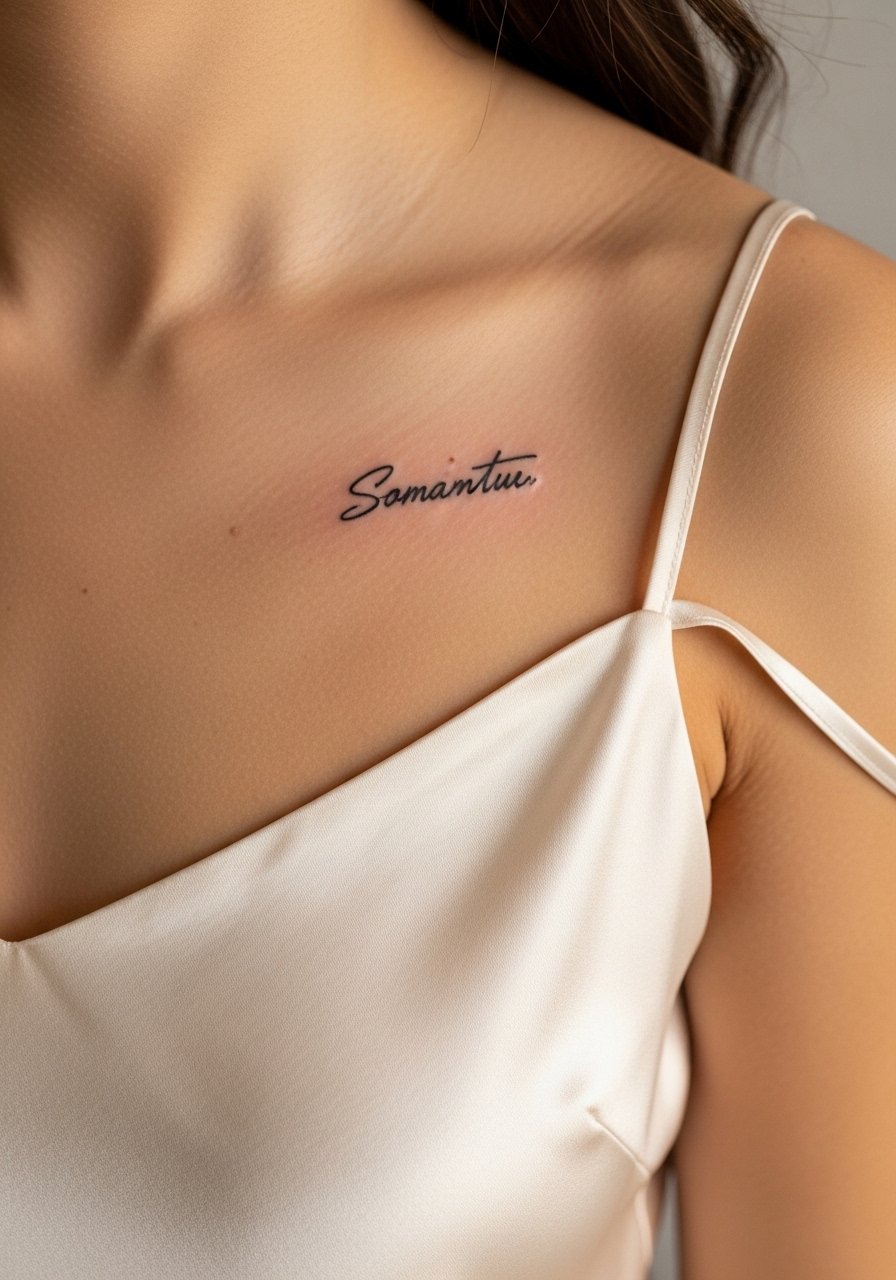
Script on the collarbone looks elegant when the letters have space and slightly open bowls. Bring exact font samples and ask for a transfer so you can check size against your collarbone curve. The session is short and can tingle due to proximity to bone. A common error is choosing very tight cursive that knots in places where letters meet. Consider pairing the script with a silk camisole to showcase the area without heavy jewelry competing. Discuss a one-year touch-up to preserve thin strokes.
16. Minimal Paw Print on the Ankle

Ankle paw prints are discreet memorials that age about the same as other ankle work. Ask for rounded pads and a slightly reinforced outline to prevent tiny pads from losing definition. The session is quick and the area is sensitive on bone. A frequent mistake is trying to cram claws and tiny texture into a half-inch print. Show it off with strappy flat sandals and avoid tight socks in the first week. Expect a touch-up discussion at the 12 to 18 month mark if you are active outdoors.
17. Micro-Landscape Mountain on the Outer Forearm

Outer forearm micro landscapes hold up because the area is flat and easy to protect. Ask for clear negative space between peaks and a modest base line to anchor the scene. The session feels like steady scratching but is manageable. The common mistake is compressing tiny dots and lines into the valley which then blends. For everyday looks, roll a neutral henley men or a rolled flannel that frames the forearm without crowding the art. Touch-ups are rare but not impossible if you work outdoors.
18. Tiny Star Cluster on the Finger

Fingers are notorious for fading, so if you want star clusters there, request bolder anchor points and simplified stars rather than delicate bursts. The session is quick and quite sensitive, and the piece needs protection from constant washing. People often underestimate how many touch-ups finger work will need. For this reason, consider a simple star behind the ear or on the ankle instead. If you do choose the finger, expect to book maintenance touch-ups at regular intervals.
19. Micro-Geometric Sun on the Shoulder
A small geometric sun on the shoulder benefits from open rays and clear negative space so the shapes do not merge. Ask the artist to maintain consistent spacing and confirm the stencil against the shoulder curve. Sessions are quick and tolerable. One camp of artists still prefers heavier blackwork for longevity, while the fine line camp argues spacing and needle depth are the real longevity factors. State your preference during consultation and choose spacing that matches how bold you want it to look over time. Wear sleeveless tops like a cotton tank women to show the piece off when desired.
20. Tiny Bicycle Chain Link on the Outer Forearm
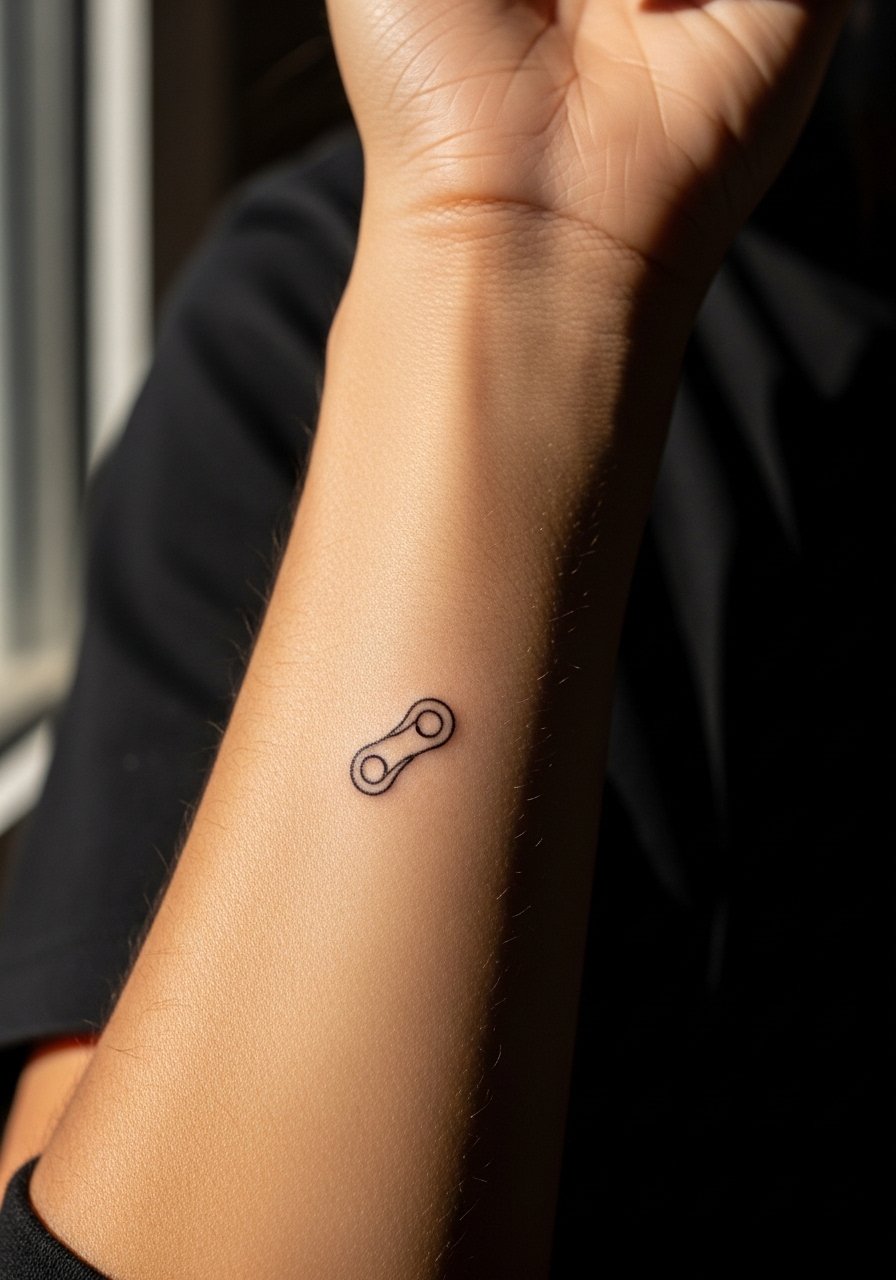
A small chain link plays well on the outer forearm because the area avoids heavy friction and shows motion. Request simple linked ovals with a slightly heavier outer contour so the visual motif keeps its form as it ages. The session is calm and most people tolerate it easily. Avoid asking for tiny interior textures that will fill in over time. Pair the look with a rolled flannel shirt for casual seasonal outfits that reveal the forearm. Maintenance is low compared with hand or finger pieces.
21. Negative Space Mountain Peak on the Wrist
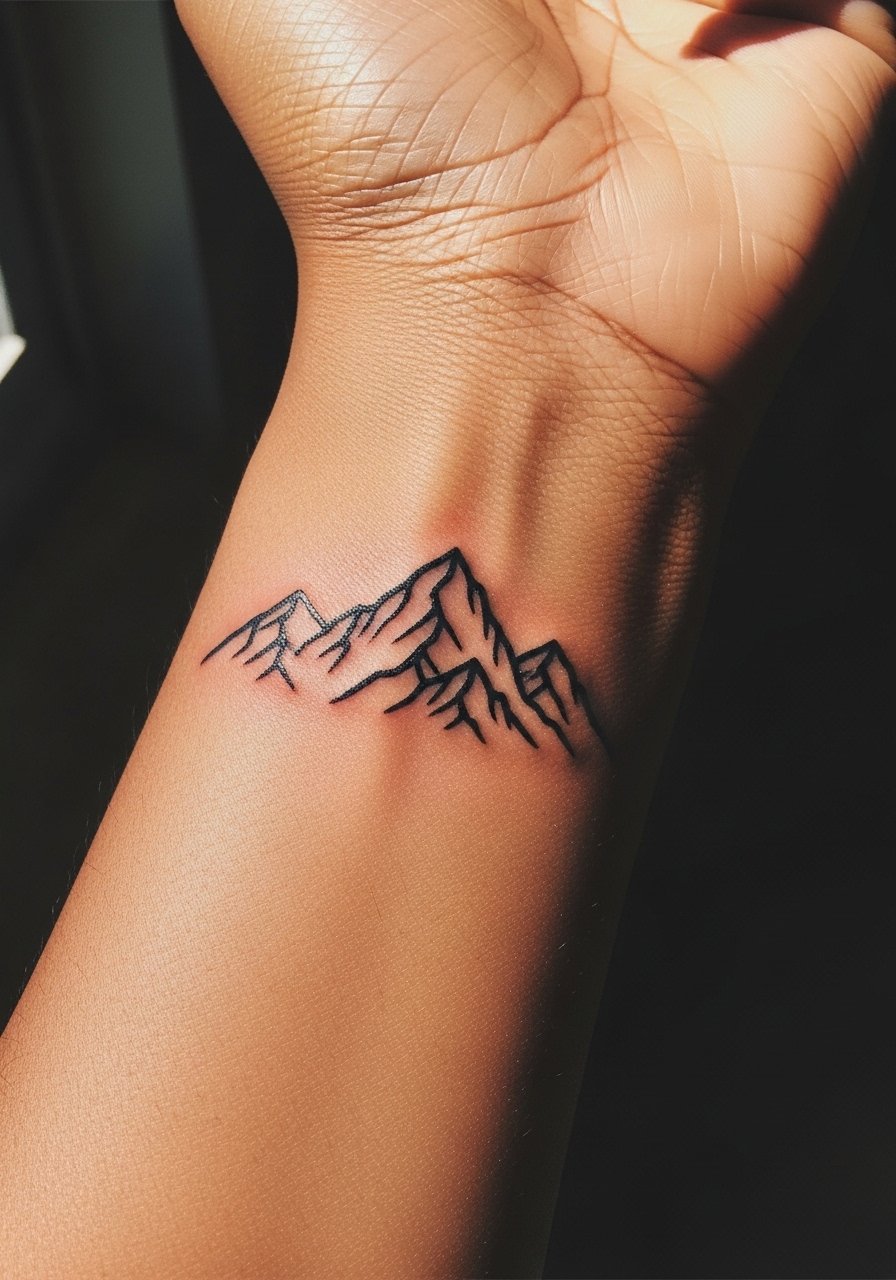
Negative space mountains on the wrist need room so the peaks do not close as the wrist flexes. Ask for clear gaps and avoid interior dot shading that will vanish into blur. The wrist is a medium-pain area and the session is short. The frequent mistake is compressing a full landscape into a one-inch circle. For a clean presentation, wear a thin gold chain bracelet on the opposite wrist so the negative space reads against a gentle metallic contrast. Expect a touch-up at two years if you are hard on wristwear.
Frequently Asked Questions
Q: Do fine line tiny tattoos fade faster than bolder work, and what are the two sides of that argument?
A: Fine line does tend to soften faster in high-friction areas. One camp says fine line holds if aftercare is meticulous and spacing is generous, while the other camp argues bold lines age better in everyday wear. The practical takeaway is to choose placement and ask your artist about spacing and line weight so the piece fits your lifestyle.
Q: How should I prepare clothing-wise for a collarbone or shoulder appointment?
A: For collarbone work bring a wide-neck shirt or a strap top you can slip aside, and for shoulder pieces wear a loose tank. These choices let the artist access the area without exposing more skin than necessary, and they make post-session dressing easier.
Q: If I want a tiny design on my finger or hand, what should I expect for maintenance?
A: Hand and finger tattoos face constant washing and sun, so expect more frequent touch-ups than forearm or calf pieces. Ask your artist about reinforced outlines and plan for follow-up touch-ups at one to three year intervals depending on use.
Q: Are numbing creams acceptable for tiny wrist or behind-ear tattoos?
A: Numbing creams are commonly used for first-timers and can ease the session, but some artists prefer clients to feel the work for precise feedback. Mention this early in the consult so the artist can advise on application timing and any effects on ink pickup.
Q: How do I find artists who specialize in tiny fine line work without naming individual shops?
A: Search hashtags like #finelinetattoo and #tinytattoos on social platforms, check Tattoodo filters for tiny or minimalist tags, and use local booking apps to search "[city] fine line tattoo studio." Look for healed photos in portfolios showing multiple tiny pieces on different skin tones.
Q: Which small placements usually need a touch-up first, and why?
A: Fingers, hands, and wrists often need touch-ups sooner because of friction and washing, while shoulders and calves usually hold longer. The skin type, sun exposure, and how the area moves all affect when a touch-up becomes necessary.
