
Fine line koi pieces have dominated saved boards for a while, but tiny koi can behave very differently from the big, saturated ones people post. Small scale demands careful linework, spacing, and placement choices if you want the fish to read as koi years from now. Below are 27 compact coi fish ideas with what to ask your artist, how they heal, styling tips where they actually help, and image prompts to illustrate each look.
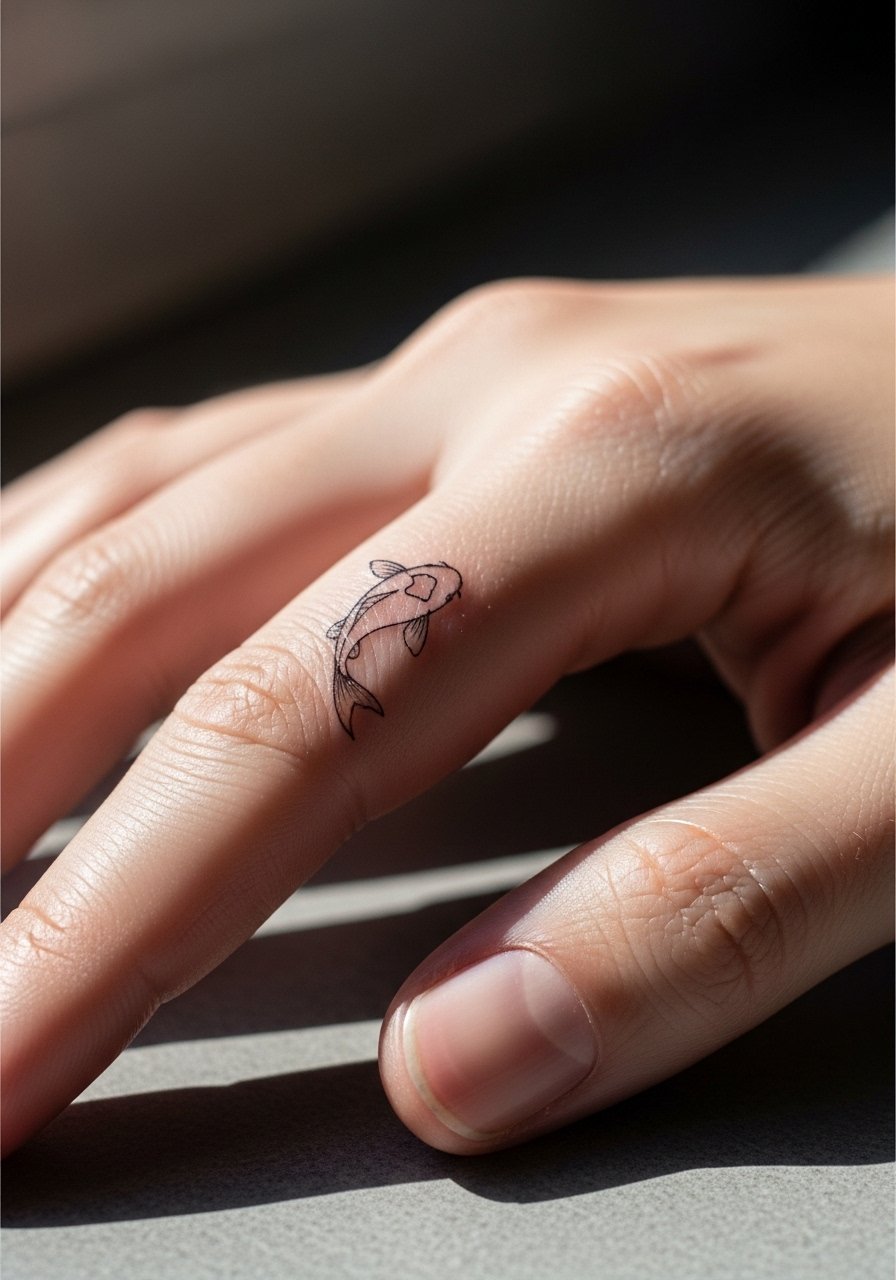
1. Fine Line Finger Coi
I've seen a ton of tiny finger koi last or blur depending on one decision at consult. Ask for slightly heavier single-line contour rather than the whisper-fine outline most people request. Fingers move and the skin is thin so a hair stronger line and spaced internal dots keeps the silhouette clear at year two. The session feels quick but the artist will warn about touch-ups. For showing it off wear a thin chain pendant necklace if the piece sits near the wrist to balance jewelry without crowding the finger. Hand and finger tattoos still affect some workplaces so think about career fit before booking.
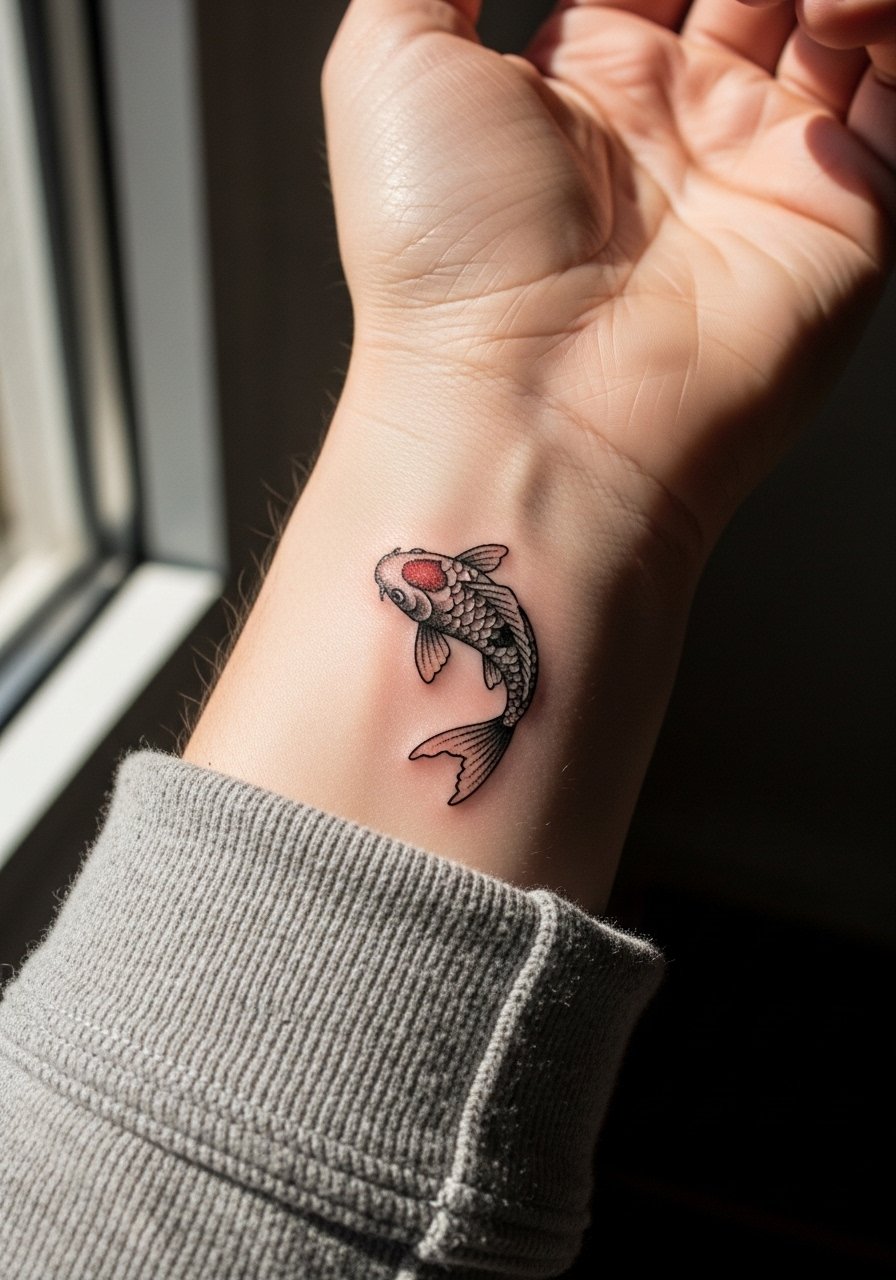
2. Micro-Realism Wrist Coi
Fair warning, the wrist is a high-motion zone and tiny realism can lose detail if it is drawn too dense. For a micro-realism coi, tell your artist you want simplified scales suggested by soft stipple shading rather than every scale drawn. The session is short and the pain is mild. At six months a well-spaced micro-realism reads sharp. At two years expect softer edges and potential need for a small touch-up. Pair this with a minimalist watch or slim leather bracelet to frame the piece without covering it. Tiny wrist work sees a lot of friction from sleeves so keep that in mind.
3. Minimal Single-Contour Inner Forearm Coi
I've seen this look survive years when drawn with clean confident linework and negative space around the fish. The trick to ask for at the consult is a single continuous contour with small breaks to suggest fin motion rather than dense hatch shading. Inner forearm is forgiving and the session is comfortable. A common mistake is packing the fish too close to existing forearm tattoos which causes visual crowding later. For outfits roll sleeves or cuff a linen button-down to show the piece without overwhelming it. Healed linework generally stays readable at five years unless blowout occurs.

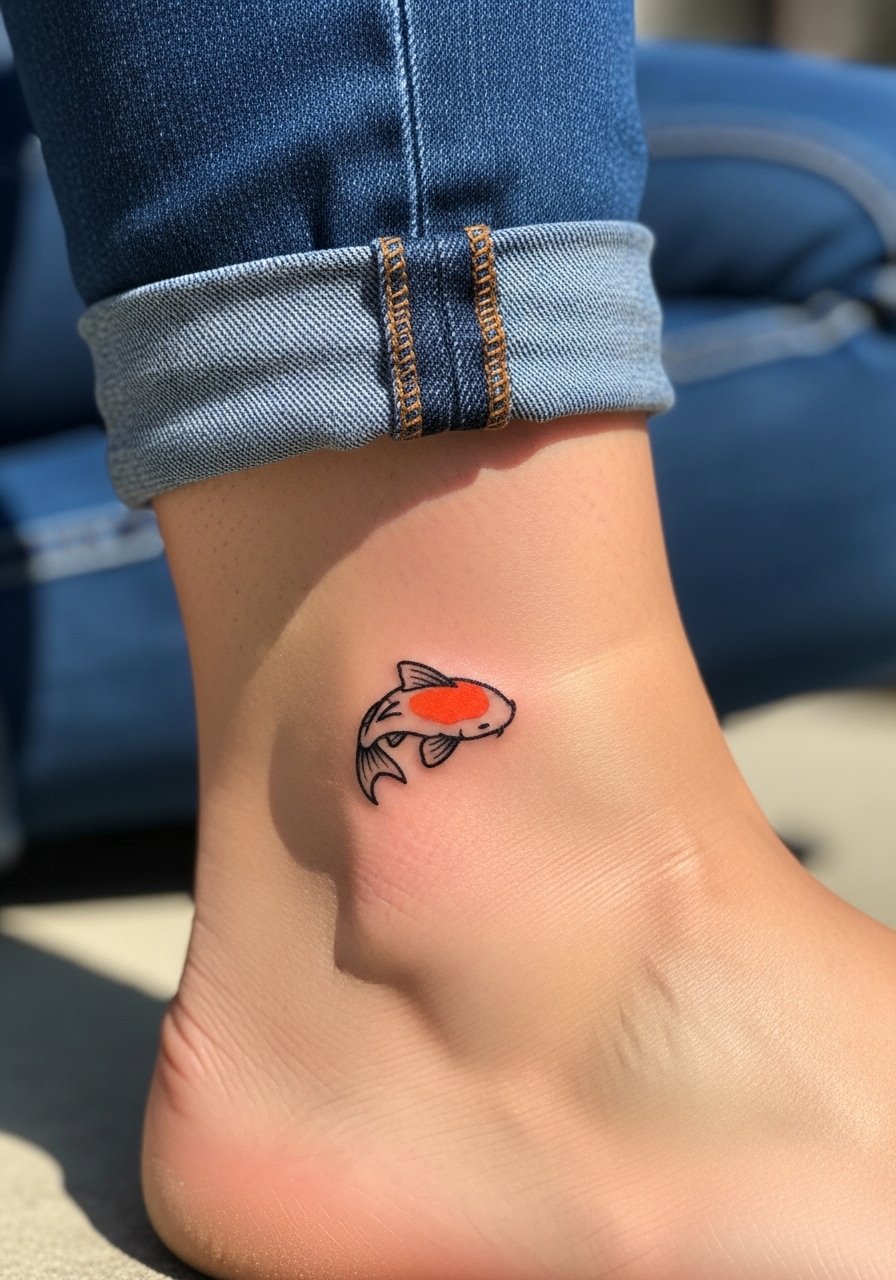
4. Tiny Color-Blocked Ankle Coi
There's something about a small splash of saturated color on the ankle that reads very deliberate. Ask your artist for color blocking with a small black outline and one or two saturated fills rather than a full gradient. Ankle sessions feel prickly because of thin tissue over bone but they are brief. At six months color stays punchy if saturation was done well. Wear sandals or roll pant hems so the tattoo gets air while healing. For show-off style try cropped jeans and a strappy sandal that frames the ankle without rubbing the fresh ink. Expect a touch-up at year two for color settling.
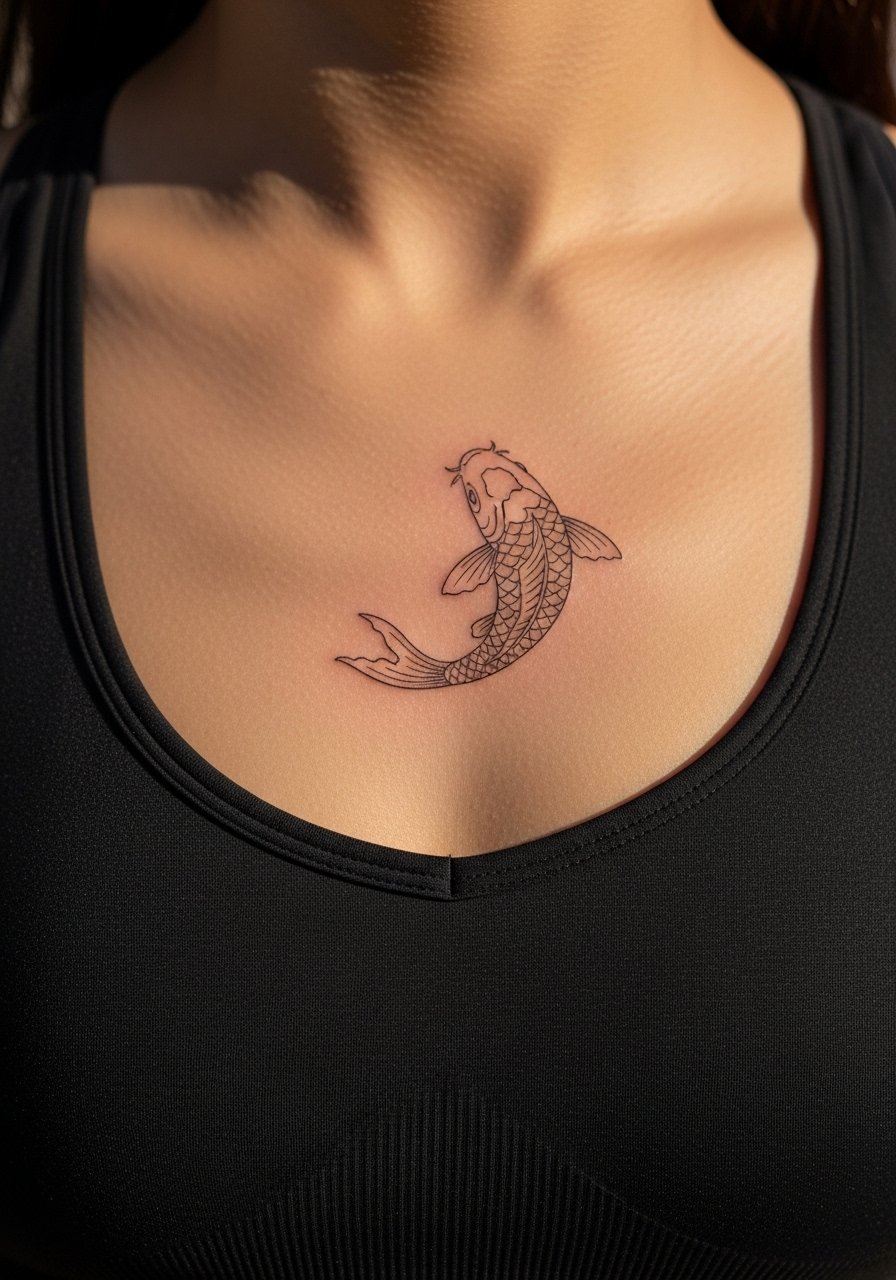
5. Subtle Collarbone Coi Outline
There is an elegance to a slim outline koi sitting just under the collarbone. The area moves with respiration so ask for slightly thicker outer linework and minimal internal detail to avoid early blurring. Sessions are quick and pain is mild to moderate. A mistake people make is insisting on tiny script next to it which competes with the delicate silhouette. For dressing, pair the design with a wide-neck sweater or an open collar shirt you can shift for the session. Collarbone pieces look polished with a thin necklace but avoid heavy pieces that sit directly on the ink.

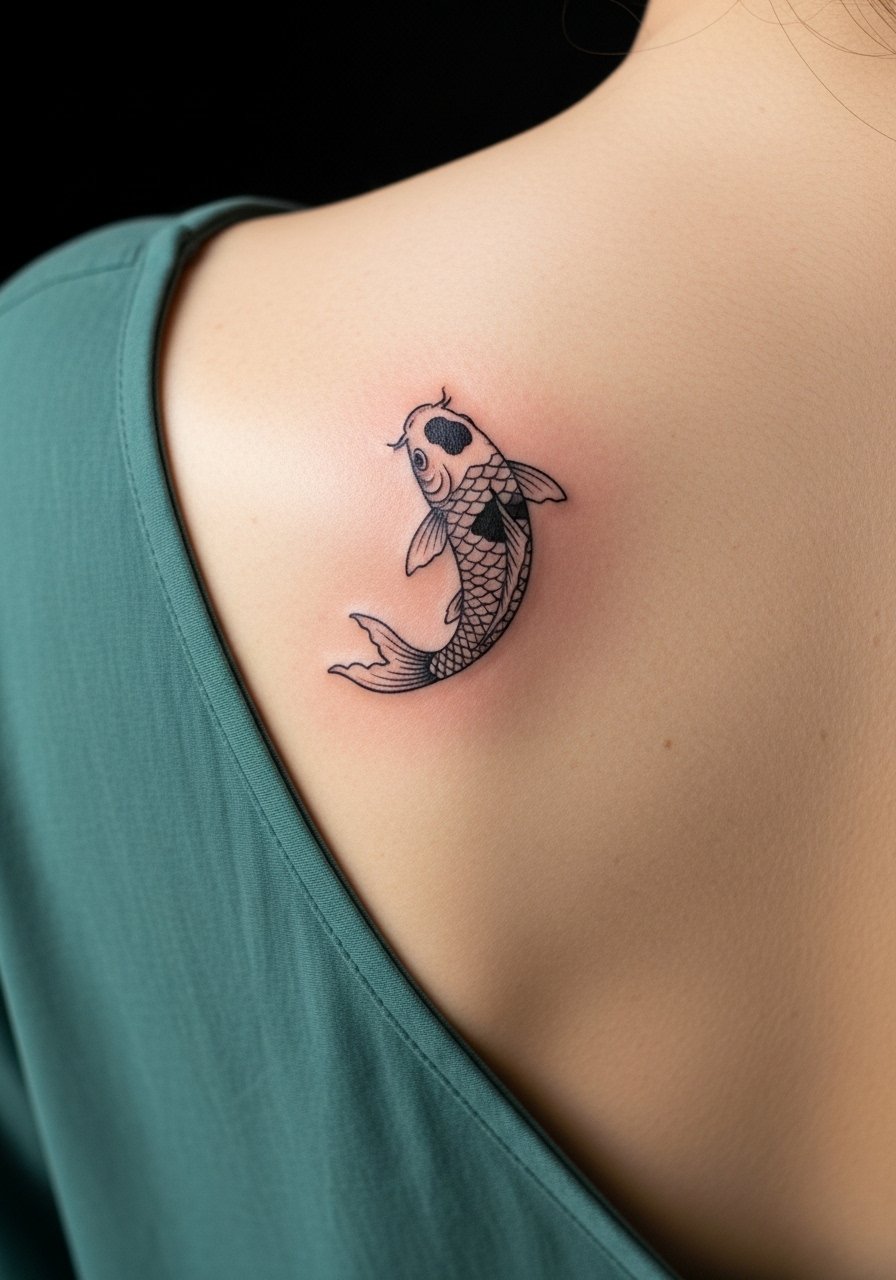
6. Little Shoulder Blade Coi with Stipple Shading
When you want a tiny koi that breathes across skin the shoulder blade lets the fins flow naturally. Ask for light stipple shading to keep the fish airy and avoid heavy saturation that can look clumped on this spot. The session is comfortable but expect the artist to have you sit facing sideways to expose the blade cleanly. A common version that ages poorly uses dense black fill near the spine which can create noticeable lumps over time. For the session wear a loose button-down you can pull aside like a loose button-down shirt so the artist has good access. Shoulder blade tattoos are easy to show with backless tops.
Studio Day Picks
The small placements above each bring specific prep and early-healing needs that make a short product list worth packing for the appointment and first week.
-
Stencil transfer paper kit. Lets you preview line placement on contours like the finger and collarbone before the needle touches skin.
-
Topical numbing cream. Applied before the session it can make wrist or ankle work more manageable without changing the artist's linework.
-
Thin protective film roll. Useful for finger and wrist pieces that face constant washing and friction during the first days.
-
Fragrance-free gentle body wash. Cleans delicate tiny linework areas without irritating the skin while they heal.
-
Aquaphor healing ointment. A thin layer in the first 48 hours helps keep fine line and micro-realism work from drying into hard flakes that can pull at the ink.
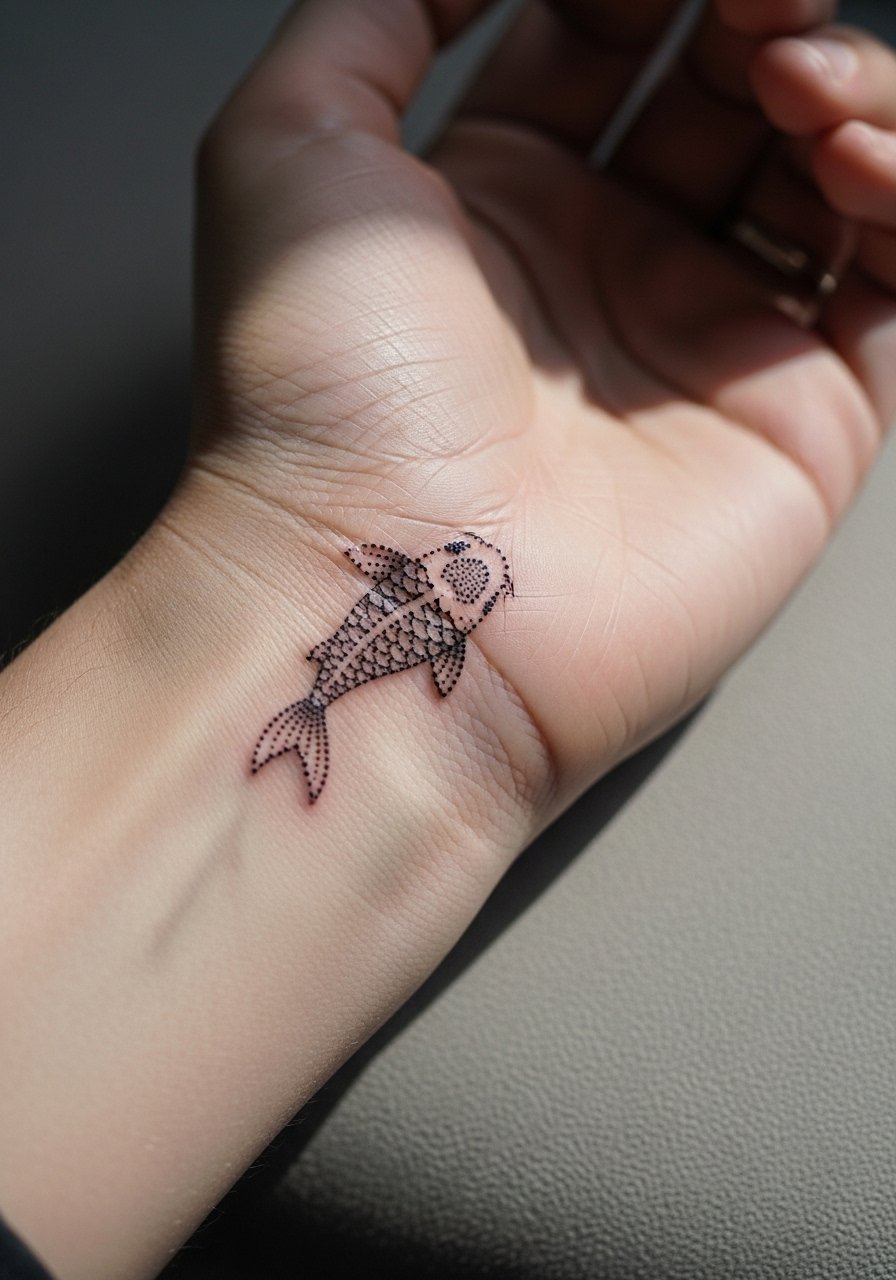
7. Petite Back of Wrist Coi with Dot Work
When dot work forms the central texture, the back of the wrist offers a flat canvas that keeps stippling tidy. Tell your artist you want dot density that suggests scale without forming solid fields. The session is brisk and the pain is low. A common mistake is asking for too many tiny dots close together which merge over time. Pair with a slim bangle or minimalist bracelet to frame the piece when you want it visible. Healed dot work keeps a delicate grain that ages more gracefully than tiny saturated fills.
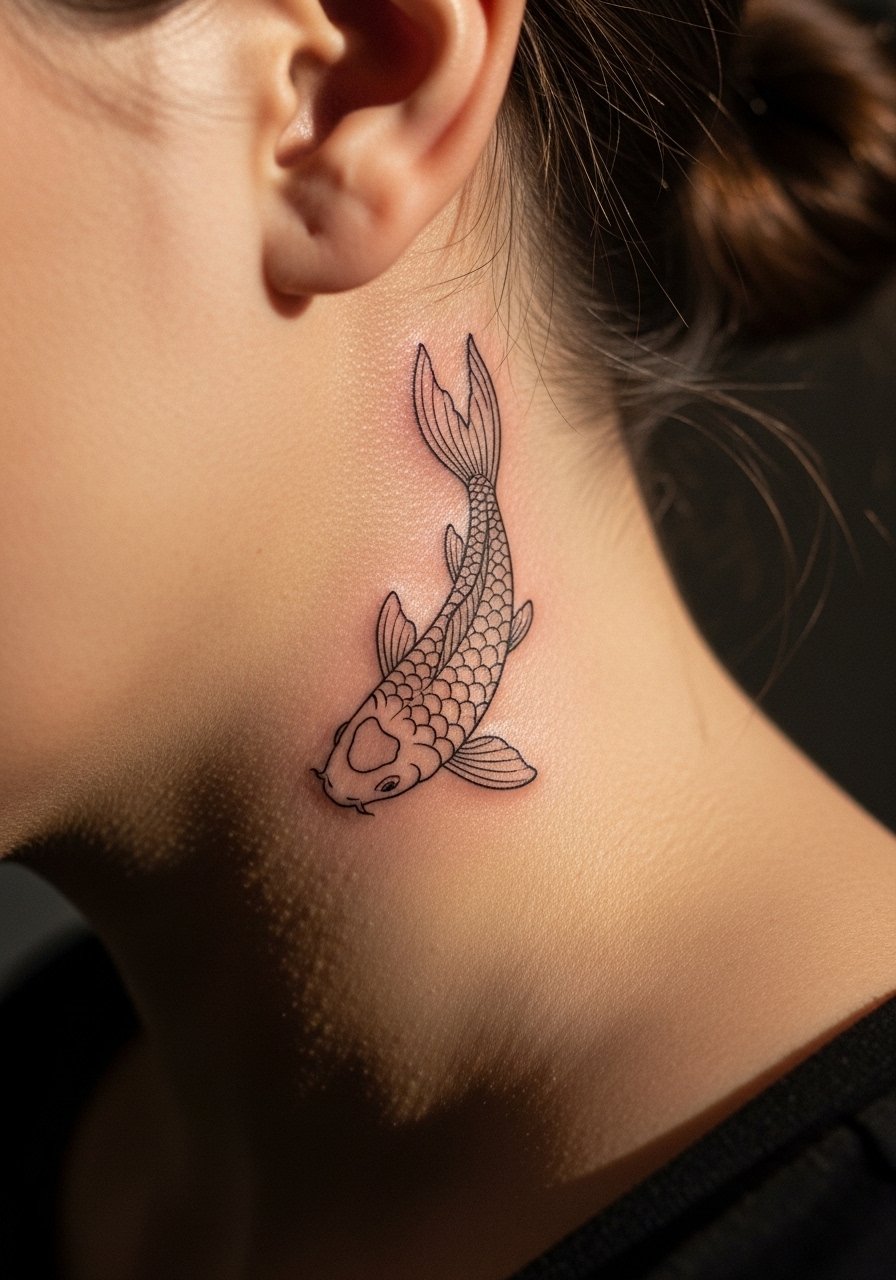
8. Micro-Outline Behind the Ear
For a discreet spot behind the hairline, ask for a micro-outline that reads as a soft silhouette from a distance. The artist needs to place the stencil carefully because hairline placement shifts the perceived size. Sessions are quick and the area can be tender. Behind the ear placement requires the prompt to note "on the skin behind the ear, below the hairline on the neck." There is a split in opinion among artists on very fine work here. One camp says hair movement and thin skin blur fine lines fast. The other camp says with proper depth it holds. Ask your artist where they stand. Styling is minimal because the piece is often hidden by hair.
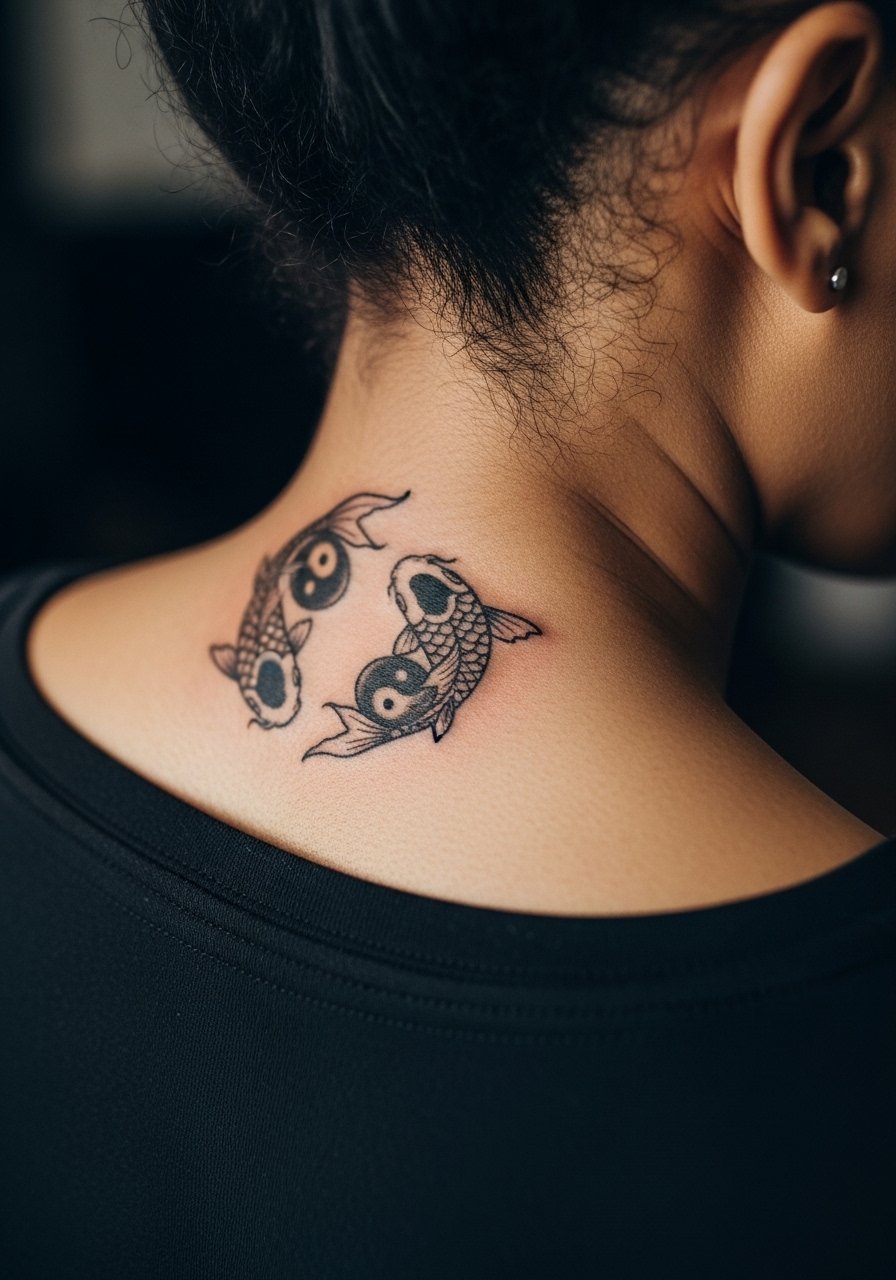
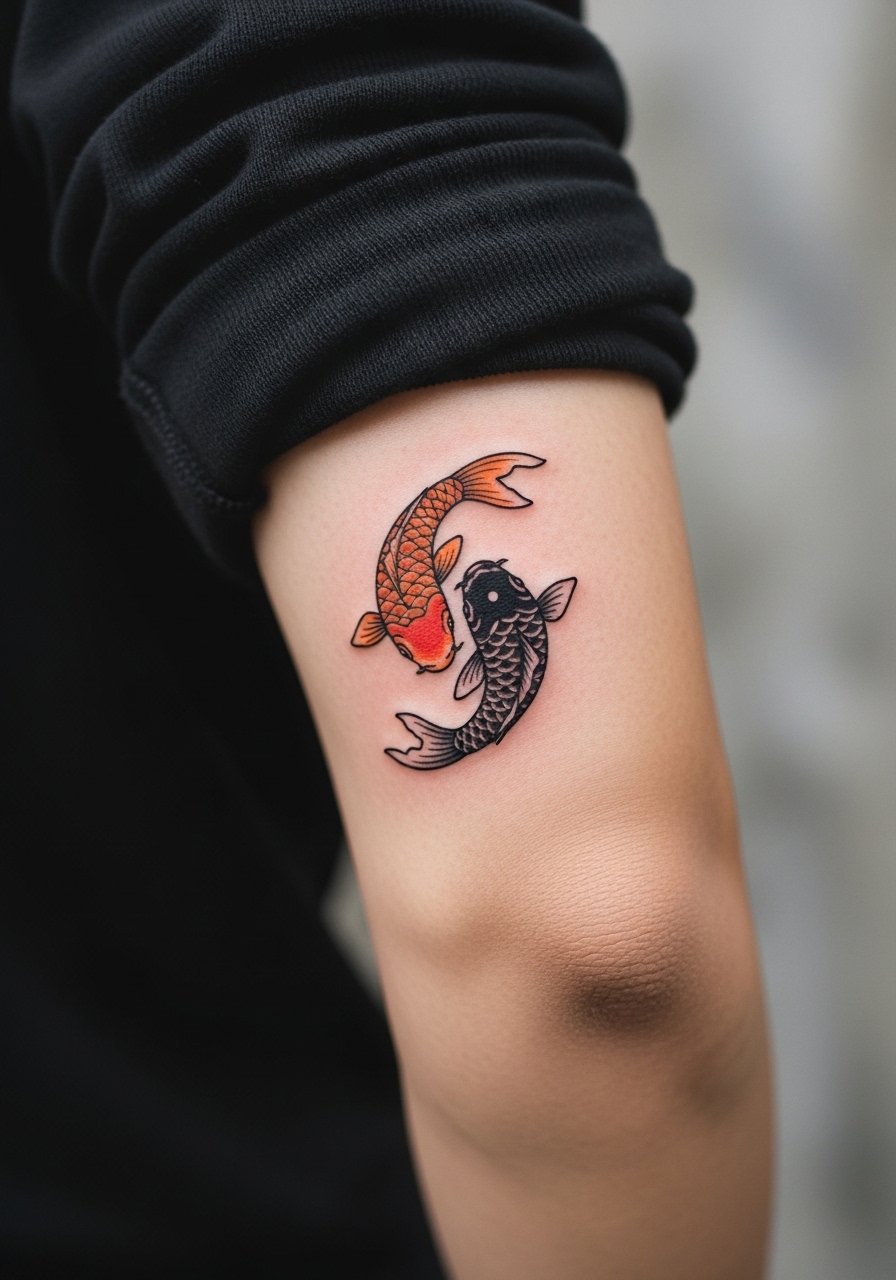
9. Tiny Yin-Yang Coi on the Nape
Nape placements look clean with two small koi arranged yin-yang style and minimal fill. Ask for mirrored linework and negative space between the tails so the composition reads as two fish, not a blob, as it ages. Sessions require a shirt with a wide neck you can pull down slightly. There is a known debate about neck skin movement. Some artists avoid ultra-fine line there, and others accept it with adjusted spacing. Mention this at consult. For showing it off pick an open-back sweater or a thin chain pendant worn low so the tattoo peeks without being exposed constantly.
10. Tiny Sternum Coi with Fine Shading
Sternum work can be intimate and tends to shift with body movement so precise consultation matters. Ask for very conservative shading and clear spacing from the sternum center to avoid lines merging. The session can be more uncomfortable than forearm work. Artists split on doing very fine line in this area. One group warns the skin stretch from breathing blurs thin contours fast. The other group says careful depth and spacing hold. Discuss touch-up expectations. For the session wear a fitted sports bra or bandeau you can adjust for access. Sternum pieces are often kept private so think about visibility.
11. Tiny Calf Coi with Slight Color Wash
A small wash of watercolor behind a tight outline reads nicely on the calf which has room to breathe. Tell the artist you want the color to sit under the linework and not feather outward by requesting light saturation with careful layering. Calf sessions are easy to sit through and heal well. A mistake is asking for intense watercolor spills at this scale which can look muddy later. Pair with cropped pants or wear loose drawstring linen pants during the session so the artist can roll the fabric up without tugging. Expect color to soften at two to three years.

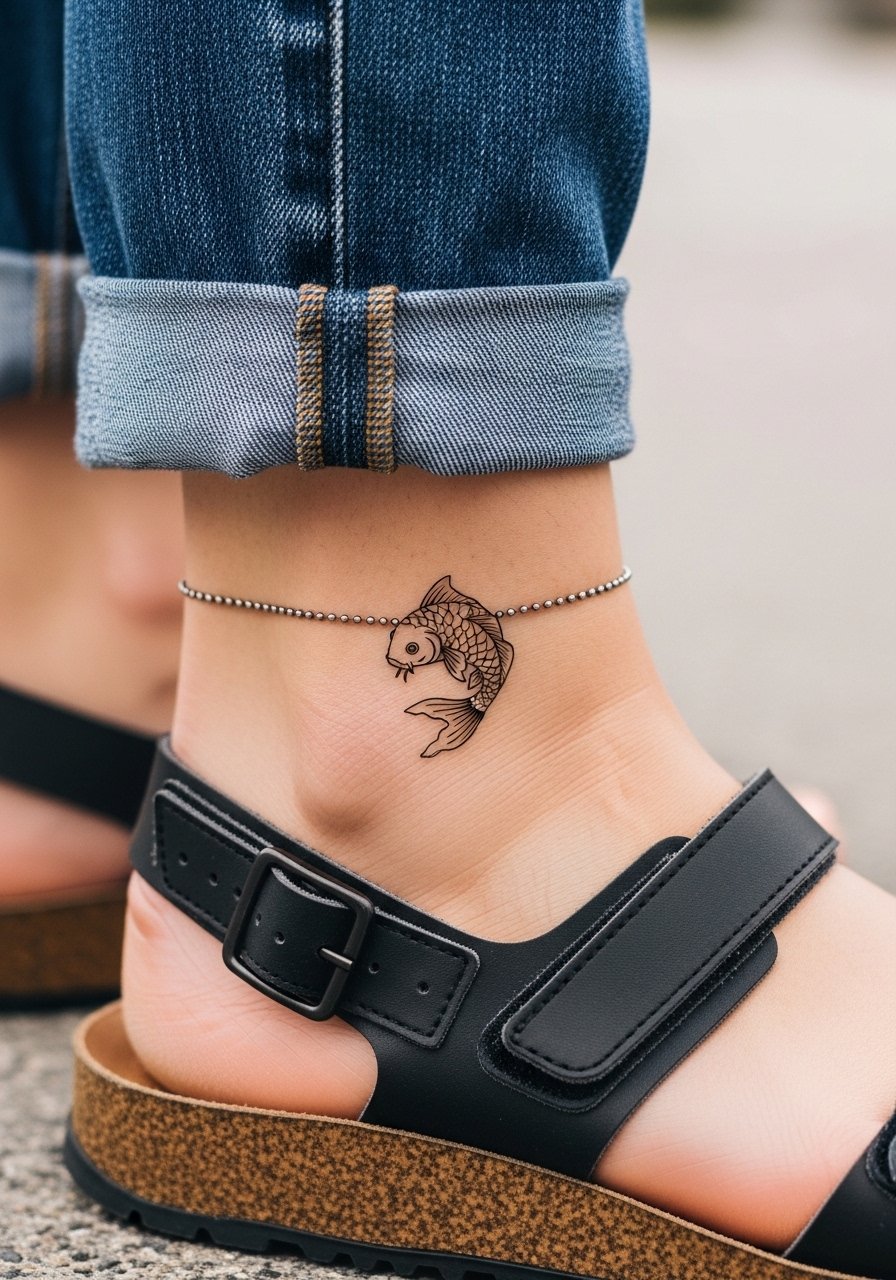
12. Tiny Ankle Chain Coi
There is a popular look where the koi sits as a charm on a tiny chain of dots that wraps the ankle. For longevity ask for the chain spacing to be slightly wider than aesthetic urges demand. Too tight a chain merges into a band over time. The session is short and the area can be sensitive when the needle passes over bone. When you want the piece visible wear ankle bracelets or strappy sandals that echo the chain motif without covering the tattoo. Ankle chain designs age best with occasional touch-ups to keep gaps crisp.
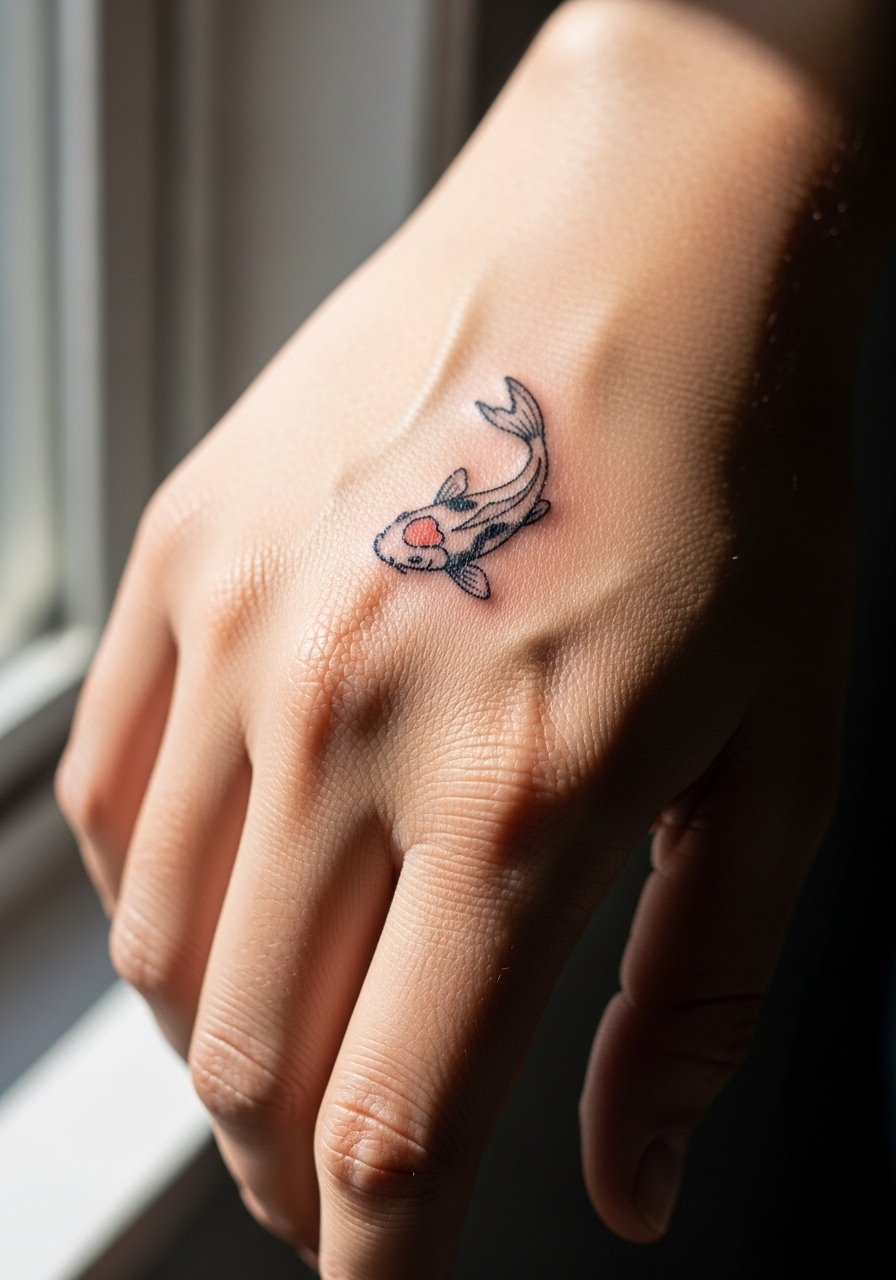
13. Minimal Back-of-Hand Coi
The hand is a high-wear zone and some industries still react to visible hand ink. If you're set on a tiny back-of-hand coi, ask for strong outlines and plan for touch-ups sooner than for arm work. The session stings more than wrist ink. A common mistake is choosing ultra-fine internal lines which blur into a dull patch. A one-sentence professional note: hand tattoos can affect hiring in certain fields so consider your career path before booking. When showing it off, minimal rings complement without crowding the art.
14. Tiny Ribcage Coi in Linework
Ribcage placements let tiny pieces curve with the body and feel dramatic when exposed. The ribs can be a seven to nine pain area but the result can be worth it. Artists are split on whether ultra-fine line holds there. One camp says the skin stretch blurs lines within two years. The other camp says with proper depth and spacing the work settles. Name both positions explicitly and ask where your artist stands. For the session wear a cropped top you can lift slightly for access and expect a slower healing window because friction from clothing is common.

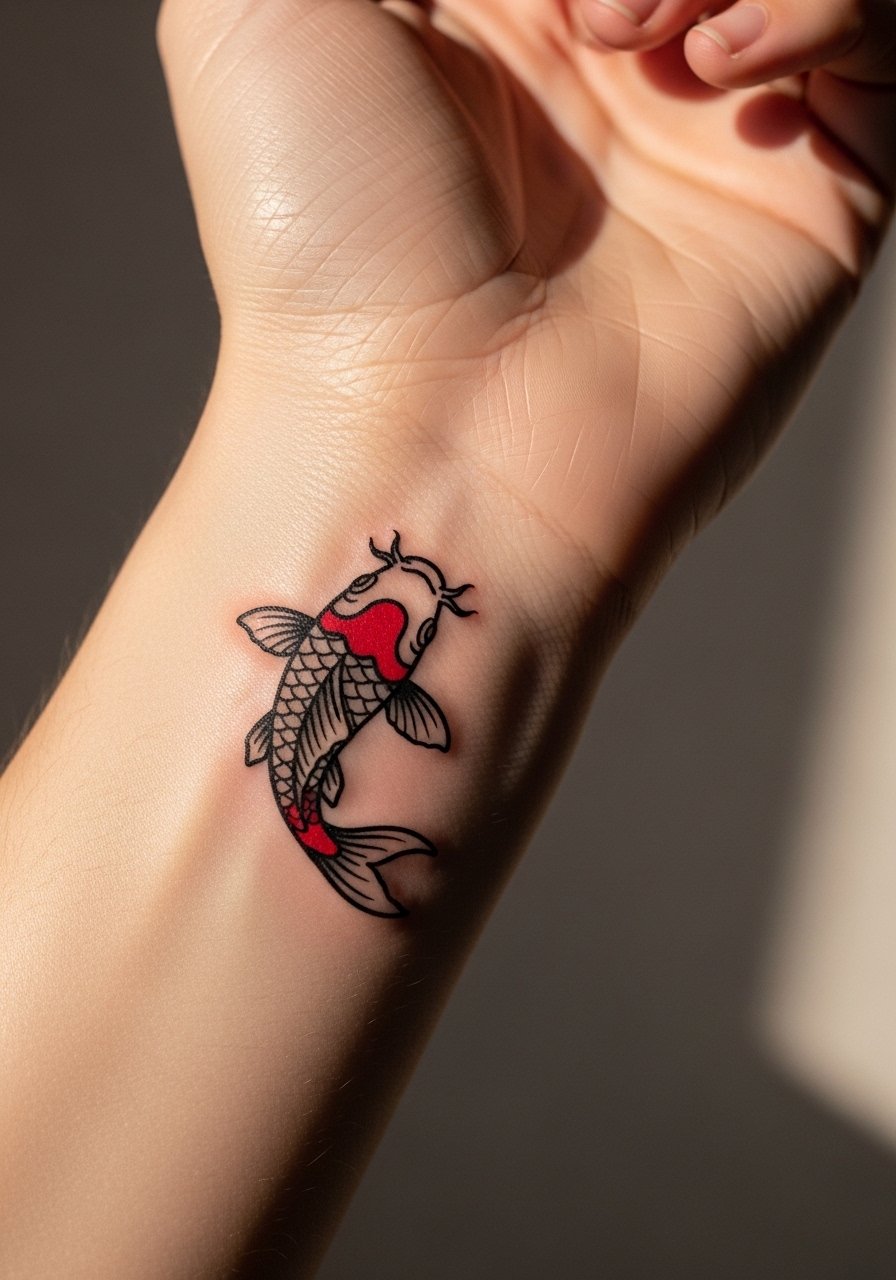
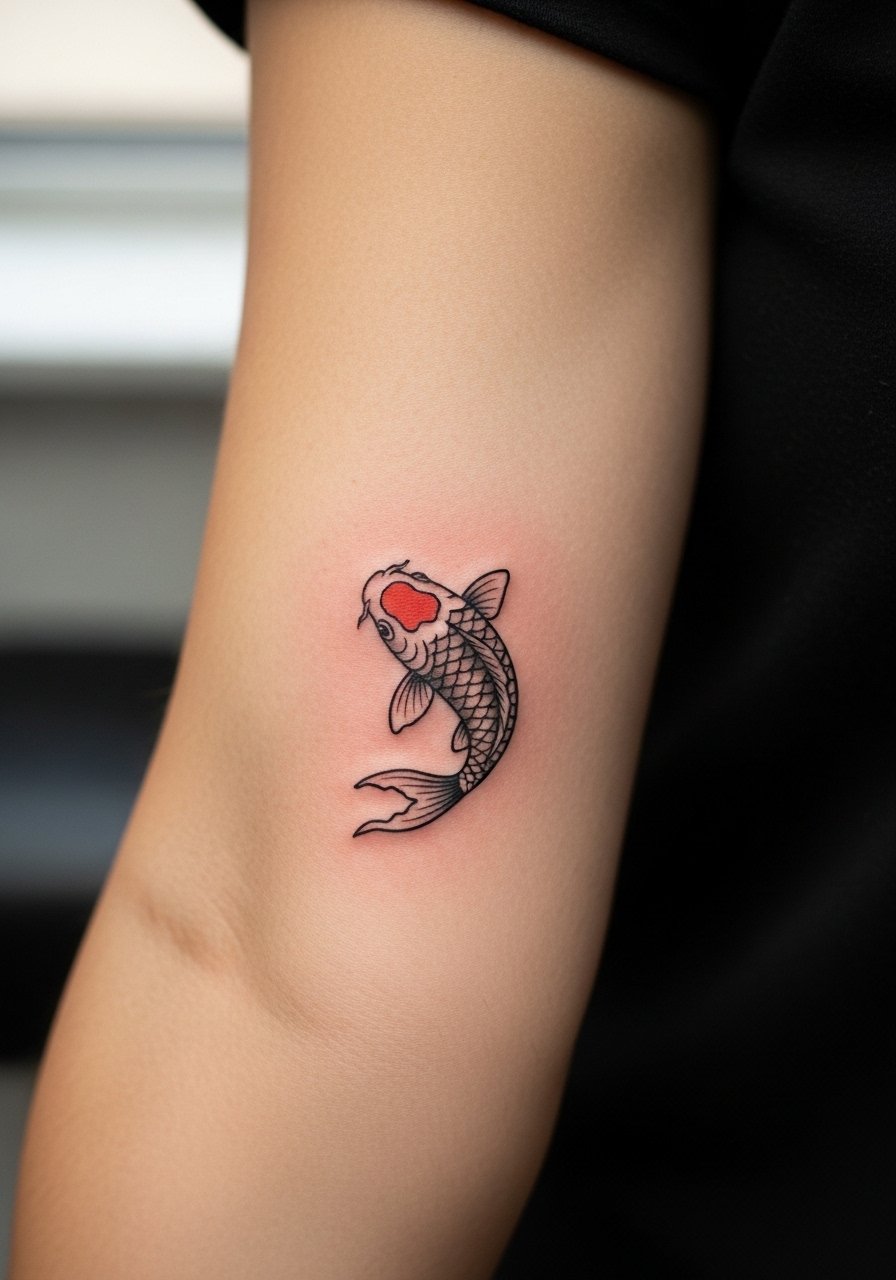
15. Micro-Traditional Inner Wrist Coi
Micro-traditional style uses bold outline and limited color which often ages better at small sizes than fragile detail. For an inner wrist coi ask for clear black outlines with one saturated color accent to keep the fish readable. The session is quick and the pain mild. A common mistake is trying to cram ornamentation around the fish which competes on such a small plane. Pair with a slim watch if you like structured styling. Tiny micro-traditional pieces often need fewer touch-ups than hyper-detailed miniatures.
16. Tiny Spine-Edge Coi
Placing a tiny koi along the side of the spine or just to the edge of it gives a vertical flow that suits the fish shape. Tell the artist you want the fins to follow the natural curve of the back so movement reads even when clothed. The session can be uncomfortable depending on proximity to bone. A mistake is placing the piece too low where clothes rub constantly. For showing it off, open-back tops or halter styles work well, try a open-back midi dress for evenings out so the ink peeks without being constantly exposed. Healed linework on the upper back tends to stay stable.
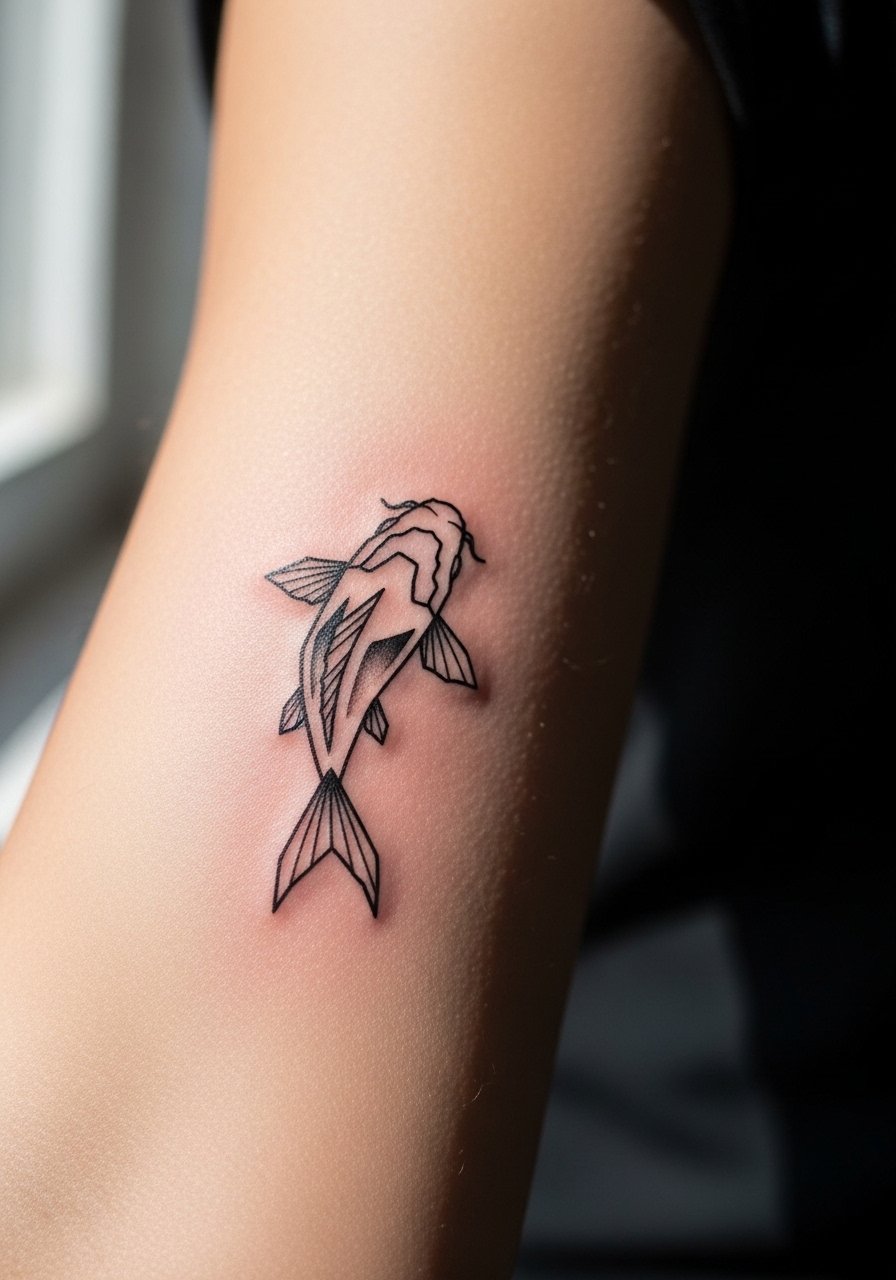
17. Tiny Geometric Koi with Negative Space on Forearm
There is visual impact when a tiny koi is broken into geometric planes using negative space. Ask for deliberate negative gaps in the fins so the shapes do not read as smudges later. The forearm provides a forgiving surface and the session is comfortable. The biggest mistake is overcomplicating geometry at very small scale. Pair with rolled sleeves or a racerback tank to keep attention on the forearm silhouette. At three to five years expect softening but the geometric read generally holds.
18. Tiny Watercolor Splash on Upper Thigh
Upper thigh gives enough real estate for a small watercolor koi that still feels intimate and personal. Ask your artist to anchor the watercolor to the fish lines and avoid free-floating blobs that migrate visually. The session is comfortable and usually private. For the session wear high-waisted shorts or a skirt so the artist can access the top of the thigh easily. You can show the piece in summer with denim cutoffs and a high-waisted short that frames the art. Watercolor at small scale will soften more over years than solid black linework.

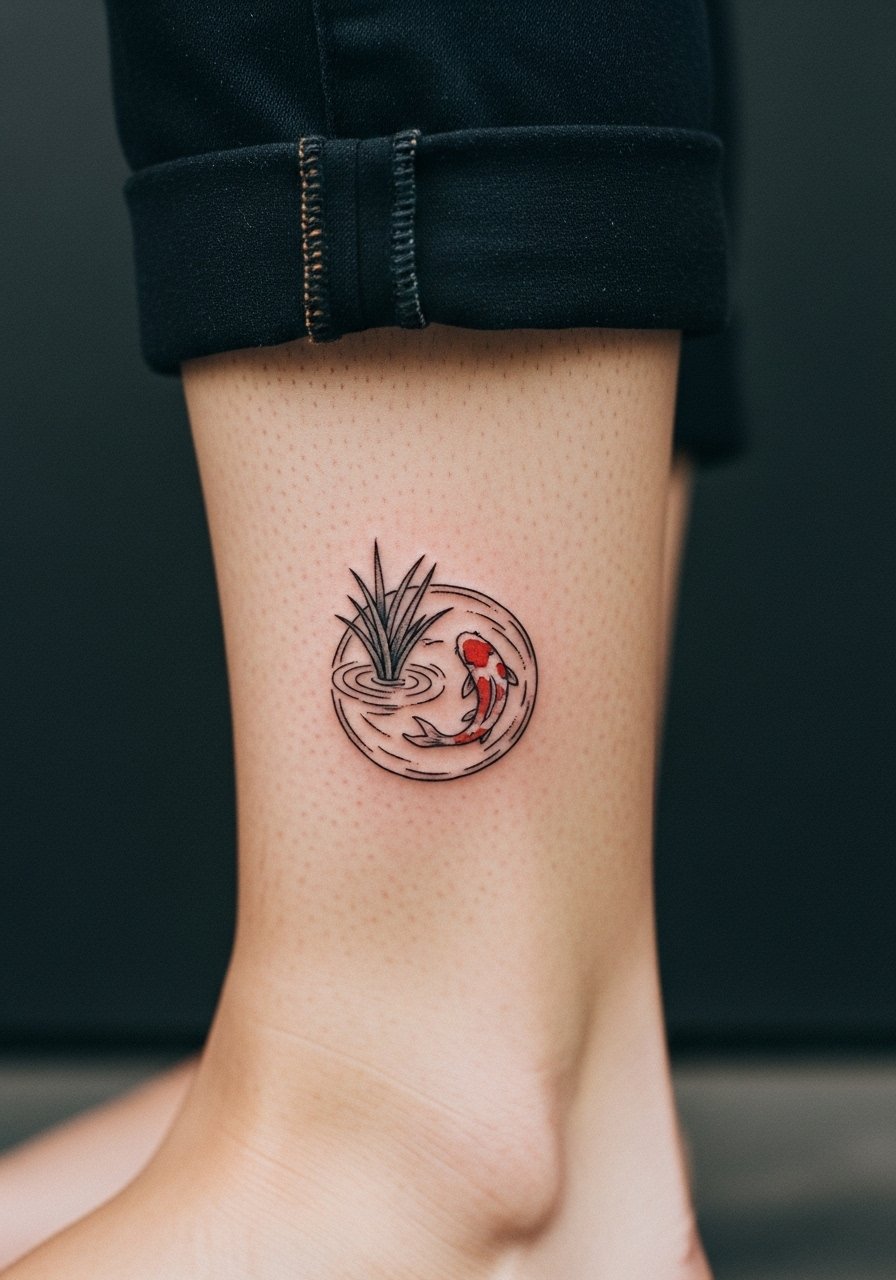
19. Tiny Circular Pond Coi on the Calf
A tiny circular pond composition with the fish centered reads like a small emblem on the calf. Tell the artist you want the water suggested with light whip shading rather than heavy washes. Calf sessions are an easy sit. A typical error is squashing the composition into a smaller diameter which loses the pond feeling. Pair with cropped trousers or a loose drawstring linen pant rolled up to frame the circle without rubbing. The emblematic composition tends to age predictably and is easy to refresh with a targeted touch-up.
20. Tiny Blackwork Silhouette Behind the Ear
A tiny black silhouette stands out behind the ear when designed simply. The artist needs to keep the edges clear so it does not become a dark patch as skin heals. Sessions are quick and the area can be sensitive. There is a balance between boldness and overfilling this spot. For concealment during healing wear hair down or a headscarf. The placement requires minimal styling advice because it is often partially hidden. The prompt must describe the area as below the hairline on the neck.

21. Tiny Two-Tone Miniature on the Elbow Crease
Elbow crease tattoos experience a lot of movement which can blur tiny detail. If you want a koi there keep the design simple with two-tone fill and a robust outline. The session is more uncomfortable than flat-surface work and healing can be slower. A common mistake is demanding intricate scales that will not hold in the crease. For the session wear a loose top with sleeves that pull up easily so you do not stretch the area. Two-tone silhouettes age into a soft but still readable shape.
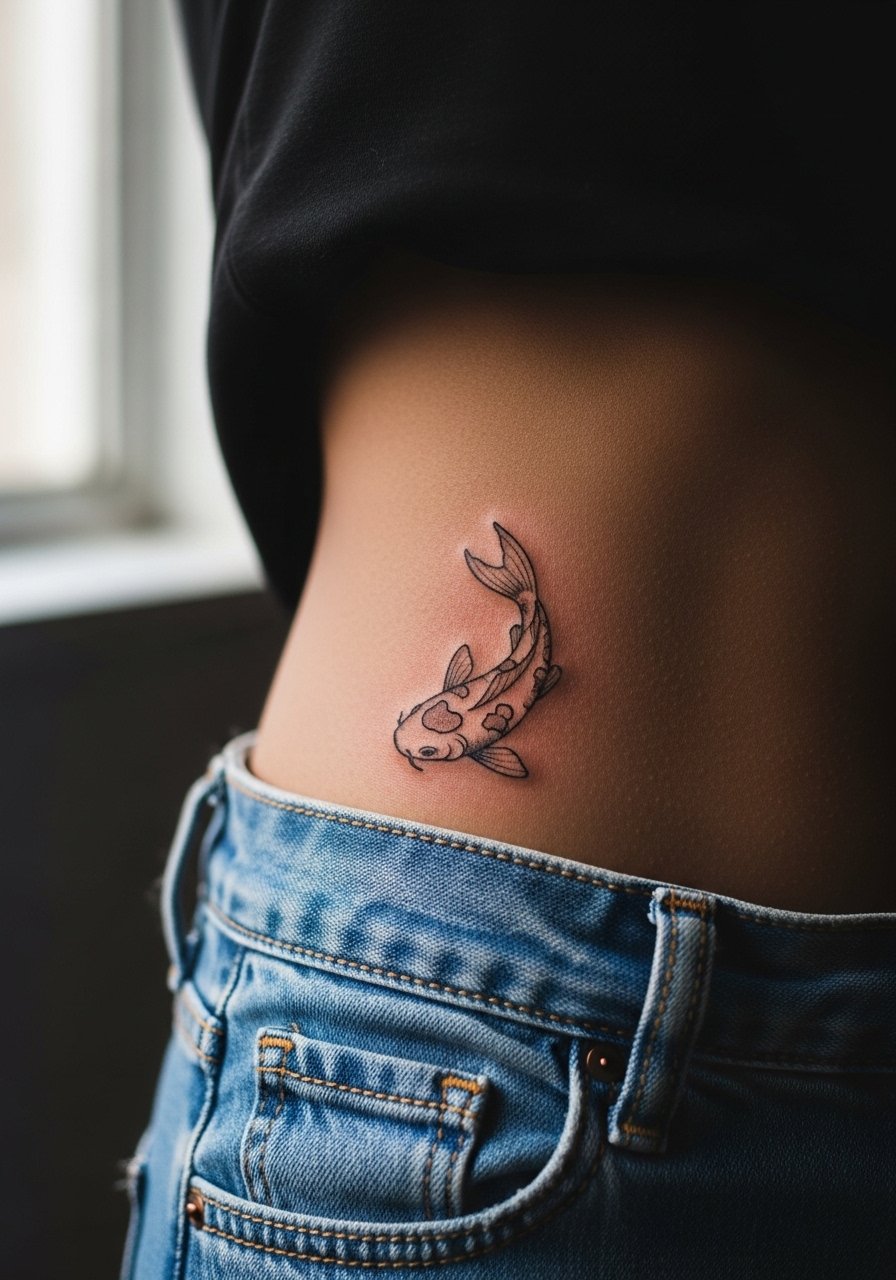
22. Tiny Minimalist Hip Coi
Hip placements sit between private and show-off and allow intriguing small compositions. Ask for a vertical composition that follows the hip curve and avoid dense internal detail. The session can be awkward to position but tolerable. Do not expect instant show-off ability because clothing often rubs the area while sitting. For the session wear jeans or a high-waisted bottom you can slightly lower to reveal only the hip and protect modesty. Hip designs generally heal cleanly if friction is minimized.
23. Tiny Floating Koi on the Shoulder Cap
A small koi sitting on the shoulder cap looks natural with a soft line and minimal shading. Ask the artist to orient the fish so fins follow the shoulder curve. The session is comfortable and easy to dress around. A mistake people make is shifting the piece too close to the shoulder seam where bra straps or bag straps rub it. For session access wear a loose tank top or loose button-down shirt you can pull aside. Shoulder cap tattoos often age well thanks to lower friction.

24. Tiny Wave-Encircled Coi at the Ankle Bone
This option places a koi inside a tiny wave ring at the ankle bone for a compact emblem. Ask for slightly wider line spacing between the waves so they do not fill in with time. The session is brief and sensitive near bone. A typical oversight is underestimating how often socks and shoes will rub the zone. For showing it off choose sandals or roll pants and consider an ankle bracelet that echoes the circular motif. Expect yearly checks to maintain crispness.

25. Tiny Script and Coi Accent on the Collar
Pairing a tiny koi accent with a short word along the collarbone can be tasteful if the script is spaced away from the fish. Tell your artist you want at least a finger-width gap between text and image to avoid merging. The session is quick. A mistake is squeezing the script too close which makes both elements unreadable over time. Style with a thin chain and a thin chain pendant necklace that sits above the fish so jewelry frames but does not sit on the ink. Keep letter forms simple at this size.

26. Tiny Minimal Sleeve Starter Coi on Outer Forearm
If you plan a larger piece later, a tiny koi on the outer forearm can act as a starter flash that integrates well. Ask your artist to place it with clear margins so future expansion is simple and consider a slightly stronger outline to hold up through additions. The session is comfortable and the area heals predictably. A common mistake is starting with ultra-fine detail expecting it to integrate seamlessly into bolder work later. For the session roll your sleeve up and bring a loose button-down shirt to stay comfortable. Forearm starters make future composition easier.
27. Tiny Two-Color Fin Accent on the Thumb Side
A very small coi positioned on the thumb side of the hand or at the web space needs strong outline and selective color in the fins to keep identity. The area is high-wear and fades faster than the wrist. Tell the artist you want color only in the fins and a robust black contour. The session hurts more than wrist work. When showing it off pick rings that leave the thumb side visible or remove them during healing. Expect touch-ups sooner than forearm pieces.

Frequently Asked Questions
Q: How small is too small for a coi fish and still read as a koi in five years?
A: In my experience, anything smaller than a thumbnail needs a simplified silhouette and minimal internal detail to remain readable over time. Ask your artist to prioritize a clear outer contour and intentional negative space rather than intricate scales if longevity matters.
Q: Will fine line coi work on the ribs or sternum hold up, or should I choose blackwork?
A: Artists split into two camps on fine line in these areas. One camp says thin lines blur because of skin stretch. The other camp says with deliberate spacing and the right depth it settles fine. If you prefer longevity pick slightly bolder linework or a micro-traditional approach and plan for a possible touch-up at year two to three.
Q: I want a tiny colored koi on my ankle. How should I dress for the session and healing?
A: Wear pants you can roll up easily and sandals for post-session air. During healing keep rubbing to a minimum. A loose drawstring pant that can be pulled up without tugging is handy for the appointment and first week.
Q: Are hand and finger koi tattoos worth the touch-up schedule?
A: Hand and finger pieces look great but they demand more maintenance because of washing, friction, and exposure. If you want lower upkeep choose a slightly bolder outline and accept periodic touch-ups to maintain crisp edges.
Q: How do I find an artist who knows how to scale a tiny koi properly?
A: Search niche hashtags for micro and fine-line work, browse portfolios on directories and artist collectives, and ask for healed photos rather than fresh shots. Bring clear notes about spacing and touch-up expectations to the consultation and ask how the artist adjusts needle depth for tiny outline work.
