
Fine line back tattoos are everywhere in saved boards right now, but what keeps a small back piece looking clean after sweat, workouts, and a few summers is not the trend. Placement, line weight, and how much space you leave between elements decide whether a design reads crisp at year one and year five. Below are 27 compact back ideas that work with a man’s musculature, how to ask for them in consultation, what to avoid, and how to dress the reveal.
1. Small Tribal Sun on Upper Back
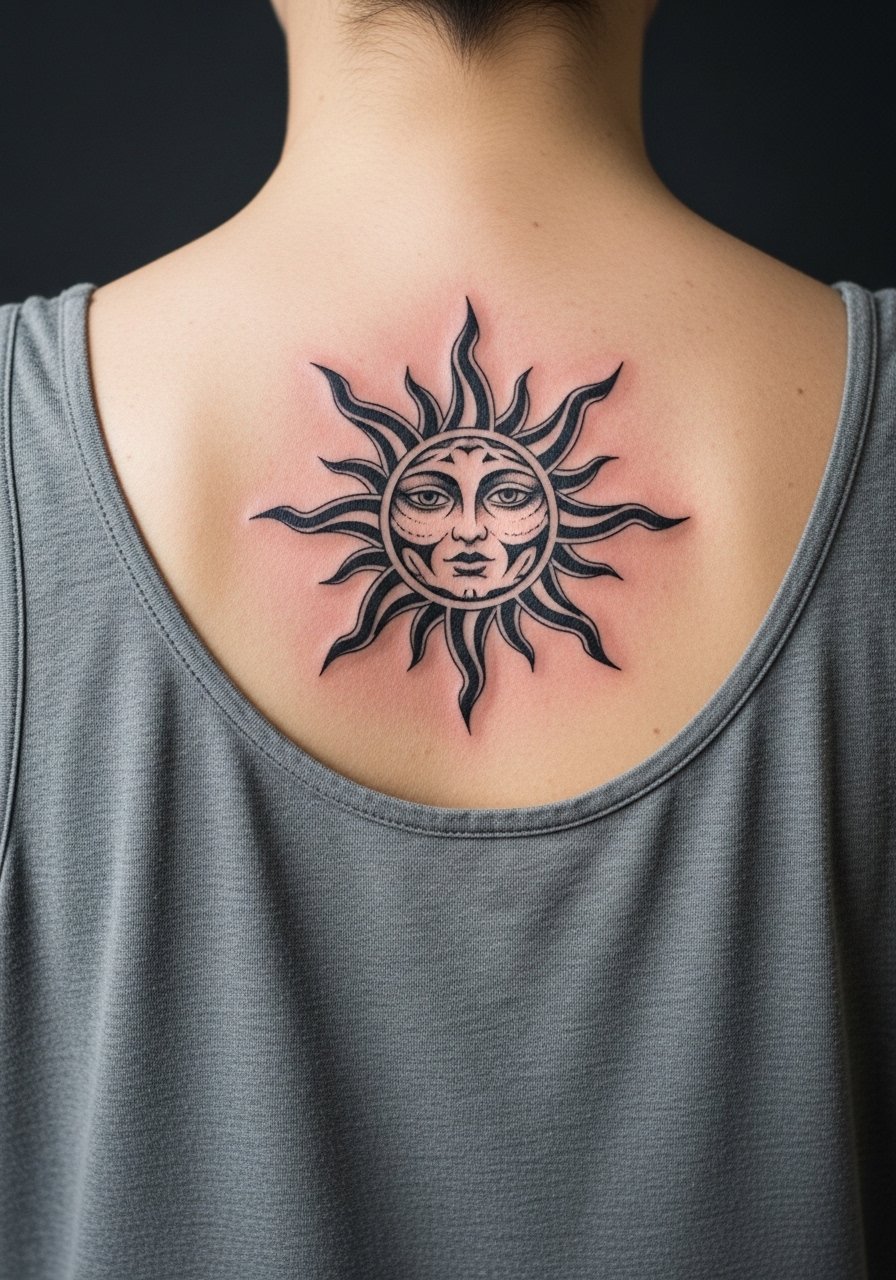
Start with a personal observation: the tribal sun reads strongest when the rays follow the traps and upper lats. Tell your artist you want the curve to sit on the muscle edge, not dead center over the spine, so it flexes with movement. A common mistake is cramming too many rays into a 3-inch circle, which blurs as saturation settles. Ask for solid black fills and slightly thicker primary rays to help longevity. Session feels like a steady vibration, not sharp stabs, and most small versions finish in under an hour. For showing it off, a fitted men's fitted tank top frames the upper back and keeps focus on the sun.
2. Geometric Mandala on Lower Back
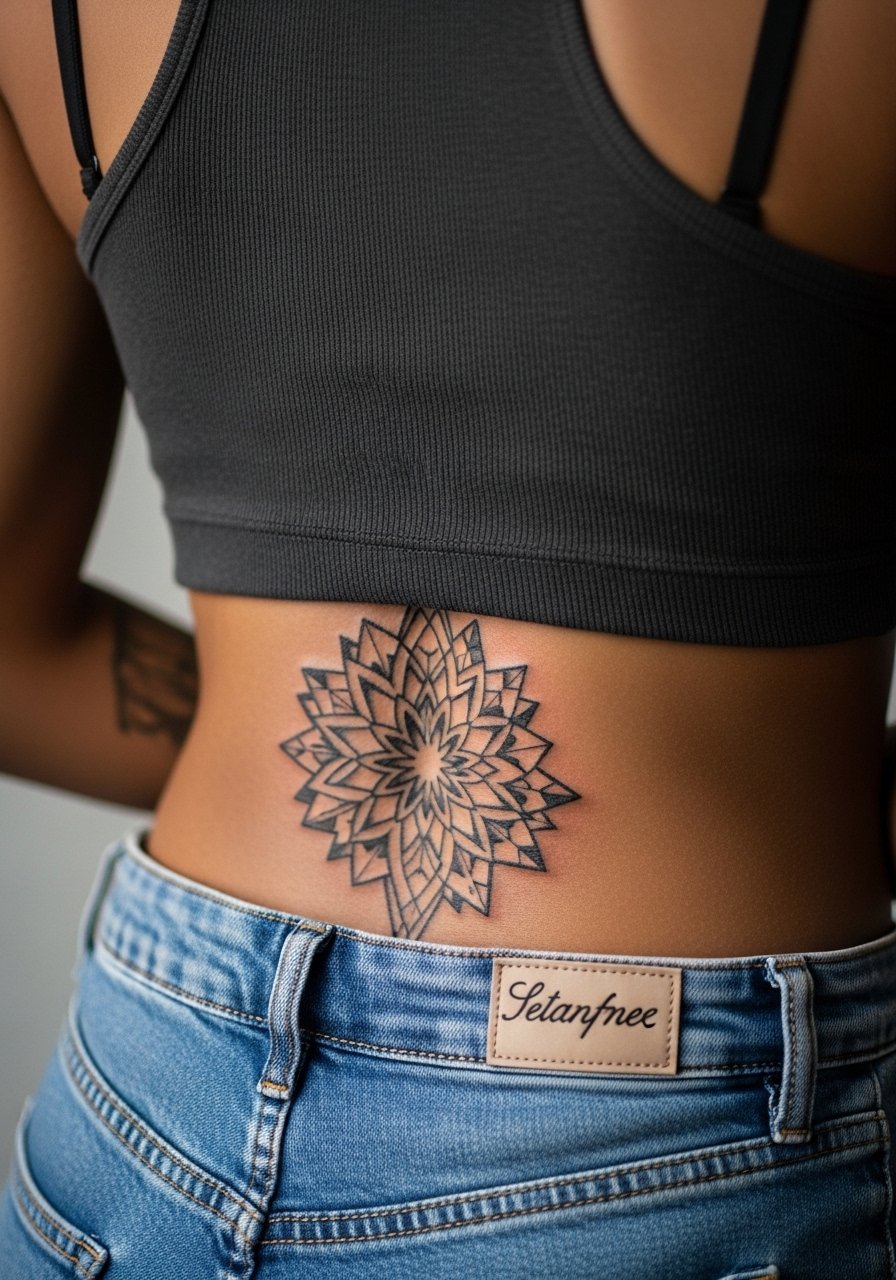
This sits across the lumbar curve and benefits from deliberate spacing. Fair warning, too dense a mandala in a 4-inch diameter is a recipe for merging lines at year two. During consultation, ask for increased negative space between concentric rings and for linework to stop short of the edges. The lower back stretches more with weight shifts and deadlifts, so mention your gym routine. Expect a single-session piece if it’s 4 to 6 inches, and plan a touch-up in year two if you lift heavy. To reveal it casually, low-rise jeans and a cropped tee work well. If you ask for color, keep saturation conservative for darker skin tones to avoid bleeding.
3. Minimalist Spine Arrow
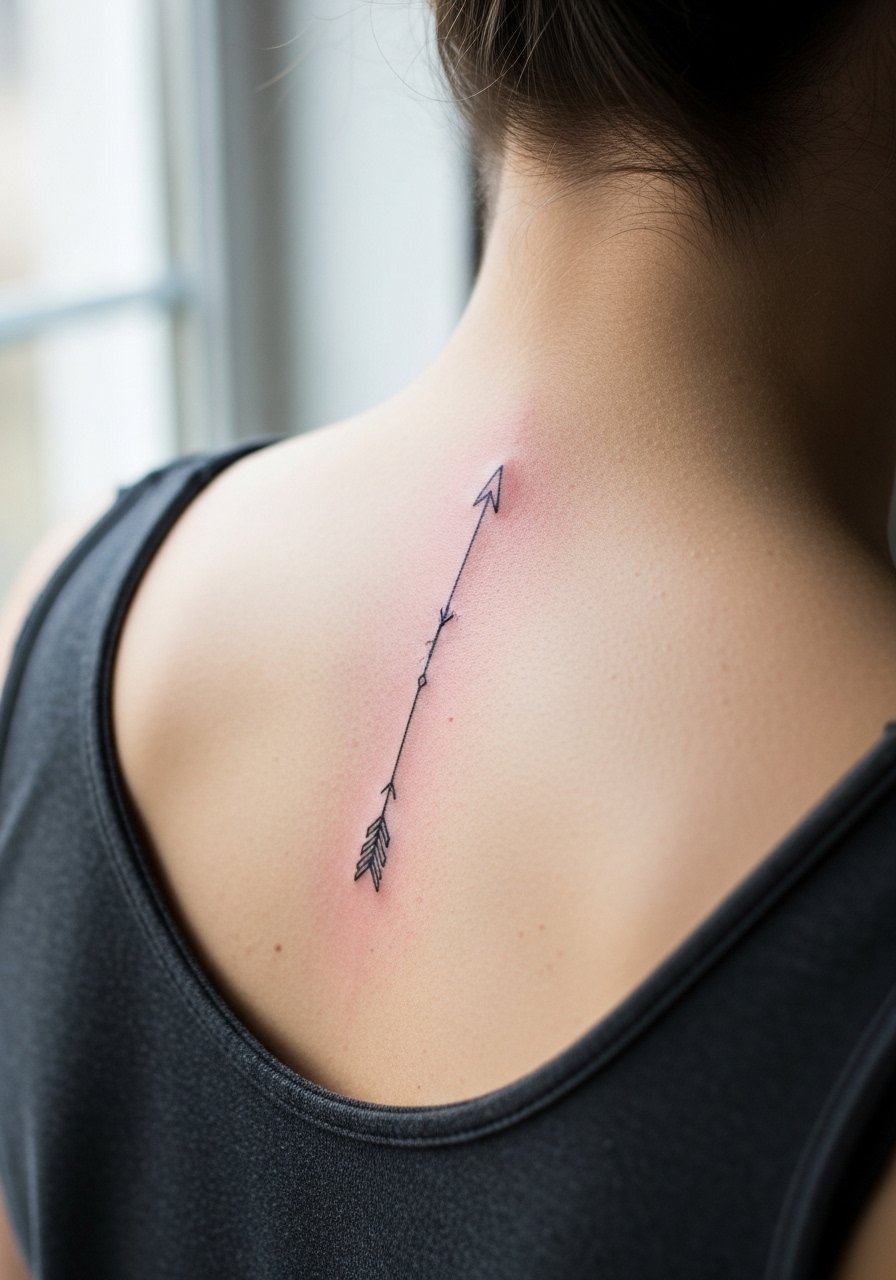
The spine is unforgiving for needlework. Artists split on fine line here. One camp says the area moves and blurs fast. The other says proper depth and tiny spacing let fine lines settle clean. If you want an arrow, ask for slightly heavier single-line weight than a wrist piece and a consistent depth. Expect the session to register higher pain near the vertebrae, and budget a touch-up at year two. A common mistake is asking for micro script with the arrow, which crowds the vertical space. For showing it off, a backless tank or loose muscle tee keeps attention on the centerline and avoids busy fabrics, try a backless tank men if you want to reveal it deliberately.
4. Blackwork Lion Head on Shoulder Blade
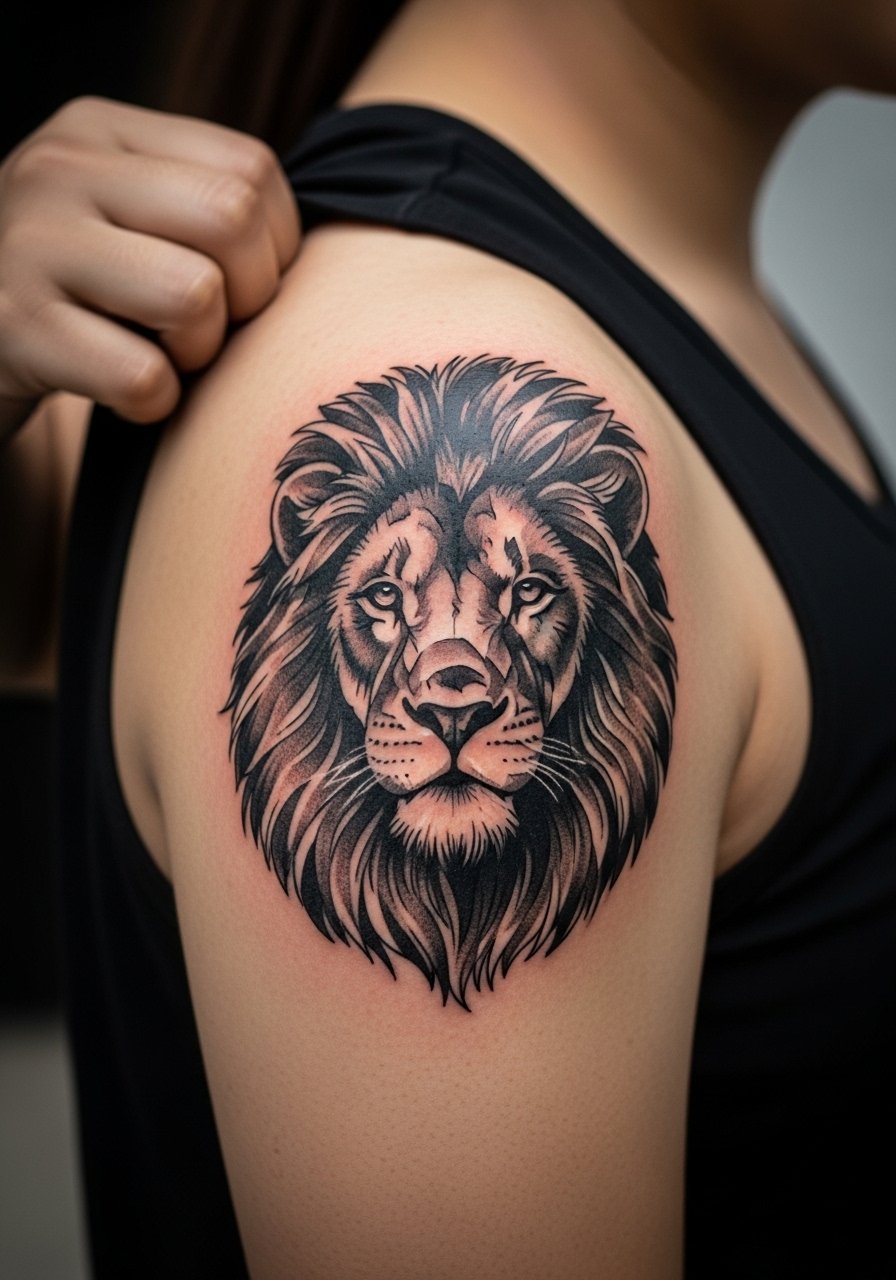
I've seen this one age well when the mane is treated as blocky negative space instead of tiny strokes. Ask for heavier saturation in the mane and stipple shading in the face to preserve contrast. The shoulder blade hides blowout better than the spine, but small microdetail around the whiskers will soften at 2 to 3 years. Sessions often run longer here if you want realistic shading, so expect a two-hour block. For casual wear, roll a denim jacket men off one shoulder or keep a loose button-down unbuttoned to frame the piece.
5. Neo-Traditional Anchor Mid-Back

Boats and anchors compress nicely into 3 to 5 inches if the lines are decisive. Tell the artist to emphasize bold outline work around the anchor and to keep color accents sparse to avoid early fading. A typical mistake is over-detailing the rope in tiny loops. Mid-back sessions are more comfortable than spine work and usually wrap in one hour. For an athletic vibe, pair the reveal with a half-zip hoodie unzipped or an unbuttoned rugby shirt. If your plan is a future expansion, ask for line anchors that can integrate into a larger composition.
6. Ornamental Skull Lower Back
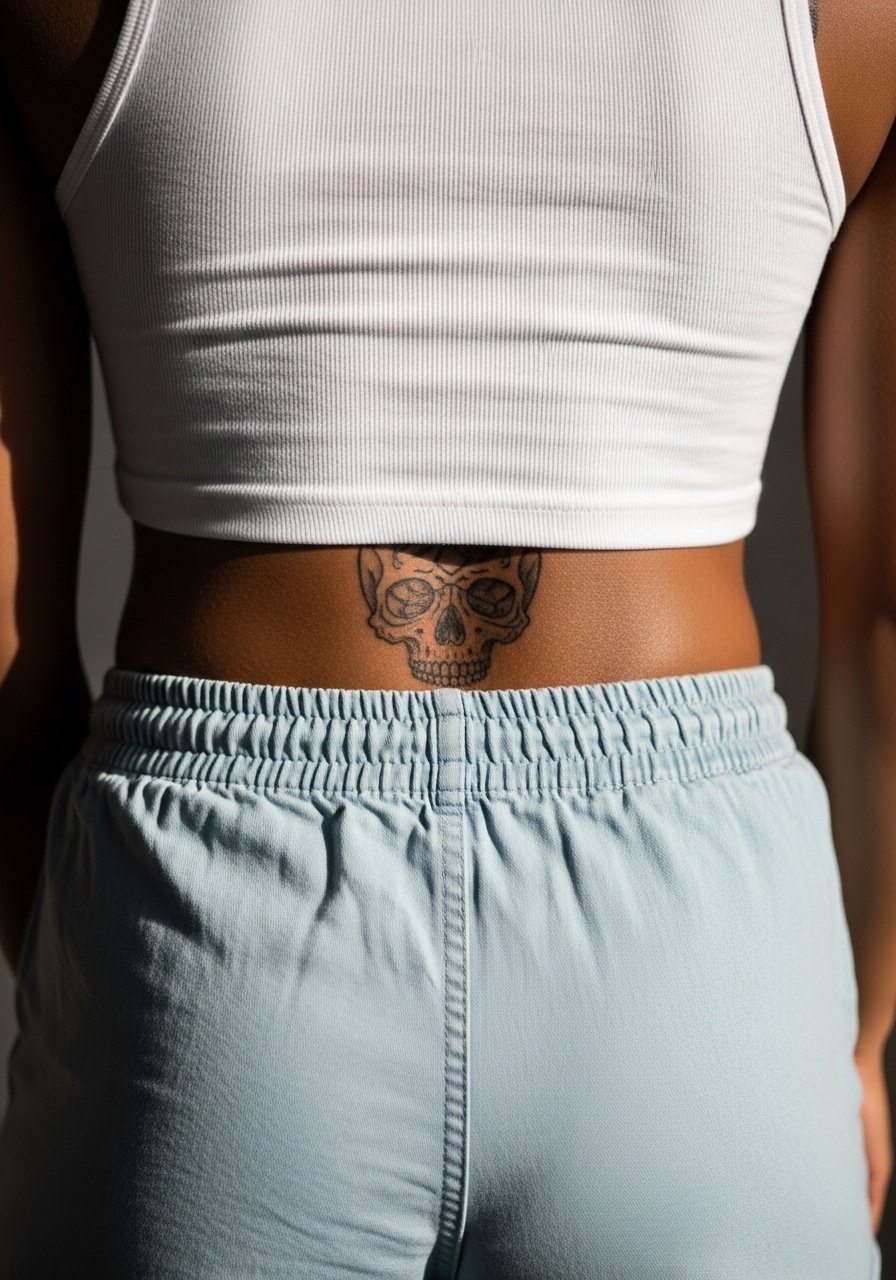
Ornamental skulls read best when the ornamental elements contour the dimples above the hips. In consultation, request that filigree follow your natural skin folds so the piece looks intentional when you move. A common failure is too many thin curls in a small area, which flatten into gray patches after healing. Expect a single session for a 4-inch version and a likely touch-up if you sweat heavily during week one. For showing it off, summer swims and low-rise shorts reveal the design without being overt. Be mindful of cultural reception if you adapt religious symbolism into ornamental motifs.
Pack Smart
Those first six designs span upper and lower back work and different skin-tissue behaviors, so a compact kit eases the session and first-week healing.
-
Frida Ink Shield thin protective film. A thinner film option helps backs in humid weather breathe more than heavy occlusive wraps during long sessions.
-
Indie Australian balm, non-greasy healing salve. Less greasy formulas reduce sweat clinging during the first week on lower-back placements.
-
H2Ocean saline spray. A light saline spritz cleans without leaving residue that traps sweat under tighter clothing.
-
Mad Rabbit no-residue healing spray. Handy for gym-goers who need a quick clean after light sweating without heavy ointments.
-
Aquaphor healing ointment. Thin layers in the first two days lock in moisture for fine line work without smothering the area.
7. Fine Line Compass Upper Back
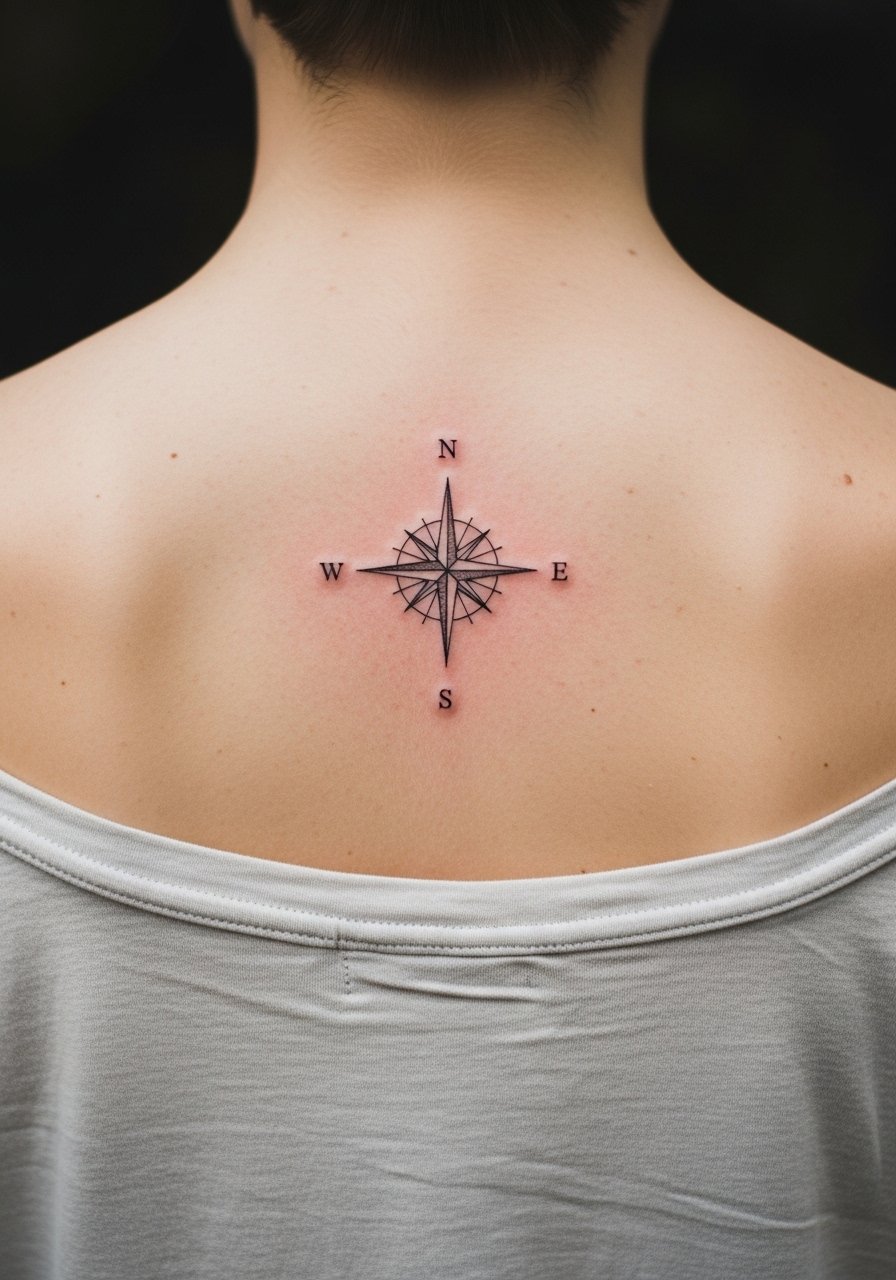
Travel motifs age well when linework is given room. The common mistake is asking for tiny cardinal markers inside a 3-inch circle. Ask the artist to scale the compass to 3 to 3.5 inches and to use slightly heavier needle grouping for the main points. Expect a gentle session on the flat of the upper back, and plan a minor touch-up at year three for faint needle channels. For evenings, pair the piece with a rolled-v neck or a men's v neck tee to show the collar and keep attention on the centerline.
8. Micro-Realism Eagle Near Collar

Micro-realism can pop on tanned skin if contrast is prioritized over tiny detail. Tell your artist you want emphasis on the eye and beak with softer stipple shading in the wings. The session can be fiddly because realism asks for textured saturation, and small strokes will soften after a year. Avoid compressing too much feather detail into a 2-inch block. A denim jacket shrugged off one shoulder frames this motif without overexposing the area.
9. Traditional Family Crest on Upper Center

Family crests demand clear heraldic lines. When you consult, bring any lineage references and specify which elements are mandatory. The common error is requesting thin filigree that vanishes. Ask for bold outlines and limited color spots if you want longevity. Sessions are generally an hour or less for small crests. Wear a sleeveless workout shirt the day of so the artist has clean access, and later throw on a denim jacket men to frame the crest when you reveal it.
10. Ignorant Style Wolf Cluster Mid-Back
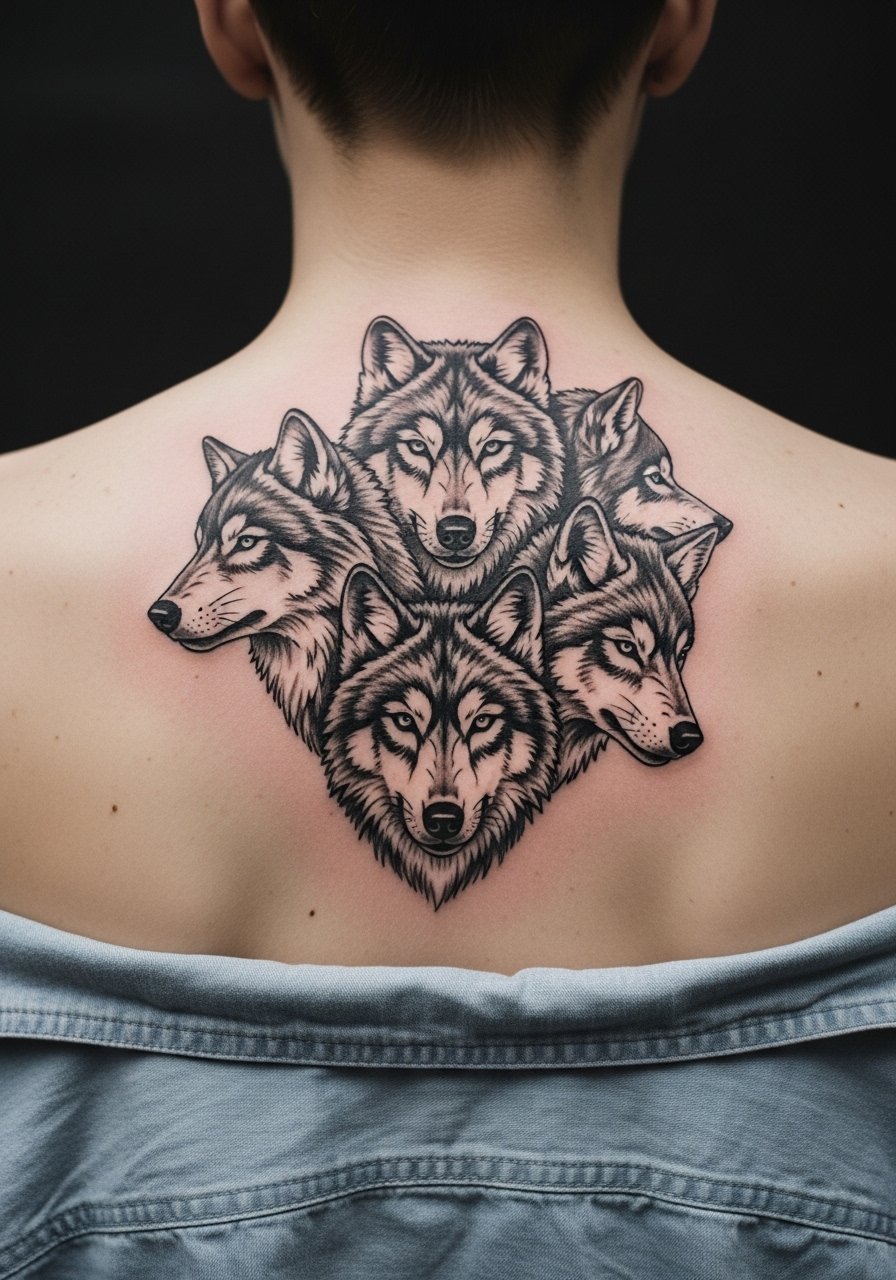
Ignorant style thrives on raw, uneven strokes and looks intentional when not overworked. Tell the artist you want the brushy effect with intentional negative gaps so the design breathes. A frequent mistake is asking for over-clean lines that conflict with the style. Because the ink is heavy, blowout risk is lower for blocky strokes, but thin areas can spread over time. The session is quick and aggressive, and a casual half-zip hoodie unzipped frames the mid-back reveal perfectly.
11. Watercolor Mountain Range Lower Back

Watercolor on lower backs is expressive but controversial for longevity on darker tones. If you want color, request a black base anchor and desaturated washes so the piece keeps its silhouette as pigments fade. A common regret is asking for saturated neons on a darker complexion, which can blur into a muddy field. Expect two sessions if you want layered washes. Pair with swim trunks in summer to show the lower back thoughtfully.
12. Samoan Tribal Wave Upper Back
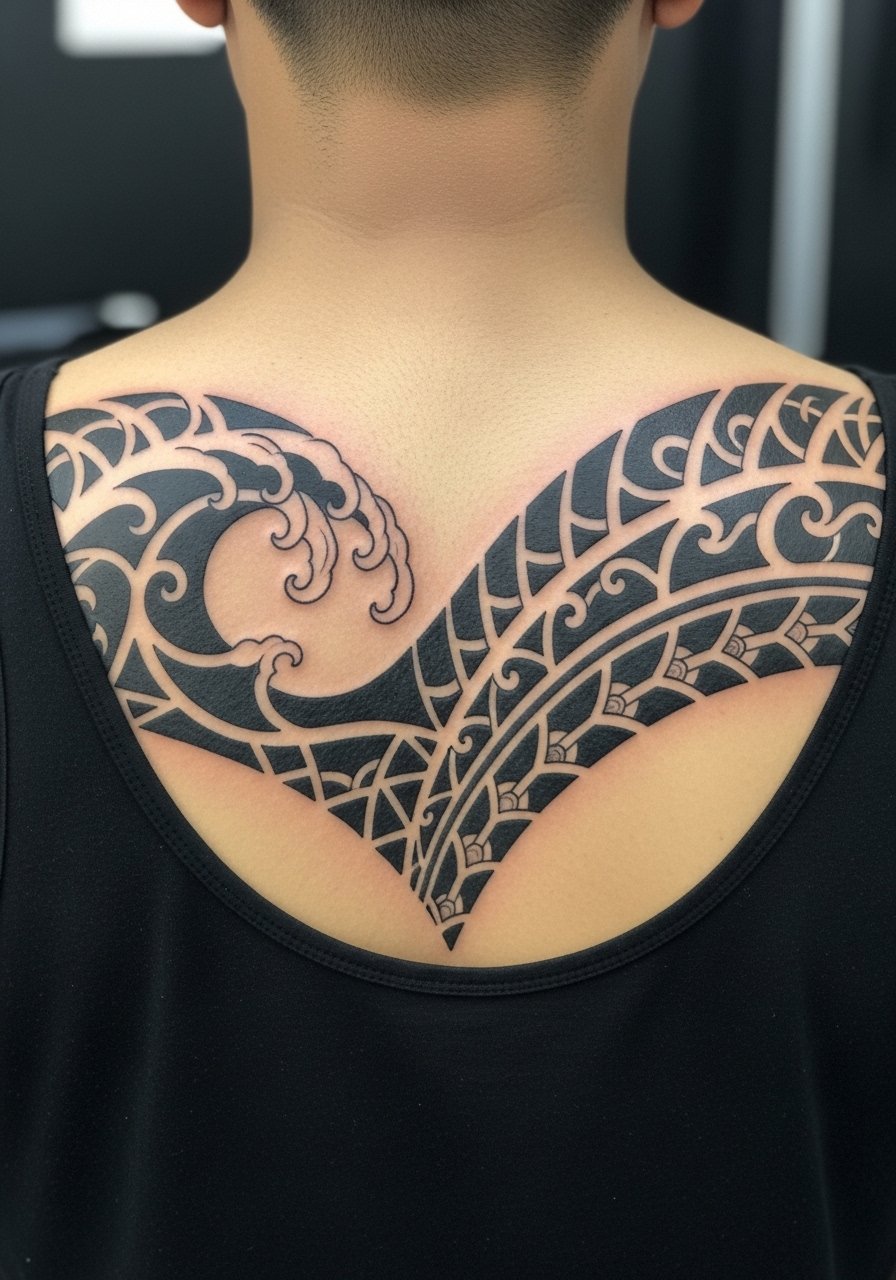
Cultural origin matters here. This motif traces to Polynesian languages of pattern and ancestry, so discuss respectful adaptation with the artist. For a small curve that hugs the trap, ask the artist to simplify traditional motifs rather than replicating sacred sequences. The result plays well with muscle flow and rarely needs touch-ups when done with saturated black. Session is usually under an hour. For the reveal, fitted black tanks highlight the wave as you move.
13. Minimal Ornamental Cross Mid-Lower Back
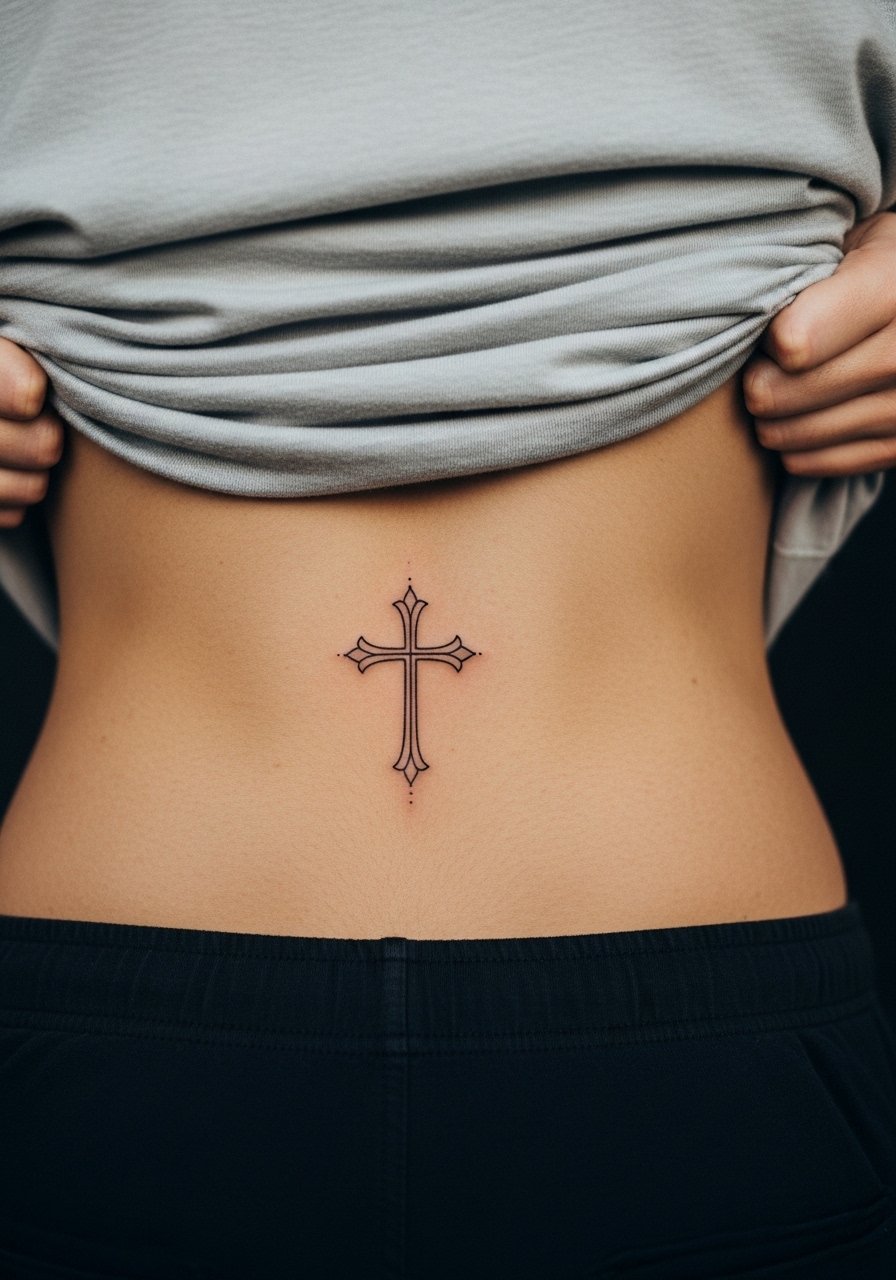
Symbols like small crosses need spacing to avoid blurring of tiny filigree. Tell the artist to avoid micro curls and to favor faint stipple textures for shading. A mistake is requesting intricate lacework in a tiny area, which fills in over time. Pain is moderate and the session short. For showing it off discreetly, a low-rise pant with a cropped tee works without being overt.
14. Geometric Spine Ladder
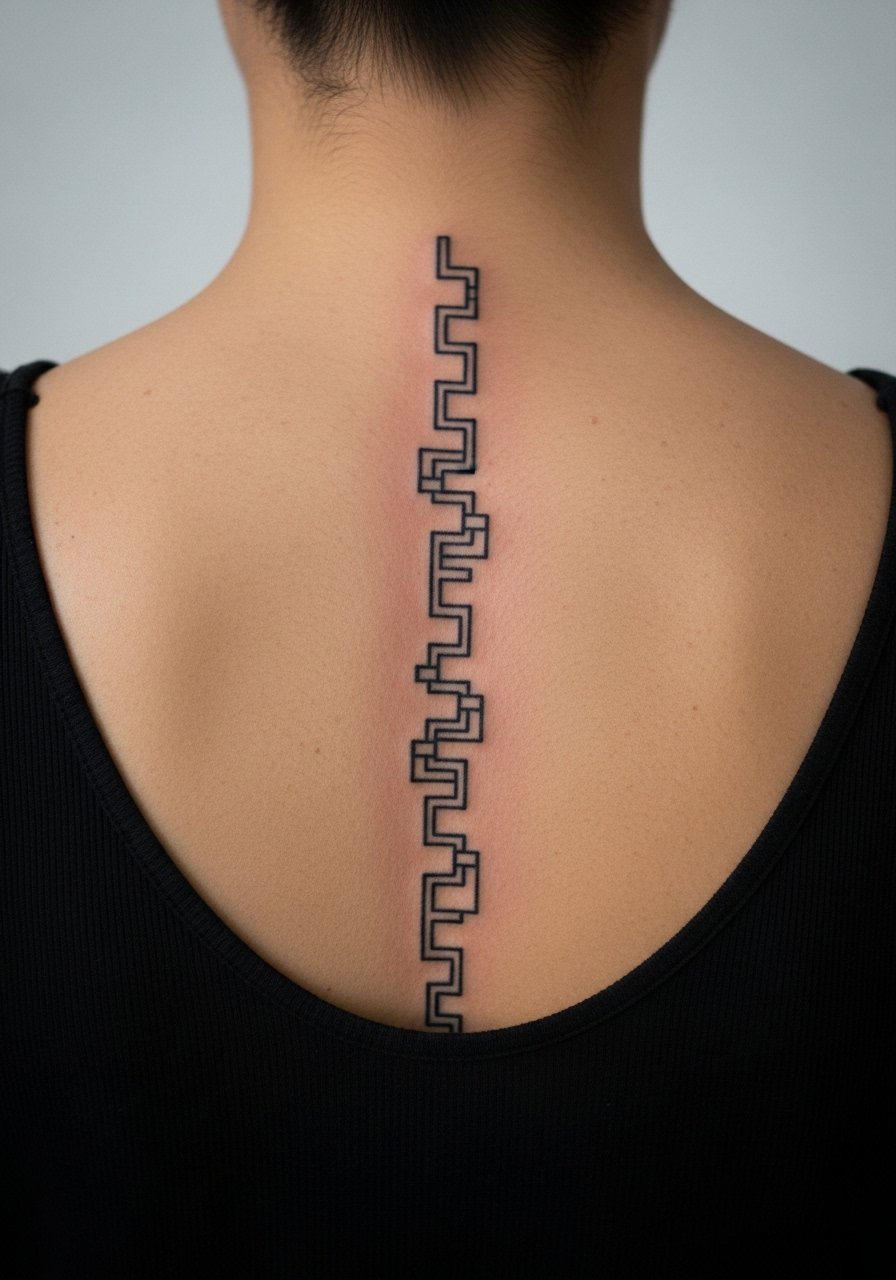
Stacked geometry along the spine reads clean if each module has breathing room. In consultation, specify consistent spacing and avoid over-detailed internal fills. The aging pattern is predictable: fine internal dots blend first. Expect localized tenderness and higher sensitivity near the vertebrae. For subtle show-and-tell, a loose open-front hoodie keeps the silhouette visible.
15. Small Irezumi Wave Accent

Adapting classic Irezumi motifs to micro sizes means simplifying motifs. Tell the artist you want the wave’s crest and a single foam pattern, not multiple tiny curls. An overworked translation loses the story. Sessions are short, and the work gets stronger with heavy black anchors. For a streetwear edge, try a leather jacket worn open to show the edge of the design.
16. Micro-Realism Compass Rose Near Trap

Micro-realism in a small area depends on contrast. Tell the artist to prioritize a strong center dot and shadow under the needle points. The common error is too many feathered strokes that flatten. Sessions require a steady hand and may include short breaks. For showing off, roll a v-neck or shrug a denim jacket off one shoulder.
17. Ornamental Dot Work Lower Back Stripe
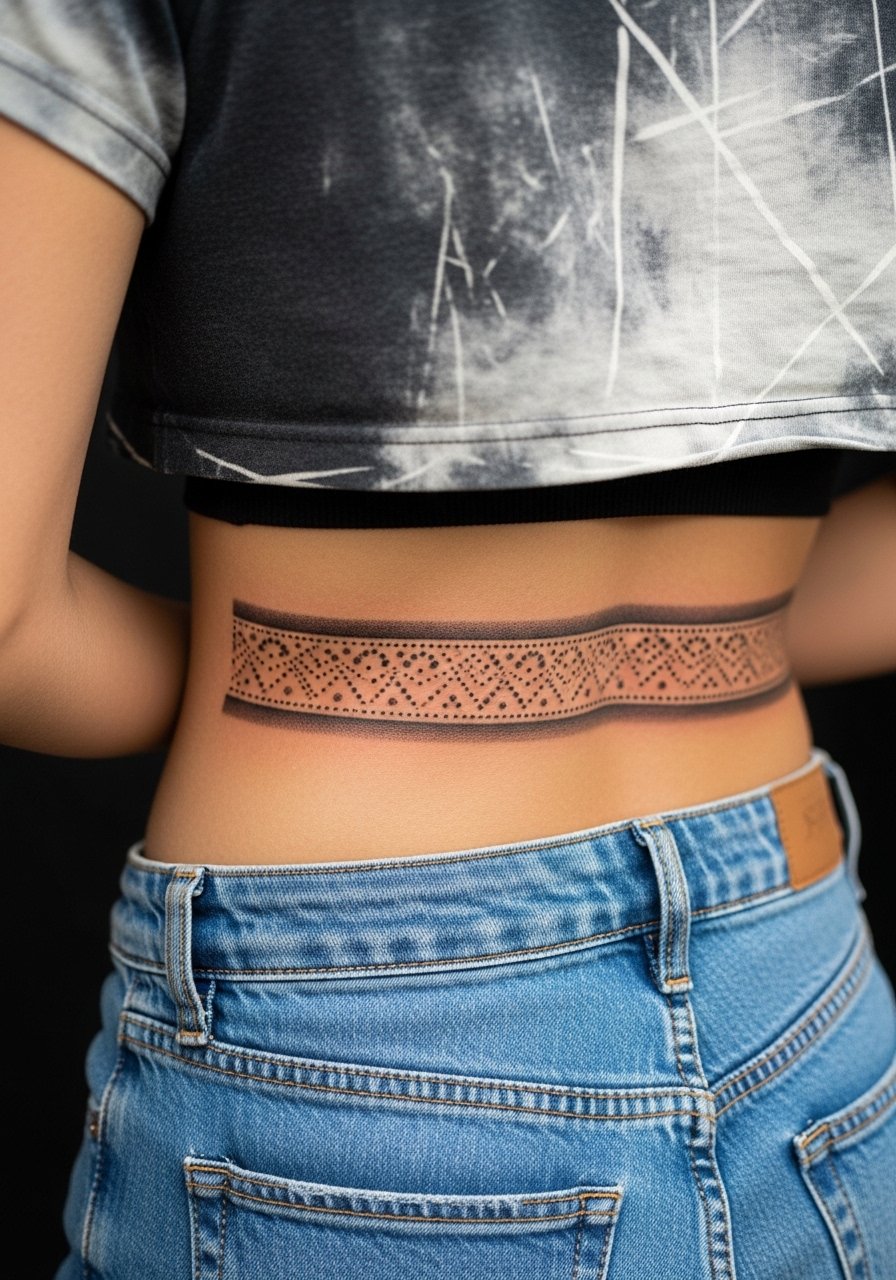
Dot work uses spacing to hold clarity. Ask for slightly larger stipple spacing in the first ring so the pattern keeps its radial rhythm at year three. A common mistake is packing dots too tightly in a narrow stripe. Session time is moderate and the first week can itch if you sweat. Low-rise jeans and a cropped muscle tee showcase the stripe without over-exposure.
18. Minimal Script Along the Spine
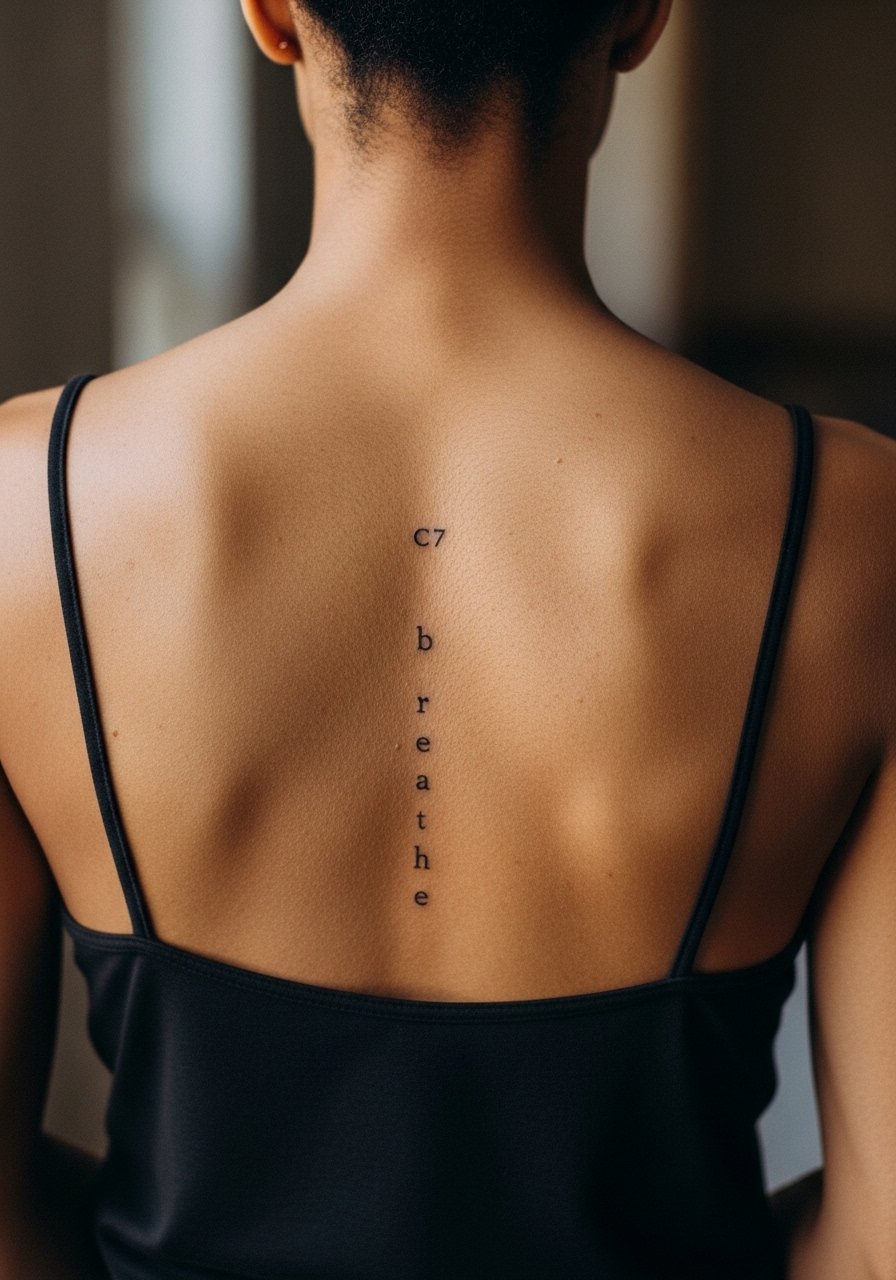
Text on the spine must use exact lettering because generators and stencils can misread short phrases. Specify the exact word and the font weight. Artists disagree about thin script here. One side says avoid it because skin movement blurs letters. The other says small, slightly thicker lowercase letters settle better. Expect tenderness and a possible touch-up at year two. For casual wear, an open-front hoodie shows the line without forcing a full reveal.
19. Small Phoenix Flame Between Shoulder Blades

A compact phoenix motif reads if the main curve hugs the spine’s natural gap. Tell the artist you want the flame to point upward and keep feather detail broad. The mistake is shrinking wing detail into a tiny island, which turns into a gray patch. Sessions are quick but the area can be tender if the piece hits the spine. For reveals, a rolled-sleeve shirt or loose button-down keeps attention on the blade area.
20. Tiny Nautical Star Off-Center Upper Back

Small stars need crisp points to stay legible. Ask for slight broadening at the tips to resist softening. The common error is requesting ultra-thin points that disappear after heal. Session time is brief and pain is low on fatty upper back tissue. For a casual show, a sleeveless workout shirt or an open collar button-up keeps the reveal subtle.
21. Micro Geometric Mountain on Lower Back Corner
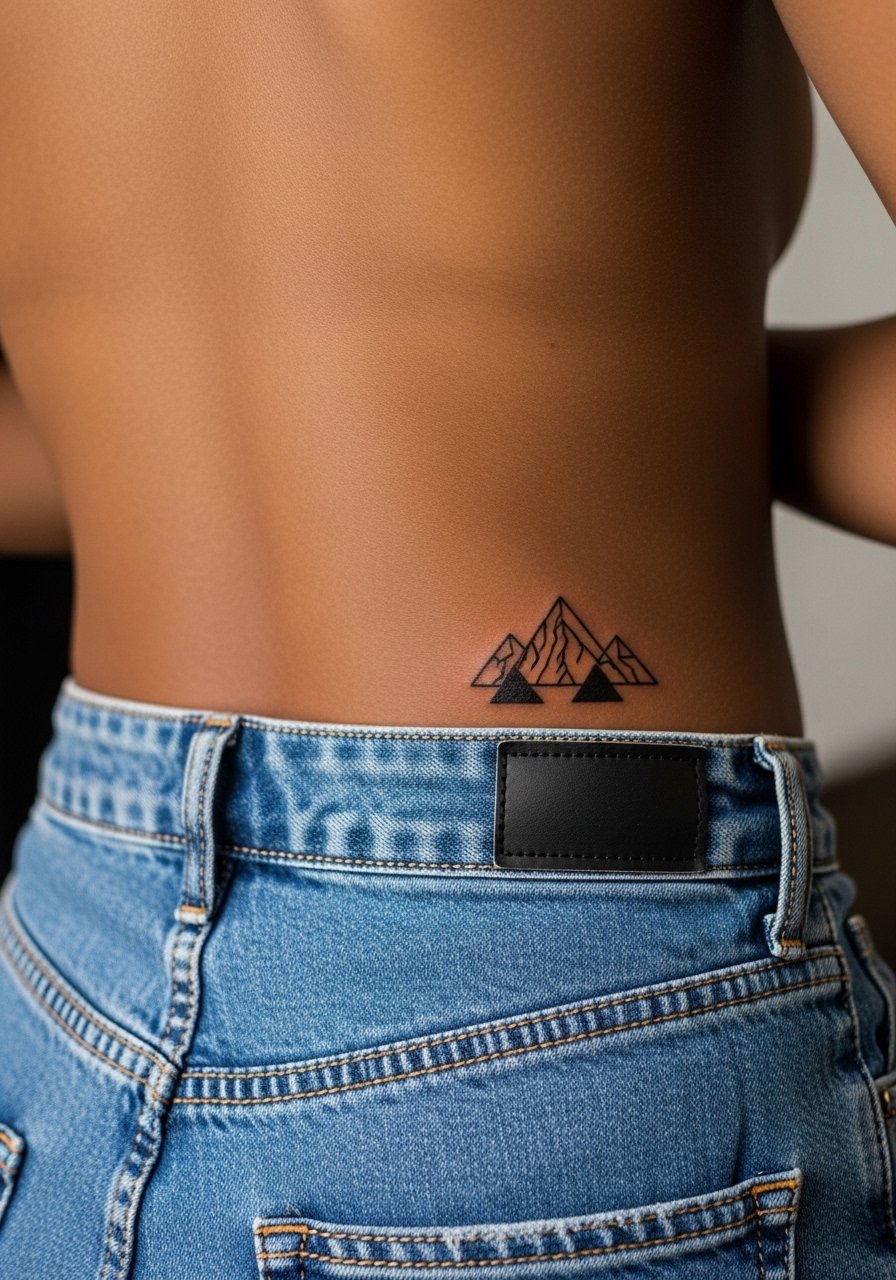
Corner placements handle weight changes better when aligned with the hip bone. Tell the artist the peaks should have negative space between them to avoid merged edges after a year. A common issue is letting too many small peaks sit in a tiny footprint. Sessions are fast. Low-rise jeans and a cropped shirt let you show one side discreetly.
22. Ornamental Anchor with Rope Loop Mid-Back
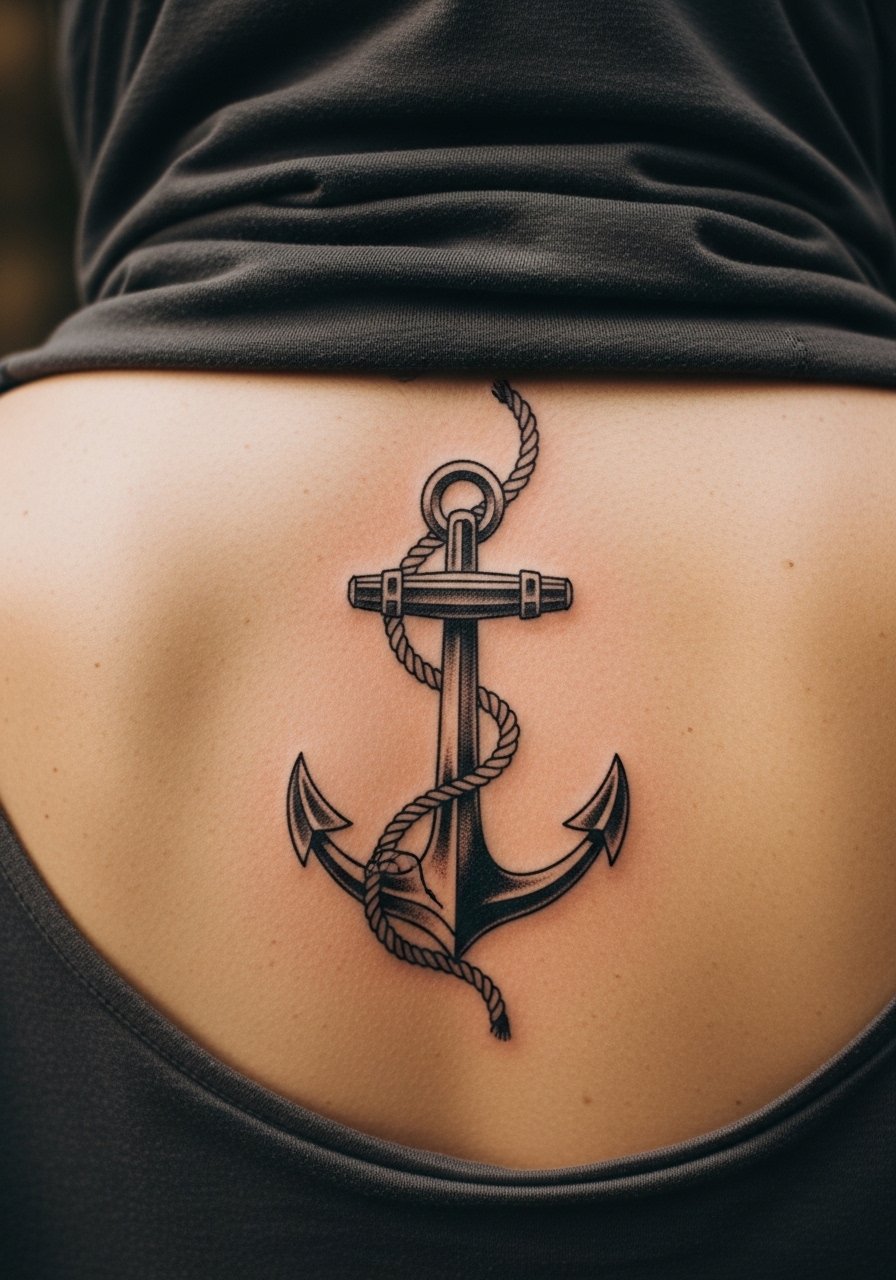
Rope details need scale. Tell the artist to keep the rope pattern bold and to avoid micro-twists. The mistake is skinny rope that blurs into a gray smudge. Session feels steady and not overly painful. For styling, unbutton a rugby shirt or wear a half-zip hoodie unzipped to reveal the mid-back anchor.
23. Tiny Floral Cluster Along Lower Spine
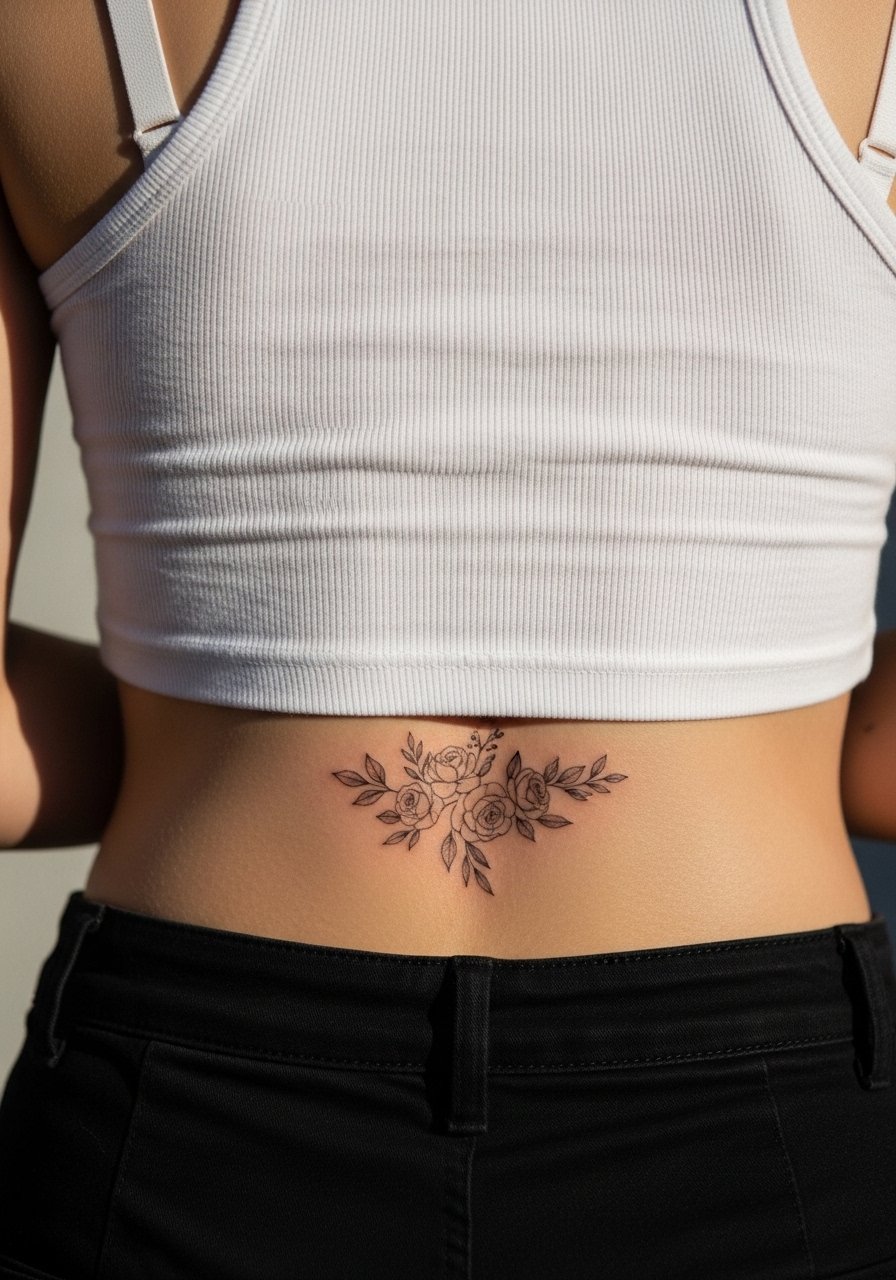
Floral clusters on the lower spine need open spacing between petals to survive stretching. Ask for slightly thicker petal outlines and avoid micro dot fills in the center. The piece is sensitive near the bony tailbone, so expect a sharper moment of pain. For summer, pair with swim trunks or low-rise shorts so the cluster shows with movement.
24. Tiny Geometric Sunburst Off-Shoulder Blade

Sunbursts perform when negative space separates rays. Tell the artist you want defined gaps between ray sets and avoid internal cross-hatching. A common mistake is packing too many micro lines into each ray. Sessions are quick and healing is straightforward. A rolled-sleeve tee or a leather jacket worn open highlights the off-center placement.
25. Minimal Nautical Wheel Mid-Back

Wheels need symmetrical spacing to read as a circle when healed. Ask for slightly bolder spokes and a clear outer ring. The mistake is thin interior spokes that fade into a gray ring. Session time is modest. Styling with an unzipped hoodie or an open collared shirt keeps the mid-back visible without being loud.
26. Small Heraldic Lion Rampant Near Trapezius

Heraldry shrinks poorly when detail is tiny. Tell the artist you want the lion’s silhouette prioritized over tiny interior textures. A common regret is asking for fur detail that disappears. Sessions may be brief but intense for shading. Pair with a sleeveless workout shirt or a denim jacket off one shoulder for a classical reveal.
27. Abstract Line Wave Along Mid-Lower Back
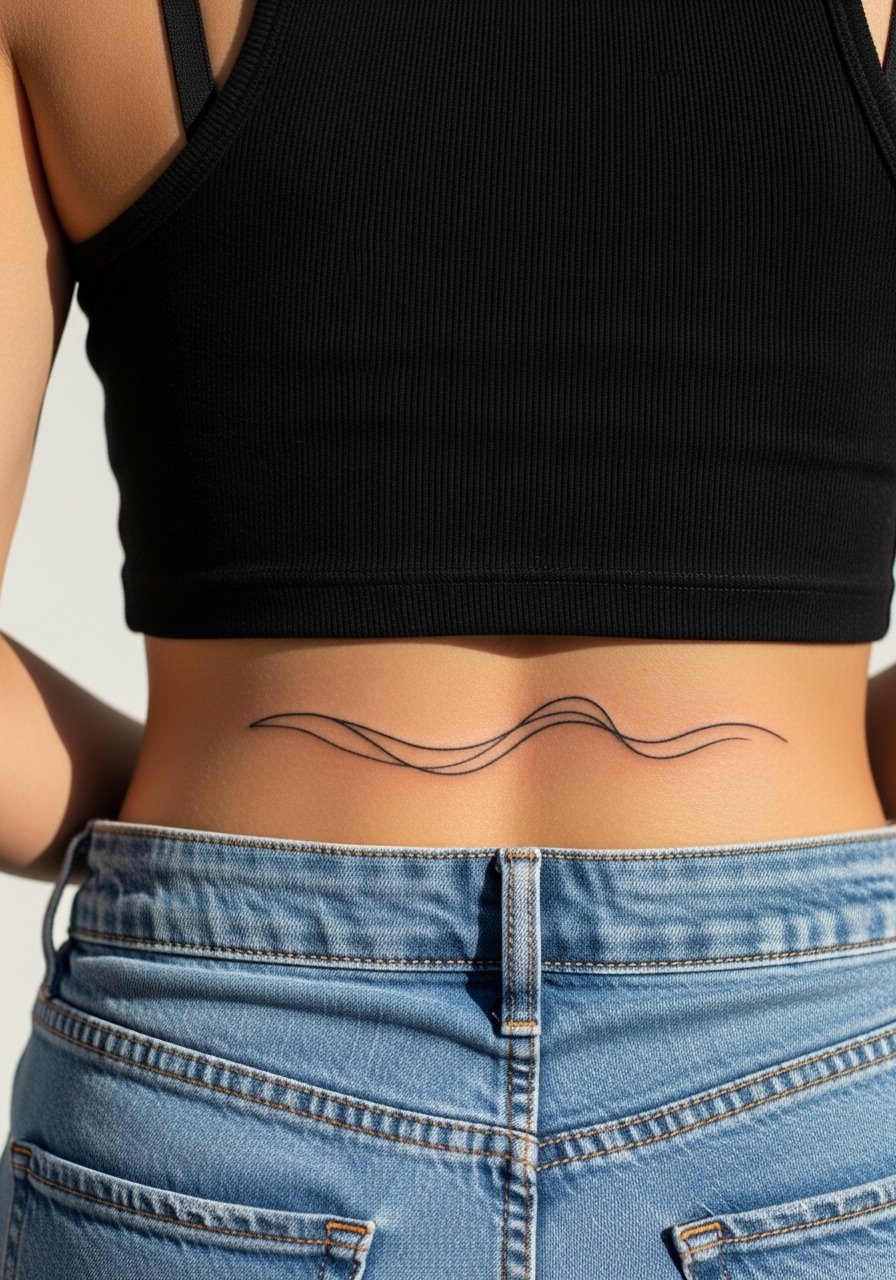
Abstract single-line designs work when the line weight is consistent and the path avoids skin folds. In consultation, show the exact curve and request a test stencil so you can see motion with your posture. The usual mistake is letting the line cross a hip fold which warps with bending. Sessions are fast and healing is simple. For showing it off, low-rise pants and a cropped tee reveal the flow without forcing exposure.
Frequently Asked Questions
Q: Will a small back tattoo stretch or distort after I put on muscle or weight?
A: It depends on placement and the direction of muscle growth. Designs placed along the traps or shoulder blade move with muscle and often look intentional when you flex. Pieces centered over the lumbar curve are more likely to change with weight shifts. Tell your artist about your gym routine so they can adjust placement and spacing during the consultation.
Q: How long do fine line back tattoos stay crisp compared with blackwork?
A: Fine line looks gorgeous fresh but tends to soften sooner than dense blackwork. One camp of artists expects subtle blurring by year two. The other camp insists correct depth and spacing let fine line last longer. If longevity matters, ask for slightly heavier single lines or a small margin of negative space so lines have room to age gracefully.
Q: Is Saniderm better than dry healing for back tattoos, especially in summer?
A: The community splits on this. Supporters of protective films say they cut down on scabbing and mess. Dry-healing advocates argue that films can trap sweat and increase infection risk in hot weather. For sweaty backs I’ve seen thinner films work better, or a short film window followed by careful dry healing. Mention your climate and sweat habits during booking.
Q: How much should I expect a small back tattoo to cost and are there ways to save?
A: Prices vary widely by city and shop. If budget matters, consider guest spots, apprentices for small custom work, or shop walk-ins for flash pieces. Ask about touch-up policy up front so you don’t face surprise costs later.
Q: What should I wear to my appointment for a small back piece?
A: Wear something that gives the artist clear, comfortable access to the area. For upper back and shoulder blade work, a loose tank or an open button-down is easy. For lower back, try a tank with high-waisted pants you can slightly lower. If you want ideas to show off after healing, a fitted men's fitted tank top frames the upper back without loud patterns.
Q: My fine line back tattoo faded quickly. Can I get it touched up for free?
A: Shops differ. Some include a free touch-up within a set window, others charge for small corrections. The smarter move is to ask about touch-up terms when you book and get the timeline in writing. If an artist is reluctant to touch up, ask why so you understand whether the issue is technique or aftercare.
