
Fine line trends and bold traditional looks are both cropping up in saved boards, but what actually holds up on skin is not always the version that gets the most likes. Small red spider lily pieces can soften into blotches if the linework is too tight. Larger neo-traditional builds stay readable longer, yet they cost more session time and need bigger placements. Below are 21 directions for red spider lily tattoo drawings, each tuned to placement, aging, and what to say at consult so the design reads well at year two and year five.
1. Neo-Traditional Red Spider Lily on Outer Forearm

I recommend this when you want color that reads from a distance and still holds after a few years. Tell your artist you want heavier outlines around the petals and controlled saturation rather than a patchy fill. Common mistakes include shrinking the design too small and losing petal detail as the ink settles. Expect two sessions if you want a saturated core and soft edge blends. Pain on the outer forearm is moderate. For showing it off, roll up a fitted short sleeve tee so the bloom sits in view without competing fabric.
2. Micro-Realism Single Stem on Upper Arm

Choose micro-realism if you want botanical accuracy and petal texture. Say during the consult that you want detailed stamen and soft gray transitions rather than a posterized red block. Small realism can age better on the upper arm because the skin is stable. The session feels like focused needlework with occasional pauses for shading. A typical mistake is asking for hyper-detail at too small a scale. For session wear, go in a sleeveless muscle tank so the artist has full access with no tugging.
3. Minimalist Silhouette on the Inner Wrist
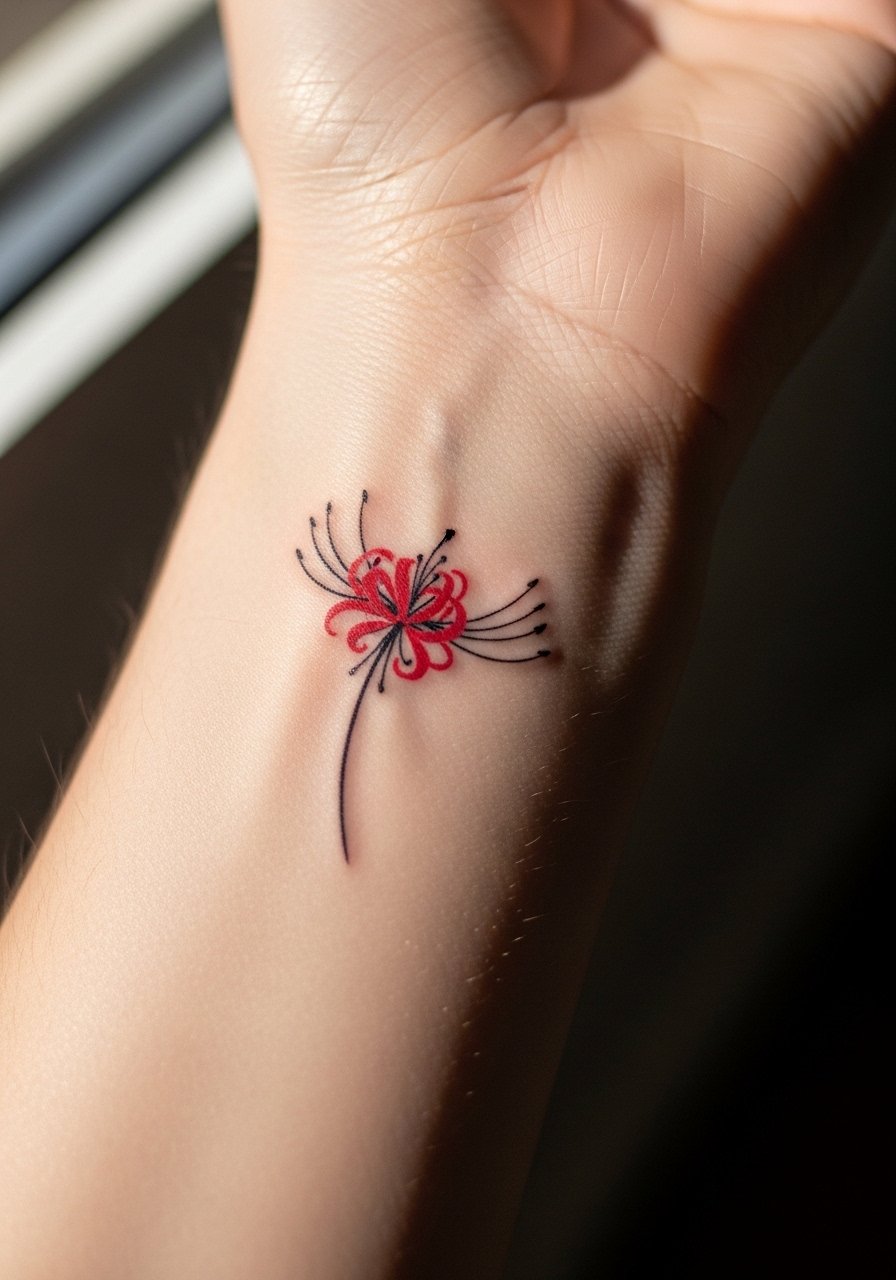
This is a first-timer friendly option if you want low ink commitment and fast sessions. Ask for a slightly bolder line than ultra-micro single-needle work so the shape holds up against daily washing. The biggest mistake is requesting too small a silhouette. At six months the silhouette will look crisp, but by year three it may need a touch-up if the wrist sees heavy friction. Pain is low to moderate. Pair the piece with a thin bangle bracelet set on the opposite wrist to balance attention without overcrowding the tiny bloom.
4. Watercolor Petal Splash on the Shoulder Cap

Watercolor suits the shoulder because there is room for flowing washes that follow muscle contour. In consult request soft edges and a few anchored lines so the artist can suggest petal veins without solid fills. There is a split in opinion about watercolor longevity. One camp says soft washes fade quickly and need careful placement away from high-sun zones. The other camp argues that subtle touch-ups and UV protection keep the look intact. The session is breezy and often completes in one visit. Wear a loose button-down shirt you can pull aside so the shoulder is easy to reach.
5. Fine Line Collarbone Outline
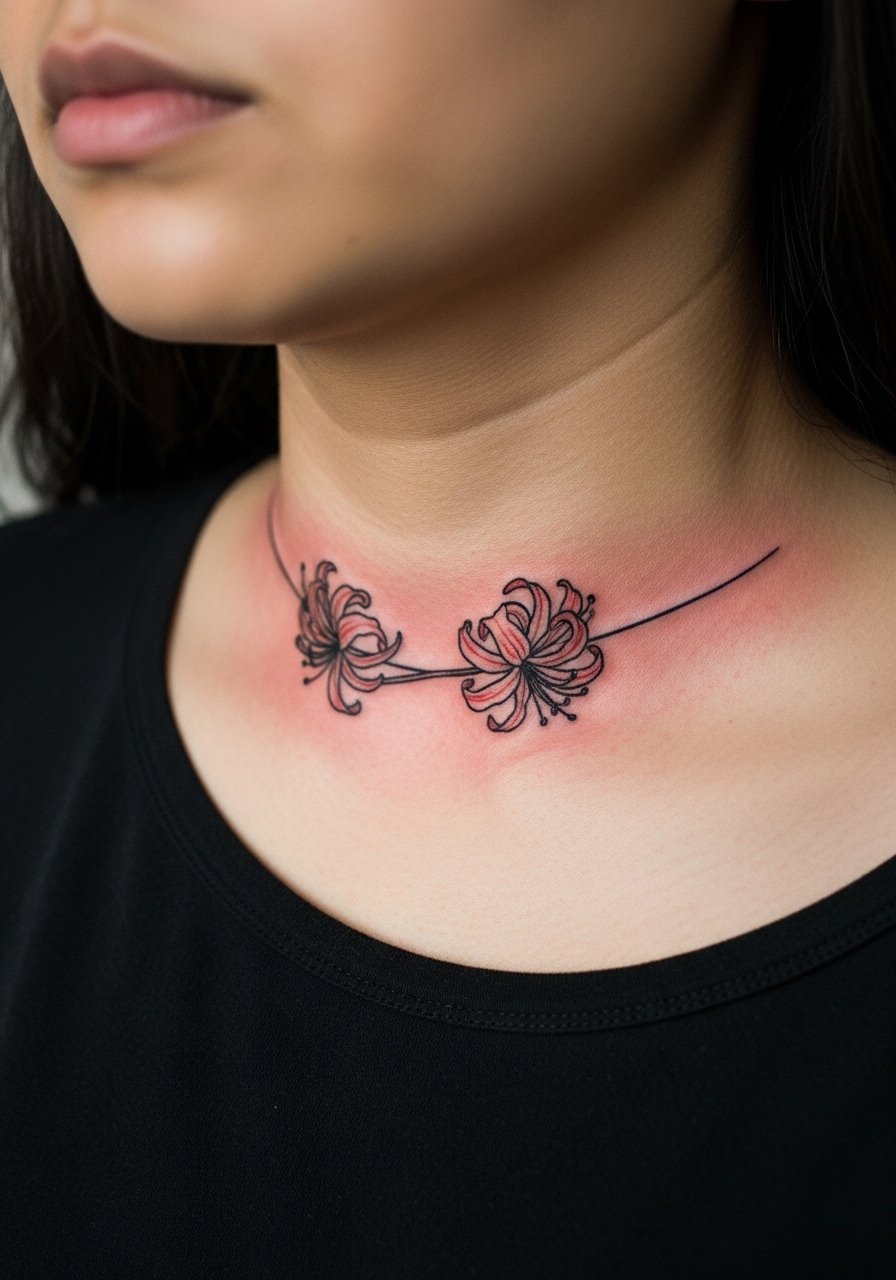
The collarbone is ideal for a delicate outline that breathes with the collar line. Tell the artist you want slightly looser spacing between lines so the piece avoids merging over time. A common error is insisting on extremely thin single-needle lines without allowing for modest line weight, which can blur on heavily exposed chest skin. Expect a single short session and mild tenderness. For showing it off, an off shoulder top frames the design while protecting the rest of the chest during daily wear.
6. Blackwork Mandala Fusion on the Upper Back

Go blackwork if you want bold contrast and a graphic silhouette that ages into a strong statement. Ask for clearly defined negative space around petal edges so the mandala does not become a solid blob. The mistake is packing too many small shapes into one area. Sessions usually require two to three visits for solid saturation. Back work hurts less than ribs but needs longer stretches of lying down. For showing it off, a backless halter dress makes the mandala the focal point without exposing other areas.
Studio Day Picks
The forearm, collarbone, and upper back pieces above need different prep. These picks smooth the session and help the first week go easier.
-
Stencil transfer paper kit. Lets you preview placement and line weight on skin, which helps with the forearm and collarbone layouts above.
-
Topical numbing cream. Applied before the session eases discomfort on tender areas like the collarbone or inner bicep.
-
Thin protective film roll. Keeps wrist and hand tattoos clean during the high-friction first days.
-
Fragrance free gentle body wash. Cleanses healing skin without irritating fine line work on the collarbone and shoulder.
-
Aquaphor healing ointment. Thin layers during the very first days lock in moisture around delicate lines without clogging.
7. Ornamental Vine Extension on Outer Forearm Sleeve
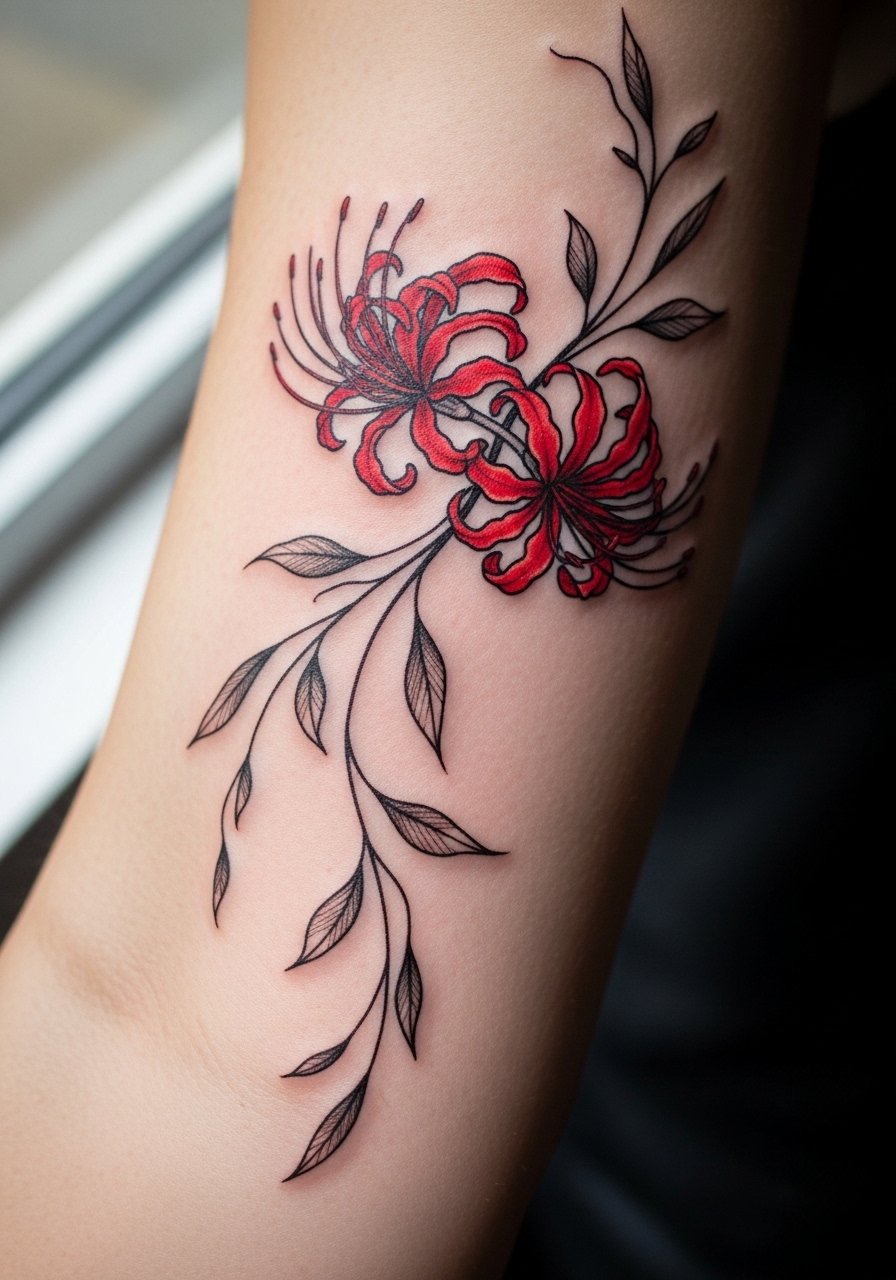
This fits sleeve starters that need bridging elements to fill negative space. Say you want vines that wrap gently around the arm and taper before the wrist so the sleeve can expand later. A common mistake is giving vines too much density early on, which forces awkward additions later. Aging tends to be forgiving when the linework has room to breathe. Expect two sessions for a medium wrap and moderate pain. For session comfort, wear a roll up sleeve shirt so the artist can work without you tugging fabric.
8. Stipple-Shaded Thigh Panel
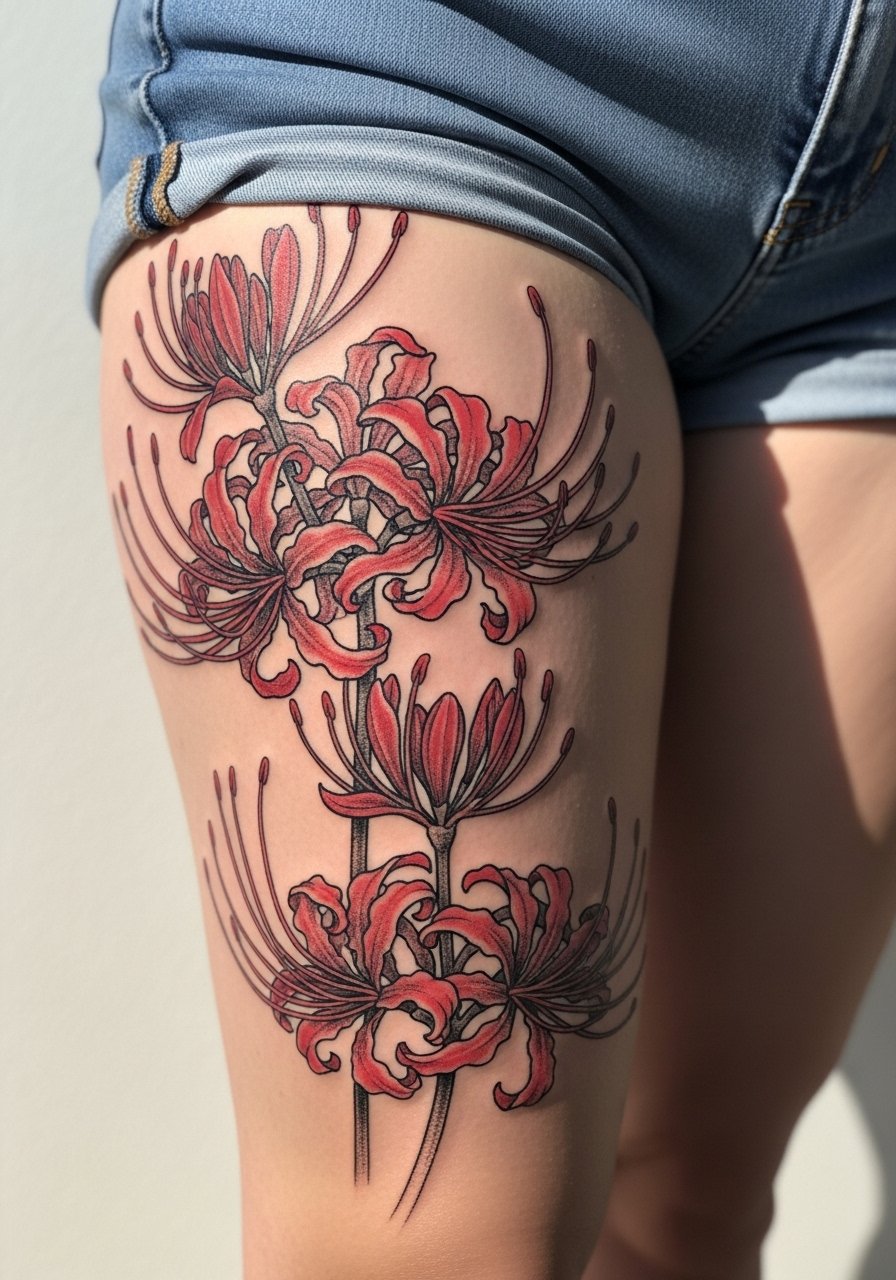
The thigh gives space for texture-focused techniques like stippling that read beautifully when healed. Tell your artist you want dot work gradients and minimal solid fills to keep the piece breathable. A mistake is compressing too much detail into a narrow strip. The thigh settles well and the limits of sun exposure help the reds hold. Sessions can be longer but bearable since you can shift positions more freely. For after-session comfort and showing it off, high-waisted denim shorts make the panel visible while keeping movement easy. Use high waisted denim shorts when you want the piece on display.
9. Single-Petal Ankle Accent

Small ankle pieces are cute but face heavy friction from shoes and socks. Ask for a slightly bolder outline and position the petal on the side of the ankle rather than the top to avoid constant rubbing. The error most people make is expecting finger-level longevity from an ankle line. Healing takes a couple of weeks to scab then soften. Wear sandals or roll up pant legs to show it off. For showing it off, a layered anklet set highlights the ankle bloom without covering it.
10. Scripted Stem Along the Ribcage
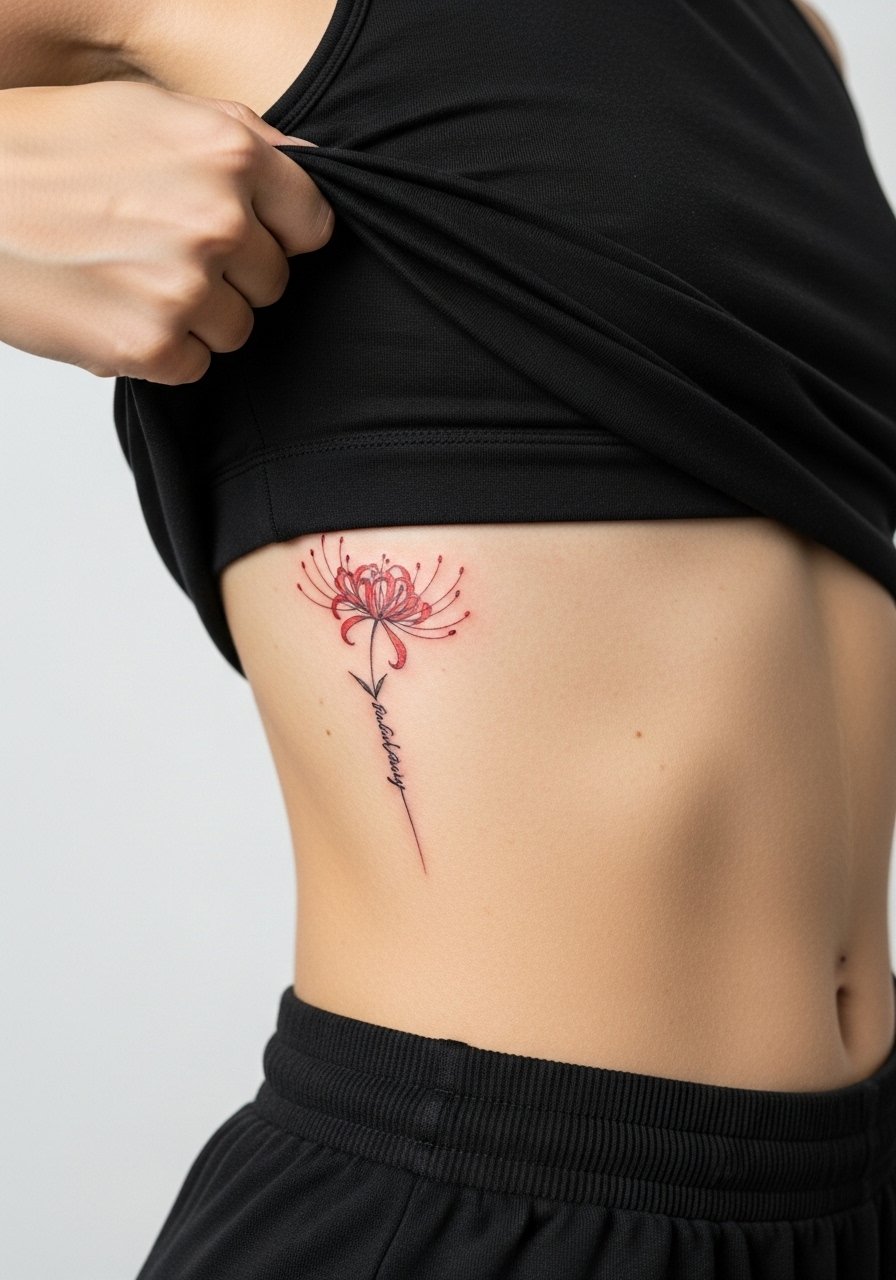
Ribcage work reads long and elegant, but it hurts and moves with breathing. Ask for wider spacing between lines and avoid ultra-fine single-needle shading that can blur with skin stretch. There is a clear debate among artists about fine line on ribs. One group says ribs stretch and blur lines within a couple of years. The other group says careful depth and spacing can make fine line last. A practical approach is to plan for a touch-up at year two if you want crisp script. Wear a strapless or cropped top to make the area accessible during the appointment.
11. Watercolor Band on the Thigh
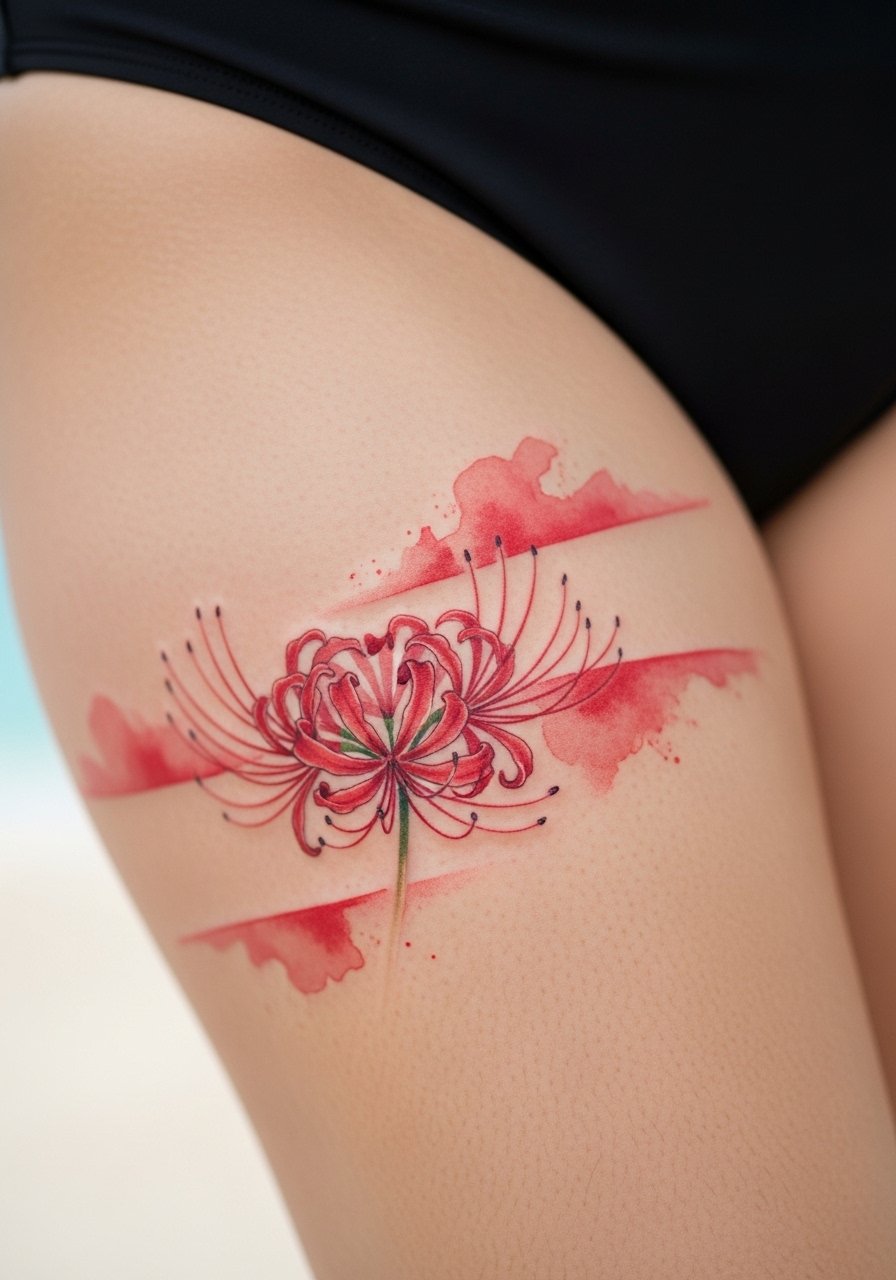
A watercolor band uses the thigh contour to create motion across the leg. Tell your artist you want less black line and more layered translucent washes. A mistake is asking for washes that are too thin without anchoring lines, which results in faster fading. At six months the washes soften nicely, and you may plan a refresh around year three. For session wear, loose gym shorts that roll up easily keep pressure off the area so the artist can work freely. Try loose gym shorts for comfort.
12. Micro-Realism Inner Bicep Accent

Inner bicep skin is softer and can hold detail well if the artist balances needle depth. If you want a tiny lifelike bloom, request a slightly larger size than you think necessary to preserve stamen clarity. Common mistake is insisting on ultra-tiny realism that loses personality once healed. The session feels tender because the area is sensitive. Plan for touch-ups at year two for crispness. Hand the artist clear reference photos showing the exact vein and stamen detail you like.
13. Fine Line Minimalist Behind-the-Ear Accent

Behind-the-ear placements are subtle and very personal. Describe to the artist exactly how much of the neck you want visible and ask for modest line weight so the tiny petals read when hair is tucked back. Many people forget how hair and collars can hide the work. Expect low session time but higher sensitivity due to thin skin. This placement also comes with professional considerations for some workplaces. For styling, a delicate choker on the opposite side keeps pressure off the tattoo while drawing balanced attention. Try a delicate choker necklace when you step out.
14. Ornamental Hip Bloom
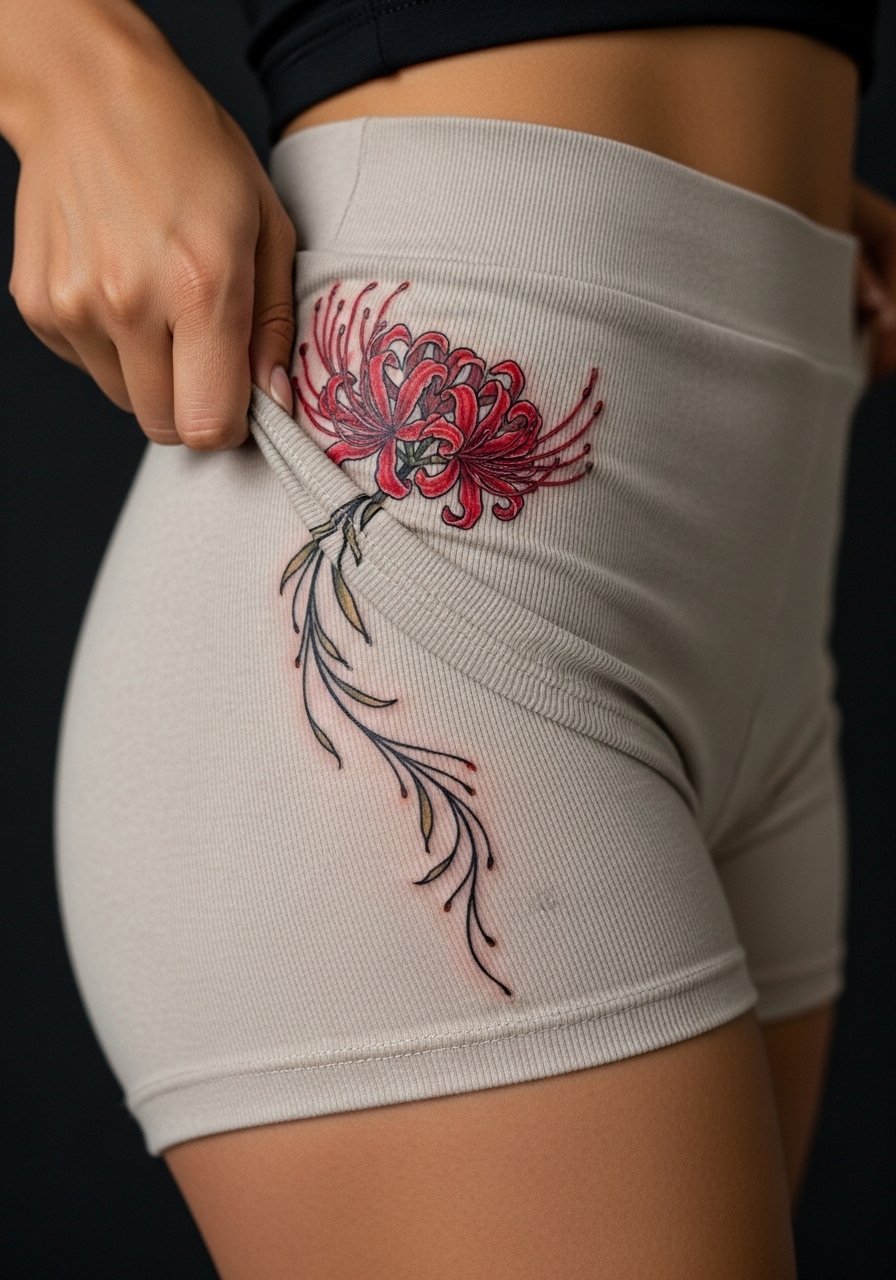
Hip pieces let you expand a bloom into a decorative panel that peeks from swimsuit lines or low jeans. Ask for tapered vines and return points that avoid crossing seams where clothing rubs. Mistakes include placing dense linework where underwear elastic will sit. The hip heals well but sees friction from waistbands. Schedule a session when you can avoid tight clothes for a few days. When you want to show the piece, high-waisted denim or swimwear that sits just below the design highlights it elegantly.
15. Collarbone Cluster with Negative Space

A cluster can read as a deliberate motif if the artist uses negative space to separate petals. Ask for spacing plans during the stencil check so the cluster breathes with collar movement. The error is packing flowers too tightly which ages into an undifferentiated patch. Sessions are short and recovery is straightforward. For evening wear, an off-shoulder neckline emphasizes the cluster without exposing more skin. An off shoulder top makes it effortless to reveal the area.
16. Blackwork Stem Down the Spine
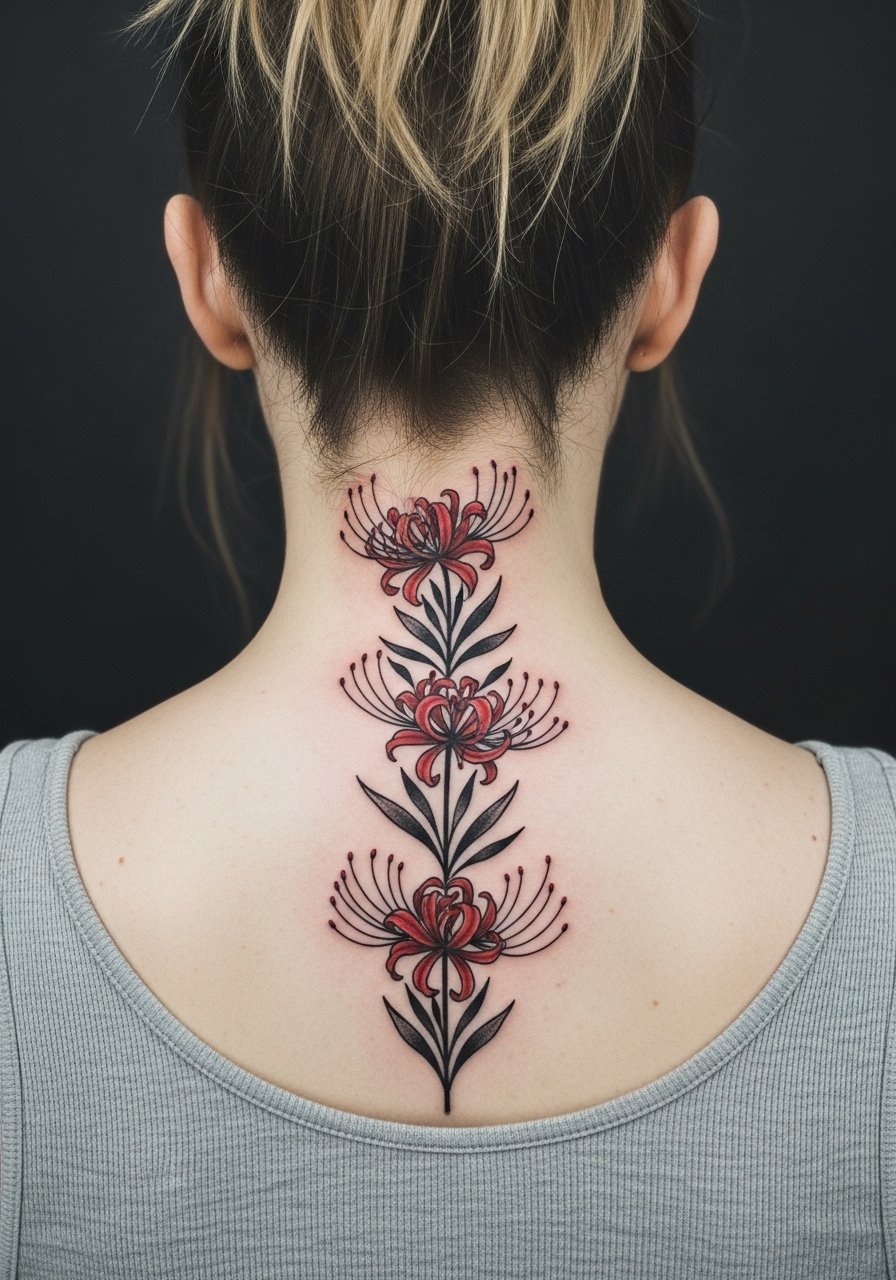
A vertical spine piece needs bold blackwork to stay readable across years. Tell your artist you want definite gaps between filled areas so the stem does not merge. A frequent mistake is over-detailing narrow spine strips. Pain is moderate and sessions can be split. For showing it off, a cropped tank or backless top pulls attention to the vertical flow. Try a cropped tank top for casual reveals.
17. Thigh-to-Hip Flowing Composition
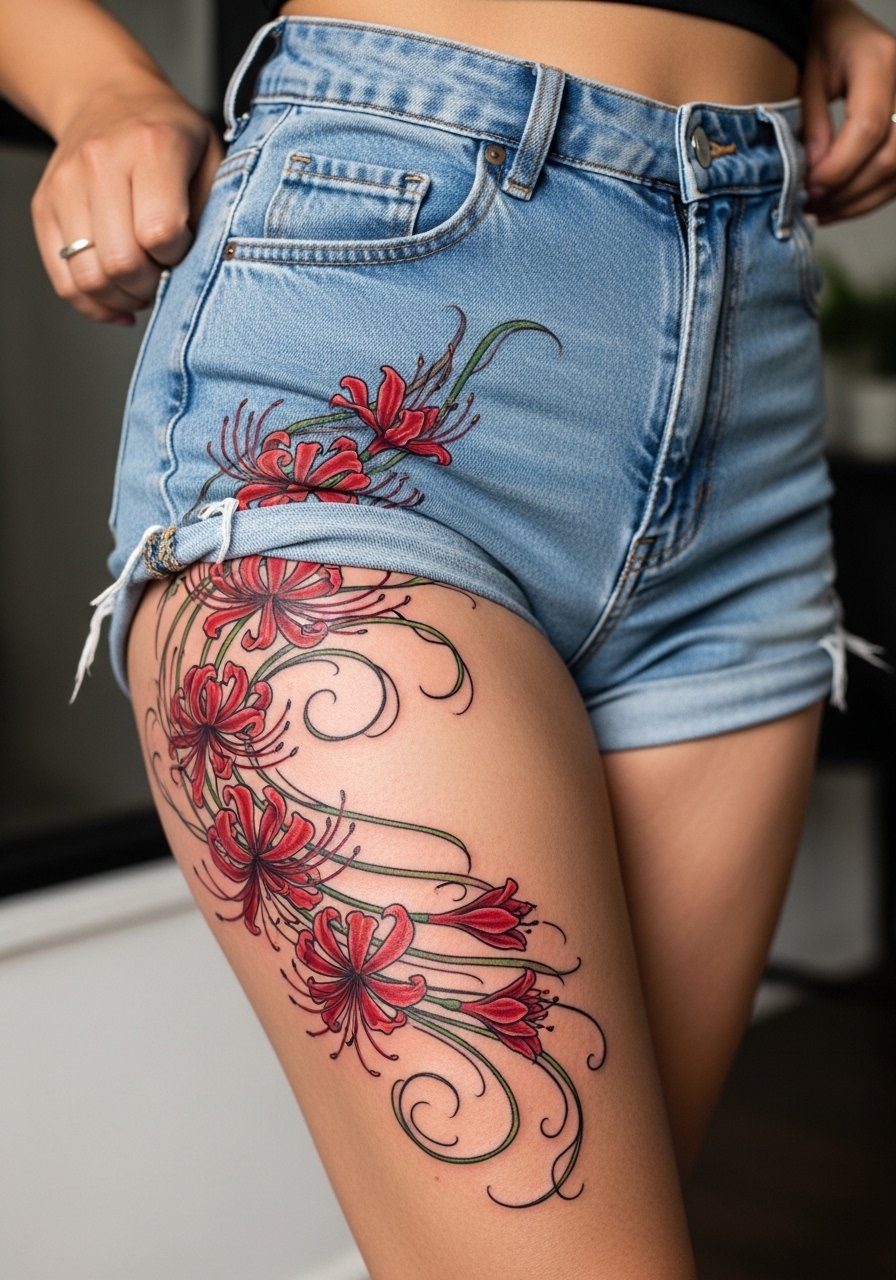
This design exploits body movement for a dynamic effect. During consult request directional petal placement that follows how you move when walking so the bloom seems to shift with your stride. Mistakes include forcing symmetry where natural asymmetry reads better. Touch-ups are rarely needed early because the thigh is low-friction compared with the shin. For summer showing, high-waisted shorts flatter the transition and keep pressure off the ink during healing. Use high waisted denim shorts to frame the piece.
18. Micro-Realism Calf Panel
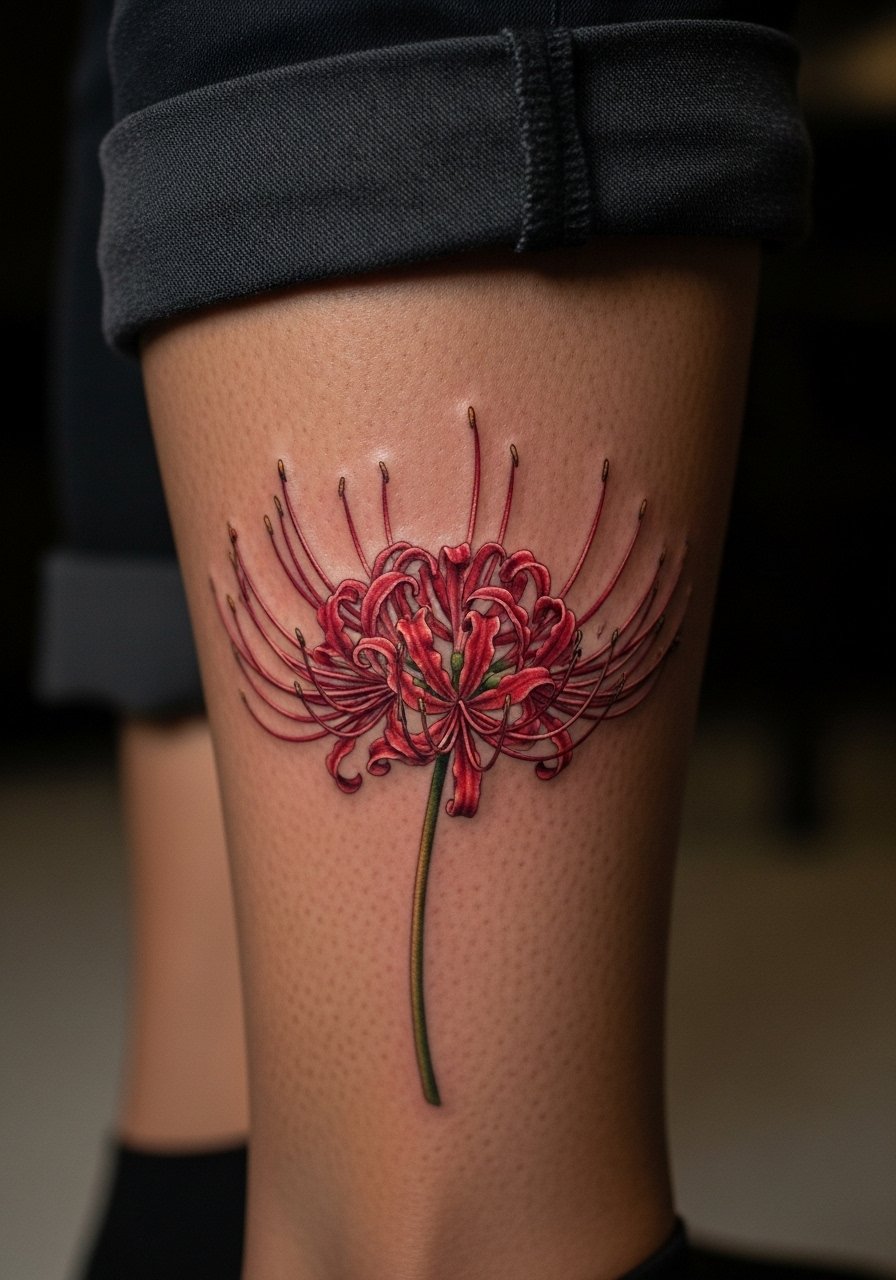
The calf provides a stable canvas for lifelike petal curving. Ask for a slightly raised scale of detail so the stamen remains legible at seven inches. A common error is requesting too many minuscule details that vanish on movement. The session is comfortable because you can sit or lie as needed. Plan to avoid tight socks during the first week. For casual display, rolled trousers or cropped pants reveal the panel without overexposing other areas.
19. Miniature Finger Accent

Finger tattoos are fast but high risk for early wear. Ask the artist for a slightly bolder edge and placement on the side of the finger to avoid top-surface friction. The mistake people make is expecting the same longevity as wrist or forearm pieces. Expect fading faster and plan on touch-ups within a couple of years. For styling, thin rings or a minimalist band will keep focus on the finger without adding rubbing. A simple metal ring paired with the tiny bloom reads deliberately.
20. Ankle Chain of Small Blooms
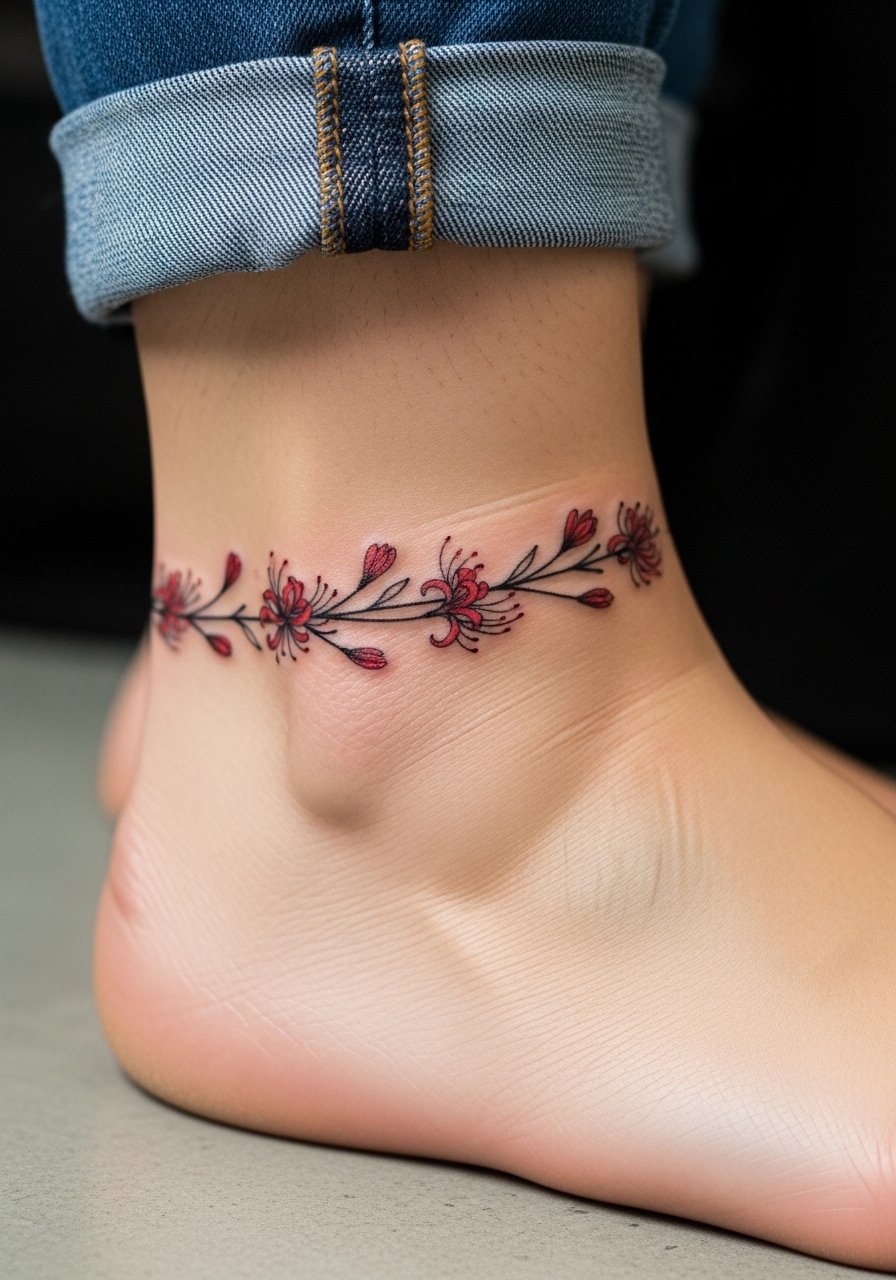
An ankle chain gives repeated interest without a heavy commitment. Tell your artist you want small gaps between buds to prevent merging during healing. A frequent error is packing tiny buds too close together which looks like a smudge after washing and walking. Healing needs avoided compression from socks for the first week. For show-off styling, roll up jeans or wear sandals so the chain sits visible. A layered anklet set complements the tattoo without covering it.
21. Thigh Sleeve with Ornamental Blackwork

For a statement that remains controlled, combine ornamental blackwork with crimson accents for depth. During consult outline which areas will be dense black and which will receive soft red washes to prevent the piece from flattening. Mistakes include too many tiny fills that merge under pressure points. Sessions will likely be multiple and you should plan for breaks. For summertime display, high-cut swimwear or shorts are ideal to reveal the sleeve while keeping surrounding areas covered.
Frequently Asked Questions
Q: Will a watercolor red spider lily fade faster than a neo-traditional piece?
A: Watercolor washes tend to soften sooner because they depend on subtle pigment layering rather than dense saturation. Neo-traditional pieces with stronger outlines and packed color hold their silhouette longer. In practice it depends on placement and sun exposure, so plan for touch-ups on exposed areas.
Q: Is fine line safe on the ribs if I want a delicate stem?
A: Artists split into two camps. One side warns that ribs stretch and thin lines blur within a couple of years. The other side says careful depth and spacing will keep fine line readable. Ask your artist how they space lines and whether they plan for a touch-up at year two.
Q: How do I dress for a shoulder watercolor session?
A: Wear a loose button-down shirt you can pull aside or a racerback tank so the artist has unobstructed access without you pulling at seams. Comfort and easy removal make longer shoulder sessions smoother.
Q: What causes blowout on forearm flowers and how can I avoid it?
A: Blowout happens when ink goes too deep or spreads under thin skin. Avoid ultra-fine single-needle density on thin forearm contours and agree on moderate needle depth during consult. Proper spacing and modest line weight reduce the risk.
Q: How often should I expect touch-ups for a small wrist silhouette?
A: Small wrist silhouettes commonly need attention around year three depending on lifestyle and sun exposure. The wrist sees friction and washing, so plan for a quick touch-up rather than assuming permanent crispness.
Q: Where can I find more red spider lily designs for reference?
A: Search style-specific hashtags like #redspiderlilytattoo and browse tattoo directories that let you filter by style and city. Those discovery pathways help you find artists who specialize in the style you want without naming individuals here.
