
Fine line work and soft florals have turned the side of the neck into one of the most requested spots. Expect high visibility, a sharp pain profile because the skin is thin, and a design that needs thoughtful spacing to age well. These 21 pretty side neck tattoo ideas focus on what holds up, what to ask during consultation, and how to show them off without compromising longevity.
1. Fine-Line Cursive Behind the Ear
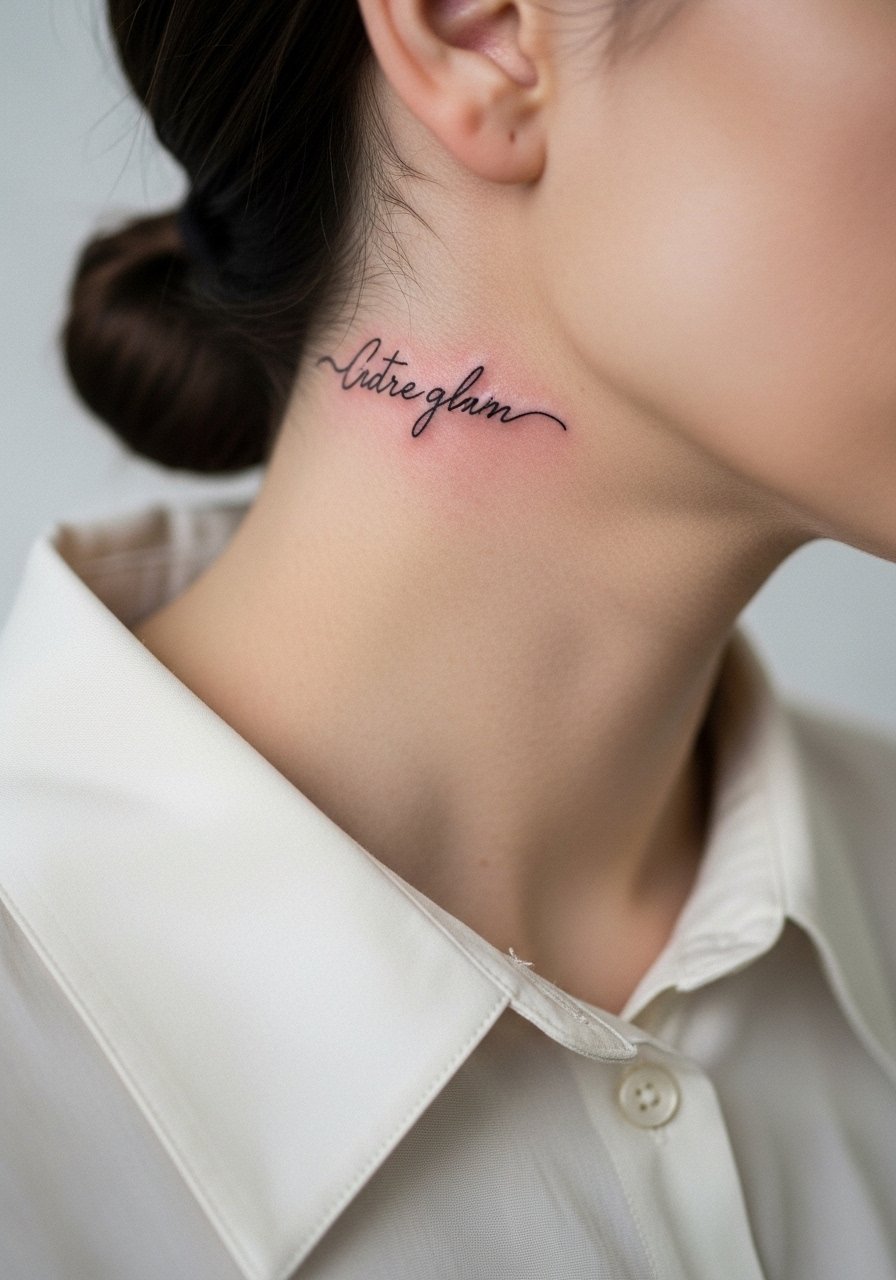
When you want a discreet pretty side neck tattoo that hides under hair, fine-line cursive behind the ear is a classic pick. Fair warning, the area reads small and the needle runs close to bone so pain spikes, but a one-inch height keeps session time short. Tell your artist you want slightly increased spacing between letters and a single pass with clean linework to reduce blowout risk. Many fine-line fans debate longevity. One camp accepts softening as part of the look. The other recommends heavier line weight for long-term clarity. Ask where the artist lands. For the appointment, wear a v neck button shirt so the area is accessible without wetting your hair.
2. Blackwork Rose Along the Jawline

There is a reason roses keep appearing for side neck placements. Blackwork shading handles thin skin well and maintains saturation as it heals. This 2 to 3 inch curve should follow the jawline so it looks intentional not pasted on. Bring reference images that show the petal layering you like and request gradual stipple shading rather than heavy solid fills in tight spots. Pain is moderate because the jawbone sits under the skin. Expect one session, maybe two for deeper shading. Styling-wise, an off shoulder blouse women in a neutral shade frames the tattoo without competing for attention.
3. Peony Outline at the Upper Side Neck
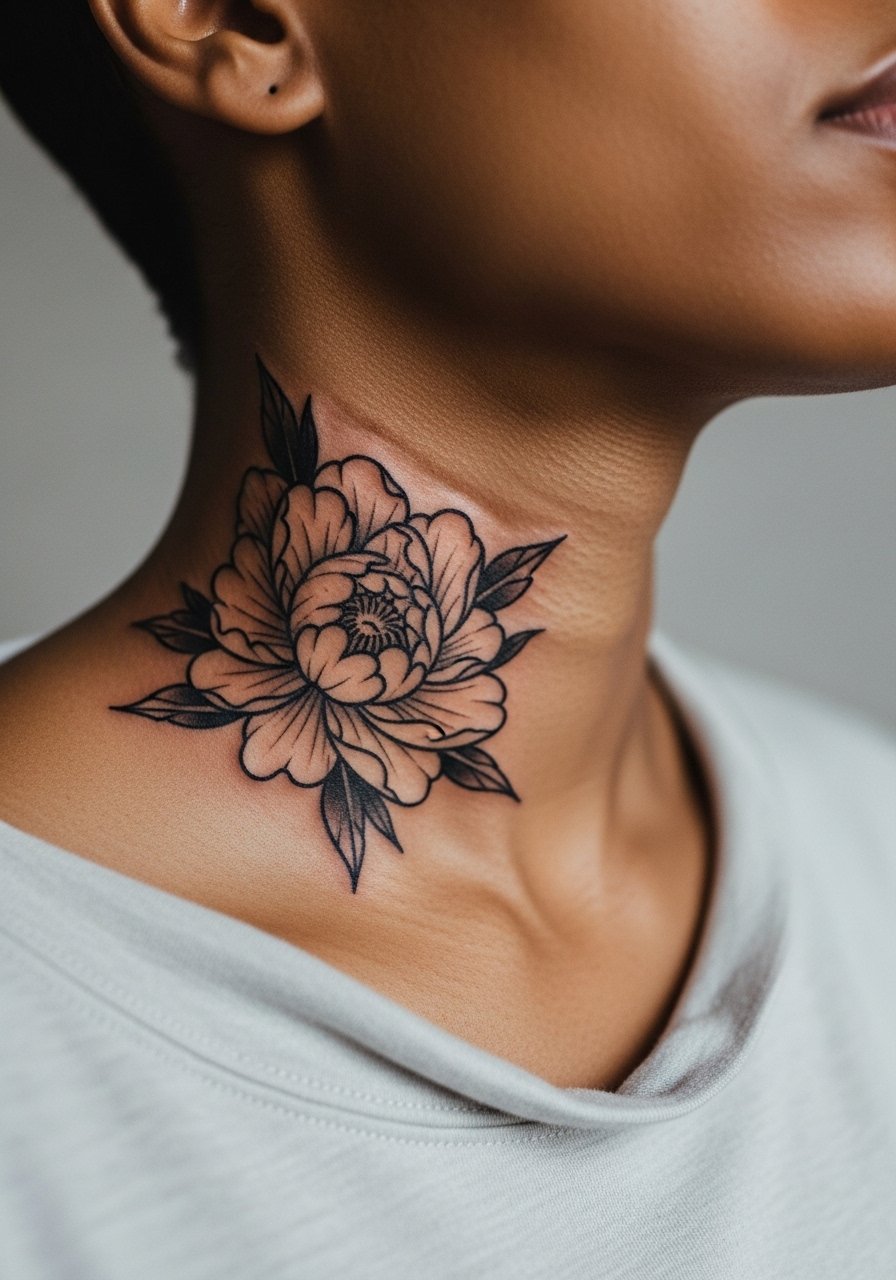
Peony outlines translate well to the upper side neck because their layered petals complement the curve of the jaw and throat. For a peony that ages, ask for slightly thicker outer linework and reserved color accents rather than saturated blocks near thin skin. That reduces early fade and avoids patchy loss in darker tones. The session usually runs single visit if kept to around 2.5 inches. Pain sits in the mid range, with sharp spots toward the jaw. Avoid the common mistake of asking for too many tiny inner petal details; they can blur into a mottled area after two to three years. For showing it off, a silk chiffon top or an open collar lets the floral curve read clearly.
4. Butterfly Silhouette Near the Lower Side Neck

Butterflies elongate the neck visually and read beautifully when placed lower on the side. A one and a half inch wingspan keeps session time brief and pain manageable. When consulting, state that you want a clean single-line silhouette for durability instead of tiny internal veins that may blur. The common mistake is over-detailing the wing interiors. Expect the piece to soften slightly by year two, but well-spaced lines and good saturation help it remain recognizable. This motif pairs perfectly with summer tops, so consider packing a strapless halter top for warm-weather show-offs and to avoid collar friction during healing.
5. Vertical Cherry Blossom Branch

A vertical cherry blossom branch plays to the neck's natural lines and suits a longer, three-inch layout. Ask your artist for soft stipple shading and slightly bolder stem lines so the flowers do not wash out. Pain is concentrated along the curve but session time is usually a single visit under an hour for a three-inch piece. Unlike dense color work, this style ages by softening rather than patching out. Many people forget to plan their wardrobe for the first week. Wear a collared shirt women you can pull aside for the artist and then keep loose while healing to reduce rubbing.
6. Mandala Geometry Framing the Face
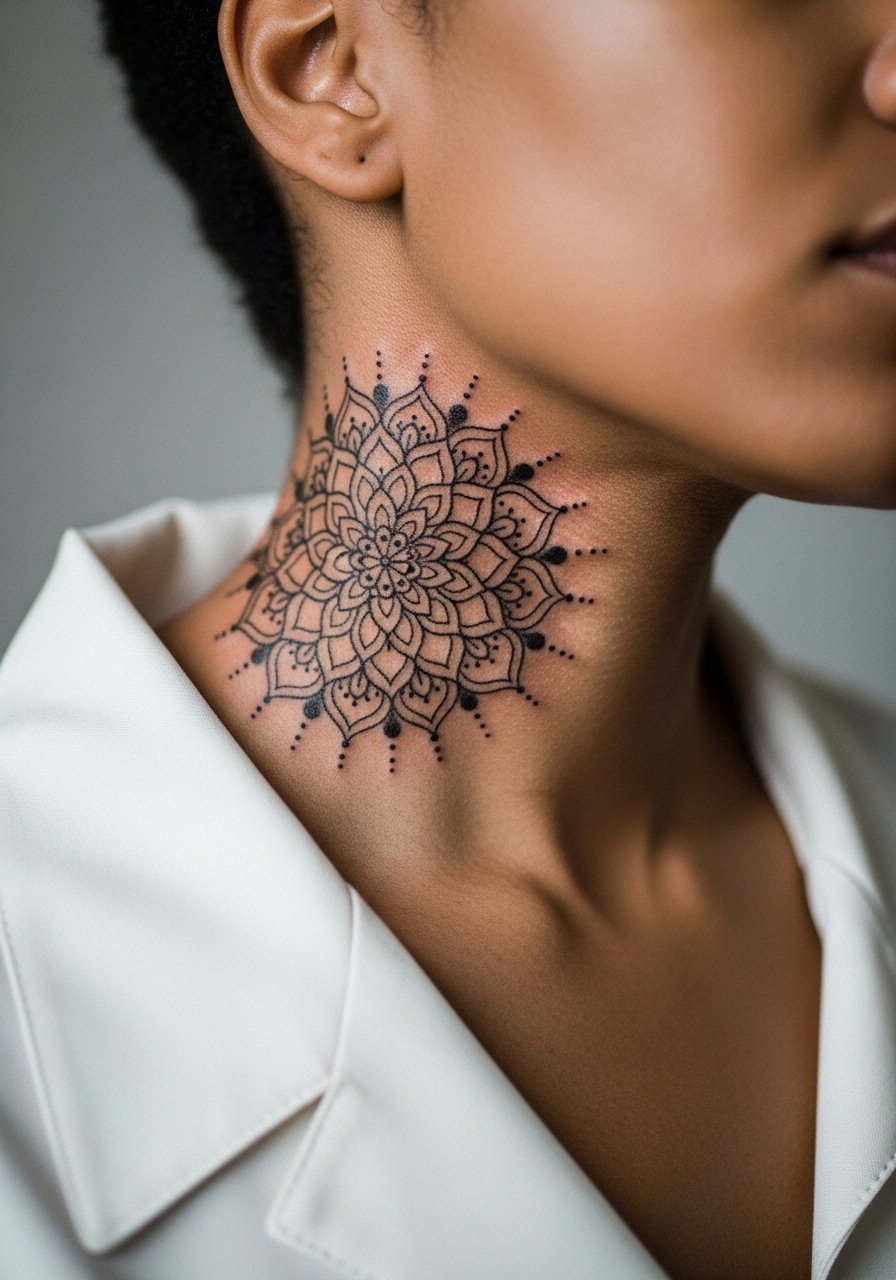
Mandala geometry on the side neck is about balance and spacing. Because dense lines can merge on thin skin, the trick is to increase negative space between petals or concentric rings. Artists split on how small you can go. One camp says mandalas need more room to prevent merging. The other believes impeccable dot work and spacing will keep them crisp. Name both views in your consultation and ask for mockups at life-size. Expect a single session for a two-inch circle with careful stipple shading. For symmetry checks bring photos of your face from the same angle the artist will view the neck.
Studio Day Picks
The first six ideas include tight linework and small negative-space details, so a little prep and the right post-session items smooth the experience.
-
Stencil transfer paper kit. Lets you preview placement at life size so the script, blossom stems, and mandala circles sit where you expect them on the actual curve of the neck.
-
Topical numbing cream. Useful for behind-ear or jawline stencils when you know you have a low pain tolerance and want to reduce sharp spikes during the first pass.
-
Thin protective film roll. Keeps delicate fine line pieces clean while you sleep and protects against friction from collars during the first 48 hours.
-
Fragrance free gentle body wash. Cleans the healing area without stripping ink or irritating the thin neck skin that fine lines rely on.
-
Aquaphor healing ointment. A thin layer during the first few days locks in moisture for small, high-detail pieces while still allowing the skin to breathe.
7. Doves in Flight Trailing to the Shoulder

Doves are ideal if you want movement that reads from the side. A two-inch spread that flows toward the shoulder uses the neck-to-shoulder seam for natural direction. Tell your artist to keep the outlines sturdy and avoid tiny feather details that can blur. Expect a single session with noticeable tenderness over the lower neck. One common mistake is placing birds too close to the jaw hinge where motion can accelerate blowout. This look pairs nicely with strapless or halter tops for evenings, so try an open knit cardigan layered over a strapless top for a balanced reveal.
8. Quote in Cursive Along the Curve
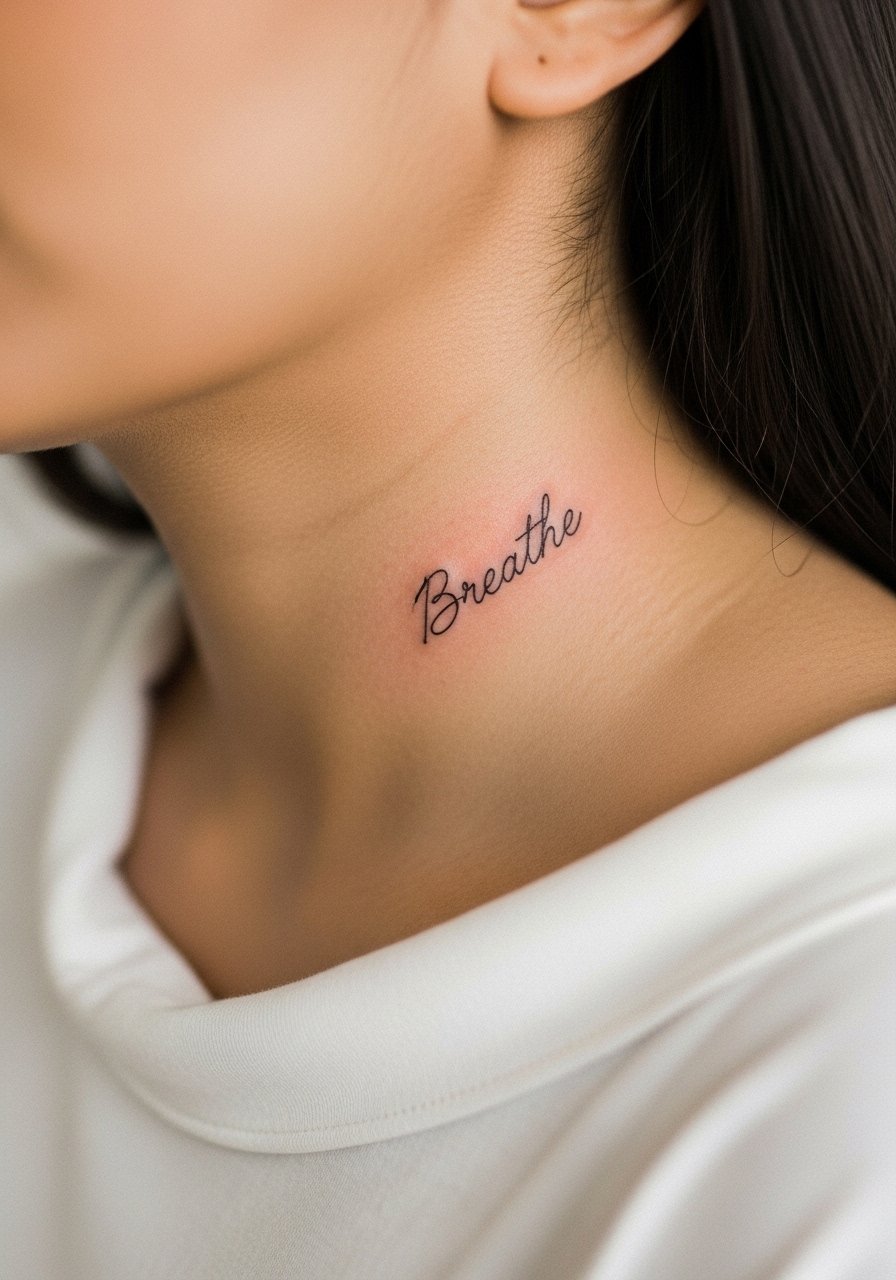
A short mantra in cursive reads beautifully on the side neck but keep it compact. Choose one or two words to avoid cramped letters and request a slightly heavier line weight than you might on the forearm. The painful parts are the letters near the jaw. Ask the artist to stencil the exact text on skin to confirm placement and reading direction. Lettering commonly ages poorly when fonts are too ornate. Opt for clean cursive with deliberate spacing. For show-off styling, use a half up hair clip on the opposite side so the script remains visible without full exposure.
9. Crowned Initials Behind the Ear
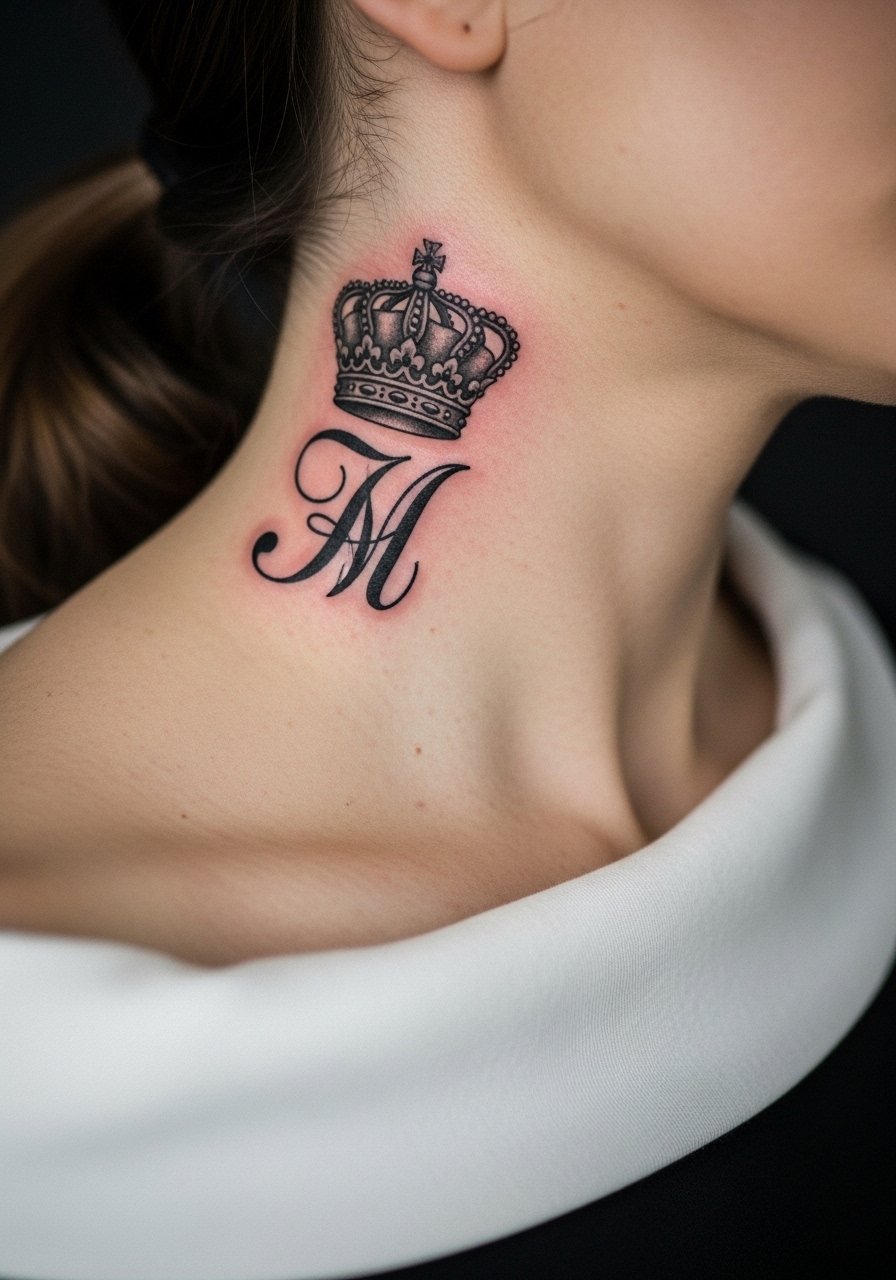
Crowned initials offer a compact, ornamental take on personalization that fits neatly behind the ear. Ask for ornamentation that scales down well and for slightly heavier outer lines so the crown does not disappear over time. This is a one-session piece under two inches. Be candid about readability on darker skin tones and request a small test patch if you are concerned about finer strokes. Because the spot is so visible when hair is up, small accessories help frame it. Try pairing with small hoop earrings gold on the opposite ear to balance the look.
10. Musical Notes Cascade
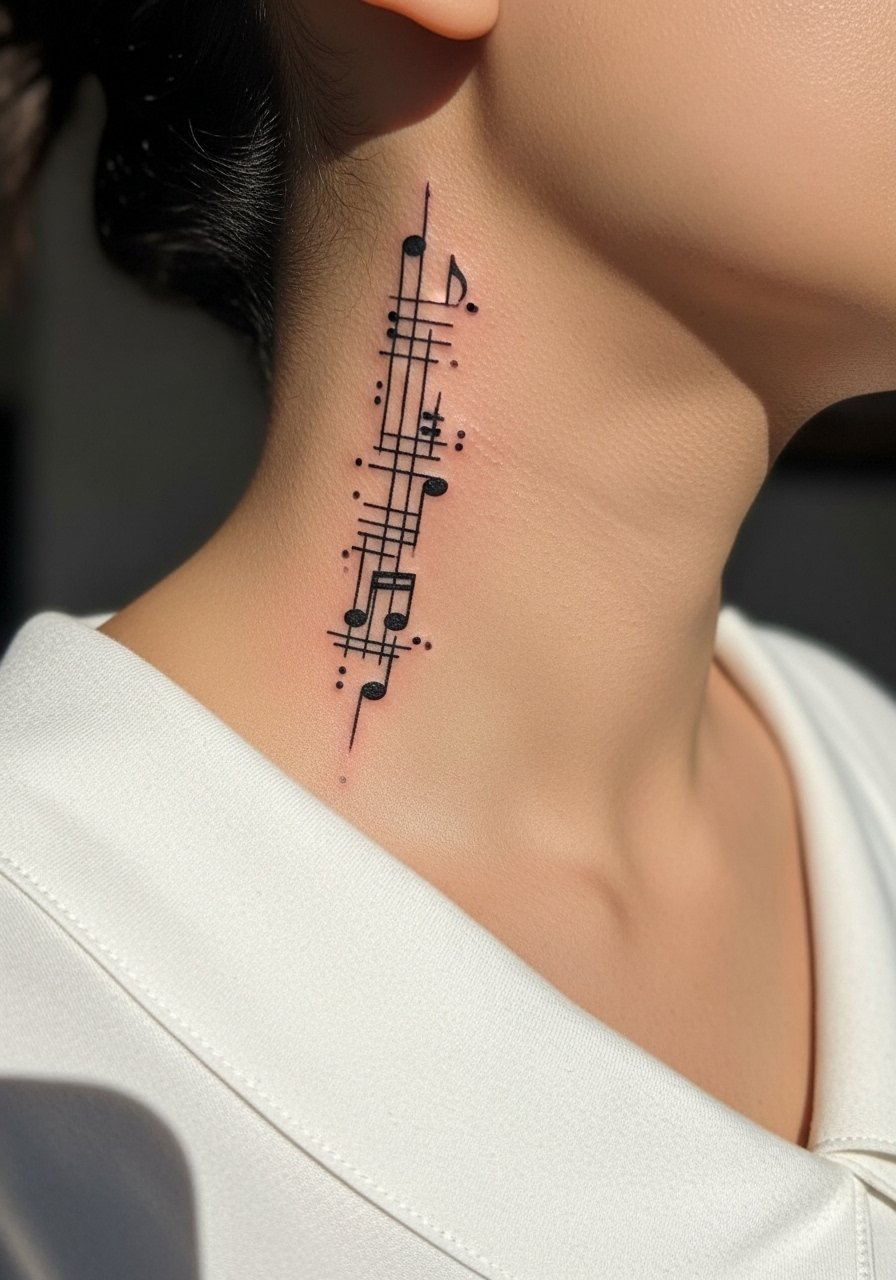
This vertical musical cascade suits anyone who wants rhythm without heavy imagery. Keep note stems clean and spacing regular so tiny dots do not merge. A 2.5 inch drop stays visible without overtaxing the skin. Tell the artist you prefer single-pass linework to reduce inflammation. Expect slight tenderness where notes sit near the clavicle. A common error is cramming too many tiny symbols into a small vertical space. For both session ease and future photos, secure your hair in a braid or bun and bring a hair braid tool if you plan to show the piece off immediately.
11. Koi Fish Wrapping the Curve
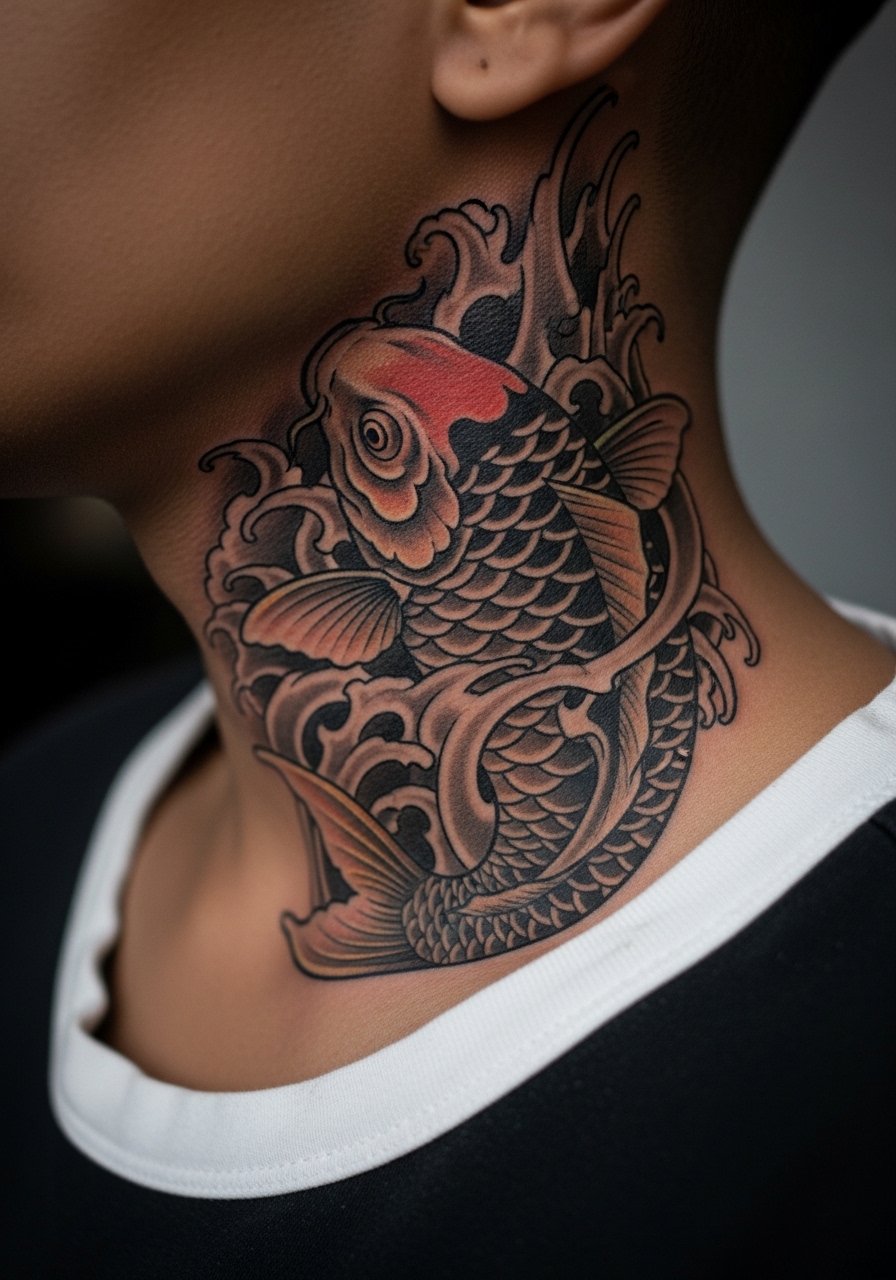
A koi fish uses curve and motion to complement the neck. For durability, ask for stronger outlines around the body and selective color accents rather than fully saturated blocks adjacent to fragile skin. Depending on size this may need 1 to 2 sessions. Pain concentrates on the mid-neck bend where the skin is thin. Avoid the mistake of requesting tiny scales across the whole body because they can blur into indistinct texture over time. When showing it off, an open-back or asymmetric neckline pairs well, so consider a open-back midi dress for later wear.
12. Hexagonal Honeycomb Cluster
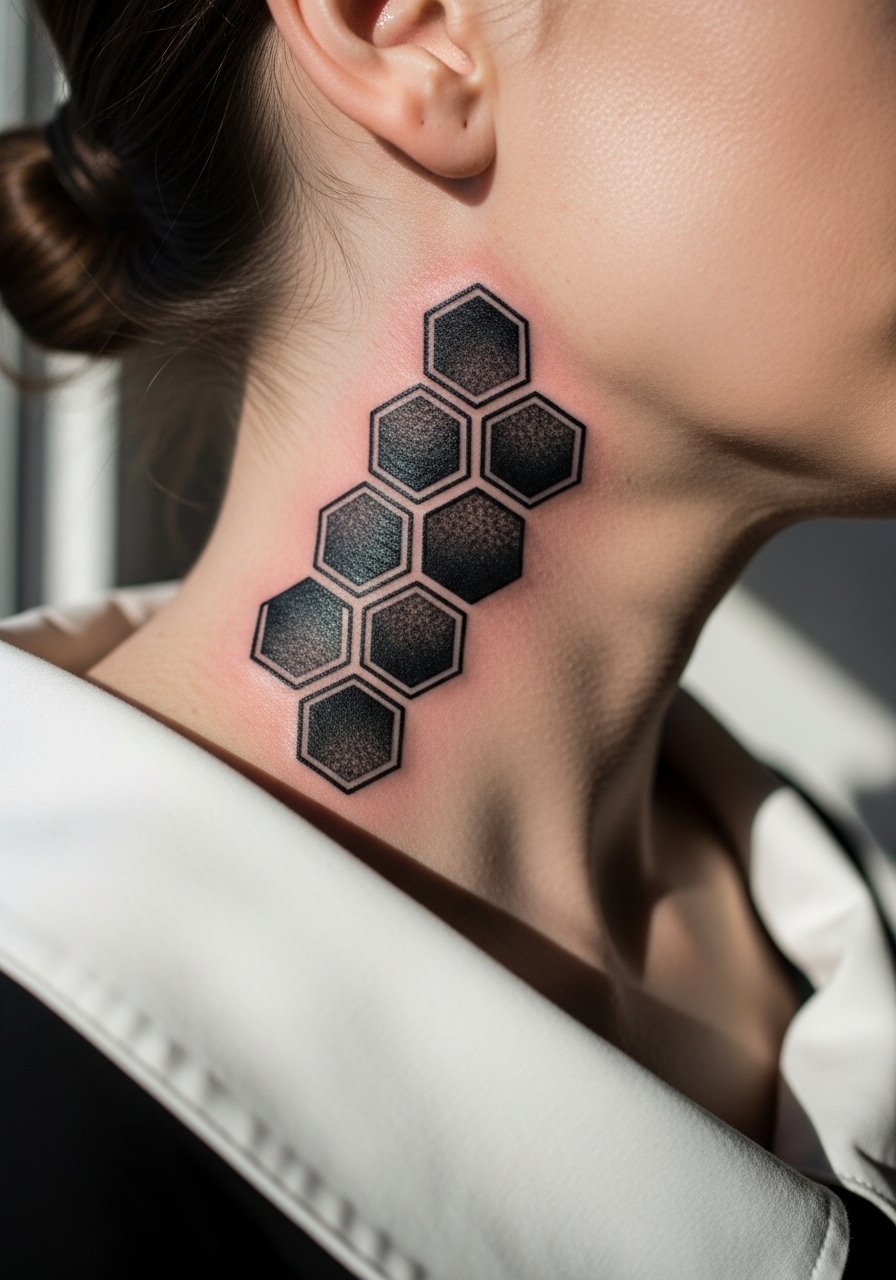
Geometric repeats like honeycomb are modern and clean but demand careful spacing. The biggest mistake is making cells too small. On the neck, give each hexagon breathing room to prevent merging after healing. Black fills tend to age better than light shading in this area. A two-inch cluster can be completed in one session. The visual effect works against solid neutrals, so pair it with crewneck or wide-neck shirts to keep contrast. For cooler months, a wide neck t shirt pulled slightly aside will frame the geometry.
13. 444 Angel Number Script

Number tattoos like 444 carry niche spiritual meaning and translate well to compact neck placements. Keep numerals slightly larger than you think to preserve legibility after a year or two. Many people underestimate the read distance on the neck. Ask the artist to stencil the exact numeral size and angle on skin before committing. Pain is short-lived if kept under an inch and a half. For a subtle reveal, try pairing with minimalist jewelry above the number, or wear a thin chain pendant necklace that sits just above the digits.
14. Playful Money Bag Icon
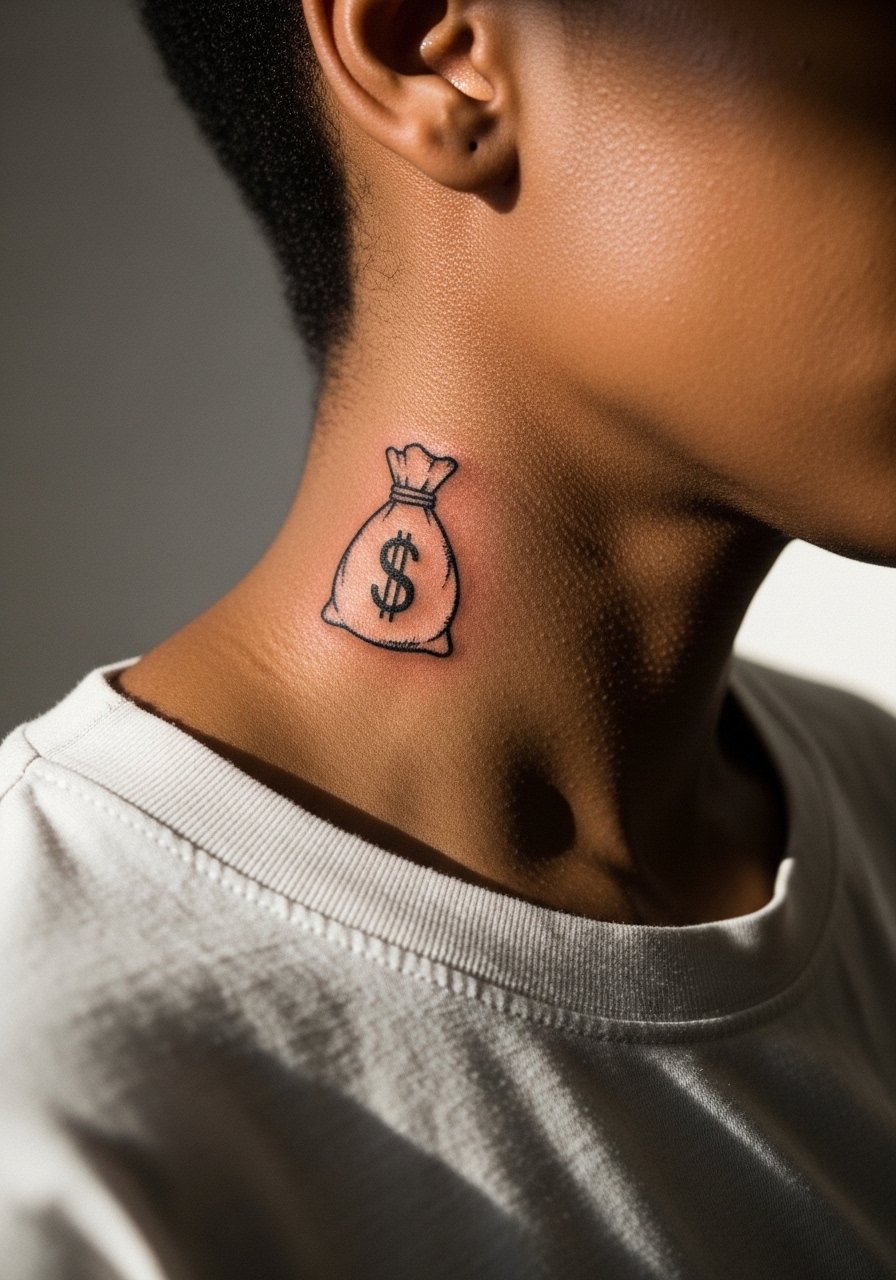
For a small whimsical neck tattoo, a tiny money bag offers a playful symbol that reads quickly. Keep the icon around one inch and request bold outer lines and minimal interior dots for durability. Fine internal details often age into smudges, so simplicity wins here. Pain is brief and manageable. This design looks best when balanced by open necklines, so try an open knit cardigan layered over simple tees when you want to show it off.
15. Flowing Daisies Chain Toward the Shoulder
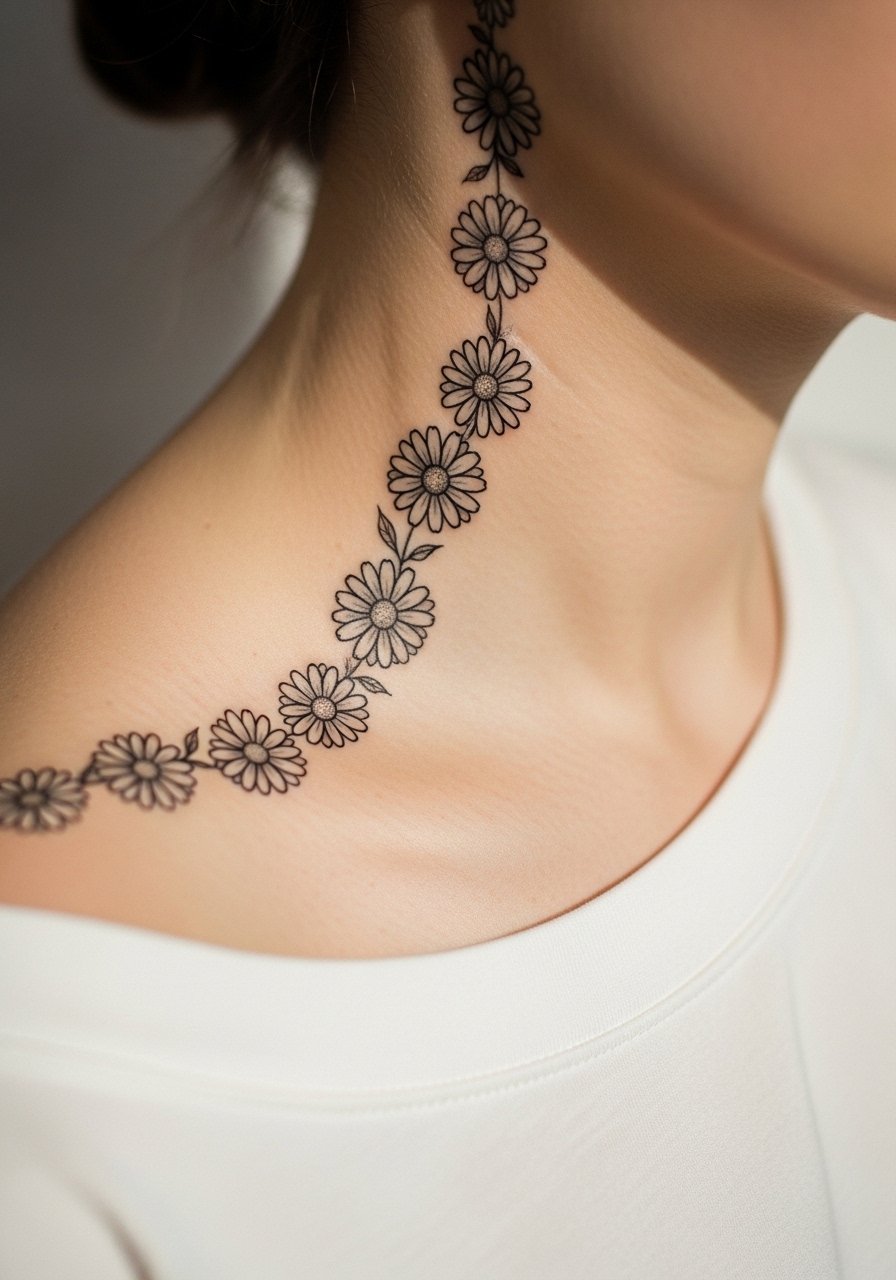
A chain of daisies brings a soft, feminine arc that travels naturally to the shoulder. Ask for slightly larger centers and modest petal spacing to avoid early blur. This piece benefits from a single-pass outline and light stipple shading for dimension. Expect one session if kept under three inches. The common oversight is requesting tiny petal veins that vanish after healing. For wardrobe pairing, strapless or halter tops show the chain without competing, so pack a sleeveless v neck for warm-weather outings.
16. Minimal Crescent Moon Near the Jaw
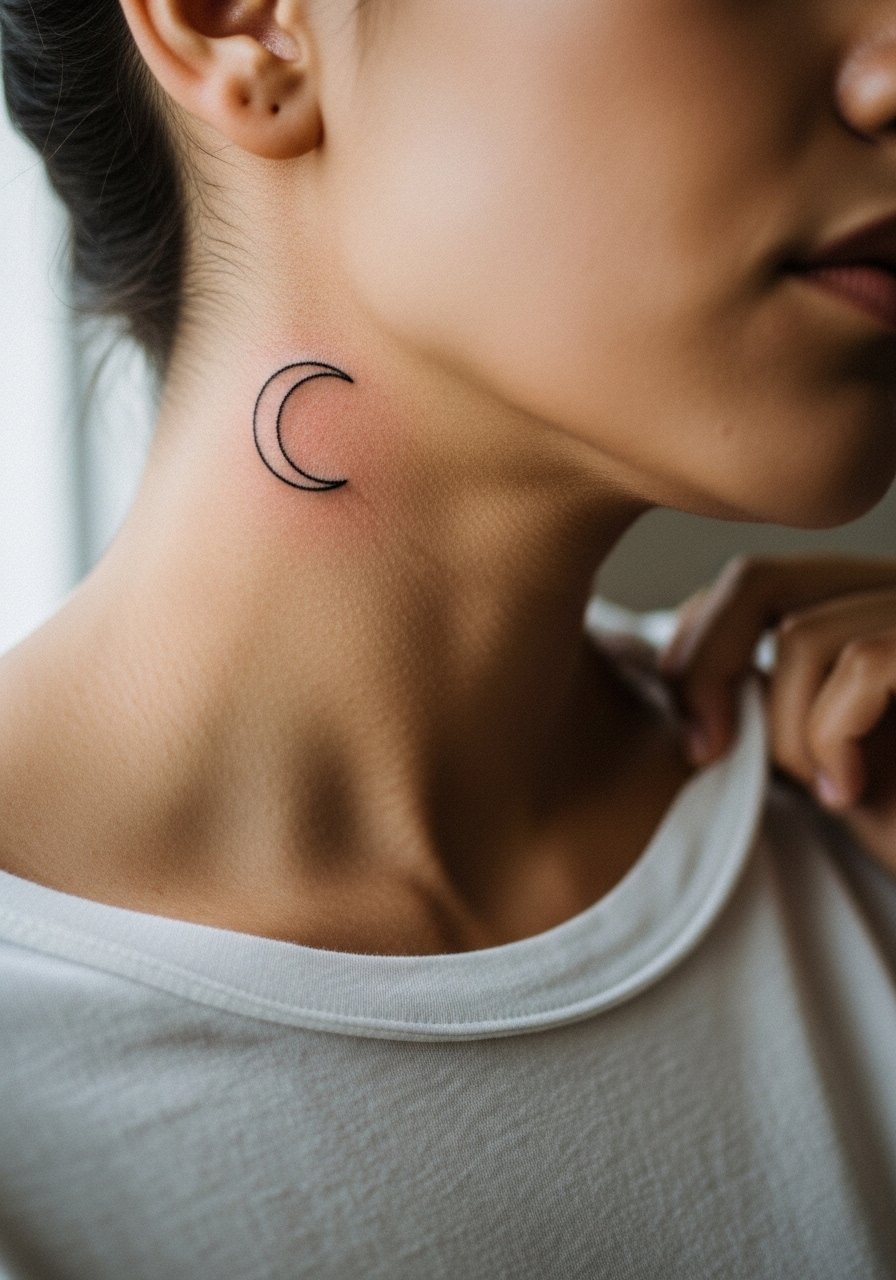
A simple crescent moon is quick, low-pain, and highly readable when given enough line weight. Ask your artist for a slightly deeper pass for one clean outer line rather than ultra-fine strokes. Smaller moons can disappear or blur, so aim for one to one and a half inches. The single mistake people make is choosing an ornamental fill that requires dense shading close to bone. This design pairs elegantly with minimal necklaces and button-front shirts you can pull aside for the session.
17. Single-Line Silhouette Face

One-line faces feel modern and read well when placed just below the jaw curve. The trick is to work with wider curves rather than micro-details. Ask for a preview on skin to ensure the negative space around the eye and nose translate at actual scale. Because the piece relies on uninterrupted linework, movement on the jaw can make the needle work tricky and slightly more painful. Expect a single session under an hour. Pair it with a loose tank top during the appointment so the artist has full access to the neck.
18. Dot-Work Sunburst Near the Collar
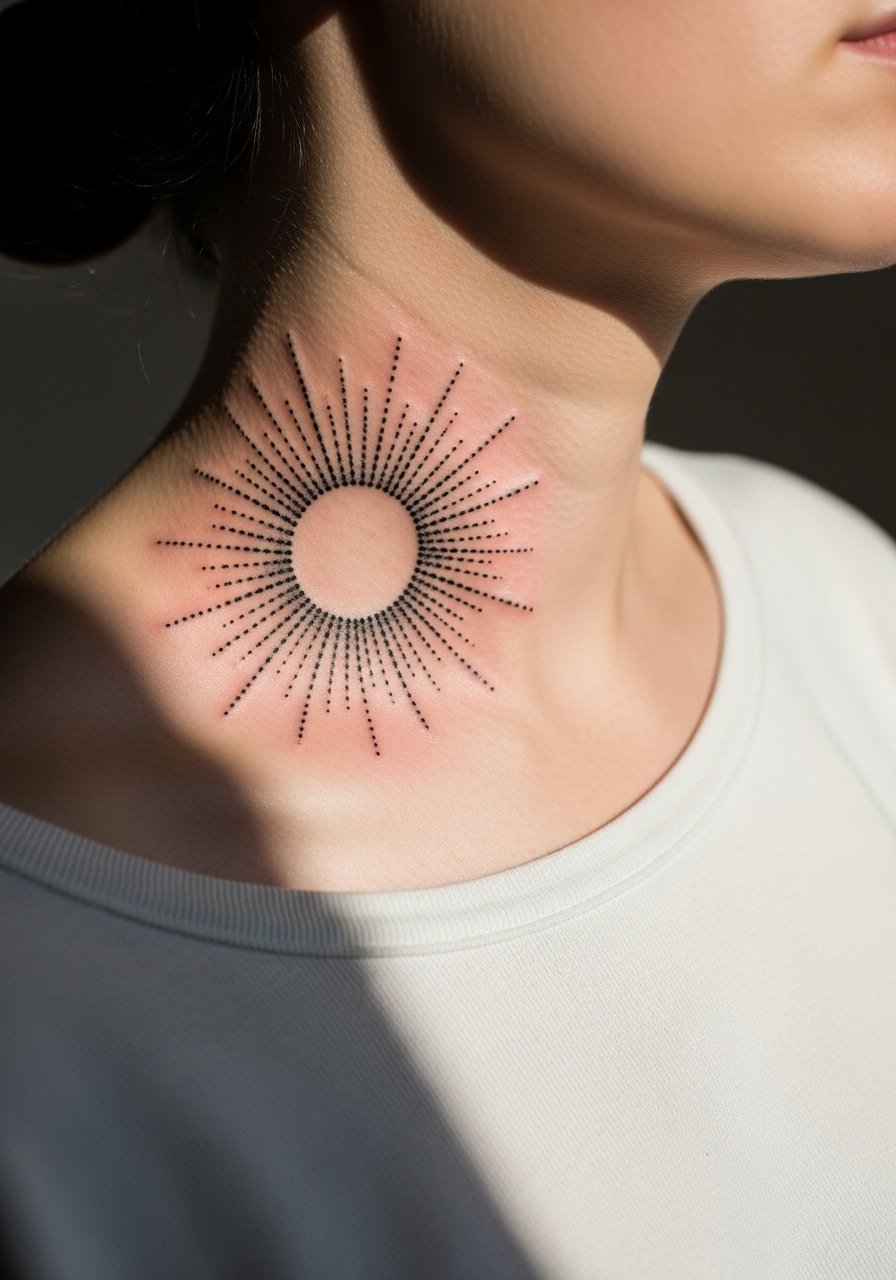
Dot-work sunbursts read strikingly on the side neck when the dots are spaced to avoid merging. Ask your artist for a stipple gradient with larger spacing near the edges to keep a crisp silhouette over time. The pain level is moderate and the session length depends on the density of dots. Common mistakes include asking for too dense a dot field that blurs into a gray patch. For photos and everyday styling, a loose ponytail holder and a wide-neck tee make the design visible without constant exposure.
19. Tiny Anchor Toward the Shoulder Seam
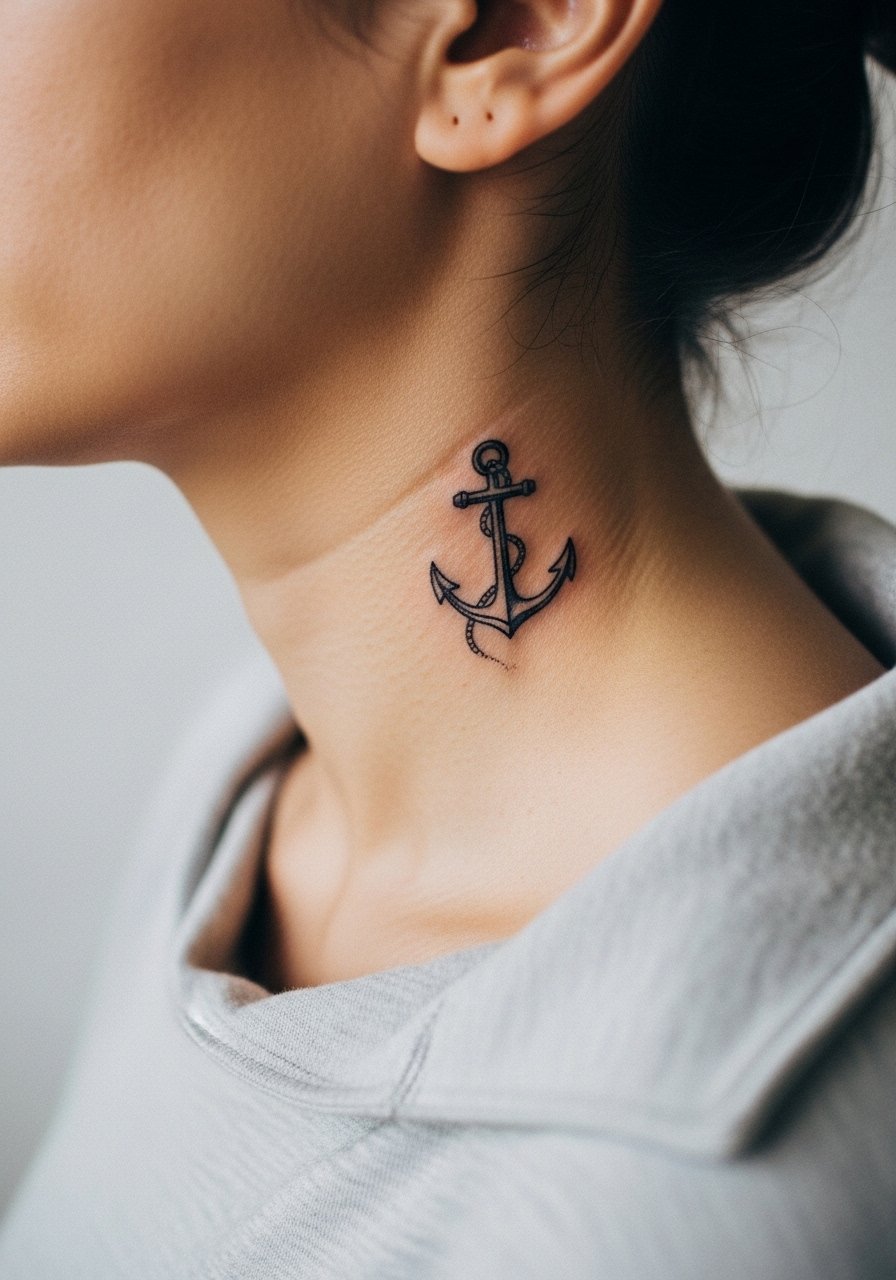
Anchors are small, symbolic, and low-cost in session time. For a side neck anchor, request a slightly thicker shank line and minimal internal shading so the motif does not cloud. Pain is lower near the shoulder seam than directly on the jaw. The most common error is making the anchor too tiny to photograph or read. Keep it near one inch and pair with casual summer wear. A strapless halter top or rolled-up sleeve tees let it show without constant rubbing.
20. Laurel Wreath Along the Neck Curve
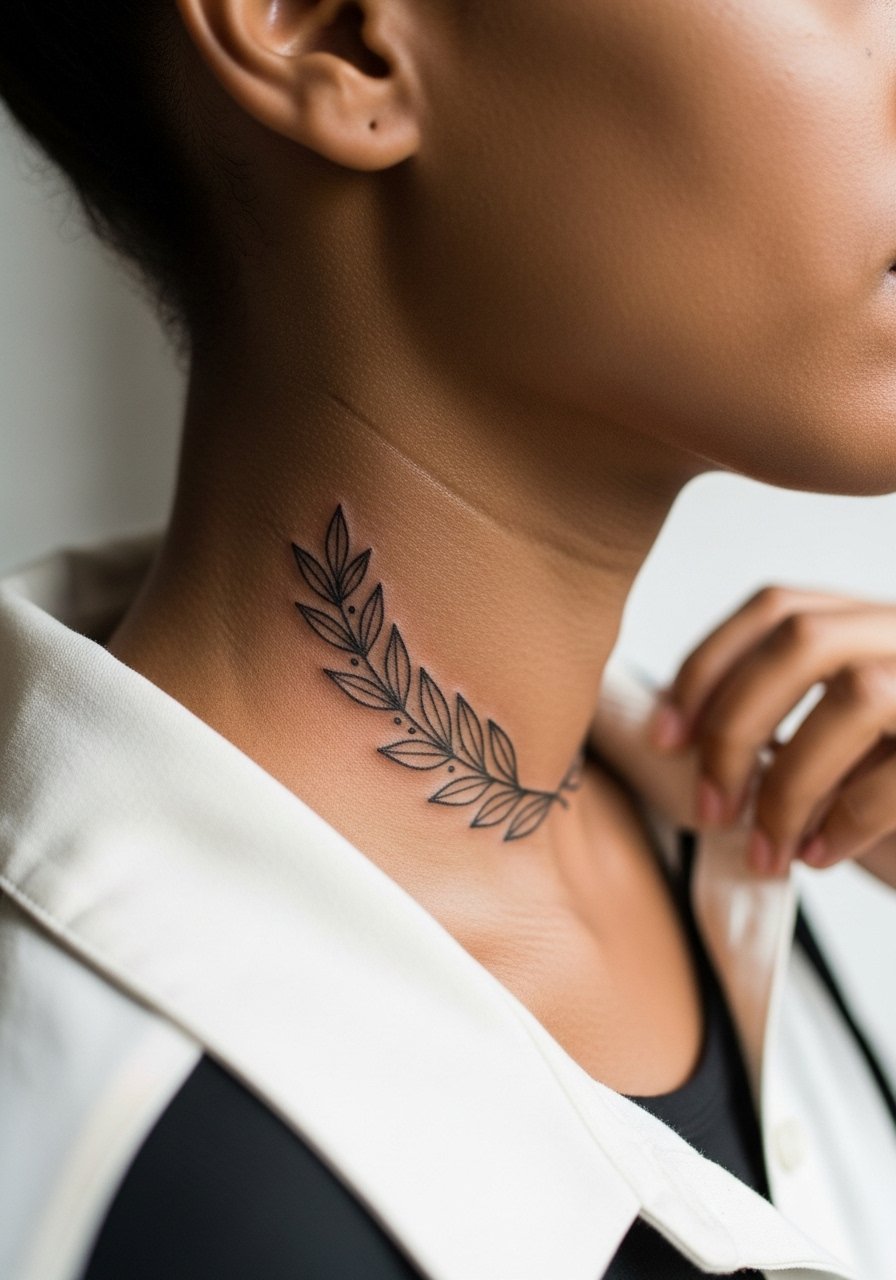
A laurel wreath wraps the neck subtly and reads classic without heavy detail. Ask for clean leaf shapes with small gaps so the pattern keeps definition as it heals. This piece usually takes one session if kept to two inches. Avoid the mistake of asking for tiny veins on each leaf; that detail often disappears. For a neat frame, wear a thin chain pendant necklace that sits above the wreath rather than bisecting it.
21. Tiny Star Cluster Behind the Ear
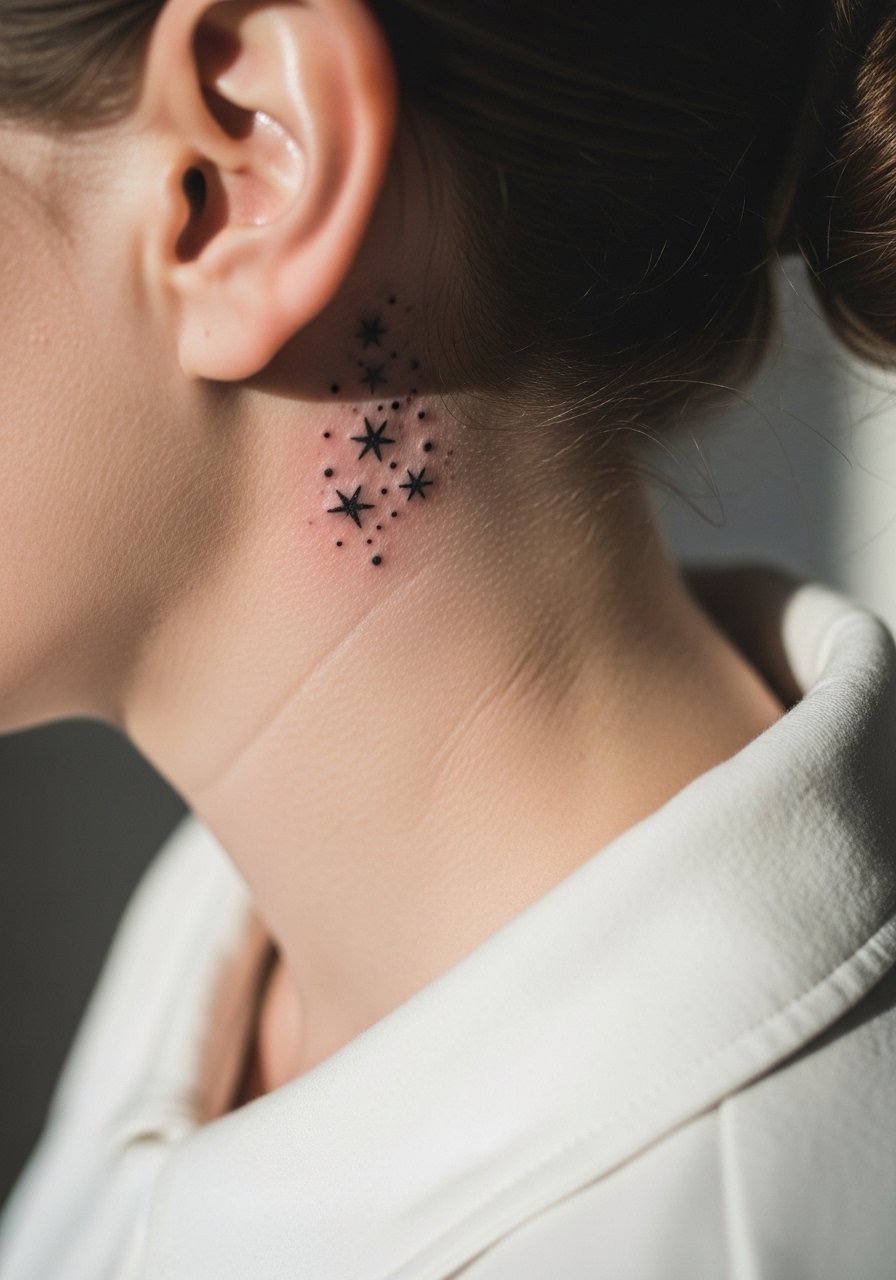
Tiny star clusters make for a soft finishing touch behind the ear. Keep stars spaced and slightly larger than expected to prevent them from disappearing after a year. This is short session work and the pain is sharp but quick. A common misstep is lining up too many micro-stars; instead choose three to five slightly larger marks for longevity. For discrete show-off moments, secure hair in an updo and wear a small hoop earrings gold to balance the area.
Frequently Asked Questions
Q: Will fine line cursive on the side neck blur faster than bold script?
A: From what I've seen, fine-line cursive can soften faster because the neck's thin skin does not hold ultra-fine strokes as long as arm skin. If you love text, ask for slightly increased line weight and spacing so the letters keep their shape for several years. Expect a touch-up sooner than with thicker script.
Q: How painful is a side neck tattoo compared to the shoulder?
A: The side neck typically hurts more than the shoulder because the skin lies closer to bone and has fewer soft layers. Pain also spikes near the jaw and lower neck curve. Smaller designs reduce overall time on that sensitive area and make the session more manageable.
Q: Should I use Saniderm or dry healing for a neck piece?
A: Artists split on this. One camp favors protective film for keeping the area clean and limiting friction, while the other worries that occlusive coverings trap moisture on thin neck skin. Ask your artist about their preferred method and follow the process they know to work with their technique.
Q: Can I hide a side neck tattoo for conservative workplaces?
A: Yes when you plan placement behind the hairline or just behind the ear. A simple hair flip or a half up hair clip can conceal small pieces. For daytime concealment, shorter designs that sit under hair or directly behind the ear are easiest.
Q: How often will I need touch-ups for side neck motifs like mandalas or honeycombs?
A: Expect touch-ups earlier than for forearm work. Dense mandalas and tight geometric patterns may need attention around year two to three if they were done with minimal negative space. Designs with stronger outer lines and careful spacing often go longer between touch-ups.
