
Fine-line trends look irresistible online, but they do not always behave the same on real skin. I've seen delicate single-needle work that looked razor-sharp at week one and noisy at year three because it was placed where the skin stretches. This list balances what looks pretty now with what holds up, plus what to ask your artist so your chosen evil-eye design still reads well years from now.
1. Fine-Line Evil-Eye on the Wrist
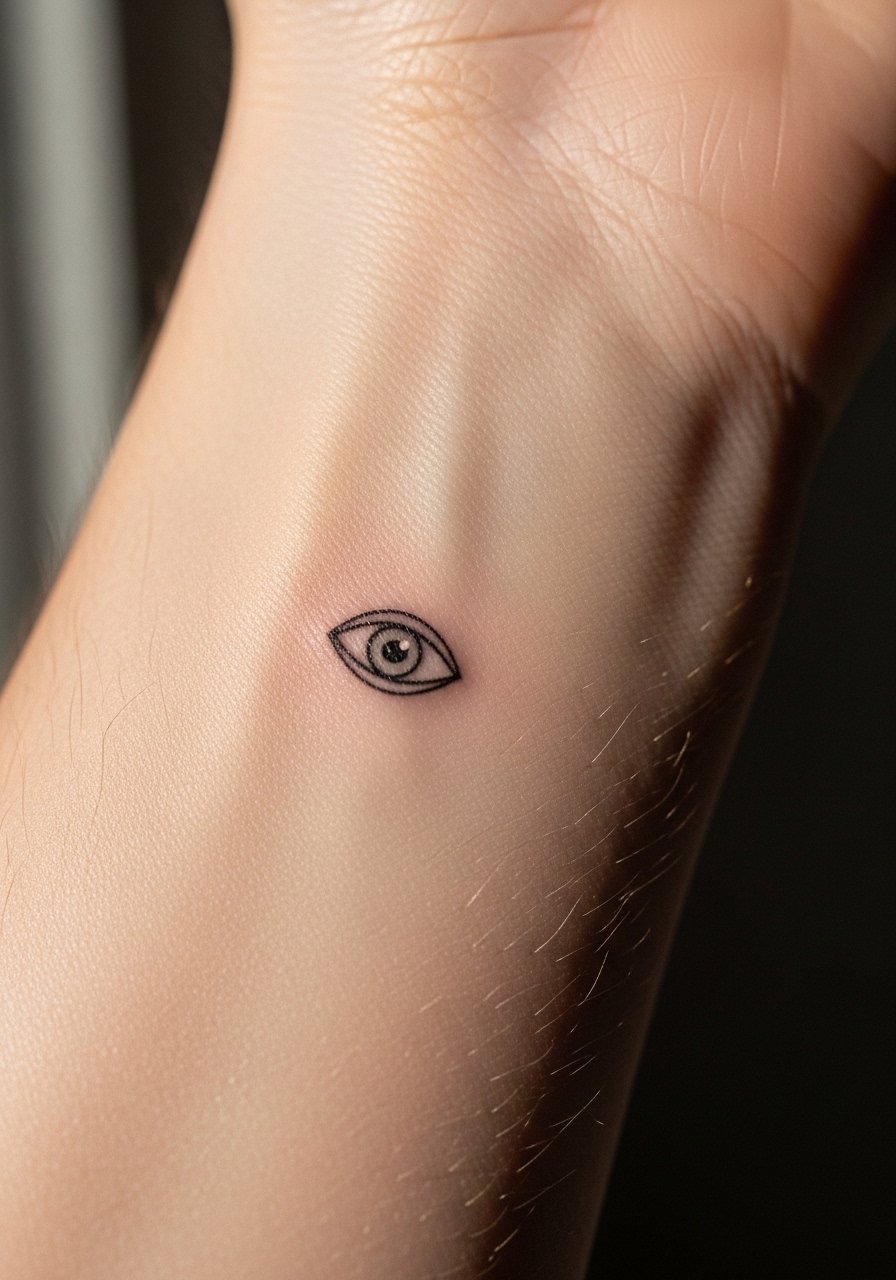
I've seen this one everywhere because the scale reads discreet and wearable. Fair warning: wrists get constant friction from sleeves and watches so tell your artist you want slightly heavier line weight than a single-needle flash. Ask for spacing around dense details so the dots do not merge in year two. The session is short and the pain is low, but expect touch-ups sooner than for a bolder piece. For showing it off, stack a thin gold chain bracelet on the opposite wrist and skip chunky cuffs during the first week so the fresh ink can breathe.
2. Ornamental Evil-Eye with Beads on the Ankle
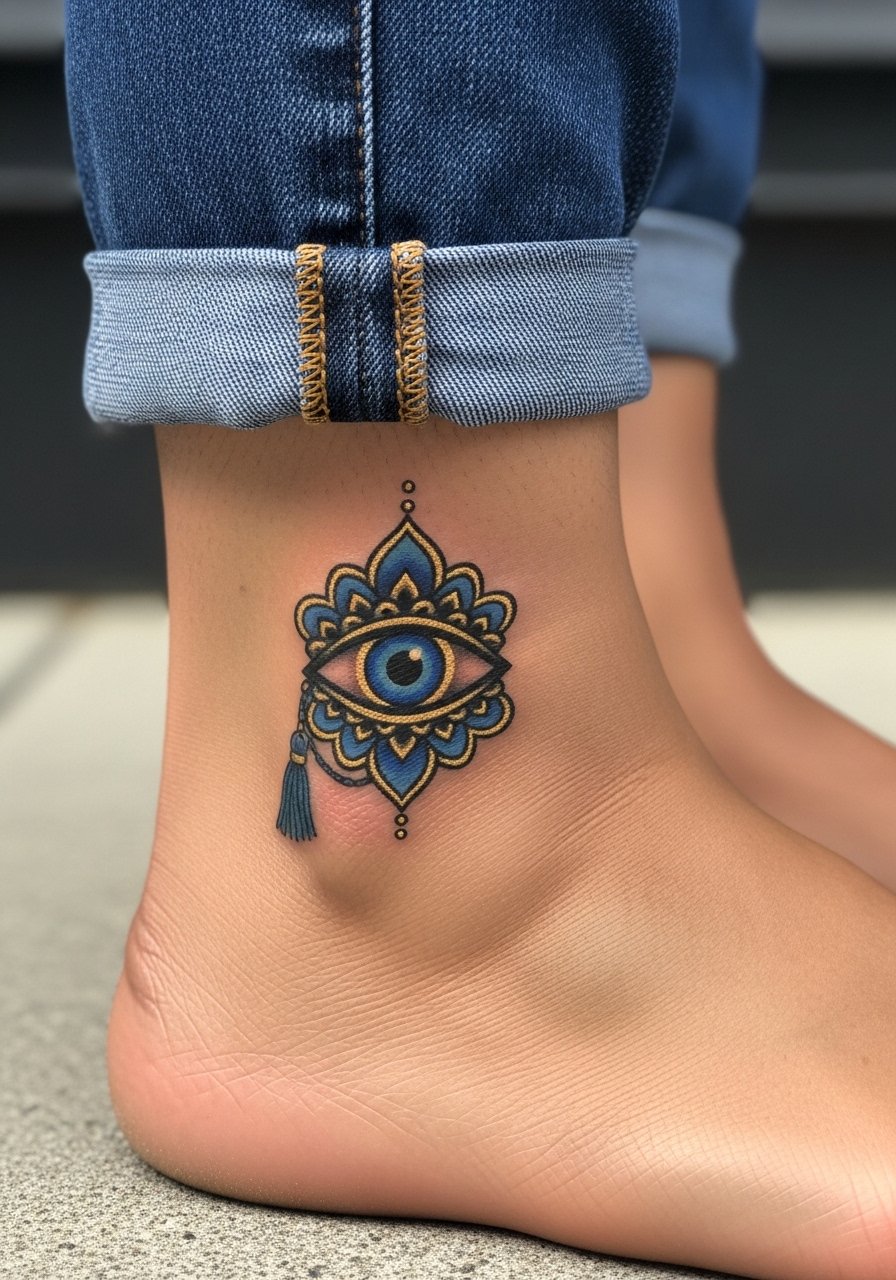
Ankle pieces look like jewelry but they live on a high-friction zone. The common mistake is packing filigree too tightly. Ask for elongated bead strings and negative space between knots so the design keeps its read from a distance. The session is quick but the area swells easily, so wear loose pants or shorts on the day. To frame it off-duty, layered anklets add a wearable vibe. Try pairing with strappy flat sandals when you want the design visible without crowding the composition.
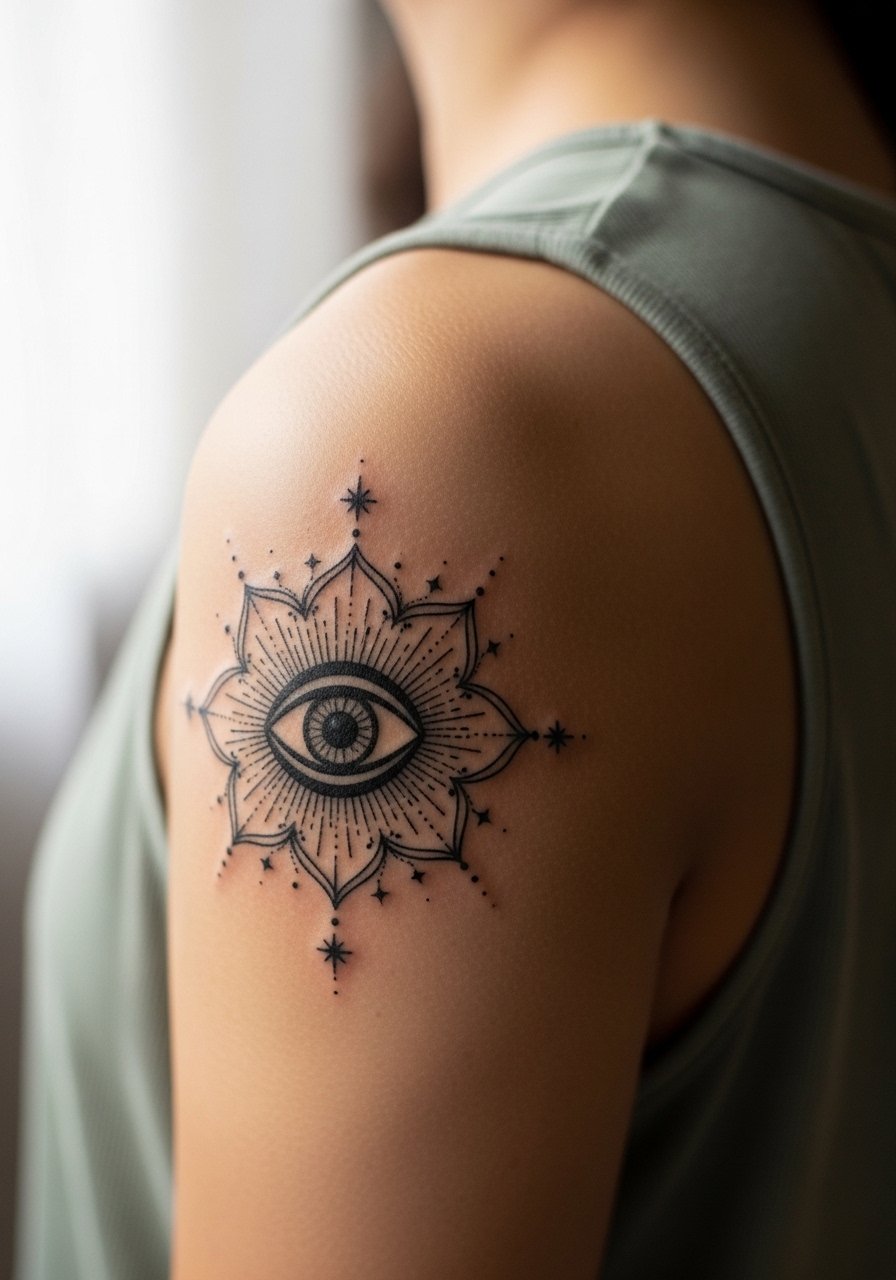
3. Black-and-Gray Micro-Realism on the Shoulder
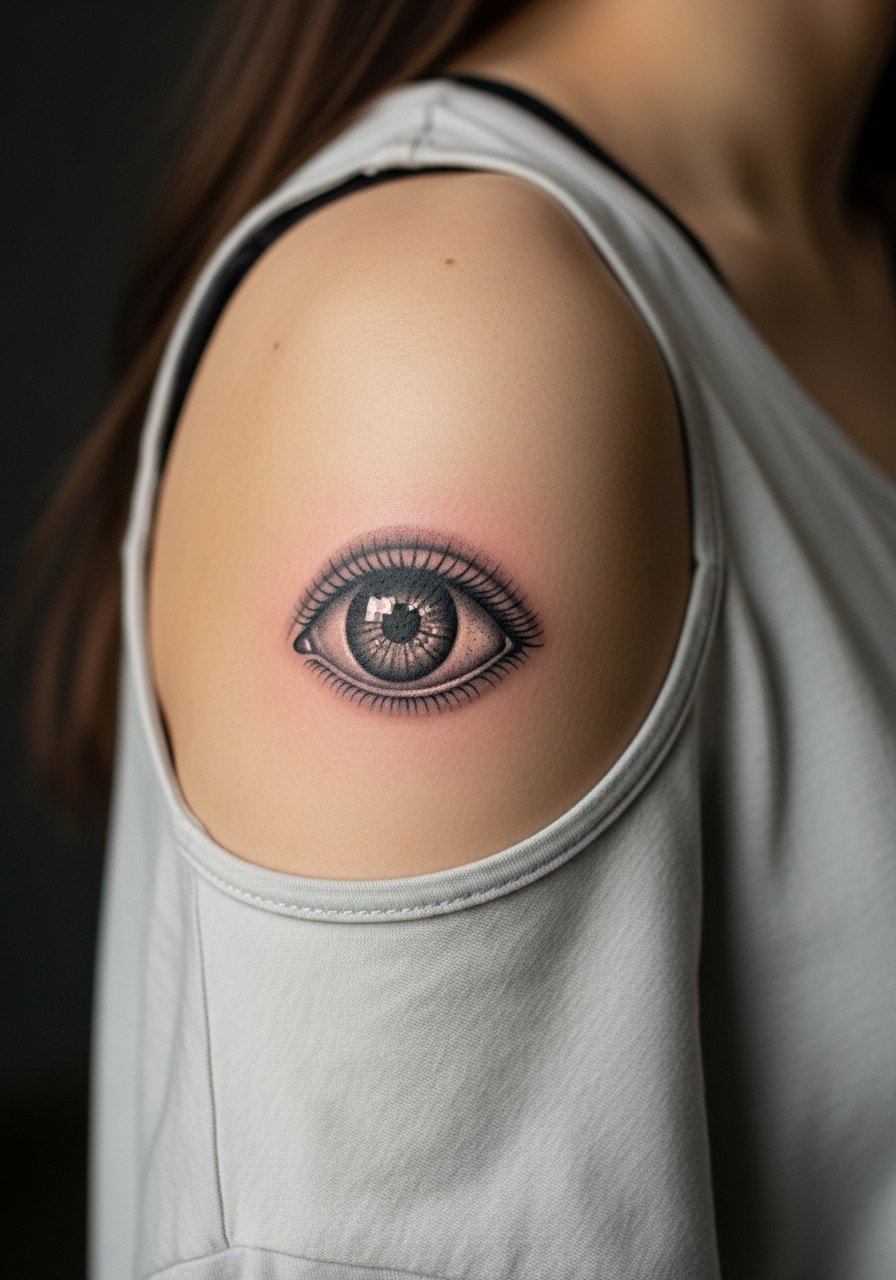
Realism on shoulders benefits from skin that holds saturation well. For this style tell your artist to focus on soft stipple and subtle iris reflections rather than brittle hairline lashes. The shoulder tolerates longer sessions and heavier saturation, but avoid tiny details jammed into a small space. Expect two sessions for depth and a touch-up at year two or three if you want the reflections sharp. During the appointment wear a sleeveless muscle tank or button-down you can slide off easily so the artist can work without tugging on fabric.
4. Geometric Radiating Evil-Eye on the Calf
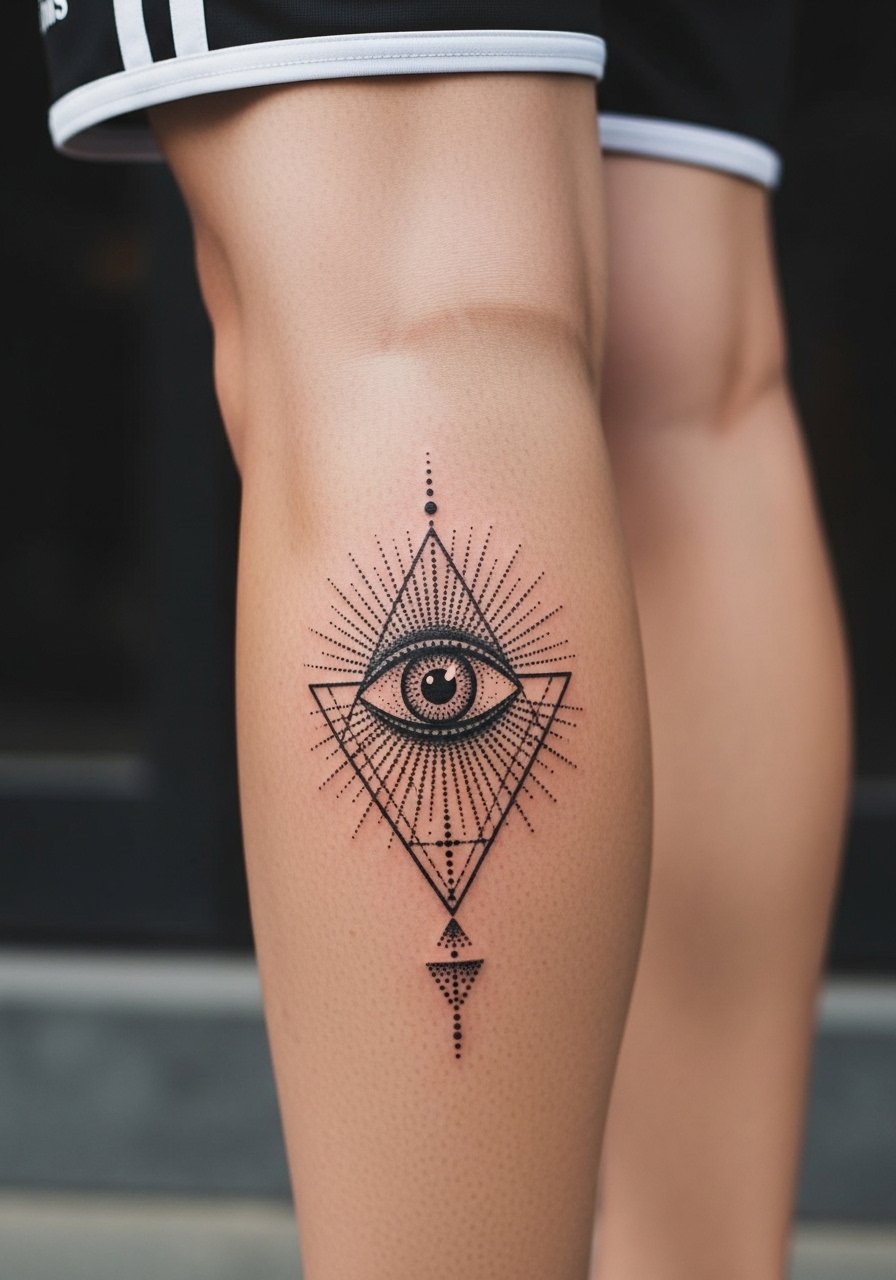
The biggest mistake with geometric work is going too small. Lines and dot work need breathing room to avoid merging as skin ages. On the calf you can scale up and keep symmetry intact. Tell your artist you want negative space between dense rings and to use stipple shading for softer fades. Expect moderate pain when the leg is worked near bone. For summer show-off looks, wear slim fit shorts so the pattern reads without being hidden.
5. Watercolor Evil-Eye on the Collarbone
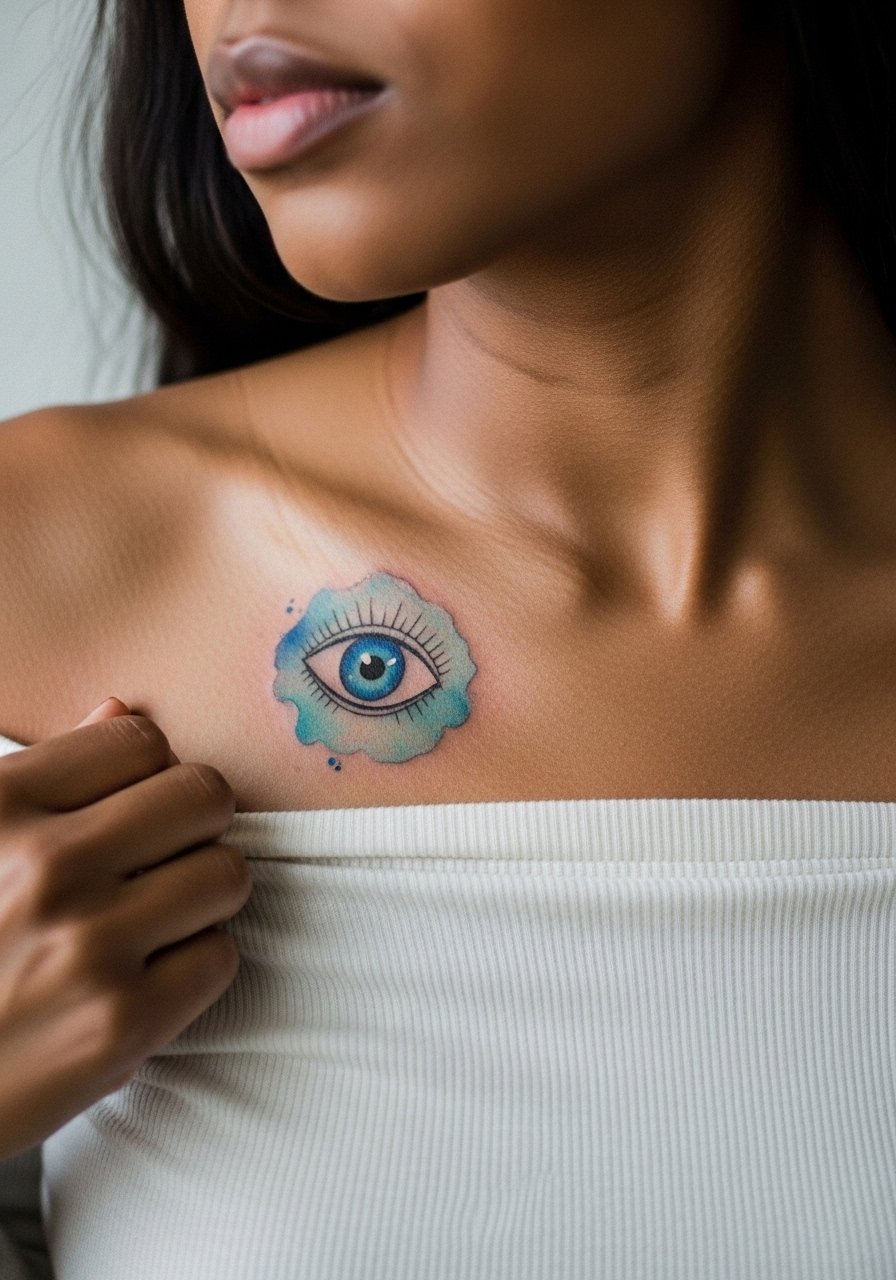
Watercolor effects capture movement but they fade differently than saturated black. Most artists split into two camps on this placement. One camp says light washes on the collarbone fade quickly because of sun exposure and movement. The other camp argues that with layered color and strong black anchors the look can last longer. Ask which camp your artist is in and what touch-up timeline they expect. Session-wise the collarbone can be tingly and requires breaks. Pair the healed result with an off shoulder top for evenings so the color sits nicely against skin without competing jewelry.
6. Neo-Traditional Evil-Eye with Hamsa on the Outer Forearm

A hamsa pairing makes the design read like a compact amulet. For longevity ask for slightly thicker outlines and open interior spacing so the interior iris does not blur into shading. Outer forearm is one of the most forgiving placements for color and detail. Session time is moderate and the area heals predictably. Style it casually with a vintage henley shirt and a leather cuff on the opposite arm to balance the composition.
Studio Day Picks
The first six designs above include wrists, collarbones, ankles, forearms, and shoulders, which all need different prep. These small items make the session smoother and the first week less fussy.
-
Stencil transfer paper kit. Useful if you and your artist want to test placement on skin before committing, especially for the wrist and forearm designs above.
-
Topical numbing cream. Applied as directed about 45 minutes before a sensitive ankle or rib session can reduce jumpy reactions without changing the stencil layout.
-
Thin protective film roll. Handy for finger and wrist pieces that face friction from washing and typing during the first few days.
-
Fragrance-free gentle body wash. Use during showers to cleanse healing areas like the shoulder and calf without irritating delicate ink.
-
Aquaphor healing ointment. A thin layer in the first 48 hours keeps fine-line work from drying into flaking that can pull on thin needle channels.
7. Evil-Eye with Olive Branch on the Ankle or Wrist
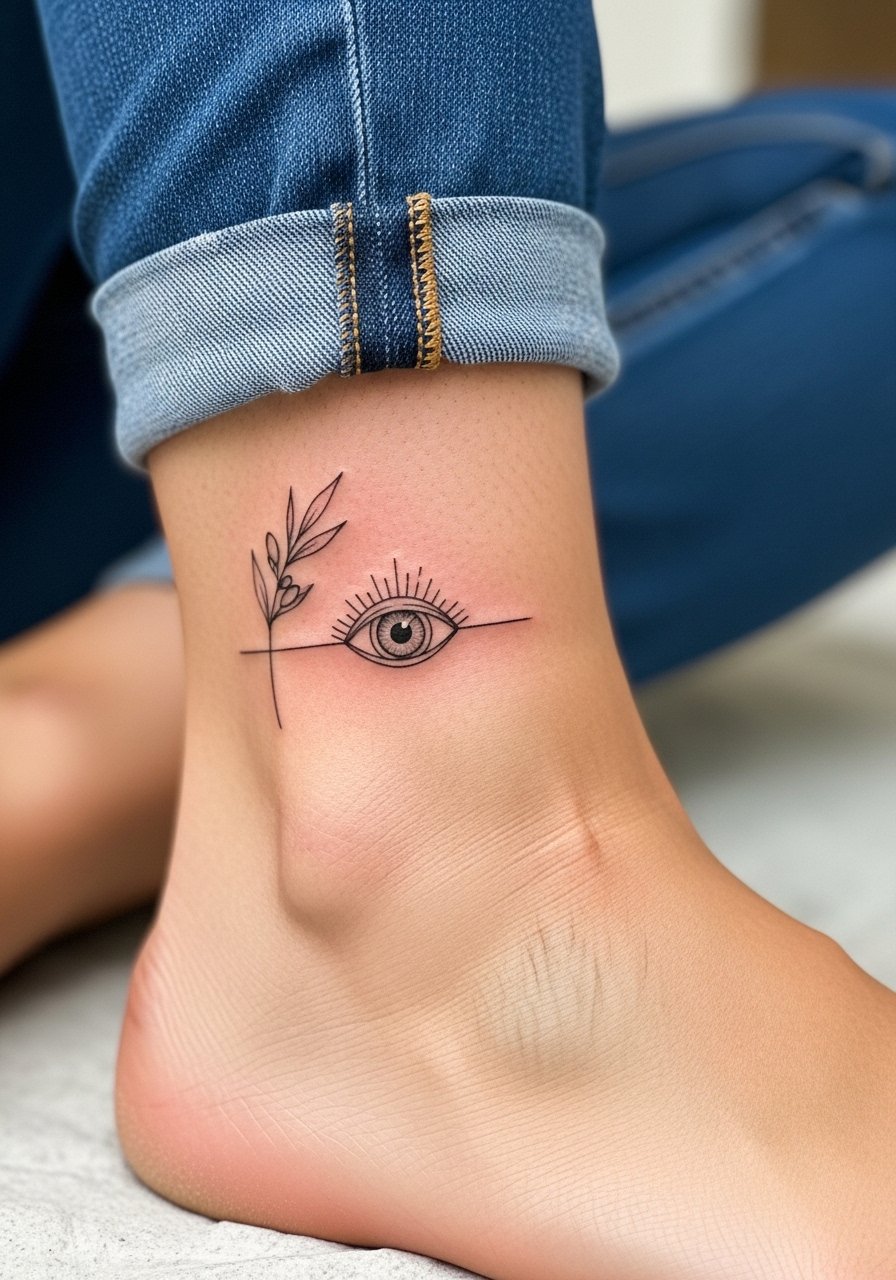
Pairing the eye with an olive branch softens the motif and reads like a small talisman. The common error is too many tiny leaves packed into a one-inch band. Ask the artist for longer leaf strokes and space between nodes so the branch stays legible as the skin moves. The ankle option requires careful aftercare in the product block because socks and shoes rub the area. Session pain is mild, and touch-ups are usually around year two for fine-line details.
8. Celestial Evil-Eye with Stars and Crescent on the Back
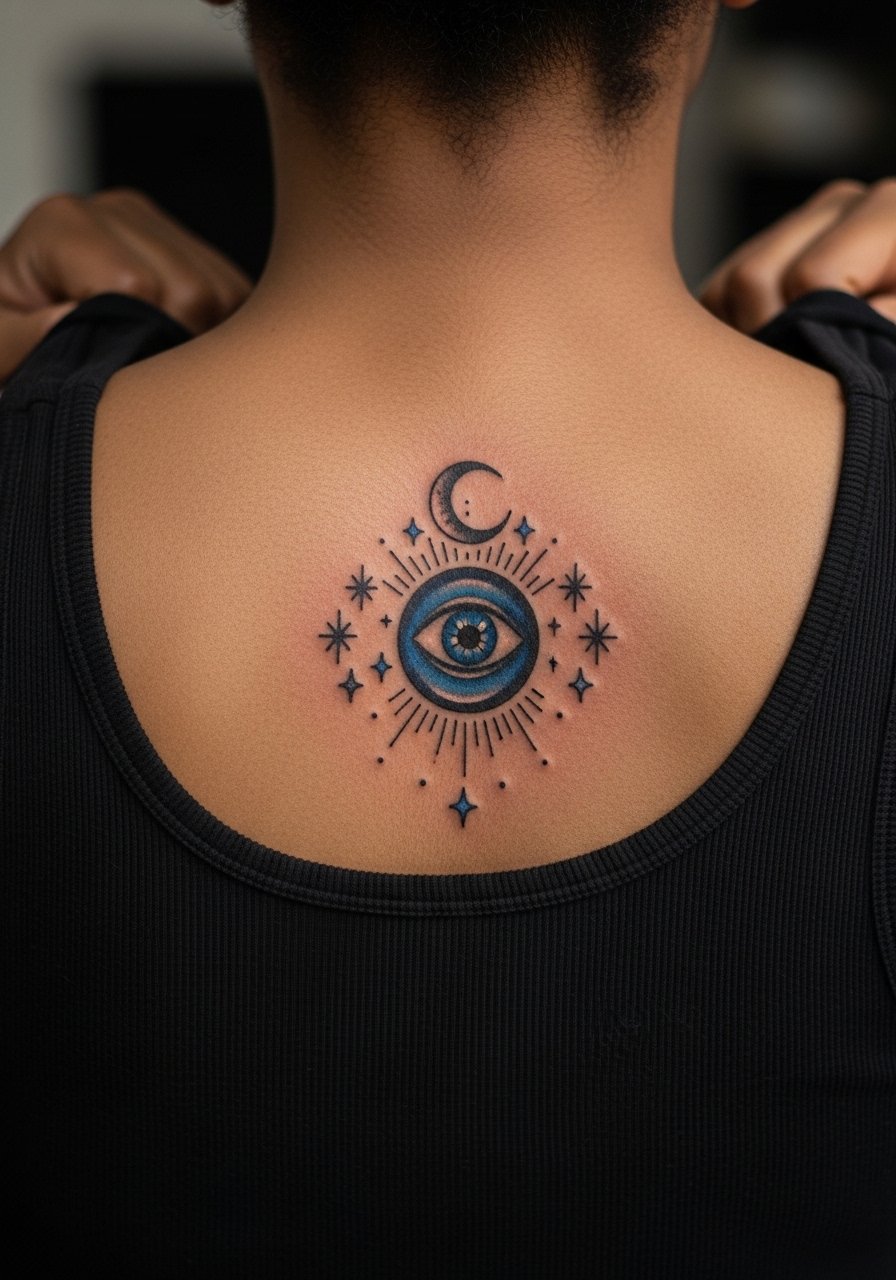
This layout reads like a small constellation. The upper back gives room for mandala extensions if you want scale later. A frequent mistake is crowding small stars too close to dense iris detail, which makes the whole read noisy once healed. Tell your artist you prefer fewer, larger stars and stipple shading for depth. Back sessions are steady but expect longer chair time. Style-wise this area is great with open-back tops for occasional showing.
9. Script Mantra with Tiny Evil-Eye Accent on a Finger
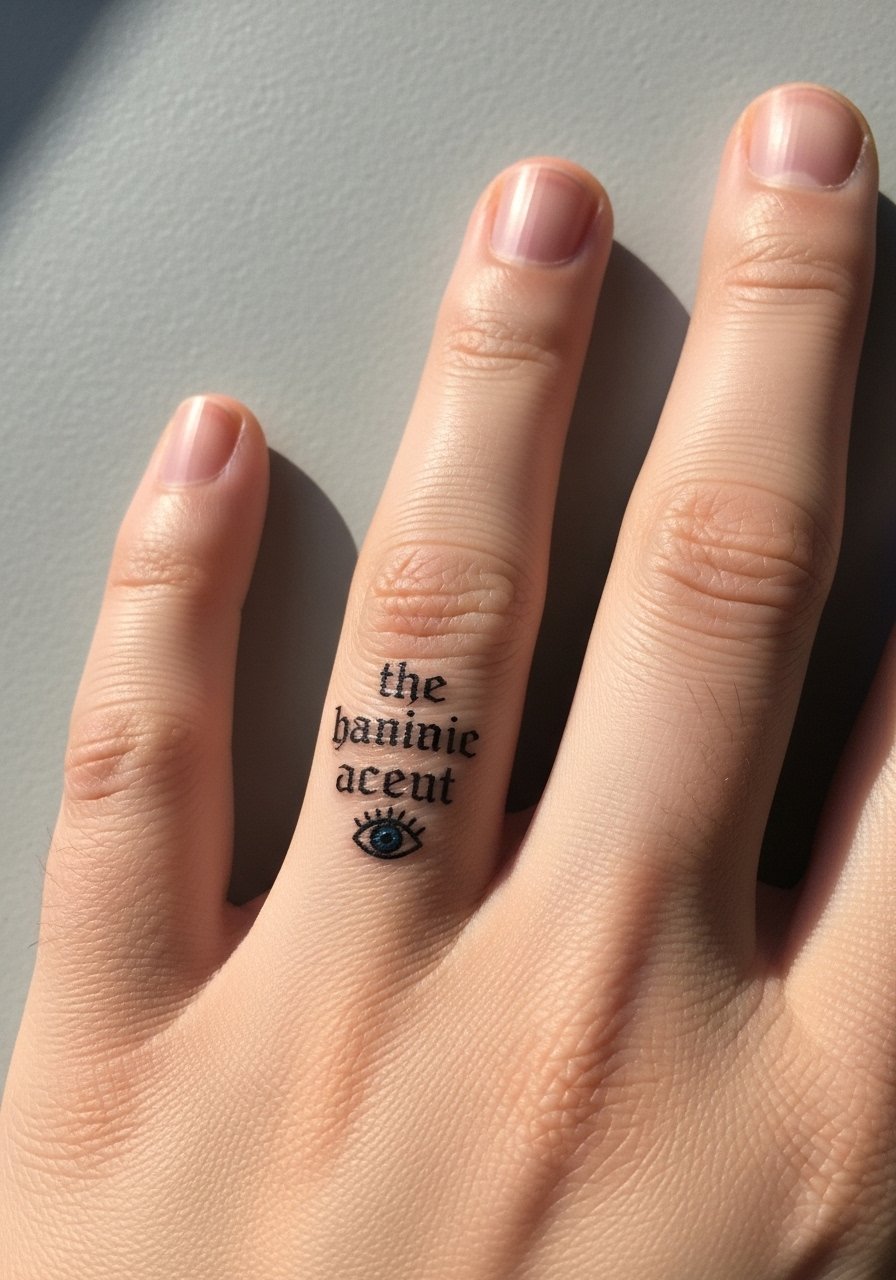
Micro-script on fingers is vivid at first and often softens quickly because of constant washing and skin turnover. Avoid tiny, dense script. Instead request slightly bolder counters and a short phrase or initials rather than full words. Fingers need more frequent touch-ups and you should expect a higher maintenance rhythm. The session is quick but the healing window is fussy. Keep in mind workplace rules for visible hand ink before committing.
10. Mandala Halo Evil-Eye on the Upper Thigh
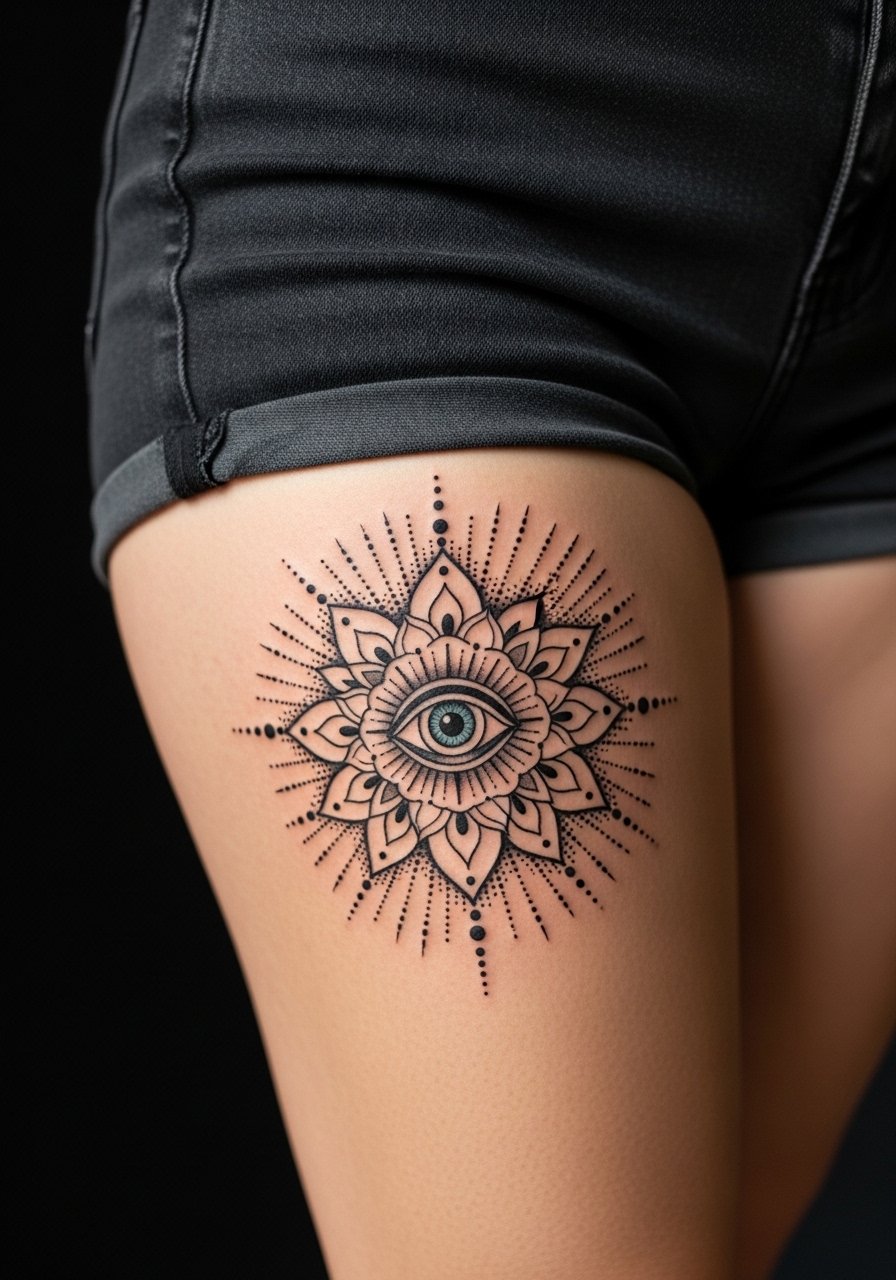
Mandala halos demand spacing and contrast. A common mistake is trying to cram too many rings into a small circle. On the thigh you can expand and keep dotwork crisp. Discuss ring spacing and stipple shading so dense zones do not turn into a single dark blotch over time. Thighs tolerate longer sessions and higher detail, but inner-thigh placements need special experience. For casual showing pair with high waisted shorts so the artwork peeks out without being fully exposed.
11. Simple Blue-Iris Outline Behind the Ear

Behind-the-ear placements pack a lot of impact into a tiny space. Artists sometimes argue over line weight here because the skin shifts with hair growth. The safe call is to use simple outlines with one saturated blue tone rather than layered washes. Session pain is low but the area can be finicky for people who sleep on that side. Because this zone is small, expect a possible touch-up around the two-year mark to keep the color punchy.
12. Filigree Evil-Eye with Knots and Chains on the Forearm
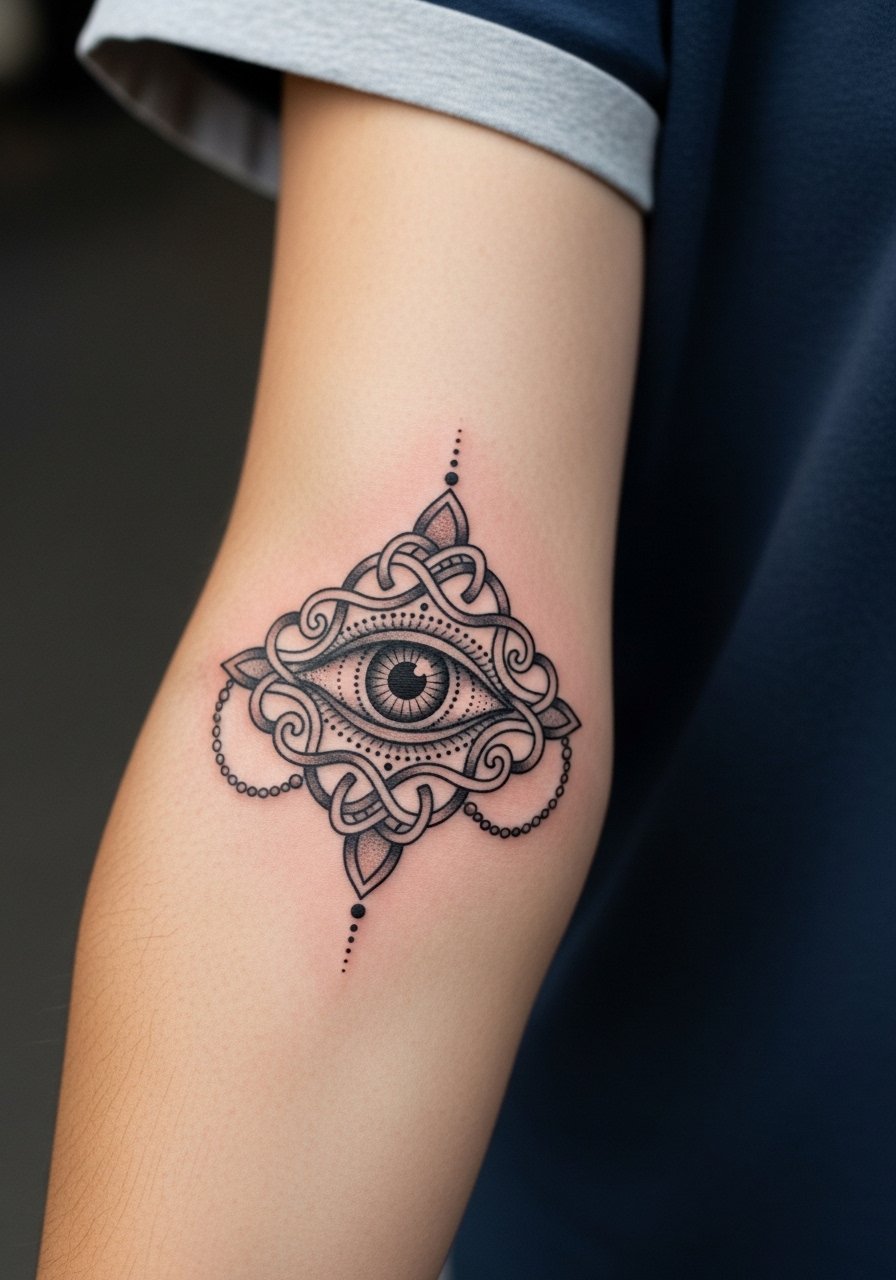
Designs that mimic jewelry look great but they can read muddy if knotwork is too tight. Ask for open chain links and slightly varied line weight so the piece reads like wearable jewelry rather than lace. Outer forearm heals predictably and is a good spot for elongated motifs. If you like the look of cuffs, consider balancing with a leather cuff bracelet on the opposite arm when you go out.
13. Dotwork Evil-Eye for a Subtle Chest Accent
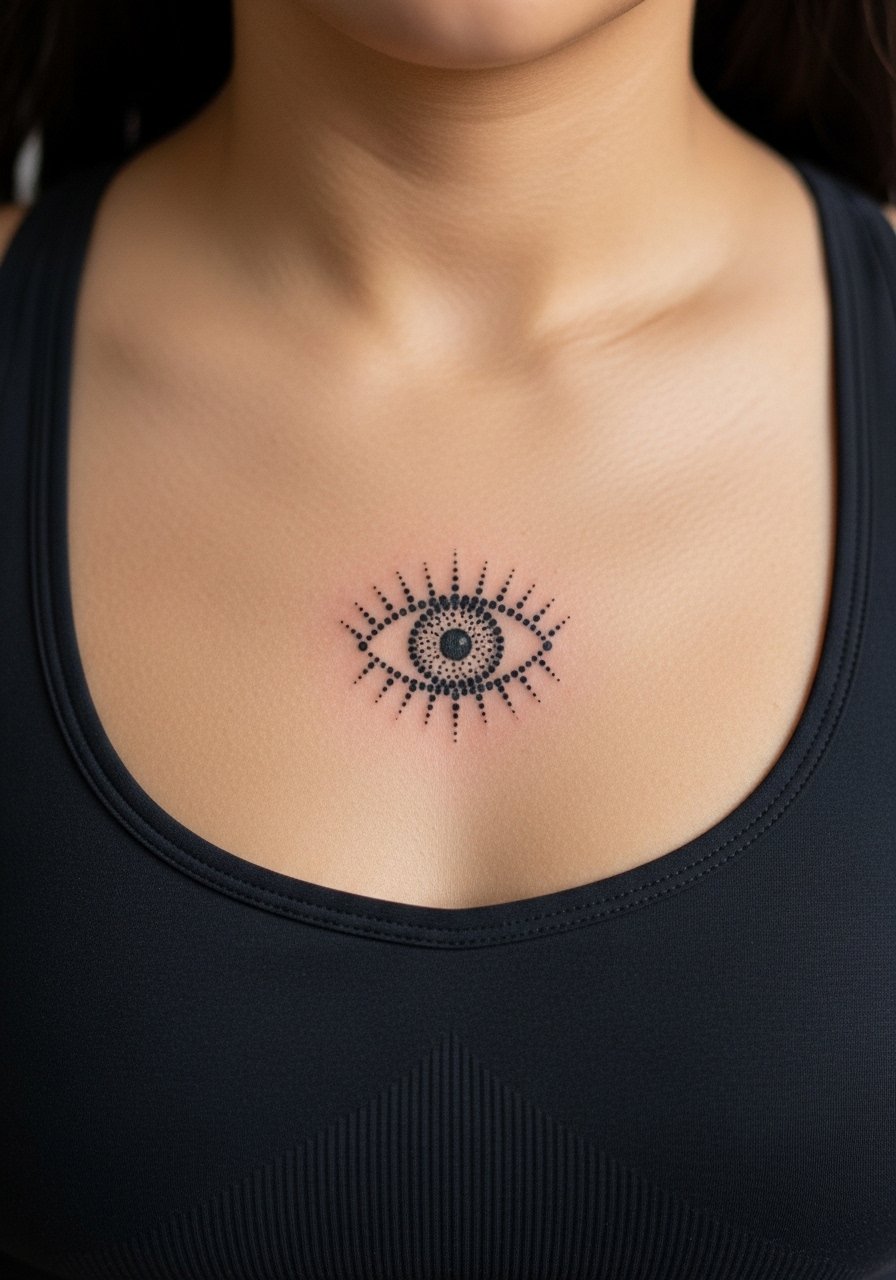
Chest pieces sit under a lot of motion and sun exposure. Dotwork reads beautifully here if the artist spaces the stipple so it breathes. A common error is over-detailing the center, which compresses into darker patches. Session-wise the sternum can be sensitive and may need short breaks. If you work with a custom layout ask about later expansion so the halo aligns with collarbone contours.
14. Watercolor-Accent Evil-Eye on the Ribcage
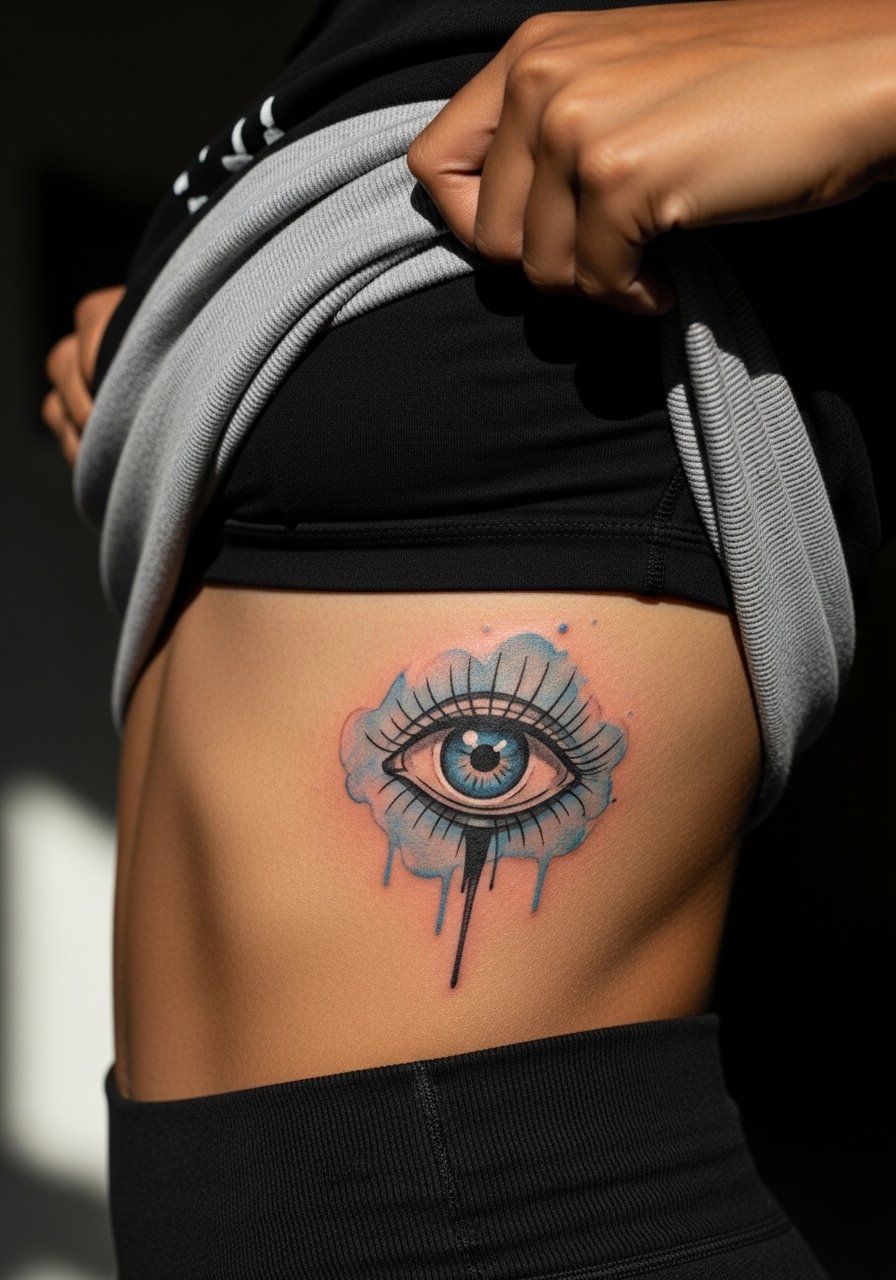
Ribcage work is infamous for pain and healing variability. Artists split on fine-line ribs. One camp says thin lines on ribs blur because of skin stretch. The other camp says correct needle depth and spacing keeps lines stable. If you choose watercolor here plan for color retention concerns and a likely touch-up. For the session wear a strapless bra or loose cropped top so the artist can work without fabric pulling.
15. Minimal Blue-Iris Outline at the Ankle
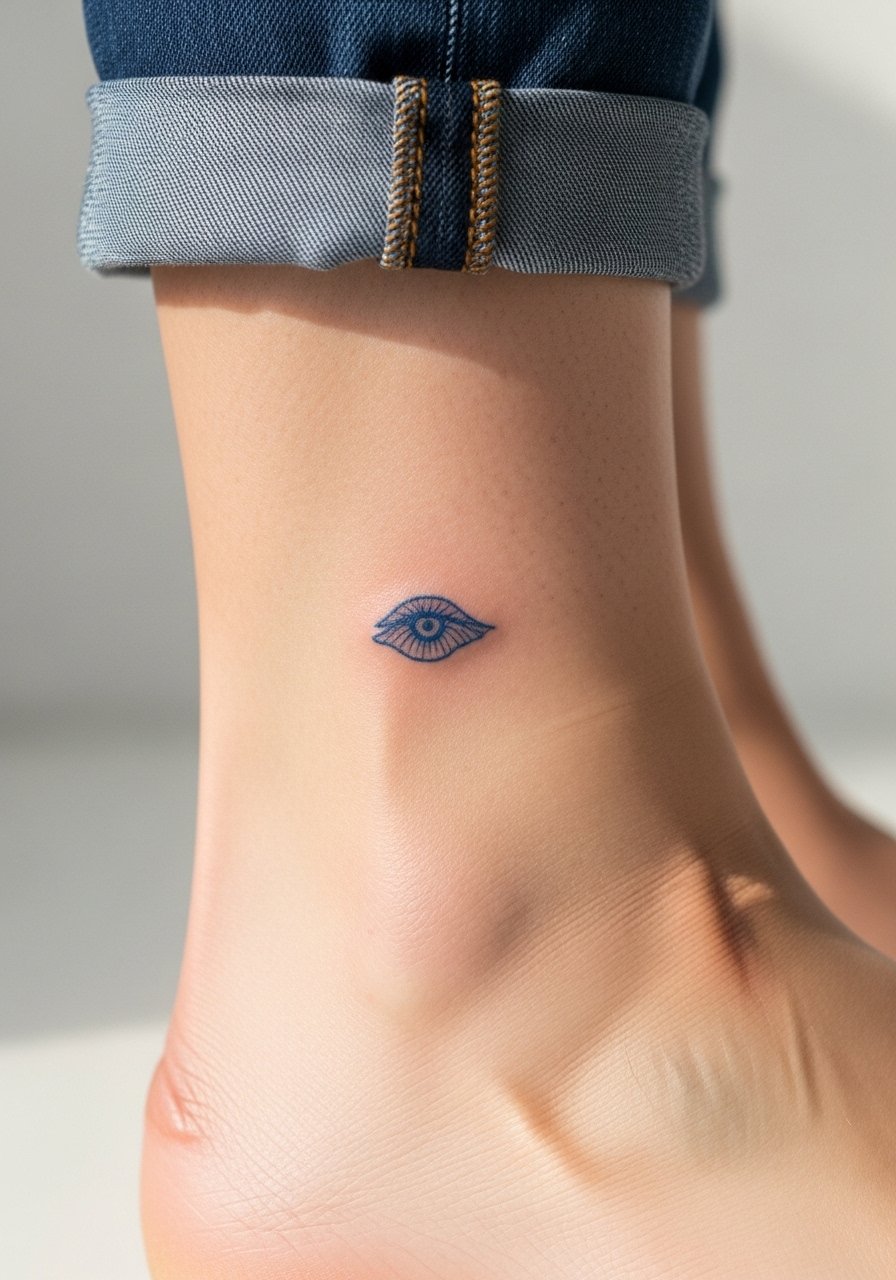
If you want a first tiny piece this is low commitment. The trick is to keep it slightly larger than you think so the blue does not lose definition in months. Ankle pieces tolerate color but face more wear from shoes. Plan for touch-ups and avoid tight socks for the first couple of weeks. For casual visibility a gold ankle chain or sandals will frame the tiny iris without crowding it.
16. Celestial Mandala Mix on the Shoulder Blade
Shoulder blade tattoos age well because the area gets less direct abrasion and sun when clothed. For combined mandala and celestial motifs ask your artist to emphasize outer ring spacing so dotwork holds. Sessions here are comfortable and allow for layered shading. If you plan to show the piece, wear tops with open backs or racerback cuts that reveal the work without overexposure.
17. Personalized Evil-Eye with Small Dates or Initials
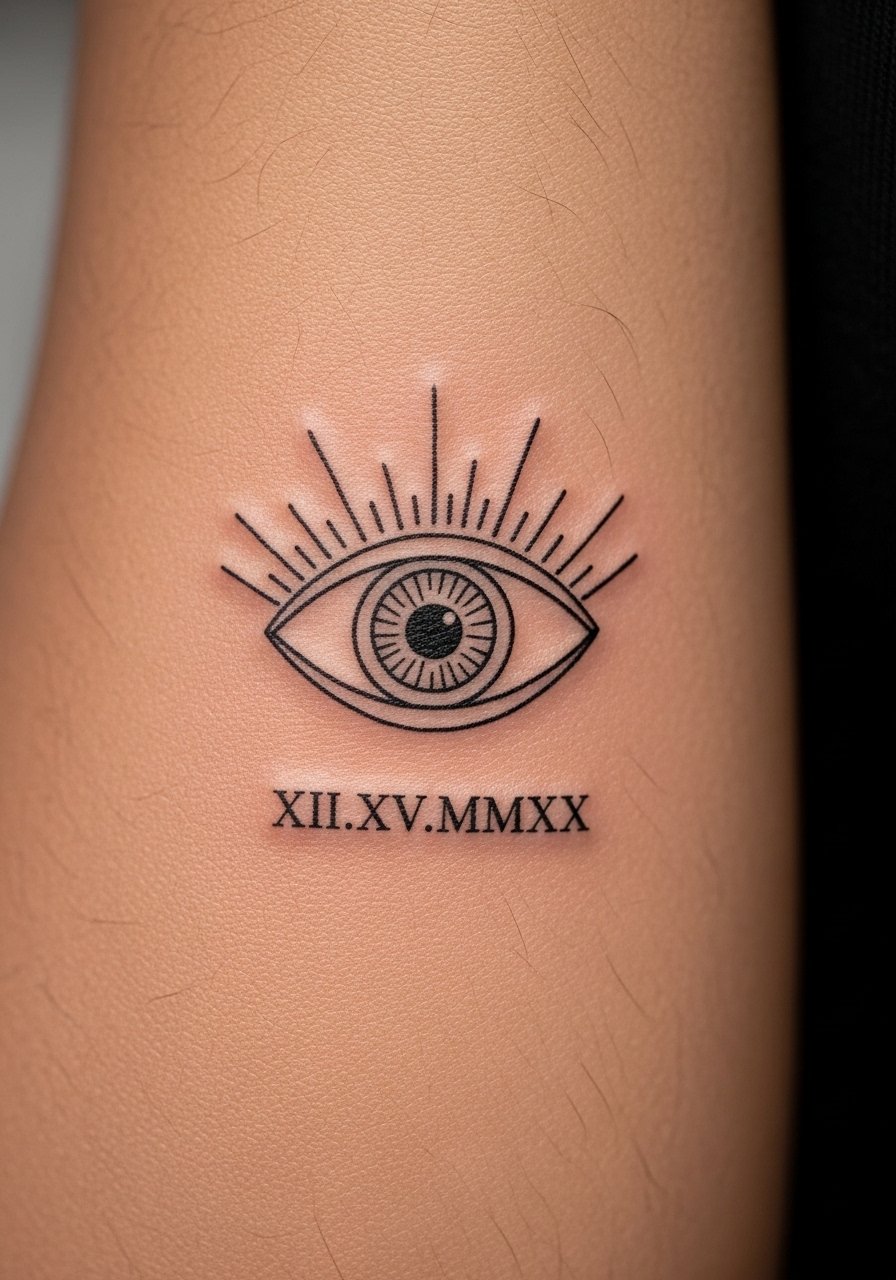
Personalized additions like initials or dates make a design feel private and precise. The key is to agree on exact lettering size because text on curved skin can compress. Tell your artist the exact font and sizing you want and ask for a skin test stencil so you can check scale. Inner forearm holds fine detail well but expect text to require sharper counters to remain legible long term. For the session roll up a linen button down shirt so the artist has clear arm access without tight cuffs.
Frequently Asked Questions
Q: Will fine-line evil-eye pieces blur faster than bold blackwork?
A: From what I've seen, yes, fine-line work tends to soften sooner because the lines are closer to the surface and the skin's natural turnover smooths them. Placement matters more than style, so wrists and fingers will often need touch-ups sooner than shoulders or calves.
Q: Do watercolor accents on collarbone or ribs require different aftercare than black ink?
A: Watercolor edges can need more attention because their softness depends on even fading. The basic care is the same but expect to plan for a possible color refresh at year two if you want the hues bright. Avoid heavy sun exposure and discuss touch-up timing with your artist.
Q: How do I ask an artist to make a geometric mandala hold up on tight skin areas like wrists?
A: Ask for increased spacing between rings and for stipple shading instead of filled black. Request a larger overall scale so each line and dot has room. Bring portfolio examples that show healed work at similar scale.
Q: Are finger and ankle evil-eye tattoos worth the maintenance?
A: They can be if you accept higher maintenance. Fingers and ankles face constant wear and will likely need touch-ups more often. If you want a low-commitment option, choose slightly larger micro pieces and budget for upkeep.
Q: How should I dress for a collarbone or rib session to make the appointment easier?
A: For collarbone wear an off shoulder top or a wide-neck shirt you can slide aside. For ribs bring a cropped tank or sports bra that exposes only the area the artist needs. Loose, easily removed layers speed setup and keep you comfortable.
