
The designs people still choose when they walk into a shop and point at a flash sheet are not the ones you see trending on social feeds. Thick black outlines, limited palettes, and a strong silhouette are the practical choices that age well. If you want old school flash tattoo references that actually last beyond year one, focus on scale, spacing, and where the piece will live on your body. Below are 21 motifs with how to ask for them, what to avoid, and wardrobe tips to wear the day you show them off.
1. Anchor with Rope Wrap on Forearm
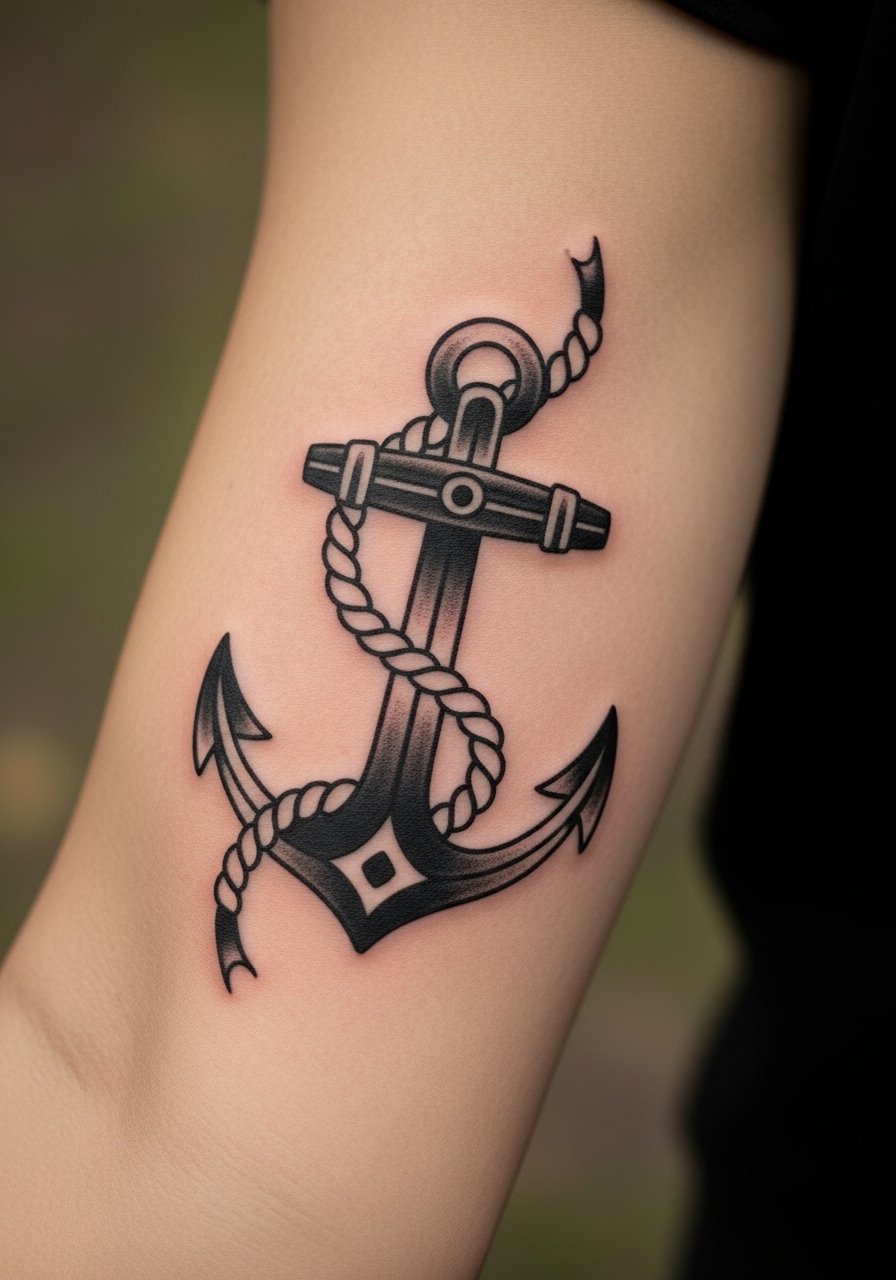
An anchor reads clearly at a distance because of scale and thick black outlines. I recommend 4 to 6 inches on the forearm so the rope details do not crowd the shank. Tell your artist you want visible negative space inside the rope and not a tiny knot that will blur. Common mistakes are shrinking the design for ego reasons or using very fine linework, both of which invite blowout on the forearm over time. Session feel is moderate and usually one to two hours. For showing it off pair with a navy short sleeve tee while snapping photos, and wear a loose tank or button-up to the appointment for clear access.
2. Swallow Bird in Flight on Chest
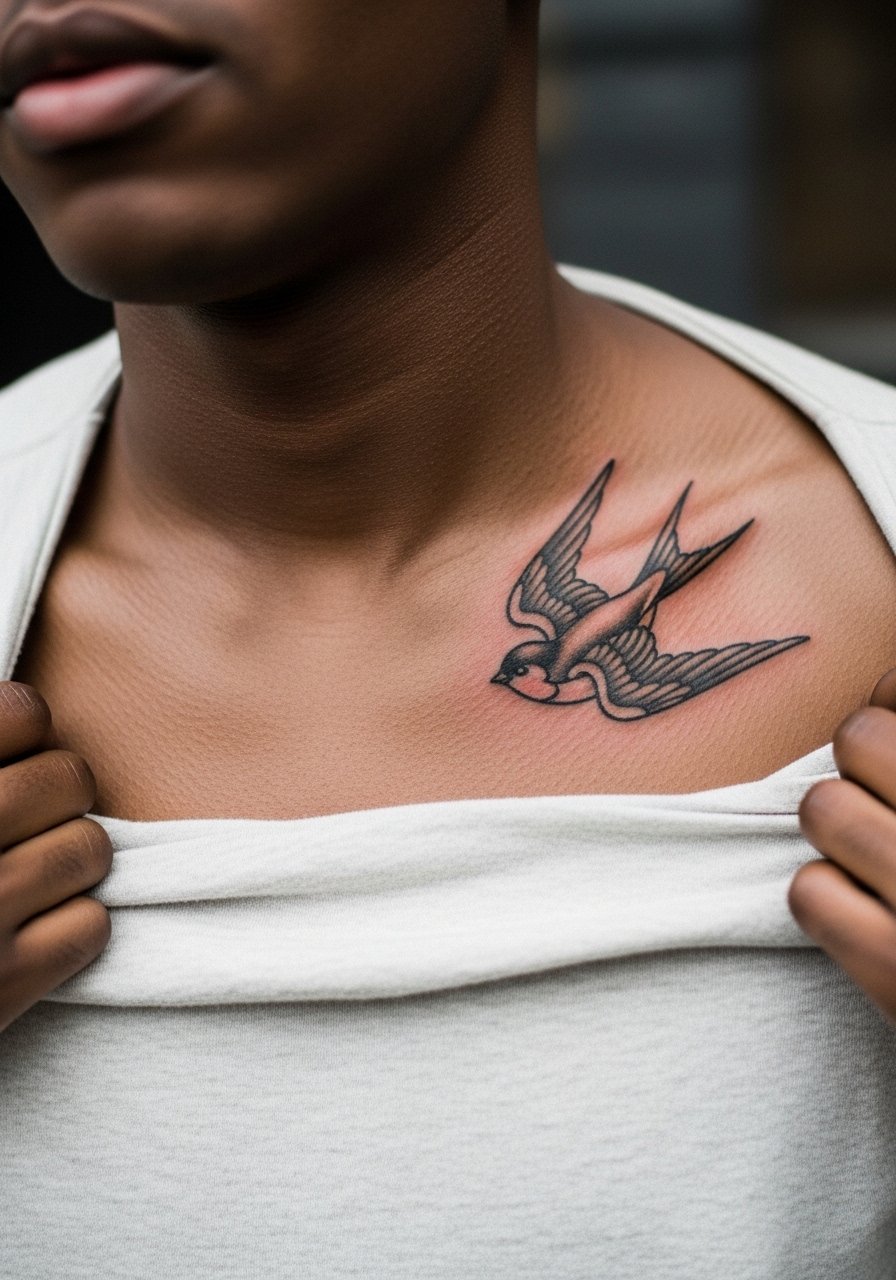
A chest swallow reads as a badge of return and pairs well with symmetrical placement above the pecs. Ask your artist to keep the wings open and the belly solid, not stippled, so saturation holds. Rushing this into a tiny 2-inch piece is a common error that sees the wing tips merge at year two. Expect a chest session to ache more than a forearm piece and to need one longer sitting if you want deeper saturation. For show-off styling, an open collar shirt frames the design without cutting into the neckline.
3. Heart with Banner on Upper Arm

This is the flash-sheet version people personalize most. Ask for the banner to be wide enough for lettering and for the artist to stencil the exact script size before committing. The frequent mistake is requesting tiny cursive on a narrow banner, which looks cramped once healed. At six months the red settles and by two years touch-ups may be needed for saturation in high-friction areas. Session time is usually short, under an hour. Pair with a sleeveless muscle tank on days you want the throwback arm look, and wear a button-front shirt to the appointment for easy shoulder access.
4. Eagle with Outstretched Wings on Back
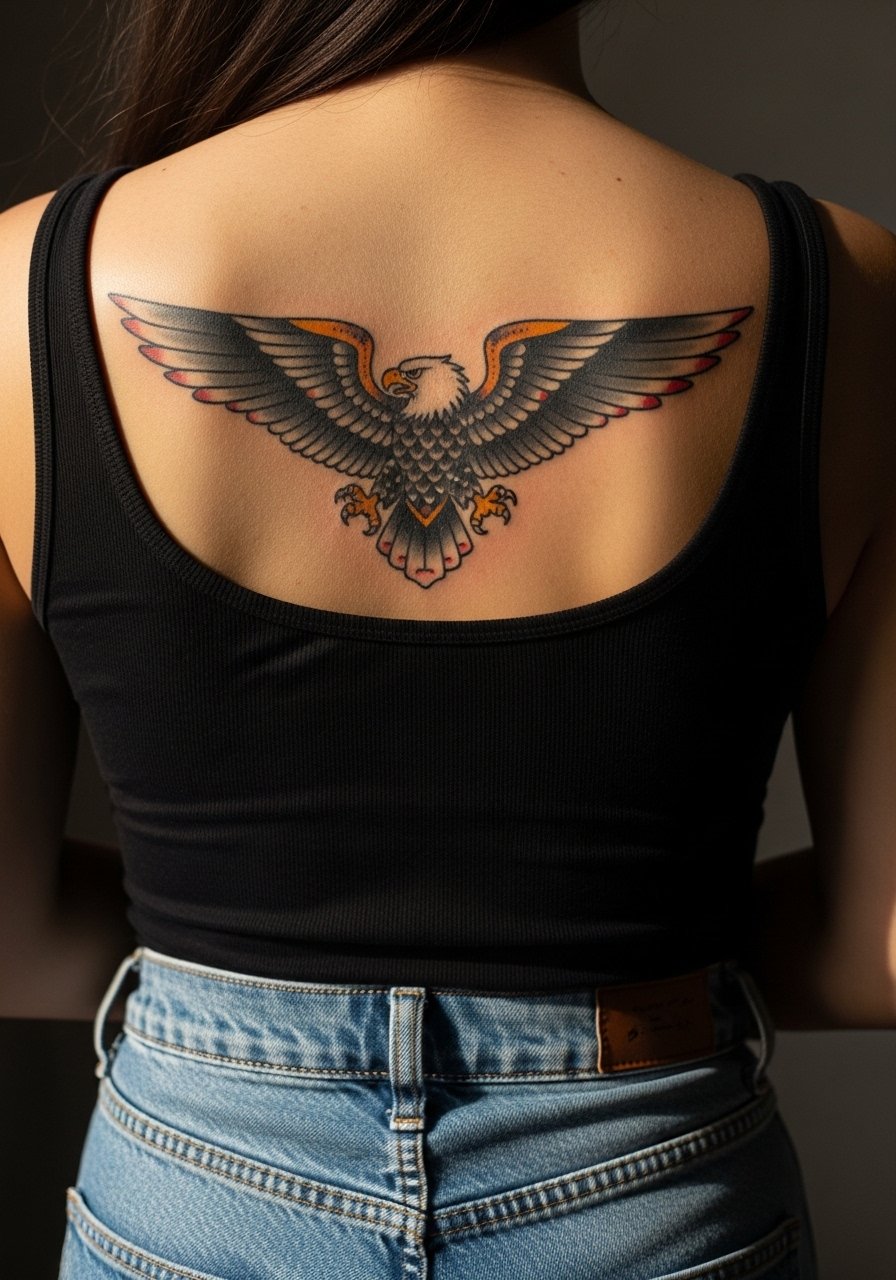
Eagles scale nicely and perform best when given room. If you try to compress one into a small chest piece, the wing feathers lose definition. Tell your artist you want distinct wing feathers and heavier saturation in the body so the silhouette reads from across a room. Back pieces feel long in the chair and often need two sessions for full saturation. The main mistake is underestimating the session count. For showing it off, a backless tank top or low-back sweater directs attention to the wings.
5. Rose with Thorns and Ribbon on Bicep
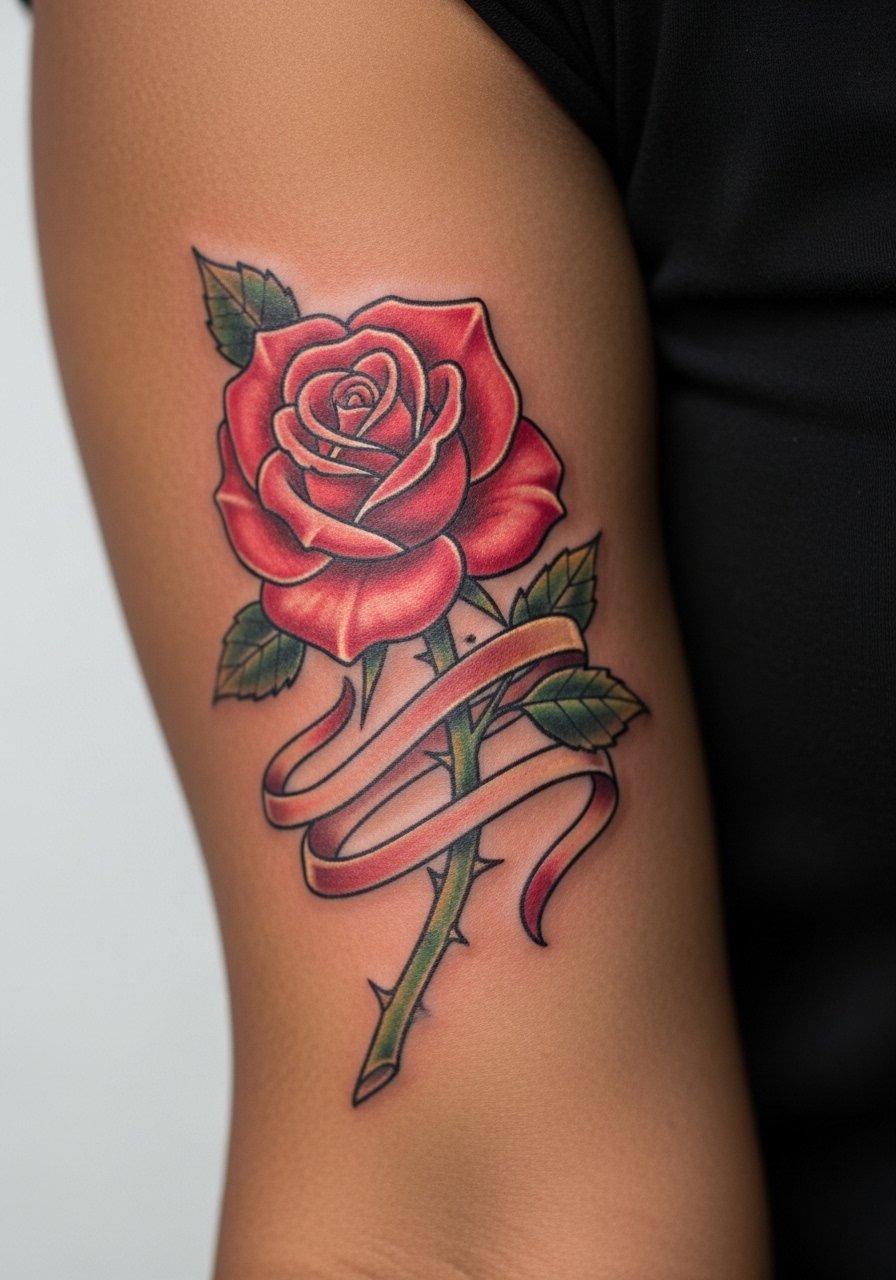
A rose is versatile but the trick is scale. Keep petals broad and avoid tiny shaded folds that become mud after healing. When you consult, show full-sheet flash references and ask for thicker petal outlines plus solid fill color areas. Roses on the bicep are forgiving because of muscle volume, but avoid very dense stipple shading that can look patchy at year three. Sessions are typically single visits under two hours. Wear a cotton bandana red as an accessory for that retro vibe and bring a loose button-down for easy arm access during the session.
6. Skull with Crossed Daggers on Forearm
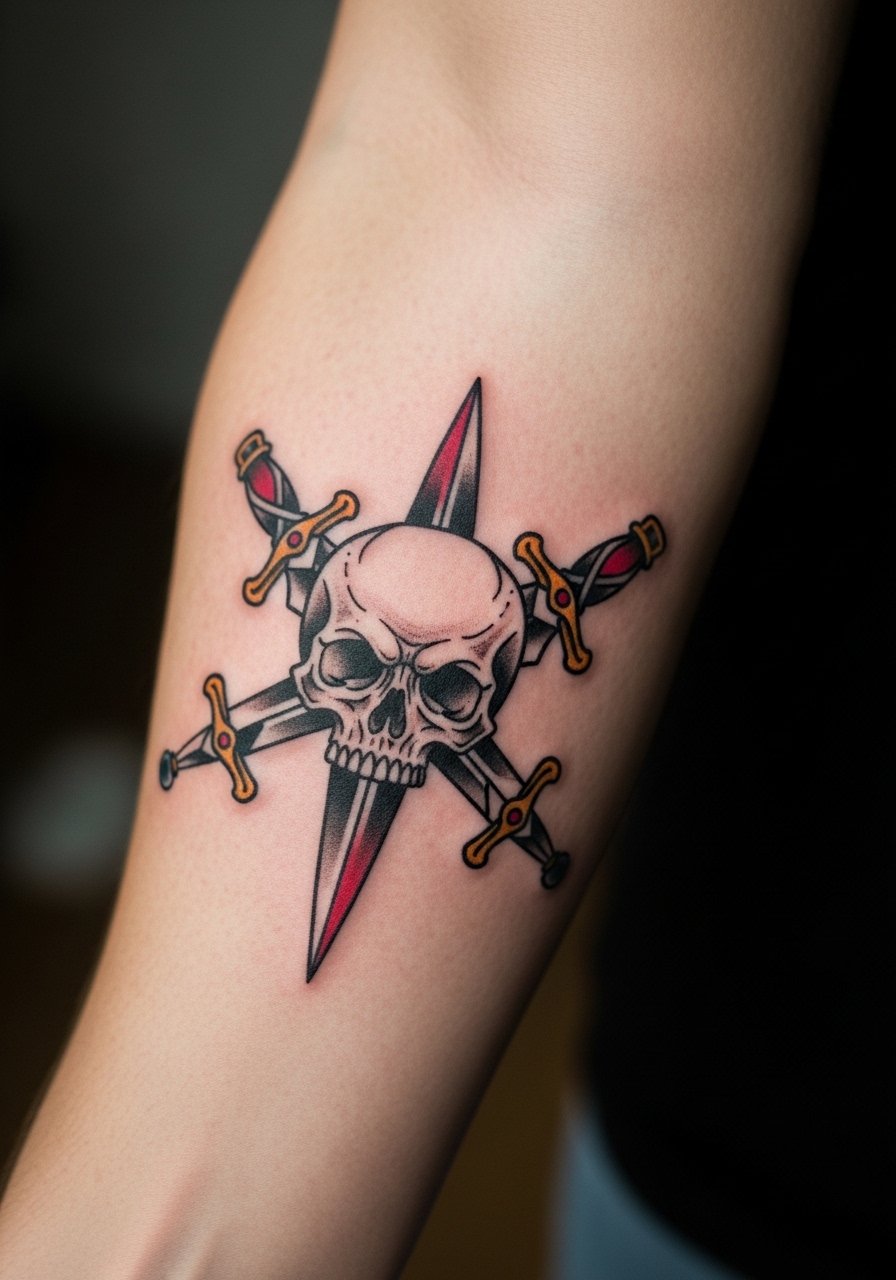
Skull-and-dagger designs read as statement pieces because they balance dark negative space with bright accents. Ask for clear separation between the blade and the skull so the dented areas do not merge later. A common version that ages poorly uses too much tiny dot shading inside the cranial cavity which blurs into gray. Forearm placement has moderate blowout risk along the inner arm, so plan touch-ups at year three depending on your skin. For session wear select a loose tank top or a button-up you can pull aside so the artist has clean access.
Studio Day Picks
The sleeve, chest, and forearm pieces above ask for different prep and first-week protection, so these items help smooth the session and early healing.
-
Stencil transfer paper kit. Lets you preview the exact placement on skin before the needle goes down, helpful for banners and winged designs in ideas above.
-
Topical numbing cream. Applied about forty five minutes before can reduce edge pain on sensitive chest or rib areas without altering linework when used properly.
-
Thin protective film roll. Keeps wrist and finger tattoos shielded from immediate friction during the first couple of days, which those small flash pieces need.
-
Fragrance-free gentle body wash. Cleanses healing skin without perfumes that sting newly inked areas like the forearm and bicep.
-
Aquaphor healing ointment. A thin layer for the initial days locks in moisture for saturated traditional fills and prevents scabbing that can pull pigment out.
7. Panther Head Snarling on Calf
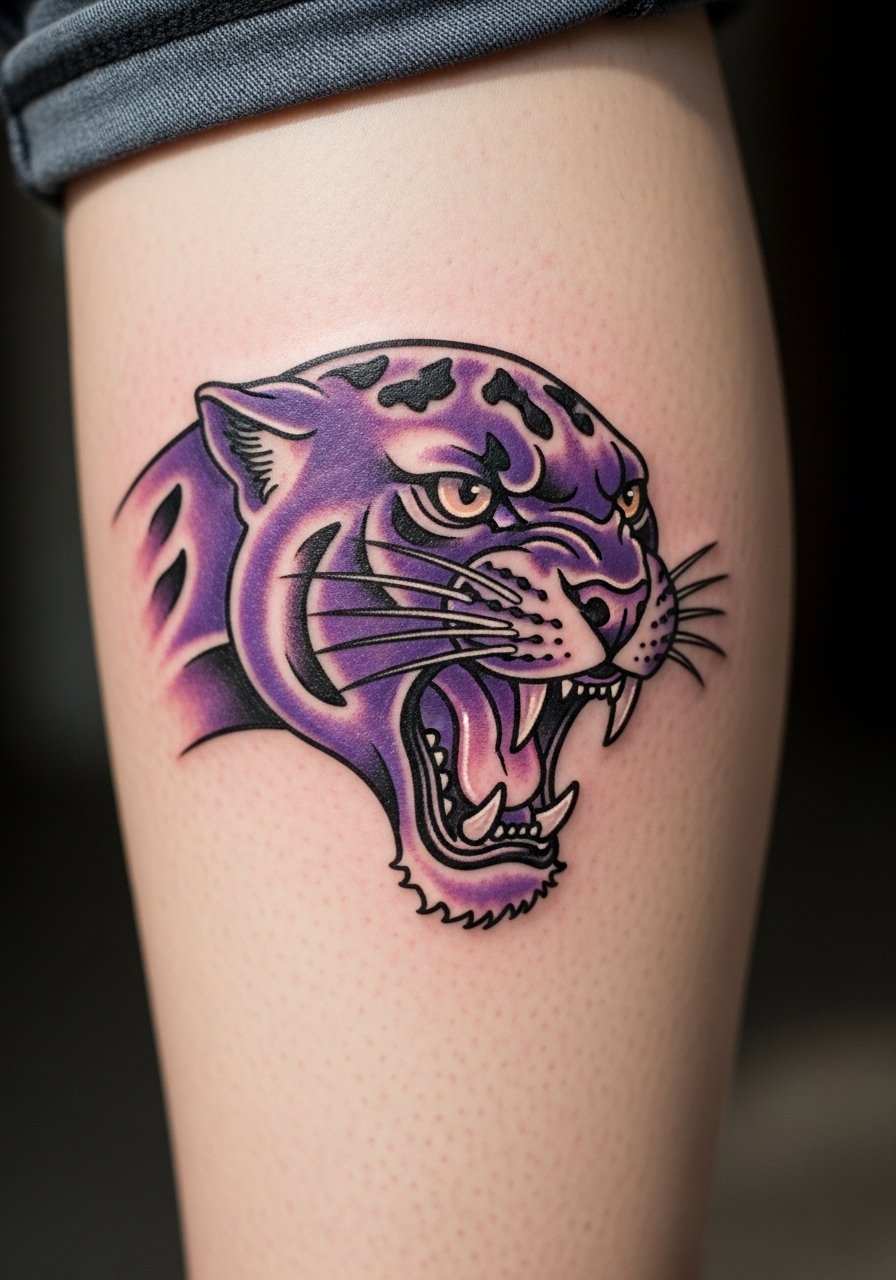
A panther works well on the calf because the muscle gives motion to the face. Ask for contrast between the teeth and nose, and for the jawline to have clean negative space so it stays readable. People often request extra fine whisker lines that disappear into the black later, so stick to solid whisker marks or minimal dots. Calf sessions are comfortable because you can prop the leg and relax. For showing it off with shorts try slim fit chinos men rolled at the ankle or boat shoes in summer.
8. Horseshoe for Luck on Wrist
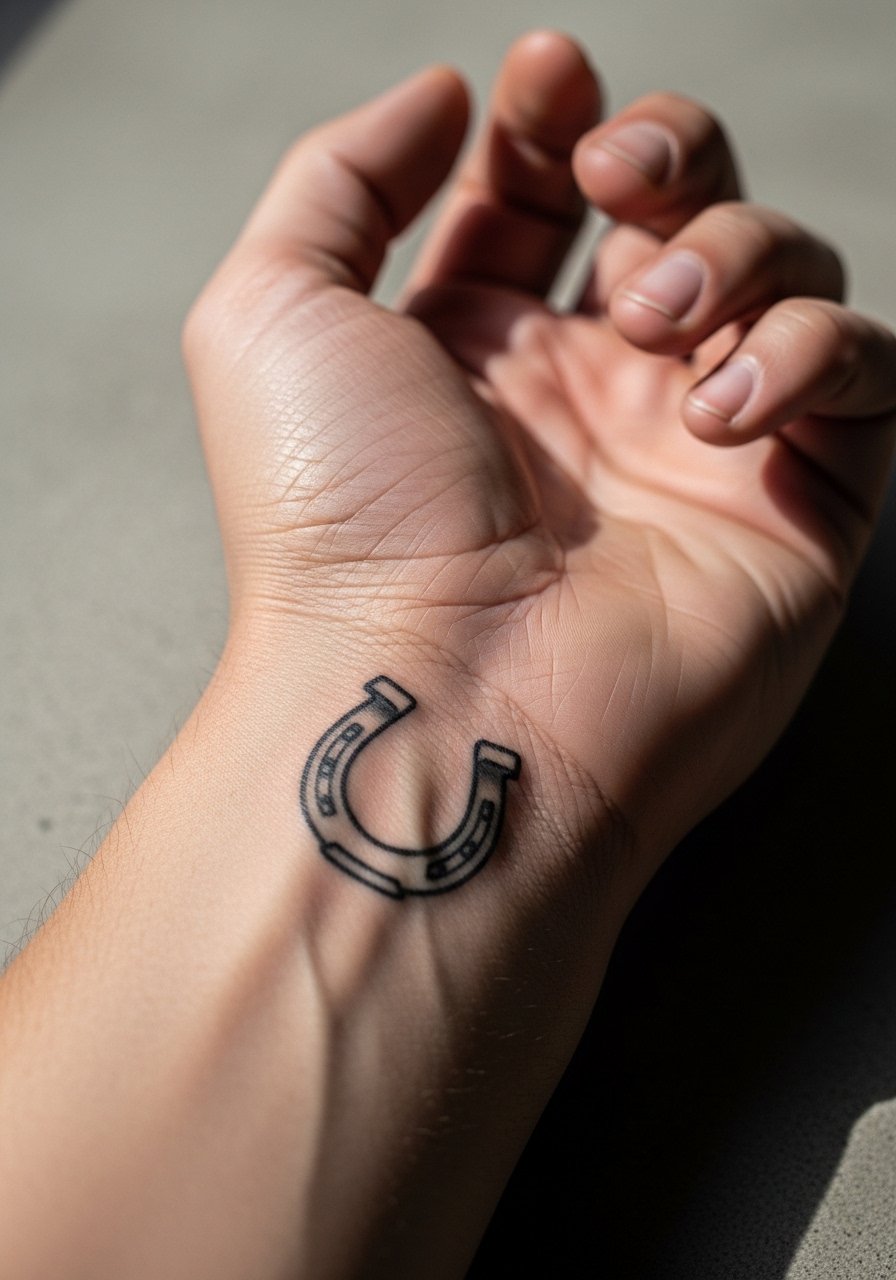
Horseshoes are excellent small flash pieces, but the wrist is a high-friction zone. Ask for a slightly larger version than you think you need and for the interior to keep clean negative space so the yellow fill does not wash out. The frequent mistake is going too tiny or crowding it with surrounding script. Expect faster fading because of wrist movement and washing. Session time is short and tolerance is high for most people. Pair with a slim leather watch on the opposite wrist and avoid tight bracelets that rub during healing.
9. Pin-Up Girl Pose on Thigh
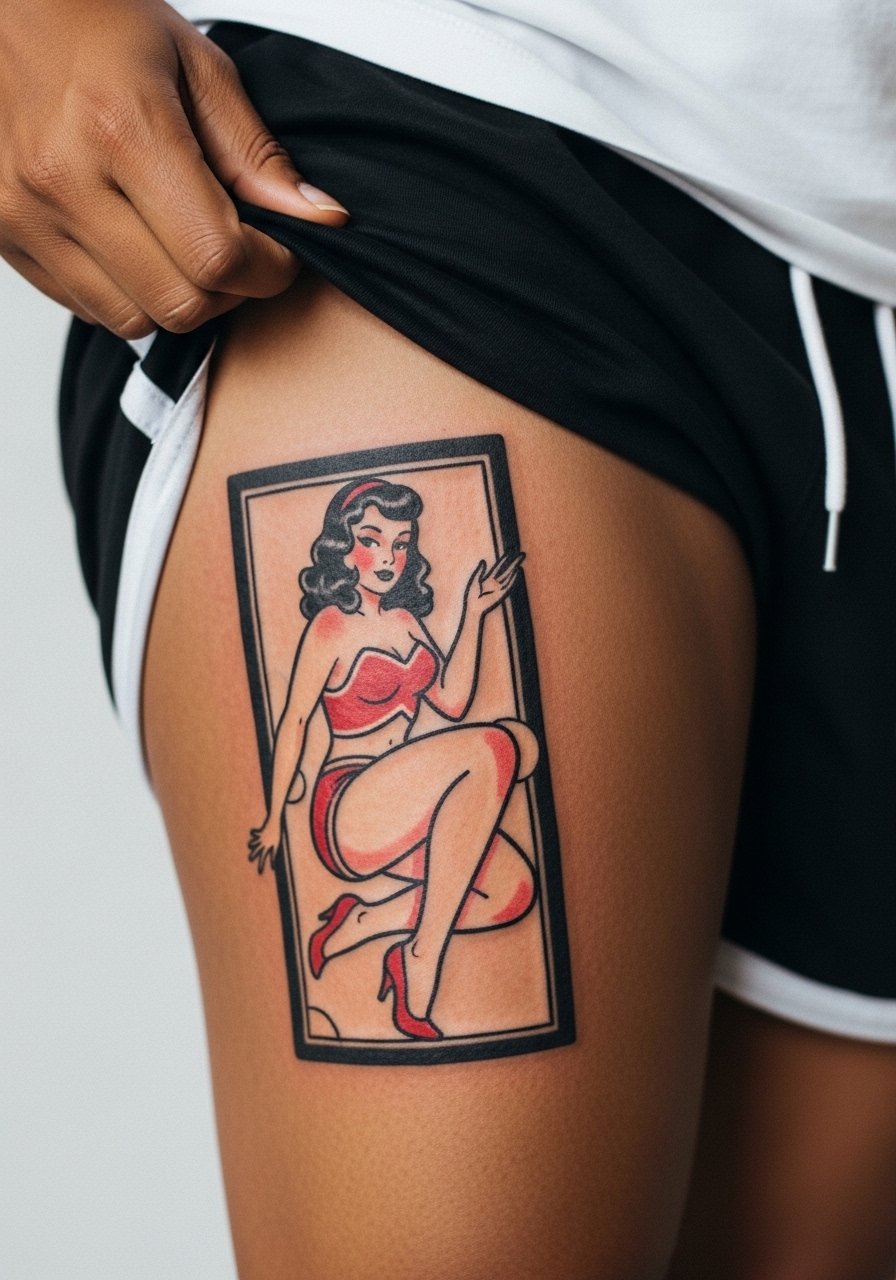
Pin-up flash benefits from scale and curve-friendly composition on the thigh. Ask for simplified facial features and stronger silhouette lines so the pose remains readable when seated. The common mistake is over-detailing the face in a small piece which looks muddled after healing. Thigh sessions are comfortable and can be long, so plan for two sessions for large pieces. For summer wear tailored shorts or swim trunks like tailored swim trunks that frame the work.
10. Ship at Sea with Waves on Back
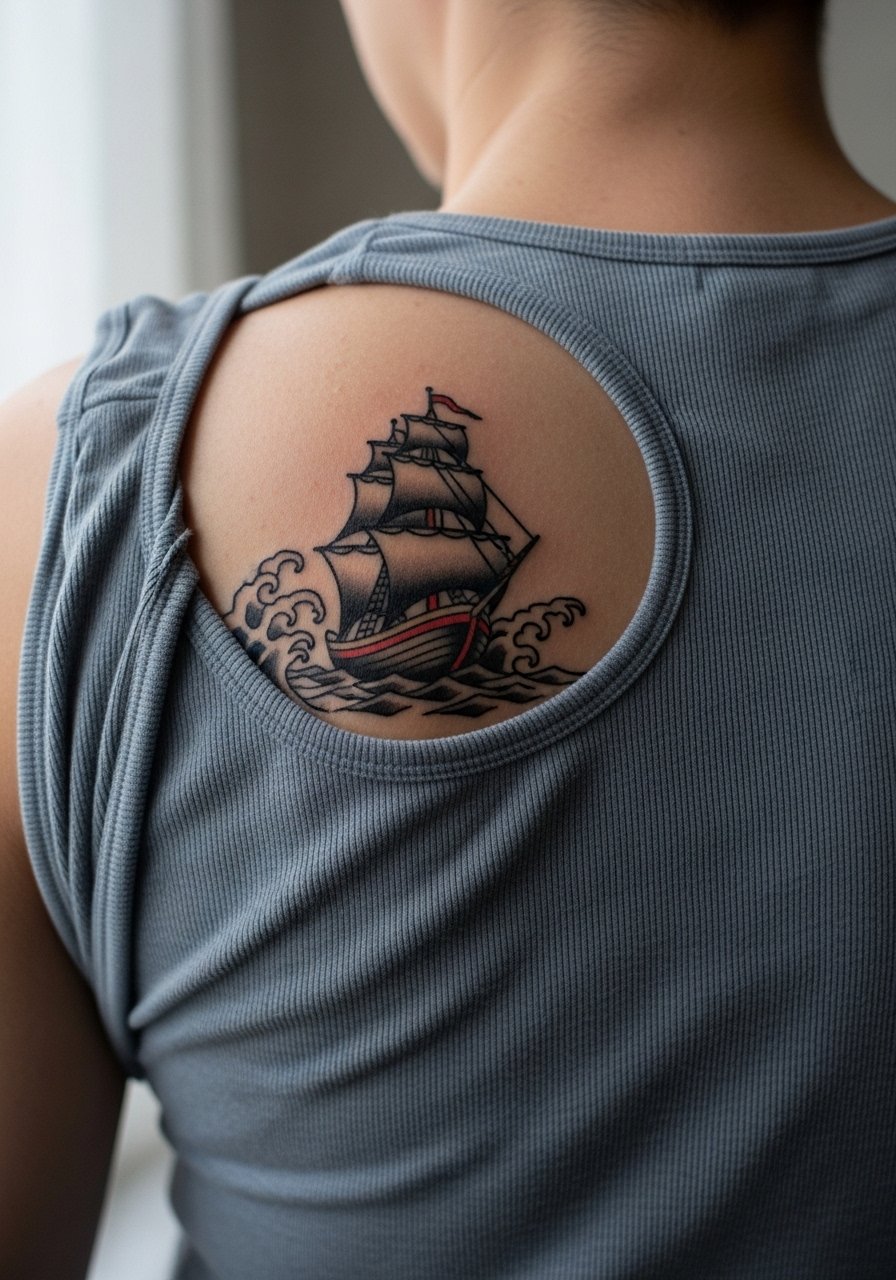
A narrative ship needs room to tell its story. Ask for clear wave separations and solid sails rather than tiny hatching details that blur. A common version that ages poorly stacks too many small elements in a small panel which becomes a gray shape over time. Back sessions are long and often split into build and saturation days. For days you want to highlight the piece a low back crop top or an open-back shirt reveals the scene without exposing the rest of your torso.
11. Dagger Piercing a Rose on Upper Arm

Combining a dagger and rose reads like a micro-story and benefits from clear separation between metal and petal. Tell the artist you want crisp edgework on the blade and saturated reds in the petals rather than tiny cross-hatching. A mistake is asking for super fine metal etching that disappears after healing. Upper arm placement is forgiving and touch-ups are rarely urgent. For showing it off, a open button down shirt men or sleeveless tank highlights the composition, and bring a loose shirt for the session.
12. Compass on Sternum
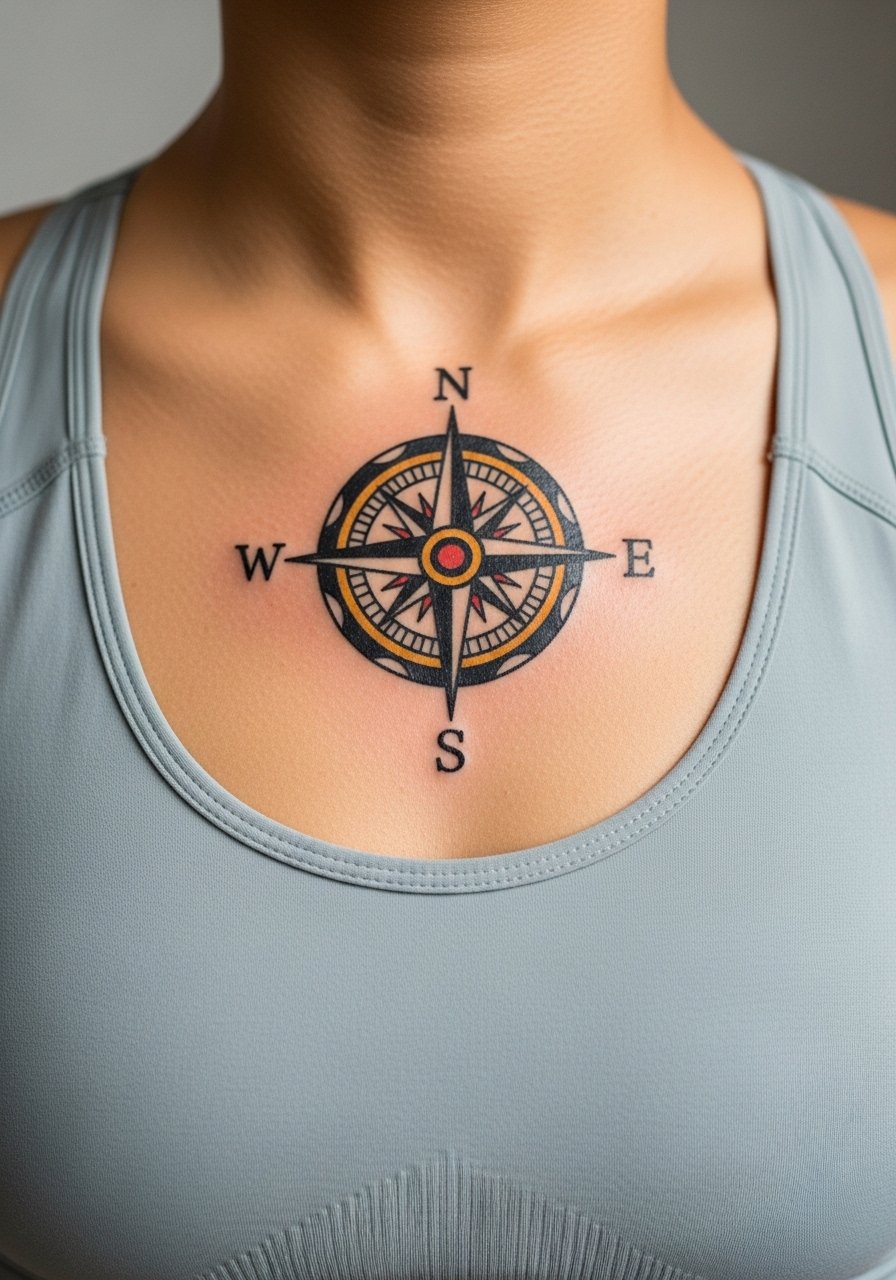
Sternum pieces are intimate and need steady spacing so directional points do not blur. When you consult ask for the needle work to prioritize clean radial linework and leave extra spacing between spokes. Artists split on whether extremely fine radial details hold on the sternum. One camp says the skin stretch blurs lines within two years. The other camp argues that when the depth is right and spacing is increased the compass settles fine. If you choose it, expect a more painful session and a higher chance of needing a touch-up. Wear a fitted sports bra to the appointment so the artist can access the area without you fully undressing.
13. Mermaid Head on Upper Arm

Mermaids work as standalone portraits or companion pieces on sleeves. Ask your artist to simplify hair waves into bold blocks and to avoid too much tiny dot shading in the face. The common mistake is over-detailing scales too close to the portrait which competes visually. Upper arm is a low-blowout zone and usually heals cleanly if aftercare is followed. For showing the retro side, pair with a sleeveless muscle tank.
14. Sailor Star on Shoulder
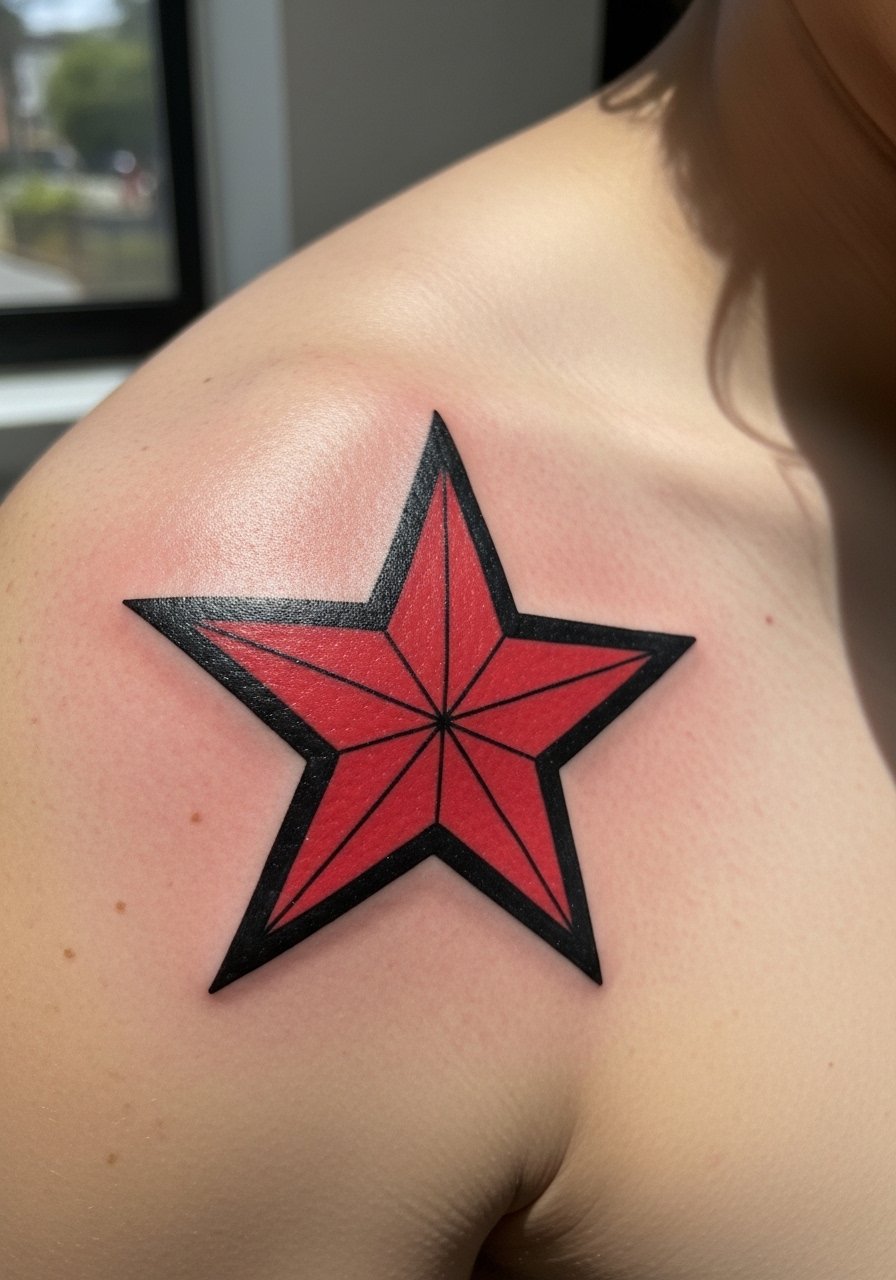
Sailor stars are compact and read well on curved shoulder caps. Ask for slightly larger points so the tips do not become indistinct after a year. A common mistake is placing a very small star on the exact joint crease where movement causes extra wear. Shoulder sessions are quick and often one visit unless you want extra shading. For show-off styling try a sleeveless muscle tank and wear a button-down for the appointment.
15. Lighthouse on Calf
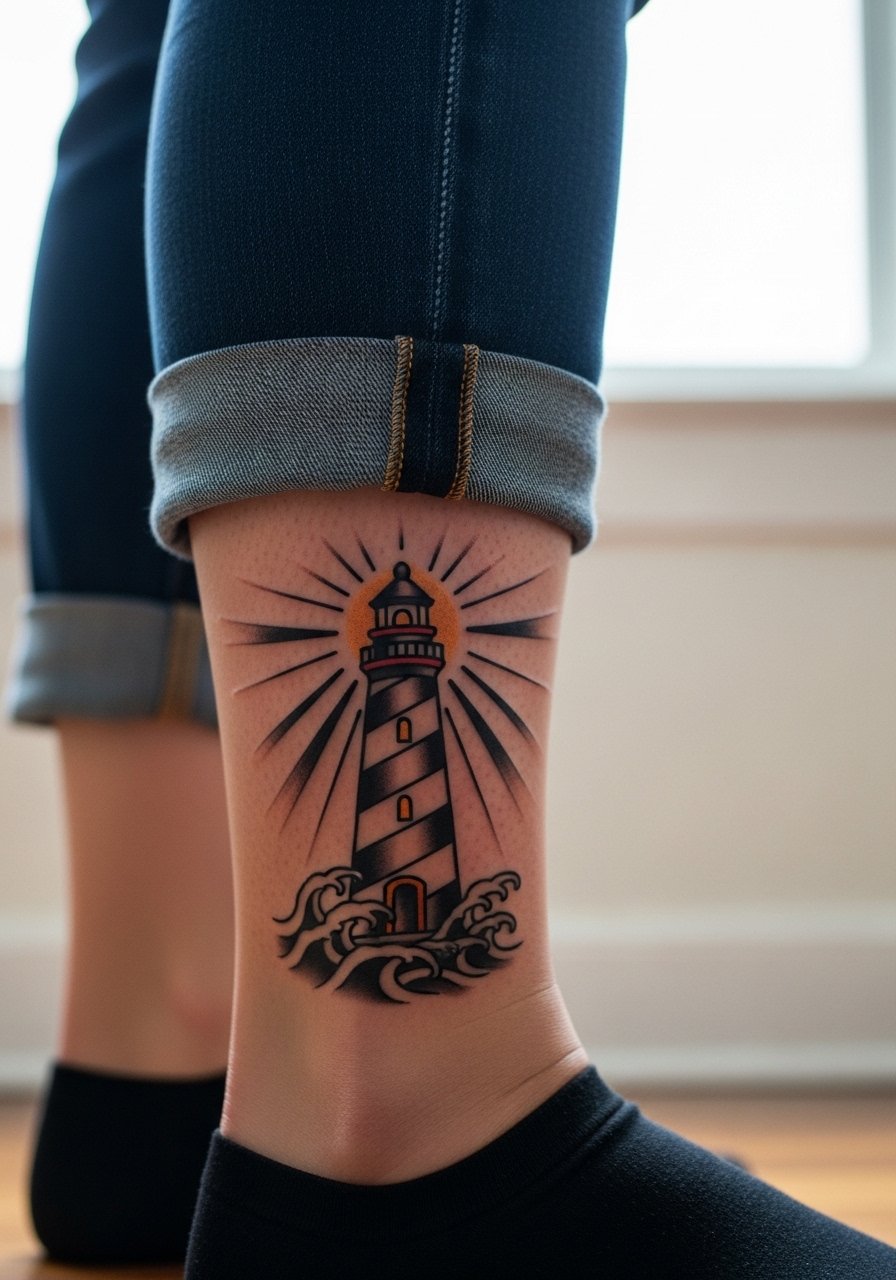
Lighthouses tell a vertical story and suit the calf height. I recommend solid beam blocks and leaving negative space between waves so contrast stays sharp. People err by requesting tiny brick details that blend into a gray wash later. Calf sessions are comfortable and allow the artist to work with long strokes. To frame it casually pair with rolled ankle pants or boat shoes canvas.
16. Snake Coiled with Dagger on Ribcage
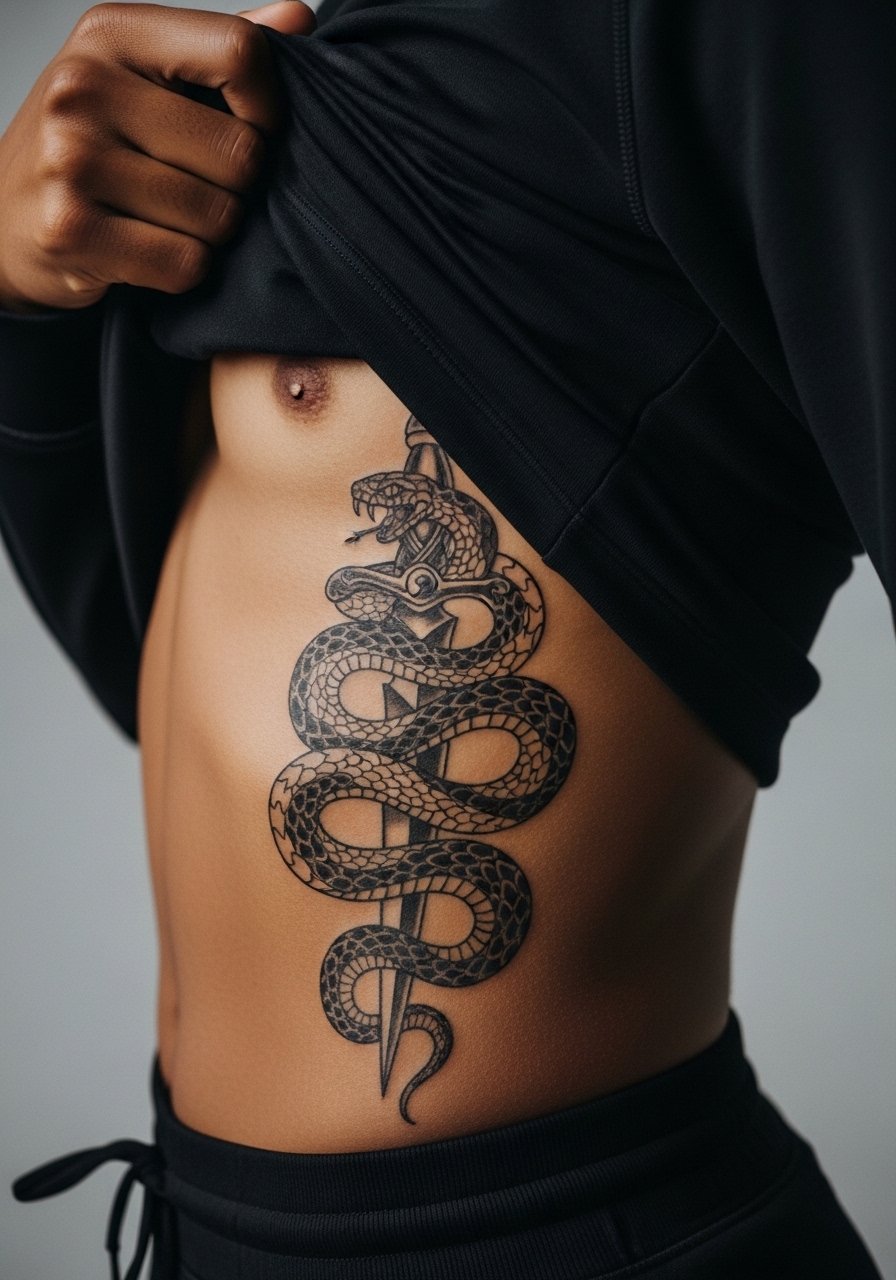
Ribcage work is painful and requires planning for spacing because the skin flexes with breathing and weight changes. Ask your artist to allow room between coils so lines do not compact. The main mistake is packing too many small scales in a tight area which often blurs. Expect a higher pain score and a strong chance you will need a touch-up at year two. For the appointment wear a cropped top or zip hoodie so access is easy.
17. Ship Wheel on Shoulder Blade
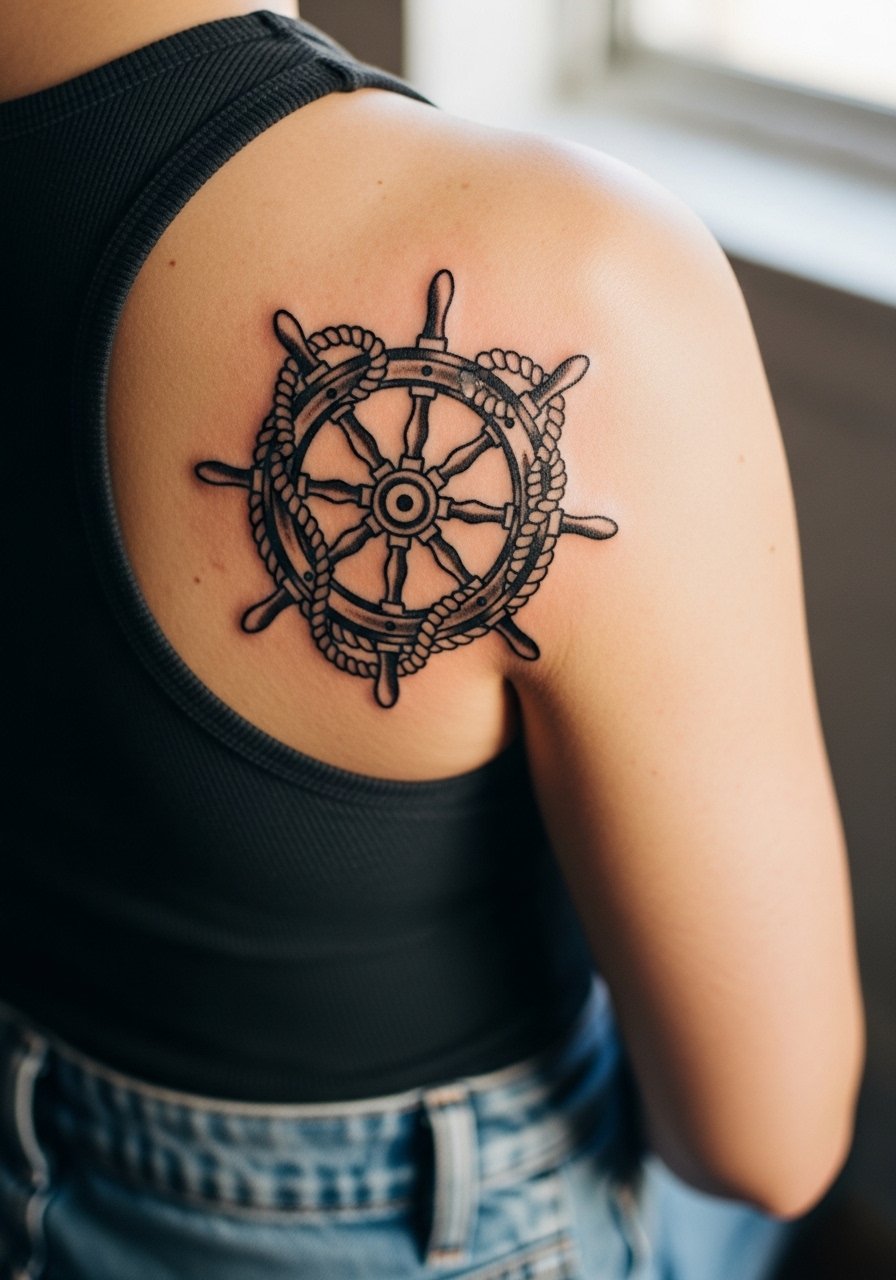
A ship wheel benefits from symmetry and negative space in the spokes. Ask for slightly thicker spokes and clean center hubs so the piece keeps its wheel-like read as it settles. The common error is tiny interior knots that melt into gray. Sessions are moderate in discomfort and usually one sitting. Show it off with an open-back shirt or a backless tank top when possible.
18. Dice Pair on Hand
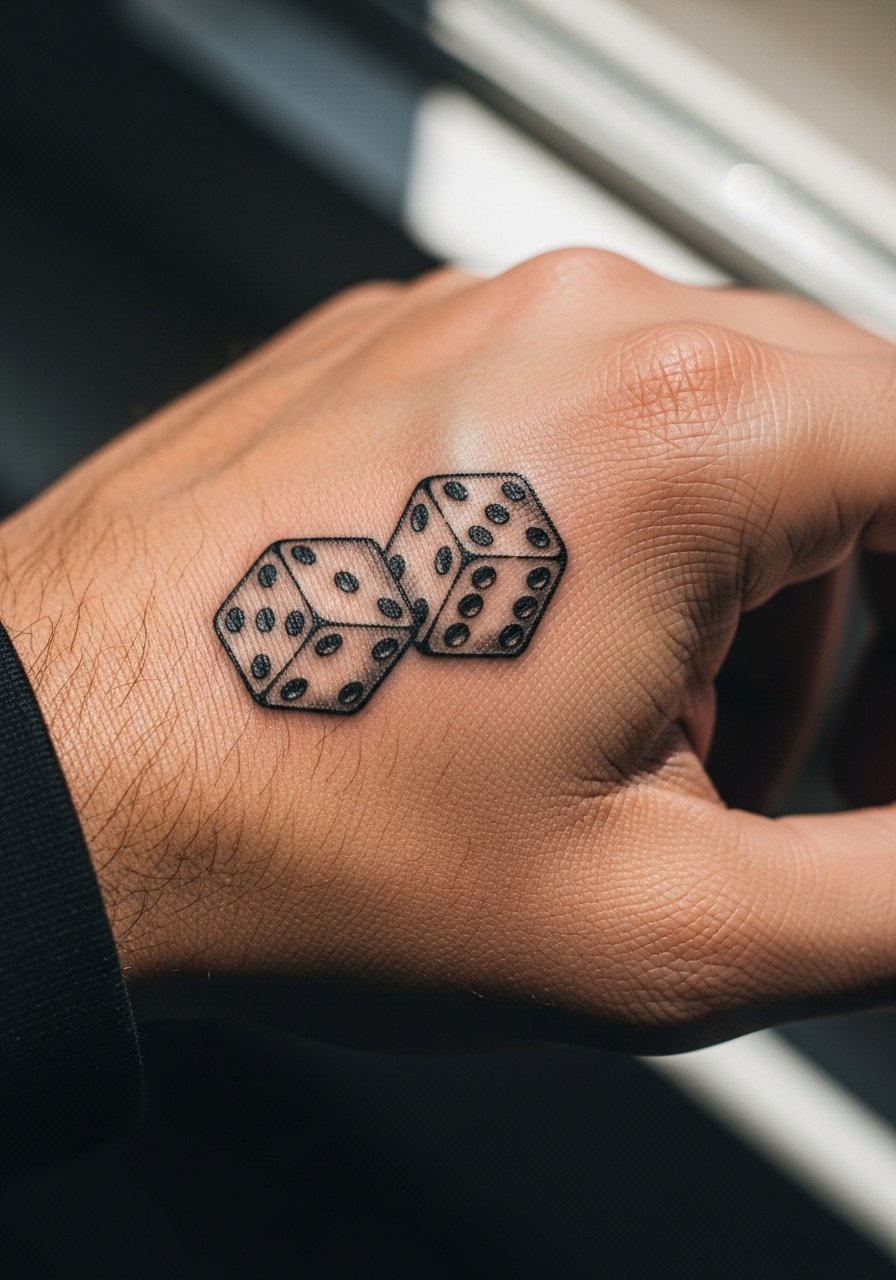
Hand tattoos are high risk for fading and social implication. If you want dice on the hand ask for slightly larger dice and heavier black keylines to reduce early wear. Artists debate the career impact of hand tattoos. One group warns that visible hand work still affects some hiring decisions. The other group says industry norms are shifting and small, discreet pieces are more accepted. Be realistic about touch-ups; hands usually need refreshers at year one and beyond. Keep the design simple and avoid tiny pip details.
19. Snake with Bloom on Ankle
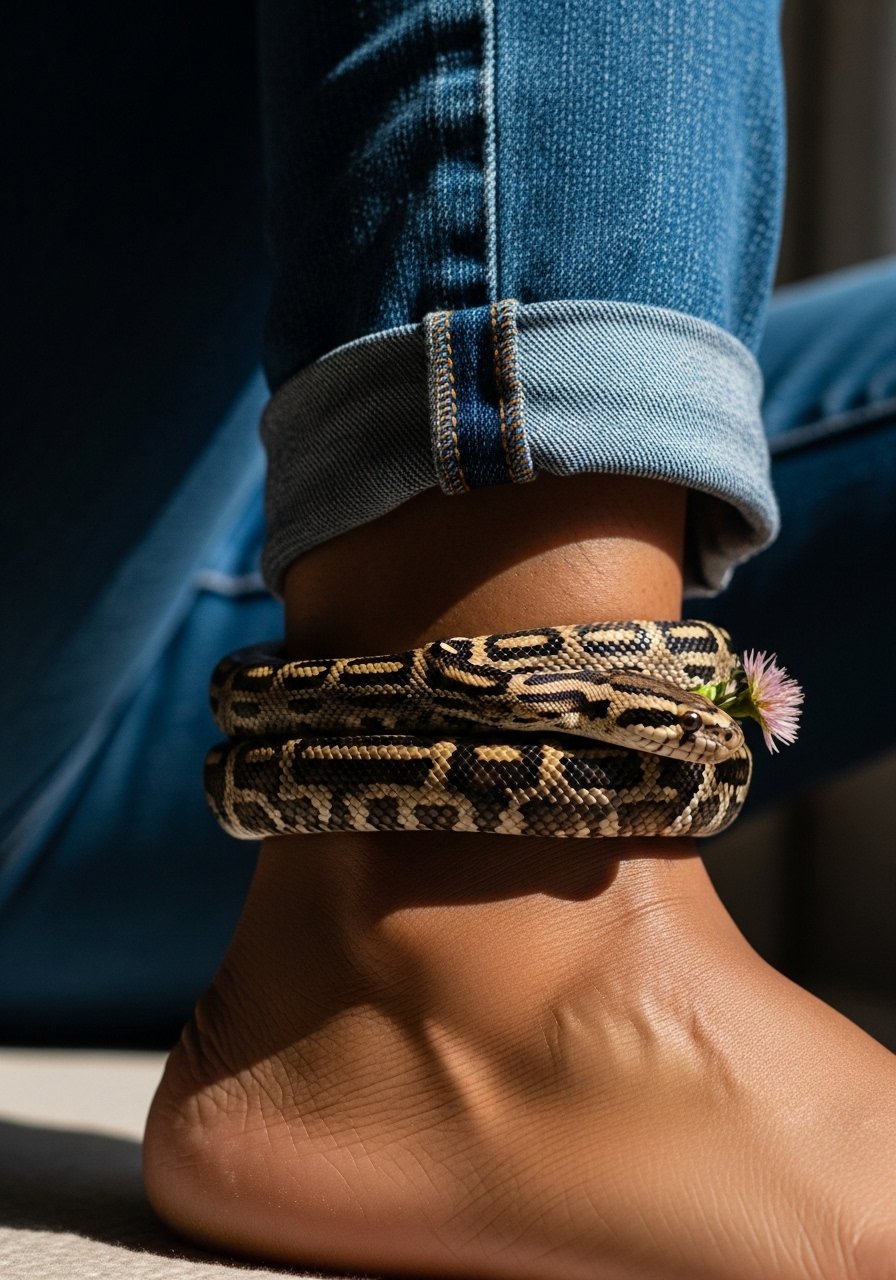
Ankle tattoos face constant friction from shoes and socks so plan for larger negative space and thicker outlines. Ask the artist to place the bloom where the snake coils so color can settle away from direct rubbing zones. The common mistake is tiny vine details that rub away in the first winter. Session pain is low to moderate. Pair with sandals or jeans rolled at the cuff to frame the piece and consider navy athletic shorts for casual show-off days.
20. Torch and Flame on Thigh
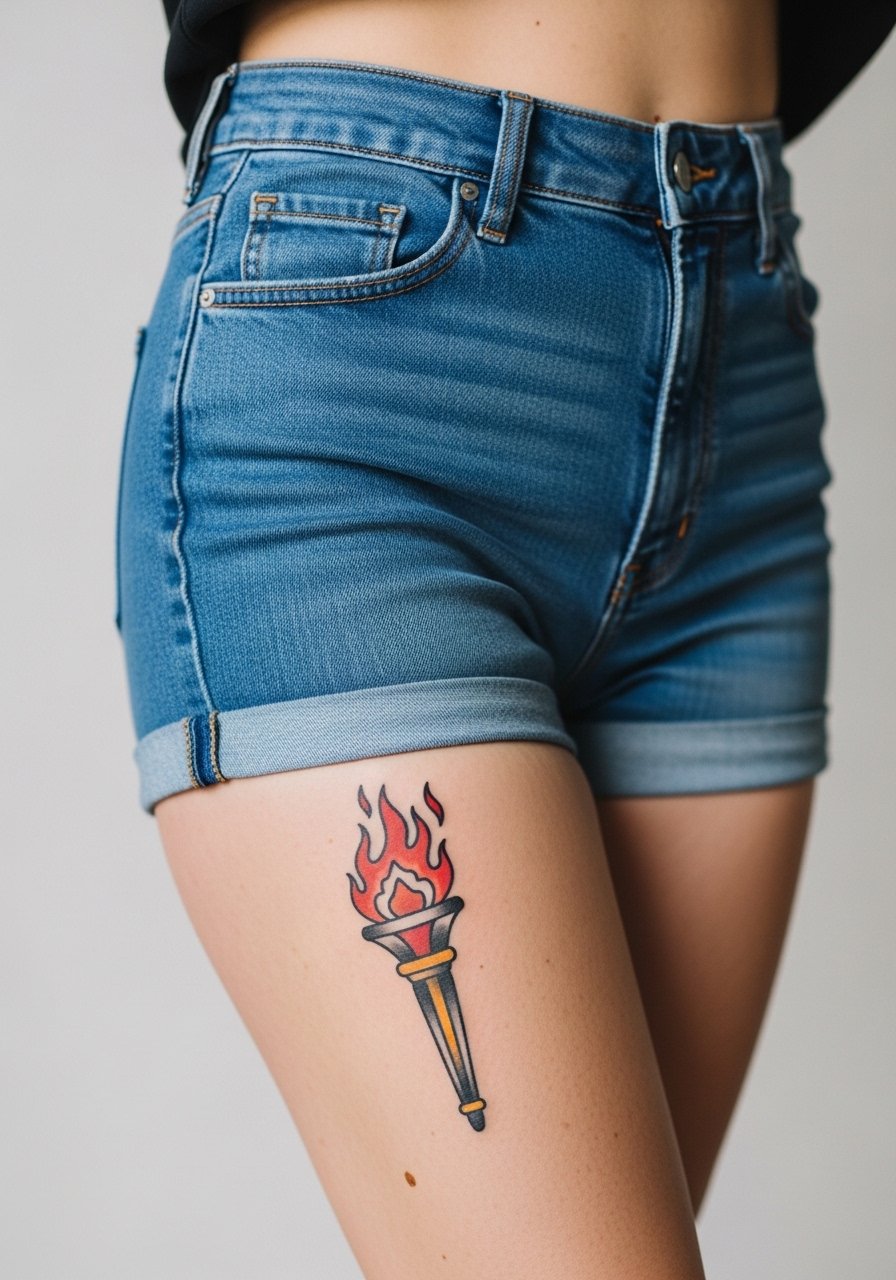
Torches are bold vertical pieces that age well on the thigh where friction is minimal. Tell your artist to keep the flame as a block of saturated color and to avoid fine feathering in the core of the flame. A small mistake is cramped handle details that fade into the surrounding skin. Thigh sessions are comfortable and allow for longer sits. Show it off with tailored shorts or swim trunks like tailored swim trunks.
21. Lighthouse Beacon on Outer Calf
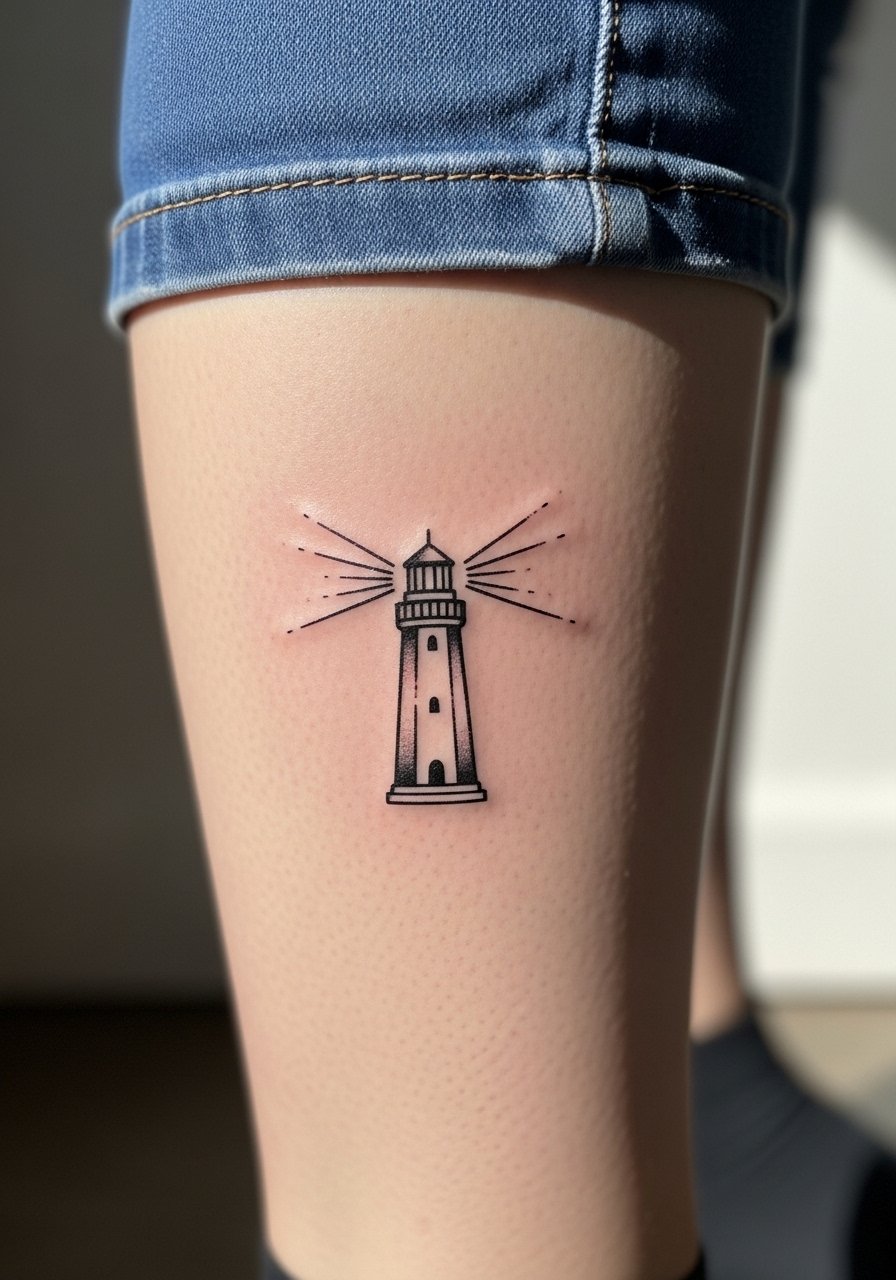
A single-beam lighthouse is a compact flash that benefits from strong contrast and spacing between light rays. During consultation ask the artist to space the rays and to keep the beacon base solid so it does not blur. The usual mistake is adding too many tiny wave lines directly under the base which can merge. Calf placement is forgiving for saturation and usually heals predictable. For summer wear, pair with rolled chinos or boat shoes and skip tight socks while healing.
Frequently Asked Questions
Q: How much does an old school flash tattoo typically cost and how many sessions will it take?
A: Prices vary by shop and size but think in ranges for planning. Small wrist or ankle flash pieces often fit into a single session. Larger chest, back, or thigh compositions commonly take two to three sessions to build saturation and allow for breaks between heavy shading and solid fills.
Q: Will thick black outlines guarantee my tattoo still reads at year five?
A: Thick black outlines help a lot but they are not the only factor. Placement, daily sun exposure, and how tightly packed the elements are matter too. Designs with room between major elements and good saturation tend to age better than over-detailed miniatures.
Q: Are there specific placements I should avoid for fine line variants of old school flash?
A: Fine line work often struggles on high-movement or thin-skin areas like the ribs, inner wrist, and hands. If you want delicate detail in those spots ask the artist to increase spacing and line weight slightly so the piece survives a few years without smudging.
Q: How should I dress for a session if I'm getting a chest or sternum piece?
A: Wear a wide-neck shirt or a fitted sports bra you can easily pull aside for the artist. For showing the healed piece a deep v neck tee or open-collar shirt frames chest work without making it look exposed.
Q: Do old school flash motifs need different aftercare than other styles?
A: The aftercare basics are the same but heavy saturated fills can scab differently, so avoid picking and follow your artist's instructions for moisture control. Expect touch-ups sooner if the piece sits on an area with constant friction like the hands or ankles.
Q: How can I check if a flash sheet uses historically accurate proportions like the old 11 by 14 standard?
A: Most classic flash artists still work in that sheet size or scale elements to match. When you see a sheet ask if the design is drawn to an 11 by 14 or if the artist plans to scale it. That simple question helps avoid surprise sizing on your skin.
