
Fine line Muay Thai designs are trending on feeds, but the pieces that hold up in gyms are usually the ones planned with an eye for sweat, friction, and touch-ups. What looks razor-sharp on day one can soften under wraps and training gear if you skip the right spacing and line weight choices. Read on for 17 subtle Muay Thai tattoo ideas with advice on placement, aging, what to ask your artist, and simple wardrobe moves that actually help your ink last.
1. Hanuman on the Shoulder in a Dynamic Stance
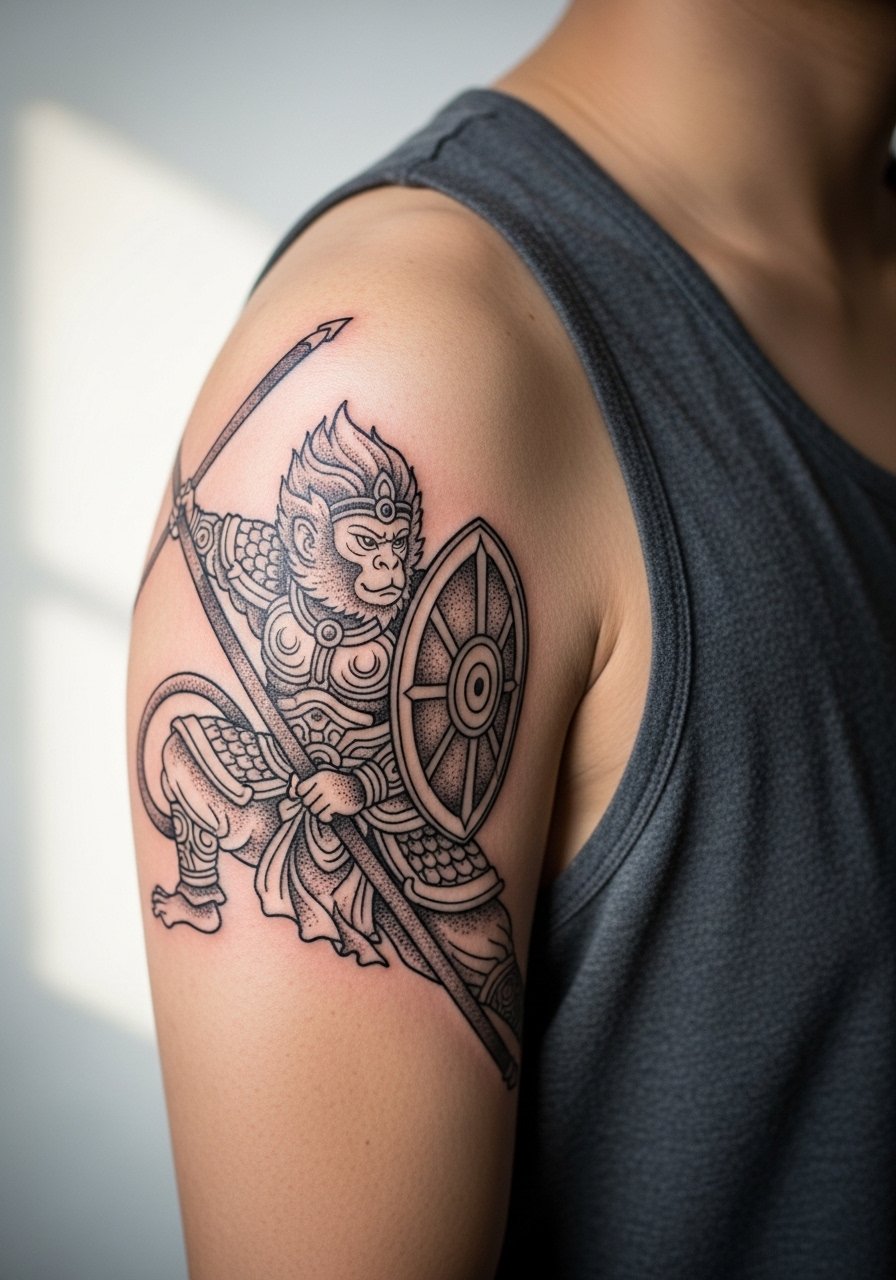
A shoulder Hanuman reads athletic when drawn in motion instead of a static portrait. I recommend asking your artist for slightly heavier linework around the silhouette so the pose remains legible through sweat and gym friction. Pain sits around a 4 out of 10 on most scales and a single two-hour session will get the outline and base shading done. The common mistake is asking for ultra-fine detail crammed into a six-inch circle. That detail blurs faster than bold contour lines. For sessions wear a sleeveless workout shirt the artist can easily move aside. Expect a touch-up at year two to keep face details crisp.
2. Small Hah Taew on the Nape, Minimal Script
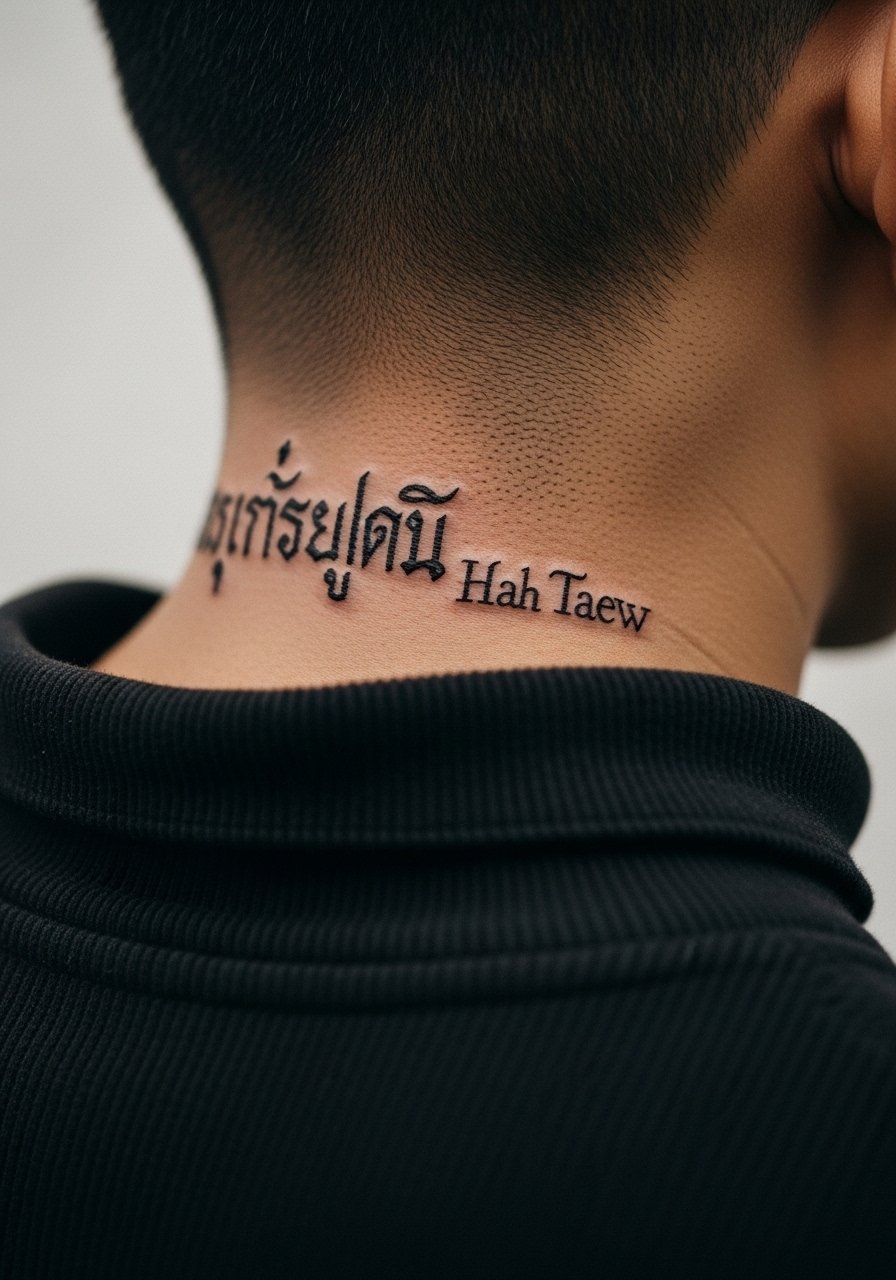
A compact Hah Taew at the nape is subtle under shirts but shows up when you pull your hair up. Artists split on fine line scripts here. One camp says the nape stretches and fine scripts blur within a year. The other camp believes properly set depth and slightly bolder strokes let the lines stay readable. Tell your artist you want a version that reads at arm's length and ask for a bold-but-refined line weight. This placement is a quick session. A common regret is making each line too thin to survive collar friction. For the appointment, try a zip hoodie you can unzip to expose the nape cleanly.
3. Gao Yord Micro on the Upper Spine
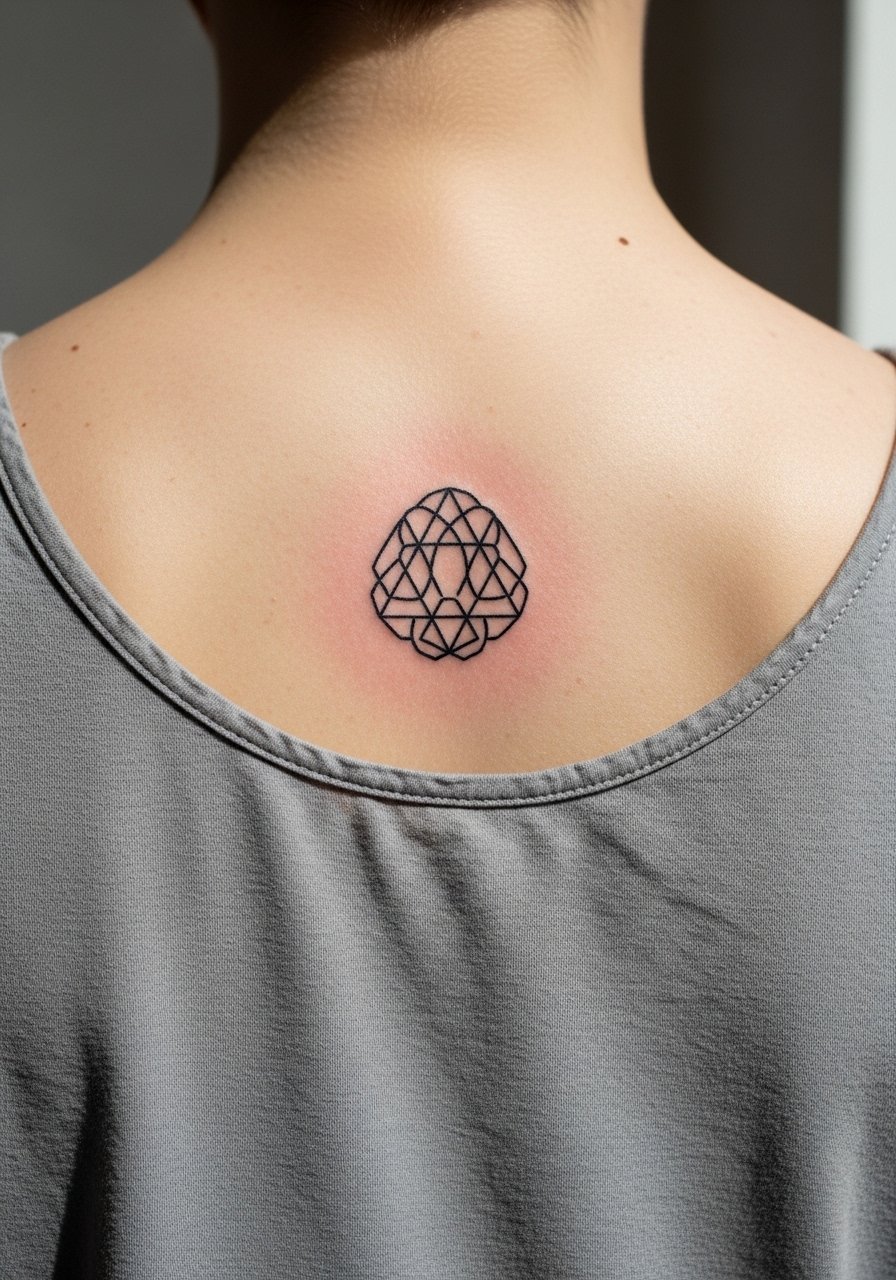
The Gao Yord scaled to a compact eight-centimeter vertical makes a discreet spine piece that still reads as geometry. I tell clients to plan 6 to 10 millimeters between the densest lines so stipple or dot work does not compress over time. This placement can be a two-session job if you add framing scripts. The rib and spine area can feel sharp during work, so expect stinging moments. The mistake is going too small with high line density. Wear a backless tank top men style or a loose button shirt on session day so the artist has clear access.
4. Subtle Tiger Forearm Blackwork
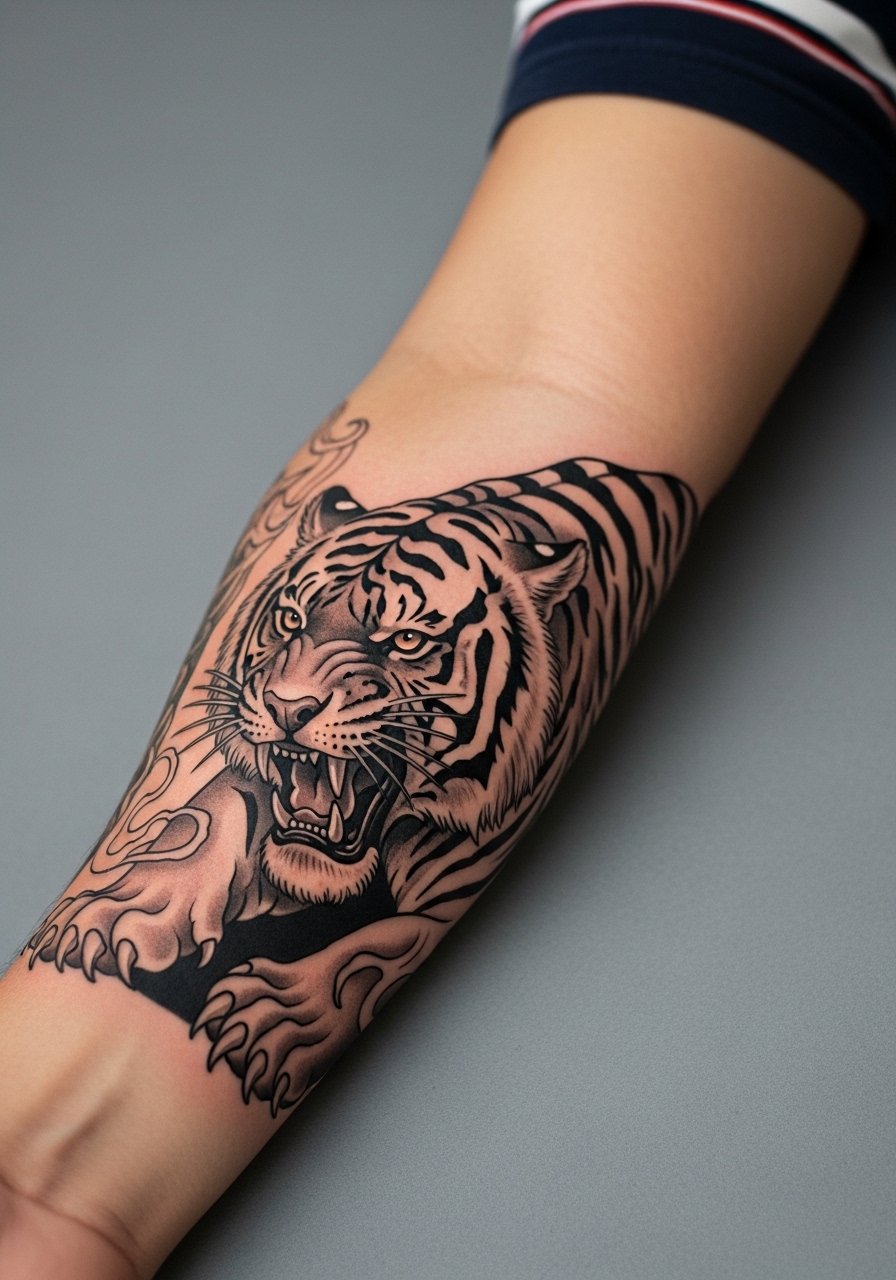
A tiger in bold blackwork ages well because saturation keeps the silhouette sharp even as fine shading softens. For fighters the outer forearm is a durable spot since it sees less direct abrasion under gloves. Tell your artist you want heavy outlines and open negative space inside the coat to prevent excessive blending at year three. Session time usually sits between one and three hours depending on size. Common mistakes are tiny whisker detailing that vanishes and dense shading too close to the outline which leads to a muddy edge. Pair with rolled sleeves or a short athletic tee men to show off the bold lines.
5. Nai Khanom Tom Chest Portrait, Scaled for the Plate
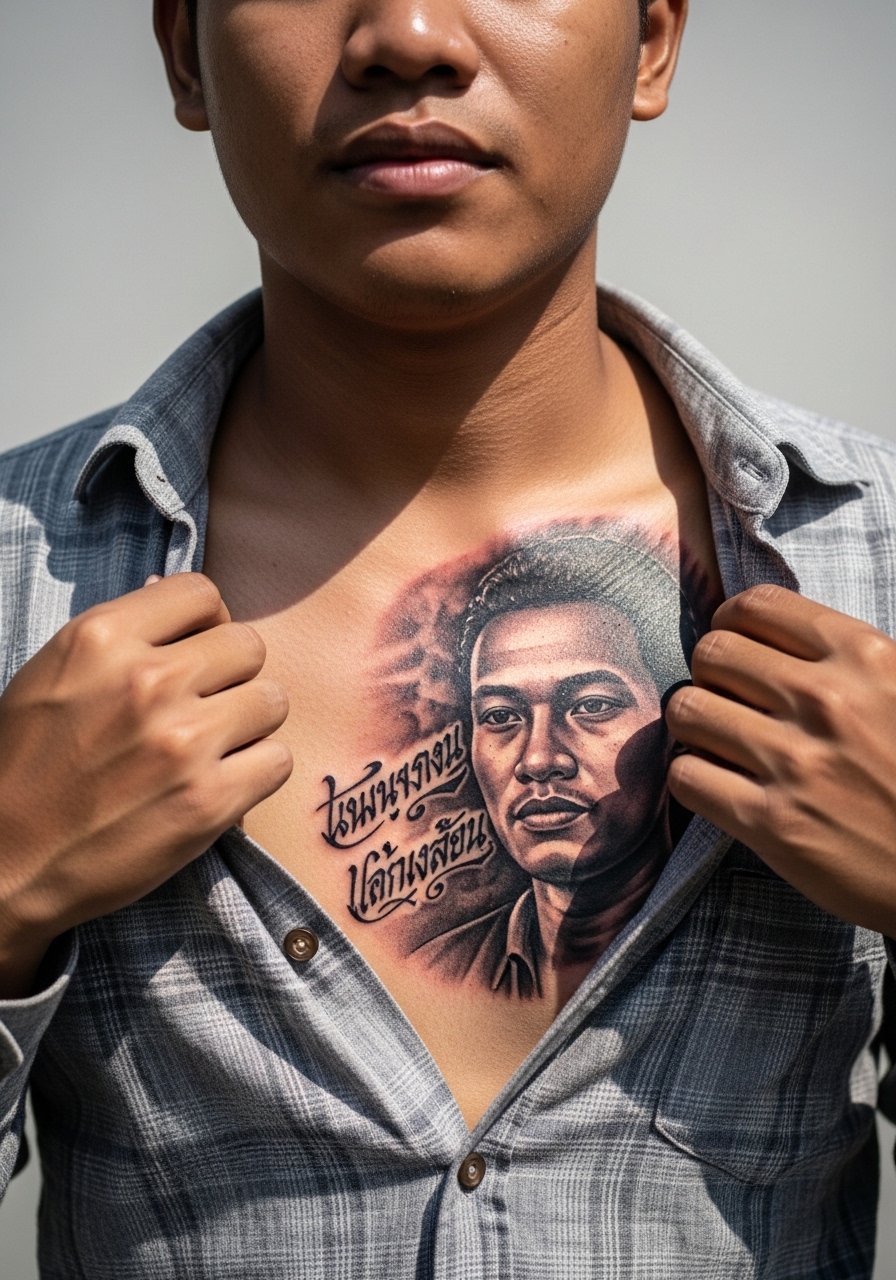
A chest portrait of Nai Khanom Tom benefits from being sized to the pectoral plane. I recommend 10 inches square minimum so facial features and accompanying script do not smush when you flex. Chest sessions are heavier on the body because breathing moves the stencil. Expect a multi-session plan for wash and layering. The mistake is picking a portrait reference with no tonal range, which forces the artist into overworking. During consultations ask for photo-real references that match your desired contrast. For session wear, an open button down shirt men that you can pull aside makes positioning painless. Touch-ups at year two are common for facial detail.
6. Yant Kru Wrist Emblem for Trainer Reminders
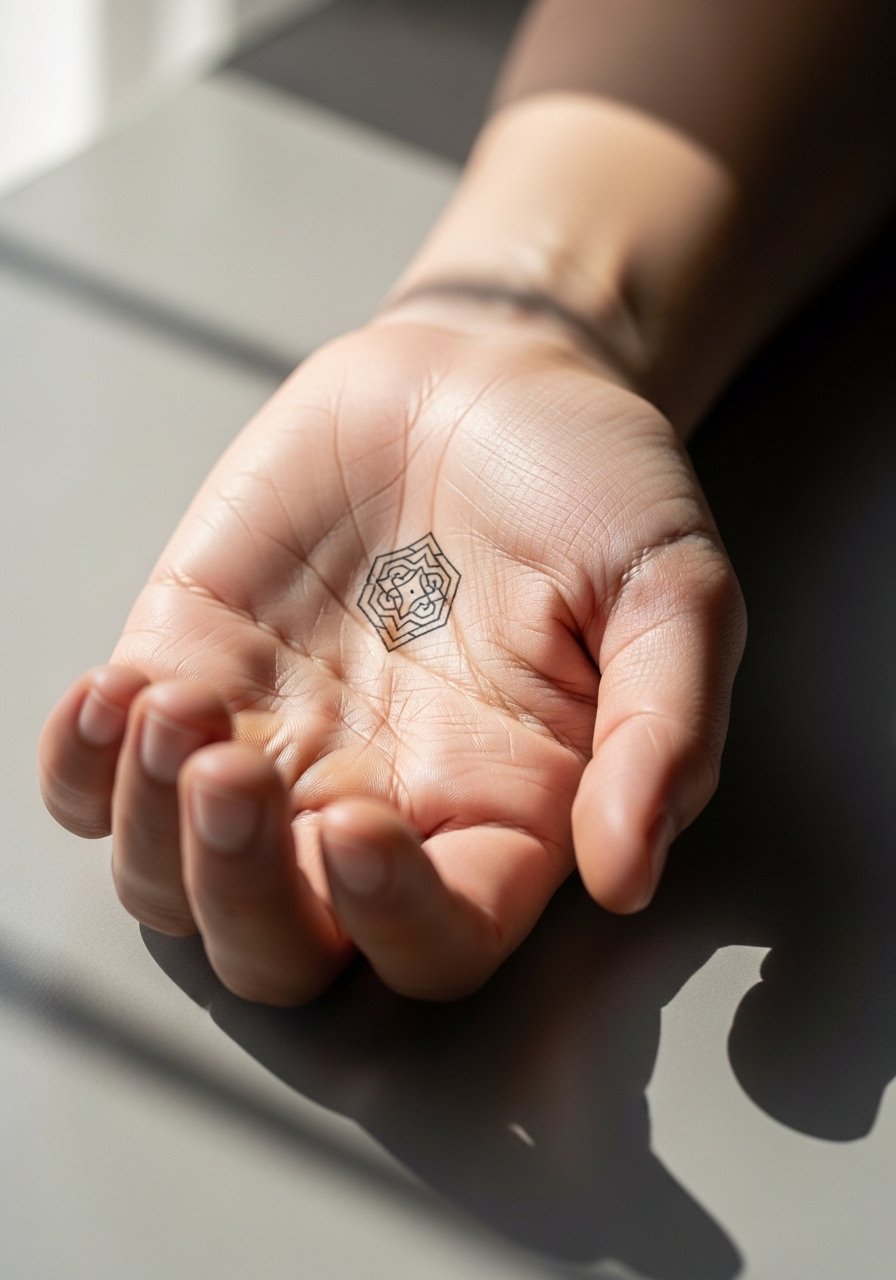
A tiny Yant Kru on the inner wrist is subtle and meaningful as a daily trainer reminder. The wrist faces constant washing and movement so bold single lines are more reliable than thin script. Expect a single short session and a touch-up at year one if you train frequently. A mistake I've seen is wrapping script too tightly around the wrist which warps with muscle and tendons. For the appointment wear short sleeves and bring a thin leather wrap bracelet to pair with the healed piece. The bracelet link is a small touch but useful for styling. Wear a leather wrap bracelet on the opposite wrist so the tattoo stays the focal point.
Pre-Session Essentials
The chest, wrist, and shoulder pieces above each ask for different prep, and a few items make session day smoother for both you and the artist.
-
Stencil transfer paper kit. Lets you preview exact placement on skin before the needle goes near, which helps with shoulder and chest alignments.
-
Topical numbing cream. Applied about forty five minutes prior it takes the sharp edge off wrist and rib sessions without changing linework when used correctly.
-
Thin protective film roll. Keeps forearm and wrist pieces cleaner during the first week of frequent hand washing.
-
Fragrance free gentle body wash. Cleanses healing areas without irritating lines that depend on crisp contrast.
-
Aquaphor healing ointment. A thin protective layer for the first few days helps with scabbing control for small script and fine line work.
7. Garuda Wing Fragment on the Shoulder Blade
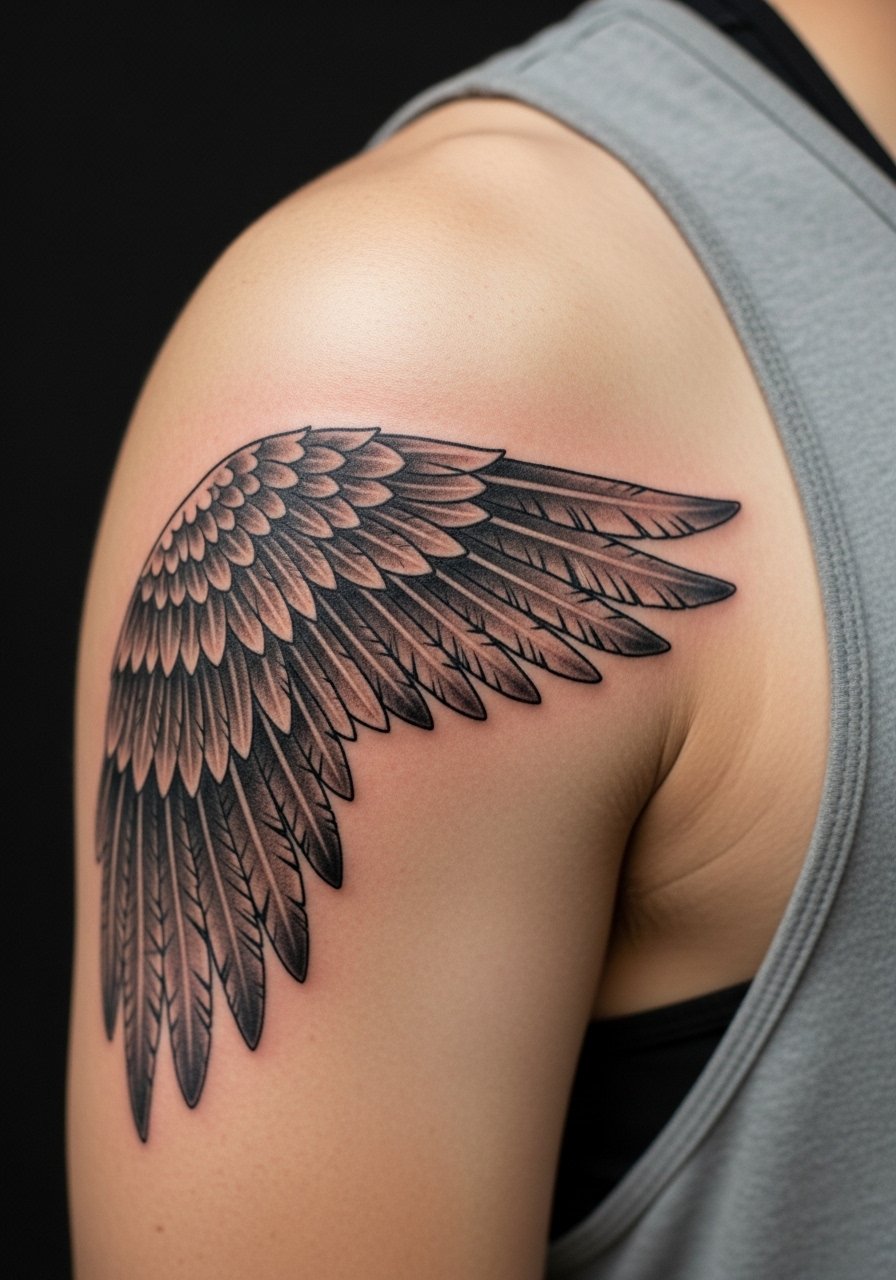
A cropped Garuda wing on the shoulder blade reads like motion when the shoulder is flexed. This placement benefits from open, airy linework instead of tightly packed feathers. Tell your artist to leave breathing room between feathers so the design does not collapse as the skin settles. Pain is moderate and the session is often split into outline then shading. Avoid the mistake of asking for tiny feather veins that will merge over time. For showing it off pick a muscle tank top or an open kimono jacket that frames the back without covering the wings.
8. Muay Boran Silhouette on the Inner Bicep
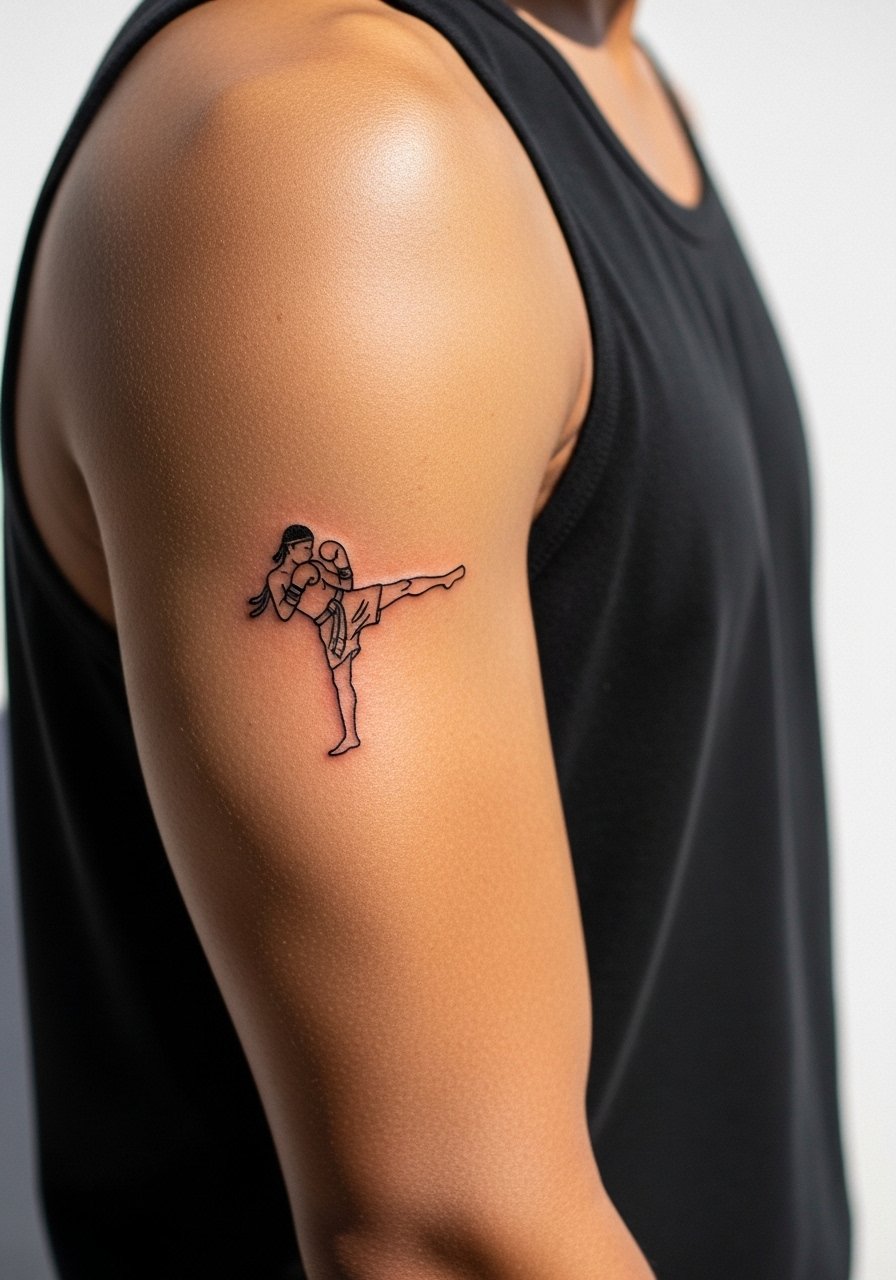
A Muay Boran silhouette on the inner bicep is a nod to technique rather than iconography. The inner bicep is a sensitive spot and can sting during work, so expect a 2 to 3 hour session if you want clean edges. I tell clients to ask for a slightly stronger outline to avoid blowout as the arm moves. A common error is placing super fine detail on the inner arm where the skin stretches and blurs. For the session wear a tank top so the artist can raise your arm and work comfortably. Choose a silhouette reference with clear negative space.
9. Small Tiger Calf Panel
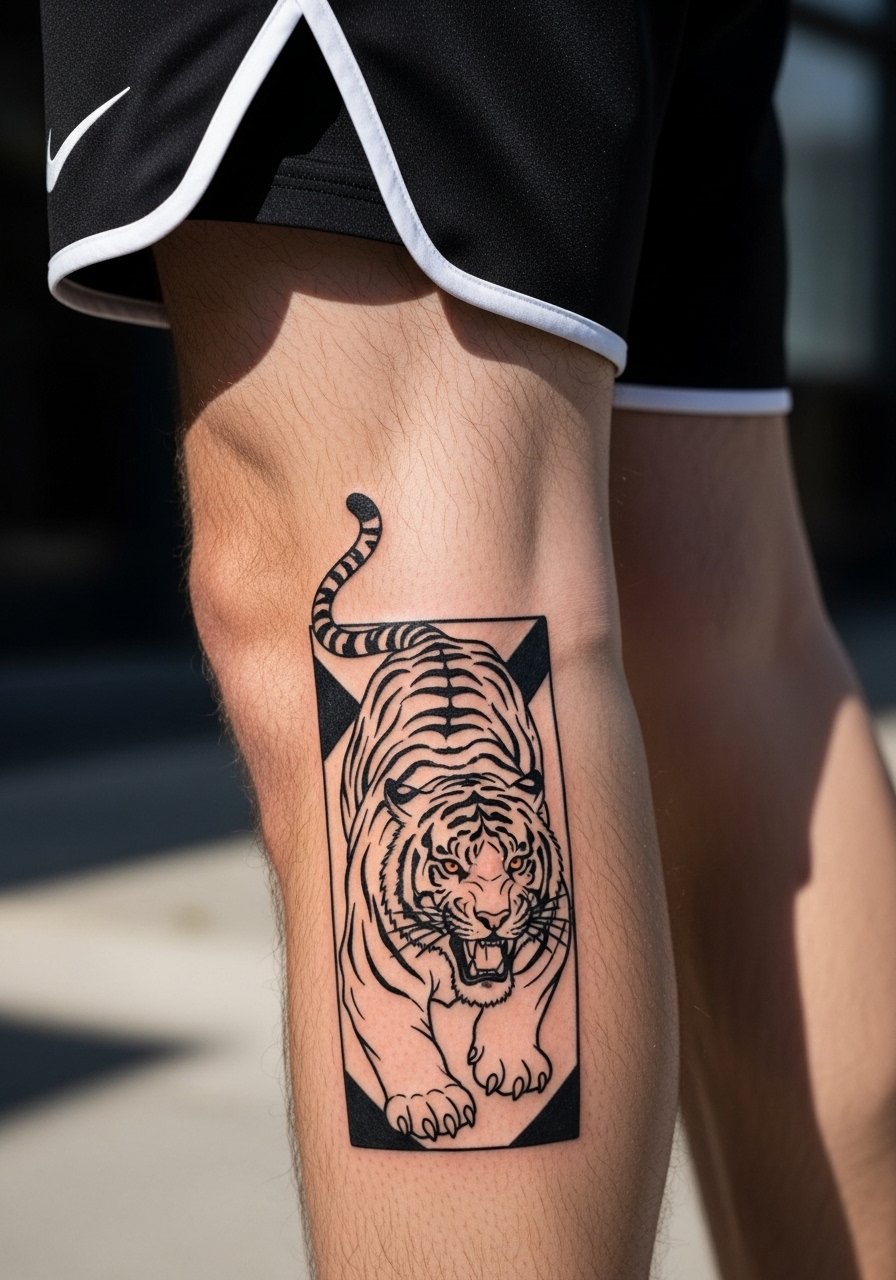
A calf tiger fits the muscle curve and shows during warm-ups without being obvious under shorts. The calf lets you use heavier saturation which ages nicely. Expect a one to two hour session depending on size. The typical mistake is squashing the tiger into a narrow vertical band which forces awkward shading. Ask your artist to map the design across the natural bulge so the pose reads in motion. For session wear high cut gym shorts men so the leg is exposed and comfortable. Touch-up at year three keeps edge contrast strong.
10. Tiny Fight Record Coordinates Under the Collarbone
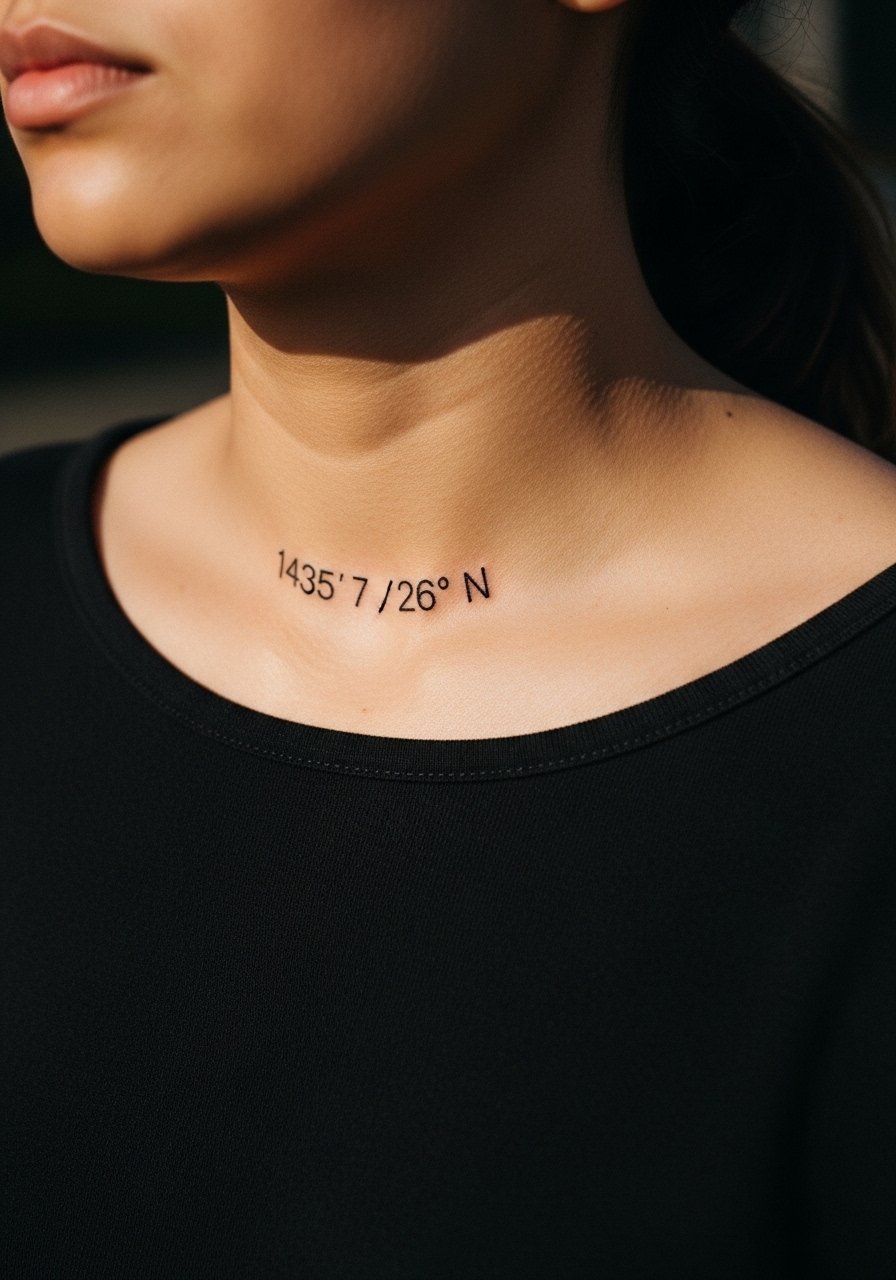
Coordinates that mark a fight date or gym location sit neatly under the collarbone as a subtle record. The skin here is thin and contours easily, so keep numbers spaced and the font slightly thicker than you might otherwise pick. Chest placements can sting more during inking. The error is choosing a micro font that becomes illegible after a year. For the session wear a wide-neck shirt you can move aside. Pair the healed piece with an open button down shirt for staged reveals. Expect a small touch-up if you wear heavy necklaces that rub the area.
11. Mongkol Armband Line on the Bicep
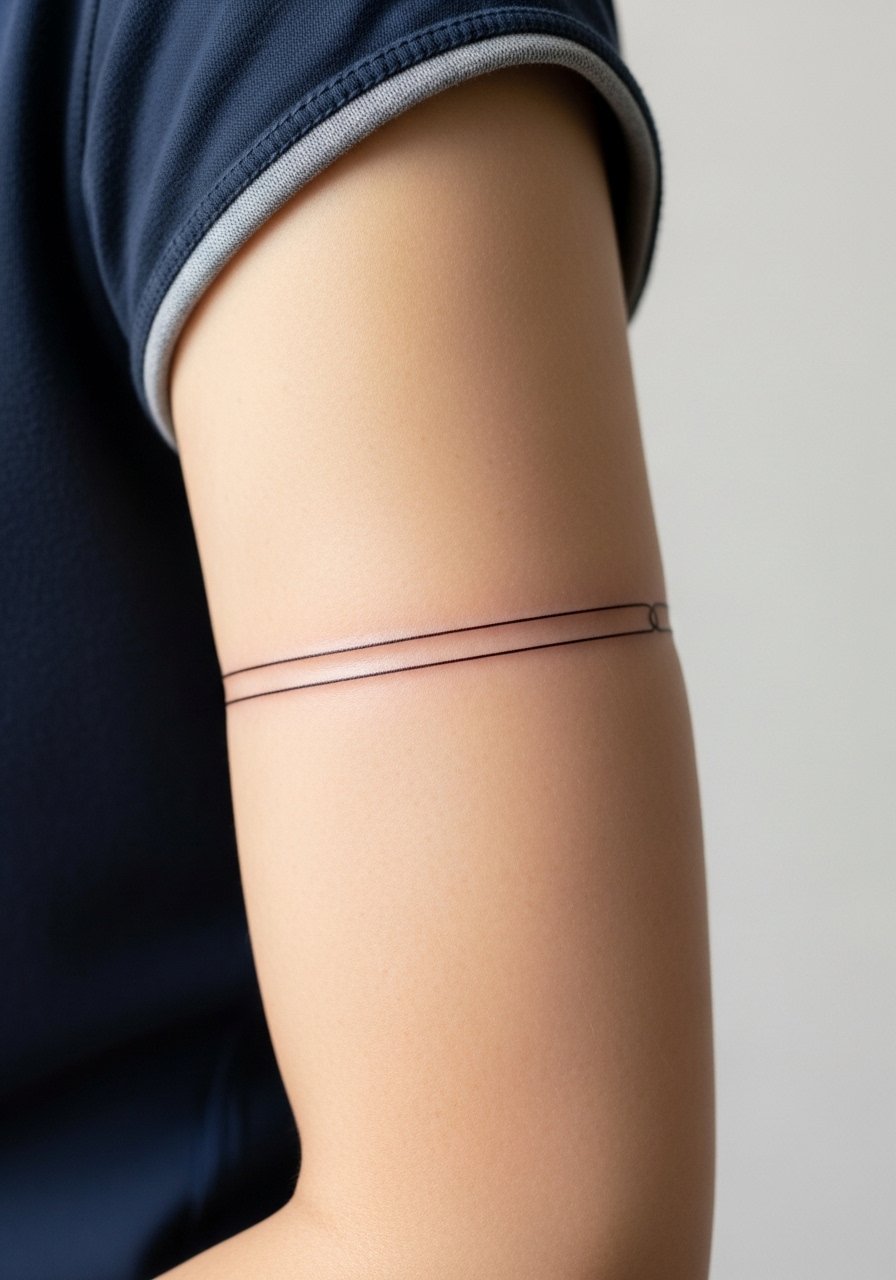
A Mongkol-inspired armband nods to ring rituals while remaining minimal. The bicep is forgiving but can change with muscle gain. I tell clients to think long term if they plan heavy bulking because the band may warp. Session time is usually under an hour for a clean single pass. The mistake is placing the band too low where the arm crease causes distortion. For showing it off wear a muscle tank top or roll a sleeve up to the exact band height during consultation so you see the placement in action.
12. Ganesha Thigh Panel with Selective Color
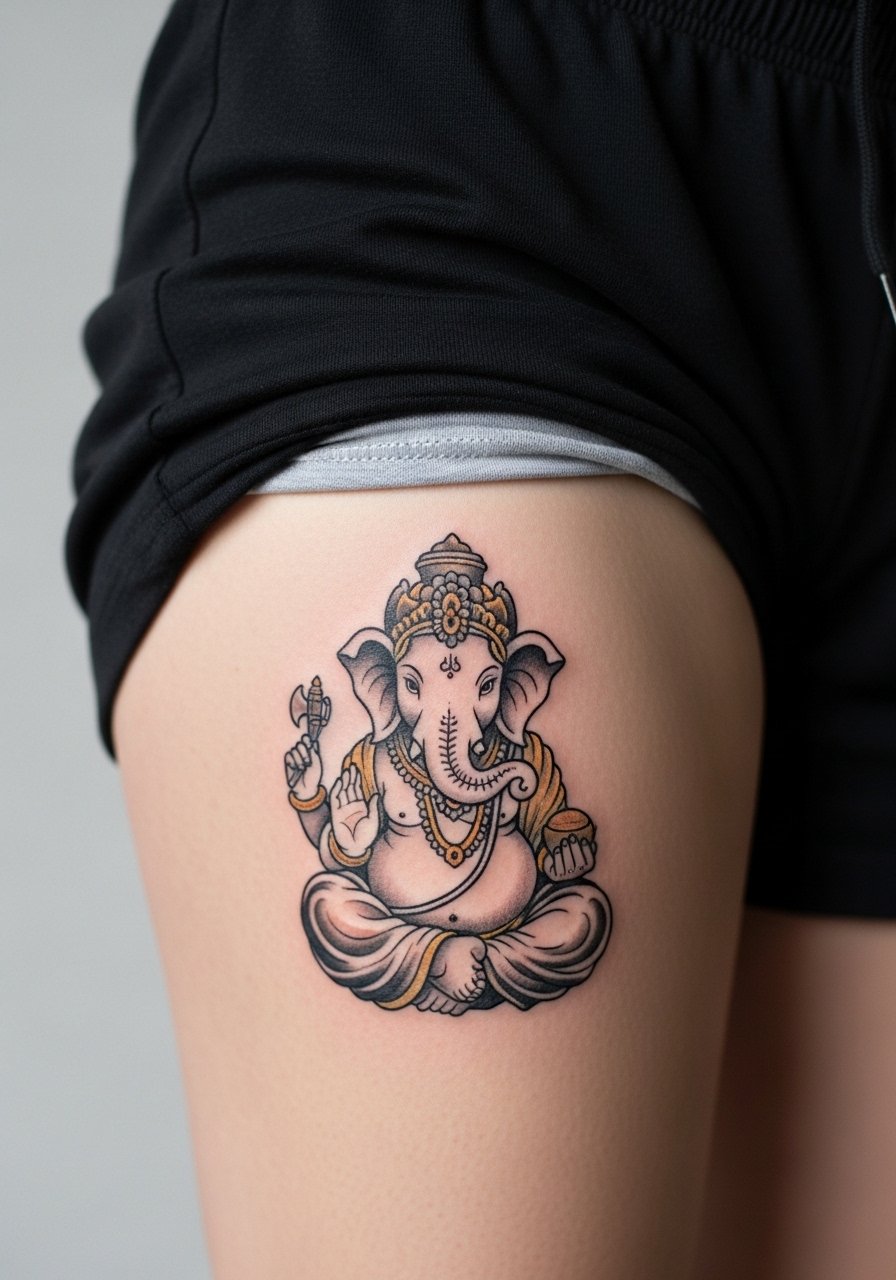
The thigh gives room for a neo-traditional Ganesha with selective color. Outer thigh skin handles saturation well and hides under shorts for healing. Multi-session planning is the key since color layering needs breathers. A common mistake is dropping too many tiny color details that blur with leg movement. For the session wear athletic board shorts so the artist has full access without discomfort. Expect touch-ups for color refresh between years two and five depending on sun exposure.
13. Thin Hah Taew Wrap Along the Spine
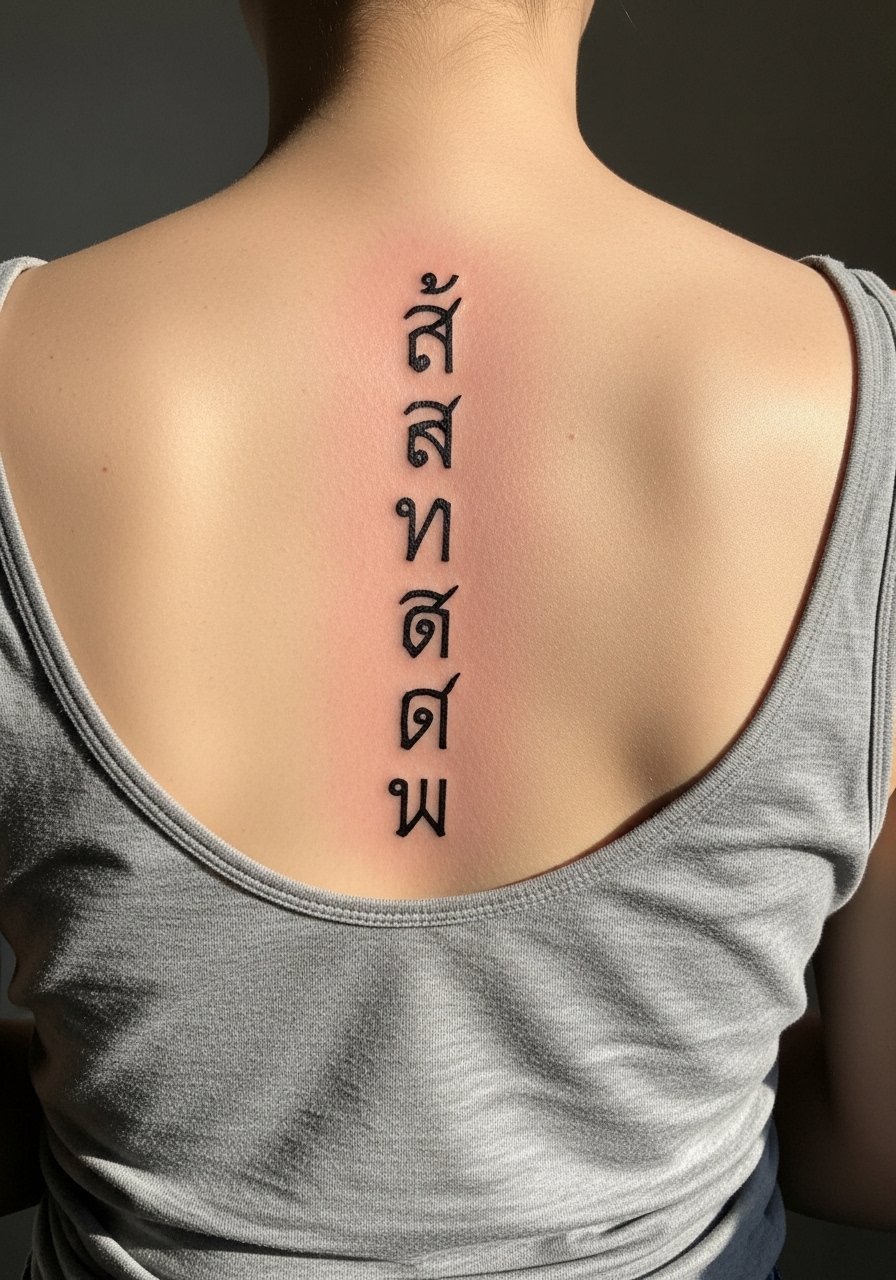
A vertical Hah Taew along the spine is discreet under gym gear but visible in open-back shirts. Ask for slightly heavier spacing between characters so the script does not compress with movement. Spine work can be sensitive and sometimes done in short sessions to manage pain. People often request too-tight script which merges after healing. For session wear a loose tank top you can pull down for access. Plan a touch-up window at year one to ensure the lines remain distinct.
14. Minimal Glove Imprint on the Forearm
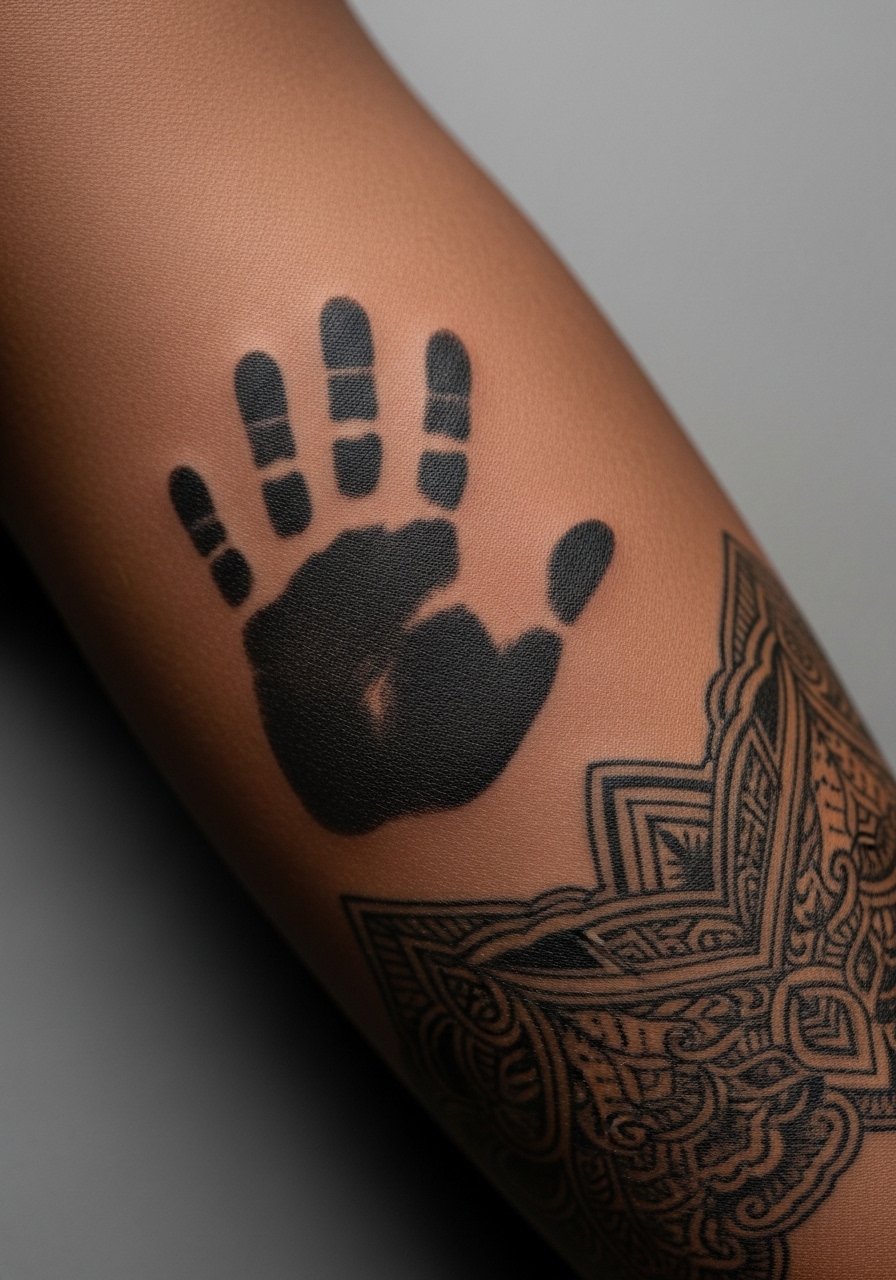
A glove imprint is a graphic tribute that reads like a badge without heavy detail. The forearm tolerates clean silhouettes well. During consult tell the artist you want negative space inside the cuff area to keep contrast as the ink ages. The usual mistake is over-texturing the imprint which turns the image into noise. This is a short session with low aftercare fuss. Pair the healed piece with rolled-up sleeves or a fitted workout shirt for a casual gym look.
15. Small Garuda Feather at the Ankle
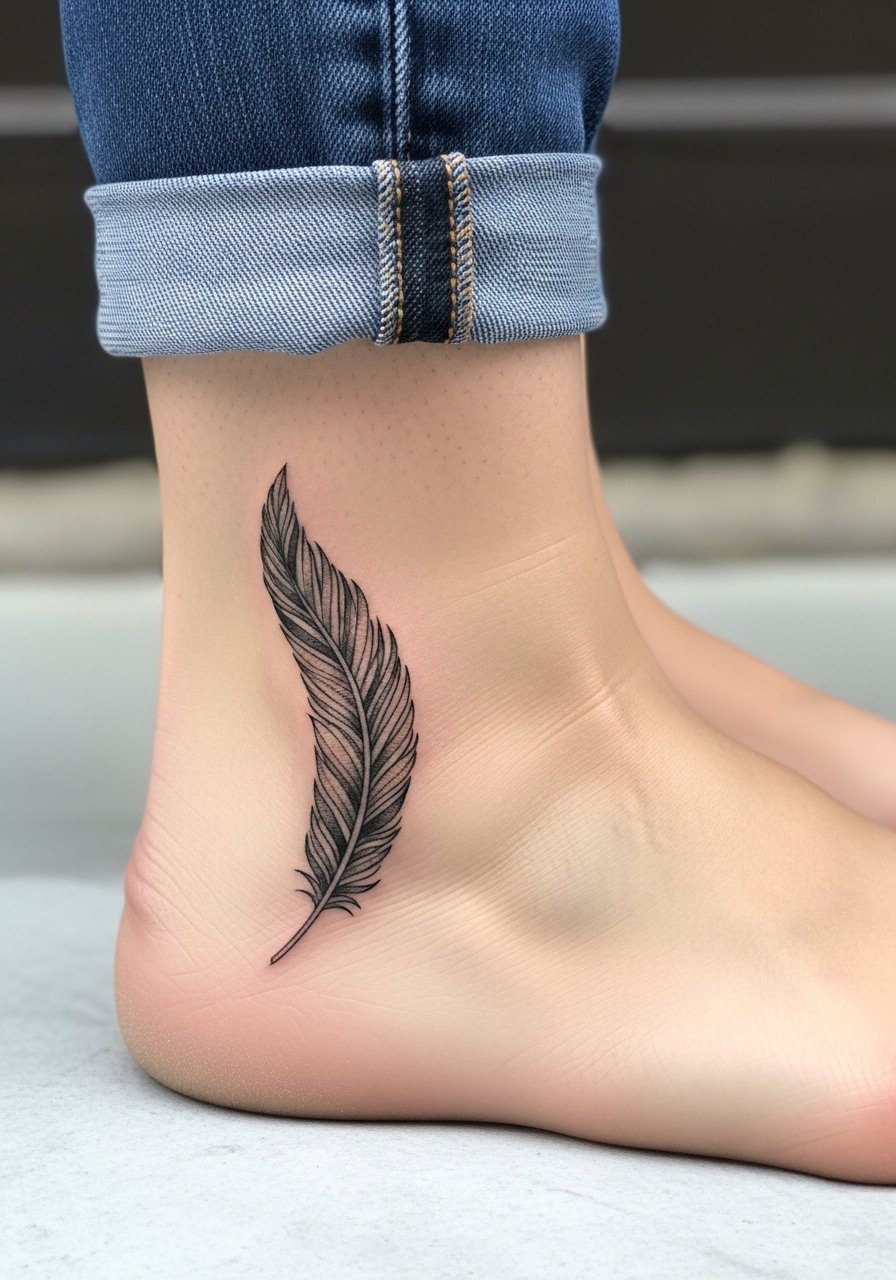
An ankle feather is a discreet detail that still carries the motif without a full back piece. The ankle faces abrasion from socks and trainers so keep linework bold enough to survive friction. The session is quick but expect slower healing due to footwear rubbing. People often pick hairline lines that fade fast. Wear pants rolled up and bring sandals to the appointment. A simple choice is athletic shorts for easy movement while healing.
16. Muay Shorts Band Around the Calf
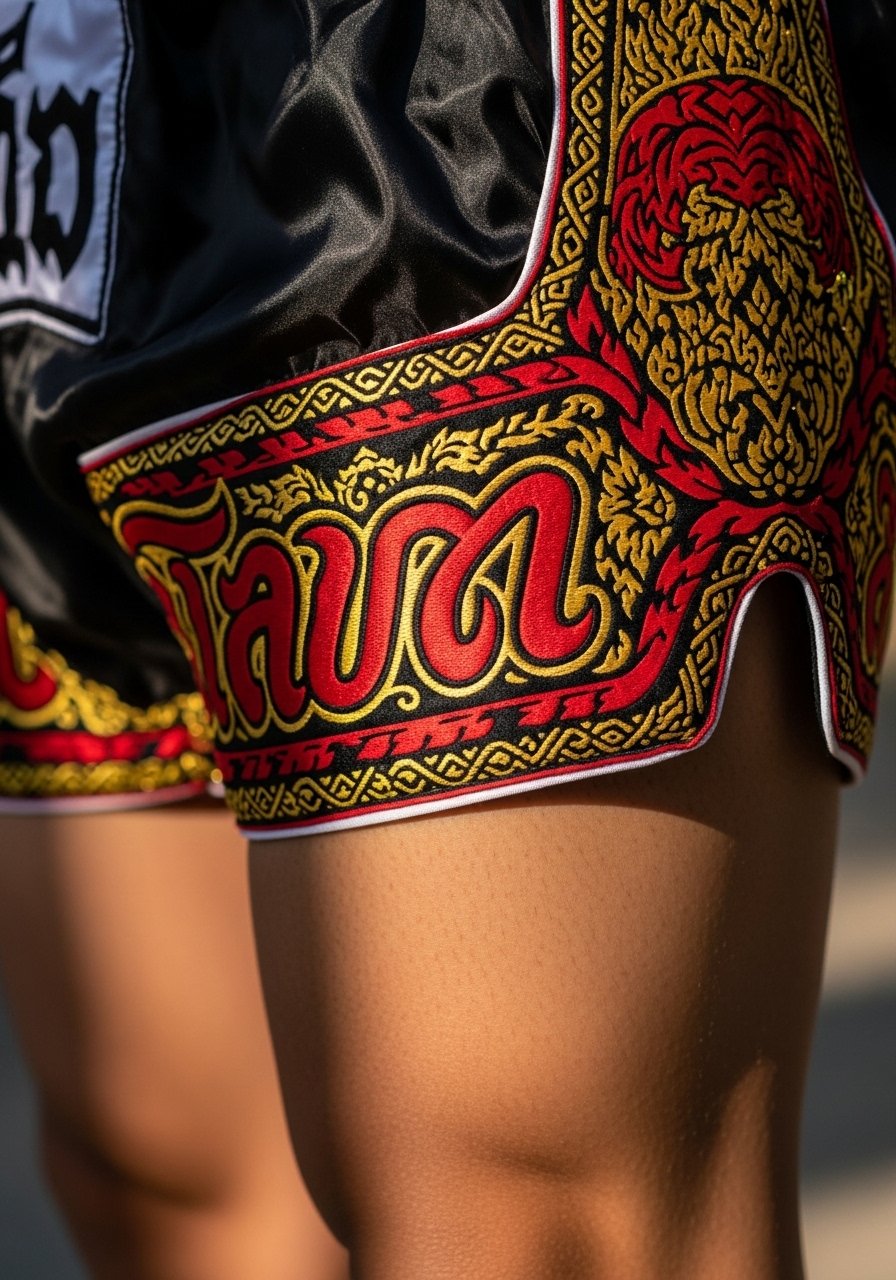
A patterned band referencing Muay shorts wraps naturally around the calf and looks balanced when you walk. Ask your artist to map the repeat so the pattern aligns across the muscle curve. Calf work tolerates saturation well but will need space between motifs. The error to avoid is cramming too many motifs into a narrow band which makes the pattern read as clutter. For the session wear high cut gym shorts men so the artist can roll the leg and keep the canvas steady. Expect a small touch-up if you train heavily outdoors.
17. Tiny Ring Rope Tattoo Behind the Ear and Nape Junction
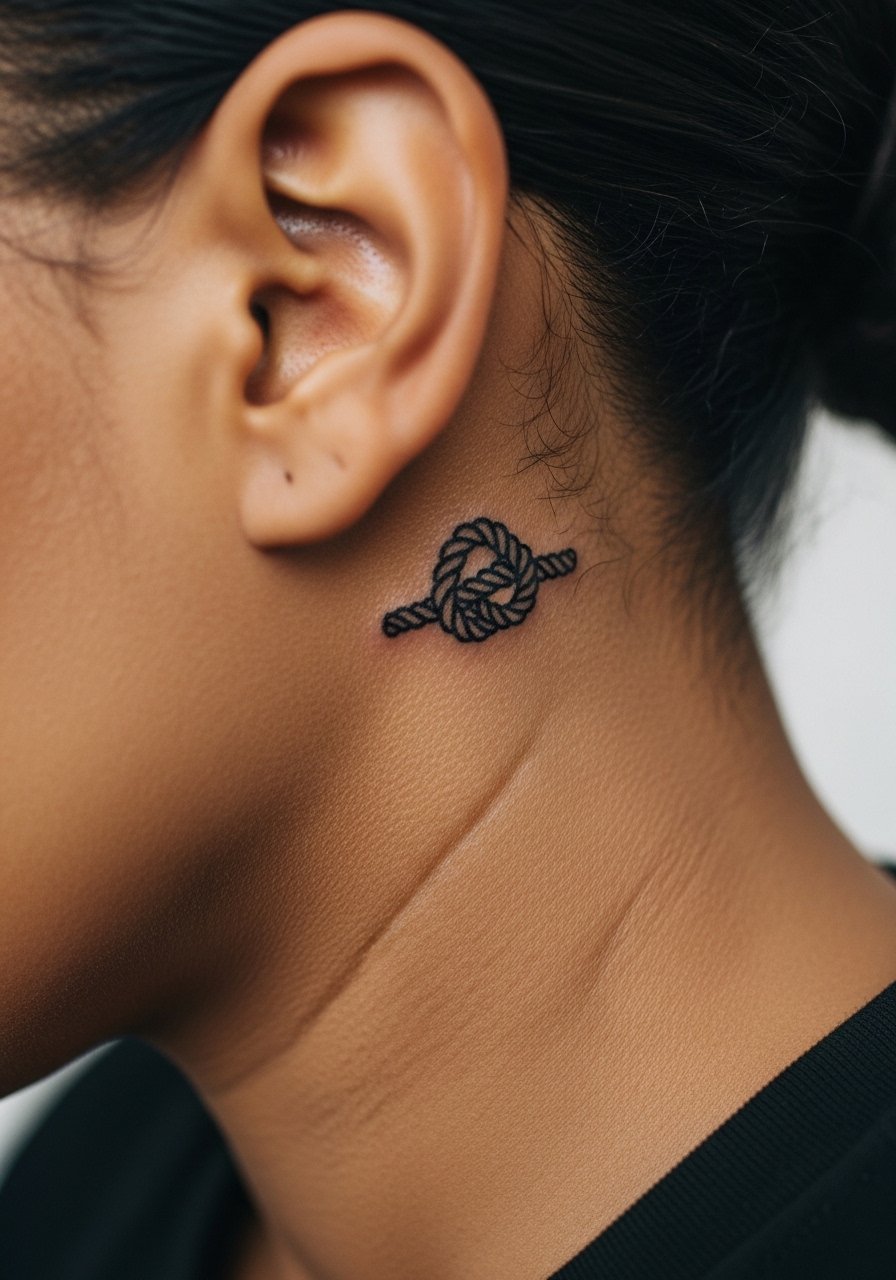
A micro ring rope placed just behind the ear at the nape junction is almost hidden until you tilt your head. For safety and respect, describe the placement as on the skin below the hairline. The skin there is thin and movement can blur ultra-fine lines, so ask for a slightly stronger outline. This is a short session but be aware of increased sensitivity. The mistake is asking for micro script beside the knot which competes and fades. Keep it simple and plan for a touch-up if you wear helmets that rub the area.
Frequently Asked Questions
Q: Will fine line Sak Yant scripts blur faster than bold work on active training skin?
A: From what I've seen, fine line scripts are more likely to soften on high-movement areas. Bold linework and some spacing between characters give better long-term legibility for people who train daily. Ask your artist whether they recommend slightly bolder strokes for the placement you want and plan a touch-up at year one if you train hard.
Q: Is hand-poked Sak Yant worth it compared to machine work for these Muay Thai designs?
A: Hand-poked styles can read beautifully and carry the traditional feel but they usually require longer heals and sometimes more touch-ups. Machines give denser saturation faster which helps bold blackwork survive abrasion. The right choice depends on pain tolerance, desired finish, and how often you will be in contact sports during healing.
Q: How do I find reputable Sak Yant or Thai-style specialists without relying on tourist spots?
A: Use discovery pathways like searching hashtags #SakYant and #MuayThaiTattoo on Instagram, look for guest spot Reels on TikTok with city tags, check Tattoodo filters for "Sak Yant," and ask local Muay gyms for referrals. Forum threads on r/tattoos and r/MuayThai can point you to guest artists and conventions that host Thai specialists.
Q: Should I use Saniderm or try dry healing during the first week after a Sak Yant session?
A: Artists are split. One camp argues Saniderm keeps the wound clean and speeds up a practical healing window for fighters. The other camp prefers dry healing for rituals and believes it affects how the ink settles. My take is to discuss both options with the artist and pick the method that fits your training schedule and the shop's hygiene practices.
Q: Can I get a small Muay-themed tattoo and still cover it for professional settings?
A: Yes. Choose placements that stay hidden under standard dress like the upper chest under shirts, the inner thigh, or the rib and nape options we covered. If visibility matters, plan size and location so a collared shirt or standard work attire conceals the piece without altering the design.
