
Fine line Gaga references translate into surprisingly wearable tattoos when they are stripped down to single motifs and careful placement. Fans who want a nod to her iconography without a portrait often choose tiny scripts, simple symbols, and minimalist botanicals that read as jewelry rather than billboard art. Below are 27 pared-back ideas that respect longevity, placement, and how these designs actually heal on skin.
1. Tiny Monster Paw on the Wrist
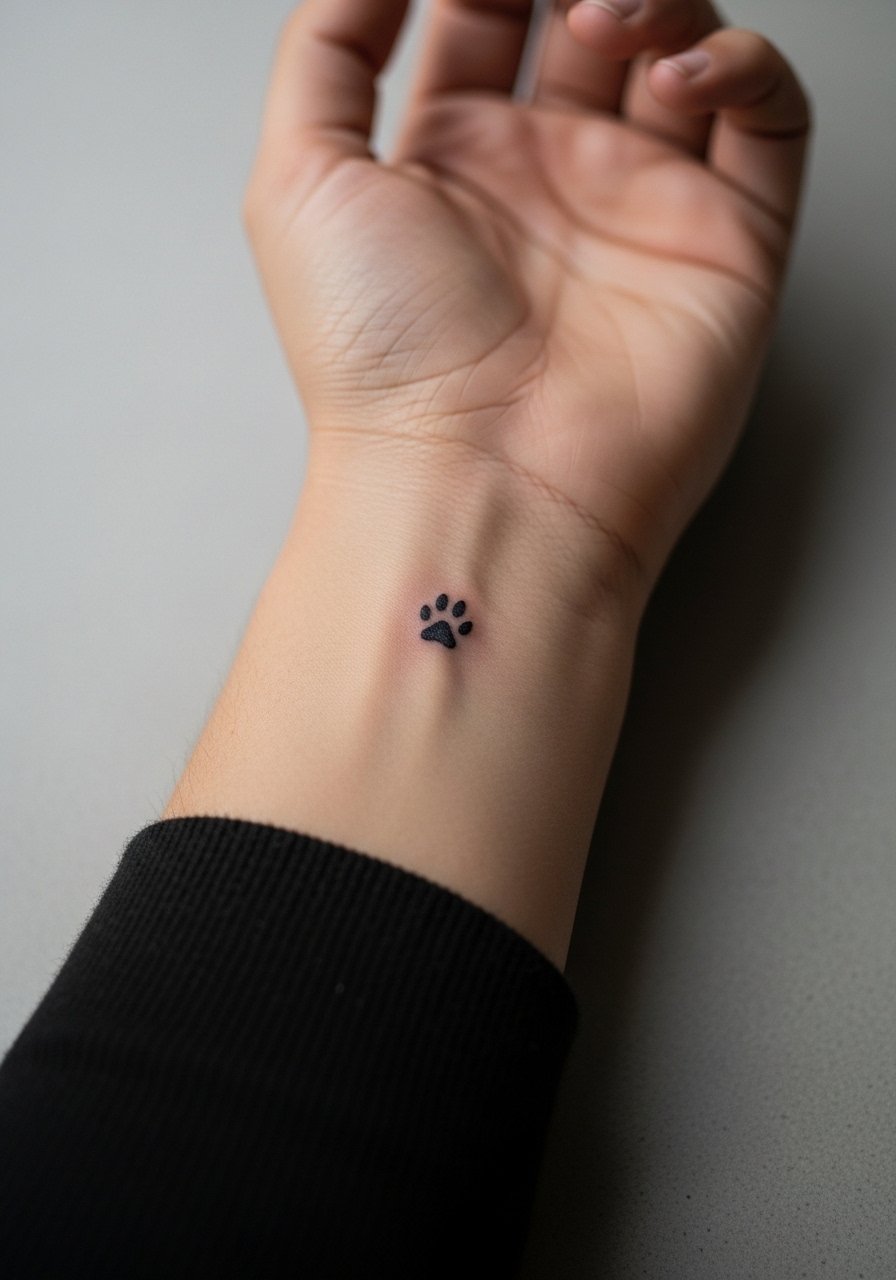
I have seen this tiny paw sit on wrists for years and still look like a deliberate charm rather than a rushed sketch. Ask for single-needle fine line work with slightly increased spacing between pads so the dots do not merge over time. Fair warning: the wrist gets more sun and friction, so expect touch-ups sooner than on your upper arm. For the session wear, roll up to a loose button-down shirt so the artist has clear access.
2. Micro Script "Little Monsters" Near the Ear
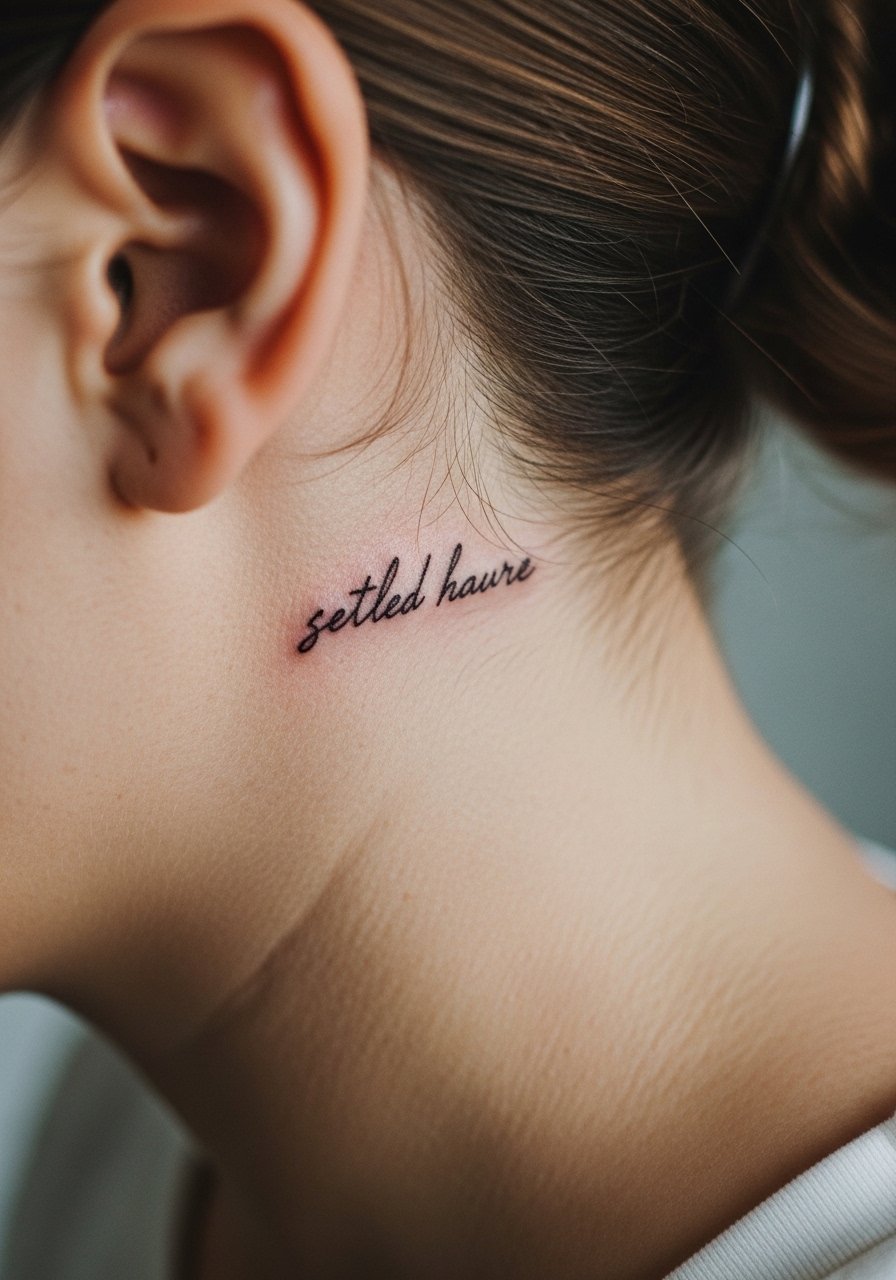
Most micro scripts look best when kept short and spaced. Tell your artist the exact font weight you want and have them stencil the size on while you move your head through normal gestures. Artists split on micro script behind the ear. One camp says the movement there blurs letters fast. The other camp says shallow, evenly spaced lettering can hold if placed just below the hairline. Ask where an artist stands before booking. Keep in mind the area is sensitive but quick to session.
3. Minimalist Cherub Outline on the Ankle
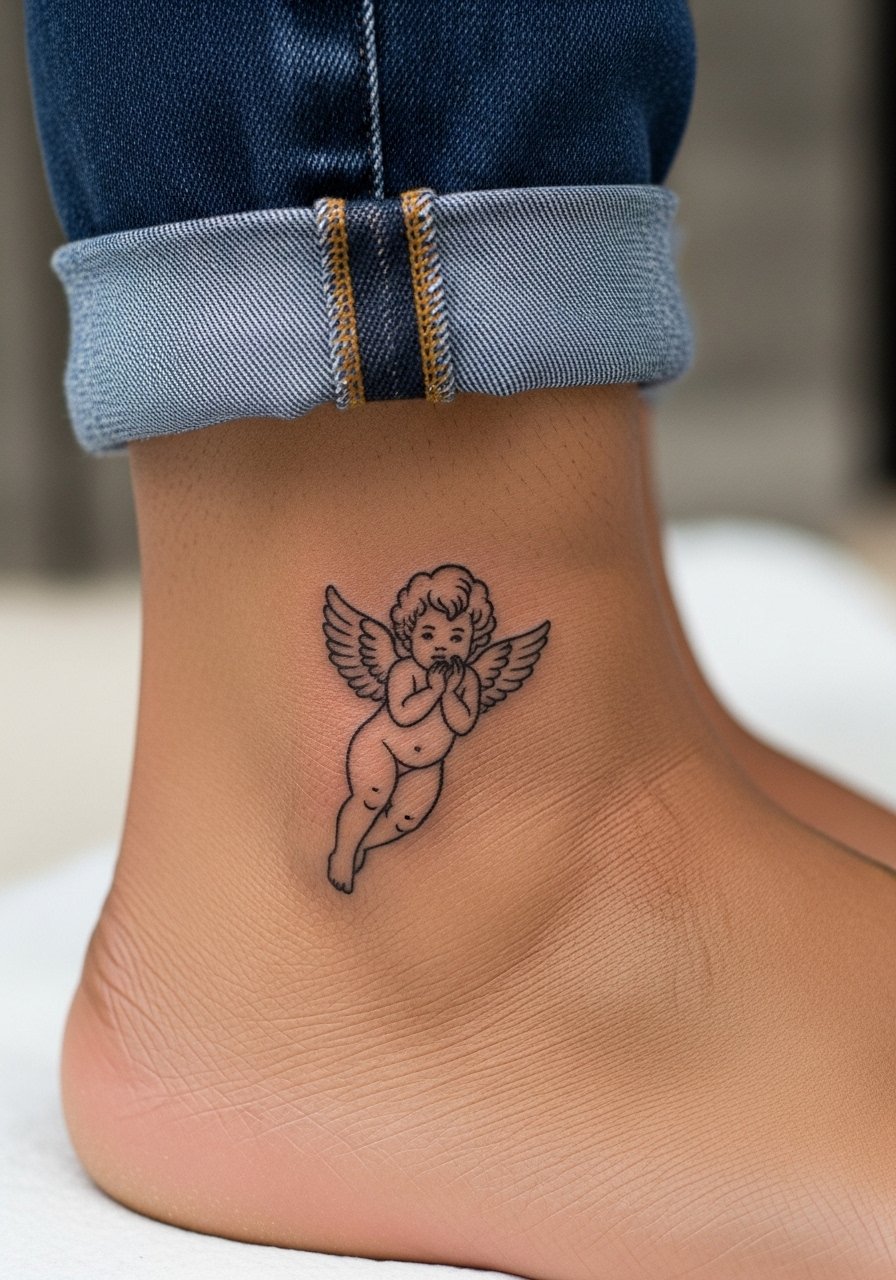
A tiny cherub silhouette nods to Gaga history without copying any single tattoo. For ankles, expect more rubbing from shoes and socks that causes extra fade in the first year. Request slightly bolder outer contours than you would on an arm so the silhouette stays readable. For showing it off, pair with sandals or ankle-strap shoes that expose the area and keep attention on the small shape. Session time is short and pain is low to moderate.
4. Single Daisy Stem on the Side Rib

Rib pieces age differently because of skin stretch and body movement. The biggest mistake is asking for a daisy chain done too tiny. Give the petals breathing room and ask for spaced linework that lets the design read without merging. Pain here is on the higher side, and touch-ups are common around year two for very fine stems. For the appointment, wear a cropped tank or sports bra so the artist can work without fabric interference. If you need to be discreet about the reference, keep the stem singular and tilted.
5. Minimal Rose Bud on the Collarbone
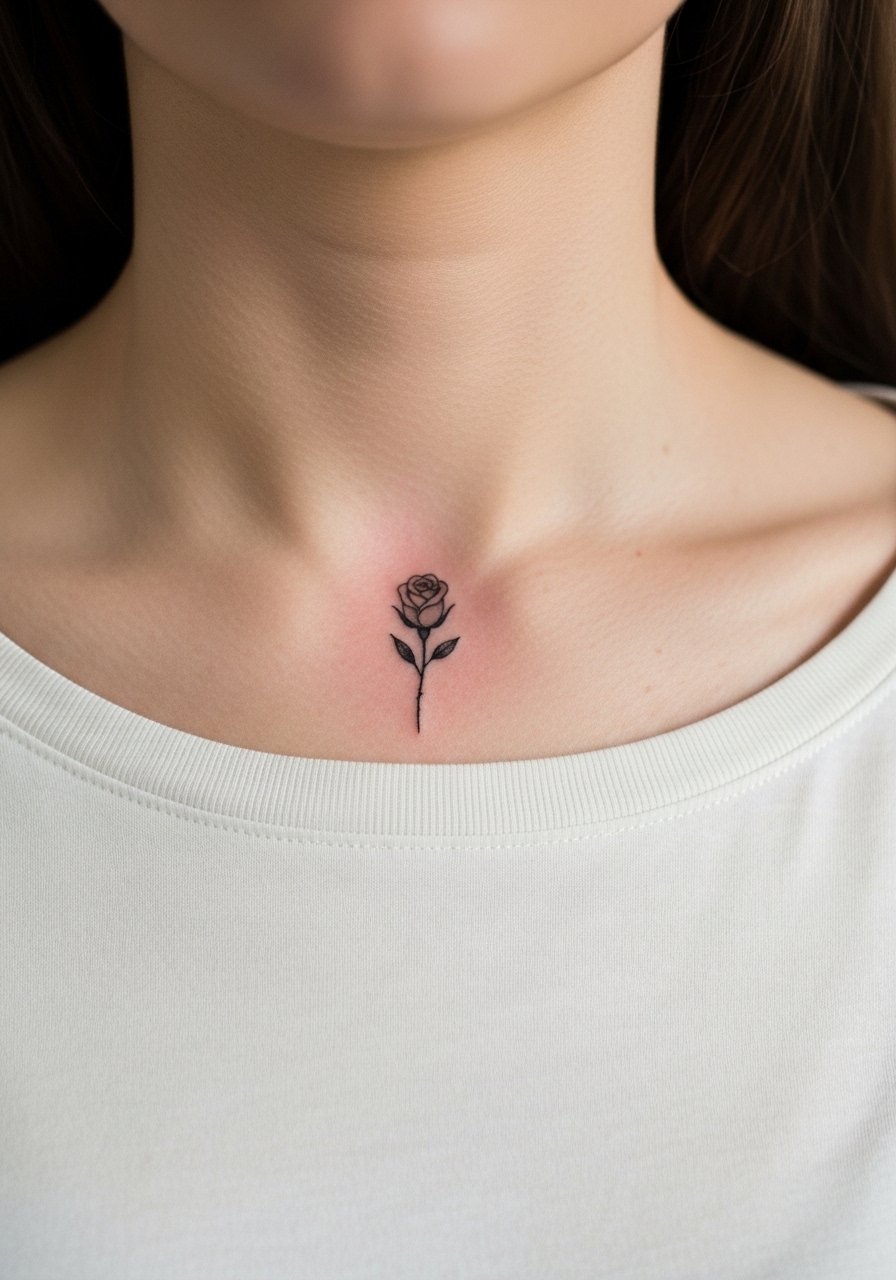
Collarbone linework reads like jewelry when placed slightly above the bone and drawn with confident, steady linework. The common version that ages poorly is overly intricate petals placed too close to bone, which can blur into a dark patch. Ask for simplified petals and slightly thicker primary lines so the image keeps contrast as it heals. Pair the finished piece with a thin chain pendant necklace that sits just above the tattoo for evenings out.
6. Minimal Scripted "Artpop" Wrist Wrap
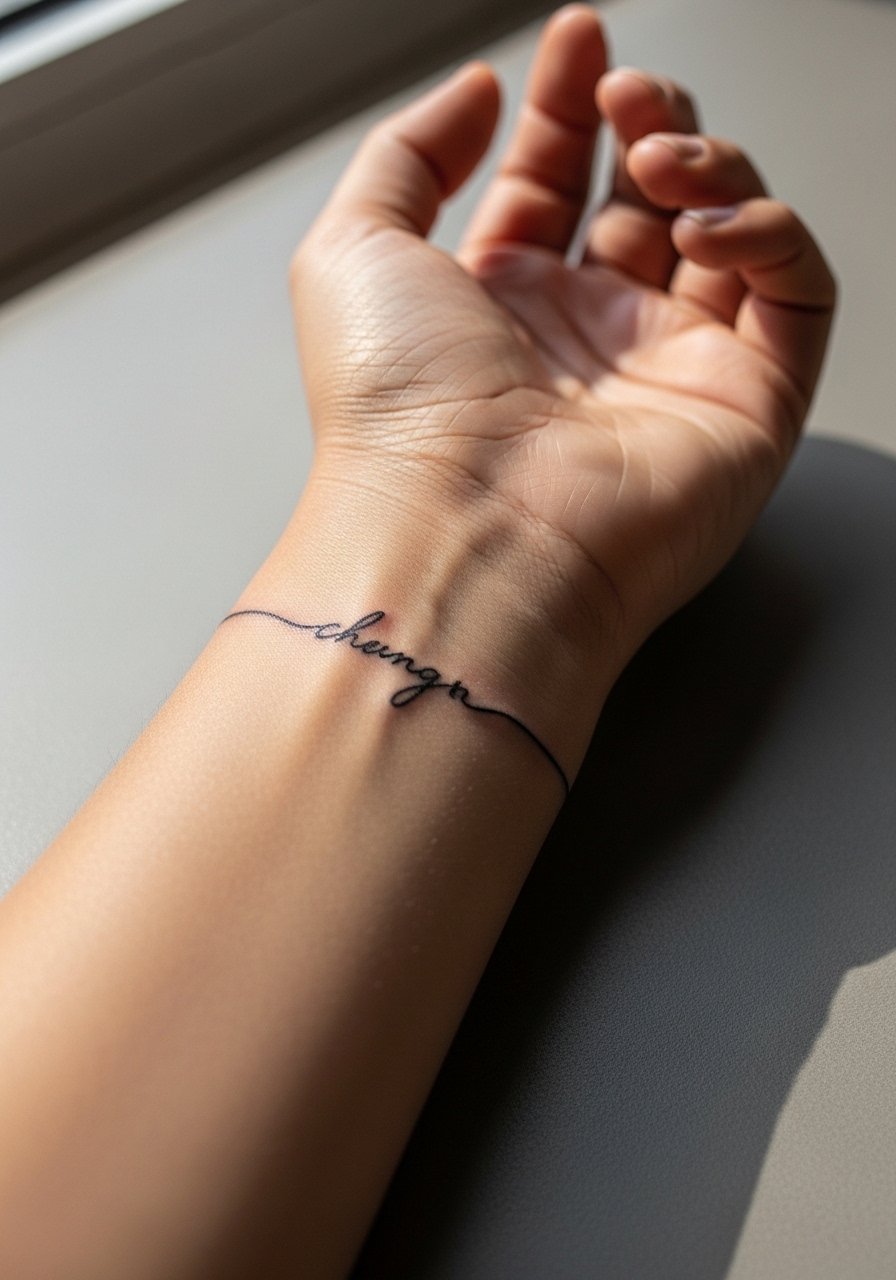
A short single-word wrap works on the wrist when spaced evenly and kept to a single line or a very gentle curve. The mistake is cramming long phrases into the wrist and expecting legible results after a few years. Tell your artist you want generous kerning and proof the stencil on your wrist in different hand positions. For the session, wear a loose drawstring linen pant if you plan multiple placements that day, it keeps you comfortable during breaks.
Studio Day Picks
The chest, wrist, and rib pieces above ask for different prep and small items that make studio days and the first week smoother.
-
Stencil transfer paper kit. Lets you preview exact placement on skin so micro scripts and tiny symbols land where you expect.
-
Topical numbing cream. Applied 30 to 45 minutes before can ease rib and sternum sessions without changing linework when used correctly.
-
Thin protective film roll. Helps protect wrist and ankle tattoos from friction during the initial healing days.
-
Fragrance-free body wash. Gentle cleansing avoids irritation around fine line work during showers.
-
Aquaphor healing ointment. A thin layer in the first days keeps moisture balanced for delicate single-needle pieces.
7. Tiny Monster Script Behind the Finger
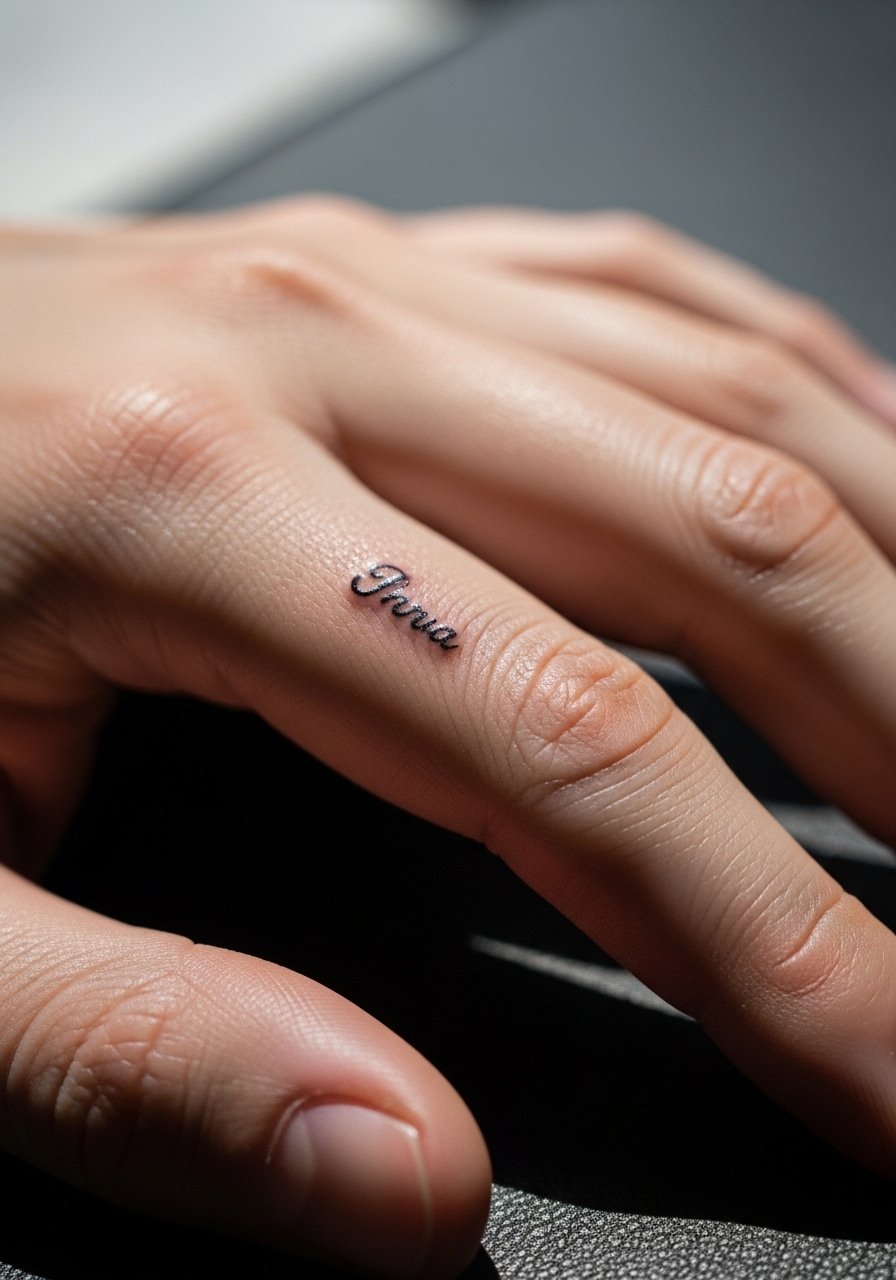
Finger work is notorious for fading and for needing touch-ups. The trick is to ask for slightly bolder core letters and accept a yearly touch-up for crisp edges. The session feels staccato because the artist works around knuckles and joints. For showing off, stacked dainty rings highlight the tiny script without crowding the finger. Expect longer term maintenance than with forearm pieces.
8. Minimal Monster Paw on the Back of the Neck
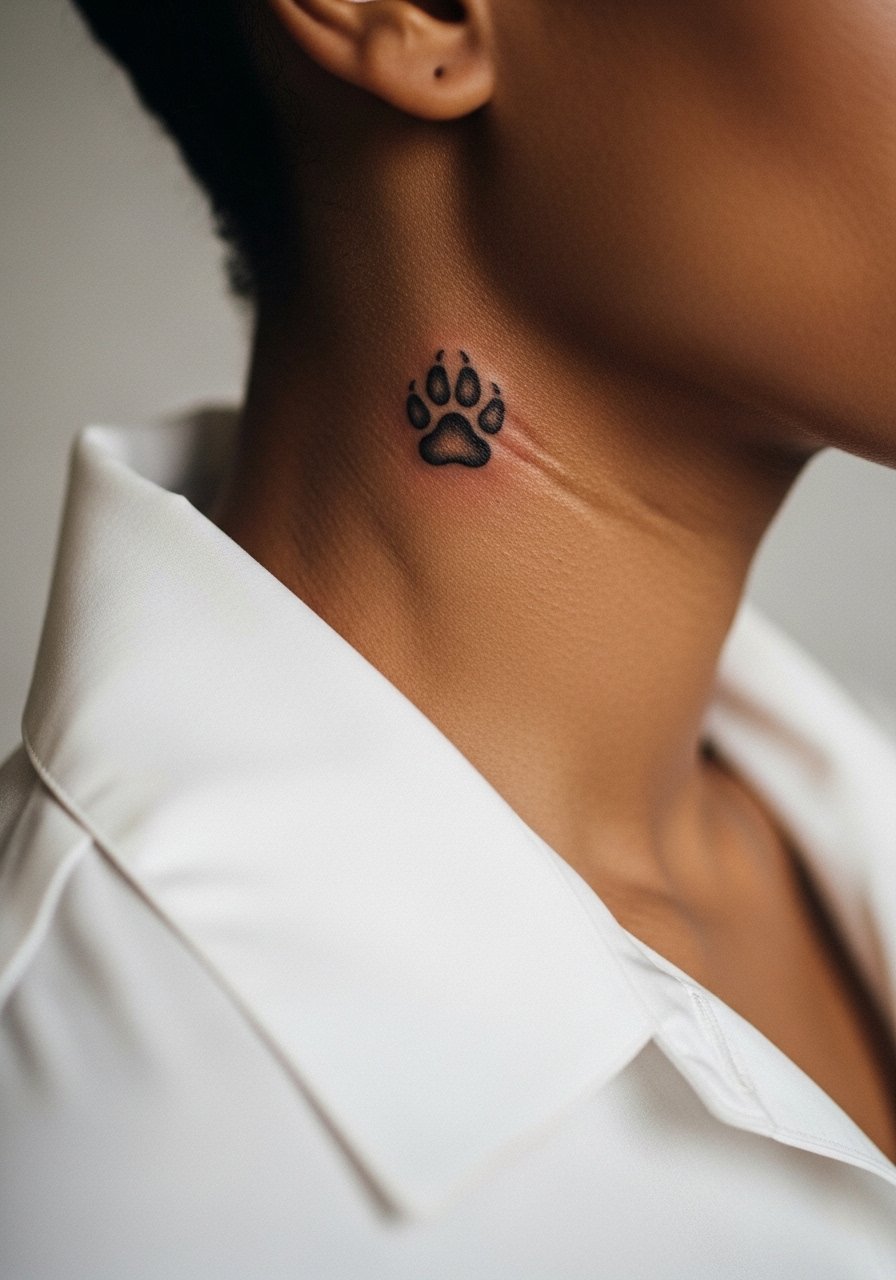
Neck placements are visible and can affect first impressions in some careers. If this idea matters for professional reasons, choose a placement just below the hairline so you can hide it easily with hair or collars. The neck moves and stretches, so ask for slightly increased line weight. Pain is moderate and sessions are short. Consider whether your day job will accept visible neck tattoos before booking.
9. Minimal Micro-Portrait Linework on the Inner Forearm

Micro-portrait silhouettes capture a fan reference without full realism. The common mistake is packing tiny facial details into a scale that will blur. Instead, request a silhouette or single-line suggestion of features and place it on the inner forearm where sun exposure can be controlled. The forearm is forgiving for touch-ups. For casual show-off looks, cuff a rolled-up linen shirt sleeve to frame the piece.
10. Minimalized Born This Way Symbol on the Sternum

Sternum work requires a specialized hand because the area moves with breathing. The controversy about fine line in chest areas applies here. One camp argues that the sternum's movement and thin skin make fine single-needle work blur quickly. The other camp counters that with proper depth and spacing the lines can hold. Discuss the technique and expected touch-up schedule in consultation. Wear a strapless or mesh-friendly top to the session.
11. Minimal Daisy Chain Finger Band
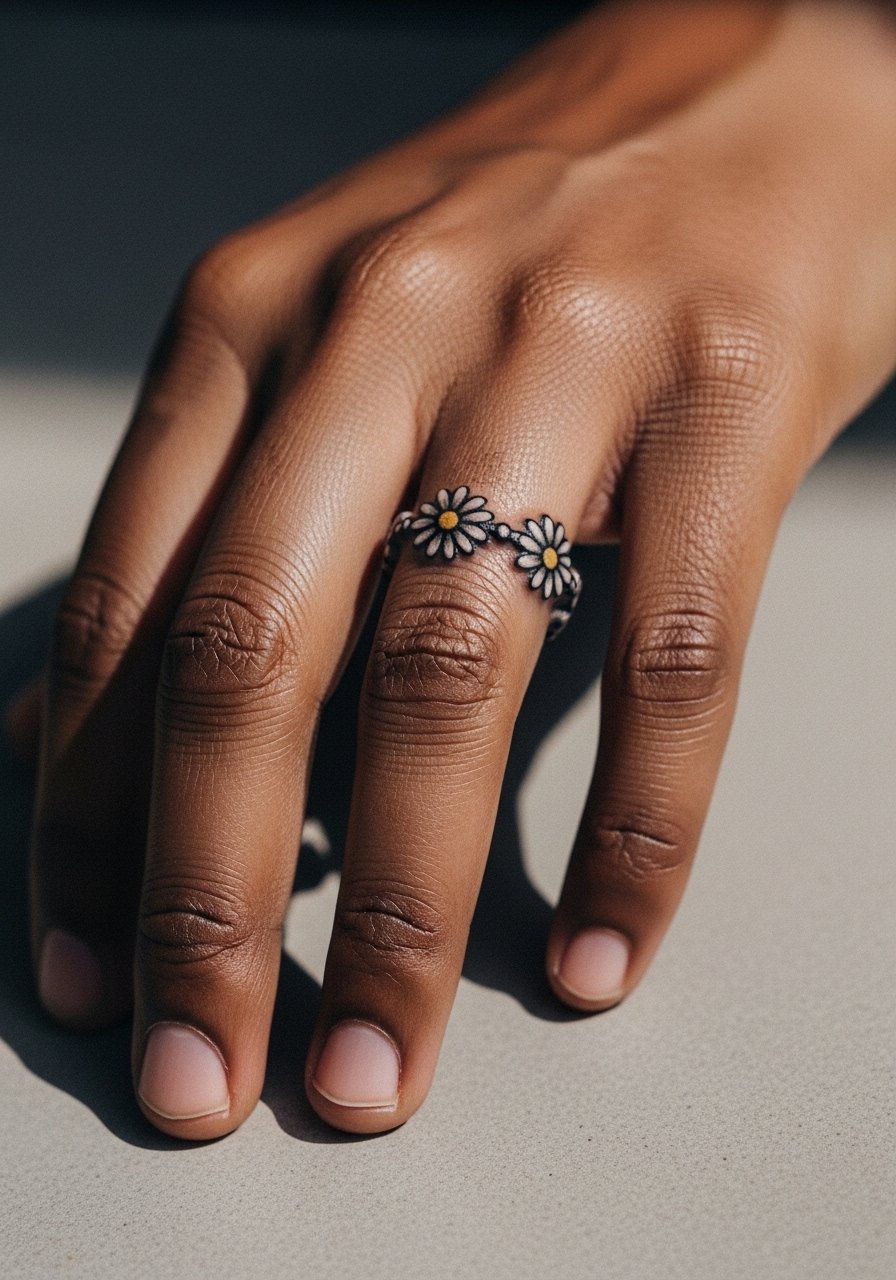
Ring bands look like jewelry but are revenge-prone on fingers. Ask your artist to space the tiny flowers slightly and to use thicker anchor points so the pattern survives daily washing. The biggest mistake is assuming finger bands are low maintenance. For show-off styling, pair the band with a thin stacking band on an adjacent finger so the tattoo reads as part of the set.
12. Minimal Paisley Motif on Upper Arm
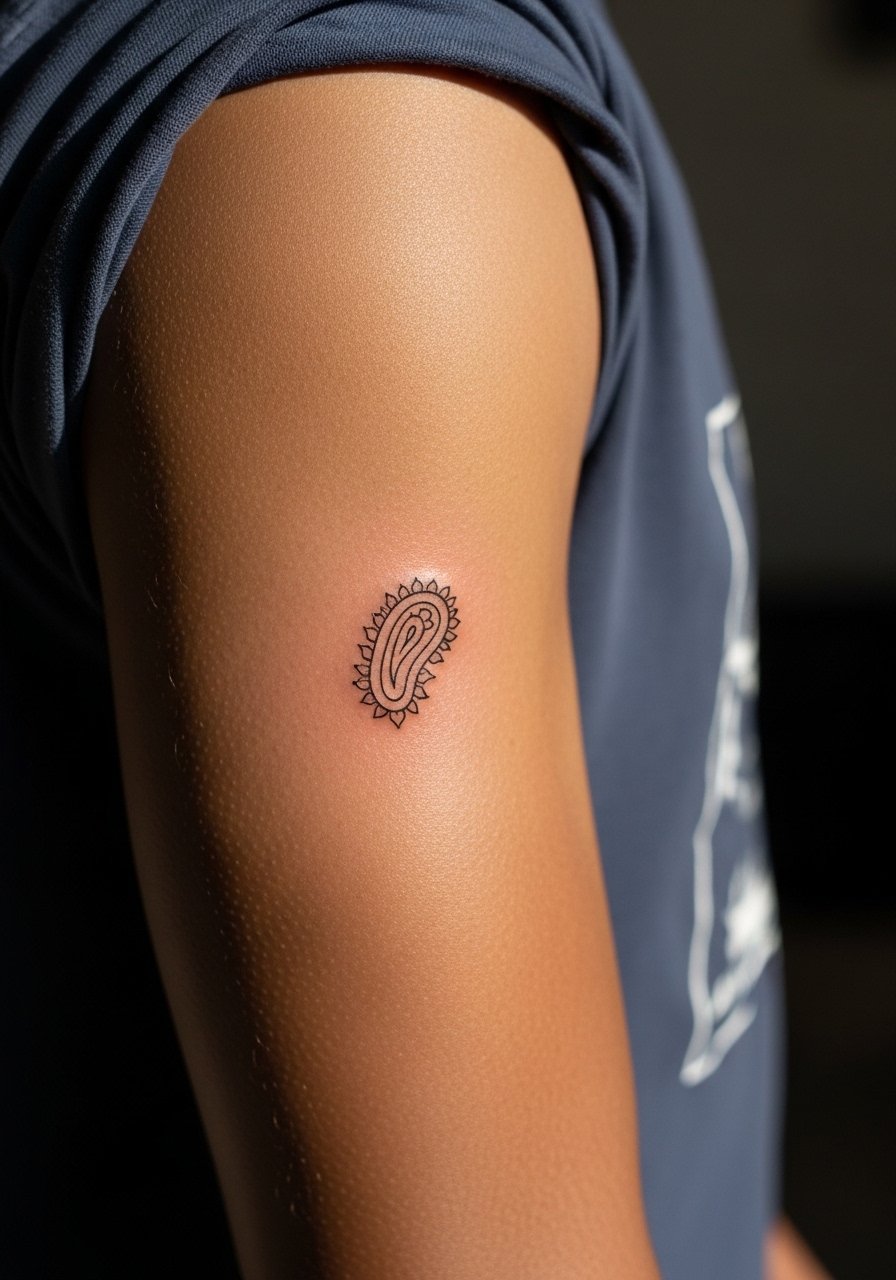
A paisley nod to mother monster heritage reads like a charm on the upper arm. Upper-arm skin is thick and ages well, so smaller motifs keep crispness longer. The mistake is over-detailing a tiny paisley, which becomes a smudge. Tell your artist to simplify the internal shapes and to prioritize clear silhouette. A short-sleeve linen shirt rolled at the sleeve frames the piece nicely when you want it visible.
13. Minimal Rose Outline on the Rib Side

Rib roses look elegant but they demand a pain tolerance and realistic expectations. The common error is tiny, dense shading close to bone. Ask for an outline-forward approach with open negative space to preserve the silhouette as the skin shifts. Touch-ups two to three years out are common for very fine work. Wear a cropped top to the session for easy access.
14. Micro Music Note Behind the Ear

Behind-the-ear notes are fast sessions that feel sharper due to thin skin. Keep the note as a single, bold mark rather than adding stems and flags that blur. Many people like this placement because it reads like hidden jewelry. For the session, pin your hair back and wear a wide-neck shirt so the artist can see the area without full exposure.
15. Minimalist Monster Outline on the Upper Back
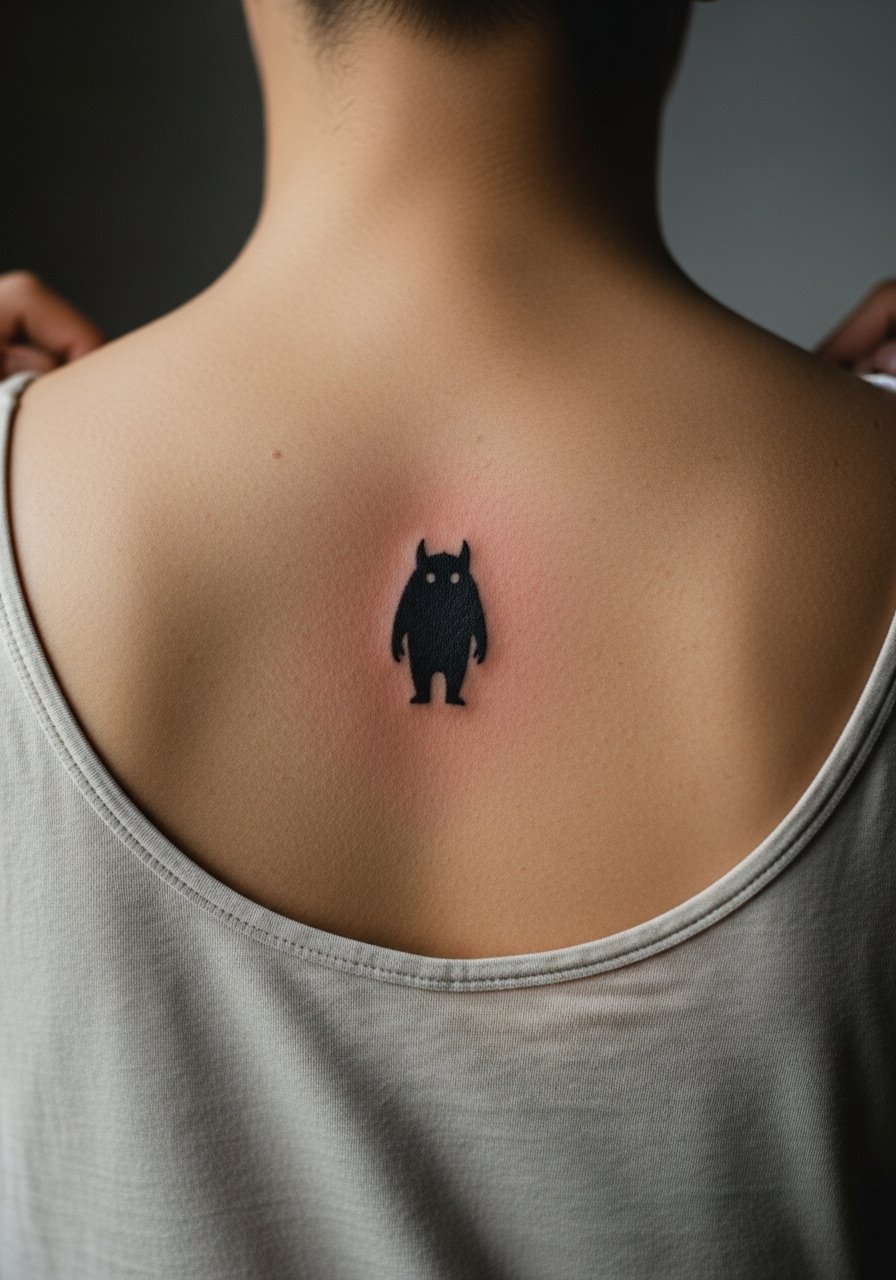
Upper-back placements let slightly larger minimalist silhouettes sit like a patch of art. The advantage is a lower blowout risk and longer time between touch-ups. Mistake to avoid is overcomplicating the silhouette with internal hatch marks that muddle over time. For show-off outfits, an open-back dress or tank highlights the piece without forcing it into a portrait scale.
16. Single-Line Portrait Bookmark on the Forearm

Single-line portraits are an elegant nod without photorealism. The visual trick is to suggest features rather than render them. Overly detailed tiny faces merge under the skin. Ask for confident negative space and to preview the stencil under different lighting. Forearms are friendly for touch-ups and will read well under a minimalist watch band.
17. Small Daisy Trio on the Shoulder Blade

Shoulder-blade placements sit under clothing less often and age gently. A trio of daisies looks intentional when each bloom has slight spacing. The usual mistake is aligning them too closely into a single blotch. During consultation, ask about spacing and how the piece sits when your arm is down. A loose tank top works well for the session.
18. Minimal Monster Paw on the Calf

Calf placements are lower friction than ankles and maintain saturation well. For standing silhouettes like a paw, ask for clear negative space around the pads so each mark remains distinct. Sessions are comfortable and healing is straightforward. To show it, wear high-waisted shorts so the tattoo reads as a deliberate accent.
19. Minimal Script on the Side of the Ribcage

Side-rib scripts require realistic talk about longevity. The controversy about fine line on ribs comes up here. One group warns that constant expansion and compression blurs thin letters fast. The other group says that with slightly heavier line weight and spaced letters fine scripts can hold. Talk specifics with the artist and agree on expected touch-up timelines. For the appointment, choose a breathable cropped tee.
20. Minimal Heart Outline at the Sternum Edge

Sternum edge pieces sit at a tricky intersection of movement and visibility. Keep outlines simple and avoid interior shading that will blur. The session is sensitive but quick. Consider wearing a bandeau or fitted sports bra that lets the artist work without you feeling overexposed. Chest pieces often need a touch-up by year three depending on sun exposure.
21. Minimal Micro Portrait at the Nape
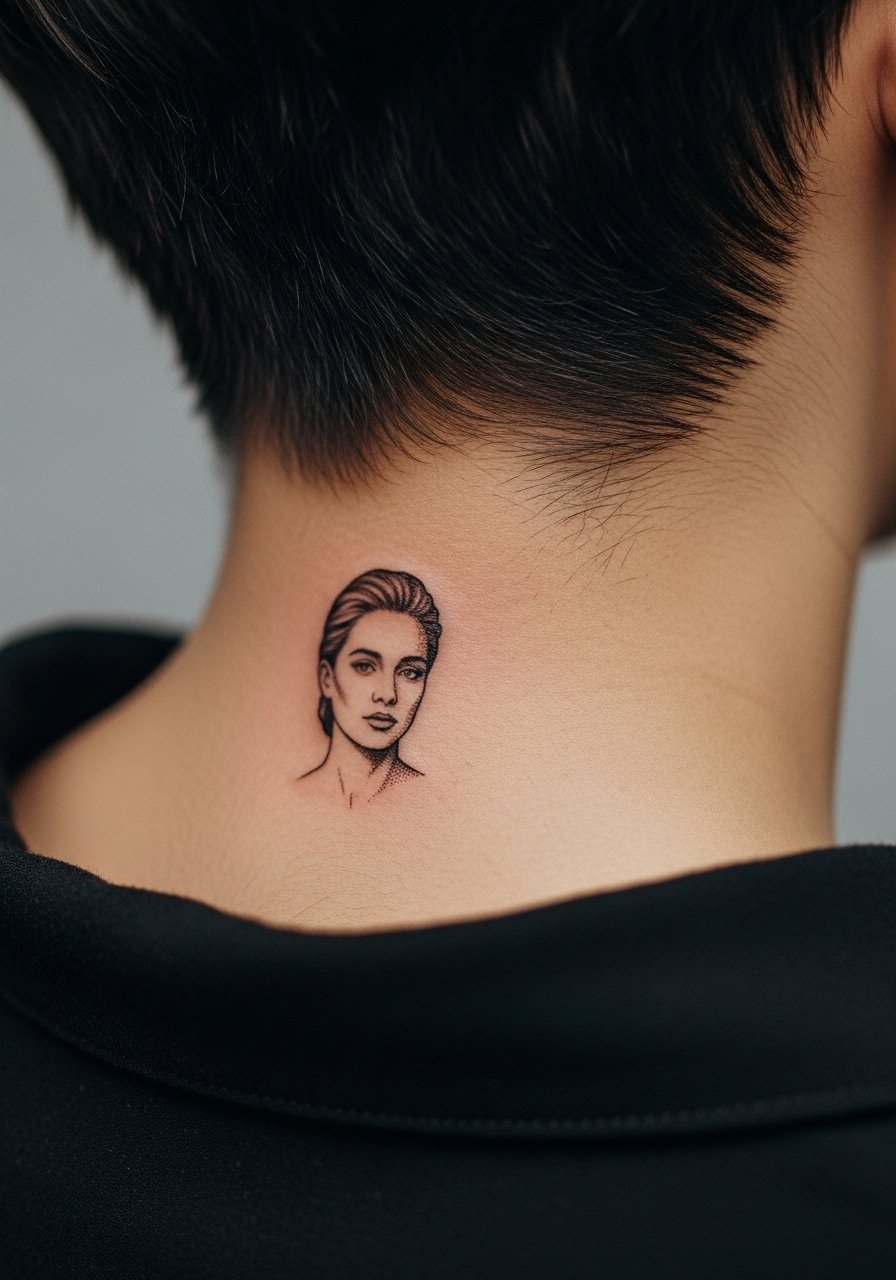
Nape pieces are discreet and read like a secret charm. Keep portraits as very simplified silhouettes to avoid lettering and facial detail that will become fuzz. The nape is sensitive but easy to hide under hair or collars. For the session, wear a button-down shirt you can pull aside. Career considerations matter because visible neck tattoos are still judged in some industries.
22. Minimal Rose Outline on the Thigh
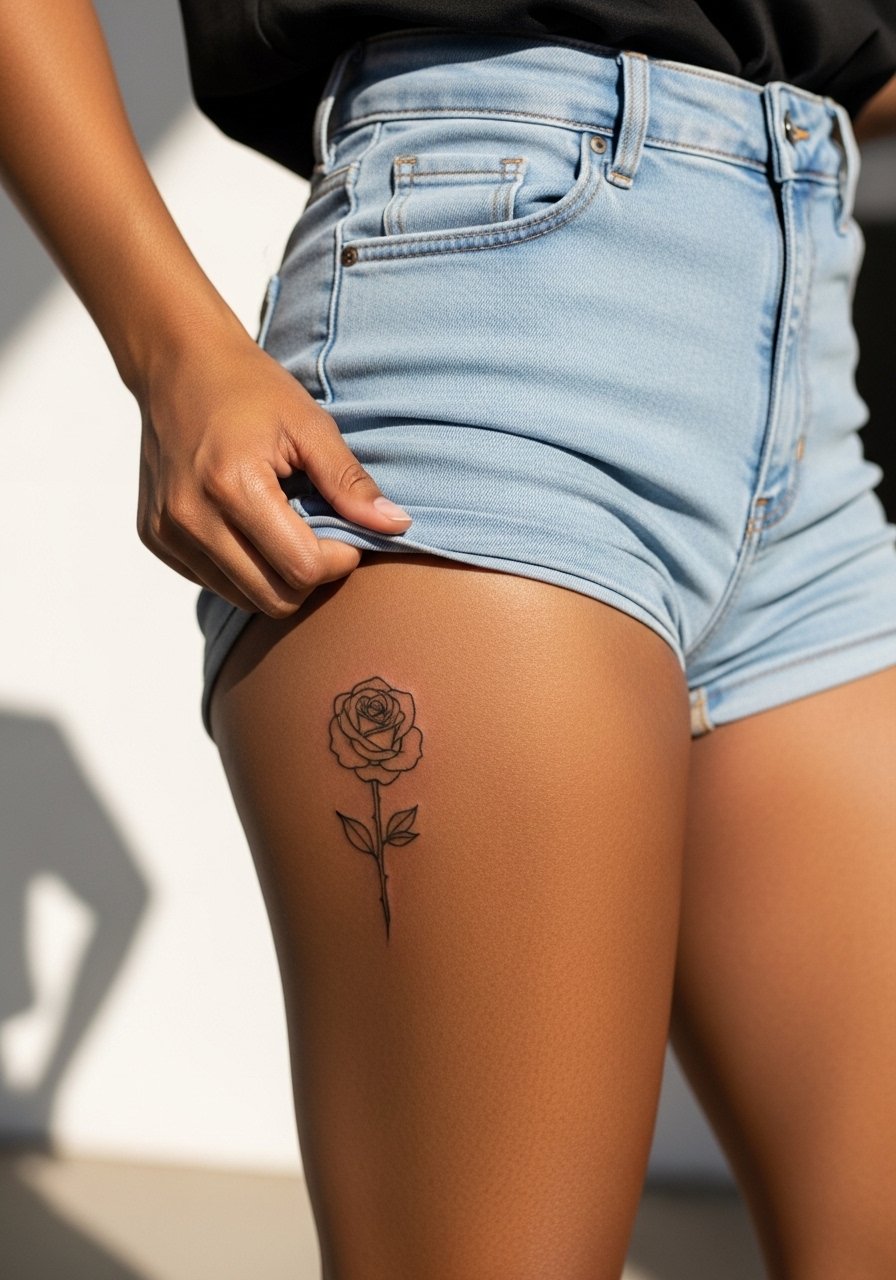
Thigh placements are forgiving and ideal if you want a private nod to a motif. The main mistake is requesting tiny, dense details that never age well. Ask for bold silhouette and leave internal details minimal. During the session, wear high-waisted shorts you can adjust easily. Healing is usually steady unless friction from tight clothing occurs.
23. Minimal Musical Glyph on the Wrist Inner Curve

Wrist inner curves are visible and age under sun. To keep lines readable, ask for slightly denser anchor points on the glyph. The typical error is asking for ultra-thin single-needle work and then exposing it to daily sun. Pair the piece with a minimalist watch band that complements rather than hides the glyph. Expect a touch-up within a few years for very thin scripts.
24. Minimalist Paisley Ankle Chain

Ankle chain motifs look like permanent anklets when spaced around the bone. The mistake people make is adding too many tiny elements that get lost under shoes. Keep it simple and place elements where shoes do not rub. For showing off, wear rolled jeans or sandals to give the piece space and airtime.
25. Minimal Constellation on the Side Rib
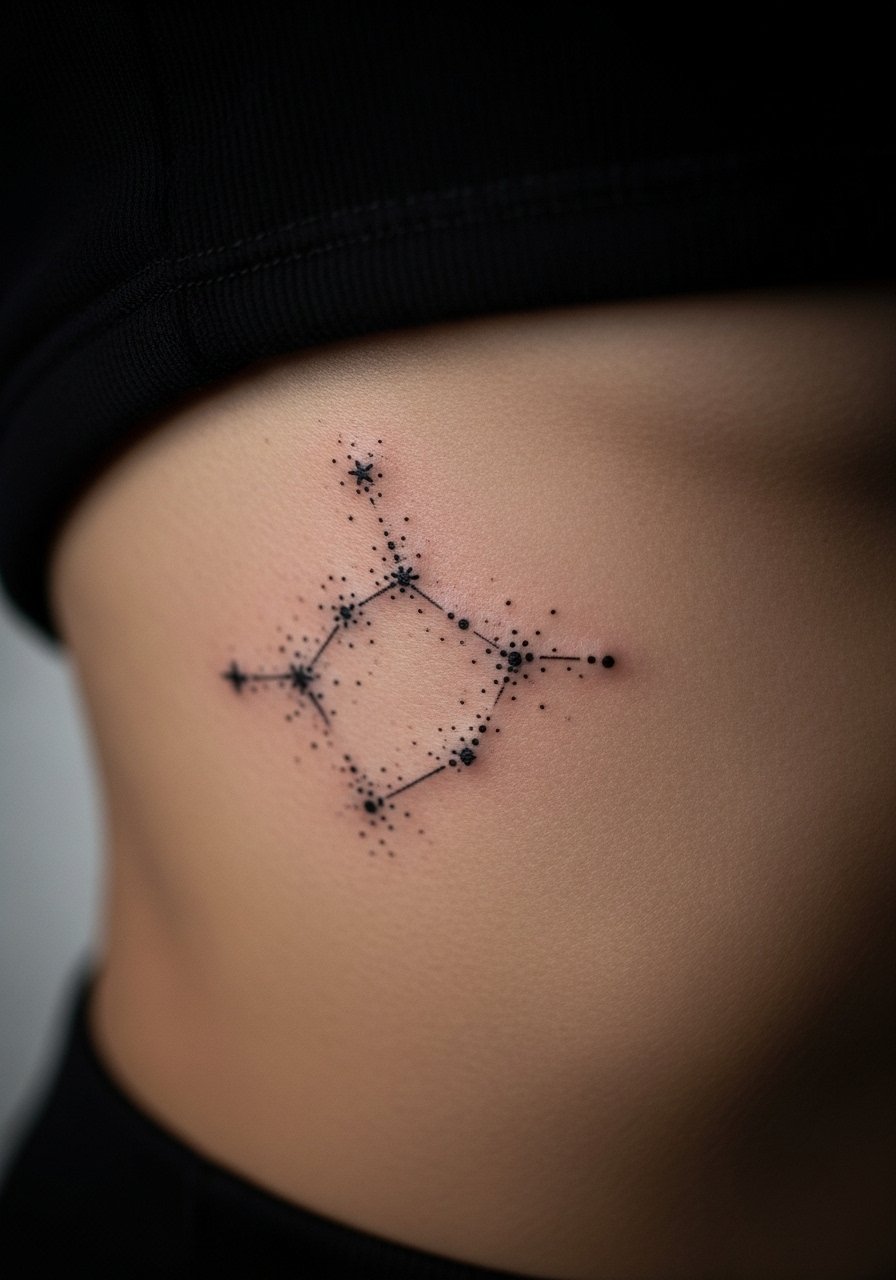
Constellation motifs translate well to the rib when dots are spaced and lines are delicate but not micro thin. The error is creating dense clusters that blur. Expect higher pain and a likely touch-up in a couple of years for tiny dots. For the session, a cropped tank keeps things practical.
26. Minimal Scripted Date on the Inner Bicep
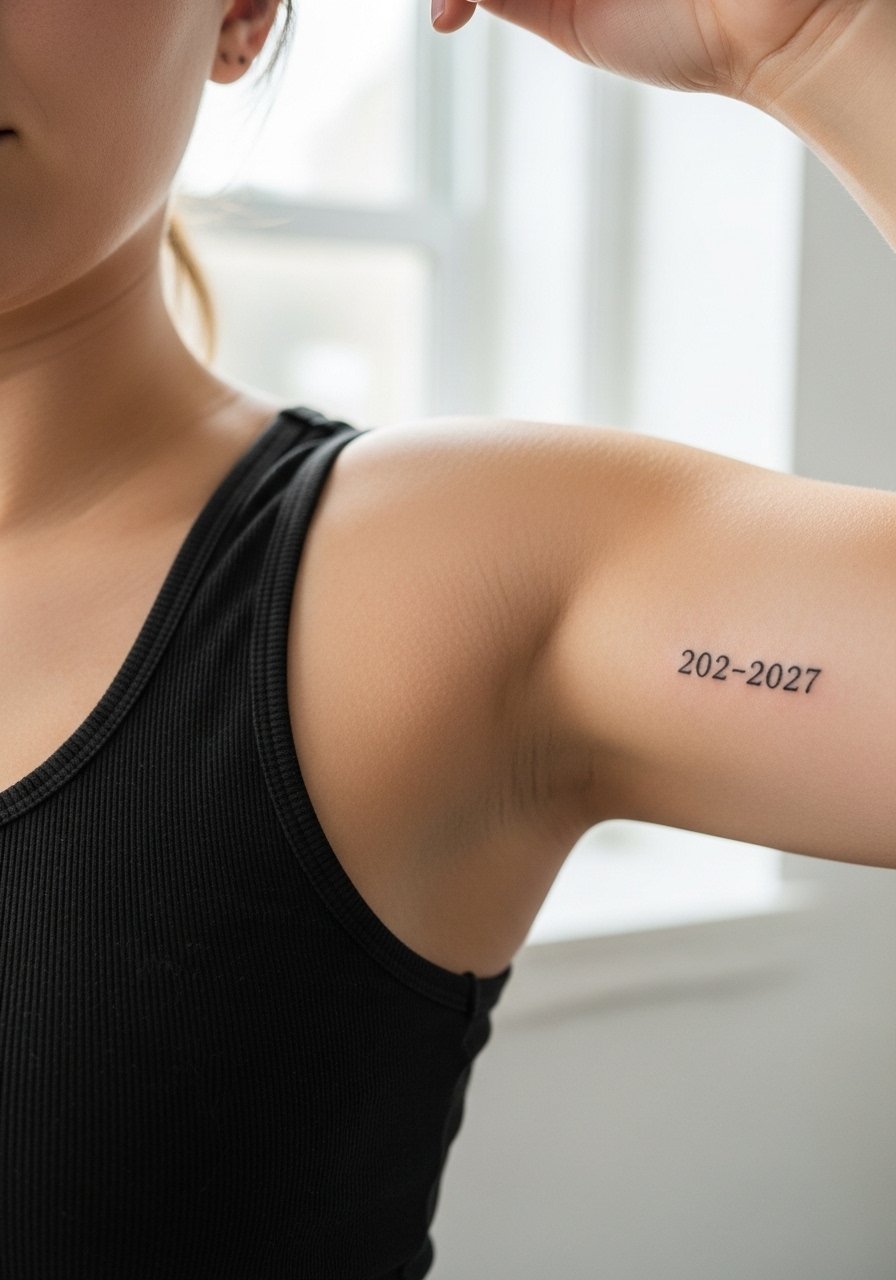
Inner-bicep scripts sit on softer skin and often require slightly stronger line weight so the numerals stay crisp. The session feels tender but short. Common mistake is using a super-thin script intended for the wrist and moving it to the bicep without adjustment. For appointment comfort, wear a tank top you can raise so the artist can access the area.
27. Minimal Micro Flower on the Hand Side

Hand-side tattoos are bold because they are so public. The biggest mistake is underestimating how fast hands fade from washing and sun. Ask for slightly bolder anchor lines and accept yearly touch-ups if you want longevity. Hands still affect hiring in some fields, so consider that when placing work. For showing off a tiny flower, keep rings minimal to avoid visual competition.
Frequently Asked Questions
Q: How long will a single-needle Gaga-inspired symbol on the wrist stay crisp?
A: It depends on sun exposure and friction from clothing and accessories. In my experience, expect visible softening by year two to three for ultra-fine single-needle work. Planning for a light touch-up at that point keeps the motif readable.
Q: Are ribcage daisy stems worth the pain for a long-lasting look?
A: They can be when drawn with spacing and slightly increased line weight. The ribs are painful but the skin there reads detail well when the design has breathing room. Expect one to two touch-ups over several years depending on sun exposure.
Q: Can I find artists for these minimalist Gaga motifs without naming someone?
A: Yes. Use discovery pathways like shop directories, tattoo convention lists, hashtag searches on social platforms, and local portfolio directories to filter for artists who show healed single-needle work. Look for healed photos in portfolios rather than only fresh shots.
Q: Do hand and finger tattoos require different aftercare than forearm pieces?
A: The care steps are similar, but hands and fingers face more washing and friction so they need extra protection the first two weeks and more frequent checks for scabbing. Using a protective film during the first nights helps reduce rubbing, as does avoiding tight gloves.
Q: What should I wear to a sternum or rib session to stay comfortable and keep access easy?
A: Wear a fitted sports bra, bandeau, or a cropped top you can adjust so only the tattoo zone is exposed. That keeps you modest and gives the artist a clean working area. A button-down or loose shirt works well for back and shoulder placements.
Q: How do I choose between a micro-portrait and a silhouette for a fan nod?
A: Choose a silhouette if you want longevity and low touch-up needs. Pick a simplified micro-portrait only if the artist has a portfolio showing healed micro portraits that remained legible after a year. Silhouettes tend to age more predictably.
