
Fine line back ink looks gorgeous on saved boards and then vanishes into blur sooner than people expect. Visibility is a real headache when you can only see the spot in a mirror, fine lines on the mid and lower back often need a touch-up after a year or two, and healing gets tricky when sweat and waistbands rub the area. Read on for 21 minimal designs that solve those problems with placement, line weight, and wardrobe tips.
1. Minimal Spine Quote Script
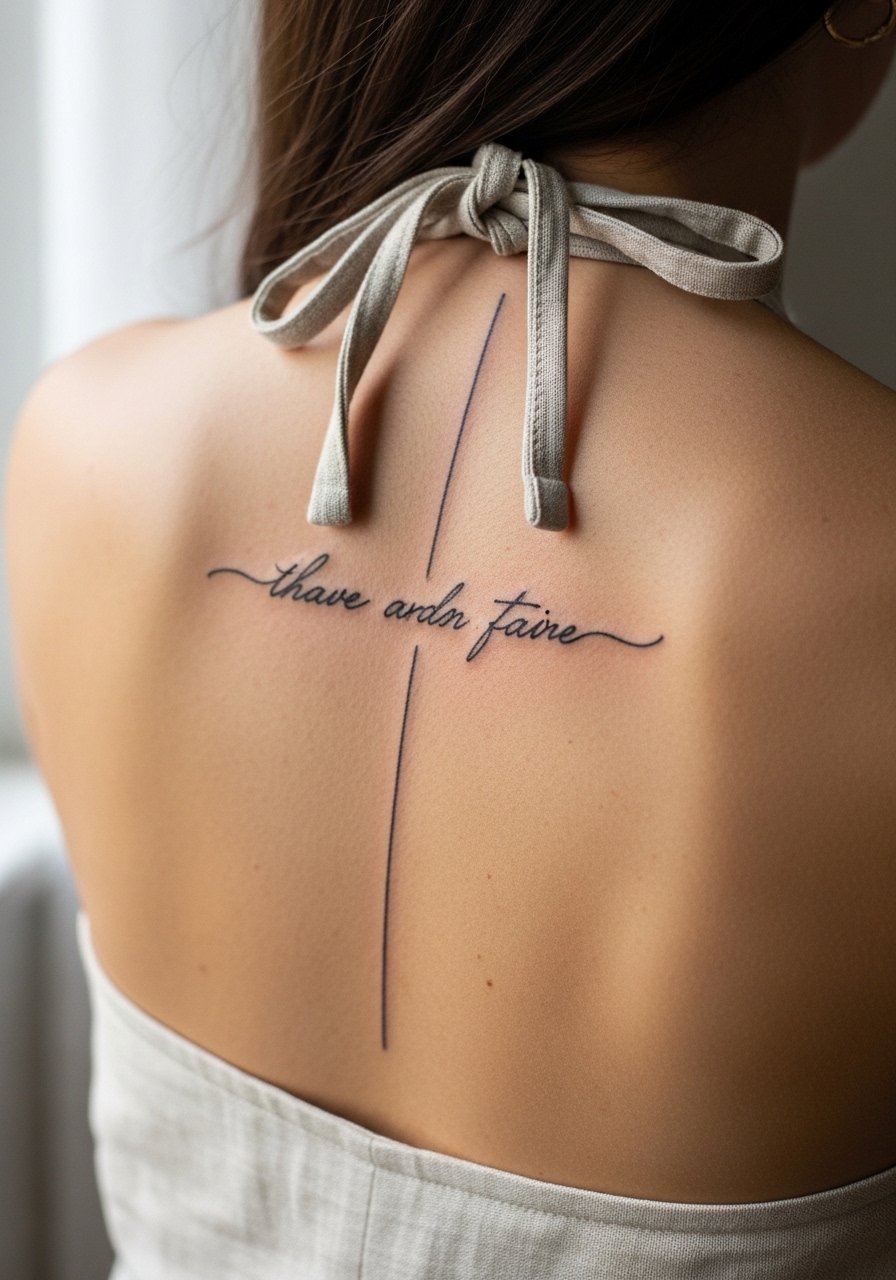
A short affirmation along the spine works when it sits vertically and reads in small type. I recommend 10 to 18 characters so the ink doesn’t compress into a single band over time. Tell your artist you want single-needle script with slightly thicker downstrokes so the letters keep shape after healing. Fair warning: the spine is bony so pain registers higher there than on flat mid-back spots, but sessions stay under an hour for 1–2 inch scripts. For showing it off, pair with a backless halter top linen for summer nights. During the appointment wear a loose cotton tank you can lift without pressure on the area. Common mistake: requesting ultra-tiny cursive without accounting for skin movement, which leads to blurring and the need for early touch-up.
2. Single Palm Tree Silhouette on Lower Back

A small palm tree reads as island energy without filling the canvas. I usually suggest placing it near the lower back dimple if you want concealability with low-rise jeans. Ask the artist for a clean single-line trunk and slightly thicker fronds so the silhouette stays crisp through clothing rub. Session time is typically 30 to 45 minutes and pain is low for the fleshy lower back. For evenings, pair with a high waisted crop top and low-rise jeans to let the design peek out. A mistake I see often is asking for ultra-thin fronds that blur after a year, especially if your waistband constantly rubs the spot.
3. Abstract Wave Line Across Upper Back
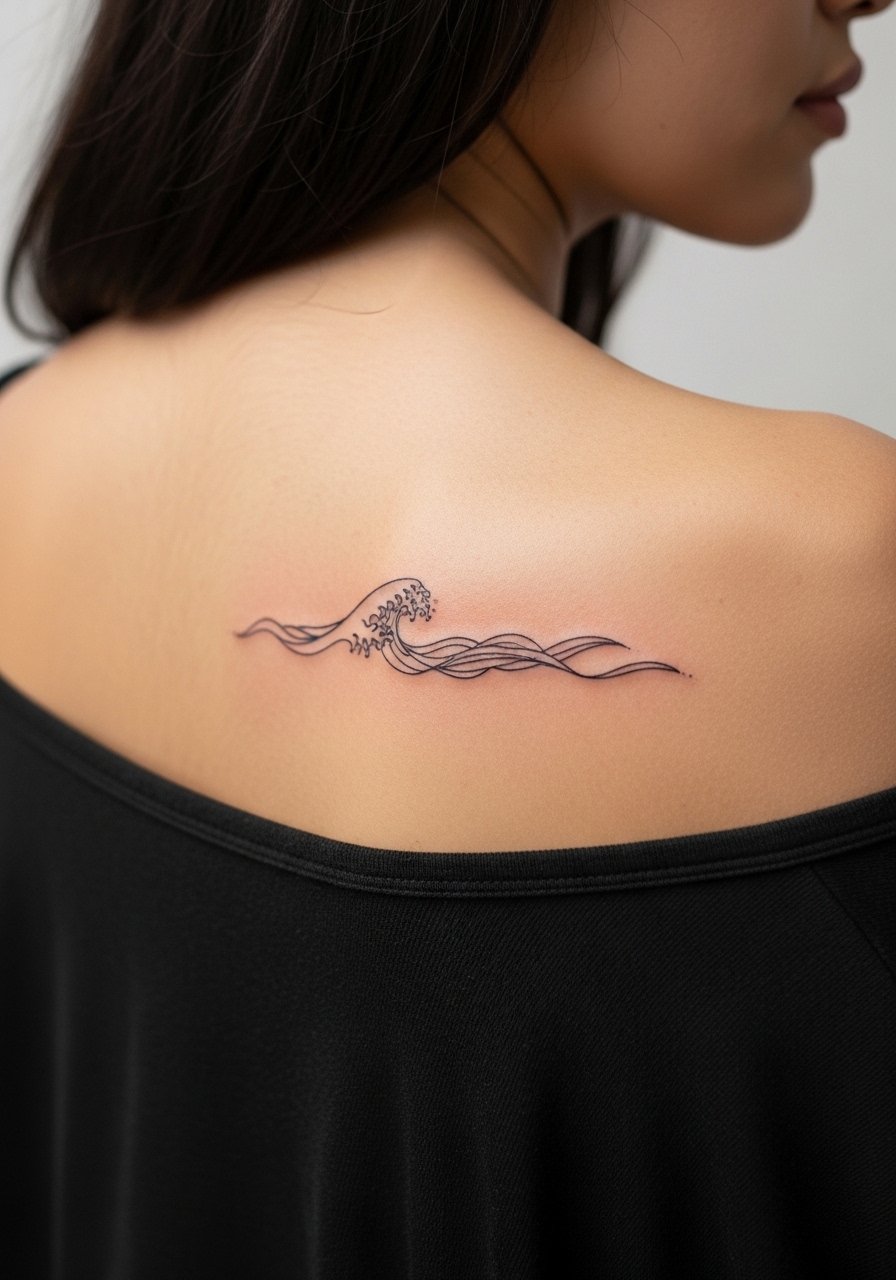
A single flowing wave works well across the flat upper back because the skin gives a steady surface for linework. During consultation say you want one continuous stroke with varied pressure, not separate strokes joined together, to keep the motion smooth. Pain is mild and the session often finishes in under an hour. At six months the line softens slightly, and at two years expect some thinning if the line was too fine. For a summer look, wear a sheer blouse or open-back tank to reveal the horizon. Common mistake is compressing too many loops into a small space, which ages into a fuzzy patch.
4. Tiny Spine Dotwork Mandala

Dotwork mandalas on the spine give meditative symmetry without large coverage. Tell your artist you want pointillist shading and a 1.5 to 2 inch diameter so the dots have breathing room. Expect moderate discomfort along the bone and a single session of about 45 to 75 minutes. Aging is friendly if dots are spaced properly; too dense dot packing is the biggest mistake and it creates merge zones after a few years. For appointments wear a silk camisole top you can loosen so the artist can access the spine without fabric pressure. Note that artists argue about fine line on bony areas. One camp says the bone and thin skin blur lines fast. The other camp says proper depth and dot spacing avoid that. Ask your artist how they handle spinal dotwork before booking.
5. Micro Flower Outline in Lower Back Dimple
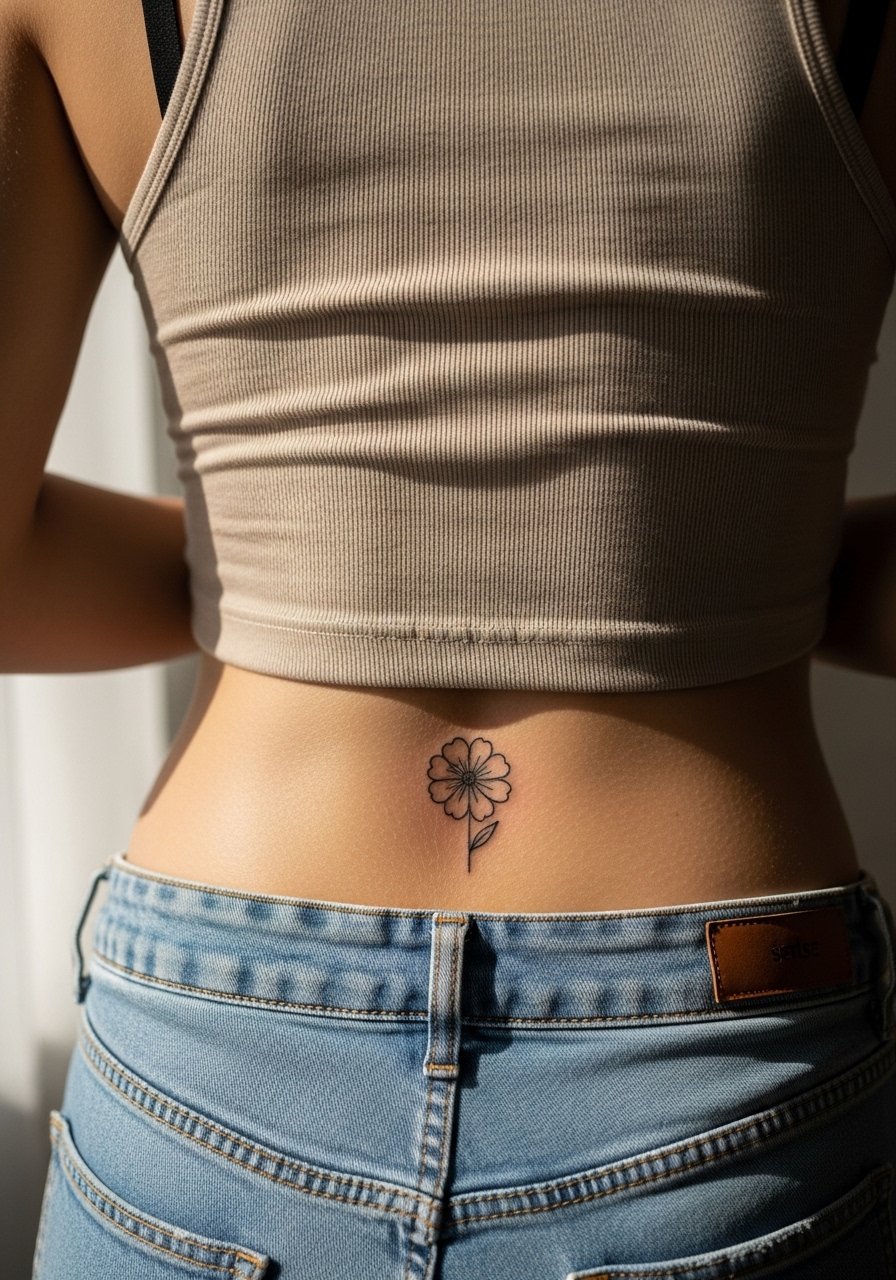
The lower back dimple is an underused hiding spot for tiny botanicals because it sits naturally under waistbands. I often recommend a single-petal outline about one inch wide so movement and weight fluctuation do not distort the motif. Session time is short and pain is low. For the session wear elastic-waist shorts or joggers the artist can lower briefly. To show the piece with intention, use low rise straight jeans and a cropped top so it peeks when you sit. A common error is placing the flower too close to the spine where curvature and stretch make lines merge.
6. Simple Geometric Arrow on Shoulder Blade

A small arrow on the shoulder blade reads modern and stays visible with off-shoulder tops. Ask for a 1.5 inch length with bold single-line weight so the shaft stays crisp for years. The area is low on pain and the session is under 30 minutes. For fall layers, pair it with an off shoulder sweater in cream or olive. On the day, wear a sleeveless or strapless top so the artist has full mobility. Avoid asking for multiple thin parallel lines; they tend to blur into a single thicker mark on shoulder skin.
Studio Day Picks
Those first six back pieces include spine, lower back, upper back, and shoulder blade work, so small prep and healing items make a big difference for fine line and low-friction zones.
-
Stencil transfer paper kit. Lets you test placement on the skin before the needle, which is invaluable for spine quotes and lower back dimples.
-
Topical numbing cream. Useful for bony spine or shoulder blade sessions when anxiety about pain would otherwise shorten the consultation.
-
Thin protective film roll. Helps with lower back pieces that face waistband friction during the first few days.
-
Fragrance free gentle body wash. Cleans the healing area without irritating fine line or dotwork details on the back.
-
Aquaphor healing ointment. A thin layer for early days locks in moisture for delicate lines without clogging the channels that dotwork relies on.
7. Single Line Mountain Range Across Mid-Back

A one-stroke mountain horizon suits the flat mid-back because the skin offers a steady, low-motion surface. Ask for a 3 to 4 inch width so peaks and valleys have room to age. Pain is low and most of these finish in 45 minutes. At two years, very fine peaks may soften if the lines were drawn too thin, so request slightly heavier linework on peaks. For layered looks try a wireless bralette and a sheer blouse to reveal the landscape subtly. A common mistake is cramming too many peaks into a small span, which makes the design compress and blur when the skin settles.
8. Nape Heart Outline with Initial

A one-inch heart with an initial sits at the nape where it is easily hidden by hair or revealed for evenings. Tell your artist you want clean single-needle linework and to avoid overly ornate initials. Pain here is moderate because of proximity to bone and thin skin, and session time is short. For evening reveal try an open back dress mini or a low ponytail with hair updo clips. The biggest mistake is choosing a script that is too narrow for one inch of height; script needs space to breathe or it becomes illegible.
9. Minimal Crescent Moon on Mid-Back
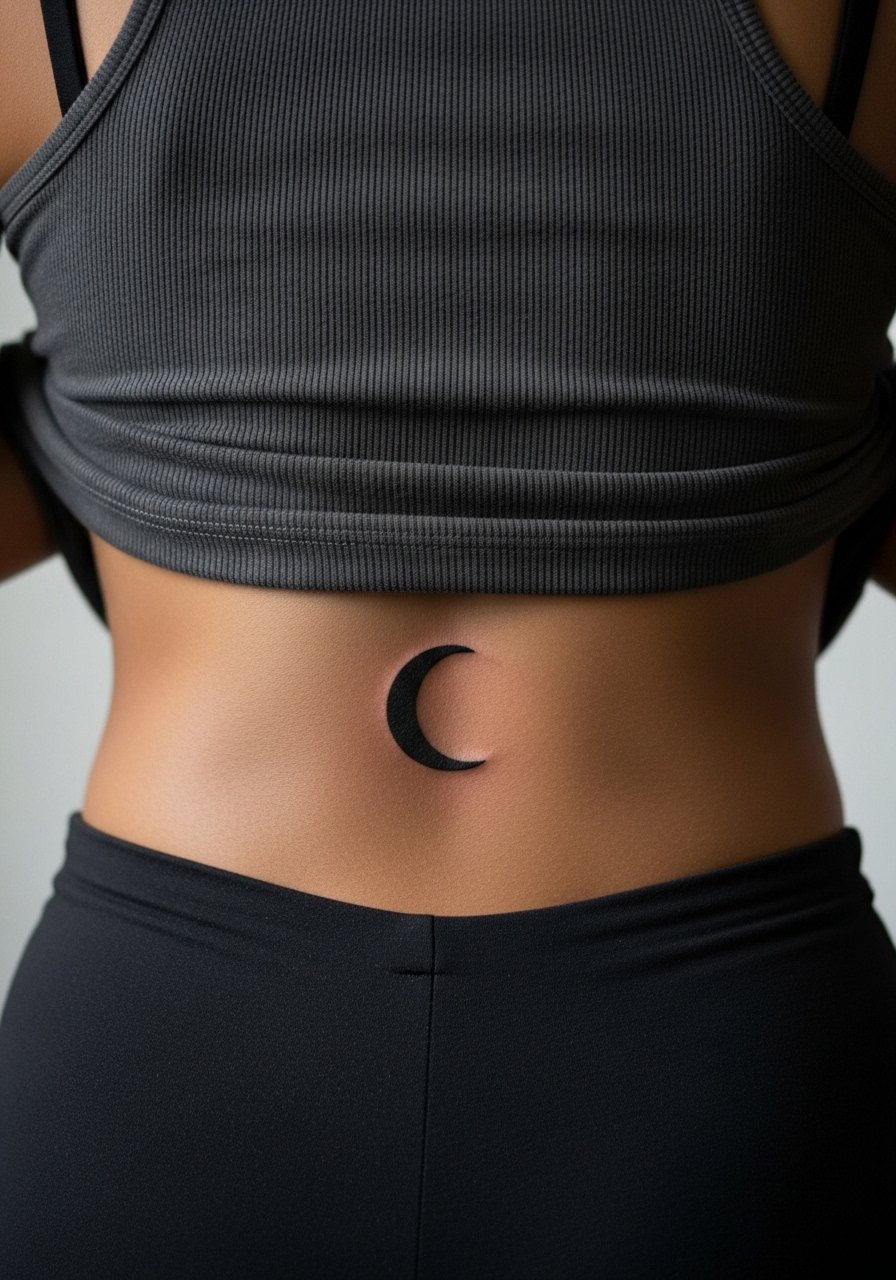
A simple crescent moon on the mid-back looks ethereal without demanding size. Ask for a slight black fill rather than a hairline crescent so the curve reads in photos over time. Pain is low and session time is brief. Expect the curve to hold its form if the fill is done with consistent saturation. For layered looks, pair with a silk camisole top or open-back styles. Common error: choosing a hollow outline so thin it fades into a lighter mark within a year.
10. Thin Line Infinity on Lower Spine
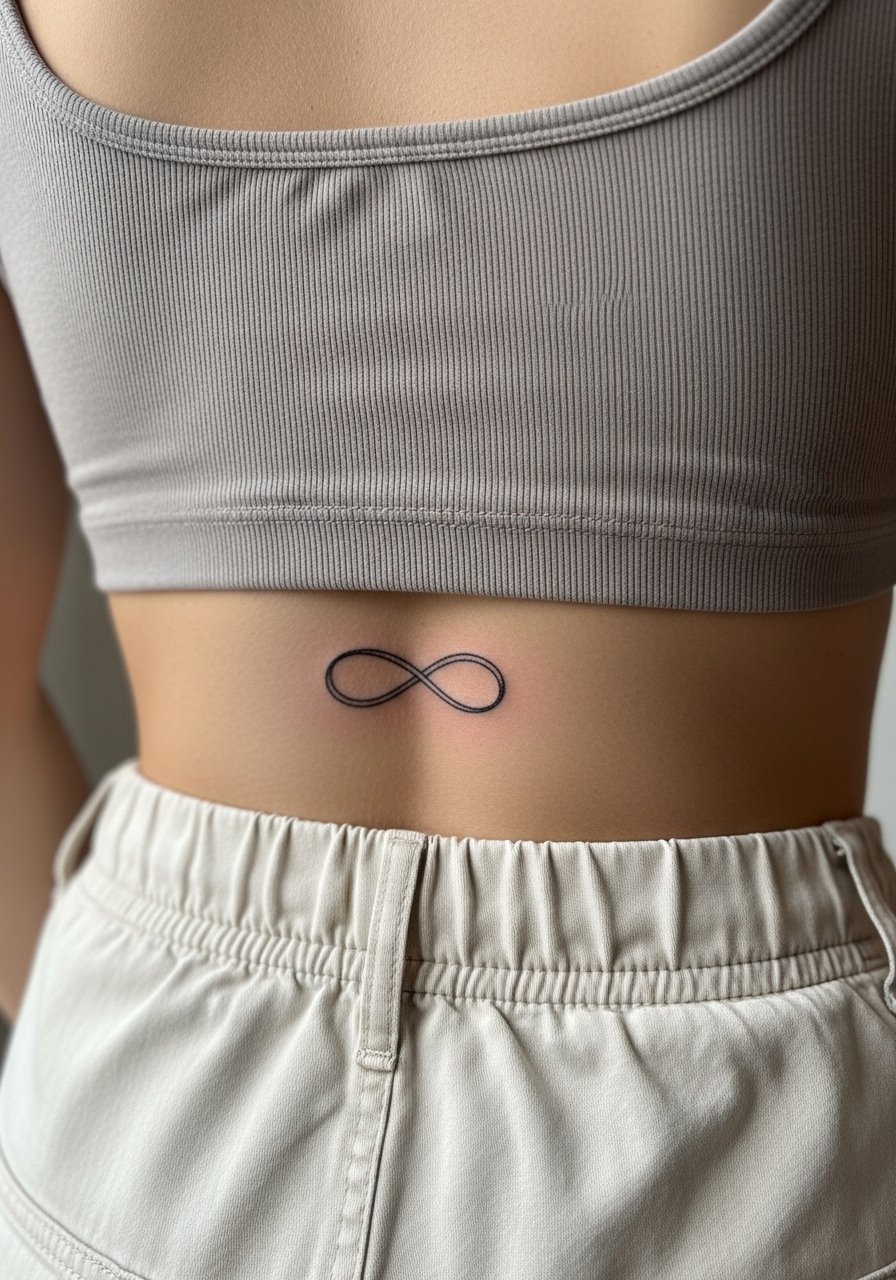
The lower spine is a classic spot for tiny symbolic loops because it tucks into waistlines for discretion. Request a 1.5 inch size with slightly beefed line weight to avoid early softening. Pain is low to moderate depending on bony exposure, and sessions are quick. For wearing options try low rise straight jeans with a cropped top so the mark can peek out. Avoid asking for micro hairline loops that the skin will soften into a faint blur within a year.
11. Micro Bird in Flight Near Shoulder

A tiny flying bird near the shoulder reads as motion without covering space. Ask for a compact silhouette with a 1.5 inch wingspan and slightly thicker wing tips to preserve shape. Pain is low and artists usually finish these in under 30 minutes. For gym or beach styling, a strappy sports bra or minimalist bikini shows the piece in motion. The usual mistake is requesting a delicate feather detail that loses clarity when photographed from a distance.
12. Simple Wave Crash Outline on Lower Back
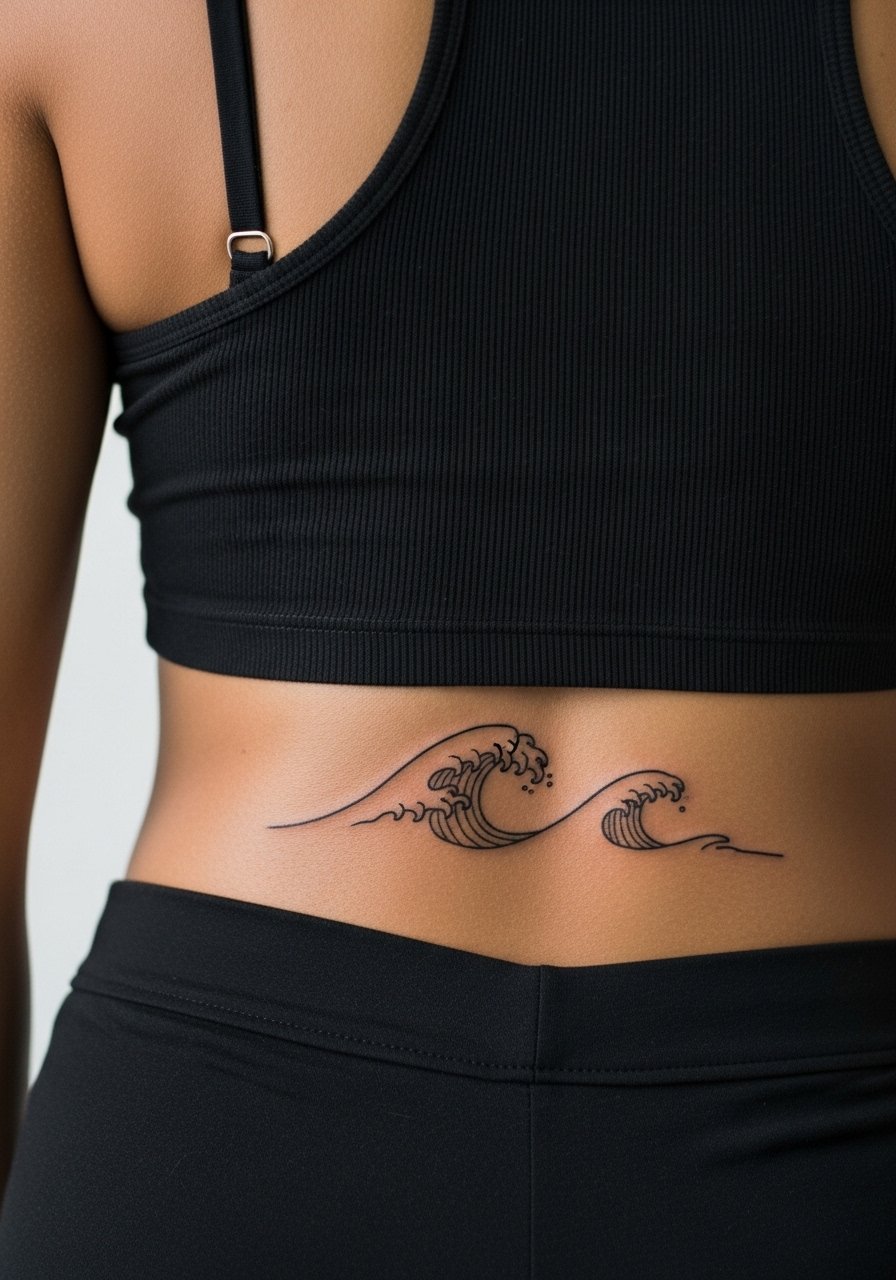
A horizontal wave outline across the lower back captures beach feeling and hides well under waistbands. Specify a 3 inch spread and ask for continuous fluid strokes so each crest reads individually. Pain is mild and sessions finish quickly. For festival season, pair with a minimalist bikini top so the line sits with swimwear. A common error is stacking too many crests in a small band which turns into an indistinct ripple after healing.
13. Tiny Constellation Cluster on Upper Back
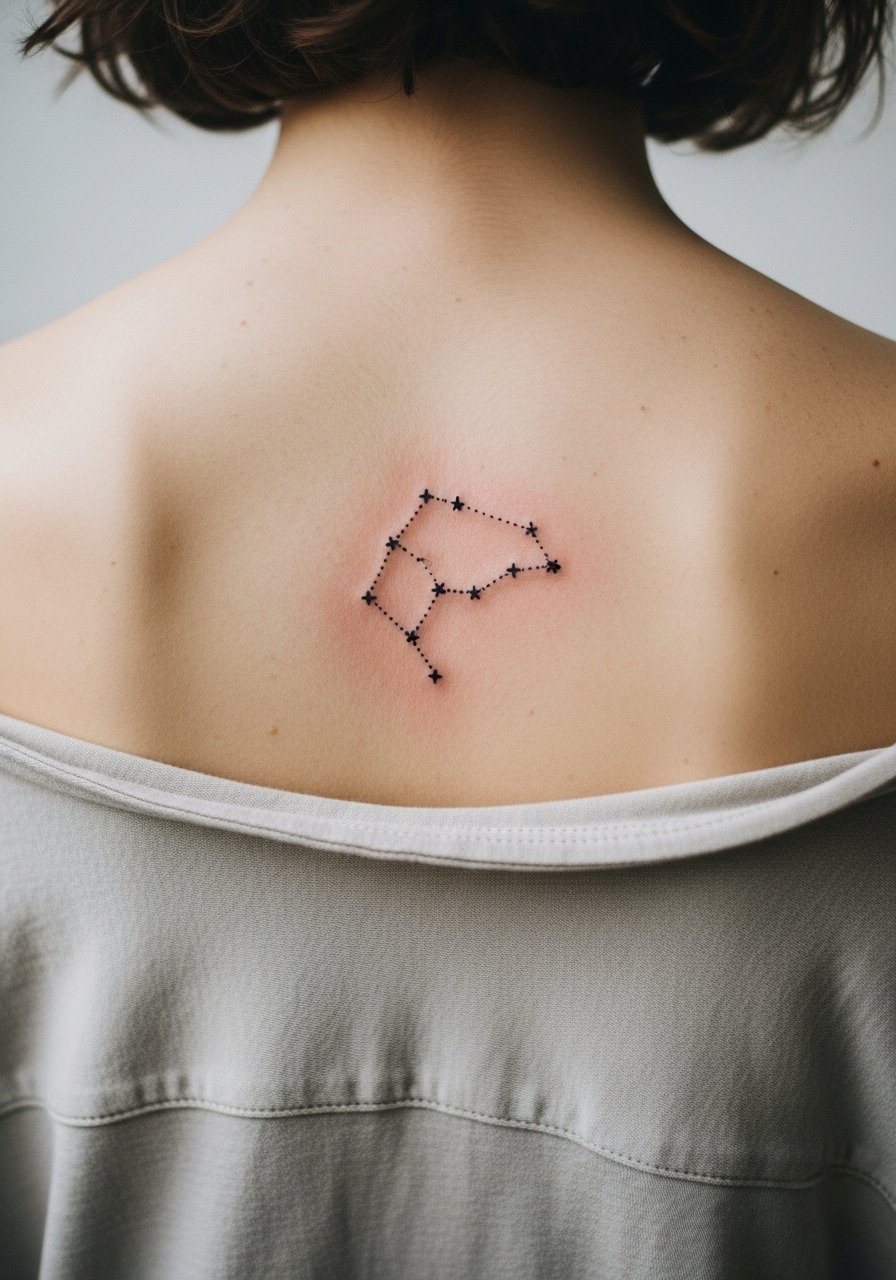
A small constellation cluster plays well between the shoulder blades where a few dots and connecting lines can rest undisturbed. Tell the artist you want dot spacing that avoids merge, and ask them to leave more negative space than you think you need. Expect a short, low-pain session. For subtle reveal choose an off shoulder sweater in neutral tones. The typical mistake is cramming stars too close, which produces blobbed dots after a couple of years.
14. Minimal Sun Glyph Centered on Mid-Back

A small sun emblem at the mid-back reads balanced and symbolic without heavy shading. Ask for a 2 inch diameter with solid spokes rather than thin rays so the shape holds through fading. Pain is low and most sessions are under an hour. Pair with a fitted sports bra for gym visibility or layered shirts for concealment. Avoid requesting intricate filigree in a very small diameter because fine detail disappears into a textured blotch over time.
15. Tiny Compass Needle Near Lower Back
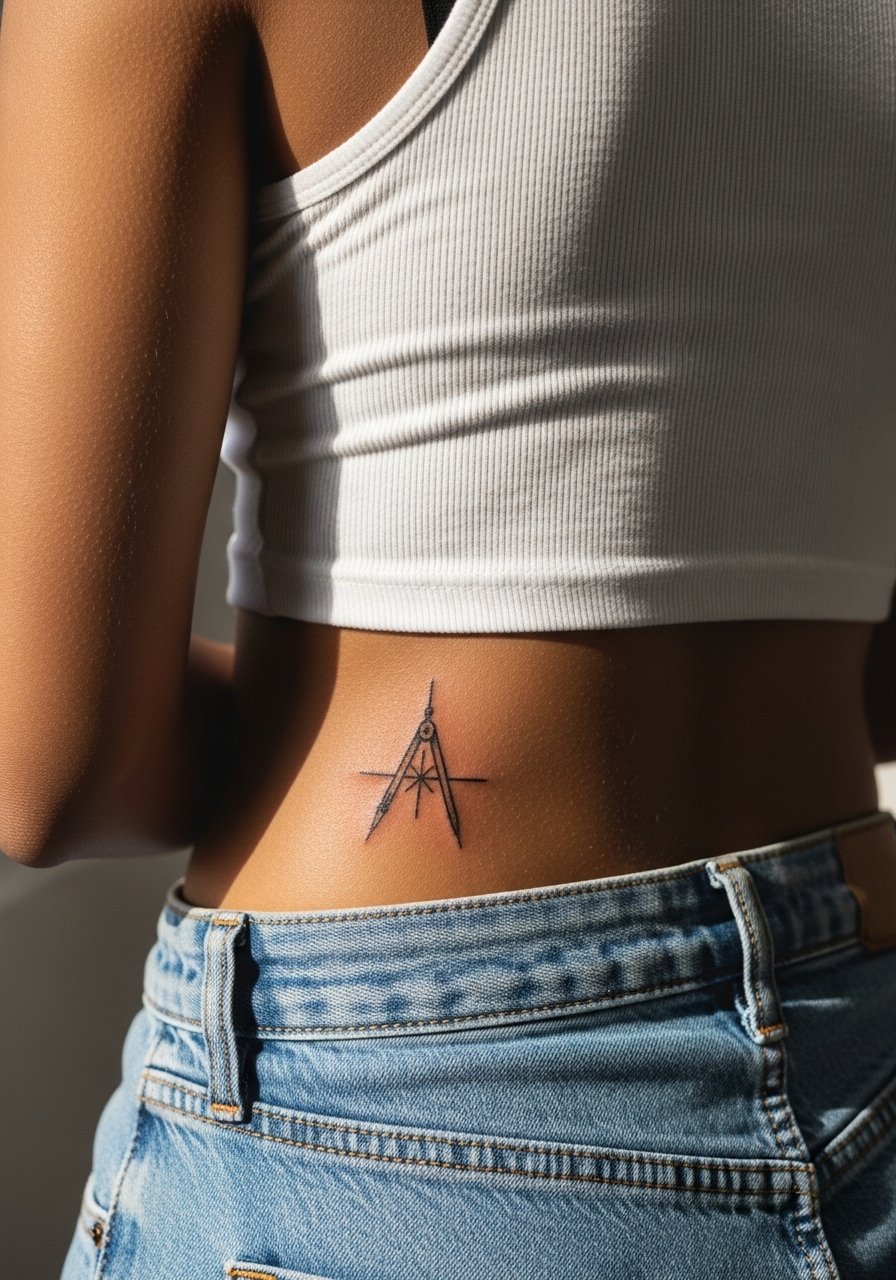
A small compass needle gives direction without taking space. Ask for a single tapered shaft with subtle north marker so the symbol reads as a needle instead of a cross. Sessions are short and pain is low. For styling, use high waisted crop top combos so the needle peeks above the waist. People often request tiny compass roses which are too detailed for this placement and age into smudged motifs.
16. Mirrored Pair Across the Scapulae
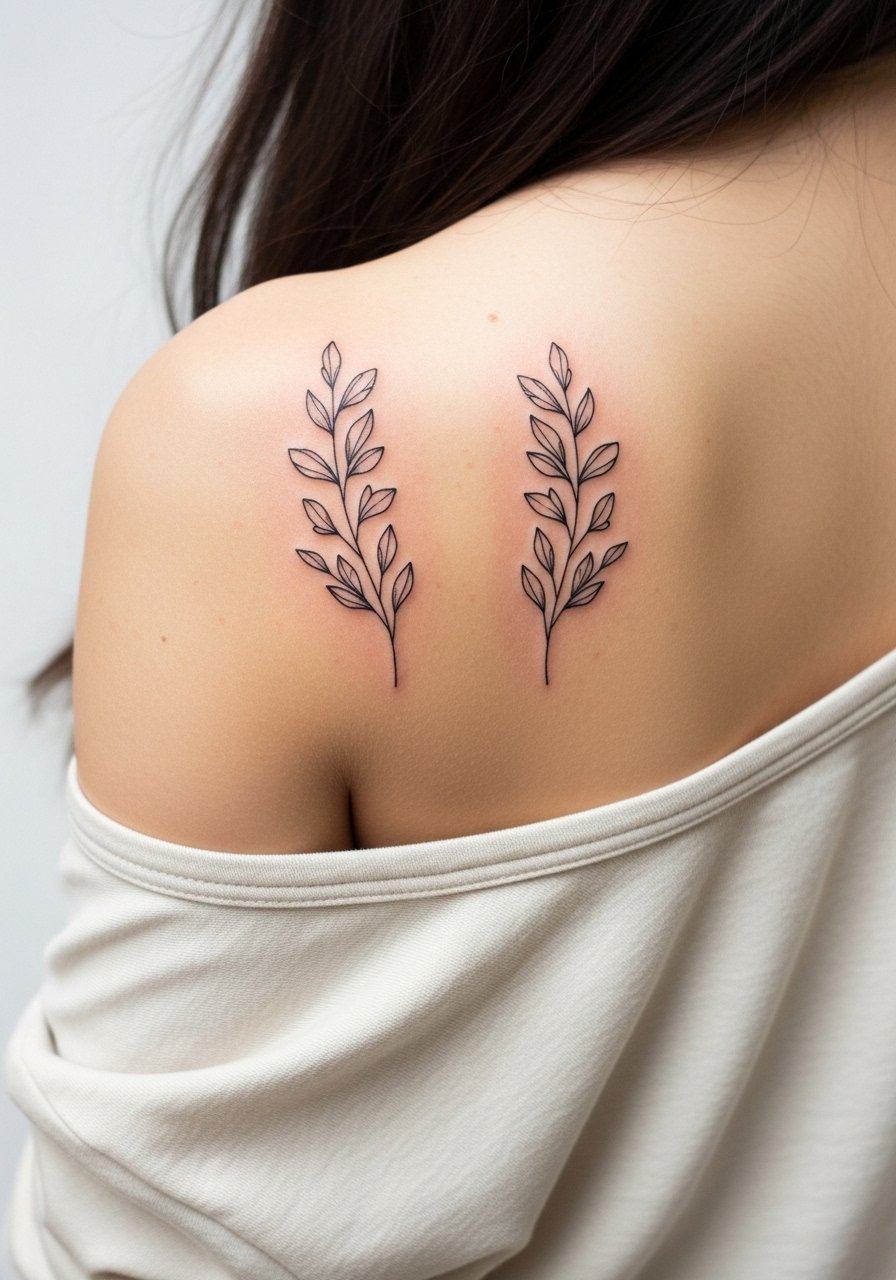
Matching small motifs on each scapula make for a pleasing symmetry when you wear open-back or off-shoulder tops. During consults I ask clients to stand and move so the artist marks placement that aligns when shoulders relax. Sessions run 30 to 60 minutes depending on complexity and pain is generally low. For showing off try an off shoulder sweater or a strappy back top. A common misstep is not checking the mirror while seated; the scapulae shift with posture and placement can look uneven when you stand up.
17. Spine Script in a Non-English Phrase
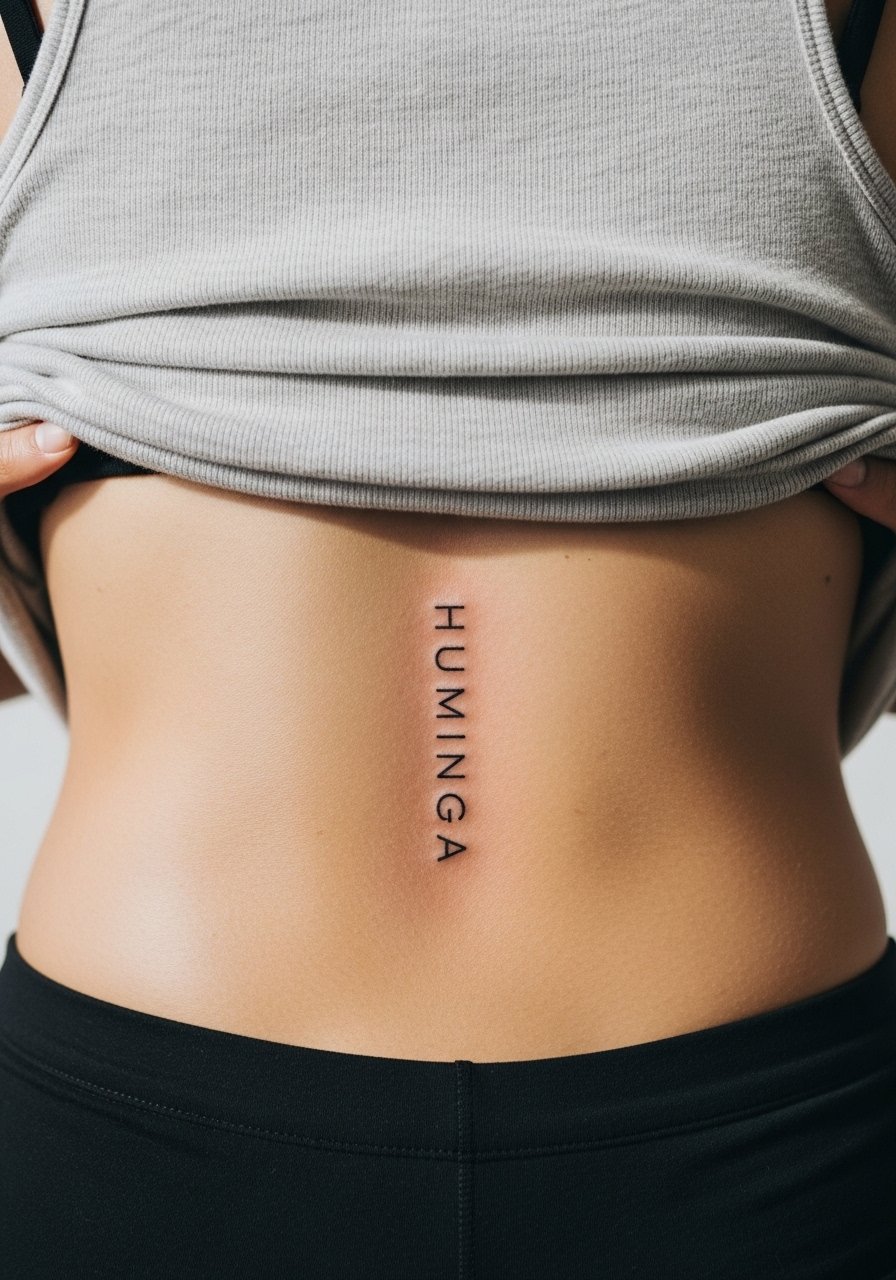
Choosing a short phrase in another language personalizes the spine without expanding size. Give the artist the exact word and a font sample. Keep the height to 1.5 inches so letters do not merge during the first two years. Pain is higher along the actual spinal column and the session often takes 45 to 60 minutes. For evenings wear a backless halter top linen to display the vertical script. A caution: double check translation and spelling before the stencil is applied to avoid permanent errors.
18. Micro Map Pin on Lower Back Dimple

A tiny map pin marks a place without fuss. I advise a 0.8 to 1 inch size and a slightly bolded outer ring so the pin stays visible through wash and friction. Session time is brief and pain is low in the fatty lower back. For styling try a low rise straight jeans arrangement with cropped tops so it peeks when you move. People often ask for coordinates beneath a pin in very small type which becomes illegible; keep text off unless you can afford a larger piece.
19. Minimal Vine Along the Lumbar Curve

A slim vine following the lumbar curve flatters motion and the natural arch of the back. Ask the artist to map the vine while you stand and sit so the flow matches movement. Expect low pain and a session around 45 minutes depending on length. To show it casually, pair with a high waisted crop top and low-rise bottoms. The usual mistake is forcing the vine into a straight line crossing the small of the back which fights the body's curvature and blurs faster.
20. Micro Soundwave Hidden on Mid-Back

A soundwave for a meaningful audio clip reads as abstract on the back and hides easily. Provide the exact short waveform or the phrase text for the artist to convert into lines. Keep it to 2 to 3 inches so the peaks remain distinct. Pain is low and sessions are under an hour. For a subtle reveal, wear an open-back dress mini. Common error: compressing too many audio peaks into a tight space where lines merge into an irregular band.
21. Mirror Art: Aligning Pair When Viewed from Behind
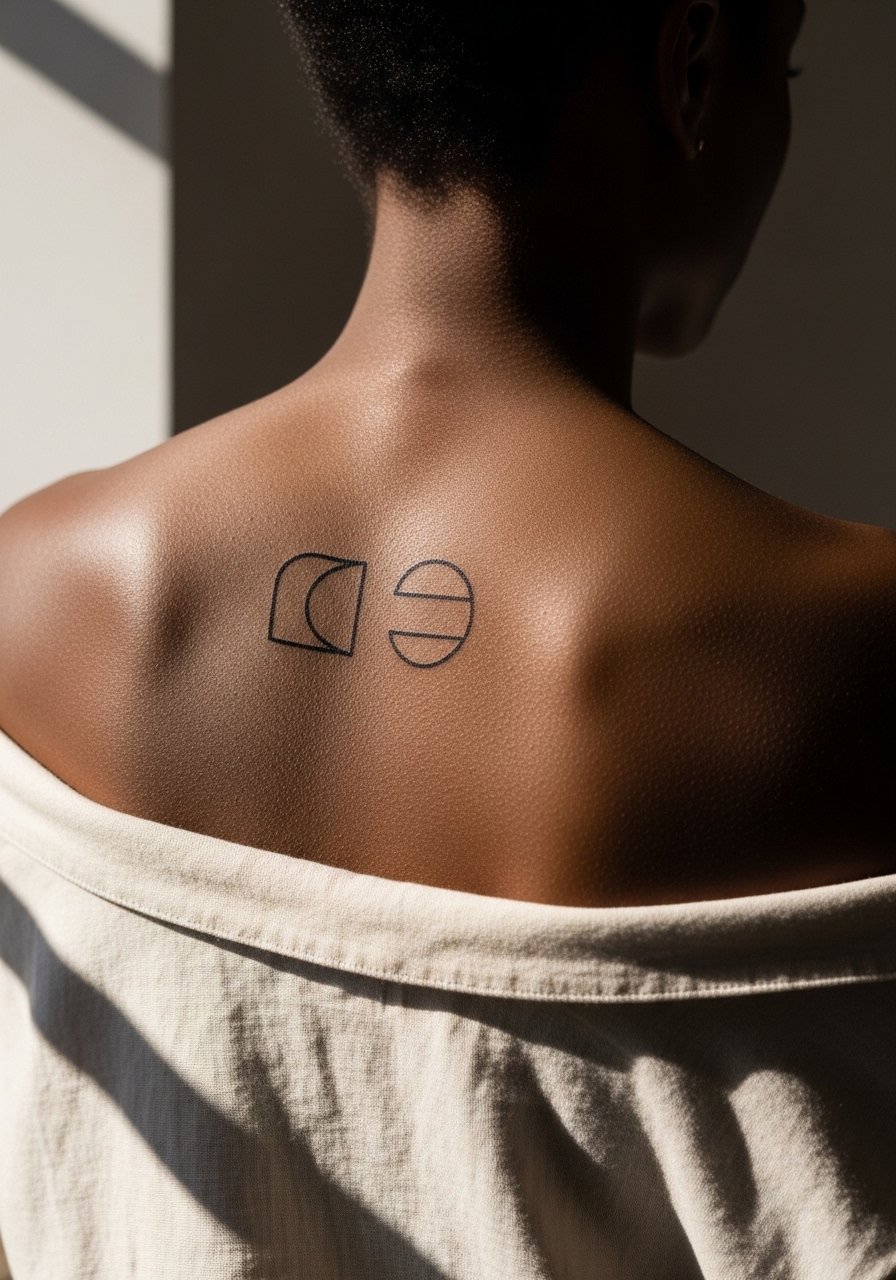
Mirror art is a playful back concept where two separate motifs align into one when you look in a rearview mirror. When booking, stand in front of a mirror with the artist so the stencil is placed to match your reflection. These are custom by nature and need careful stencil testing. Sessions vary but usually stay under 90 minutes. For visibility, an off shoulder sweater frames the join. A common mistake is assuming symmetric placement looks symmetric in a mirror without test prints, which is why stencil rehearsal matters.
Frequently Asked Questions
Q: Do fine line back tattoos really fade faster than bold work, and what should I expect?
A: In my experience fine line work can soften sooner than bold blackwork because the thin channels hold less pigment and skin movement and friction accelerate loss. One camp of artists says fine line blurs within 6 to 12 months on high-friction back spots. The other camp argues that with slightly thicker single-needle strokes and proper depth, fine line can keep shape for several years. Plan for a possible touch-up at year one to two and discuss line weight with your artist.
Q: Can I heal a lower back tattoo during hot months without it rubbing against waistbands?
A: Yes, but it takes planning. Wear loose, breathable clothing for the first week and sleep on a soft surface that avoids pressing the area. Some people prefer dry healing for breathability while others use protective film to guard against sweat; both camps report success. If you sweat heavily, lean toward thin protective film for the first 48 hours then switch to gentle cleansing and light moisturiser.
Q: How visible are spine and mid-back tattoos day to day if I want to see them without mirrors?
A: Most spine and mid-back spots are hard to inspect without a mirror or phone photo. If you want something you can glance at, choose a lower back placement that peeks with a low-rise waistband or nape placement you can see in a mirror. For styling that highlights the area, a backless halter top linen or open-back dress works well.
Q: Should I use Saniderm or dry heal for a back piece that sits under clothing?
A: Both approaches have vocal supporters. The Saniderm camp points to infection prevention and less scabbing. The dry healing camp values breathability and warns of maceration on sweaty backs. My take is to follow the artist’s standard for back work, and if you sweat a lot ask for a shorter initial film window or plan for an early removal and gentle cleaning.
Q: How do placement and size affect the touch-up timeline for these minimal back designs?
A: Placement with high friction like the lower waistline and tiny thin lines will usually need touch-up sooner than mid-back or scapula pieces that see less rub. Tiny script and single-needle motifs often need touch-ups around year one to two. Larger small pieces with slightly thicker line weight can hold for three to five years before a touch-up becomes desirable.
Q: Are there any special considerations for getting a back tattoo if I have scoliosis or asymmetry?
A: Yes. For asymmetric spines or curves, I recommend a consultation where the artist marks designs while you both move. Micro designs can be placed to celebrate asymmetry rather than fight it. Tell the artist about any curvature so they can map placement that reads balanced when you stand naturally.
