
Fine line crowns are everywhere on feeds right now, and the trend has a gap between what looks great in a saved post and what actually holds up on skin. I've seen wrist crowns that blurred fast because the stencil sat too shallow, and thumb crowns that lasted because the artist used stronger lineweight from the start. Below are 21 micro crown tattoo ideas with real-world tips on sizing, placement, aging, and what to tell your artist in consultation.
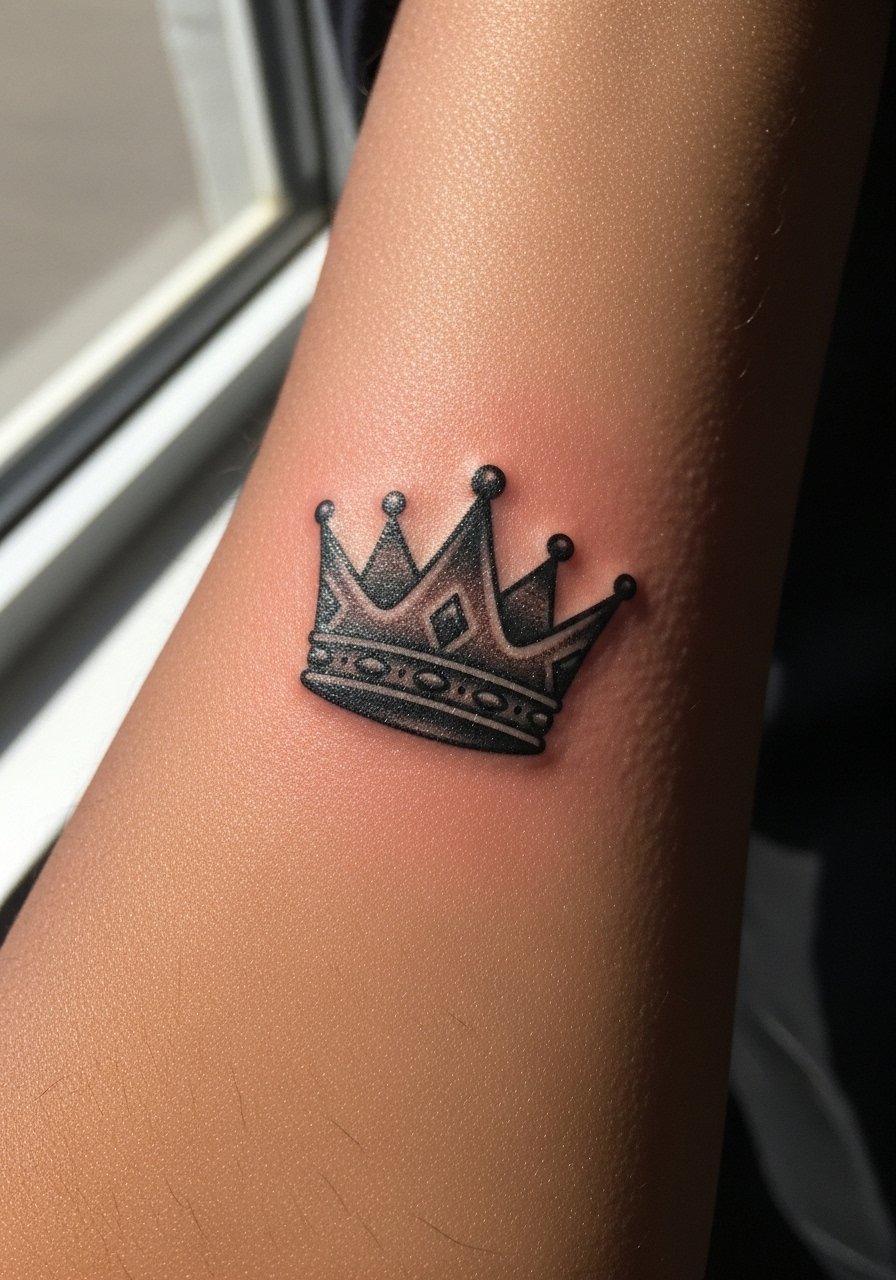
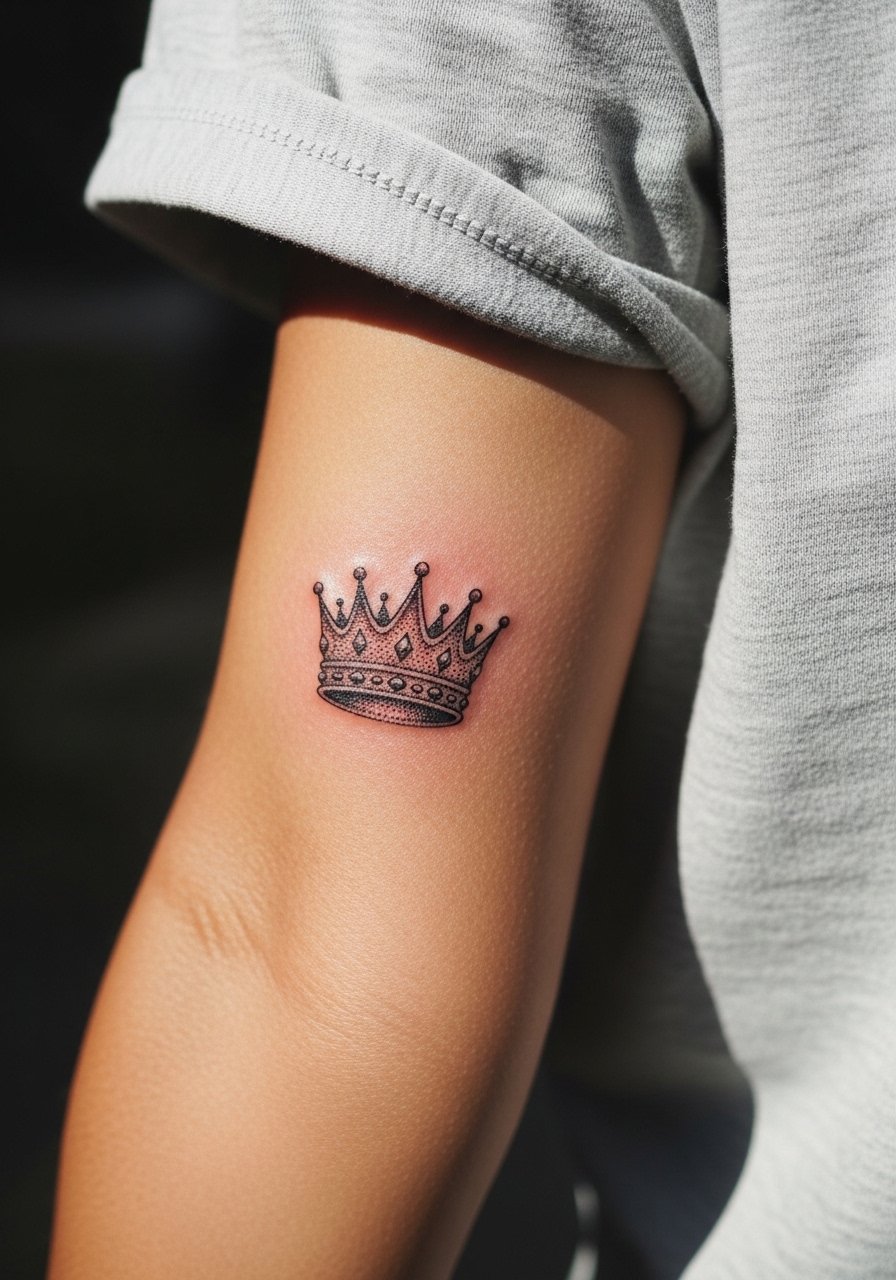
1. Fine Line Micro Crown on the Wrist
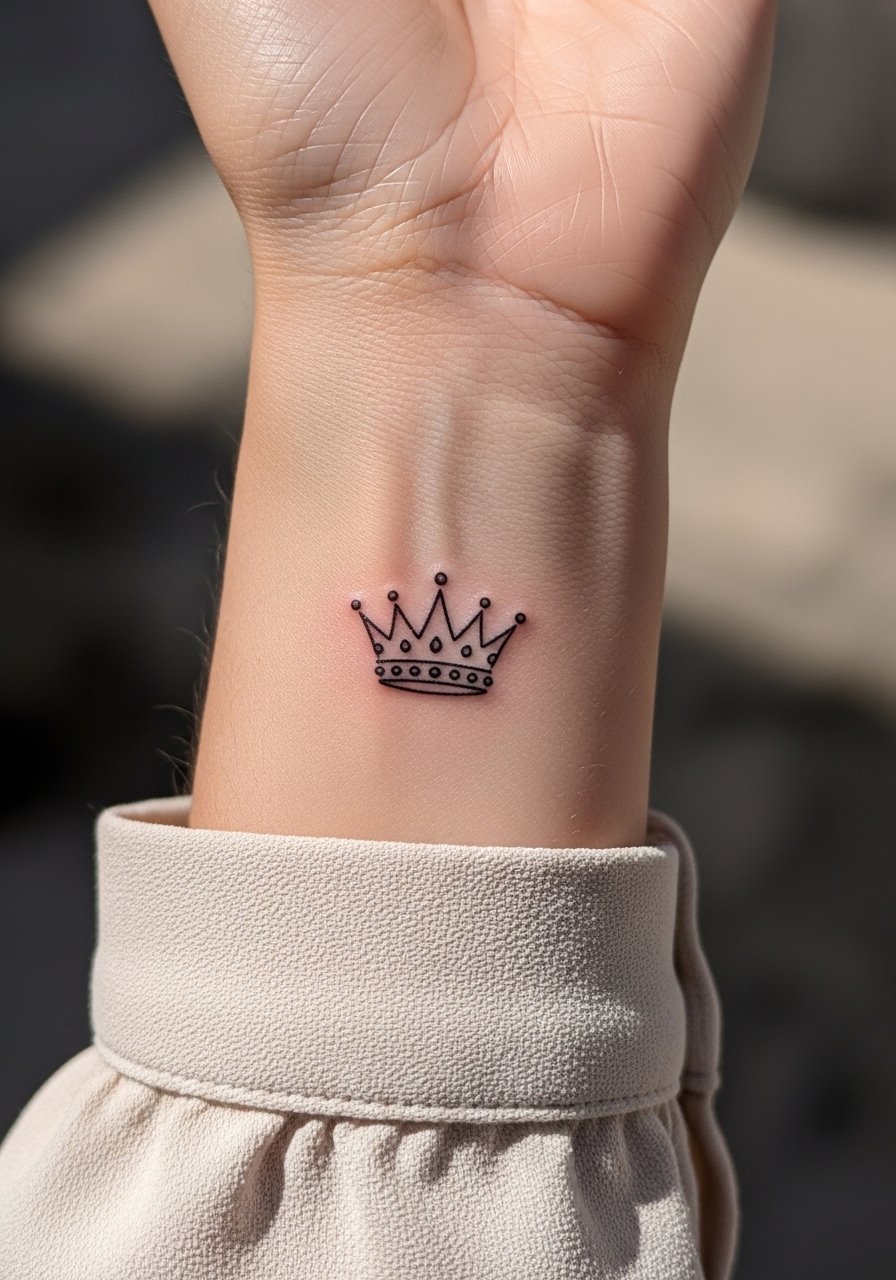
I've seen more clean wrist crowns than any other micro placement. Wrist skin moves and sees sun a lot, so ask your artist for slightly stronger lineweight than you think you want. Pain is low and the session is usually 20 minutes. A common mistake is requesting ultra-single-needle work for a wrist piece that will rub on watches or bracelets, which means early fade and frequent touch-ups. Expect a touch-up window within the first year and smaller retouches every couple of years depending on sun exposure. For showing it off, pair the piece with a rolled cuff blouse and a thin silver chain bracelet, and wear a sleeveless top to the session so the artist has clear access.
2. Tiny Crown Behind the Ear
This hidden placement is perfect if you want quiet symbolism. Behind-ear pieces itch during week two for many people, so plan around event schedules. The piece takes 15 to 30 minutes, pain is very low, and shading should be minimal to avoid raised scabs near hair. A common design mistake is over-detailing a half-inch area. Ask for a mockup on your skin so you can see how small elements read. For a simple way to style it, wear pearl stud earrings when you want the crown to peek out, and tie your hair up for the appointment so the artist has clear access.
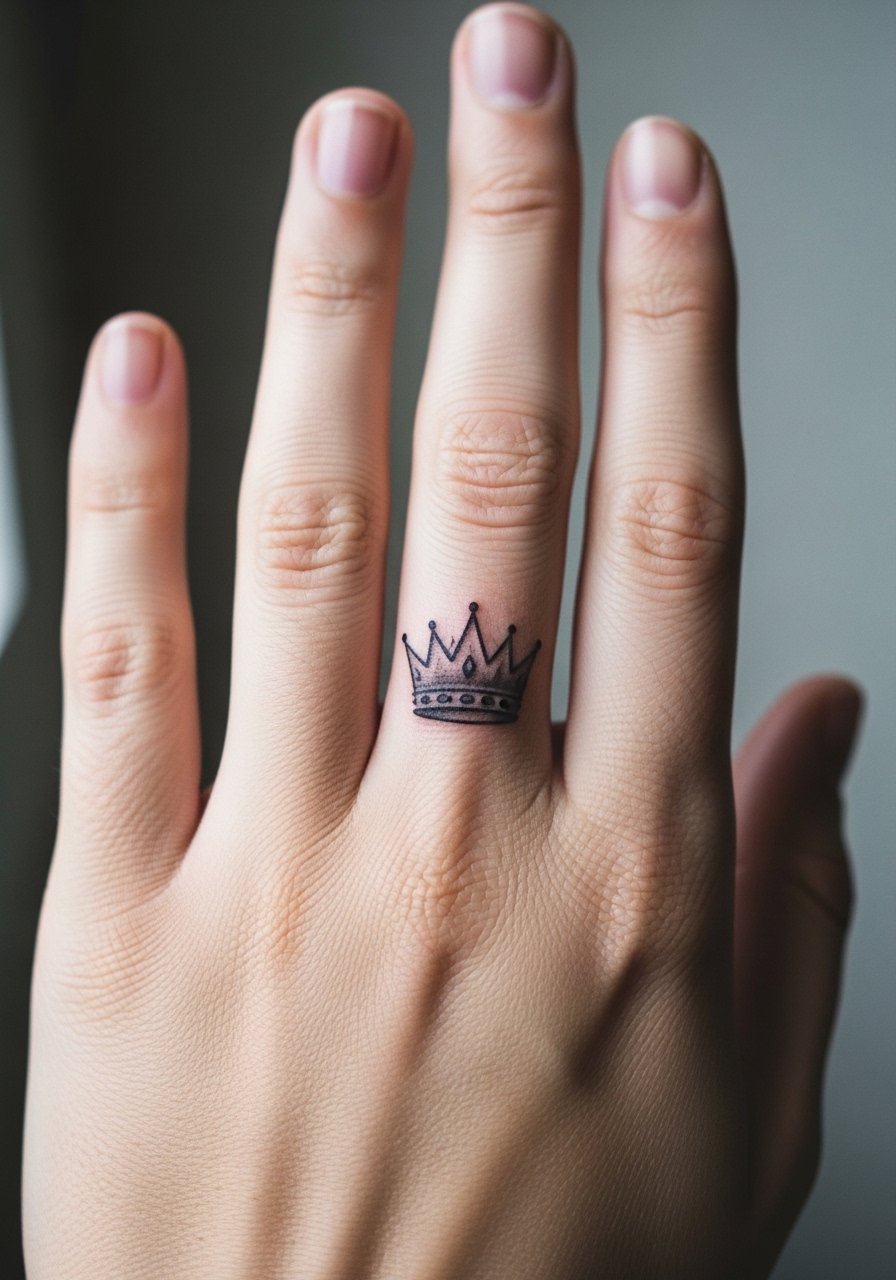
3. Minimalist Outline Crown on a Finger
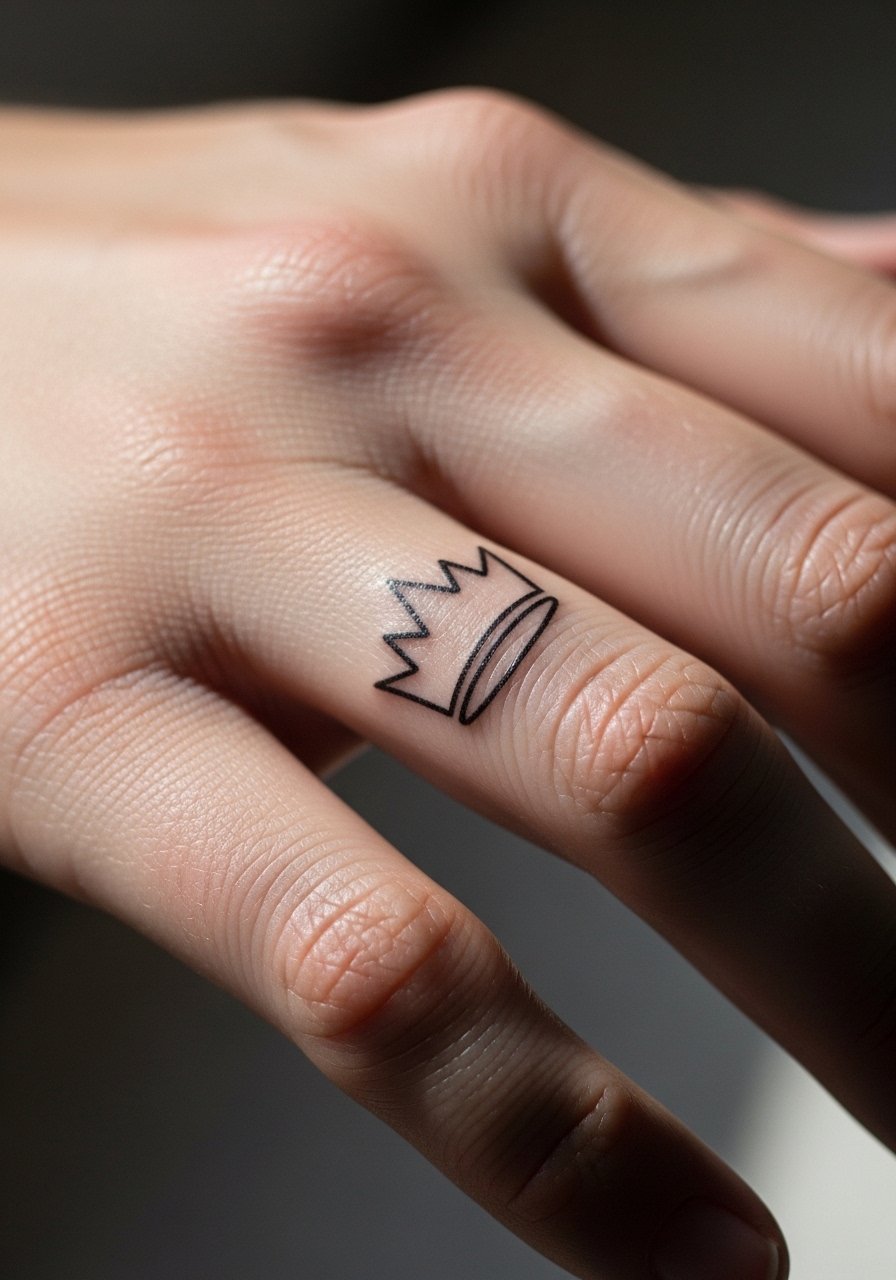
Finger micros age differently because of constant washing and friction. If you want longevity, request bolder micro linework rather than hairline single-needle outlines. The session is short, under 30 minutes, but touch-ups are common within 6 to 18 months. A frequent complaint is early blur on the inner finger where skin flexes. During consultation, mention you use your hands a lot and confirm that the shop includes a free touch-up policy in the first year. For styling, keep hands simple with a thin gold ring on a non-tattooed finger and a neutral manicure so the crown reads clearly.
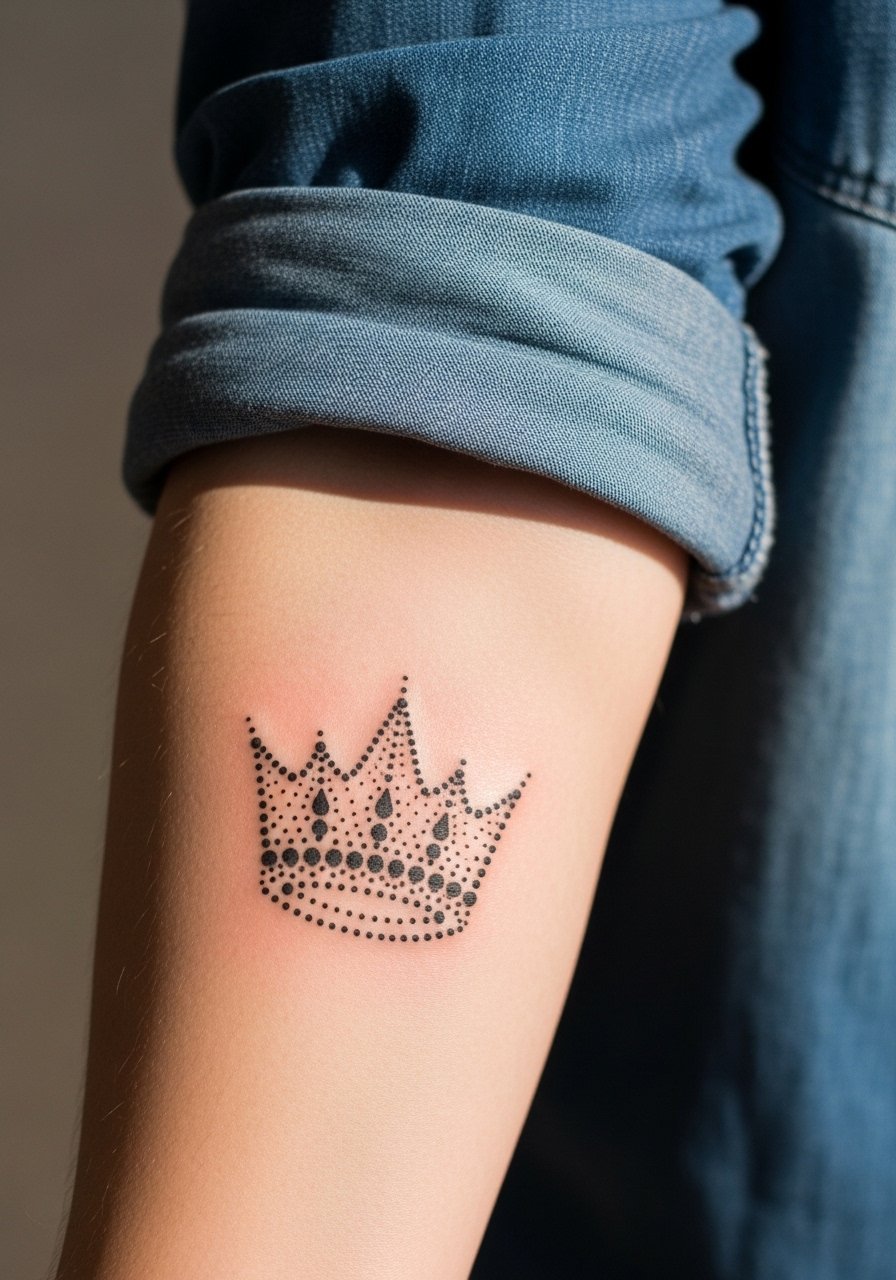
4. Delicate Dotted Crown on the Inner Wrist

Dot work can soften how a crown settles into skin, and inner wrist placement tends to hide aging if you prefer less contrast over time. Expect low pain and a session under 30 minutes. The version that ages poorly uses dots packed too tightly which merge after a year. Ask for more breathing room between stipples and for the artist to show a healed-size mockup. On darker skin tones, slightly higher contrast blackwork helps the pattern stay readable long term. Keep moisture light during days three to fourteen and avoid picking at tiny scabs to preserve the stipple detail.
5. Geometric Micro Crown on the Ankle
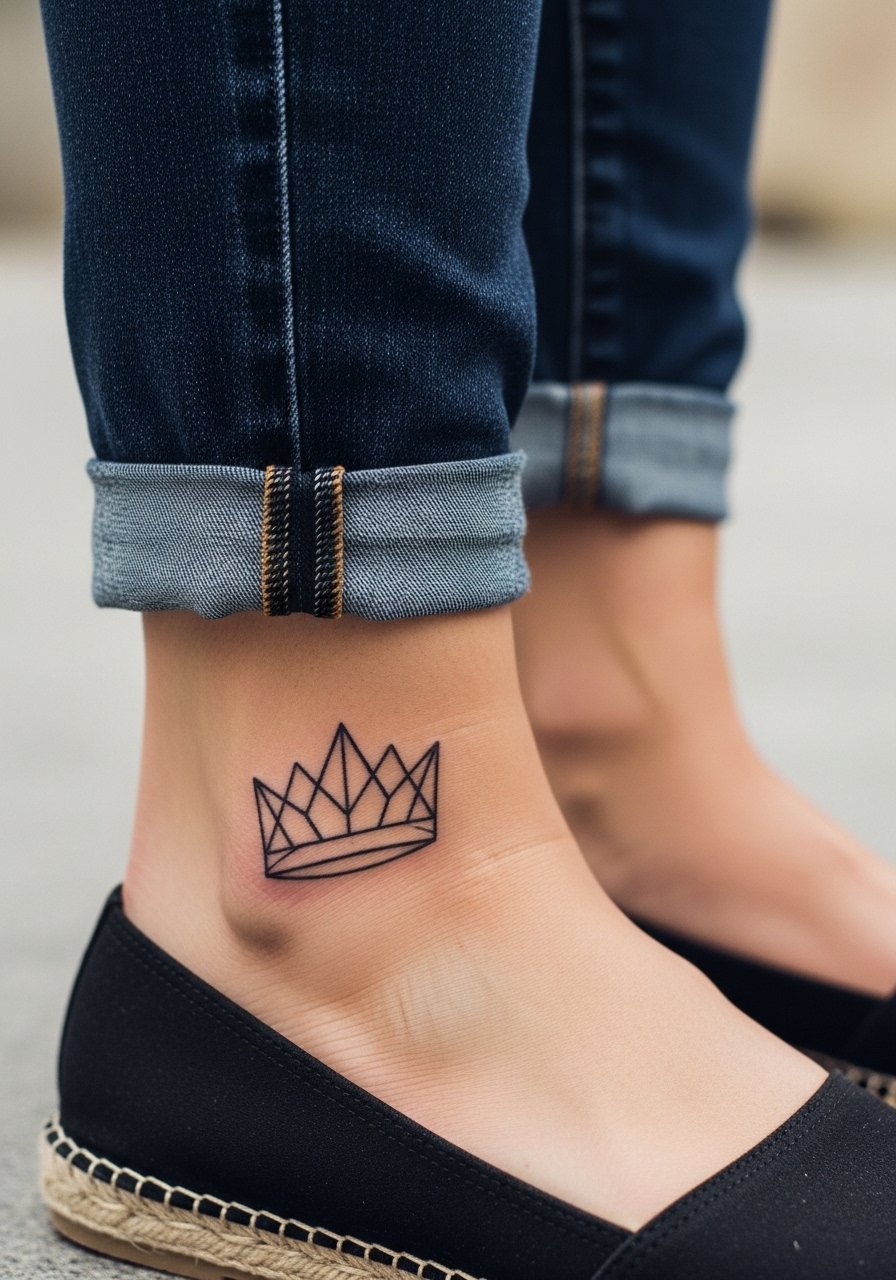
Ankles are low-visibility but high-motion zones, and socks or shoes can rub fresh ink. Pain is low to moderate and sessions run 20 to 40 minutes. Avoid ultra-fine spacing for geometric crowns on the ankle because stretching with footwear and movement will distort tight geometry over time. If you expect weight change or regular running, consider the inner thigh instead. For showing it off, cuffed jeans and espadrille flats keep attention on the area, and wear shorts to the appointment so the artist can work without fabric pressure.
6. Single-Line Continuous Crown on the Collarbone
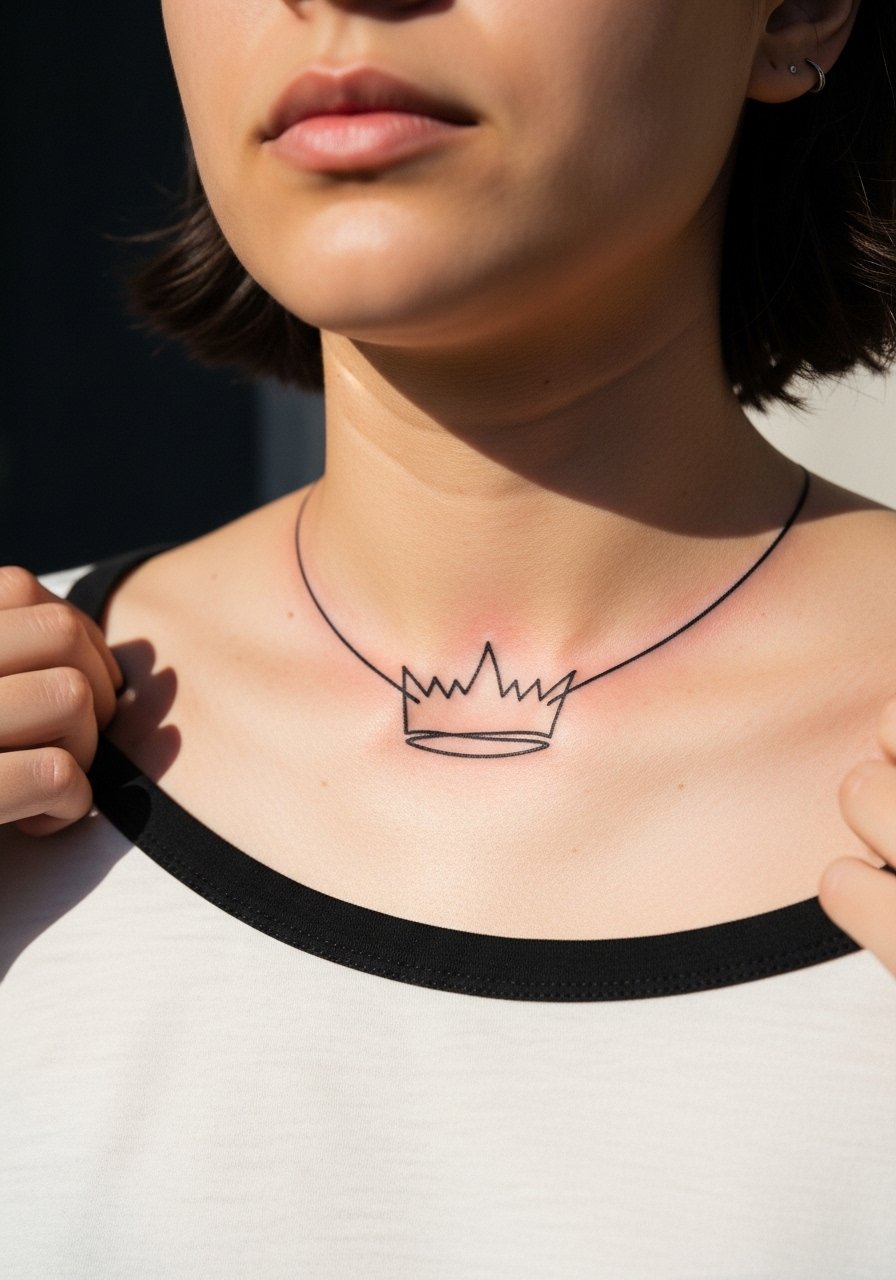
Collarbone crowns have a graceful flow but live on thin skin that can shift with movement. Pain is moderate, session length is 20 to 40 minutes, and many fine-line pieces here benefit from slightly thicker single-line weight to resist early blur. Artists are split on how fine is too fine in this spot. One camp says the thin skin blurs fast while the other camp argues that correct needle depth and spacing keeps lines crisp. Ask an artist which side they fall on and request a healed-size stencil before ink. For post-session wear, bring a strapless bralette or a button-front shirt you can pull aside so the collarbone is easy to access.
Pre-Session Essentials
The wrist, finger, and collarbone pieces above each have different prep needs, so a compact kit tuned to small work smooths the chair day and the first week.
-
Indie beetroot balm. A thinner, less greasy balm many people prefer for finger and wrist heals because it absorbs without leaving a heavy film over fine linework.
-
UK tea tree salve. Works well in dry winter months for ankle and ribcage pieces where scabs can crack, and it keeps the skin supple without clogging.
-
Australian eucalyptus aftercare spray. Sprays help scab-free healing on delicate dot work, which is useful for stippled crowns on the wrist or forearm.
-
Japanese rice bran oil serum. Lightweight oil that soaks in quickly and reduces shine, handy for darker skin tones that often show excess sheen during the first week.
-
Thin oatmeal lotion. A gentle, non-cloying lotion that many people switch to after the ointment phase for wrist and collarbone work to avoid clogged needle channels.
7. Shaded Micro Crown Between Fingers
Between-finger placements are intimate and almost private, which is why many pick them. Expect higher fade risk from constant motion and frequent washing. Pain is low but the area is thin so the artist must control depth to avoid blowout. A common error is packing shading like a mini patch in a zone that needs simpler contrast. If you want subtle shading, ask for light gray wash with distinct edge spacing. Touch-ups are common within the first year. Avoid rings rubbing that exact spot in the early weeks because even thin friction can disturb settling.
8. Floral-Accented Micro Crown on the Ribcage
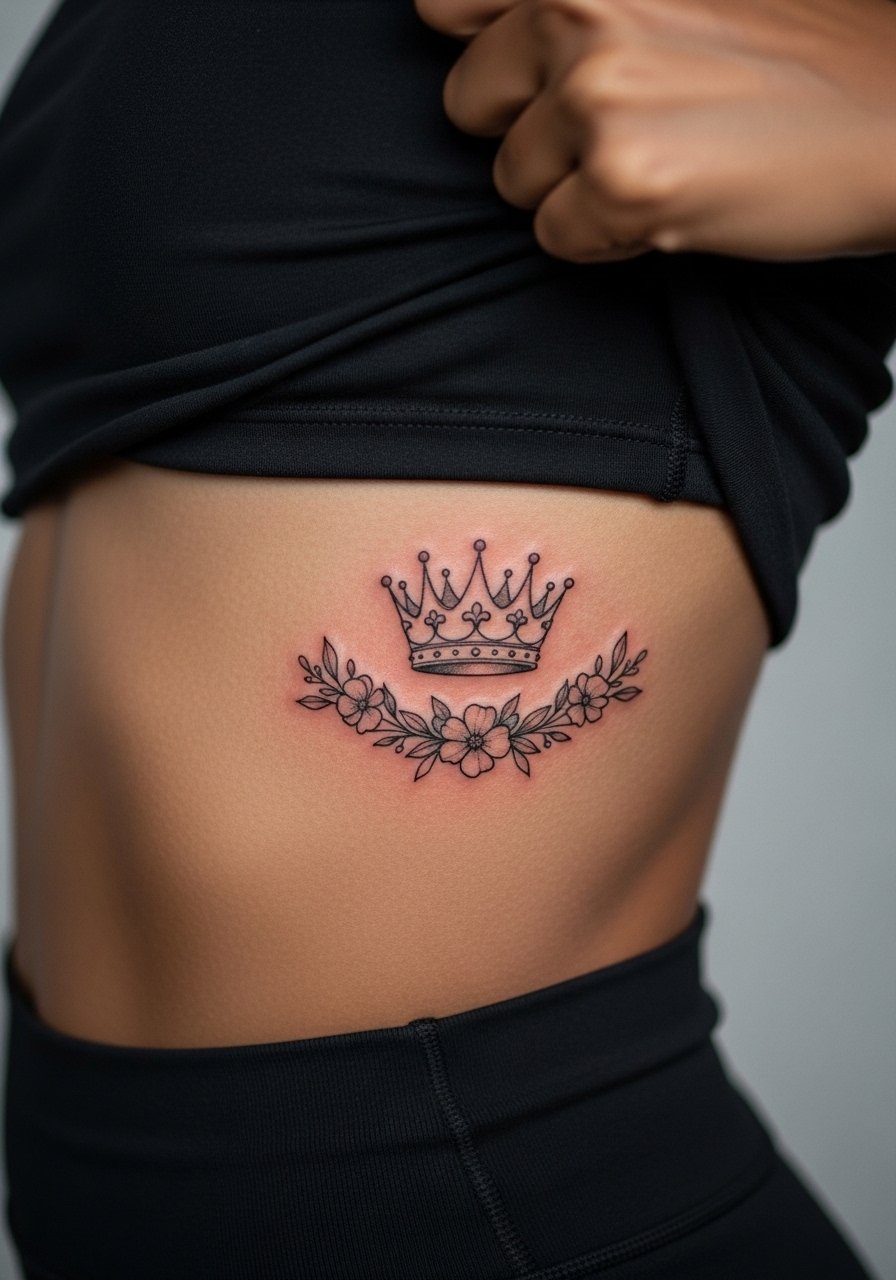
Ribcage work is higher pain and often performs best in one to two short sessions. Fine line with tiny color accents can be beautiful but the skin stretches with breathing so spacing matters. One notable mistake is asking for dense detail in a one-inch area which then blurs with time. If you plan this placement, expect a longer first session and slower healing because clothing rub can irritate scabs. For session wear, bring a loose cropped top you can shift so only the tattooed side is exposed.
9. Abstract Crown Dots on the Inner Forearm
Inner forearm is a forgiving canvas and dotwork reads well here because the surface is relatively stable. Pain is low and sessions are short. The design that ages poorly compacts dots too tightly into negative space which then merges. Ask for a healed-size printout that shows spacing at full scale before you book. For showing it off, roll a chambray button-down shirt to elbow length so the forearm stays visible without looking staged.
10. Heart-Integrated Micro Crown on the Thumb
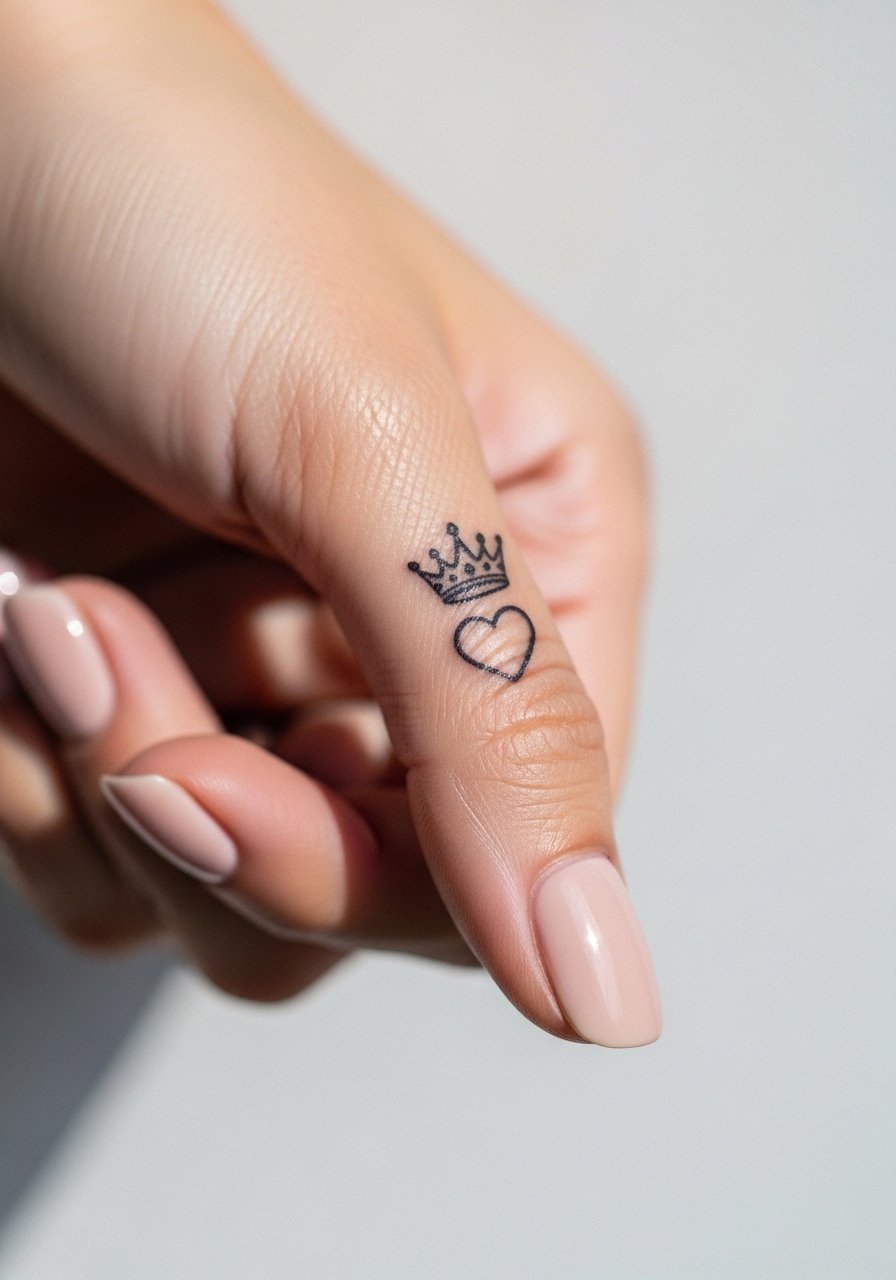
Thumb tattoos live in a friction zone and can surprise first-timers by how well they sometimes hold up. If you want longevity, ask for a thicker micro outline and plan for a possible touch-up in year one. Pain is moderate because of thin tissue and proximity to bone. Shoes and gloves rarely affect thumbs, but frequent hand washing does. Keep the immediate area free of rings during the first two weeks. Pairing the piece with a nude gel nail polish highlights the tiny crown without visual noise.
11. UV-Reactive Micro Crown for Nightlife

UV-reactive ink is a niche route if you want a piece that glows under blacklight but stays low-key in daylight. Note that longevity varies and some inks hold glow better than others. The controversy with UV inks involves safety concerns and uneven longevity. Ask your artist about pigments they trust and whether they have healed examples. This style is best for people who understand it may need special care and occasional re-inking to keep the glow bright. Expect slightly longer sessions if the artist layers pigment for better glow retention.
12. Minimalist Crown Between the Toes
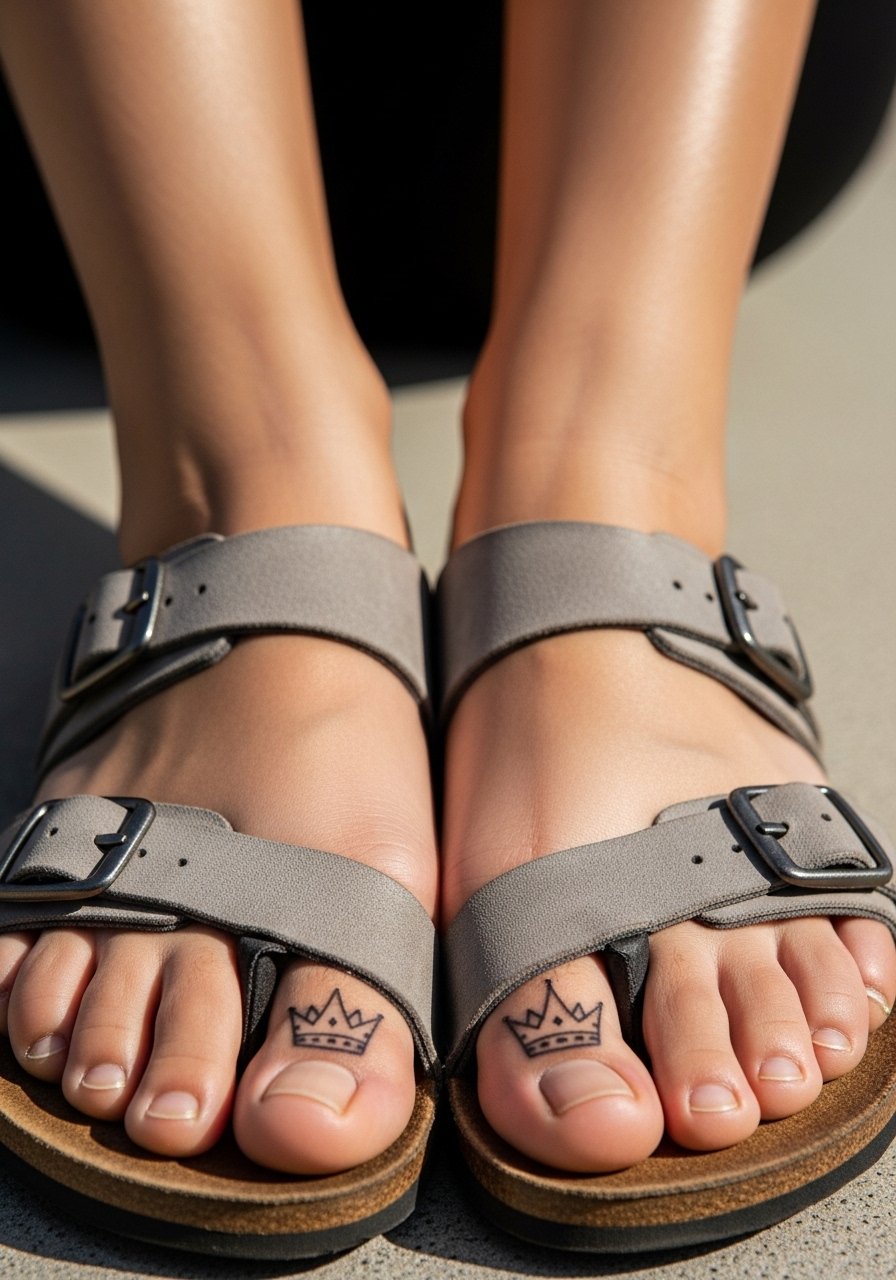
Between-toe placements are a clever privacy choice for summers and vacations. Expect the session to be ticklish more than painful and plan to go barefoot to the appointment so the area is fully accessible. The biggest post-session issue is moisture from shoes and socks, so open-toe footwear is sensible during healing. For evening looks, try open toe sandals that keep the tattoo visible without pressure. Keep in mind touch-ups may be needed sooner if you often wear closed shoes.
13. QR Code-Paired Micro Crown on the Inner Forearm
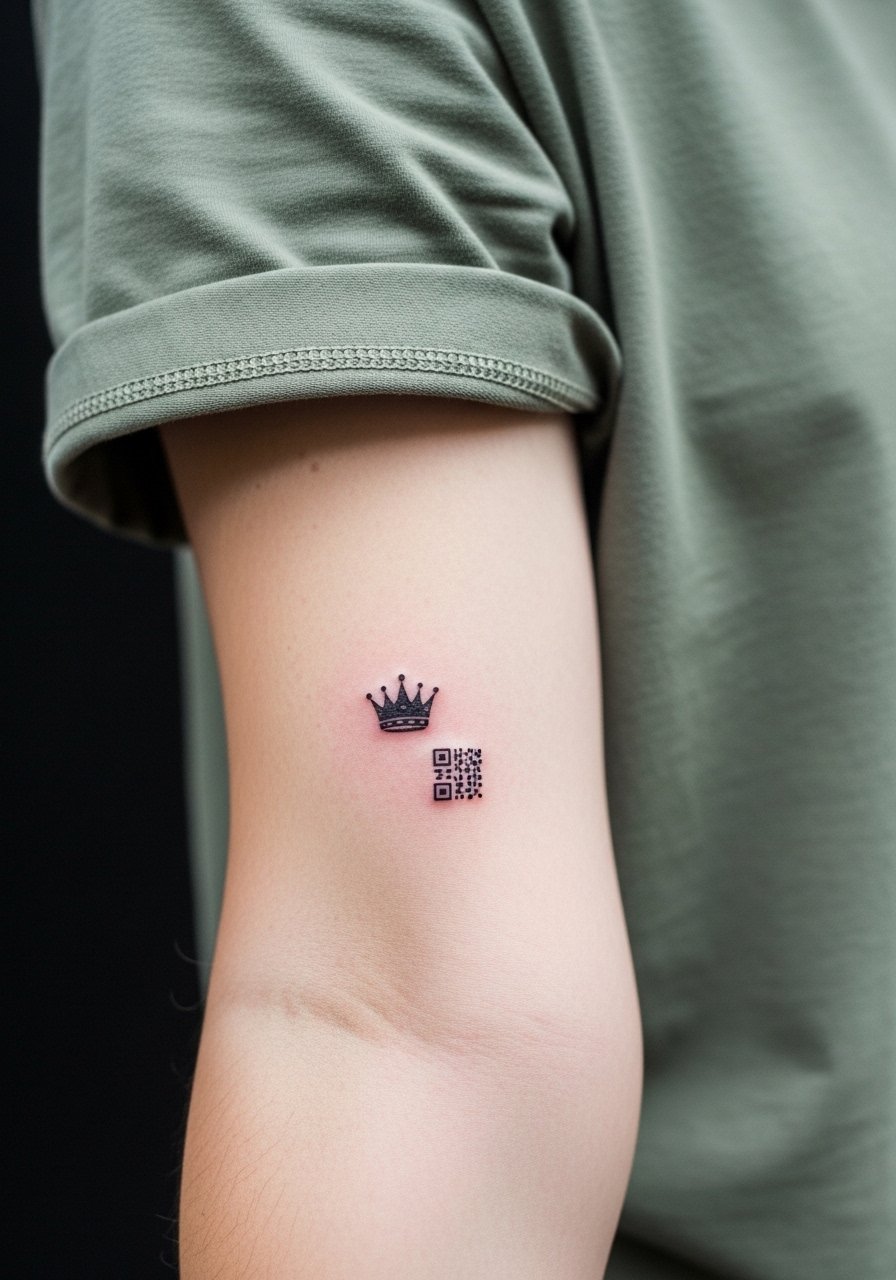
This is a modern, personal spin where the crown sits above a tiny QR cluster linking to a private note or playlist. Technical note, QR tattoos must be large enough and high contrast to scan consistently, so they are not truly micro. Ask your artist for a scanned test of the tattoo before you leave the chair. Expect a longer consultation and a slightly bigger size than other micro crowns for the QR to be functional. If you want discreet symbolism with a functional link, this idea blends both but comes with a trade-off on minimalism.
14. Blackwork Micro Crown for Darker Skin Tones
For melanin-rich skin, saturated blackwork often reads stronger and ages more predictably than ultra-fine gray shading. Pain is low on the forearm and sessions are brief. One common mistake is using hairline single-needle work that can wash out visually over time. I recommend asking for slightly bolder lineweight and confirmed healed photos on similar skin tones. The fine line camp and the blackwork camp disagree about aesthetics and longevity. Name both approaches to your artist and ask which they prefer for your skin tone. For wearing the piece, a loose loose fit t-shirt keeps the forearm visible without crowding the design.
15. Micro Crown on the Shoulder Blade
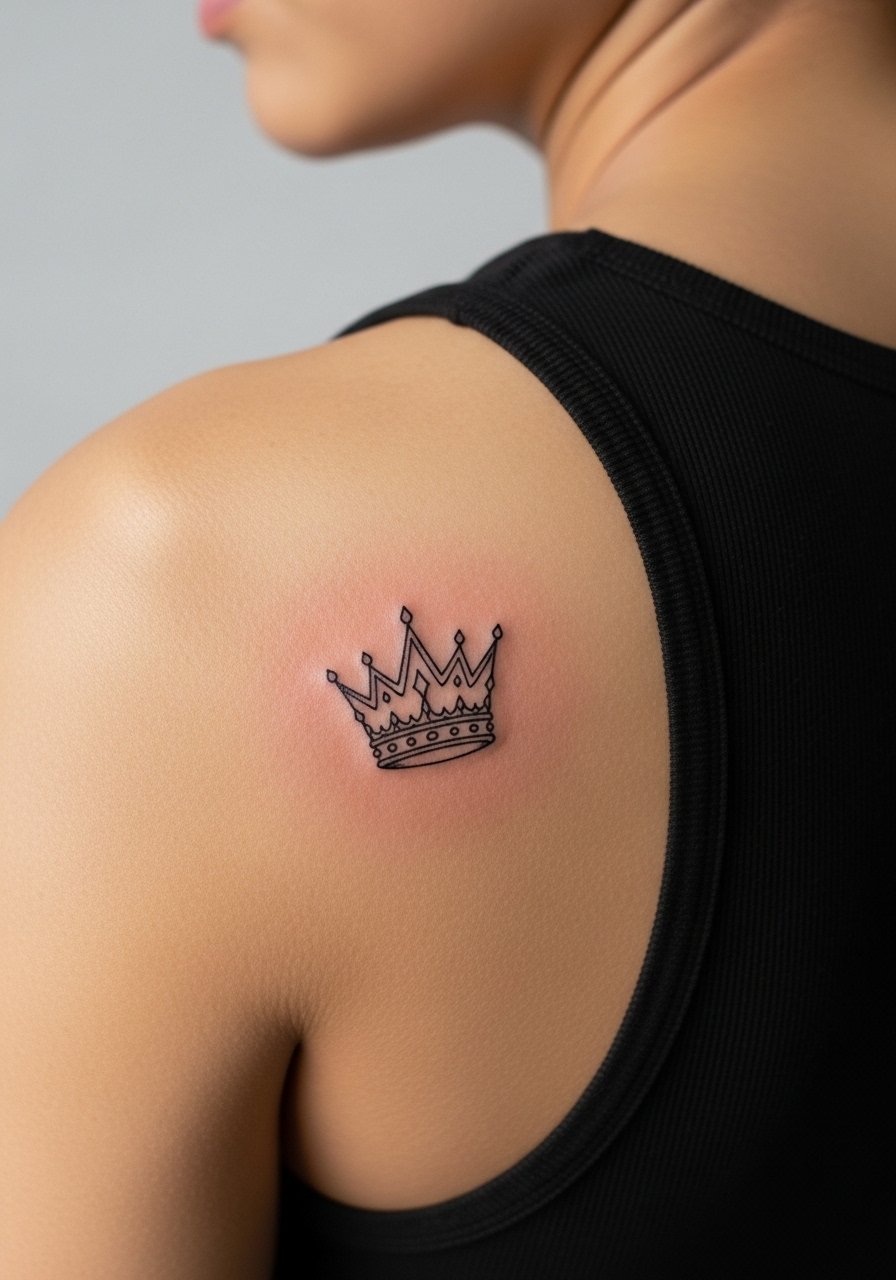
Shoulder blade pieces sit on relatively stable skin so small crowns can keep shape longer than hand or finger locations. Pain ranges from low to moderate depending on needle depth and session time is usually 20 to 40 minutes. Avoid packing dense detail into a one-inch space. Ask for a healed-size stencil laid out while standing to see how it drapes with shoulder movement. For session wear, choose a tank top or button-down that you can adjust without removing too much clothing.
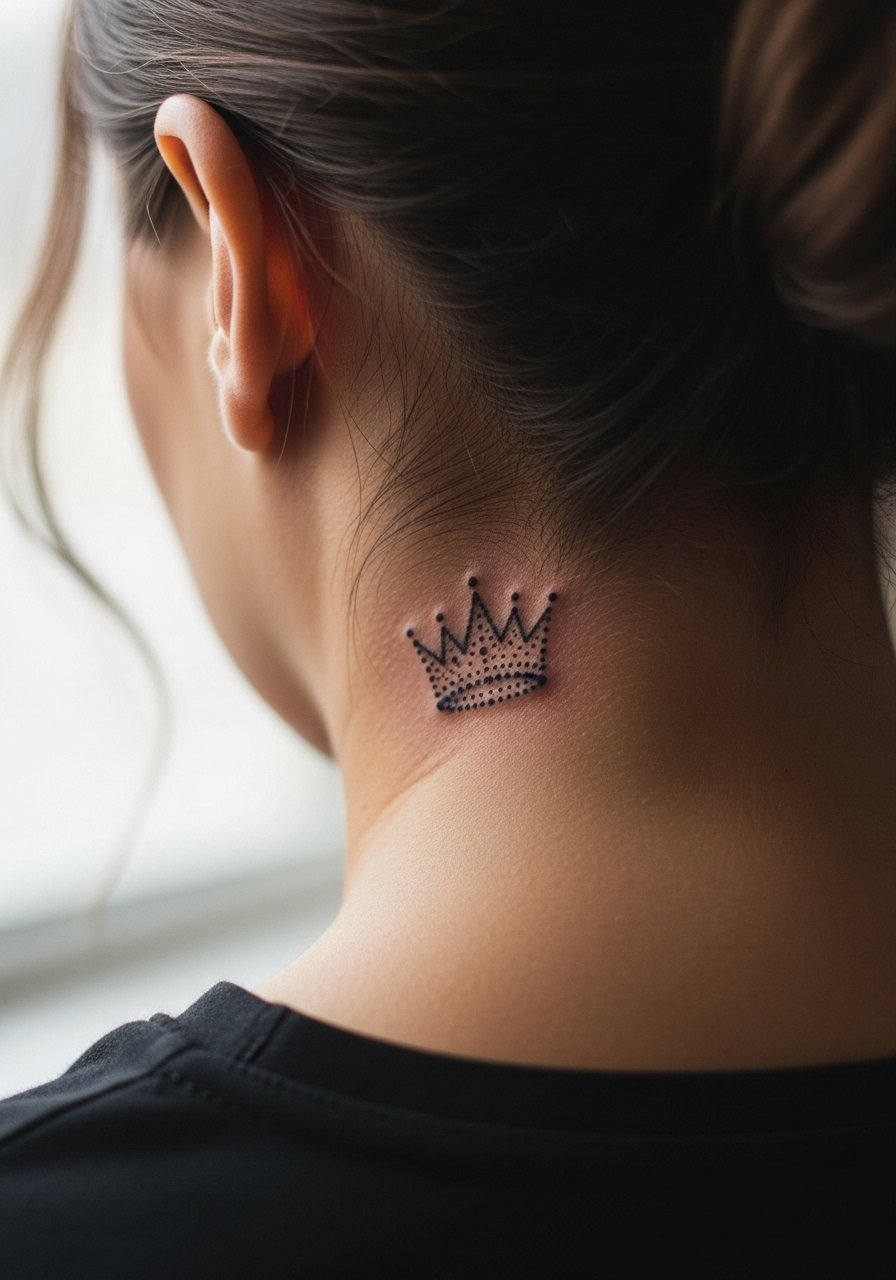
16. Micro Crown at the Nape of the Neck

Nape placements hide well under hair and show subtly when you pull it up. Pain is low to moderate and sessions are quick. The main technical note is to ensure the artist can work with the hairline present so the stencil aligns correctly. Some people prefer nape crowns as matching pieces because they are easy to conceal in professional settings. Bring a wide-neck shirt to the appointment so the area is accessible while remaining modest.
17. Matching Pair: Single-Dot Crown on Opposite Inner Wrists
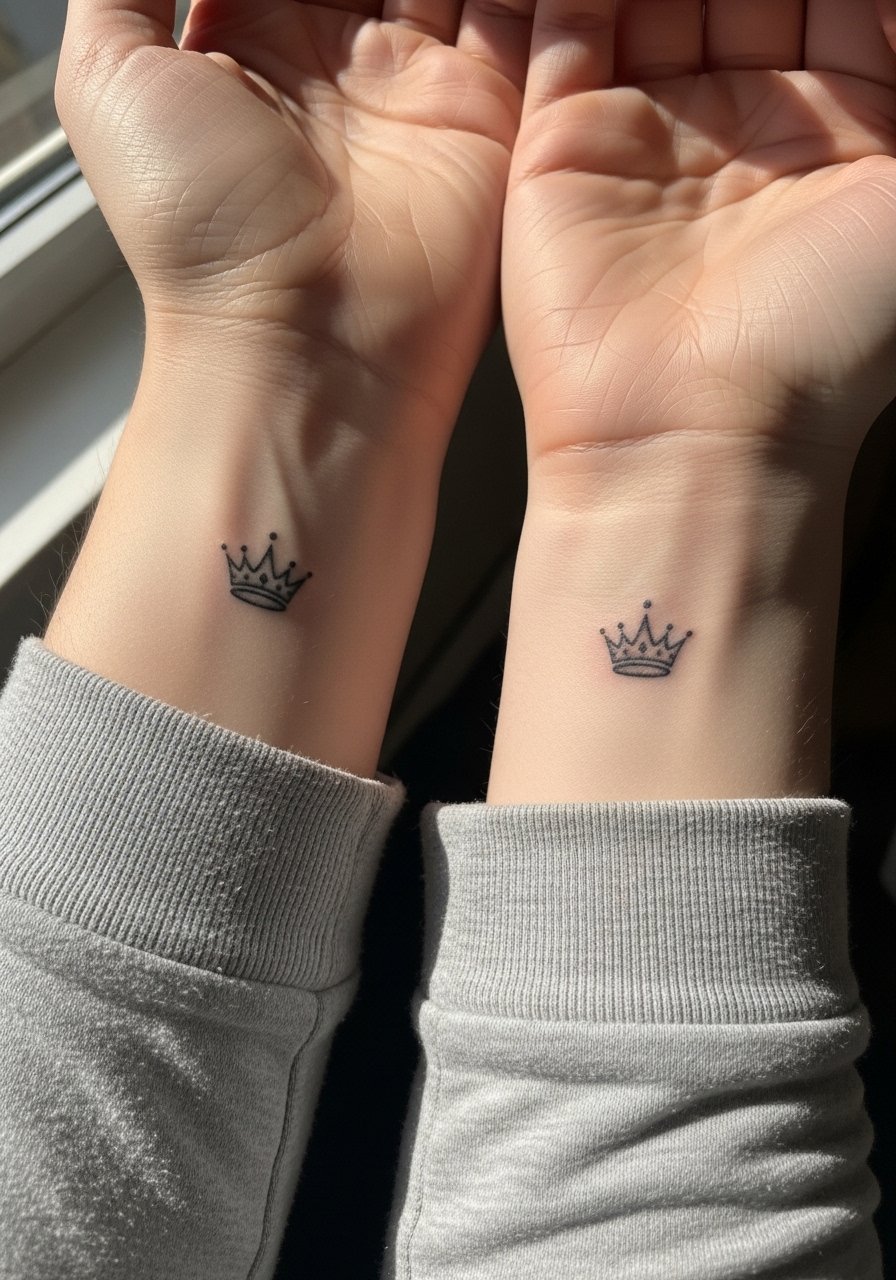
Matching micro crowns on both wrists are a low-key way to coordinate with a partner or sibling. Healing and aging follow the same wrist rules, so keep expectations about touch-ups realistic. The biggest mistake is getting mismatched lineweight from two different artists. If you want matching, book the same artist or ask for a mirrored stencil. For simple show-off styling, wear a thin silver chain bracelet on the opposite wrist so the two small marks balance visually.
18. Minimal Outline Crown on the Inner Thigh
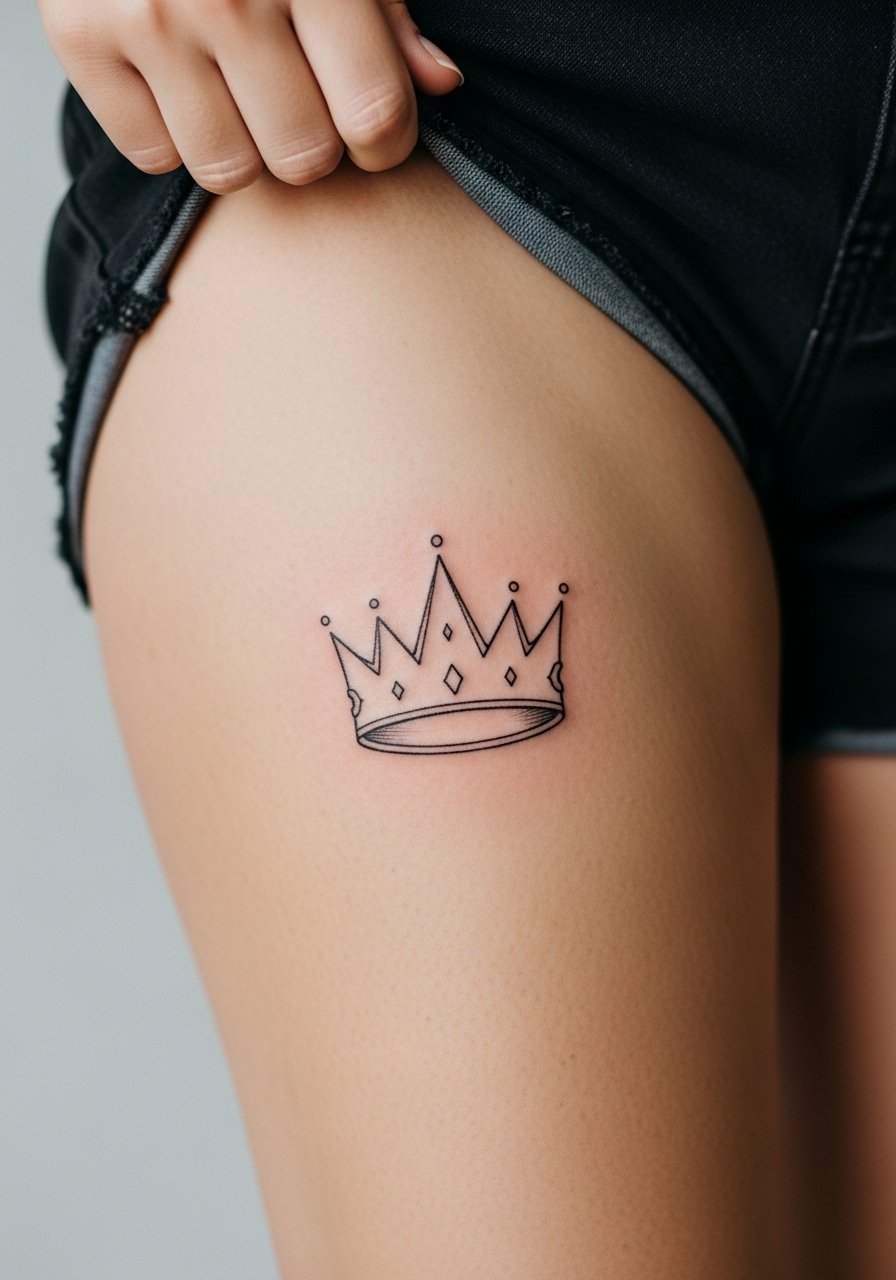
Inner thigh tattoos stay private and often age well because they avoid sun exposure. Expect moderate pain and a one-session appointment under 45 minutes for a micro crown. The common error is requesting extremely fine negative space detail that later smooths with natural skin texture. If you want longevity, keep the design simple and allow a little extra room between lines. Wear loose shorts to the session so the artist can access the area without fabric pressure.
19. Tiny Geometric Crown Above the Ankle with Anklet Accent
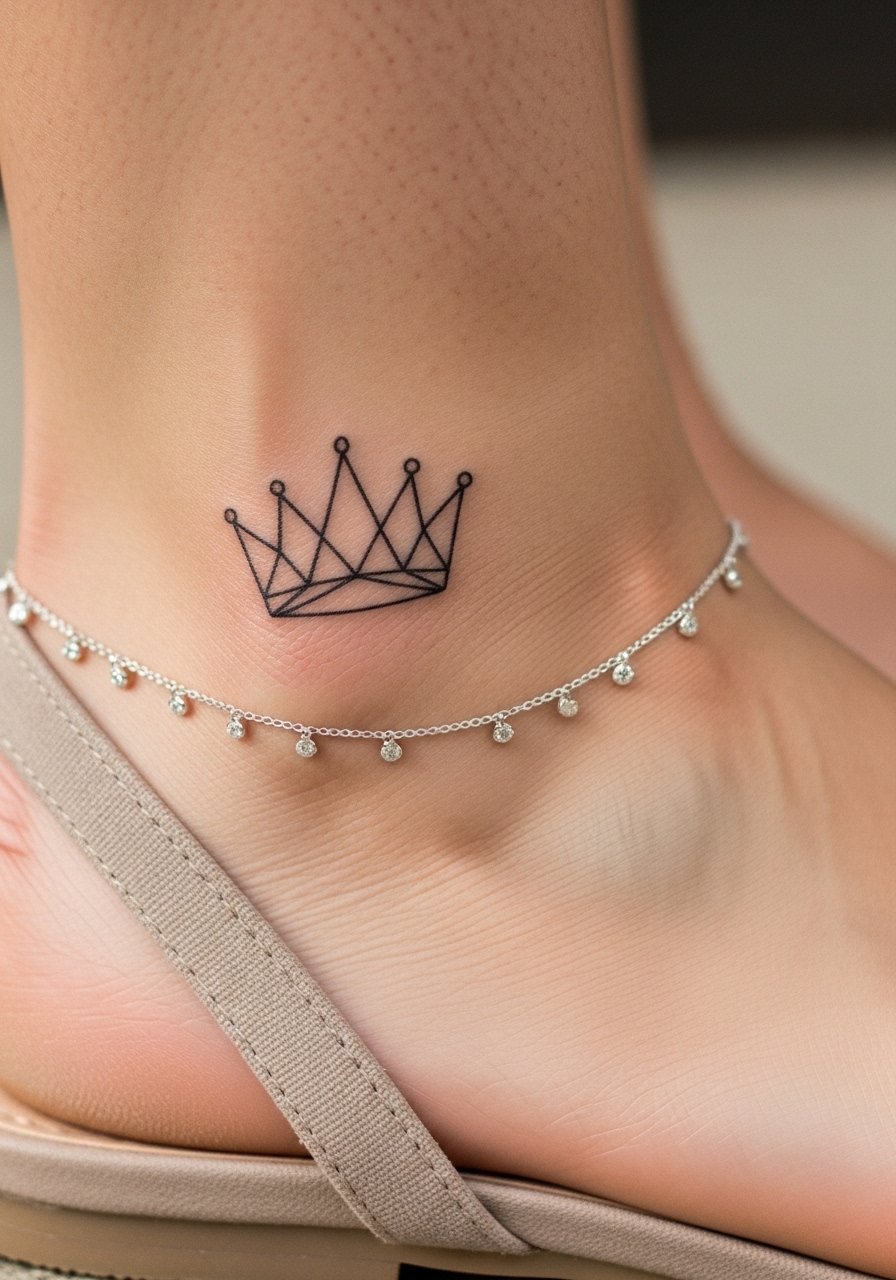
Placing a crown right above the ankle frames it nicely with anklets. The pain is low and sessions are brief. Watch for distortion if you choose very tight geometry because the lower leg sees movement and weight shifts. For showing it off, a dainty ankle chain on the opposite leg complements the tattoo without overcrowding. If you wear socks often, plan for breathable footwear during the first week.
20. Stipple-Shaded Micro Crown on the Inner Forearm
Stipple shading gives crowns a softer, vintage feel on the forearm and generally ages well because the technique spaces pigment deliberately. Expect low pain and a session under 45 minutes. The typical mistake is overpacking stipples which creates a muddy patch later. Request a controlled stipple technique like stipple spacing examples from the artist's healed portfolio. For darker skin tones, stippling with strong black contrast avoids bloom and keeps the motif readable.
21. Tiny Crown Under the Collar on the Chest
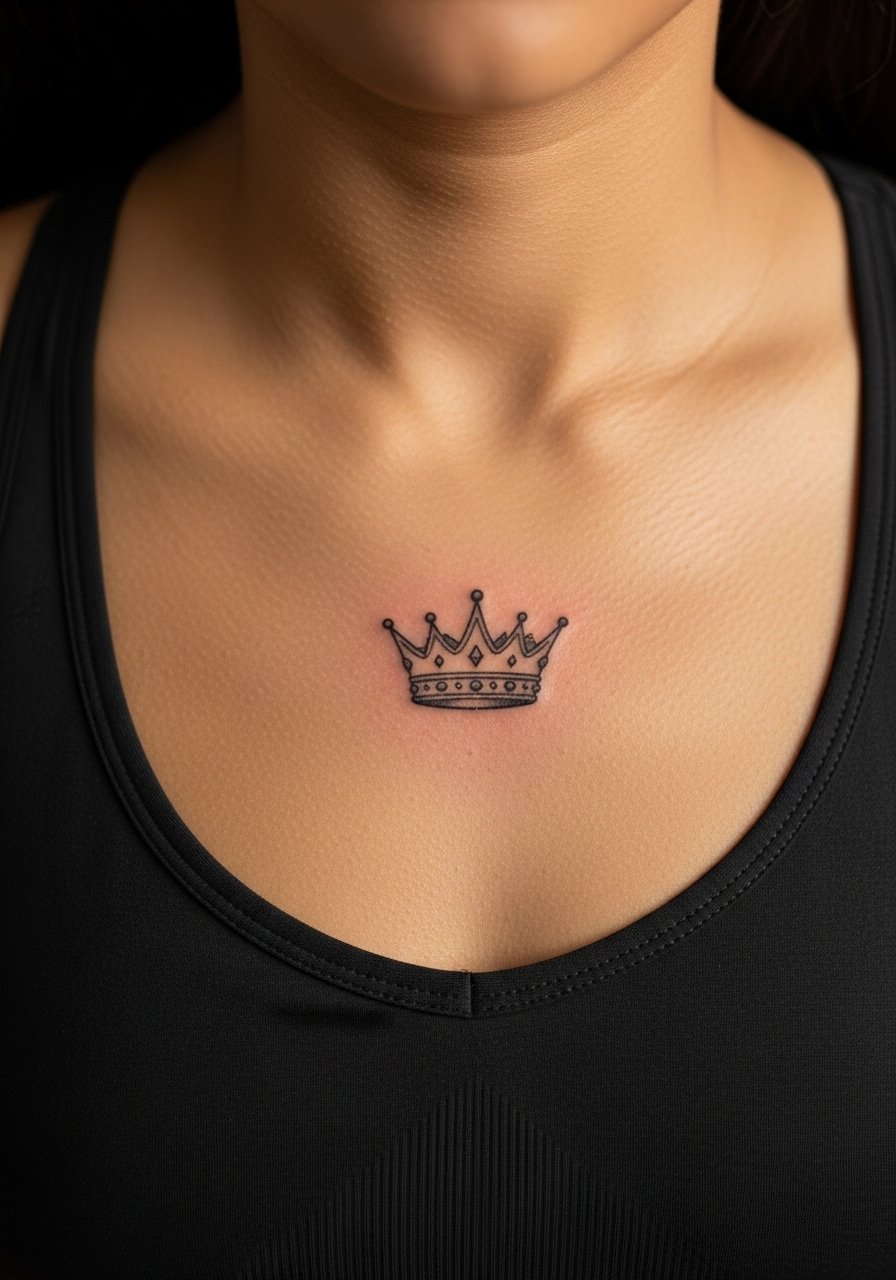
A little crown tucked under the collar sits where clothing reveals it selectively, which is handy for professional settings. Pain is moderate and sessions are short. The main consultation point is to preview placement with the clothes you plan to wear so the crown sits where you expect. One mistake is placing it too close to the sternum where movement can blur tight lines. Bring a fitted top to the session so the artist can align the piece to the neckline.
Frequently Asked Questions
Q: How long will a micro crown on my finger or wrist stay crisp before it needs a touch-up?
A: It depends on placement and lifestyle. From what I have seen, fingers often need touch-ups within 6 to 18 months because of constant washing and friction. Wrists can hold longer if you request slightly heavier lineweight and keep sun exposure low, but expect a touch-up option within the first year to refine settling.
Q: Artists disagree on whether fine-line micro crowns are a good choice for ribs and sternum. How should I decide?
A: Name both camps during consultation. One group says the stretch and movement on the ribs blur fine lines quickly. The other says proper spacing and exact needle depth make fine line work hold up. Bring healed examples and ask the artist which approach they use on ribs. If you want extra insurance, plan for a second short session rather than cramming detail into one sitting.
Q: Should I use Saniderm or dry healing for a micro crown on my hand?
A: Both camps have strong opinions. The pro-Saniderm side values the moist environment and tidy scab control for tiny work. The dry-healing side worries about trapped bacteria in high-contact zones. For hand and finger pieces where washing is frequent, many people prefer a short barrier film phase followed by light lotion. Ask the artist how they handle tiny hand work and follow their protocol for the first five to seven days.
Q: I have darker skin. Are fine-line crowns going to vanish faster than blackwork options?
A: From conversations across shops, darker skin tends to show higher-contrast blackwork better over time. Fine-line pieces can still look beautiful, but they may need slightly bolder lineweight so the motif remains readable. Ask to see healed examples on similar skin tones and discuss touch-up expectations before booking.
Q: Can small crowns be done with UV-reactive ink, and is it safe?
A: Yes, many artists can layer UV ink for a glow effect, but it adds complexity. The UV element may require layering and periodic re-inking to keep the glow strong. Safety and longevity vary by pigment. If you choose UV, insist on an artist who has healed photos and who explains pigment choices and expected maintenance.
Q: What should I wear to the appointment for a ribcage or collarbone micro crown session?
A: For ribs bring a cropped top you can lift slightly or an athletic top that exposes only the side you want tattooed. For the collarbone, a wide-neck shirt or a strapless bralette you can pull aside works best. These options keep the rest of your clothing on while letting the artist work cleanly.
