
Fine line crow tattoos often read delicate on the day they heal and look like noise a few years later, so the trick is picking a micro approach that respects skin, placement, and everyday wear. Small crows can work as a whisper on a wrist or a signature on a collarbone, but the tiny choices you make in consultation decide whether it still reads crisp at year three. Below are 17 micro crow tattoo directions with what to ask, what to wear to the session, and how each one ages.
1. Fine Line Crow on Inner Forearm
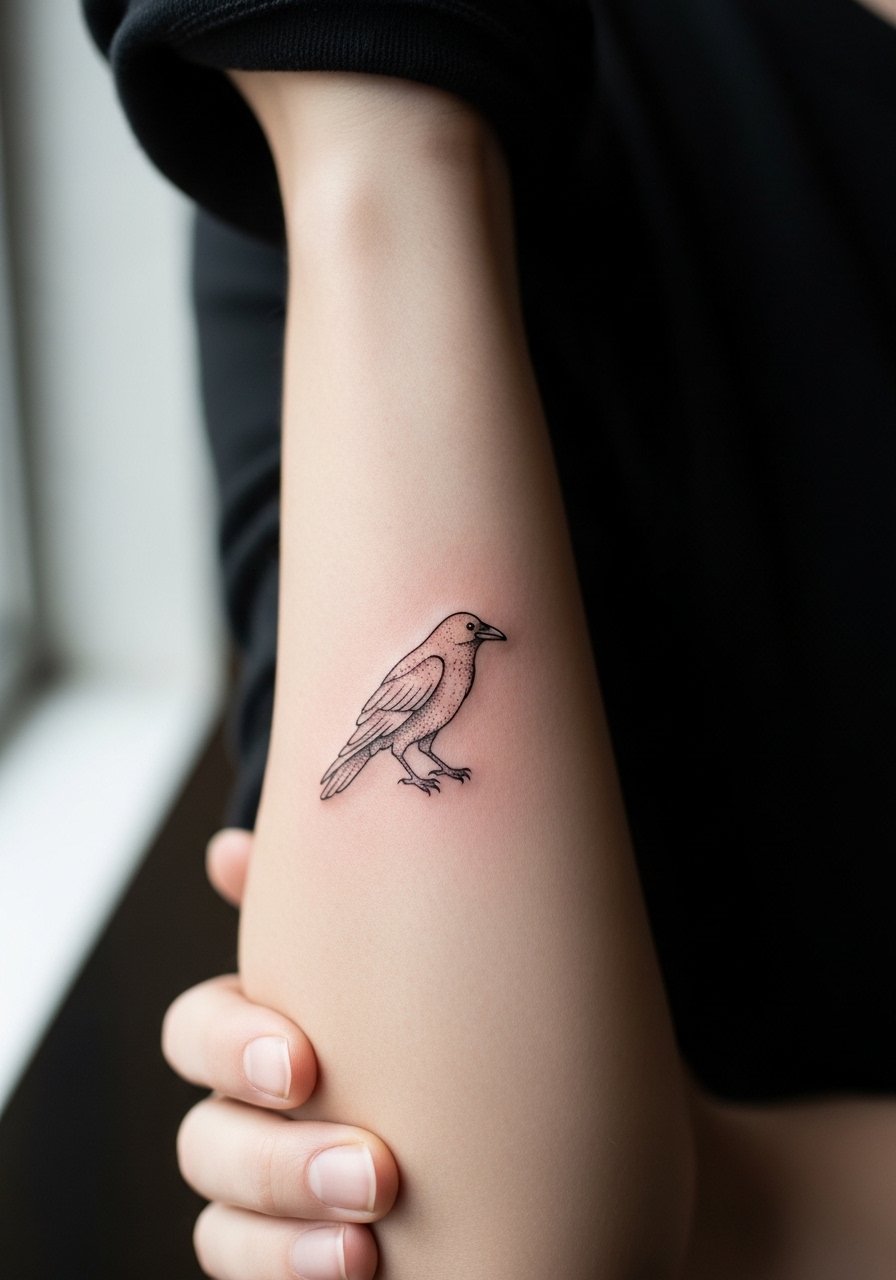
I recommend this when you want a readable small piece that still moves with the arm. Ask your artist for slightly heavier primary contour lines and reduced dense shading within the wing so the shapes keep separation as the skin settles. The inner forearm is a low-to-moderate pain zone and the session usually runs 30 to 60 minutes for a micro piece. A common mistake is requesting ultra-thin single-needle feathers that merge after a year. Tell the artist you want preserved gaps between feather strokes and expect a touch-up around year two if you sit in direct sun often. For showing it off pair with a rolled linen sleeve shirt so the tattoo peeks when you move.
2. Micro-Realism Crow on the Ankle
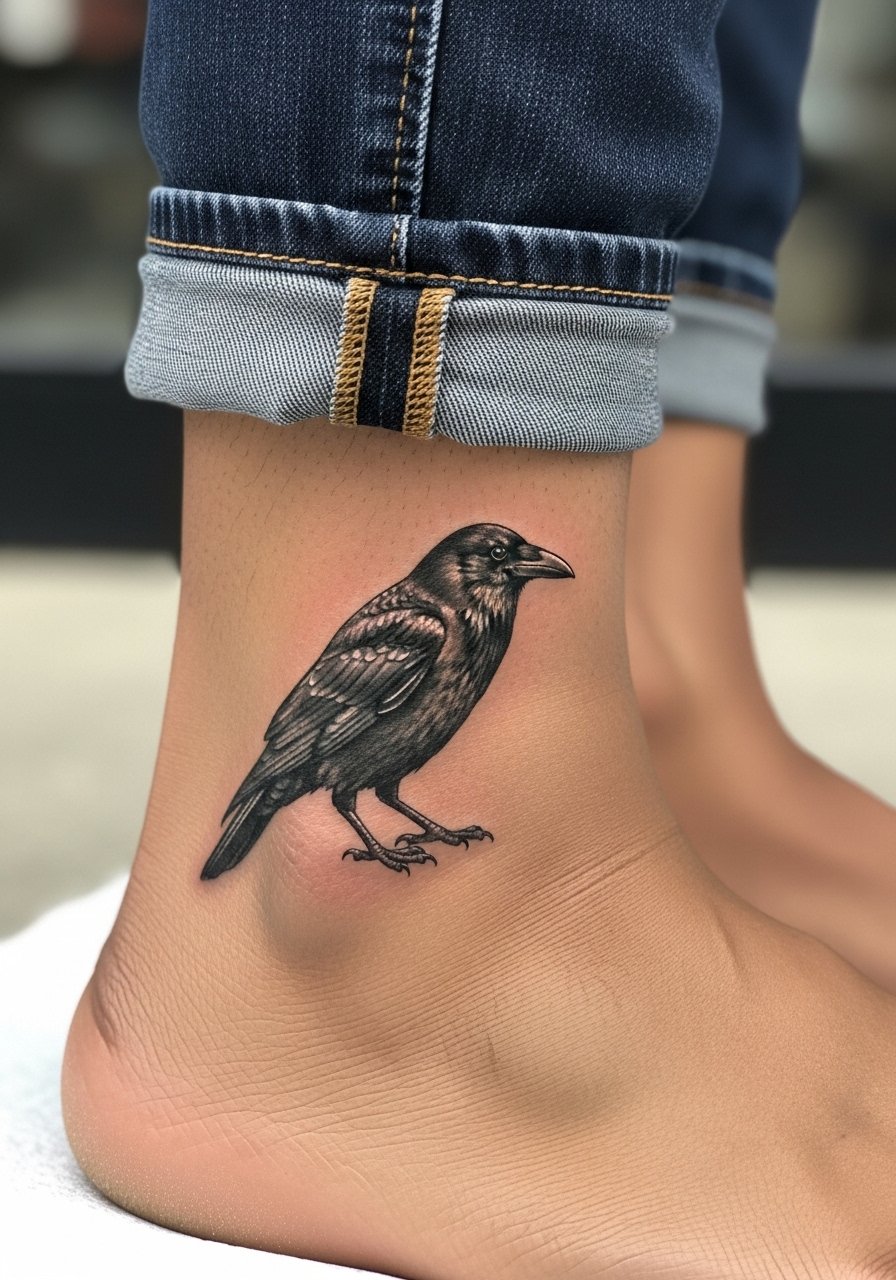
This tiny realism piece reads dimensional on a narrow canvas. The ankle endures friction from socks and shoes, so ask the artist to avoid dense saturation next to the ankle bone and to place most of the darker shading on the side that stays clear of shoe rubbing. Expect the session to be short and sharp, pain is moderate to high around the bone, and the first week needs careful sock choices. The mistake is packing micro shading too close to the bone, which fades irregularly. For the appointment wear a pair of jeans you can roll up easily so the artist has clear access and you avoid stretching the area during work.
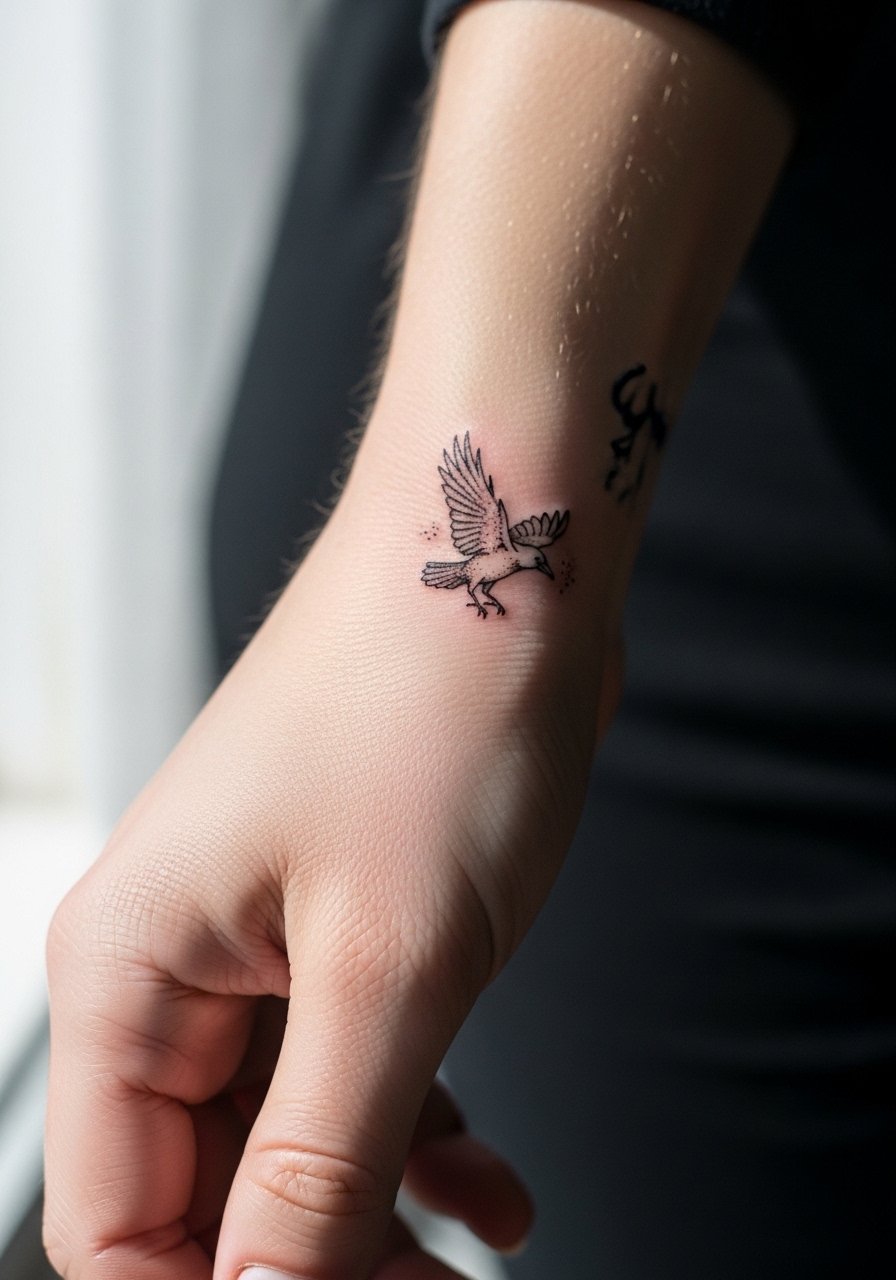
3. Tiny Crow on the Side Wrist
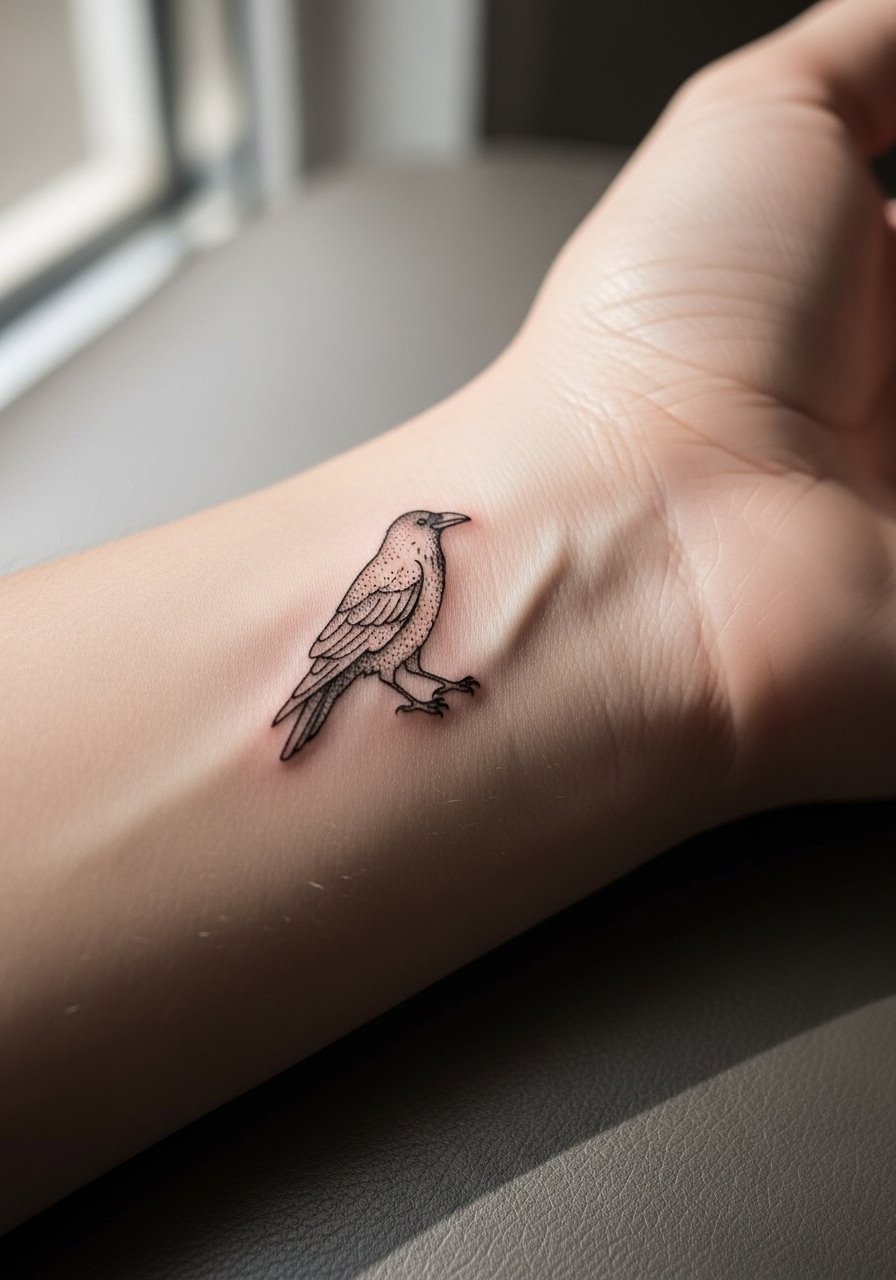
Wrist placements are visually active and demand intentional spacing. The wrist sees frequent washing and is higher risk for early blur, so tell your artist you want slightly bolder anchor lines and spaced feather strokes. Pain is mild to moderate and sessions take 20 to 40 minutes. A common mistake is shrinking the bird down until details touch, which becomes a blurred mass after a year. Expect touch-ups sooner than on an inner forearm. For showing the design off, pair it with a thin chain bracelet that sits just below the ink so the crow remains focal.
4. Micro Crow on the Collarbone
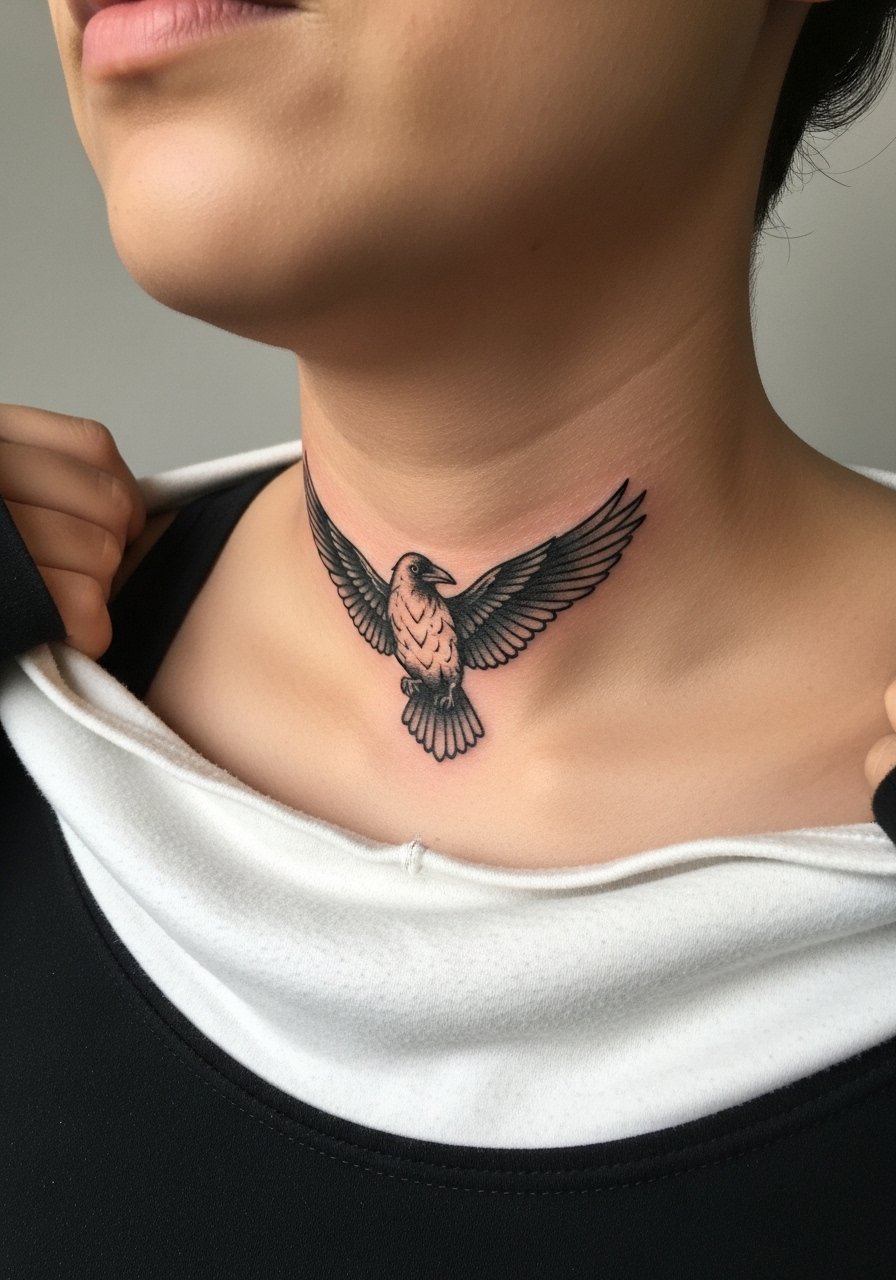
The collarbone is delicate but visible, and this placement wins when you want a piece that reads with clothing changes. Tell the artist to place the bird slightly away from the bone edge to reduce blowout risk. Pain is moderate and the session can be 30 to 60 minutes depending on shading. One mistake is placing it directly on the bone where the skin is thin and lines can spread. For evenings out this pairs well with an open-neck blouse that frames the crow without covering it.
5. Micro Crow on the Shoulder Cap
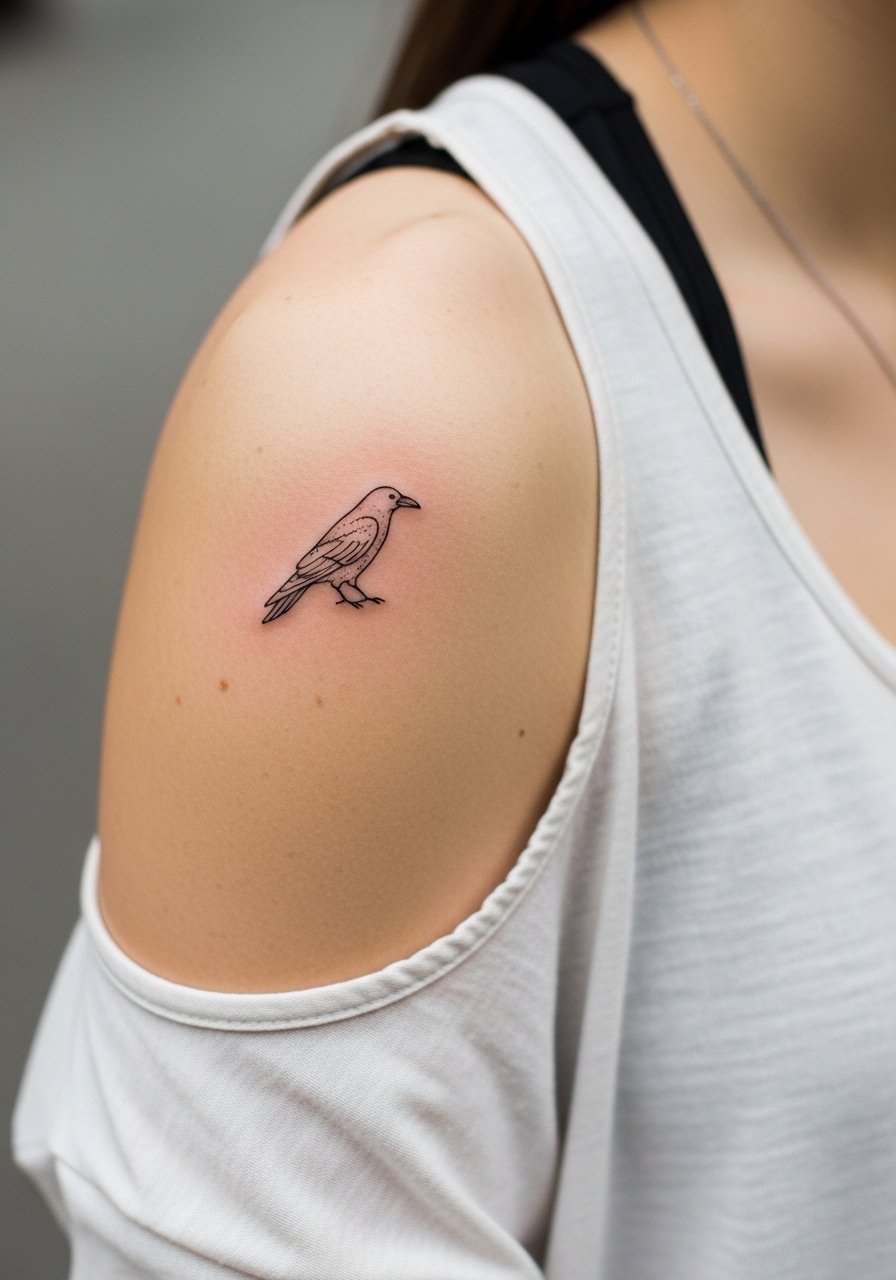
This is a forgiving visible spot that ages slower than high-motion joints. When I recommend shoulder placement it is because the skin there holds linework well and the area sees less daily abrasion. Ask for a slightly larger wingtip separation in the stencil so tiny lines do not touch. Pain is low to moderate and the session usually fits into a single short appointment. The common error is making the bird too compact; give the feathers breathing room. For the session wear a loose tank top so the artist can access the shoulder without shifting fabric.
6. Micro Crow on the Side Ribcage

Fair warning, ribs are where debates show up plainly. Artists split into two camps. One camp says fine line on ribs blurs quickly because the skin stretches with breathing. The other camp says proper needle depth and spacing keeps fine detail intact. When booking, ask where the artist stands and how many rib pieces they have healed in their portfolio. Pain is high and the session can be interrupted for breaks. A common mistake is requesting tightly packed feather detail in a small rib piece. If you choose ribs plan for a possible touch-up at year two and wear a fitted sports bra to the session so the artist has stable access.
Studio Day Picks
The shoulder, wrist, and ankle pieces above each have different prep needs, so a few targeted items make the session and the first week easier.
-
Stencil transfer paper kit. Lets you test placement and line weight on skin before the needle touches the area, which matters for small crow silhouettes.
-
Topical numbing cream. Applied 30 to 45 minutes before can ease the sting around high-sensitivity spots like the ribs and ankle.
-
Thin protective film roll. Keeps wrist and finger tattoos shielded from friction during the first days of healing.
-
Fragrance-free gentle body wash. Cleanses delicate fine line areas without stripping moisture so the micro details have a chance to settle.
-
Aquaphor healing ointment. A thin layer in the first 48 hours helps reduce scabbing on small, highly detailed work without clogging the area.
7. Tiny Crow at the Base of the Thumb
Hand-adjacent placements show quickly but age under constant use. If you want a thumb-base crow, request bolder outer contours and avoid dense internal texture. The area has higher blowout risk because the skin is thin and in motion, and sessions can feel sharp though short. A frequent mistake is packing too much micro detail that disappears with daily washing and friction. Expect touch-ups earlier than for arm pieces. For showing it off choose a simple ring stack or a thin bracelet that does not sit over the tattoo so attention stays on the crow.
8. Micro Crow Behind the Ear

This spot is subtle and private by design. Because the area is small and the skin thin, ask your artist to keep lines open and avoid tiny cross-hatching. Pain is mild and sessions are very short. People sometimes ask for name lettering and a crow together which becomes muddled in this tiny space. If your design is textual, consider a simplified silhouette instead. Note that the behind-the-ear area needs precise needle depth from an experienced hand.
9. Micro Crow on the Back of the Neck
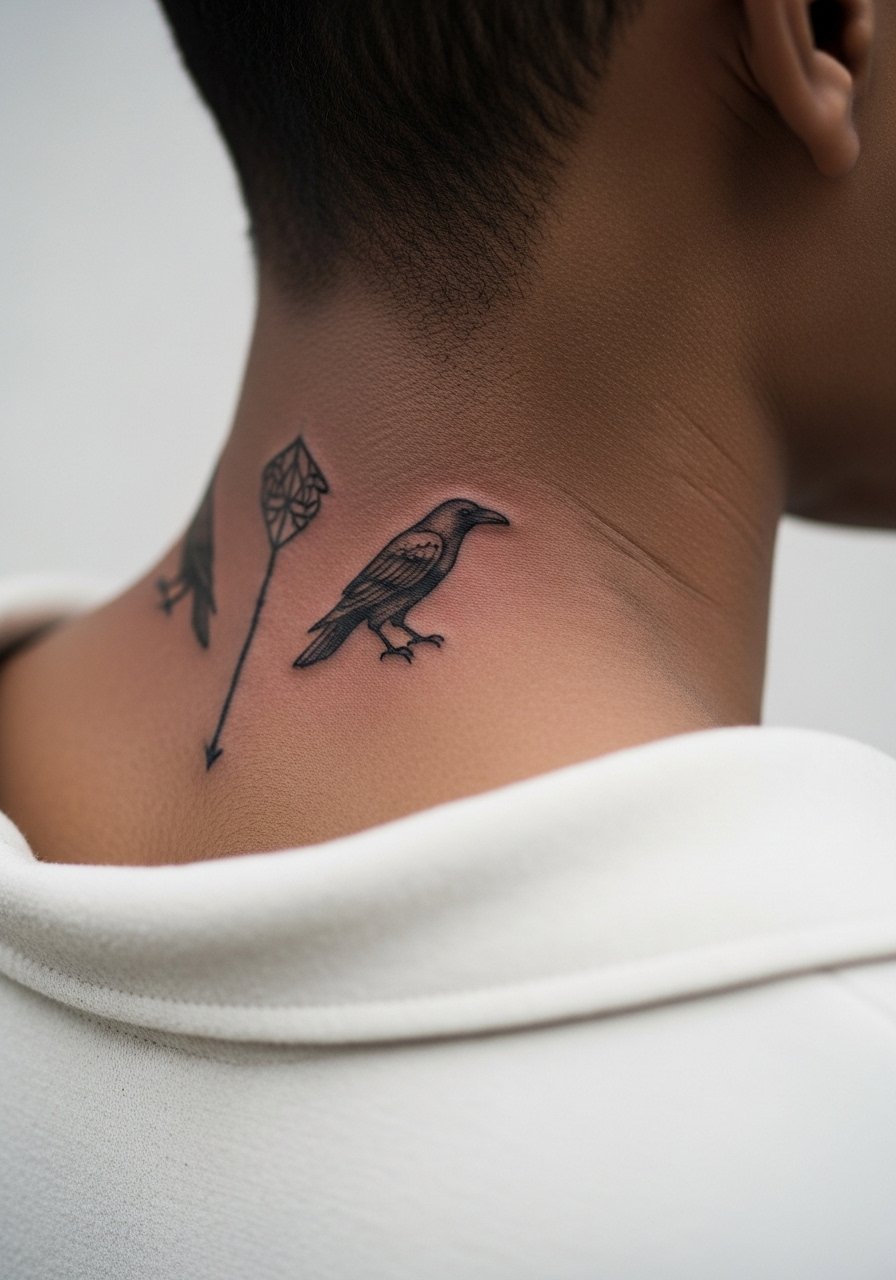
This placement reads like a secret emblem that peeks under hair for a quick reveal. Ask for a slightly higher contrast between the main contour and inner shading so it remains legible under movement. Pain is low to moderate and sessions are brief. A common mistake is centering it too low where clothing collars rub. For showing off pair this with a wide-neck top so the crow appears when you tuck your hair up.
10. Micro Crow as an Inner Bicep Accent

The inner bicep gives a calm canvas that protects tiny detail from daily abrasion. I advise this placement when you want privacy and longevity. Ask for slightly spaced feather linework and limited stippling to reduce merging over time. Pain can spike when the artist nears the armpit so plan a longer session with breaks. People often request ultra-detailed micro-realism here which can soften; instead pick a simplified silhouette to hold up.
11. Microscopic Crow on the Finger Side

Finger placements are high maintenance and frequently need touch-ups. The skin there renews rapidly and ink can migrate into surrounding tissue. If you choose a finger-side crow, ask for thicker primary strokes and minimal internal detail. Expect sessions that feel sharp and plan for refreshes at year one or sooner. A common mistake is treating fingers like forearms. For the appointment wear short sleeves so the artist can work without interference and consider a protective thin [finger sleeve] link in the product block for aftercare.
12. Micro Crow on the Calf

The calf is forgiving and ages well for small pieces because of lower daily abrasion. Ask your artist for consistent linework and modest internal texture so the silhouette stays strong. Pain is low to moderate and sessions are quick. A common error is crowding the bird with additional elements that compete as the calf moves. For layering with clothing, pair with rolled shorts or a casual short that hits just above the design so it remains visible.
13. Micro Crow at the Nape Edge

This placement reads like a private signature revealed when you pull your hair up. Ask for slightly larger anchor lines and limited inner shading so the tiny silhouette keeps its shape. Pain is mild and the session is short. A frequent mistake is placing the bird too low where shirt collars rub. For evening looks wear a hair clip that lifts the hair so the crow shows naturally without shifting the neckline.
14. Micro Crow on the Upper Chest Near the Sternum

Chest placements demand contour awareness because the sternum area moves with breathing. If you want a small central piece, ask the artist to position the design slightly off-center to reduce collar friction. Pain is moderate and sessions can be interrupted for breaks. A common mistake is expecting dense tiny shading to read on thin sternum skin. If your design has symbolic text consider spacing it away from heavy detail. For the session come in a wide-neck top so the artist can access the area without exposing more skin than necessary.
15. Micro Crow Over the Hip
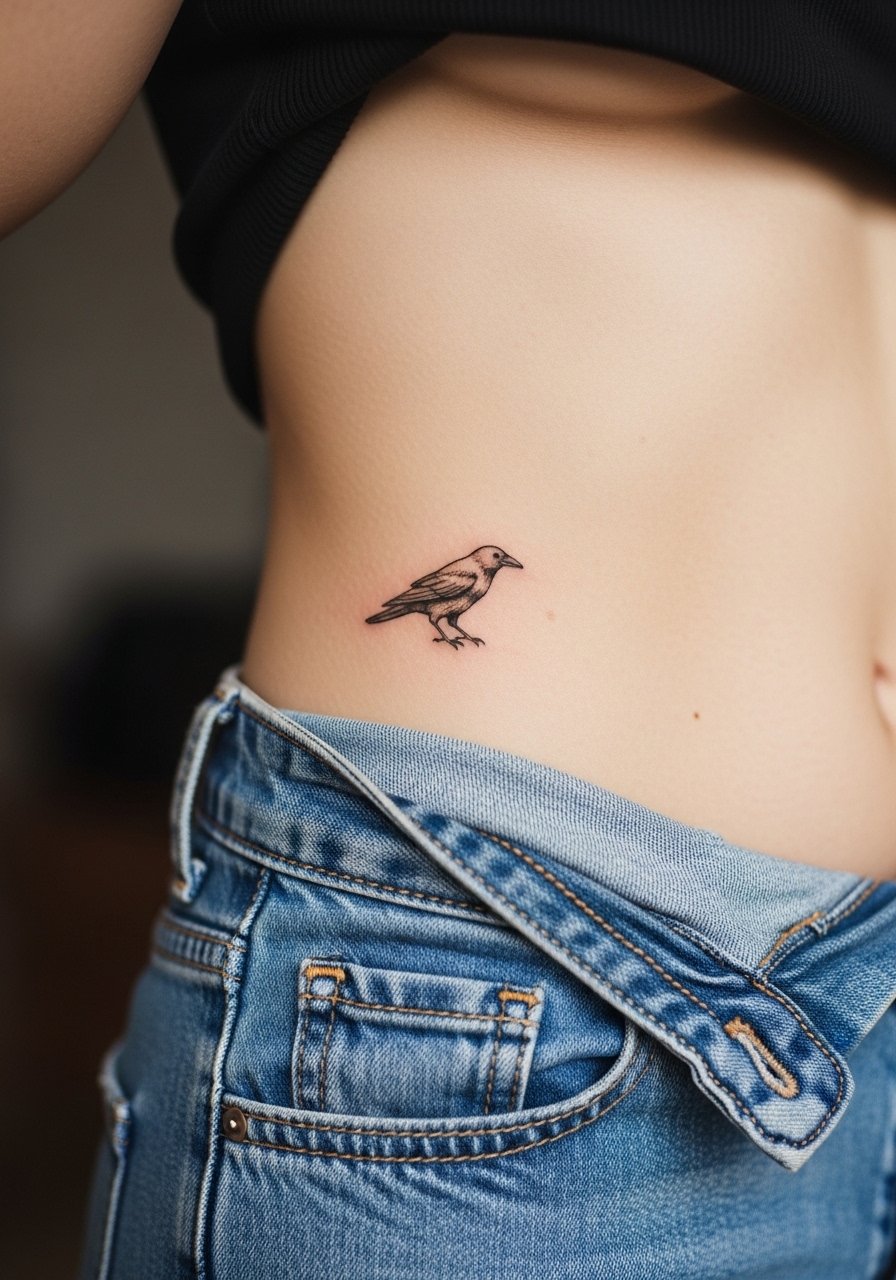
Hip tattoos can be intimate and hidden, and the skin there tolerates micro detail well when not under constant pressure. Ask for a balanced weight between outline and interior dots so the bird keeps structure without heavy saturation. Pain is moderate and sessions are short. Mistakes include placing the piece where waistlines regularly press it. For the appointment wear high-waisted bottoms you can shift slightly so the artist has clean access and the area stays comfortable after.
16. Micro Crow on the Upper Thigh Inner Edge

This is a private placement that fares well for preservation because the area sees less UV and friction. Request clear spacing in feather strokes and ask to avoid dense black fills near edges that might blur. Pain is moderate and the session can be interrupted for comfort. People sometimes underestimate how intimate thigh work feels post-session. Plan clothing that avoids tight seams over the area while it heals.
17. Micro Crow Near the Clavicle with Script

Combining small text and a micro crow requires precise spacing so letters do not merge with feather detail. Tell your artist the exact script word and font size you want and ask to see the stencil on skin first. Pain is moderate and the session is usually under an hour. A common mistake is picking script too small next to fine feathers. If you plan to show this with jewelry pick a thin pendant necklace that sits above the script rather than over it.
Frequently Asked Questions
Q: How small can a micro crow be before it stops reading as a bird?
A: Tiny is tempting but the smallest stable crow needs room for at least one anchor line and two feather strokes with gaps. In practical terms that means roughly the size of a small coin. Ask to preview a stencil on skin so you can see how the lines interact with natural movement.
Q: Will a fine line crow on the ribs blur faster than one on the forearm?
A: From what I have seen ribs often blur sooner because the skin stretches with breathing. The other view is that expert needle depth and spacing can keep lines crisp. Talk to the artist about rib-specific portfolio examples and plan for a possible touch-up around year two.
Q: What should I wear to the appointment for an ankle or calf crow?
A: Wear pants you can roll up comfortably or shorts that do not press against the tattoo after work. A pair of jeans you can roll up or loose shorts work well and keep the area calm during the session.
Q: How often do micro crow finger or hand placements need touch-ups?
A: Fingers and hands are on a faster refresh cycle because of frequent washing and thin skin. Expect a touch-up within the first year more often than you would on the forearm. Plan for maintenance rather than a single permanent visit.
Q: Are there cultural considerations with crow imagery I should know before booking?
A: Crows appear in many traditions. If the design borrows recognizable cultural motifs choose respectful variation or discuss intent with the artist. Many clients prefer adapting elements rather than direct replicas as a sign of respect.
