
Trend and reality collide hard with inner lip tattoos, and the gap is where most people get surprised. They expect a tiny, painless secret piece, but instead they feel sharp pain, deal with drooling ink for days, and watch their linework soften into a messy blur in months. That said, the right sketch and a smart session plan can cut regret. Here are 27 compact ideas with what to ask for, how they age, and how to show them off when you grin.
1. Single-Word Cursive, "Smile," on Inner Lower Lip
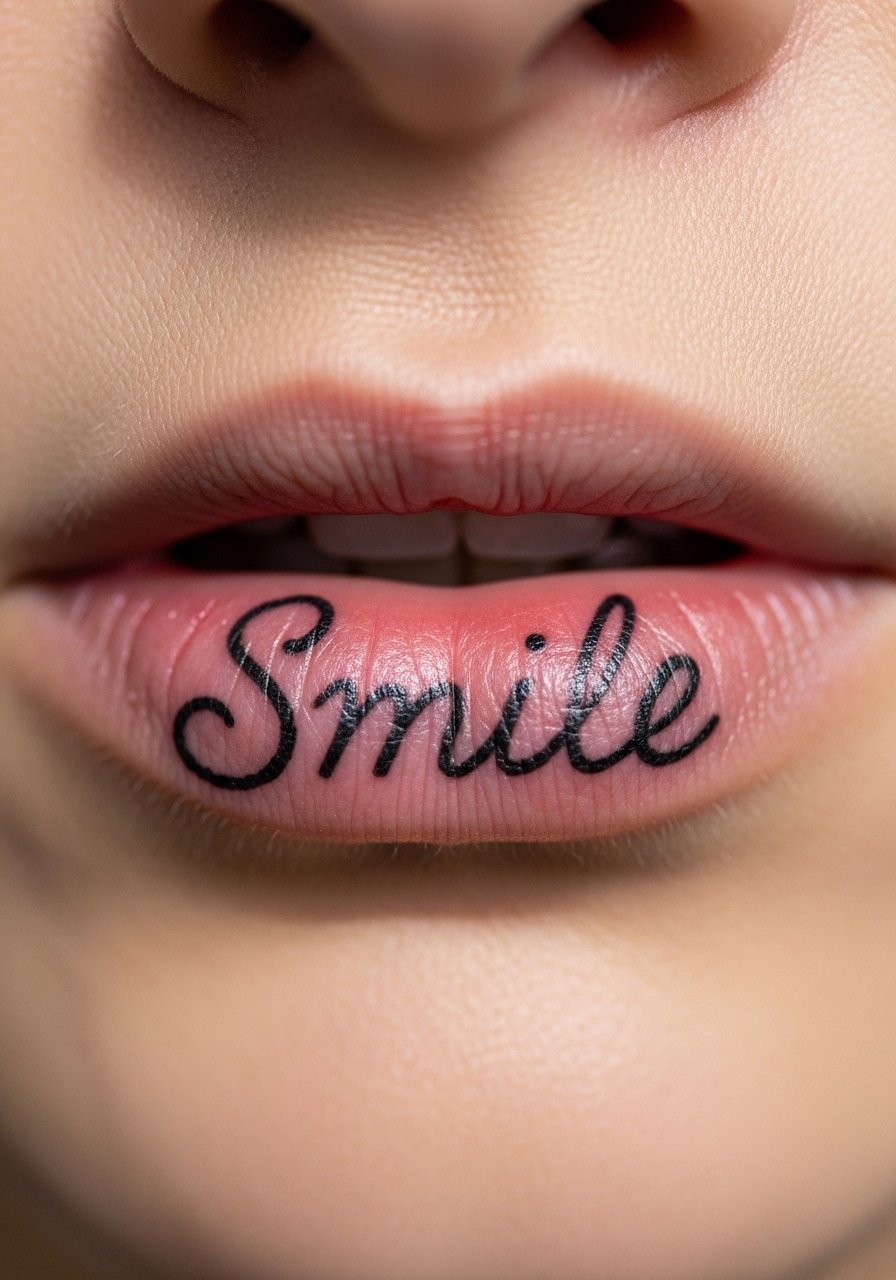
Start with a simple word if you want an on-demand reveal. I suggest bold cursive rather than hairline script so the letters hold up as the moisture wears at the ink. Tell your artist you want slightly heavier single-pass linework and clear letter spacing to avoid the letters merging as it fades. Expect a sharp sting for a short session about 20 to 30 minutes. A common mistake is asking for ultra-thin flourishes that vanish within months. For the appointment, wear a loose button-down shirt so your mouth and jaw area stay accessible and relaxed.
2. Tiny Heart Outline with Arrow on Upper Inner Lip

This playful micro-icon reads as a flirt when you smile, and it is forgiving if kept simple. Ask for a single continuous line and avoid extra shading that the mouth's moisture will break down. Pain is noticeable but short, and session time is under 20 minutes. Artists are split about whether ultra-fine hearts last, with one camp recommending bold micro-lines for longevity and the other insisting expert depth can make filigree hold. Name the camp you trust during consultation and ask to see healed lip photos. For showing off, pair it with a glossy look or a neutral lip balm, try a clear lip balm stick on reveal photos.
3. Small Skull Icon on Lower Side Lip
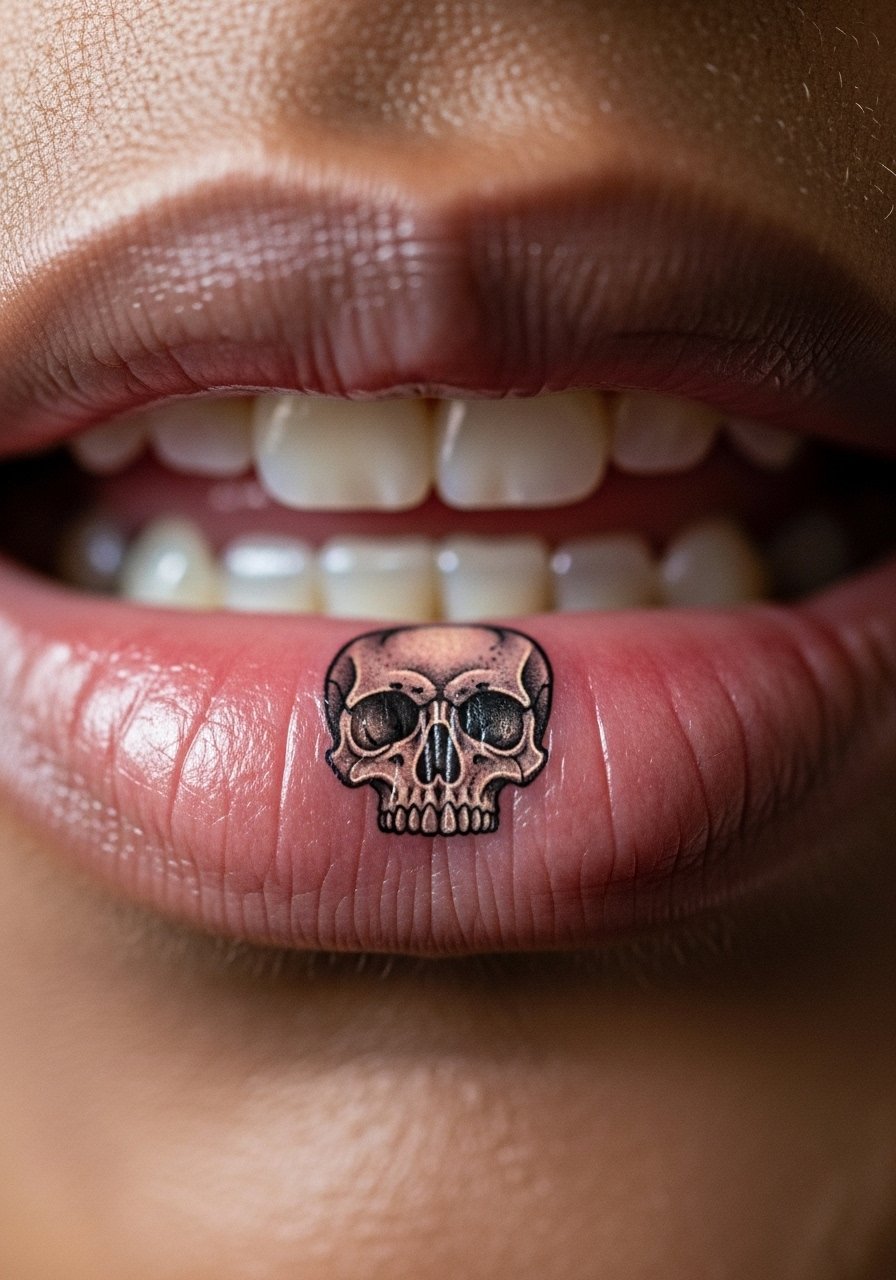
Skulls bring an edgy joke factor without a big commitment. Choose a compact silhouette with bold black fill rather than delicate shading so the shape reads even as it fades. Tell the artist you want the contrast concentrated in the outline and a tiny hint of gray rather than soft gradient fills. Expect asymmetry risk from mouth movement, so ask for a mouth retractor during the session. The session feels brisk and intense, about 20 minutes. For session day wear, a short-sleeve loose tee makes access easy and keeps you comfortable for the quick appointment.
4. Kissing Lips Outline Center Lower Lip
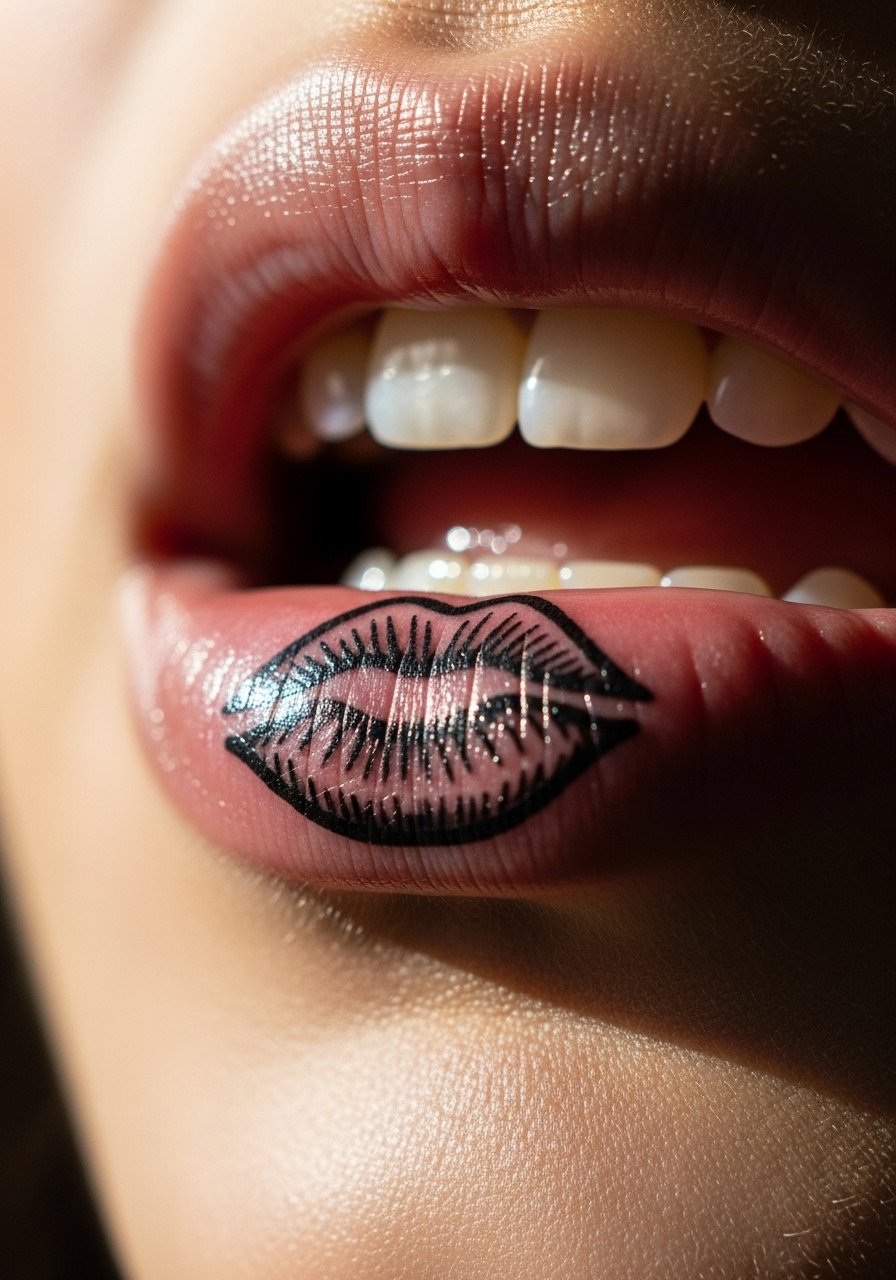
A tiny lip outline feels meta and photographs well with lipstick contrast. Request firm single-pass outlines and avoid tiny interior details that blur. The biggest mistake is over-detailing the interior linework. Expect a sharp bite of pain for about 15 to 25 minutes. This design ages better when the outline is thicker, and touch-ups at three to six months are common. For showing it off in photos, a nude lip gloss or a bold red shade frames the reveal without stealing the focus.
5. Star Cluster Dotwork at Upper Inner Lip Corner
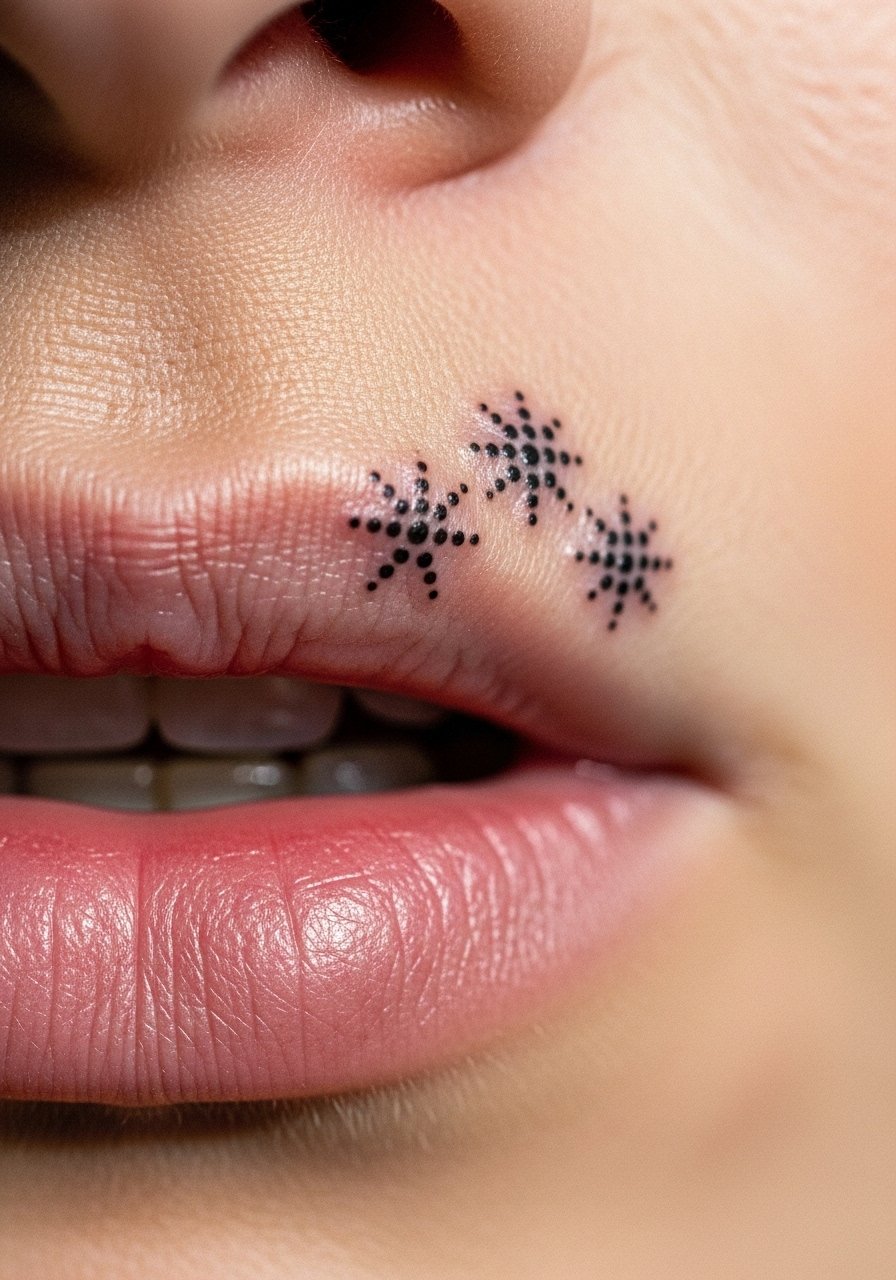
Dotwork is low-key and quick. Pick 3 to 5 solid dots rather than tiny stipple detail. Ask your artist to space dots so they do not touch, and specify a slightly larger dot size so they remain readable at six months. The session is the shortest on the list under 15 minutes and the pain is sharp but very brief. A common mistake is clustering too many tiny dots which coalesce as fading occurs. For appointment comfort, a loose tank or button-up makes access simple and relaxed.
6. Block Letters "Eat Me" Center Lower Lip

This cheeky phrase is a statement that plays well in reveal videos. Go for block capitals with space between letters so they do not merge as the ink thins. During consultation request solid single-pass fills for each letter. The session is brisk and painful in short bursts. A common regret is requesting condensed lettering that blurs into a blob. For the session, wear a loose tank top or a button-up you can loosen. Sensitive-note: inner lip work requires an artist who has done oral placements before, ask to see a lip-specific portfolio.
Pre-Session Essentials
The inner lip pieces above react to saliva, movement, and friction, so a few session items smooth the chair time and the first week.
-
Stencil transfer paper kit. Lets you preview how script and compact icons will sit on the curved lip surface before the needle hits skin.
-
Topical numbing cream. Applied per the product instructions reduces bitey sensitivity for short lip sessions without altering the artist's work.
-
Thin protective film roll. Useful if your artist recommends a light barrier for the first day to limit contact with saliva and utensils.
-
Fragrance free gentle body wash. A mild wash helps you clean carefully around the mouth without irritating delicate tissue that surrounds the ink.
-
Aquaphor healing ointment. A thin application on surrounding skin can prevent dryness while the inner lip begins to settle.
7. Snake Tongue Flick at Side Inner Lip

A sideways flick plays with the mouth's curve and suits someone who wants an off-center reveal. Ask for a tapered tip and a bold outline rather than micro-shading so the silhouette remains readable. The pain is sharp where the tissue is thinnest and the session runs about 20 minutes. Symmetry can be a problem if the mouth moves, so request a lip retractor. For the appointment, choose a short-sleeve loose shirt so the artist can adjust you easily. Sensitive-note: oral placements need someone experienced with mouth anatomy.
8. Diamond Gem Shape Center Upper Lip

A geometric gem reads luxe in a small space. Keep the facets minimal and the outer outline slightly heavier so the design survives typical lip wear. Expect a quick session under 20 minutes and a sharp but brief sting. A common mistake is squeezing too many facet lines into a micro diamond which merges into blur. When you consult, show examples of the exact line weight you want. For showing photos, a thin gold lip ring can complement the minimal lines, try a thin gold lip ring for styling.
9. Vertical Rose Thorn Stem on Upper Inner Lip

A thorn stem gives floral vibe without a full bloom clogging the space. Request a single-line stem with spaced thorns and avoid tiny leaves that break down. The vertical orientation sits with the lip curve, and the session may take 20 to 30 minutes with noticeable pain. The aging risk is the thin thorns blurring together, so ask for slightly bolder thorn points. For the session wear, a soft cotton tee keeps you comfortable and your jaw relaxed. Sensitive-note: choose an artist who has done multiple oral florals for consistent results.
10. Lightning Bolt Zigzag at Lower Edge

This graphic spark is a quick pick-me-up design that photographs dynamically. Go for a 1.5 cm vertical orientation with a clear break between segments. Artists debate fine line versus bolder bolts for longevity. Tell your artist you prefer a slightly thicker outline to prevent loss of definition. Session time is very short, and the sensation is sharp and fast. A mistake is getting a bolt that is too skinny. For show-off photos, a bold lipstick frames the reveal. For the session, wear a loose top that lets you sit upright comfortably.
11. Anchor Icon Near Inner Cheek Lip
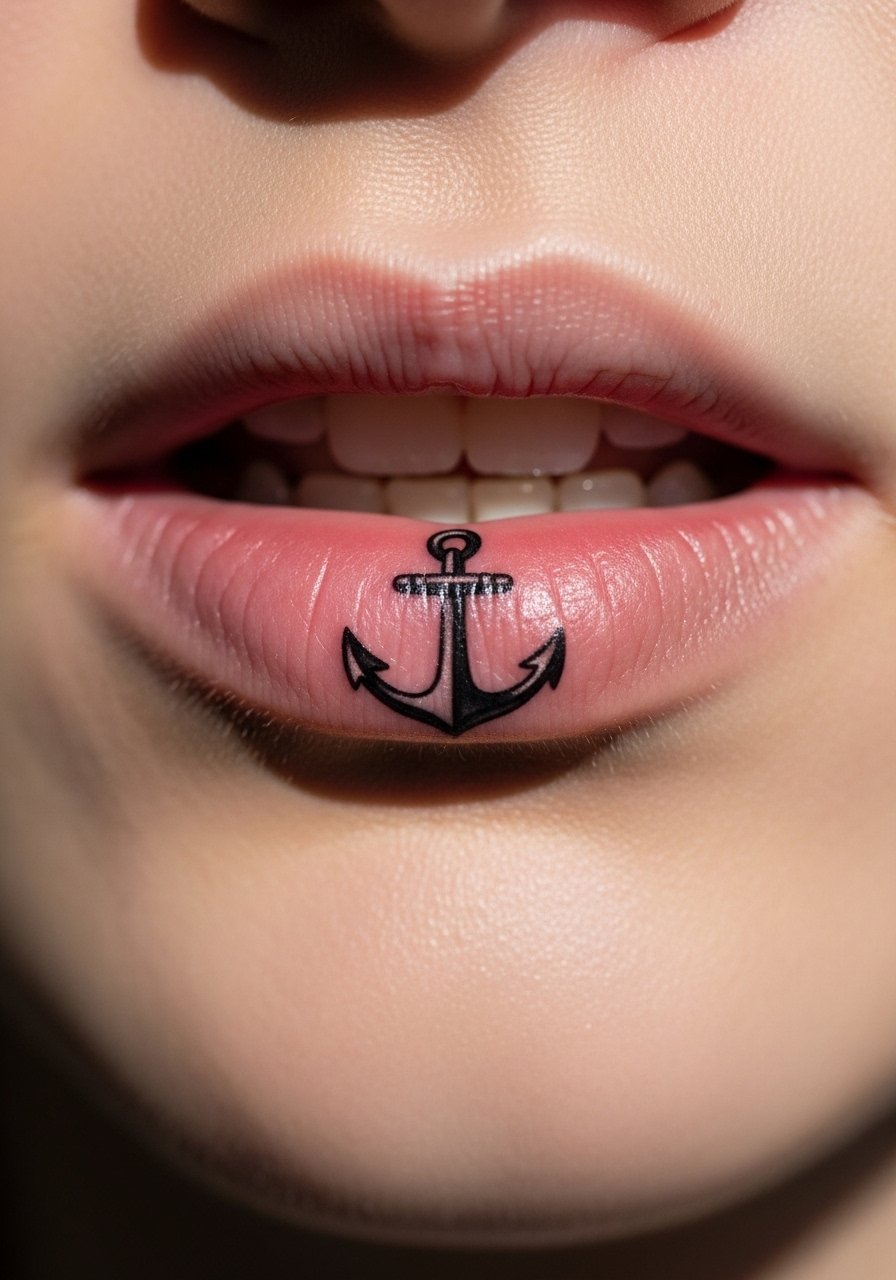
An anchor gives symbolic weight in a small package. Choose a compact, bold silhouette rather than tiny details so the shape endures. This placement can be trickier because the cheek tissue moves with talking and chewing. Ask for a firm outline and a single session touch-up plan at three months. Expect pronounced discomfort and a session around 20 minutes. For showing it off, pair with hoop earrings to draw attention to your grin. For appointment day wear, short sleeves make you comfortable.
12. Diamond-Style Minimal Geometric Chain

A linked geometric chain reads modern when kept sparse. Ask your artist to space the links so they do not touch. Most fading here comes from close spacing and the lip's movement. The session is quick and painful in short bursts. A common mistake is packing too many links into a narrow band which blurs into a single shape. For the session, wear a soft cotton v neck tee and tie hair back so nothing interrupts the artist's view.
13. Micro Cross Center Lower Lip
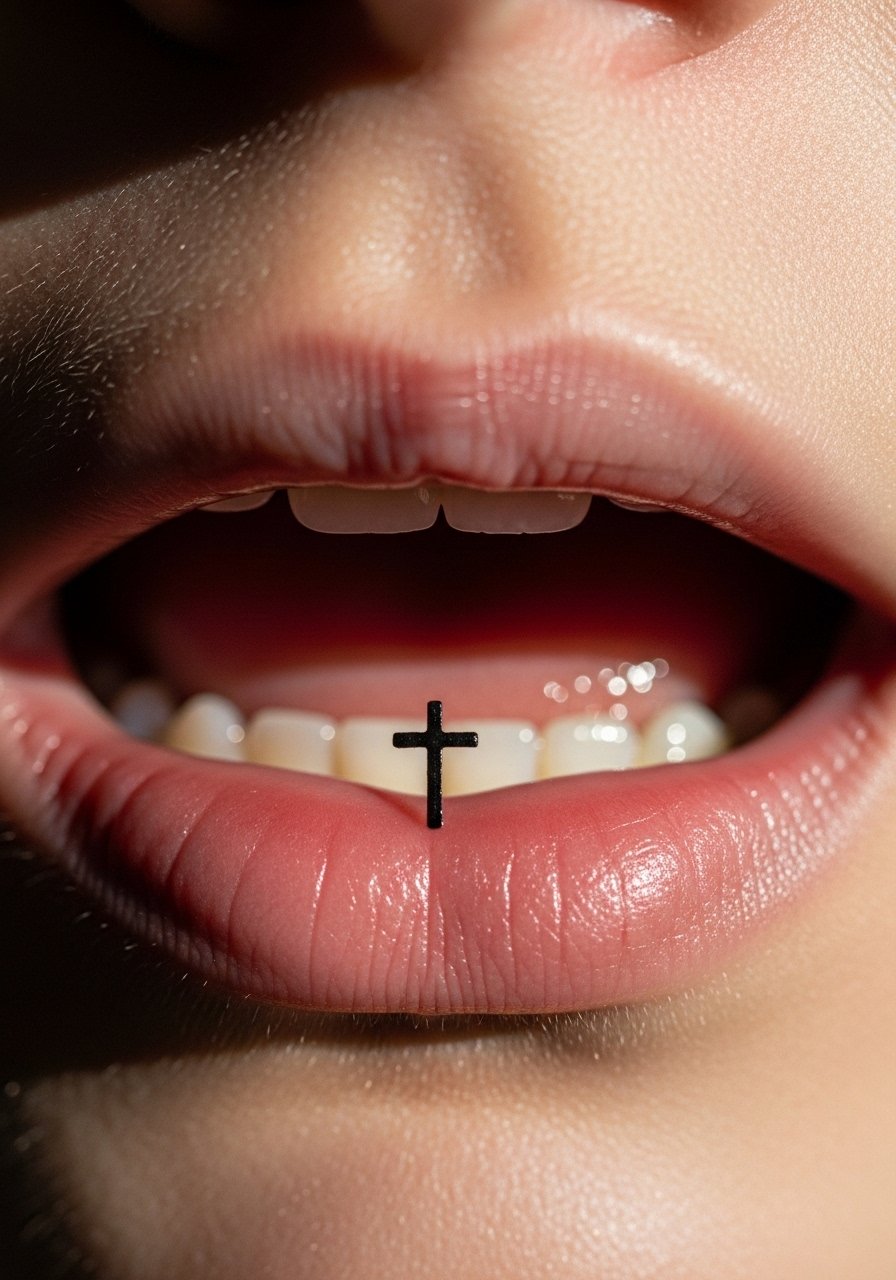
A tiny cross serves as a discreet faith marker that shows on demand. Keep it to one clean vertical stroke and one horizontal stroke with space between to preserve readability as it fades. Expect a sharp pinch and a session under 15 minutes. Common mistakes are over-thinning the arms which disappear. For revealing photos, a thin pendant necklace can echo the motif without crowding your mouth. Sensitive-note: inner lip faith pieces still require practitioners comfortable with oral placements.
14. Mini Anchor with Rope Detail Side Lip

If you want nautical flavor, keep rope detail implied not literal. The more tiny knots you ask for, the more likely it will blur. Ask for an implied rope stroke that reads at a glance. The session is quick and can be surprisingly sore around the cheek-adjacent tissue. Artists differ on fine rope lines, so ask to see healed rope examples. For photos, frame the grin with a pair of small hoop earrings gold to balance attention.
15. Tiny Starburst with One Central Dot
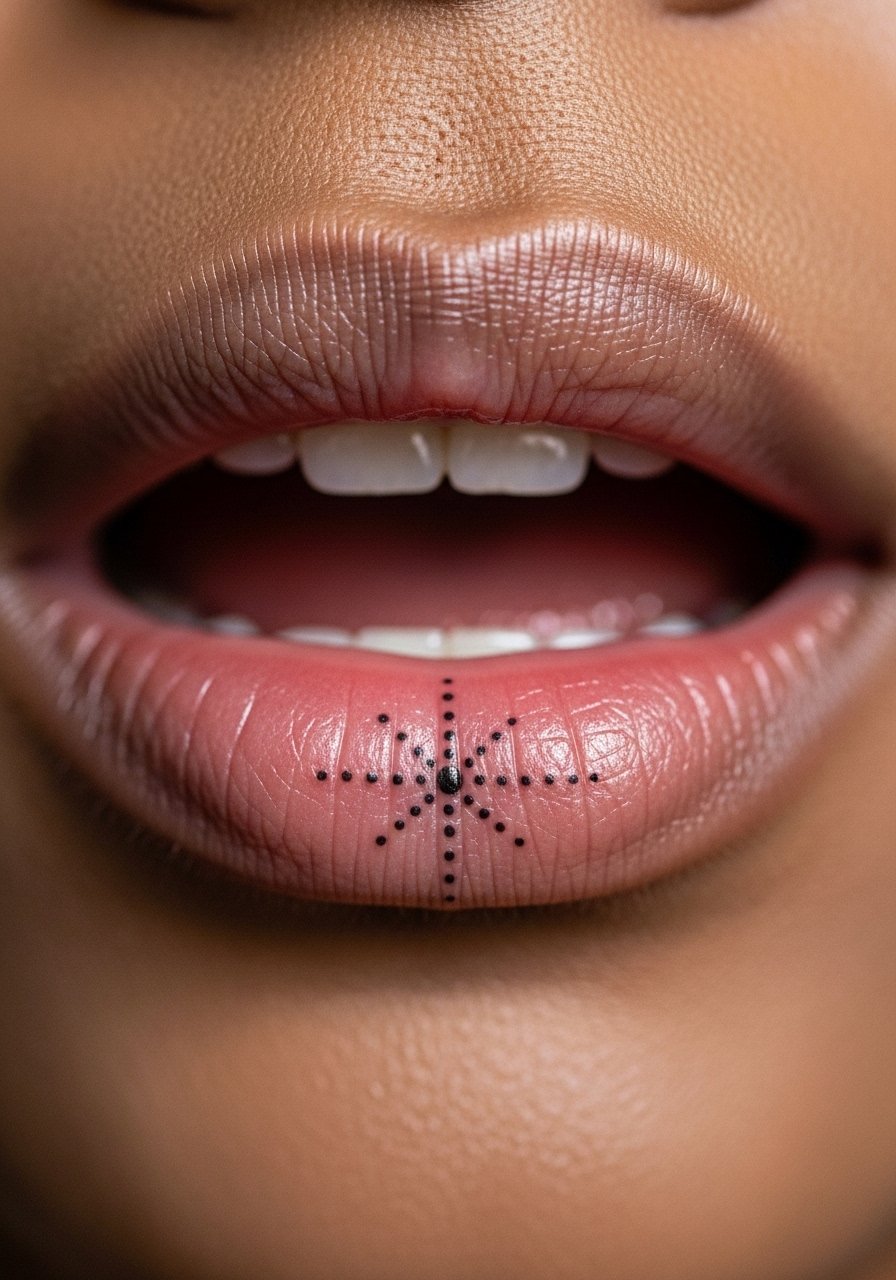
A starburst gives a twinkle without crowding the lip. Ask for short rays and a stronger central dot to anchor the shape. The most common error is lengthening the rays which merge as the ink fades. Session time is short and the pain is sharp. For showing off, a subtle gloss accentuates the sparkle without overpowering. For the chair, wear a loose neckline top that lets the artist adjust your head angle easily.
16. Small Script "Bite Me" in Cursive Lower Lip
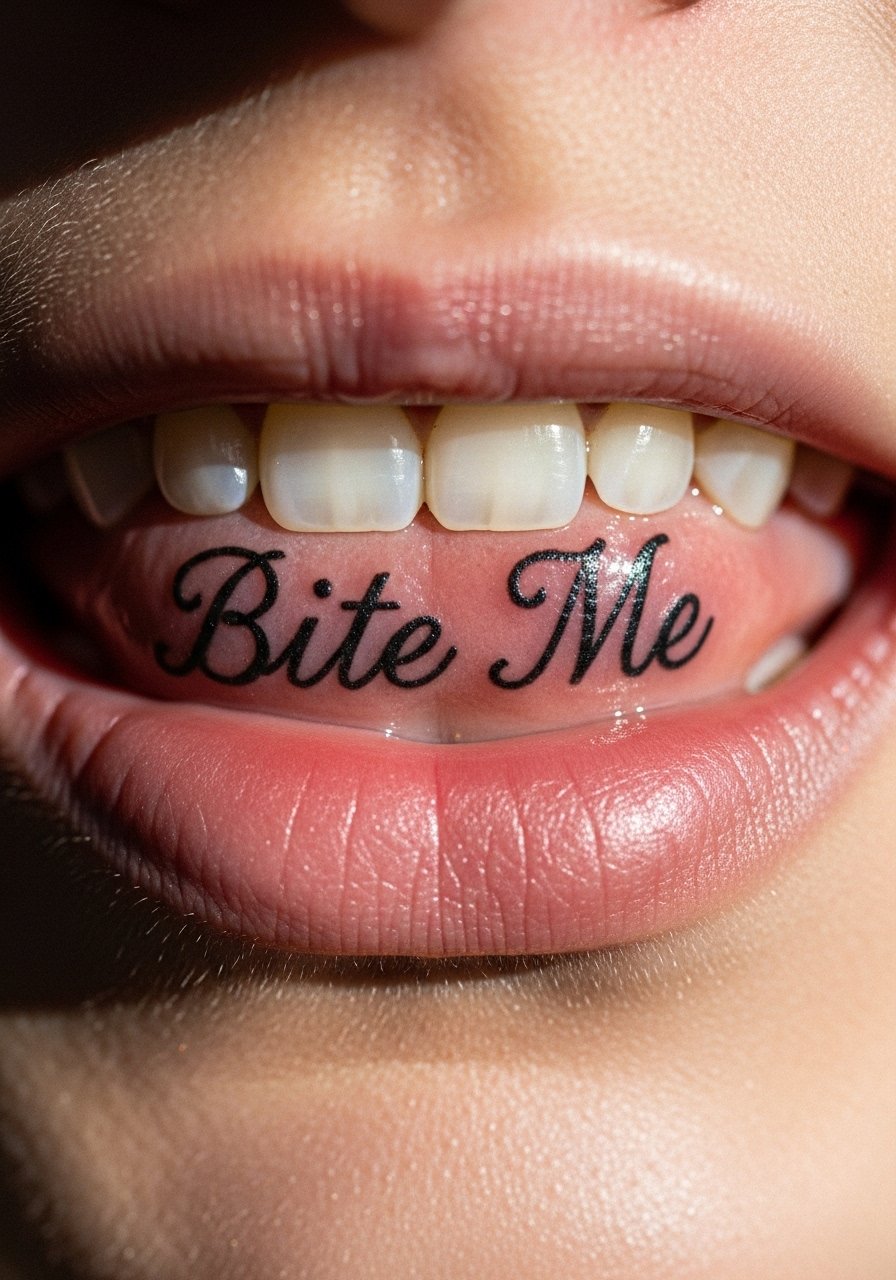
A humor-forward phrase is Tumblr-era fun updated with balanced lettering. Pick a mid-weight script with letter spacing and avoid tight ligatures that blur. The session is about 20 minutes with sharp sensation. Expect touch-ups; phrases suffer most if letters are too close. During consultation, ask the artist to write the phrase on the lip with transfer and show you how spacing reads when you smile. For reveal photos, neutral lipstick lets the phrase peek without distraction. Sensitive-note: textual inner lip tattoos must specify exact lettering during the image preview stage.
17. Micro Floral Petal Dotwork
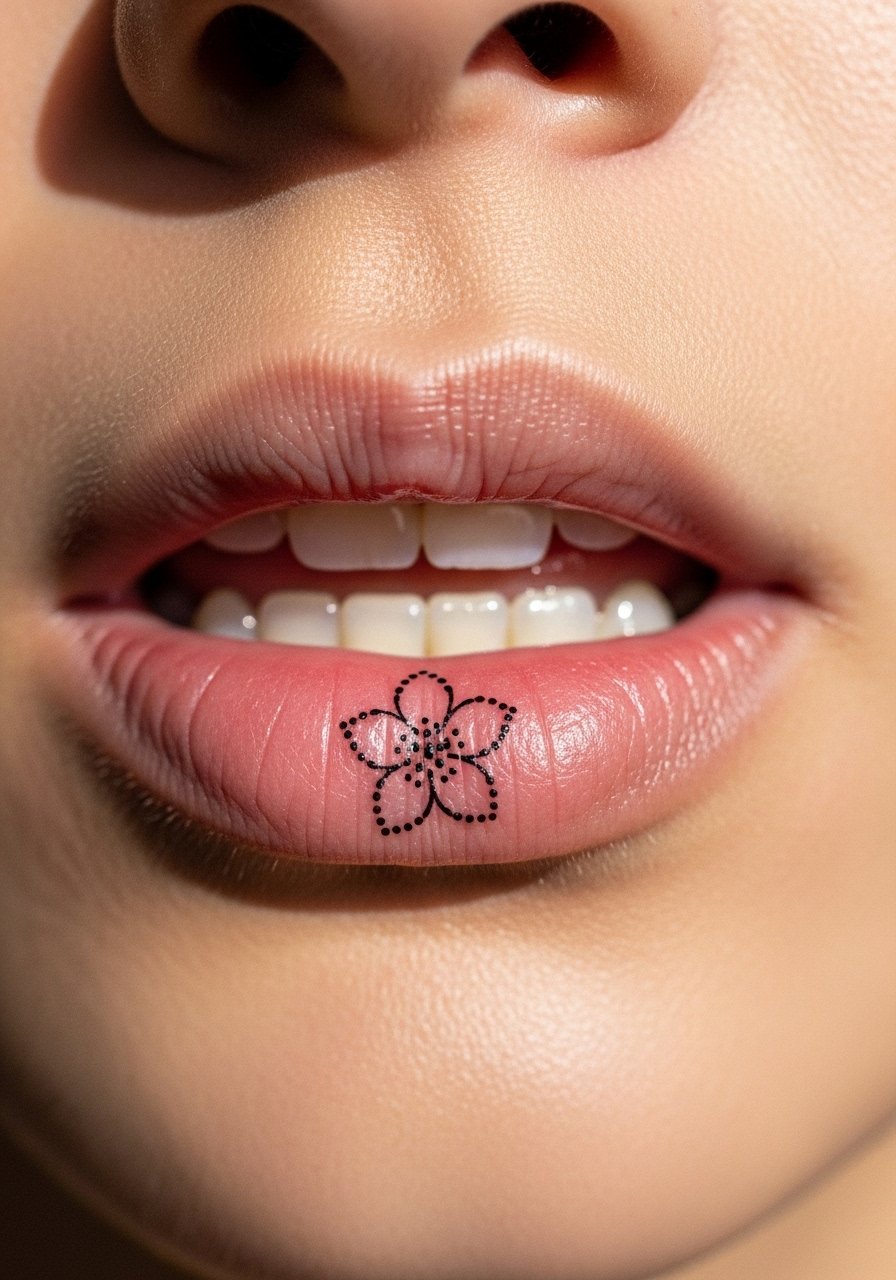
A petal cluster reads delicate but choose dot clusters not fine filigree to preserve form. Ask for spaced dots and ask the artist to avoid tiny connecting lines. The session is brief and sharp. A common mistake is trying to cram a bloom into a space better suited to an icon. For the session, a soft scrunchie hair tie keeps hair out of your face and reduces distractions.
18. Minimal Wave Line Along Lower Inner Lip
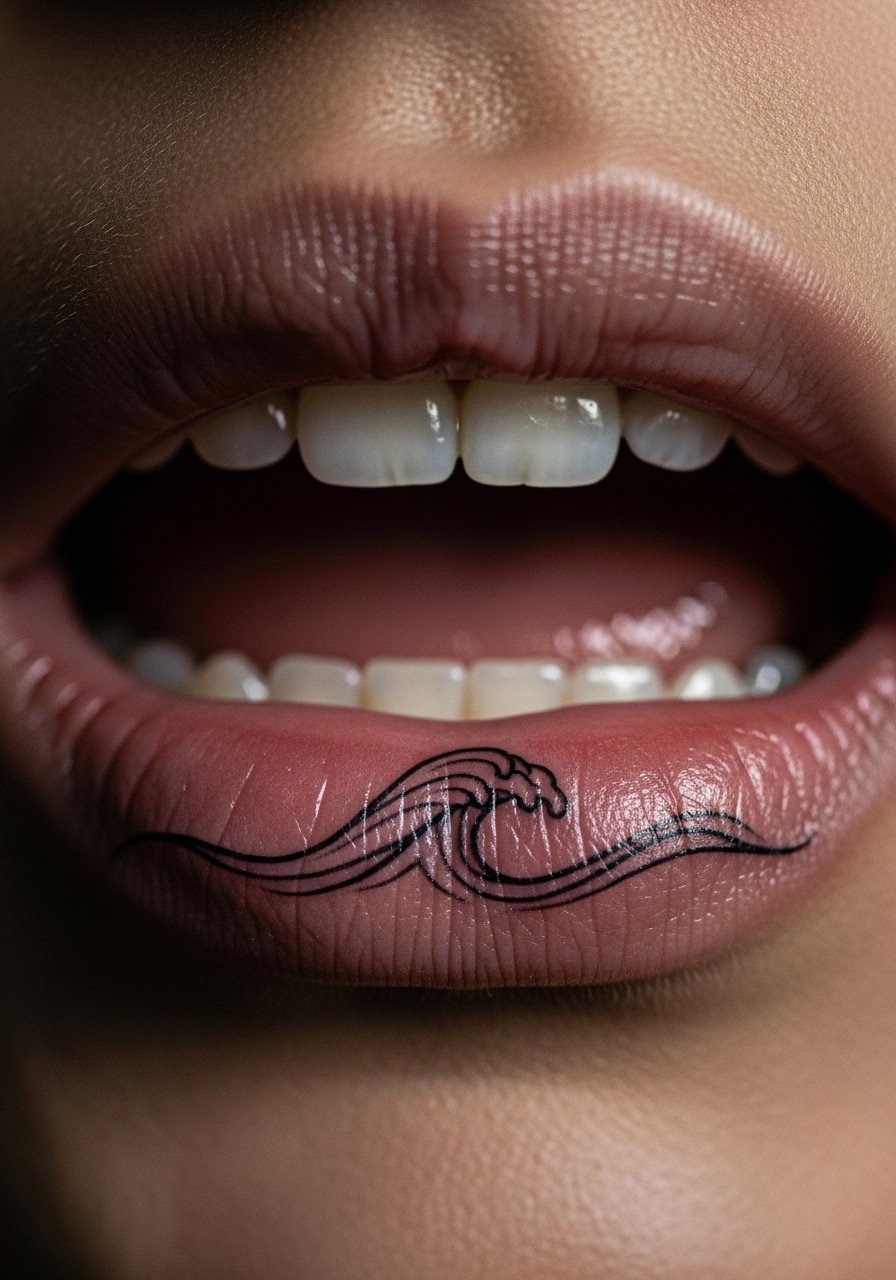
A gentle wave suits someone who wants motion in a single stroke. Ask for a slightly thicker single-line wave so the curve keeps shape as it fades. The session is quick and the pain sharp. The mistake is adding extra tiny ripples that merge. For photos, a neutral gloss amplifies the subtle motion. For the appointment, wear a relaxed top that keeps your jaw and shoulders loose.
19. Tiny Zodiac Glyph on Inner Lip

Glyphs are an efficient personal marker that stay private. Make sure the glyph is simple and not scripted. Text rules apply so state the exact symbol you want during the stencil step. The session is short and noticeably sharp. A mistake is requesting ornate glyphs that lose their identity as they fade. For reveal, frame the mouth with a thin pendant or choker. For the session, a loose neckline keeps you comfortable.
20. Micro Keyhole Icon Centered Lower Lip

A tiny keyhole reads like a secret. Use a solid silhouette and avoid inner filigree. That prevents the interior from filling in as the ink shifts. The pain is sudden and the session brief. Common mistakes are over-detailing the lock components. For photos, pair with a minimal matte lipstick that contrasts without stealing focus. Sensitive-note: inner lip placements like this need precision and an artist comfortable with oral anatomy.
21. Micro Feather Tip Facing Inward
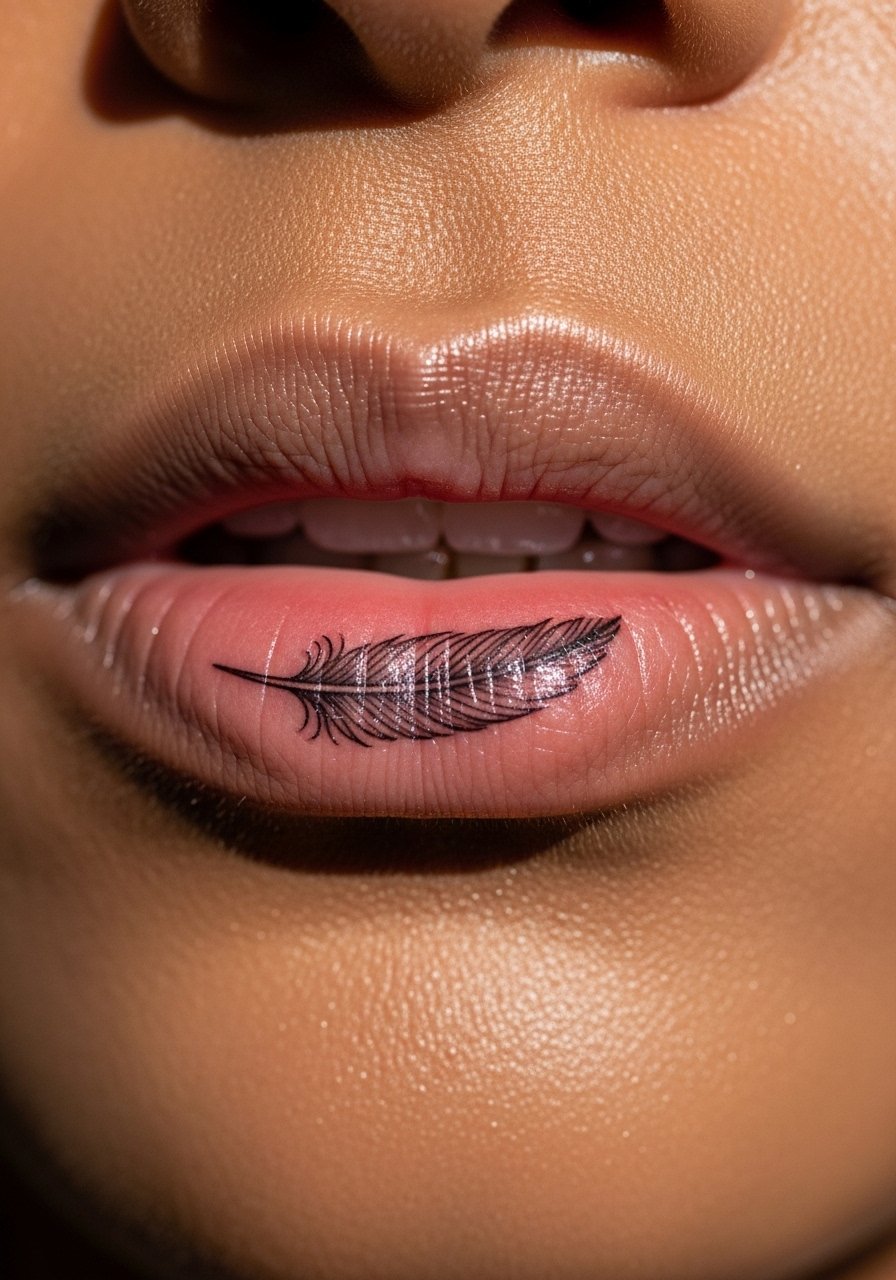
A feather tip suggests movement and softness. Ask for a compact barb cluster and a slightly bolder quill line so the form holds. The session feels stingy for a short time. People often ask for long feather shafts which do not translate well on lips. For session wear, a loose button-up keeps you at ease. Sensitive-note: feathers on lips require a steady hand and a lip-specific portfolio.
22. Micro Music Note Near Inner Lip Corner

Musical icons are immediate and personal. Request a simple note with a clear stem and rounded head, avoid decorative flags. The session is short and sharp. The common mistake is asking for a stylized note that loses the head shape as it fades. For photos, a glossy lip look helps the symbol pop. For the appointment, wear an easy neckline for comfort.
23. Tiny Crescent Moon Under Upper Inner Lip

A crescent is a compact celestial pick that scales well. Ask for an open crescent rather than a filled sliver to avoid a solid patch that fades irregularly. The session is quick and the pain is concentrated. A mistake is filling the moon too heavily which can look like a smudge later. For reveal photos, pair with subtle shimmery gloss. Sensitive-note: inner lip moons need precise spacing from the gum line.
24. Micro Barcode or Small Numeric Code
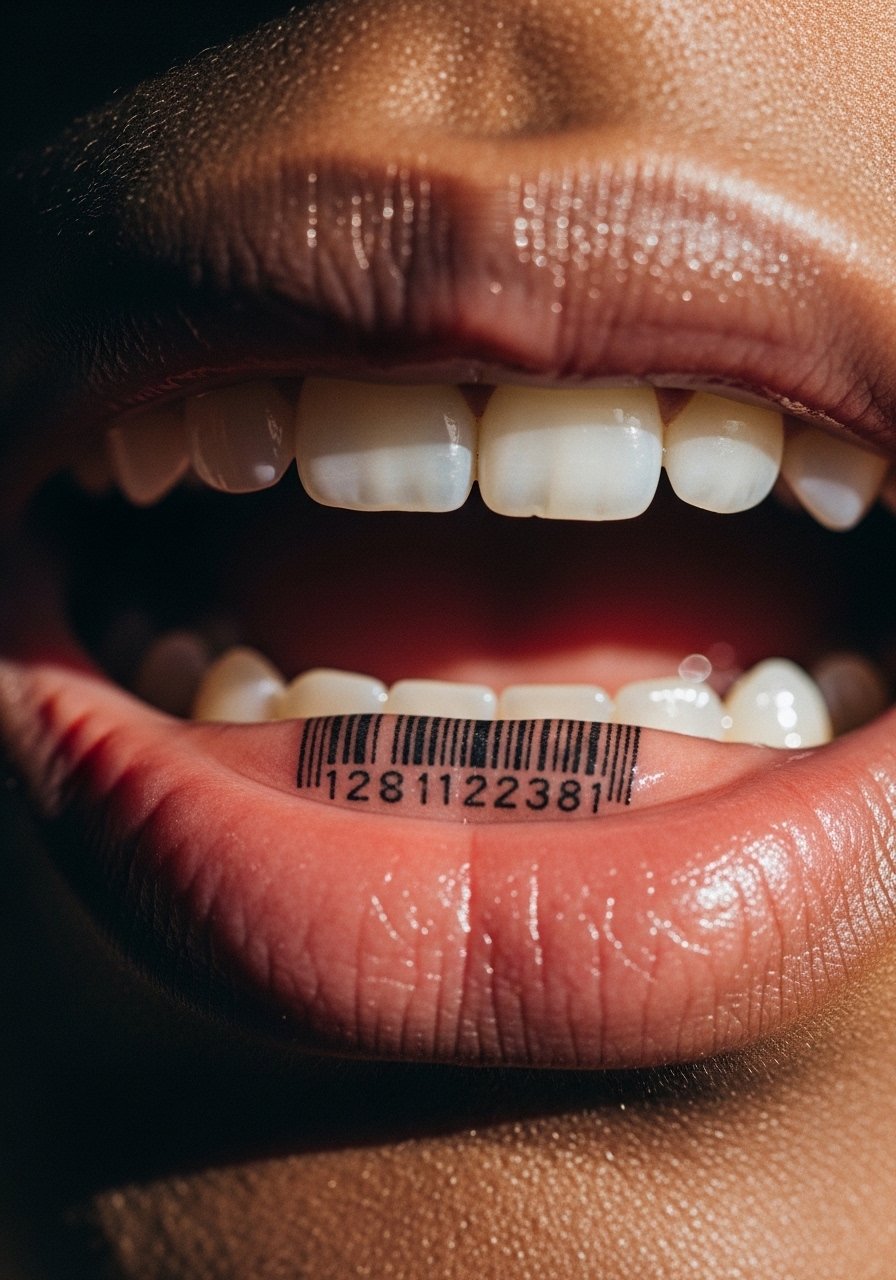
Barcode-style lines are a graphic statement but demand breathing room between stripes. Ask for wide bars and avoid tiny thin lines that bleed. Session time is short and the sensation sharp. Artists disagree on whether many thin parallel strokes hold in lips, so state your preference and ask to see healed examples. For the session, wear a loose tank so you can lean back without restriction. For photos, a neutral lip shade keeps the graphic readable.
25. Tiny Arrowhead Pointing Inward

An arrowhead is compact and symbolic. Choose a filled triangle or a bold outline instead of micro-feather details. The session is under 15 minutes with a sharp sting. The most frequent mistake is asking for too many arrow elements that turn into a blob. For the session, wear a comfortable top and keep conversation minimal to reduce saliva. Sensitive-note: precision is key so request a mouth retractor.
26. Tiny Smile Line Curve Minimal Mark
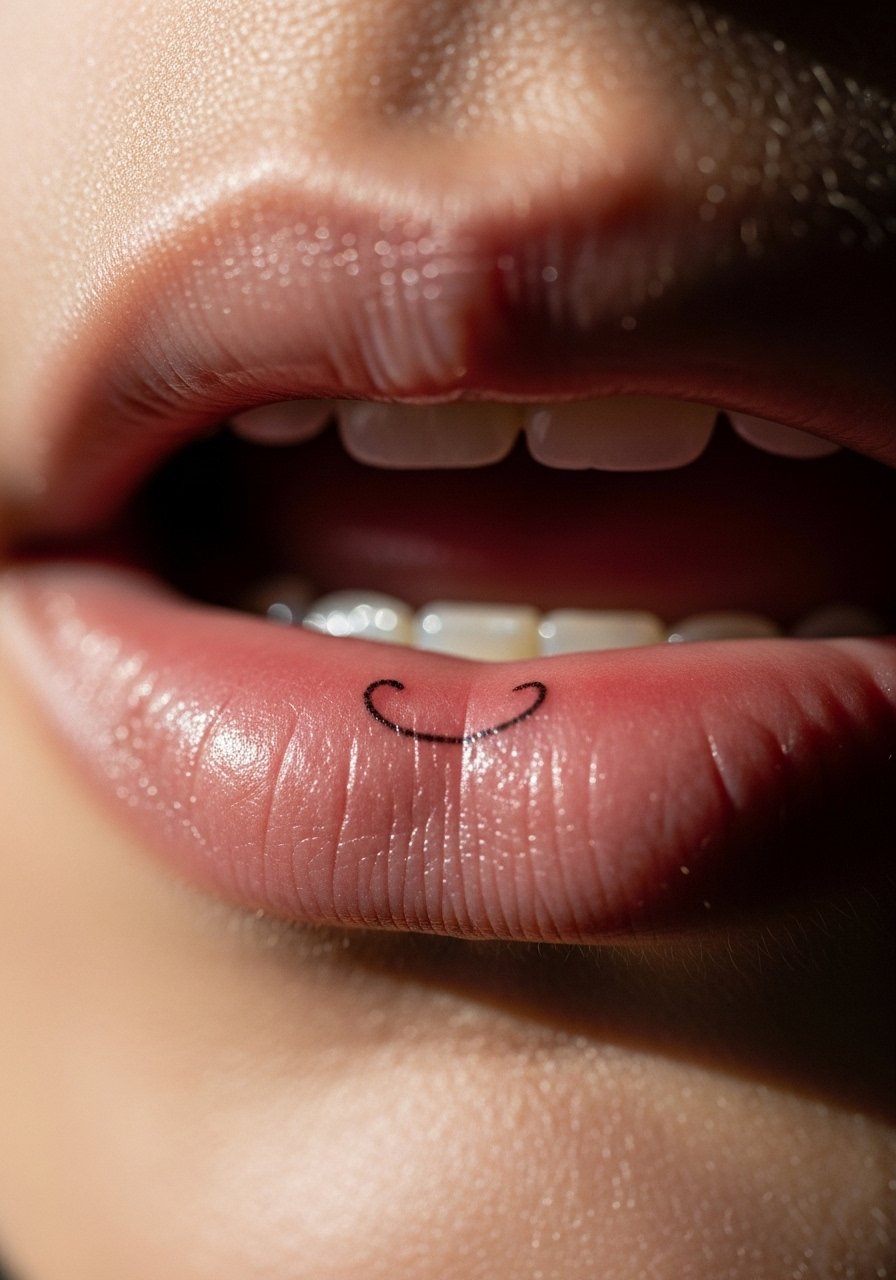
A minimalist smile curve is a subtle nod to expression. Keep it single-stroke and slightly thicker than micro-fine. The session is quick and the pain sharp but short. A typical error is making it too thin which causes it to vanish quickly. For showing off, a glossy finish on the outer lip makes the curve read on camera. For the session, a button-up or loose tank helps the artist position you.
27. Tiny Coordinate Numbers in Monospace

Coordinates are precise and require exact text handling. Provide the exact string you want during the stencil step and confirm legibility when the artist applies transfer. Opt for slightly wider spacing and a bolder stroke than your first instinct so characters remain distinct over time. Session length varies with complexity but is usually under 30 minutes and the sensation is sharp. A common mistake is choosing tiny font sizes that blur. Sensitive-note: any text inside the mouth must be checked carefully on the transfer and reheard with the artist.
Frequently Asked Questions
Q: How long do inner lip tattoos usually last before needing a touch-up?
A: From what I've seen, many inner lip pieces need a touch-up within three to six months. The mouth environment wears ink faster than skin elsewhere so plan for a quick follow-up. Bold silhouettes and slightly heavier line weight tend to stretch the interval between touch-ups compared with ultra-fine script.
Q: Will inner lip tattoos hurt more than an outer lip or wrist piece?
A: Inner lip work is commonly described as sharp and intense because the tissue is thin and sensitive. The sessions are short which helps. Some people report it as one of the worst quick pain experiences, while others say the brief duration makes it tolerable. It depends on your pain tolerance and the artist's technique.
Q: Should I test an inner lip sketch with a temporary before committing?
A: Testing with a temporary transfer or sticker is a smart move for many people. It shows how the text or icon sits when you smile and how visible it will be in real life. I recommend this when you are unsure about spacing or the exact wording.
Q: How should I handle eating and talking after an inner lip tattoo?
A: Keep to soft foods and avoid spicy or acidic items for at least 48 hours and speak less to reduce saliva contact. Small meals eaten with a straw can limit friction. Rinse gently with saline and pat the area dry rather than rubbing.
Q: Do inner lip tattoos affect professional settings or piercings?
A: Because inner lip tattoos only show when you reveal them, they are less likely to impact visible professional policies. If you also have lip piercings, discuss placement with your artist since hardware can interfere with healing. For styling in photos, a thin lip ring can complement small icons, try a thin gold lip ring if you want coordinated looks.
Q: Are there clear red flags in artist portfolios for inner lip work?
A: Yes. Avoid artists who have no oral-placement photos or only fresh, inflamed shots. Ask to see healed images of inner lip work. If an artist cannot show healed results, that is a warning sign. Trusting an artist is useful but specificity matters more so ask precise questions about technique and past lip pieces.
Q: Can I get colorful inner lip tattoos or should I stick to black?
A: Black ink is the safest choice for inner lip work because pigments and saliva interact in unpredictable ways. Color tends to fade unevenly. If you want color, talk about realistic expectations and plan for multiple touch-ups.
