
Fine line and bold color both have places in Gaga-inspired tattoos, and the trend pieces you see online do not always match what lasts. Some of the most wearable designs start with how they will age and how you plan to show them off. Below are 17 illustrative takes on Lady Gaga themes, each with practical notes on placement, aging, and what to tell your artist at consultation.
1. Minimalist Fame Script at the Collarbone
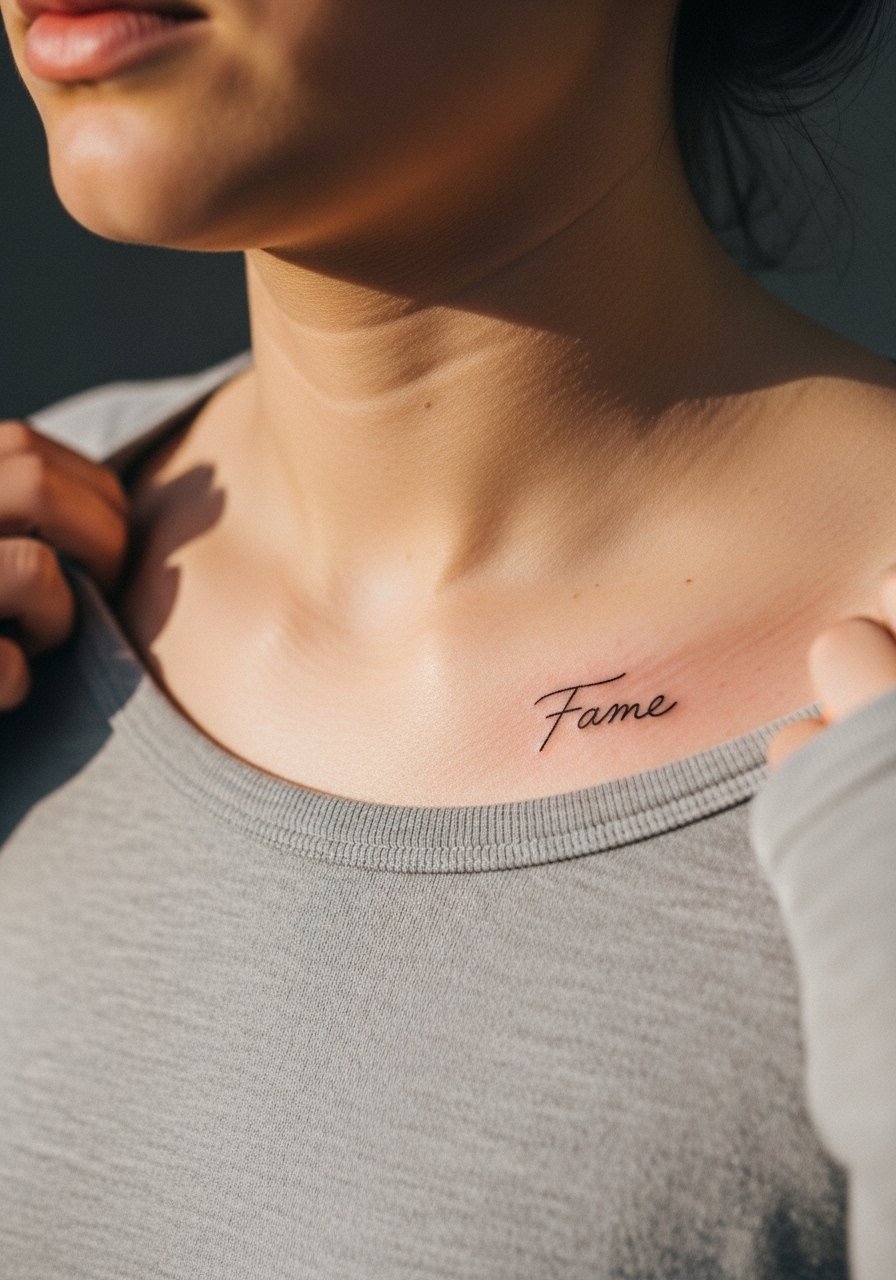
A small, illustrative script referencing a lyric or single word can read like a secret message under clothing. For the collarbone pick thin but slightly weighted linework so the letters do not blur into each other as the skin stretches. In consultation, ask for slightly increased spacing between letters and a proof stencil you can wear while standing and sitting. Expect a moderate session time and brief sharp tugs along the collarbone. Common mistake is going ultra-tiny and expecting the same crispness five years out. For showing it off, pair it with a thin chain pendant necklace so the text sits just above the jewelry without competing.
2. Illustrative Portrait in Pop Color on Upper Arm
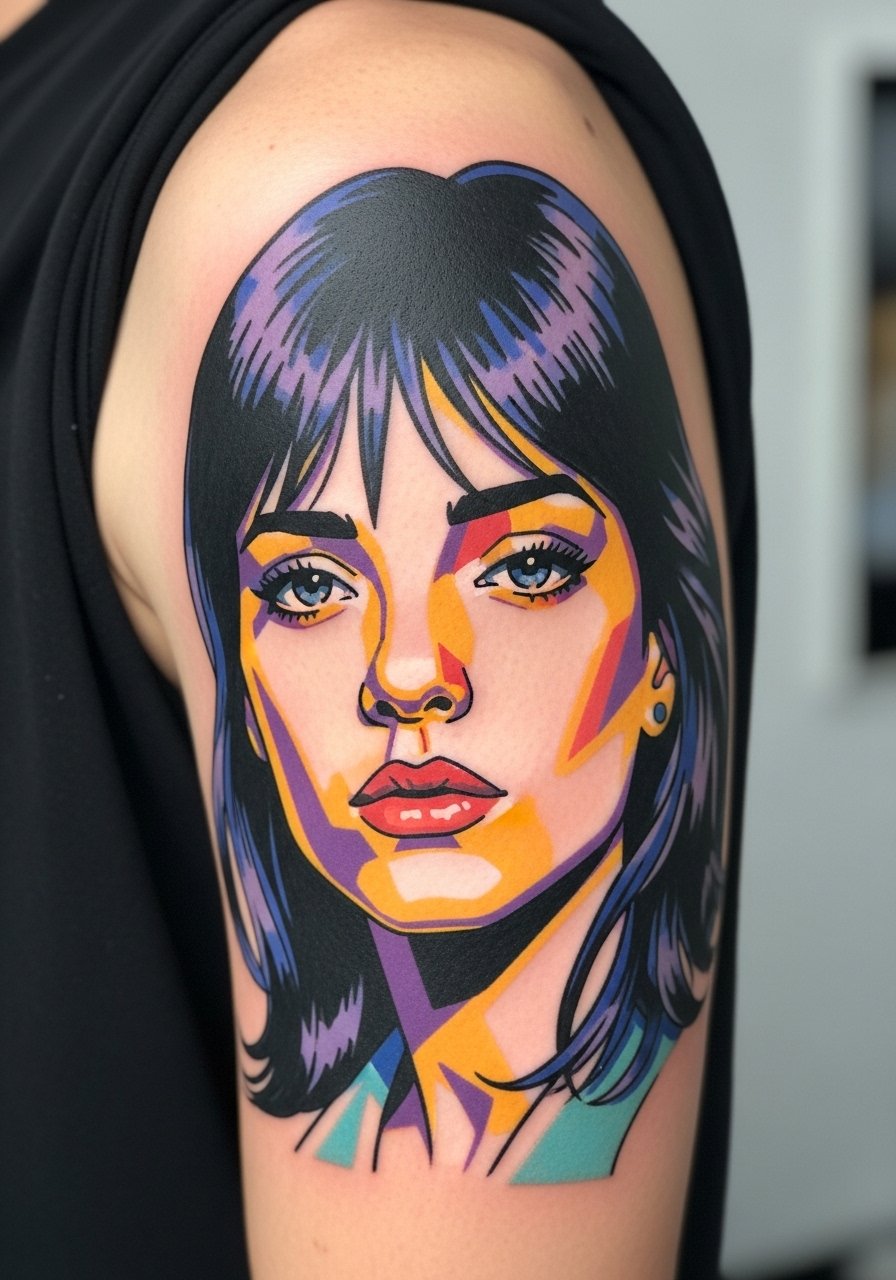
Portraits split fans into two camps. One camp wants photorealism that looks like a photograph. The other camp prefers illustrative interpretations that capture mood and iconography without copying a photo. For Lady Gaga portraiture, the illustrative route protects against uncanny likeness and tends to age better when applied with deliberate lineweight and color blocks. Tell your artist you want defined linework around facial features and saturated color panels, not micro-detail shading. Expect touch-ups around color edges at year two to three. A common error is asking for portrait-sized micro-detail on thin skin, which risks early softening.
3. Meat Dress Motif in Graphic Blackwork on Thigh
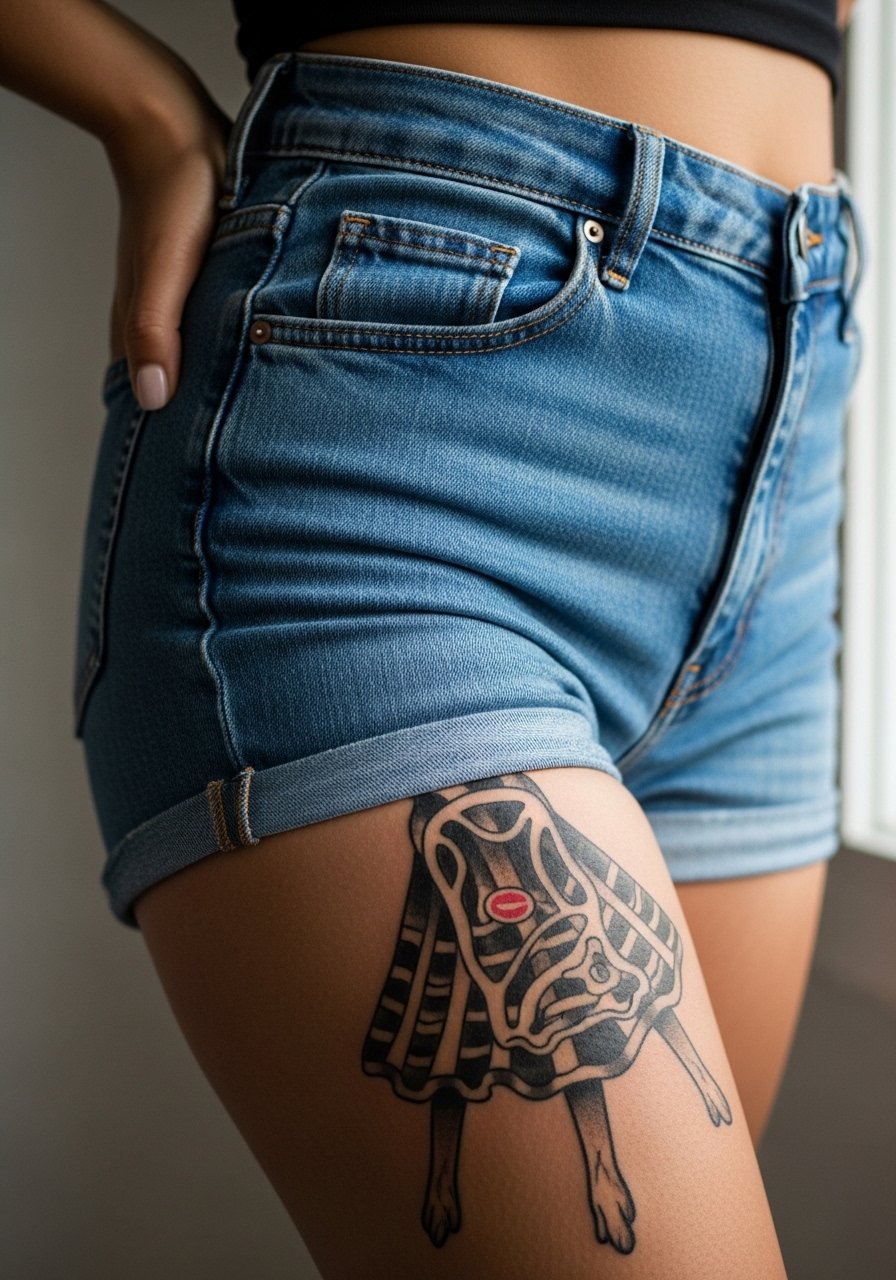
This is a large illustrative idea that borrows the concept without copying imagery. For thigh placement, session time is longer and pain is moderate. Ask for strong linework and high saturation so the large black areas heal solid rather than patchy. The worst version is a half-saturated fill that looks uneven after healing. Expect the blackwork to hold well for years but require touch-ups where friction from clothes rubs. For the appointment, wear high-waisted shorts so the artist can access the outer thigh without you getting cold.
4. Comic-Panel Montage Along the Side Ribcage
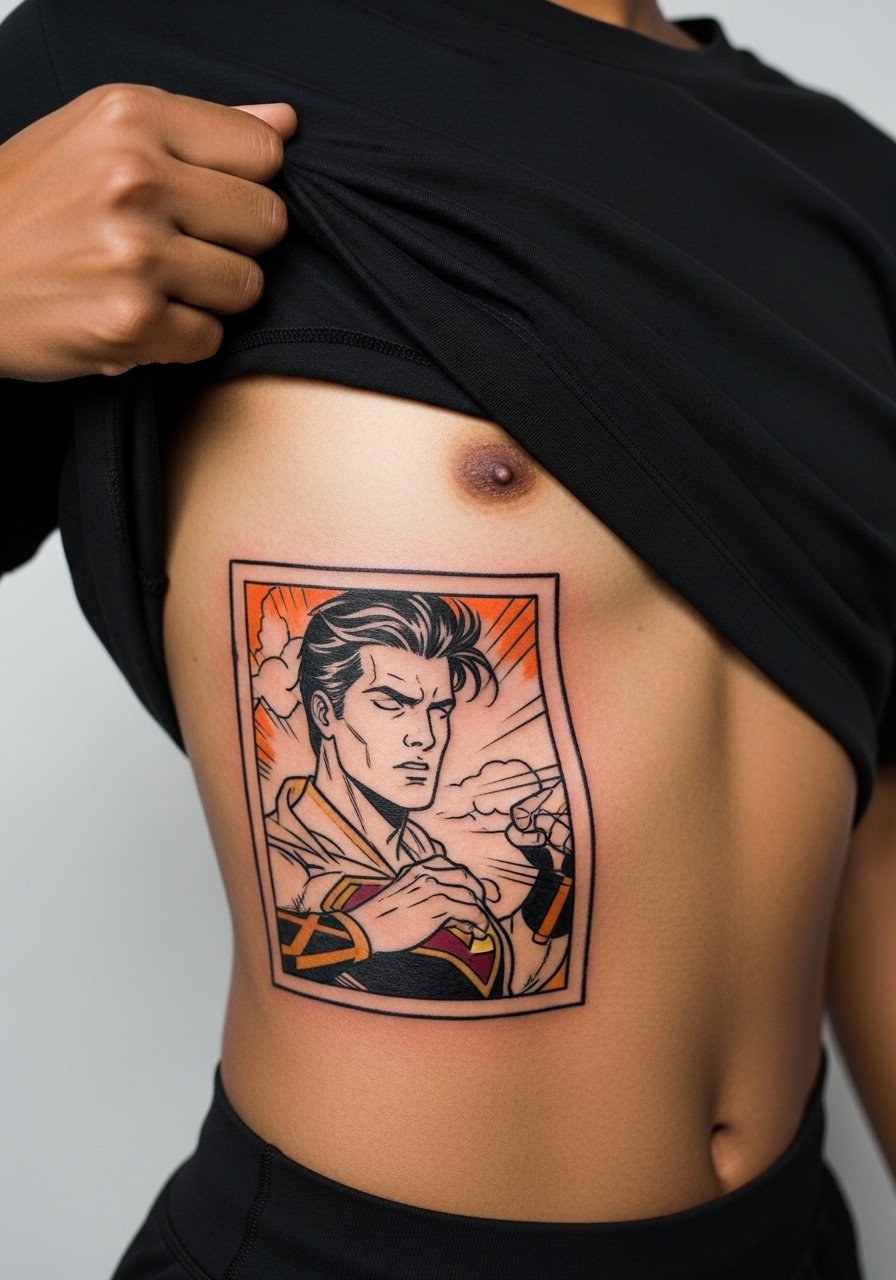
Ribcage work provokes debate among artists. One camp says ribs stretch and breathe differently, causing fine detail to blur quickly. The other camp argues that with correct spacing and deeper but careful needle depth, illustrative panels can survive. If you want a comic-panel montage, plan larger panels and stronger outlines rather than tiny boxes. The session will be painful for most people and may require breaks. A common mistake is packing too much tiny detail in a small rib area. Expect touch-up conversations at year two if you want the same punch as day one.
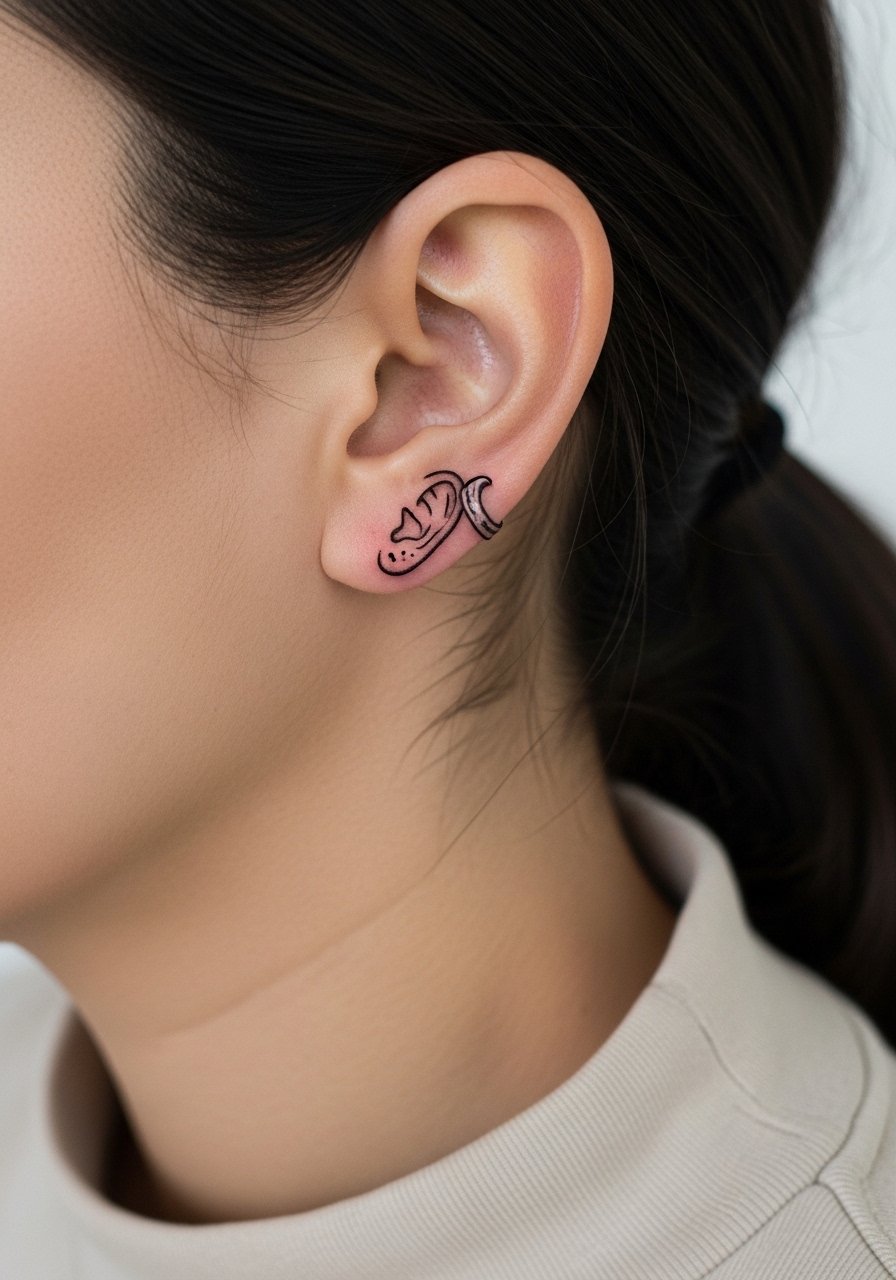
5. Lady Gaga Silhouette Behind the Ear, Illustrated
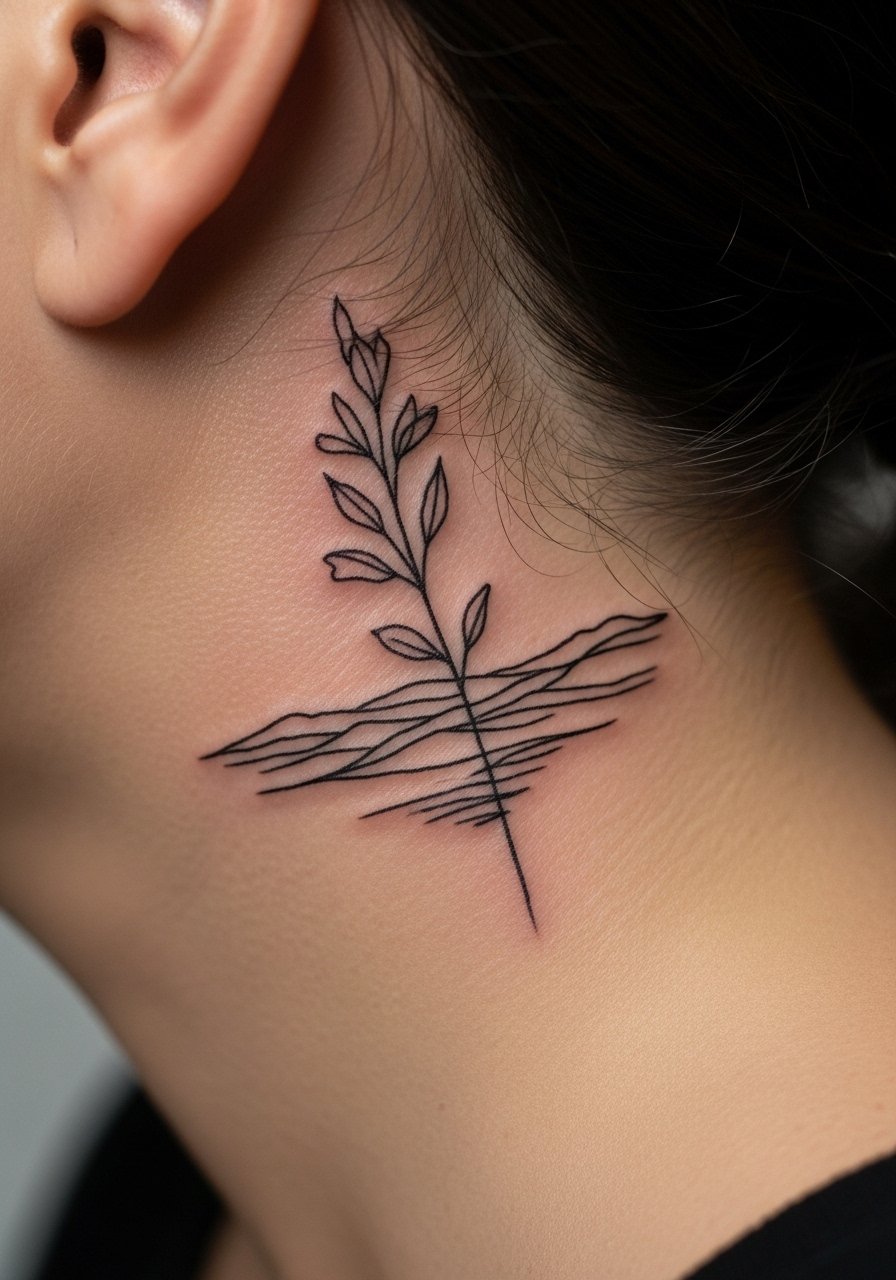
Behind-the-ear placements read as intimate nods to fandom. Because of the curve and thin skin, keep the silhouette simple and avoid heavy stipple shading there. Tell the artist to keep linework shallow but consistent and to preview the placement with a hair-tucked proof. This area heals quickly but is prone to slight fading if you wear scarves or high collars often. For session wear, pull hair back and bring a wide-tooth hair clip so the area is exposed without tugging on wet hair.
6. Stylized Micro-Realism Eye Motif on Inner Forearm
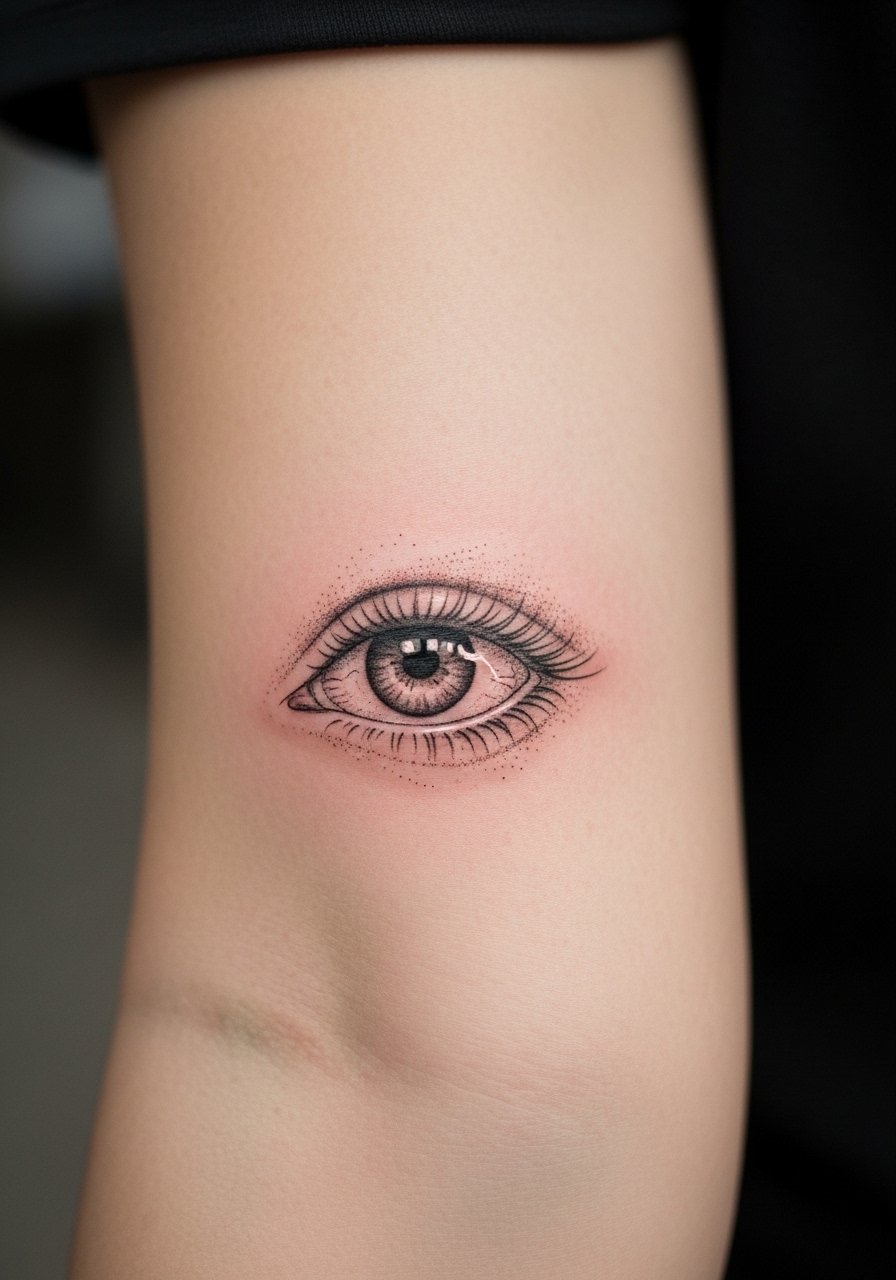
The inner forearm is forgiving for fine illustrative work. For a micro-realism eye, ask your artist for slightly bolder linework at the contour and stipple shading inside. That approach ages better than feathered micro shading that can soften. Pain is low to moderate and session time short, which makes smaller pieces great for first illustrative portraits. Common mistakes include requesting an ultra-detailed pupil in a very small size. Expect the most color fade on shaded areas at year three, with linework lasting longer.
Pre-Session Essentials
These items smooth out the prep and early healing for the wrist, collarbone, thigh, rib, ear, and forearm pieces above.
-
Stencil transfer paper kit. Lets you test placement and sizing on skin before the needle goes down, which helps avoid the collarbone and forearm repositions that cause session delays.
-
Topical numbing cream. Applying as directed before a rib or thigh session can make long panels more tolerable without affecting linework when used properly.
-
Thin protective film roll. Useful for finger or wrist placements where friction and frequent washing threaten fresh linework during the first week.
-
Fragrance-free gentle body wash. Cleanses healing areas like behind the ear and collarbone without stripping moisture from delicate lines.
-
Aquaphor healing ointment. A thin layer for the very first days helps protect fine line work while skin starts to repair.
7. Retro Radio Micro-Illustration on the Wrist
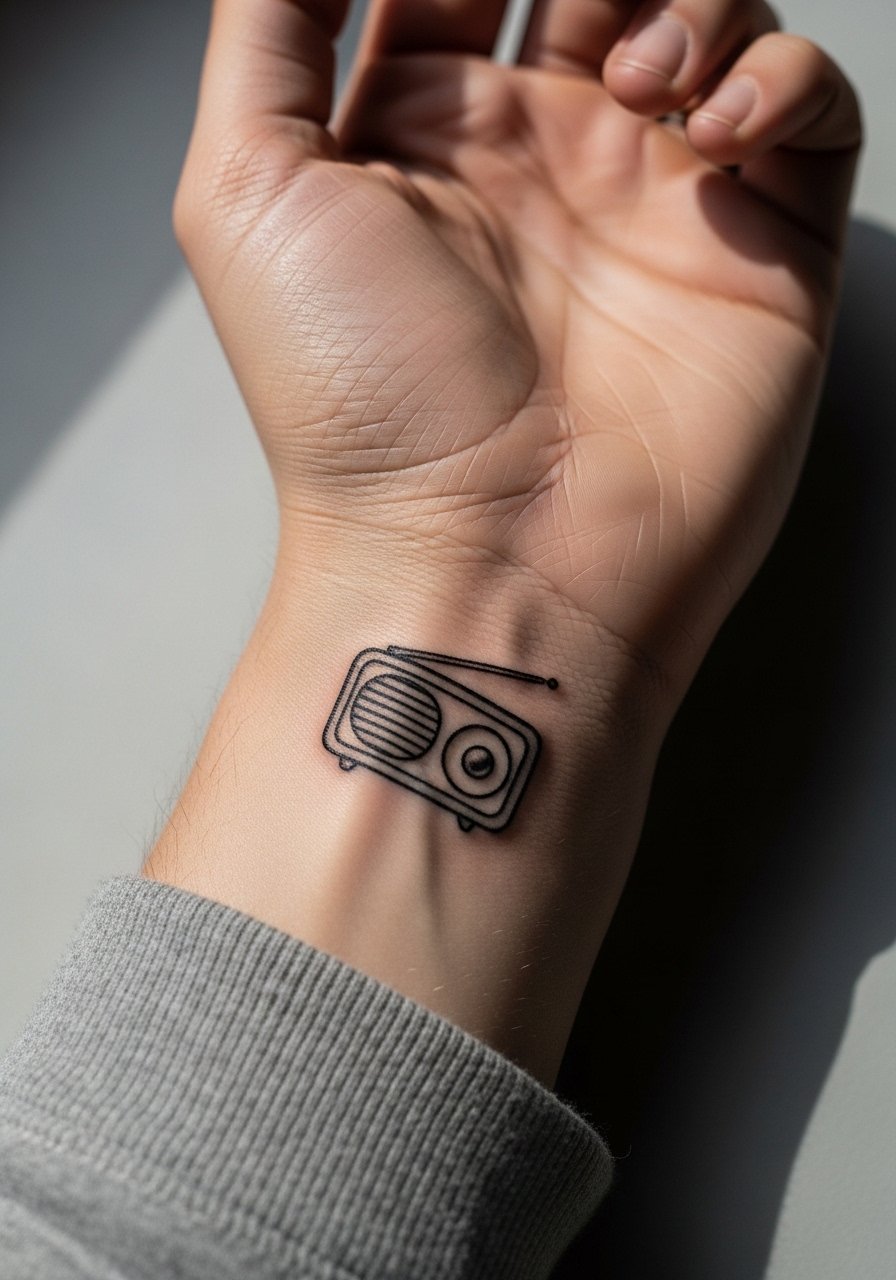
Wrist tattoos are show-and-tell pieces that need smart spacing. For a retro radio motif, ask the artist to slightly thicken outer contours and keep intricate knobs simplified so linework holds under daily wrist motion. Expect higher touch-up likelihood because the wrist moves and sees lots of sunlight. A common mistake is placing dense dot work too close to the wrist crease, leading to early softening. Style this with a minimalist watch or stacked thin bracelets that frame the radio without obscuring it.
8. Lyric Ribbon Wrapped Around the Bicep
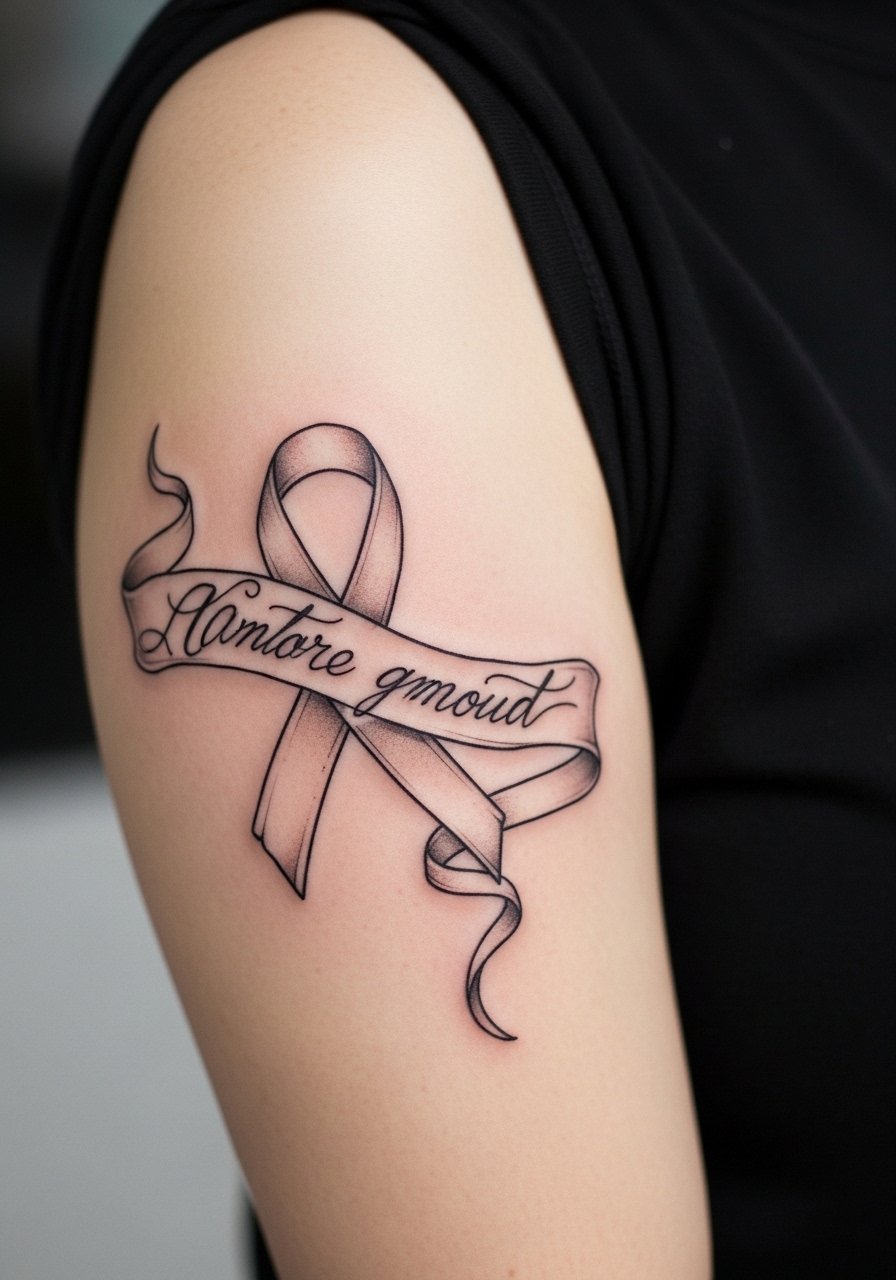
A ribbon that spells a line from a song is an elegant illustrative option for the bicep. During consultation, show the exact font size and ask for a curved stencil that sits when your arm is relaxed. The bicep is less prone to blowout than the inner arm but the ribbon should not be so tight that letters get squeezed when flexed. Typical mistake is asking for very tight script that deforms with muscle. Expect a short session and minimal downtime.
9. Chromatic Lightning Bolt Behind the Knee
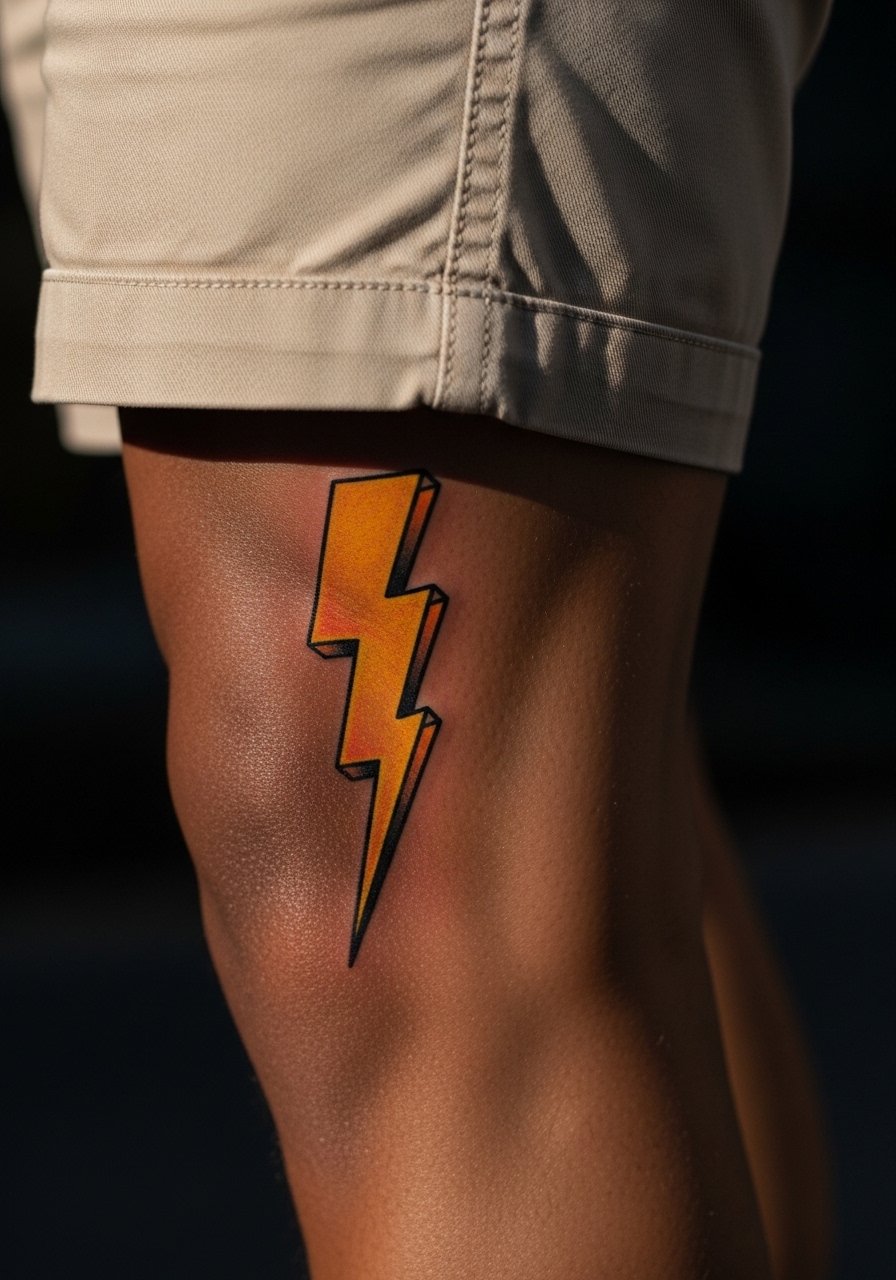
Behind-knee placement requires careful consideration due to skin folding. Choose a bold, graphic bolt with clean color blocks rather than tiny gradients so the design tolerates movement. Communicate that you want saturation in broad areas. Pain is higher and sessions can be awkward because of positioning. For showing it off when healed, roll up trouser cuffs or wear casual shorts that stop above the knee so the bolt peeks out during summer.
10. Minimal Monster Hand Symbol on the Side of the Hand
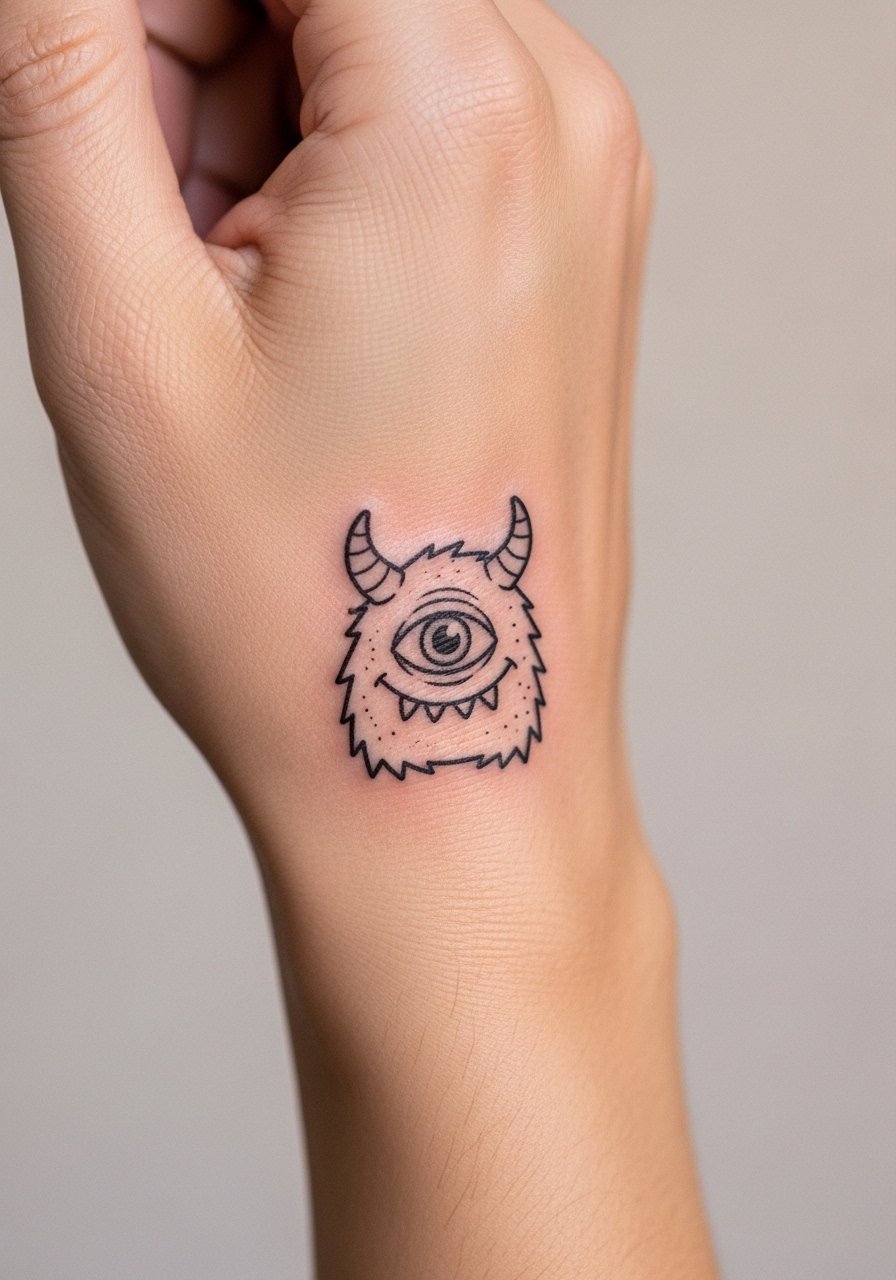
Hand tattoos are still contentious for career reasons. If you pick the side of the hand, keep the mark small and bold. Tell the artist you want dense linework with very little fine shading because hands see heavy wear and washing. The common mistake is treating the hand like forearm skin. Expect more frequent touch-ups and some early softening. Consider your job and social context before committing to a hand placement.
11. Illustrated Micro-Flash of Poker Face Sunglasses on Ankle
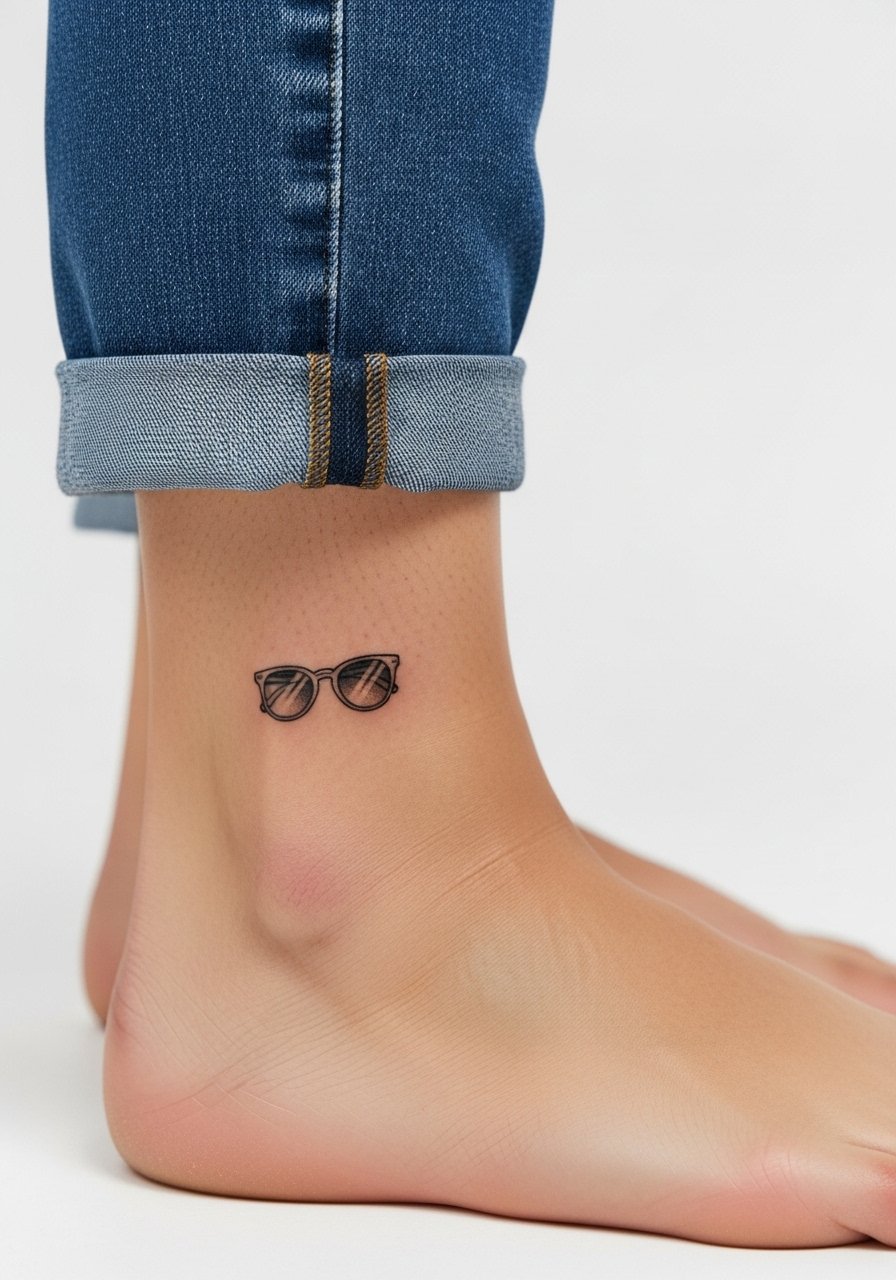
Ankle placements suit tiny flash pieces that read from short distances. For illustrative sunglasses, keep lineweight crisp and avoid tiny pierced details that blur. The ankle rubs against shoes and socks, so expect some early fading in spots that see friction. For the session, wear rollable denim or cropped pants so the artist can access the ankle without you taking off footwear entirely. A frequent mistake is choosing ultra-fine detailing for a zone that will take constant abrasion.
12. Illustrated Micro-Tattoo on the Side of the Finger
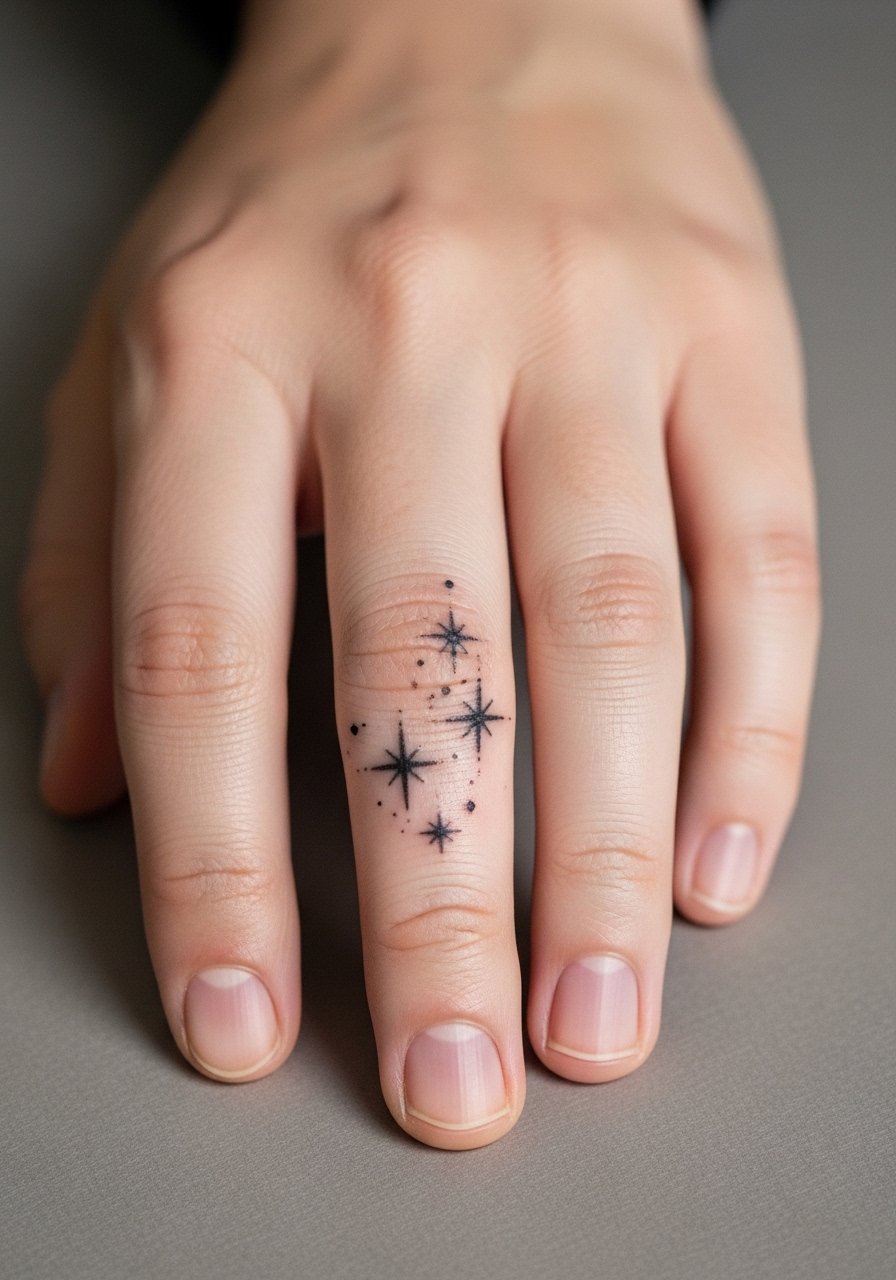
Finger and knuckle tattoos have a high fade rate. If you want an illustrative cluster, place it on the side or the outer finger pad rather than across a joint. The skin there is constantly washed and rubbed, which causes ink to disperse. Tell the artist you accept the higher touch-up rate and plan for annual maintenance if you want permanence. A common mistake is expecting a finger micro to last like a forearm piece. If permanence matters, consider placing the design on the wrist or inner finger.
13. Stylized Microphone with Floral Filigree on Shoulder Blade
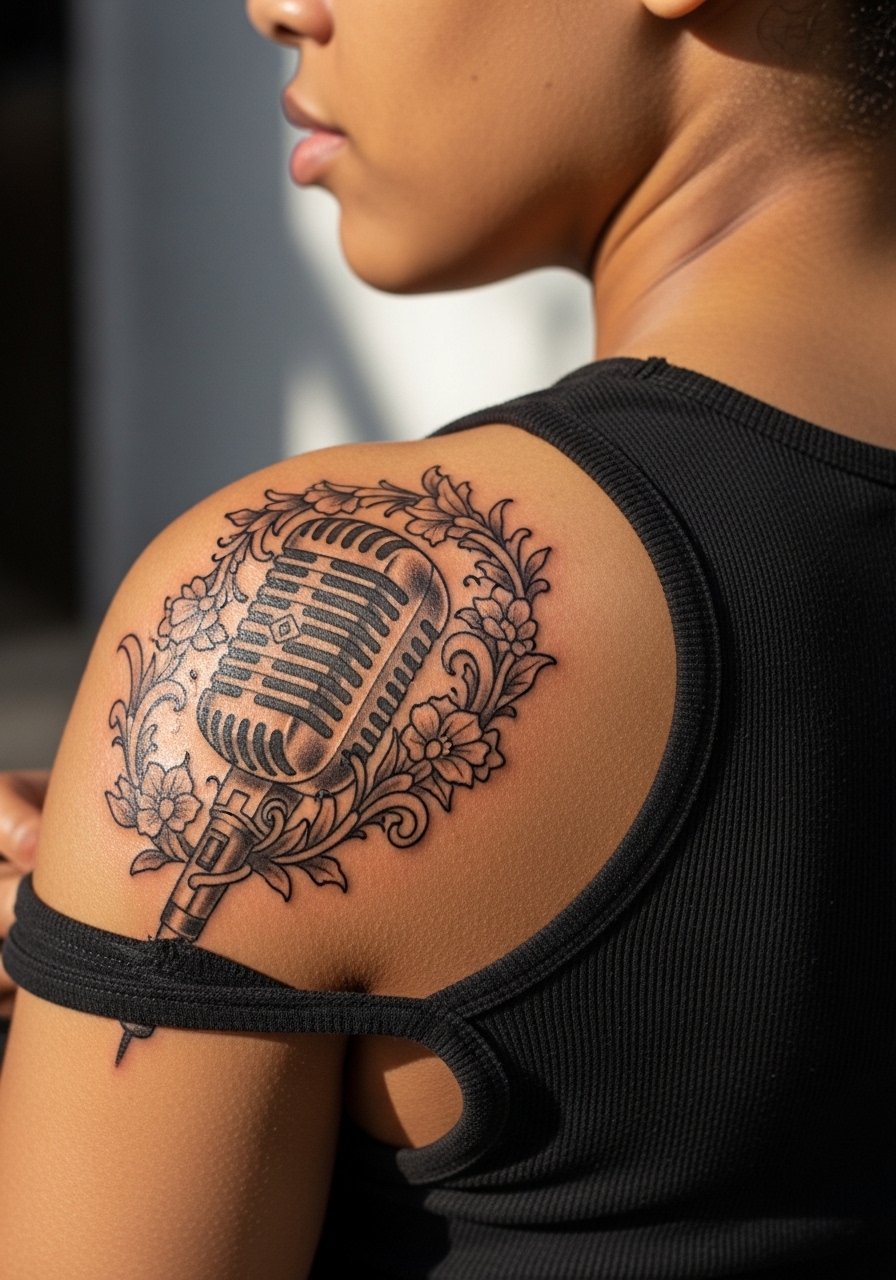
The shoulder blade sits flat and tolerates illustrative detail well. A microphone motif with surrounding filigree benefits from medium spacing and confident linework. In consultation, request photos of the design laid over your shoulder so you can check curvature when you move. Sessions are comfortable and healing is straightforward. For evenings out, show it off with an open-back midi dress so the filigree frames the skin without competing.
14. Block Color Pop-Icon on the Calf
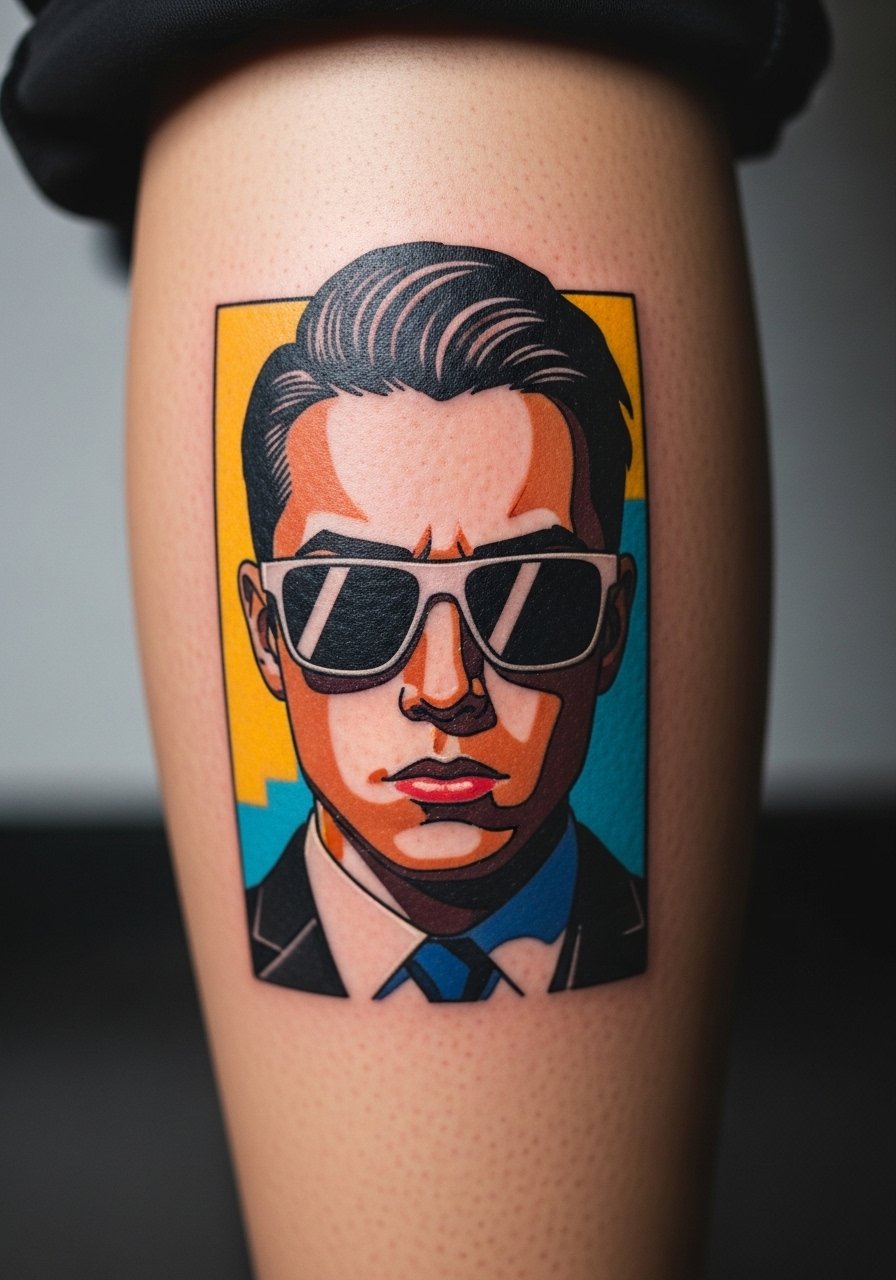
Calf placement is great when you want larger illustrative statements without constant sun exposure. For a pop-icon, prefer large color panels and minimal tiny details. Ask your artist to map the piece while you stand so the imagery reads while walking. A common mistake is overcomplicating color transitions in a mid-sized calf piece. Touch-ups on color edges may be needed at year two if you spend a lot of time in the sun.
15. Lyric Wave Along the Spine in Fine Illustrative Script
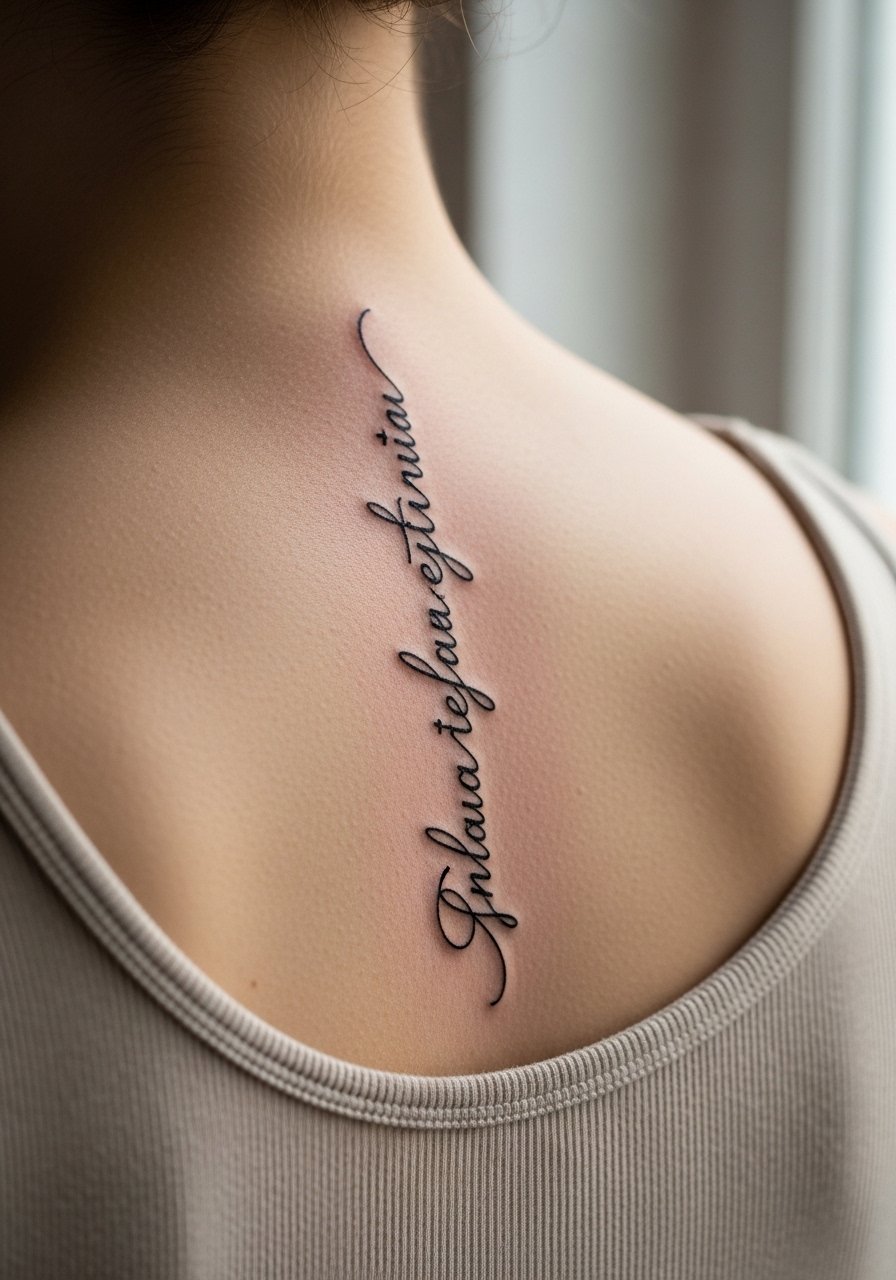
Spine script is dramatic and very visible in open-back clothing. For longevity, go slightly larger than the smallest type you like and ask for clear spacing between words so the lines do not merge over time. Sessions are sensitive along the spine but manageable in short bursts. The main mistake is compressing too many words into a short vertical space. Pair with an open-back top for nights out to let the script breathe.
16. Illustrated Ear Cuff Motif Along the Helix
Helix work needs precise shallow lines because cartilage holds ink differently than softer flesh. Keep the motif simple and avoid heavy shading there. Ask for a test stencil and expect a short, precise session. The common error is over-filling the area, which can lead to uneven healing. If piercings or ear accessories are part of your look, plan placement around them to avoid crowding.
17. Abstract Monster Mask on the Upper Thigh
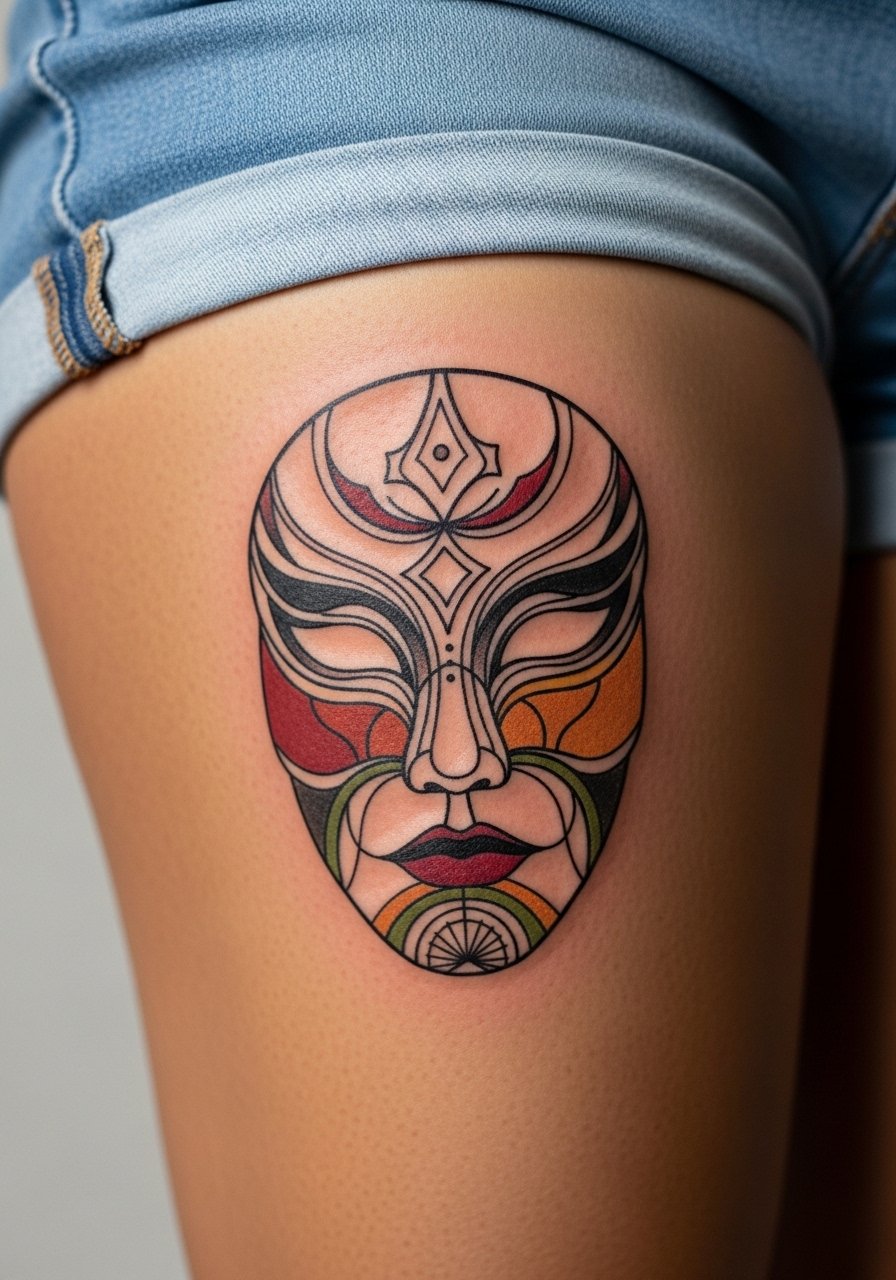
The upper thigh is forgiving for larger illustrative experiments. An abstract Monster mask can be bold or soft depending on lineweight and saturation. For a design that lasts, opt for clean contours and leave open negative space inside the mask. Tell the artist if you want visibility only in summer so they can size it for the area you will expose. Sessions are moderately painful toward the inner thigh and more comfortable on the outer zone. For showing the piece, a high-waisted skirt that rides up slightly will let the tattoo peek during warmer months.
Frequently Asked Questions
Q: How well do illustrative portraits hold up compared with hyper-realistic portraits?
A: From what I have seen, illustrative portraits tend to hold shape and character longer because they rely on defined linework and deliberate color panels instead of micro-shading. Realistic portraits can be beautiful at first but often need touch-ups sooner, especially on thin-skinned areas. Ask your artist which approach they prefer for your chosen placement.
Q: Will a ribcage comic-panel blur faster than the same design on the forearm?
A: Yes, ribs move with breathing and the skin there can cause fine detail to soften faster than the forearm. If you want panels on the ribs, increase spacing and lineweight from the start. Plan for a possible touch-up at year two or three depending on how much sun and friction the area gets.
Q: Are hand and finger illustrations worth it if they need regular touch-ups?
A: That depends on how much maintenance you want to accept. Hands and fingers fade faster because of frequent washing and friction. If you value low upkeep, place the same design on the wrist or inner forearm instead. If visible placement is essential, budget for periodic refreshes.
Q: How should I prep clothing for a sternum or chest illustrative piece on session day?
A: Wear a fitted sports bra or a wide-neck shirt you can easily pull aside. A stretchy bandeau or fitted tank minimizes fabric movement and gives the artist clear access while keeping you comfortable.
Q: Is it okay to get a stylized Lady Gaga portrait if I want a likeness rather than a copy?
A: Yes. Many fans choose stylized illustrative portraits because they capture mood and references without duplicating a photo. That approach sidesteps uncanny likeness issues while letting the artist interpret iconography in a personal way.
Q: How soon should I book a touch-up for fine line work on sun-exposed areas?
A: From what I've observed, fine line pieces in high sun exposure often need a touch-up around year two to three. The exact timing depends on your sun habits, skin tone, and how well you apply sunscreen. Schedule a portfolio review with your chosen artist to set expectations.
