
Fine line is everywhere online right now, and the same pieces that rack up saves can look different in real life. What holds up is less about the trend and more about placement, spacing, and honest expectation. These 27 illustrative ideas pick designs that photograph well and have a real chance of aging with you, with notes on what to ask your artist and what to wear to the session.
1. Fine Line Arrow on Inner Forearm
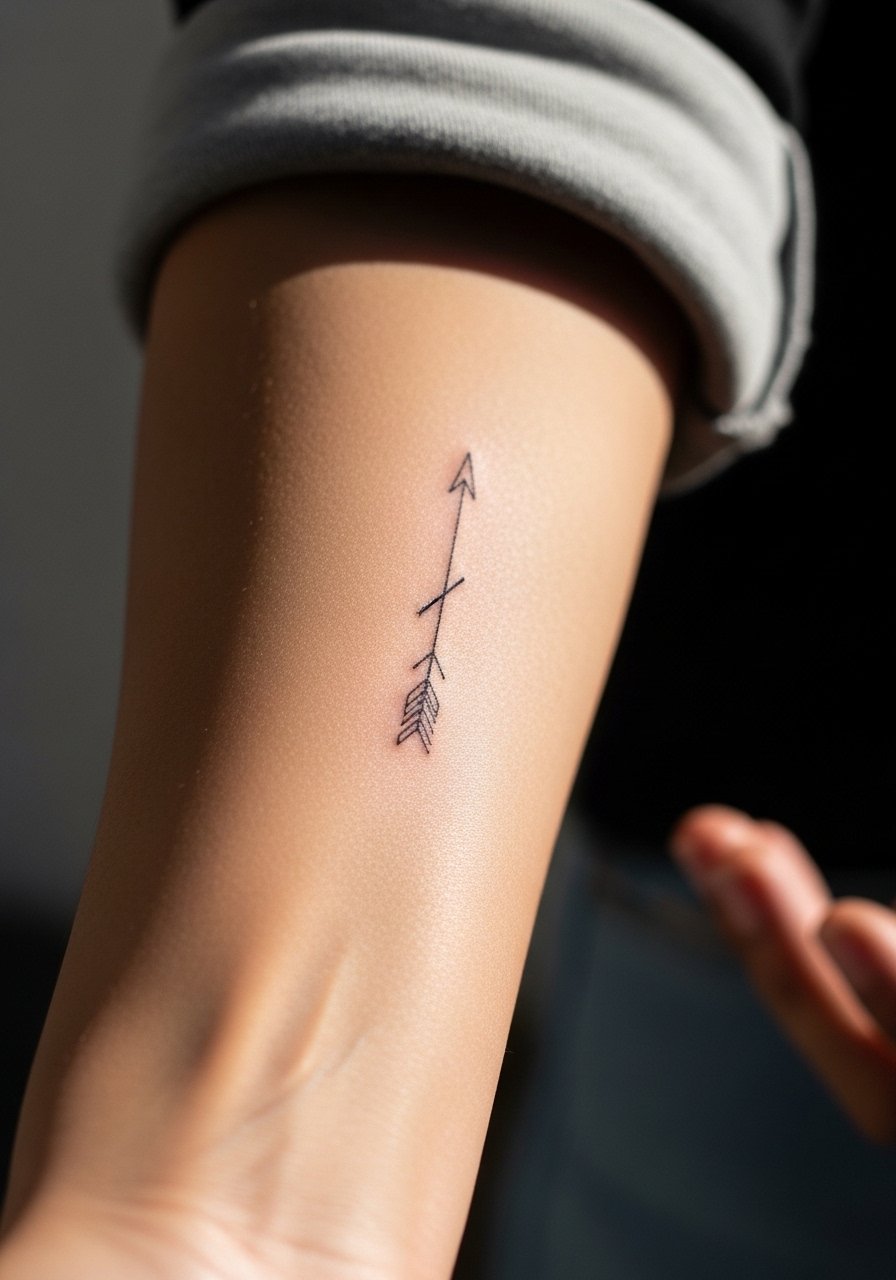
I recommend this if you want something readable from day one that does not demand a long sit. Fair warning, the inner forearm is one of the places where too-thin linework can blur by year three. Tell your artist you want slightly more spacing between parallel lines and a single-needle feel without razor-thin contour. Expect a mild-to-moderate pain, a single short session, and a likely touch-up in 2 to 4 years. For the appointment wear a loose button-down shirt you can pull up on the arm, and afterwards rolled sleeves or a cropped knit keep attention on the linework while protecting it from sun.
2. Micro-Realism Moon on the Shoulder Blade
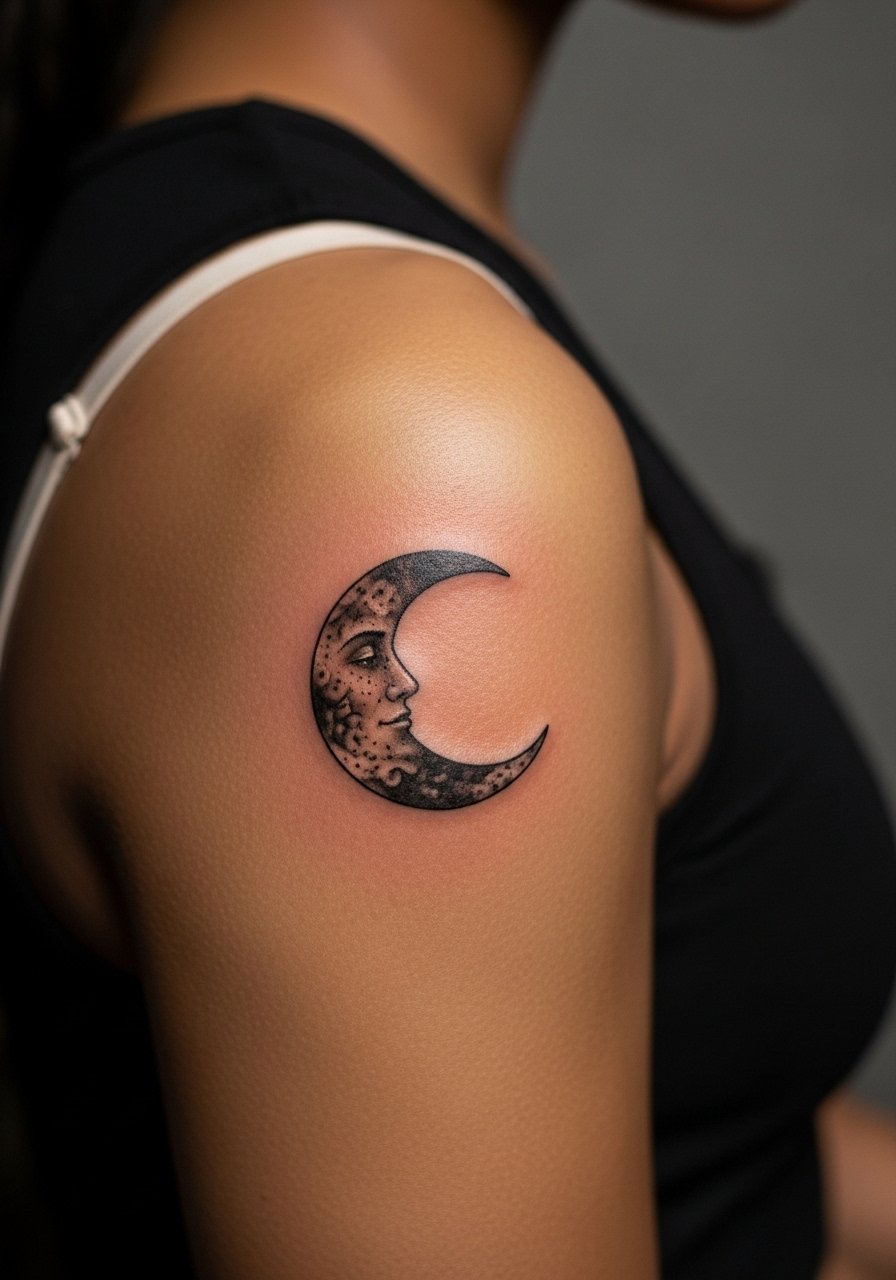
I open with observation: tiny micro-realism reads exceptionally well on the shoulder blade because skin there settles slowly. In consultation bring clear references that show the exact shading density you like. The mistake is asking for extreme tiny detail in an area that will lose fine dots if packed too closely. Sessions are comfortable, often short, and touch-ups happen at year three if dots soften. The shoulder blade also pairs nicely with open-back tops, so think ahead and bring a wide-back tank for the session to keep access clean.
3. Single-Stem Rose Along the Ribcage
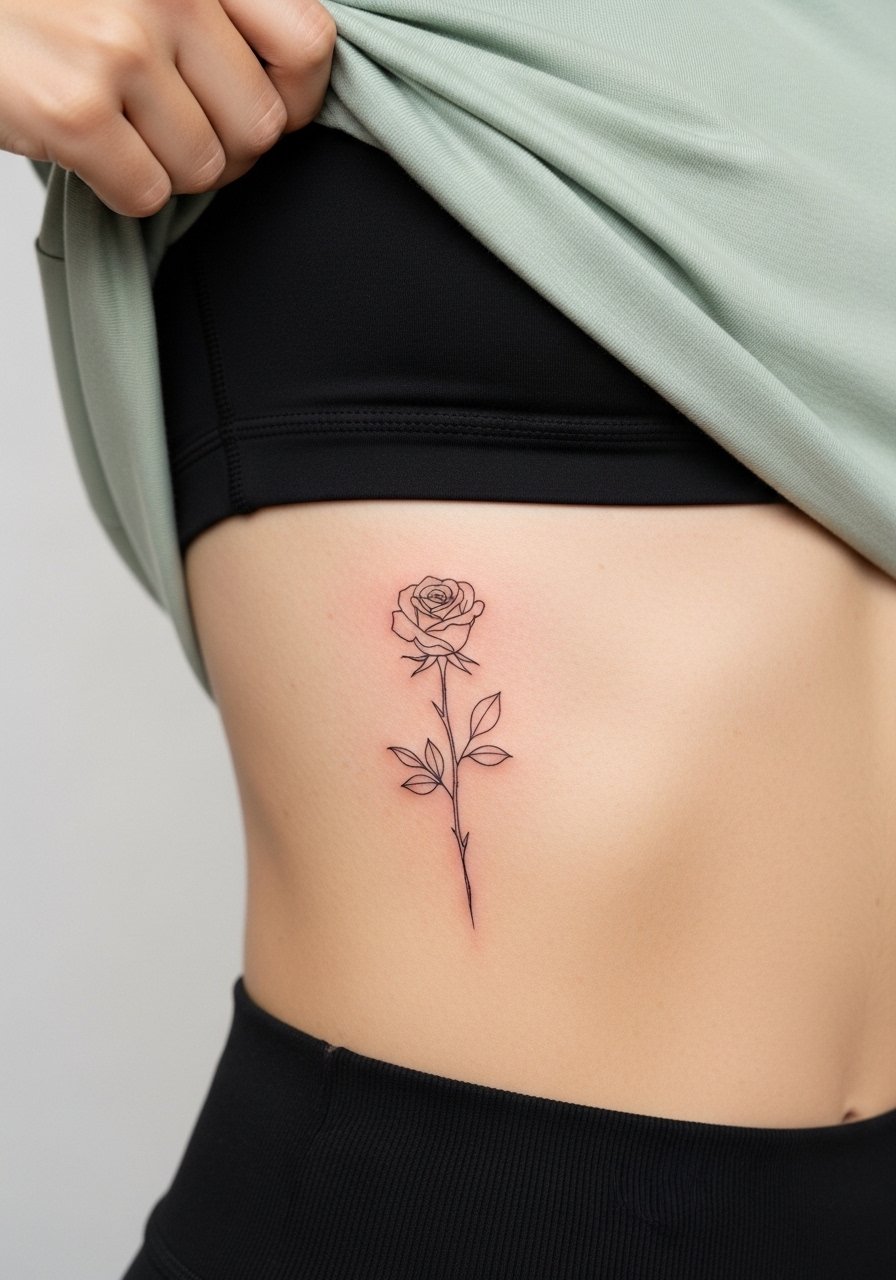
Fair warning: ribs are a high-pain area. The reward is a dramatic vertical piece that looks great under a low-cut tee or a swimsuit. Artists are split on fine line here. One camp says the stretch and thin skin blur lines within two years. The other camp says with careful needle depth and room between lines it settles fine. Ask your artist where they stand and request slightly bolder contour than you might for an arm piece. Expect a long sit for good saturation and a likely touch-up at year two if you want crisp edges. Wear a zip-up hoodie or fitted sports bra for easy access.
4. Tiny Script on the Collarbone
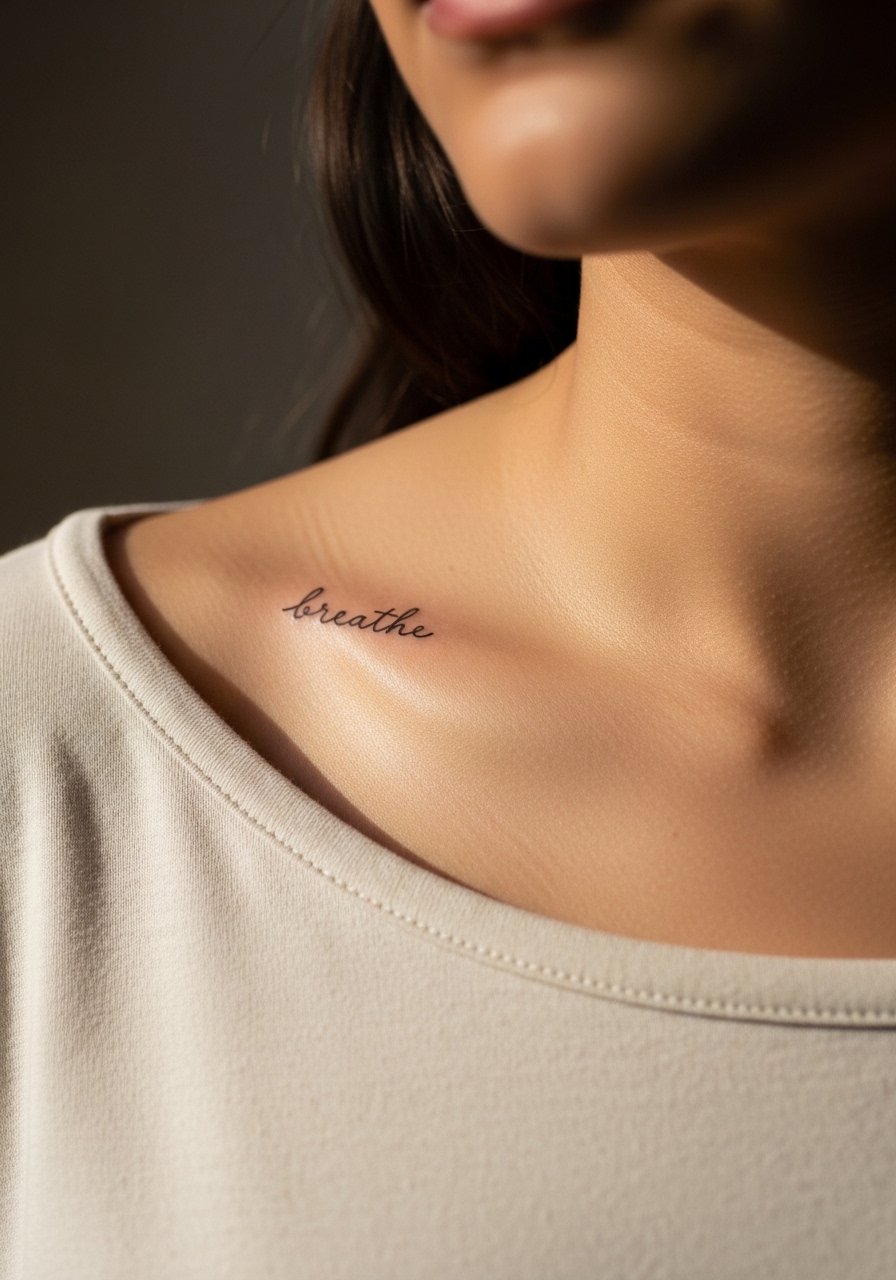
Most collarbone script looks delicate and wearable, but the most common mistake is choosing a heavy font that crowds the letters. Ask for slightly taller x-height and open spacing so the letters breathe as the skin shifts. Pain is mild to moderate. A short session will do this one. Over the first year the ink will soften, and a light touch-up at year three keeps the letters legible. For showing it off try a thin chain pendant necklace that sits above the line without covering it.
5. Micro Constellation on the Ankle
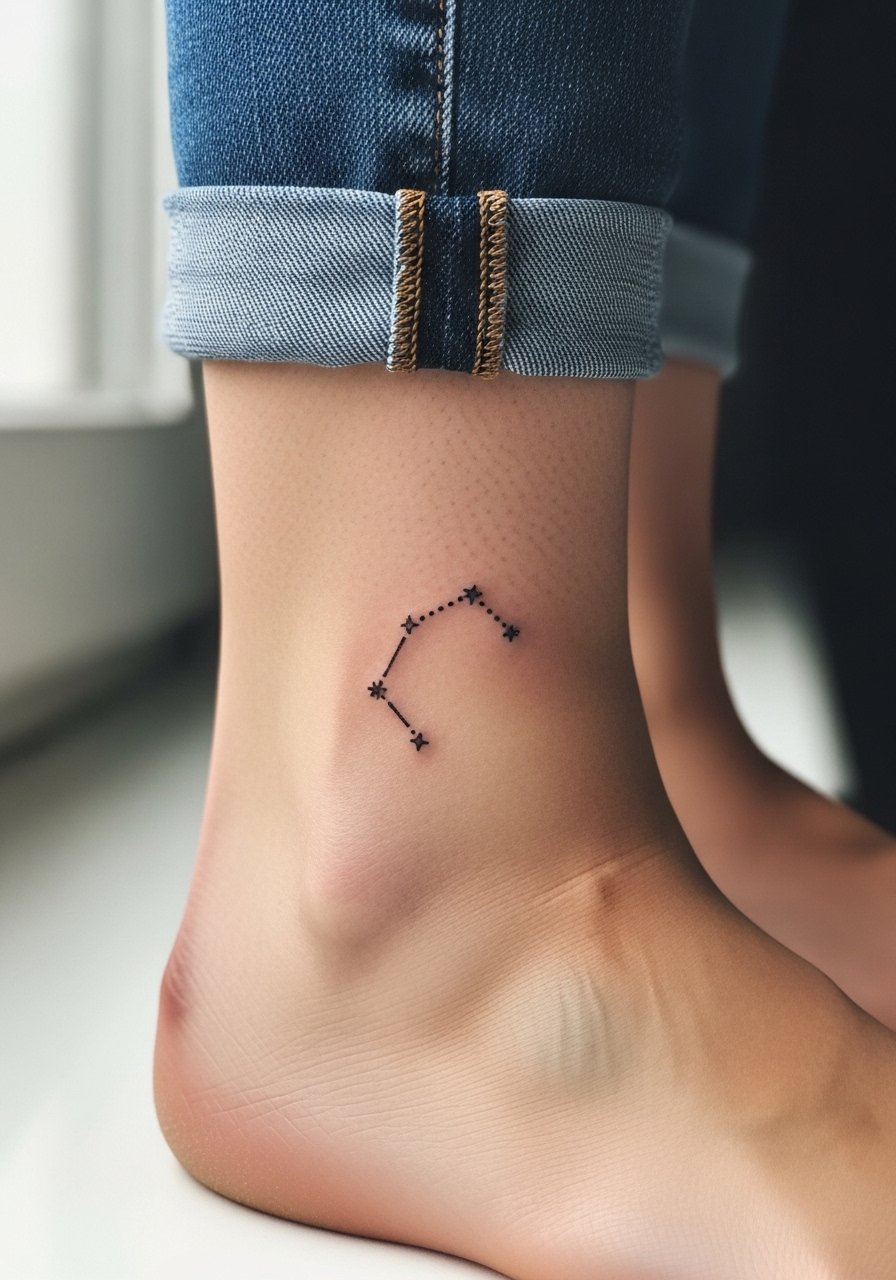
The ankle is prone to friction from socks and shoes during the first week, so friction protection matters. Tell your artist you want spaced dot work rather than clusters. A common error is packing too many dots into a small area, which invites early merging. Pain is sharper but tolerable for a small piece. Expect quick healing and a possible touch-up if a few dots fade. Show-off pairing works well with sandals and cropped pants, so bring a pair of jeans to roll up to the appointment.
6. Geometric Mandala Behind the Ear
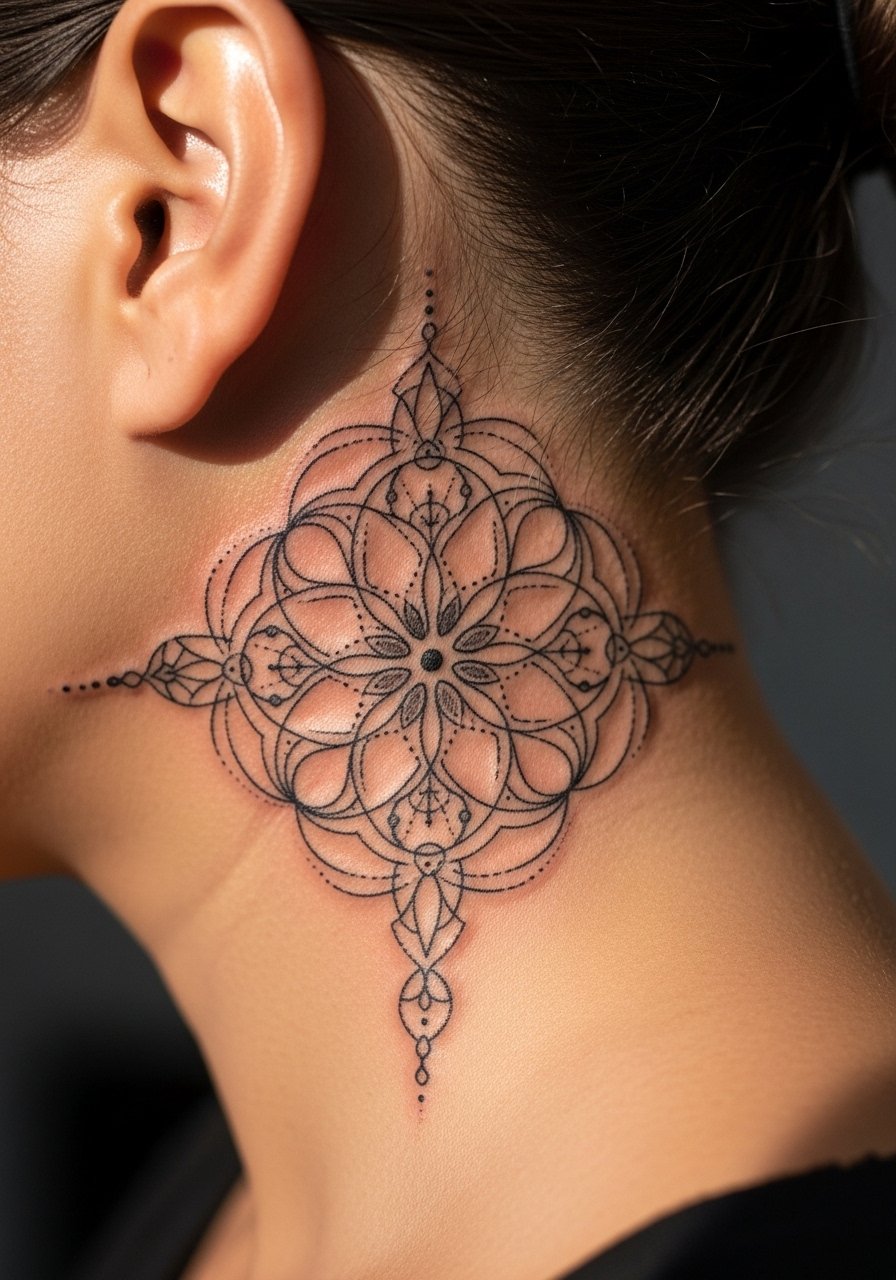
This placement is subtle and easy to hide. The behind-the-ear area has a lot of movement and thin skin, so the mistake is doing a too-dense mandala. Ask for open geometry and slightly thicker primary outlines so the pattern reads after two years. Sessions are short but noisy, as the artist works close to bone. If you want to keep it low-profile, plan for annual lightening touch-ups instead of heavy rework. For the appointment wear hair you can clip up or a wide-neck shirt so the artist has clear access.
Studio Day Picks
The first six ideas above include a lot of fine line and small work that needs careful prep, so a few specific items smooth the appointment and the first week of healing.
-
Stencil transfer paper kit. Lets you preview the line placement on skin, which is helpful for wrist and collarbone pieces that read differently on curved surfaces.
-
Topical numbing cream. Applied 45 minutes before can ease the first sting for ankle and ribcage sessions without interfering with the artist's work.
-
Thin protective film roll. Keeps finger and wrist tattoos cleaner during the first week of hand washing and daily friction.
-
Fragrance-free gentle body wash. Suitable for daily cleansing without irritating delicate fine line work on forearms and ankles.
-
Aquaphor healing ointment. A thin layer for the initial days helps retain moisture for tight linework without clogging the skin.
7. Minimalist Wave on the Rib Side
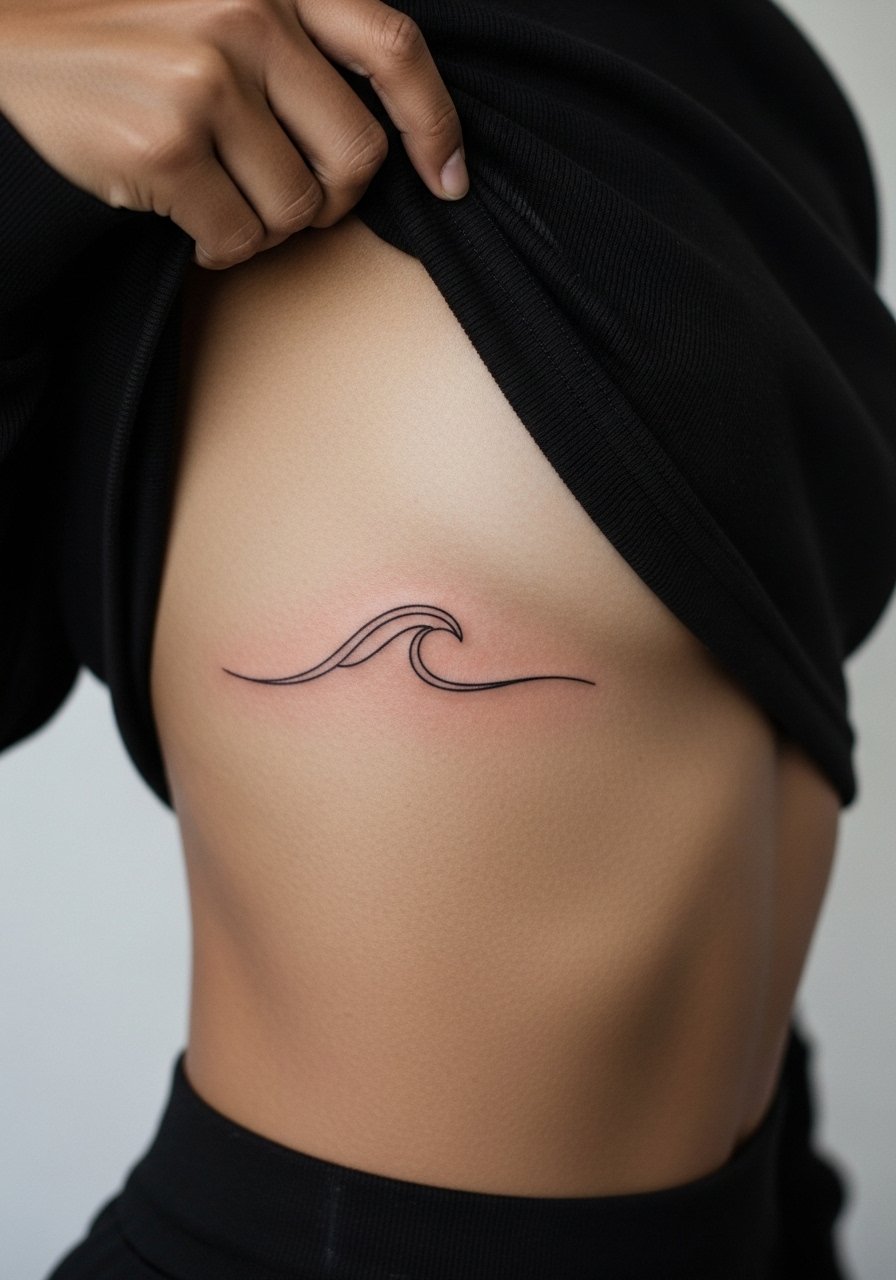
Mistake warning: tiny continuous single-line pieces on ribs will likely blur if the line is too thin and placed where the skin folds. I suggest slightly heavier line weight and a clean, continuous flow rather than tiny looping detail. The ribs are high pain and often require breaks. Expect a sit of medium length and a touch-up at year two for crispness. For the appointment wear a cropped tank top that can be lifted without adjusting too much.
8. Petite Hummingbird on the Shoulder Cap
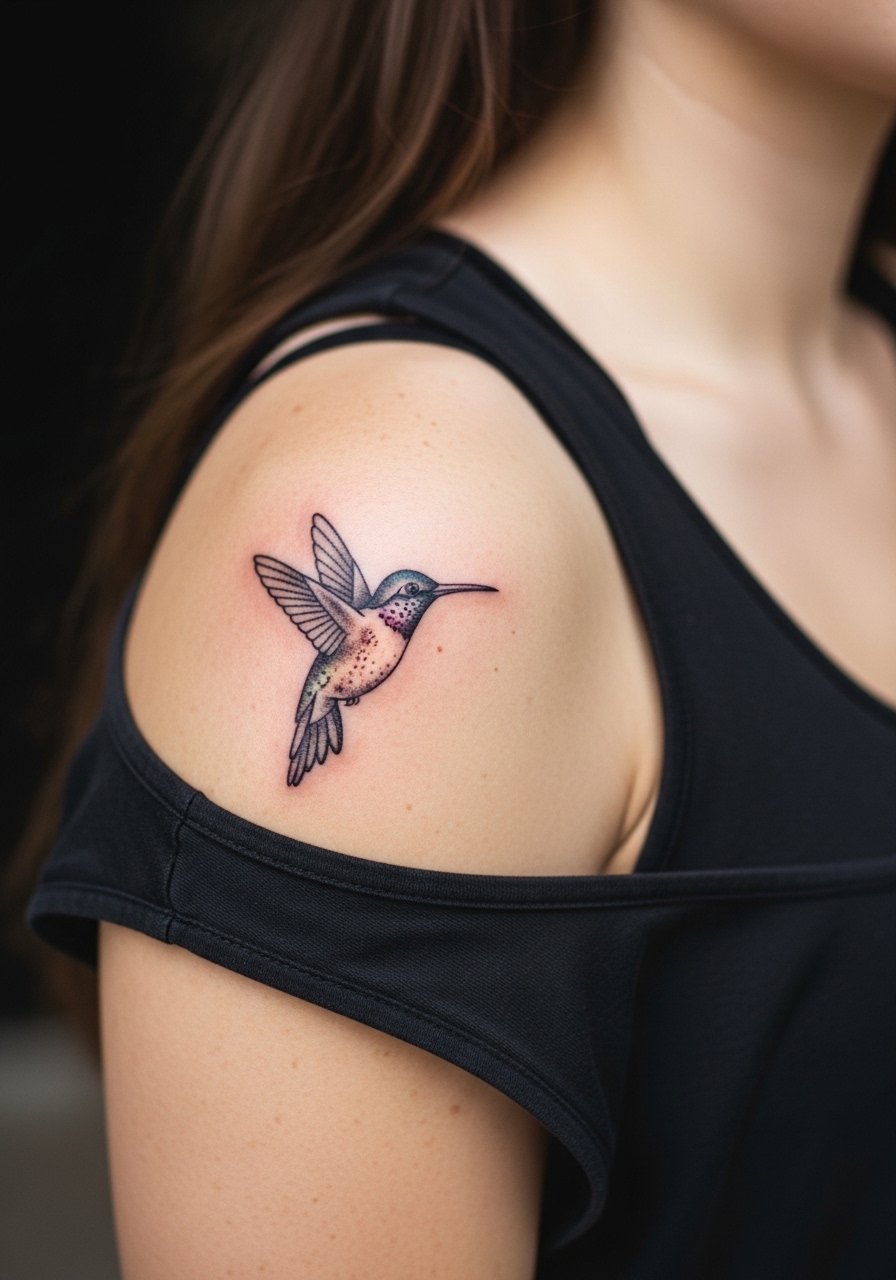
Visual impact lead: the shoulder cap gives motion to flying subjects because the muscle rounds beneath the ink. Ask your artist for slight separation between wings and body and for stipple shading rather than heavy color. Common mistake is packing saturated color into a tiny area, which can look patchy as it heals. Sessions are easy on pain and usually short. Expect that subtle dot shading will soften by year three and may benefit from a light touch-up. For the session pick a tank top with an adjustable strap.
9. Tiny Script on a Finger
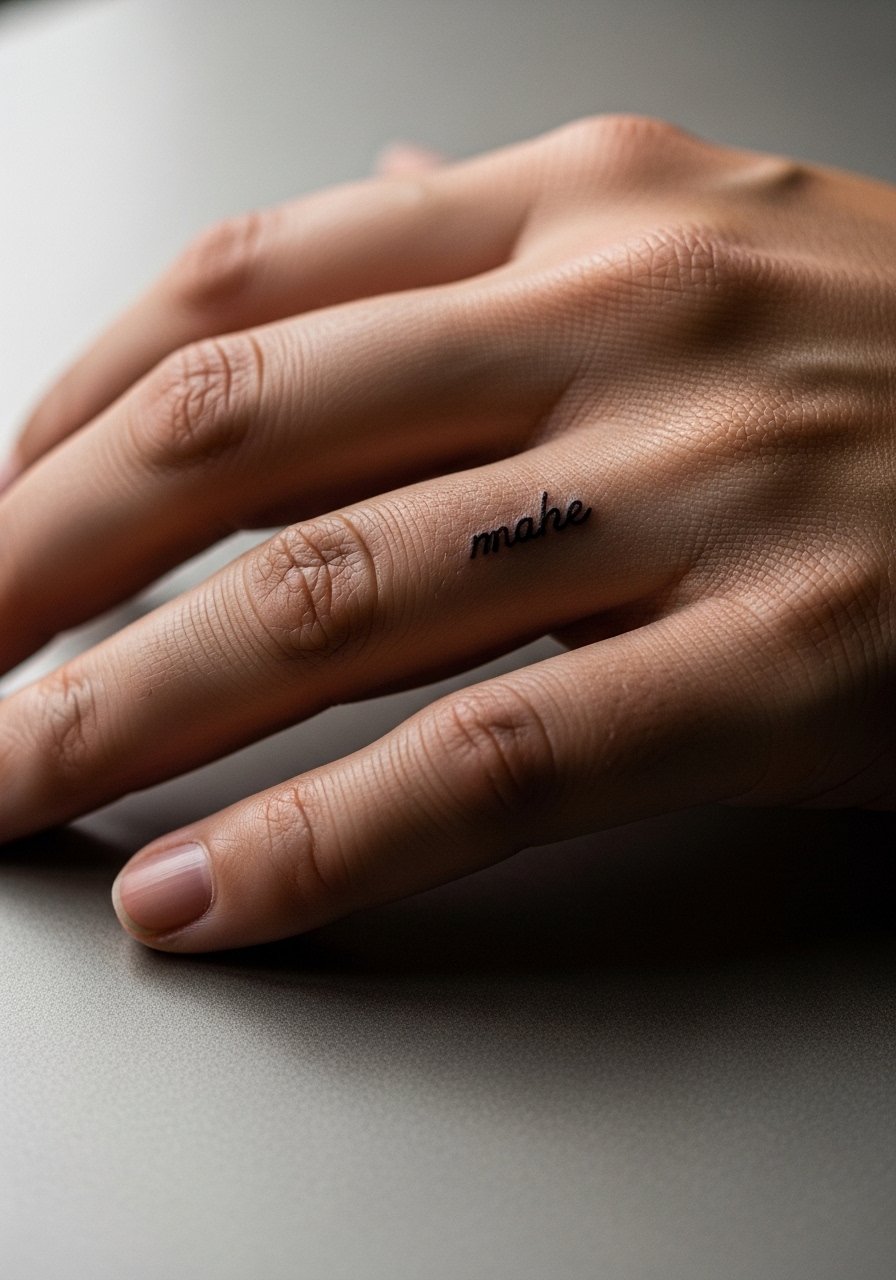
Personal observation: finger script is convenient and visible, but it often fades fast because of constant washing and friction. Ask for slightly bolder lettering and expect yearly touch-ups if you want it crisp. The common mistake is choosing extremely thin cursive. Pain is higher than on the forearm. If you work in a field where hand tattoos matter for hiring, think about placement carefully. For showing it off, a slim minimalist ring can frame the word without obscuring it.
10. Botanical Ankle Band
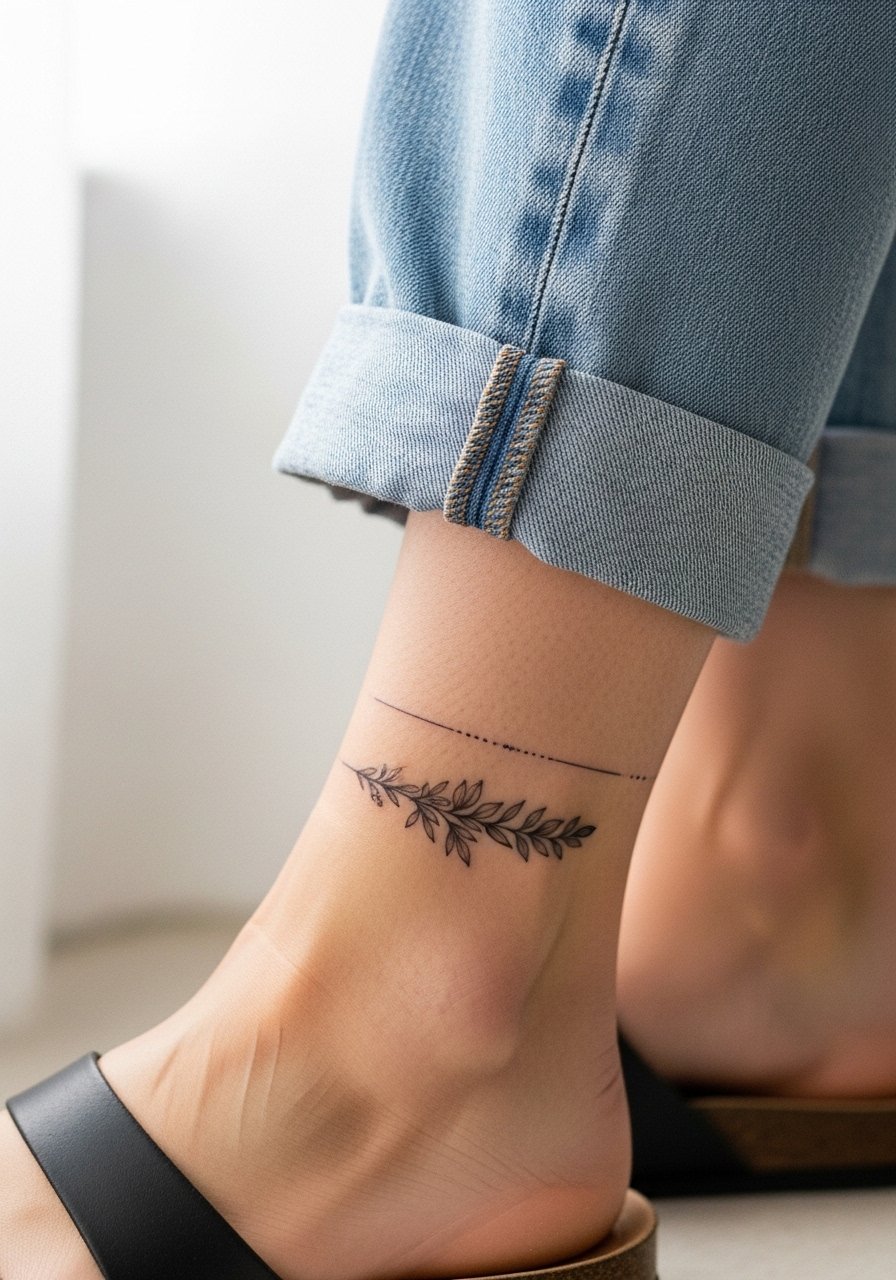
The ankle band ages predictably if spacing is generous. A common mistake is wrapping too tightly so individual leaves merge after a year. Tell your artist you want negative space between motifs and some primary outline weight. Sessions are short but the area is sensitive when shoe friction resumes. Expect a touch-up at year two if leaves soften. For the appointment bring slip-on shoes and rollable pants so the artist can work without removing footwear. For show-off wear try a pair of strappy sandals.
11. Micro-Realism Eye on the Inner Bicep
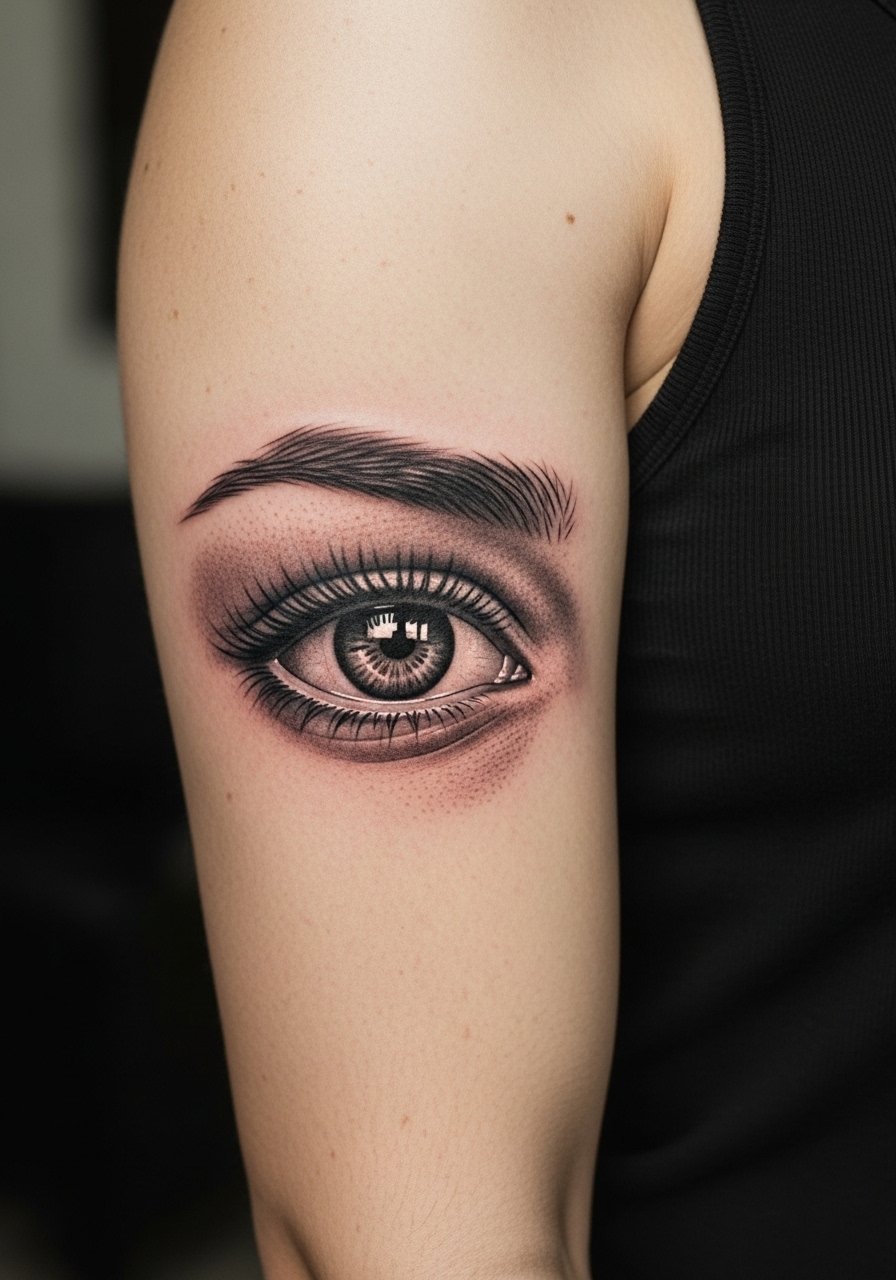
Consultation lead: inner bicep skin shifts with muscle movement, so ask for a composition that reads when the arm is relaxed. The error is over-detailing in a compressed space. Pain is moderate and the session can be longer for shading. From six months to two years delicate stipple will soften, and you may want a small touch-up for the pupil or lashes. For the session wear a sleeveless tank so the artist has clean access and you stay comfortable.
12. Single Dot Behind the Ear
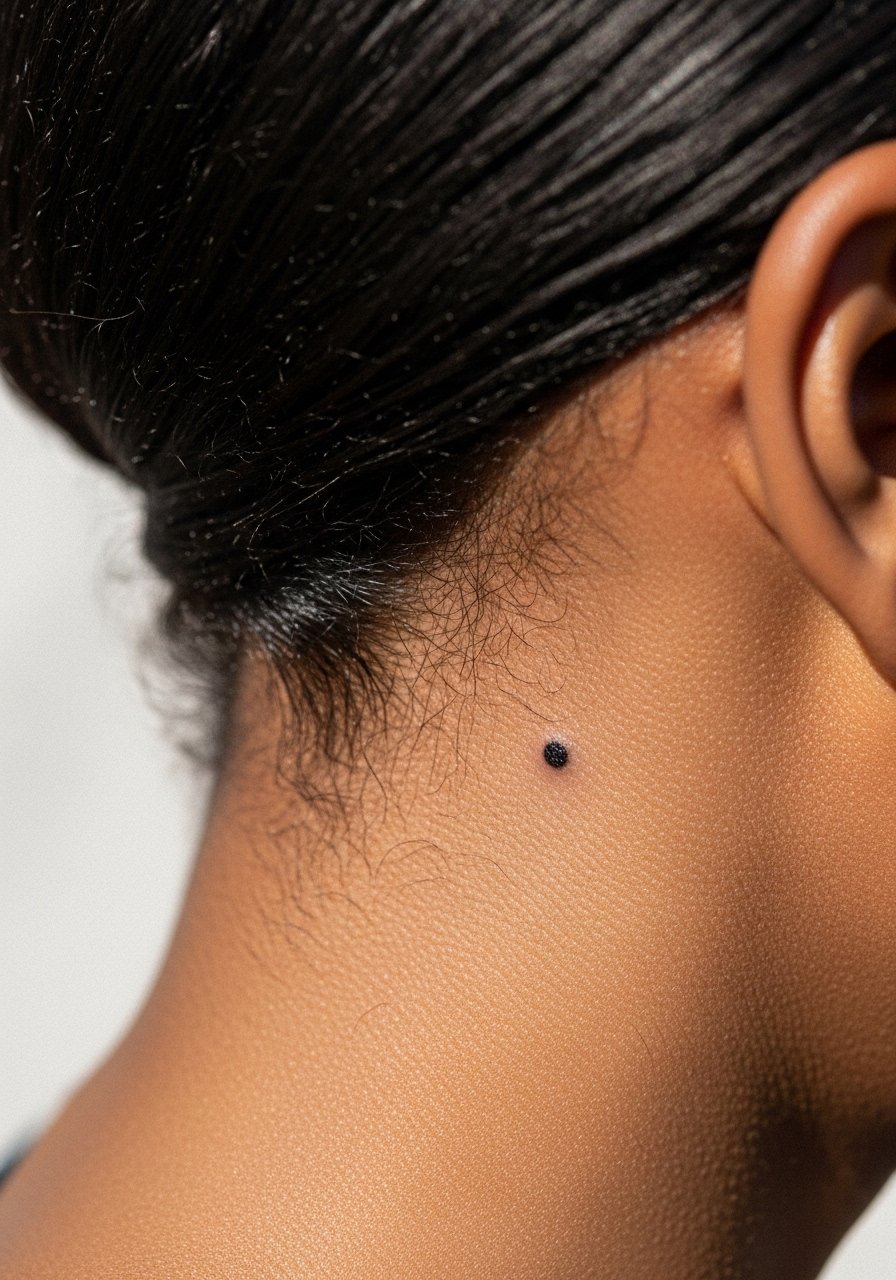
Mistake lead: folks sometimes pick a fashionable cluster of micro dots behind the ear that end up too close together and blur. A single dot is bold in its brevity and rarely needs touch-ups beyond year three. The area is low pain but requires careful stencil placement. This spot is easy to hide with hair and is a good first discreet piece.
13. Blackwork Crescent on the Upper Thigh
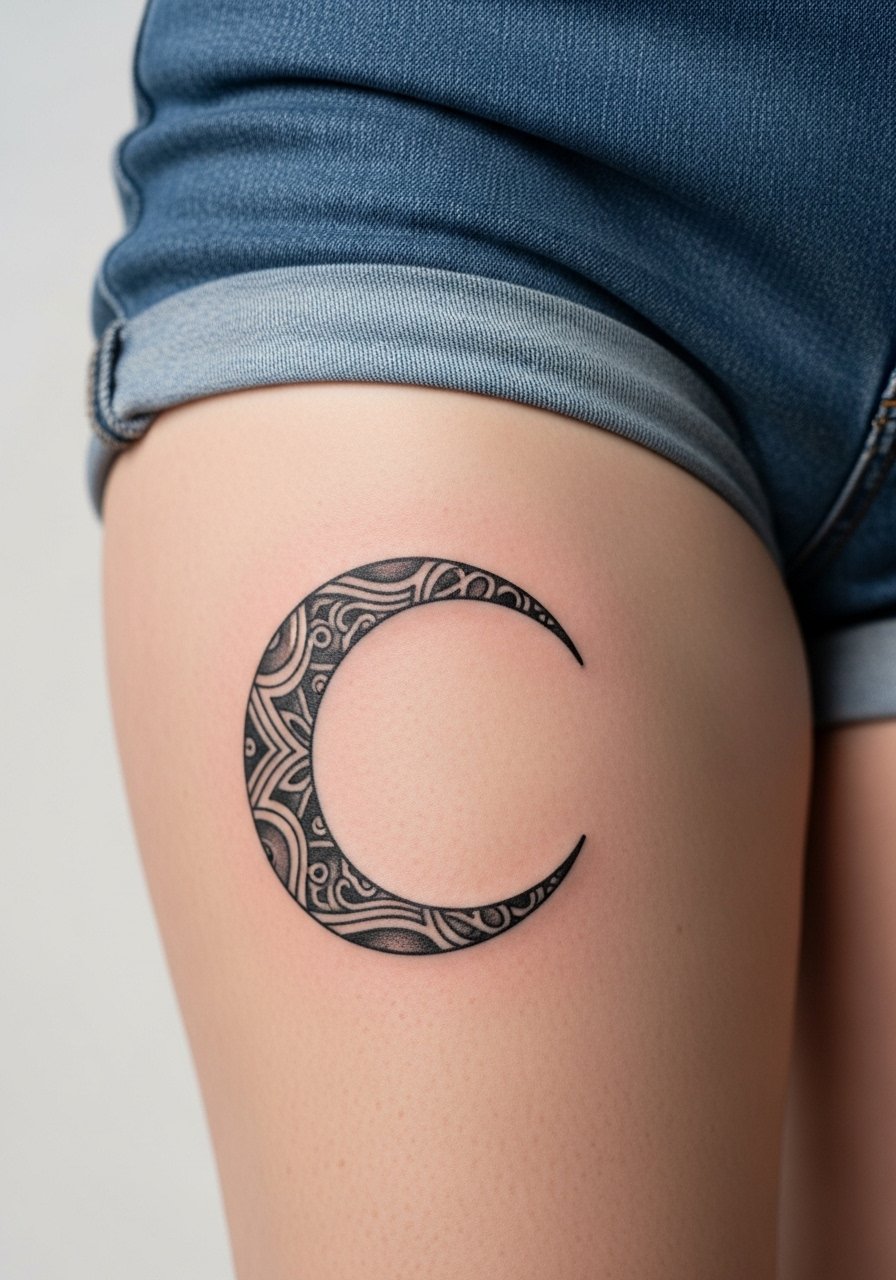
Visual impact lead: upper thigh accepts saturation well and blackwork there ages reliably. Many beginners ask for heavy black in one short session and then complain about scabbing. Ask for gradual saturation and proper packing so healing is even. Sessions can be longer and the pain ranges mid-level. For the session wear loose high-waisted shorts or a skirt so the artist can access the area without awkward repositioning. For showing it off, slip on high-cut swimwear or a high-waisted bikini bottom.
14. Minimalist Mountain Range on the Forearm
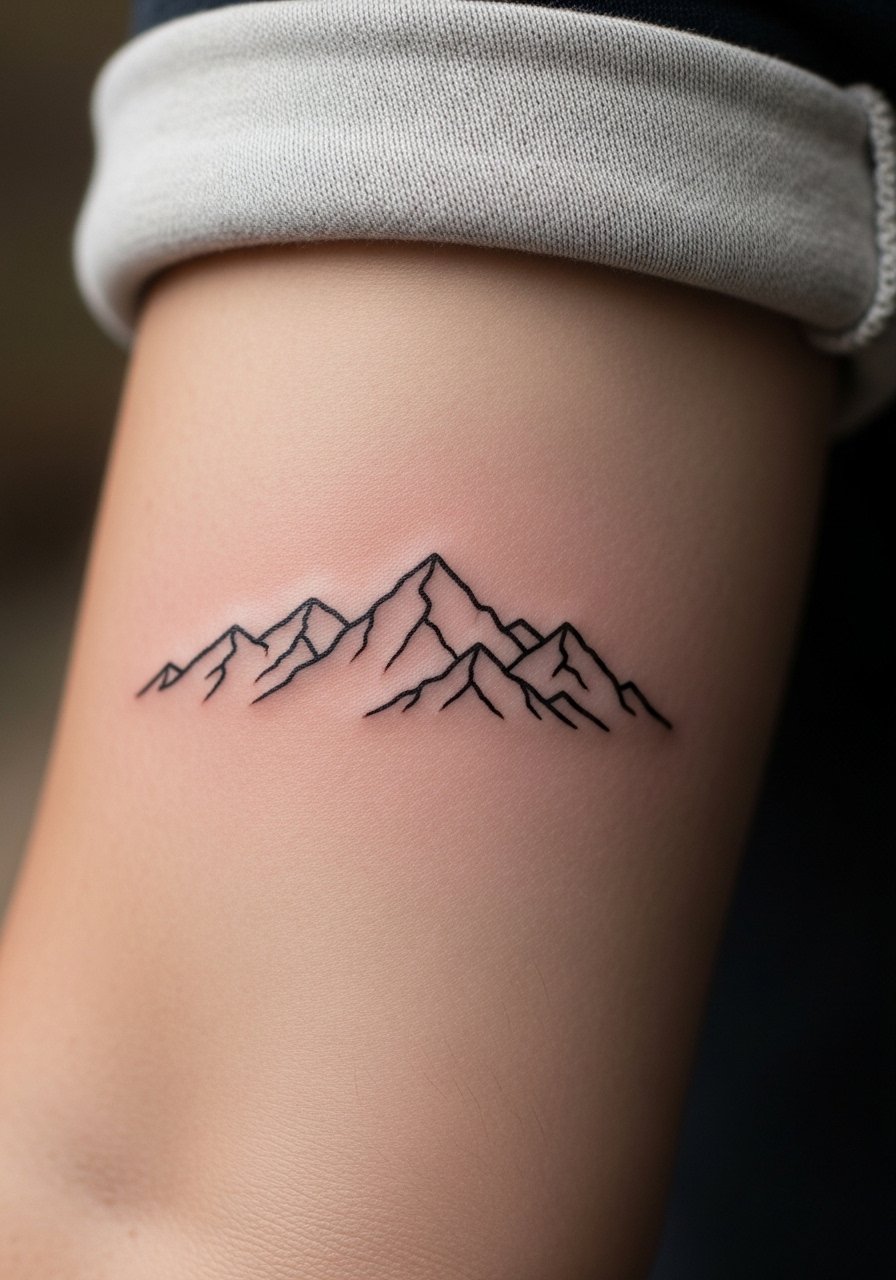
Aging/healing lead: this kind of linear landscape looks great early on, but fine parallel strokes can merge if placed too close. Ask your artist for a mix of thin and mid-weight strokes so ridgelines remain distinct after two to five years. The forearm is forgiving in pain and heals fast. Expect a small touch-up in a few years if you want razor-sharp separation. For the session wear a long-sleeve button-down you can roll.
15. Tiny Zodiac Glyph on the Wrist
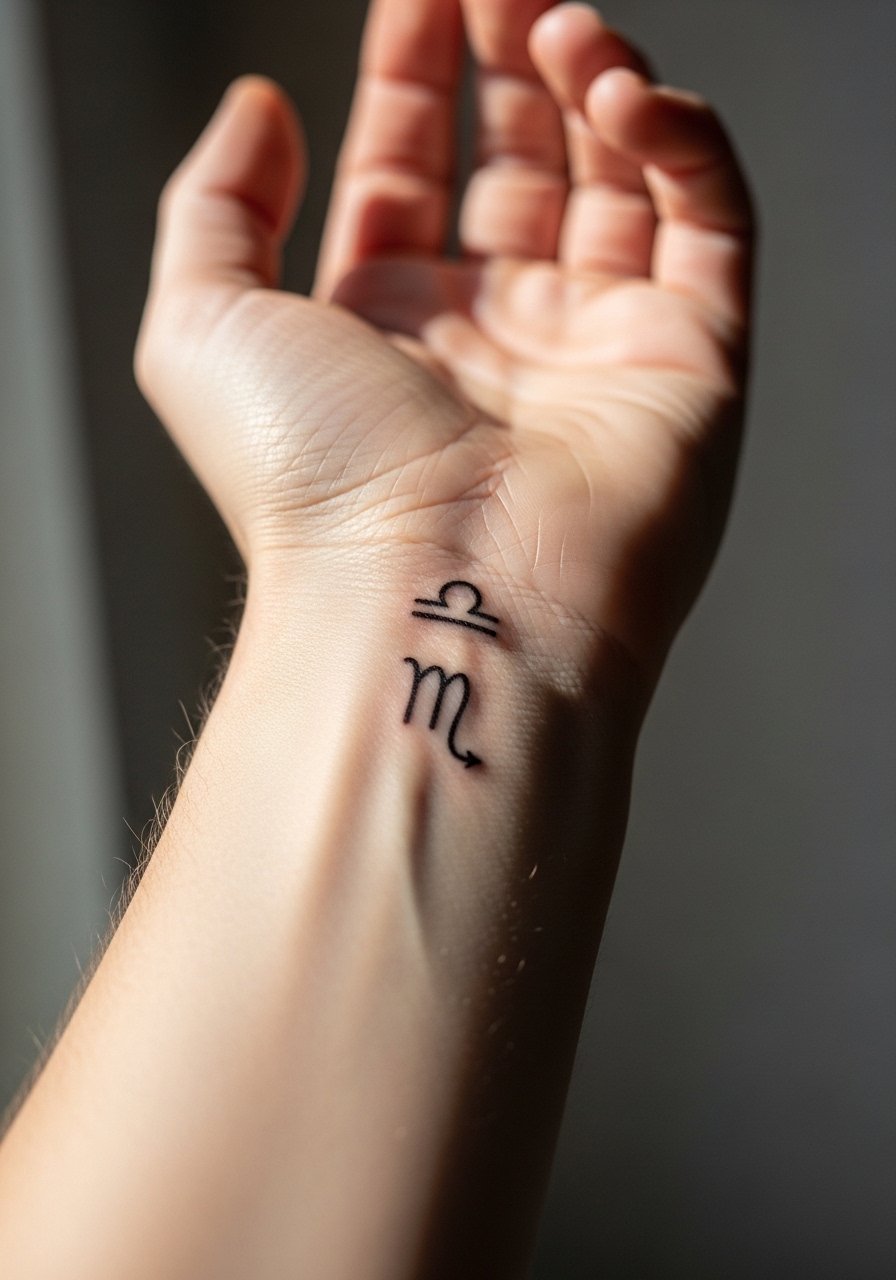
Mistake lead: wrist glyphs often get placed too low or too close to the palm where friction eats them. Ask for placement slightly higher on the inner wrist and for a tested line weight. Pain is mild. Expect yearly checking as the wrist is exposed to sun and washing. Pair with a slim minimal bracelet that frames the glyph without rubbing it.
16. Illustrative Bee on the Back of the Calf
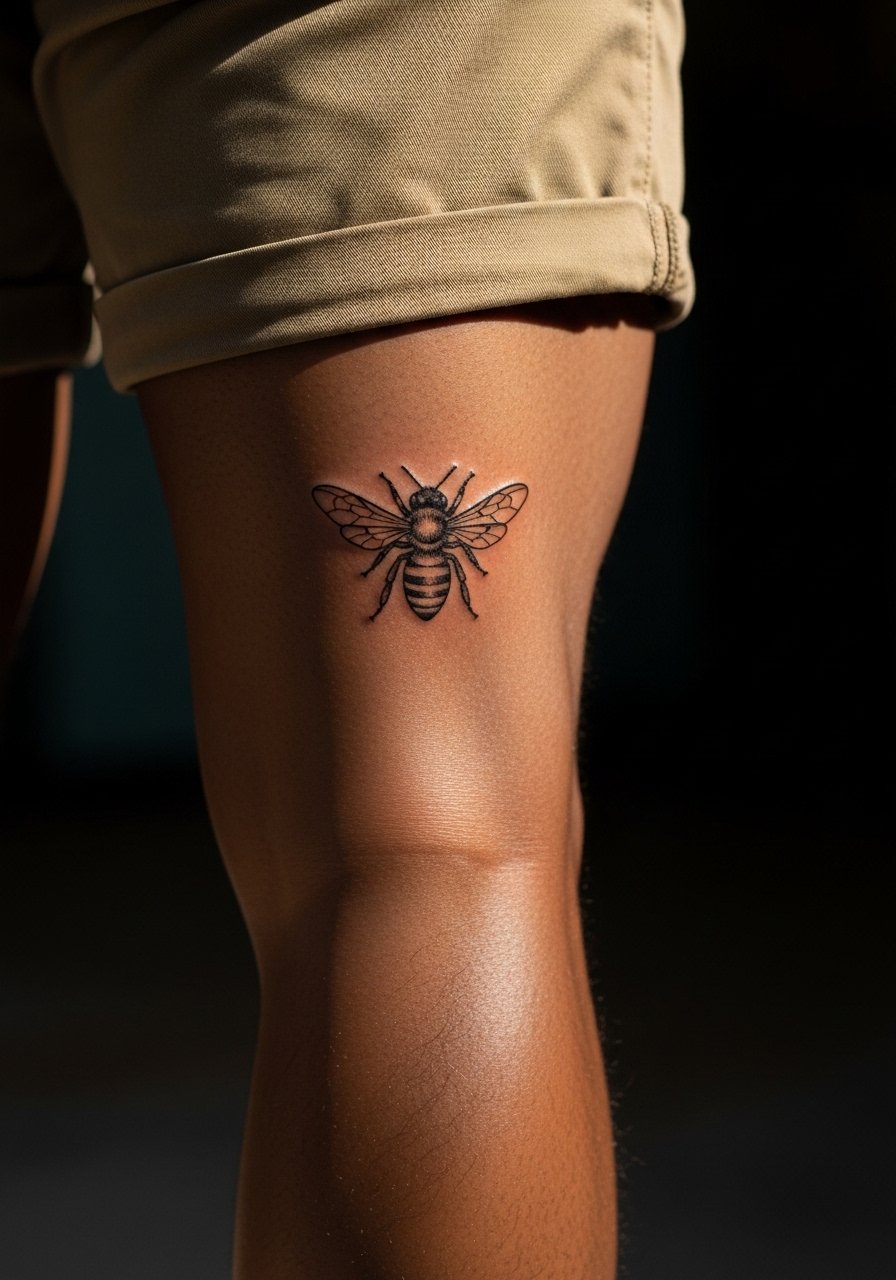
Personal observation: the calf is forgiving and shows shading well. The usual mistake is asking for tiny, dense stippling that does not translate at that scale. Tell the artist you want clear separation between wing veins and body shading. Sessions are comfortable and healing is straightforward. Because the calf sees sun less often than the ankle, the piece often needs less frequent touch-ups.
17. Stipple Shaded Crescent on the Sternum
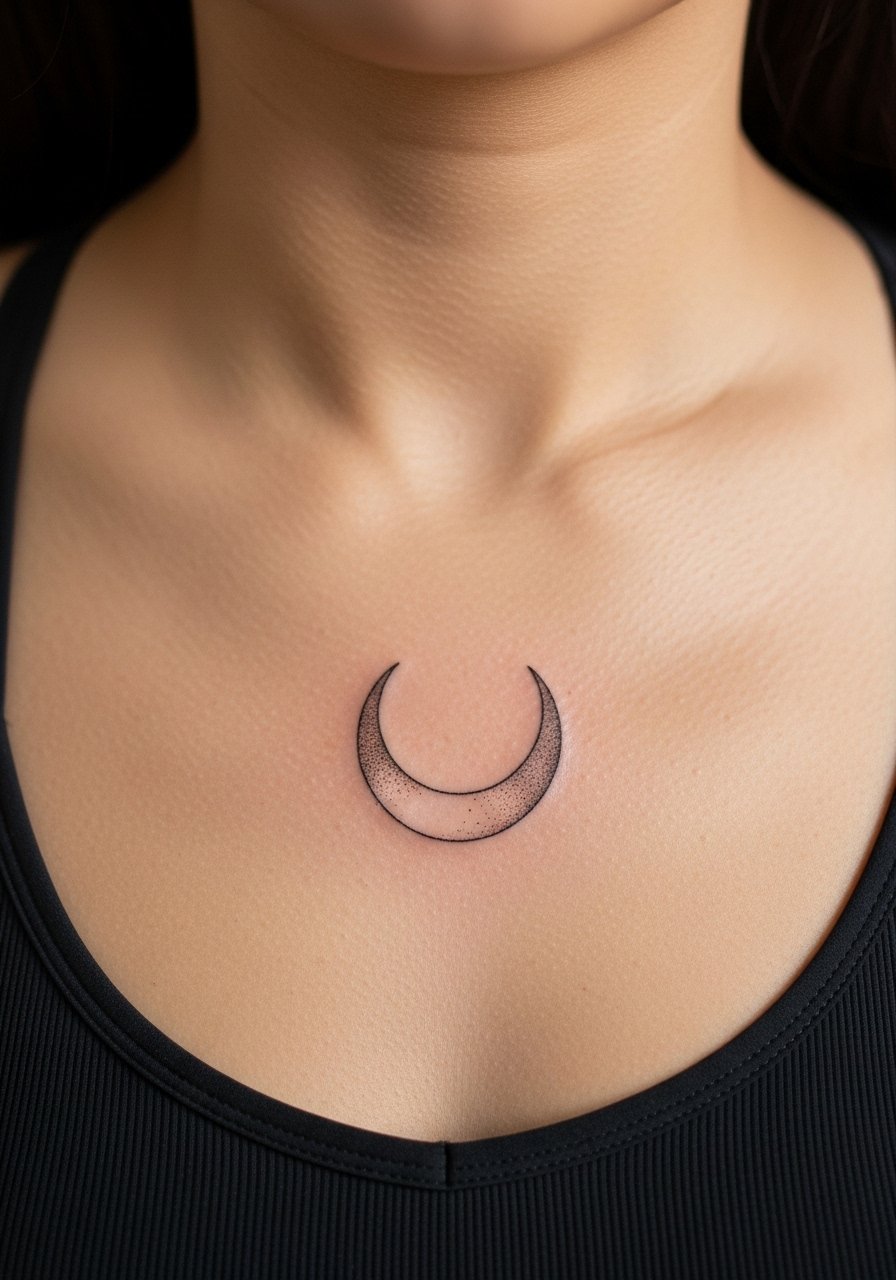
Consultation lead: sternum work needs a steady hand and clear discussion about size and symmetry. A common error is asking for extremely dense stippling that cakes during healing. Pain is higher near sternum bone. If you want long-term clarity ask for slightly larger dot work and plan for a touch-up at year two. For the session wear a strapless or fitted sports bra and consider a zip-up hoodie to stay warm without shifting the area.
18. Simplified Irezumi-Inspired Wave on the Upper Arm
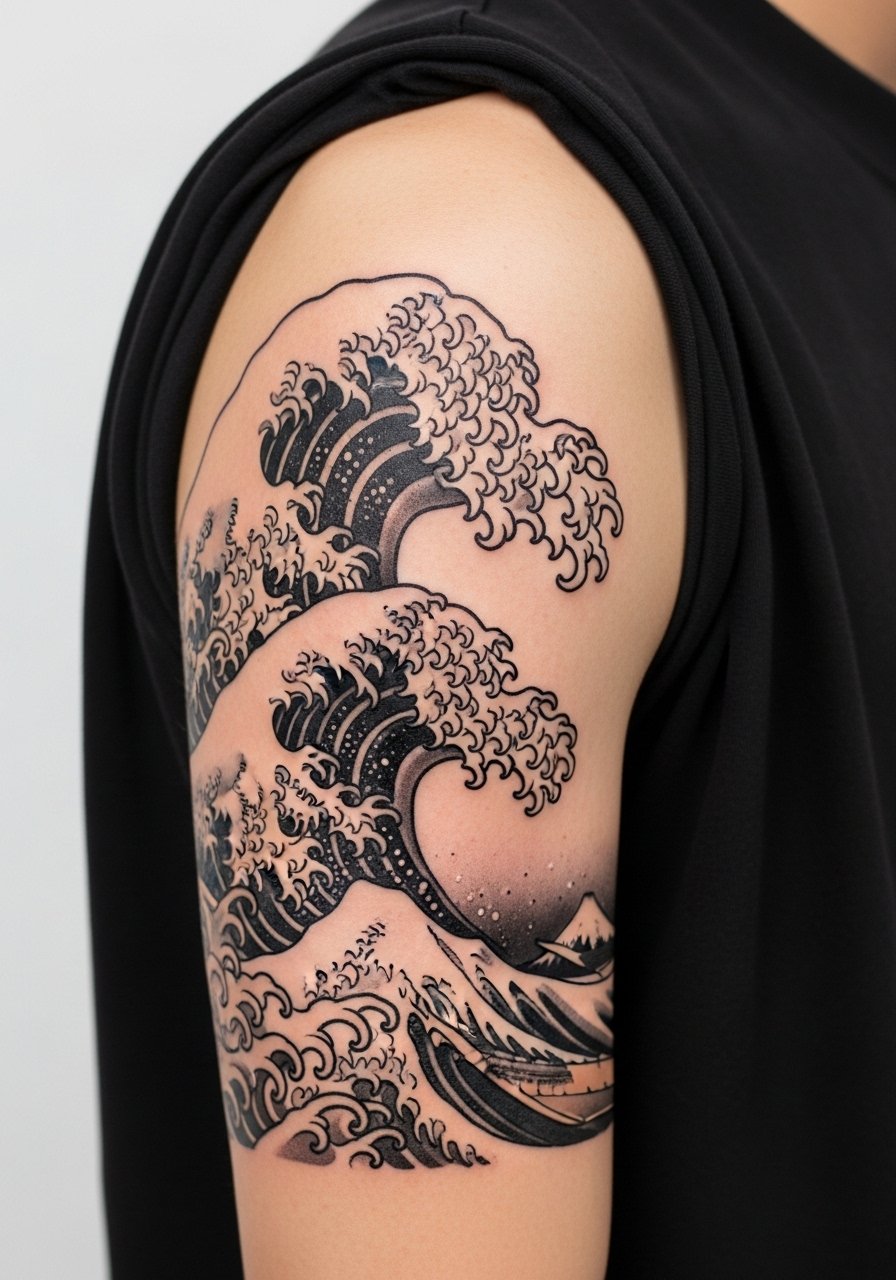
Cultural note: this pattern traces to Japanese motifs, so many people choose to adapt elements rather than copy full traditional pieces. Ask your artist how they approach cultural lineage and request design tweaks that feel personal. The upper arm is a low-pain area that holds saturation well. Sessions can be a single medium-length sit. Avoid overcrowding the design on small arms, as dense motifs can look muddled over time.
19. Tiny Geometric Triangle Stack on the Wrist
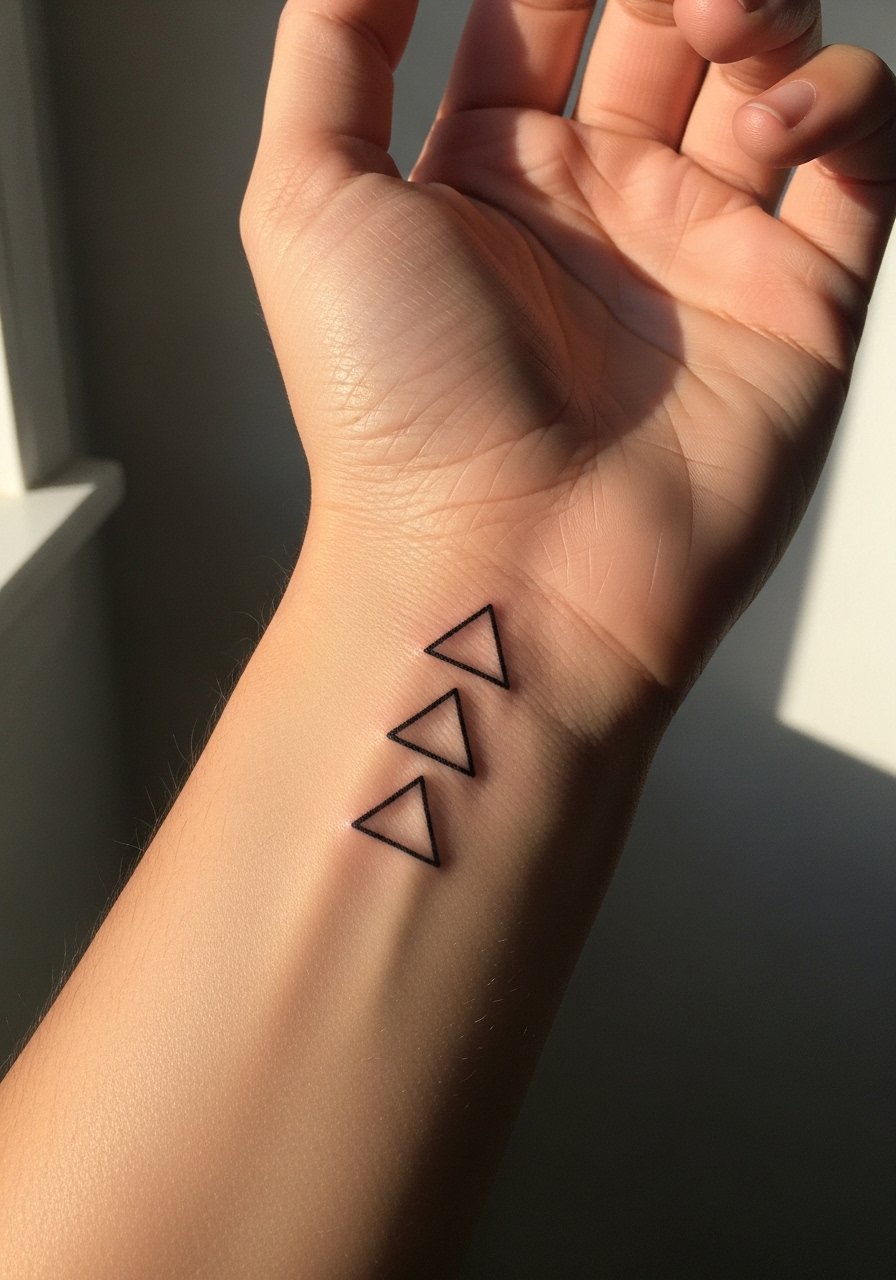
Mistake lead: tight geometric stacks get smear when lines are too close. Ask for consistent negative space and slightly thicker outer edges. Pain is low. Expect a touch-up if you wear a watch that rubs directly over the design. For the appointment wear a short-sleeve tee for access and afterwards consider a watch placement that does not sit on the triangles.
20. Micro Floral Behind the Knee
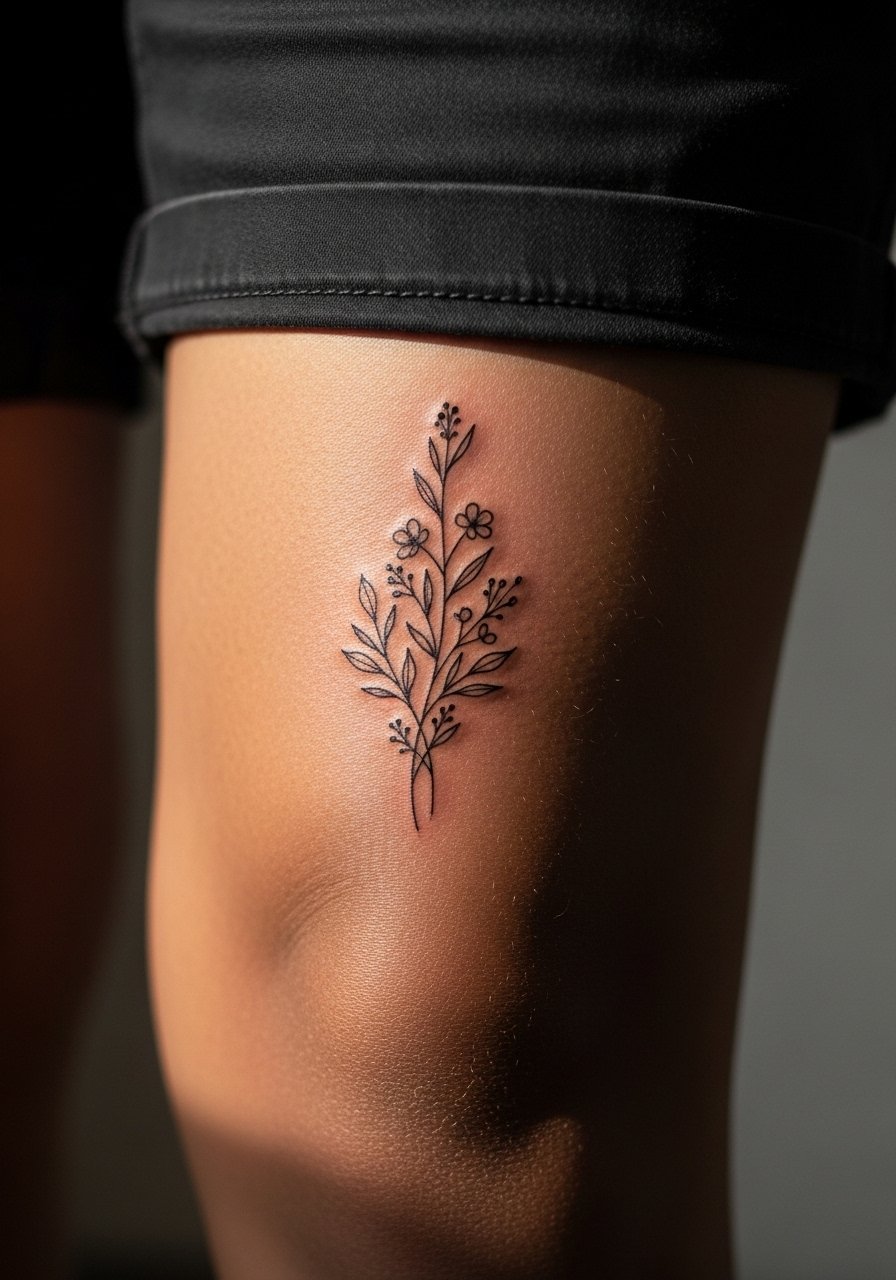
Aging lead: behind-the-knee skin bends frequently, so packed detail can blur. Choose airy petals and spacing. Sessions are trickier because of positioning and can feel awkward more than painful. Expect potential touch-ups after the first year if folds cause early fading. For the session wear loose shorts so the artist can work without pressure on the area.
21. Single-Line Face Silhouette on the Collarbone Edge
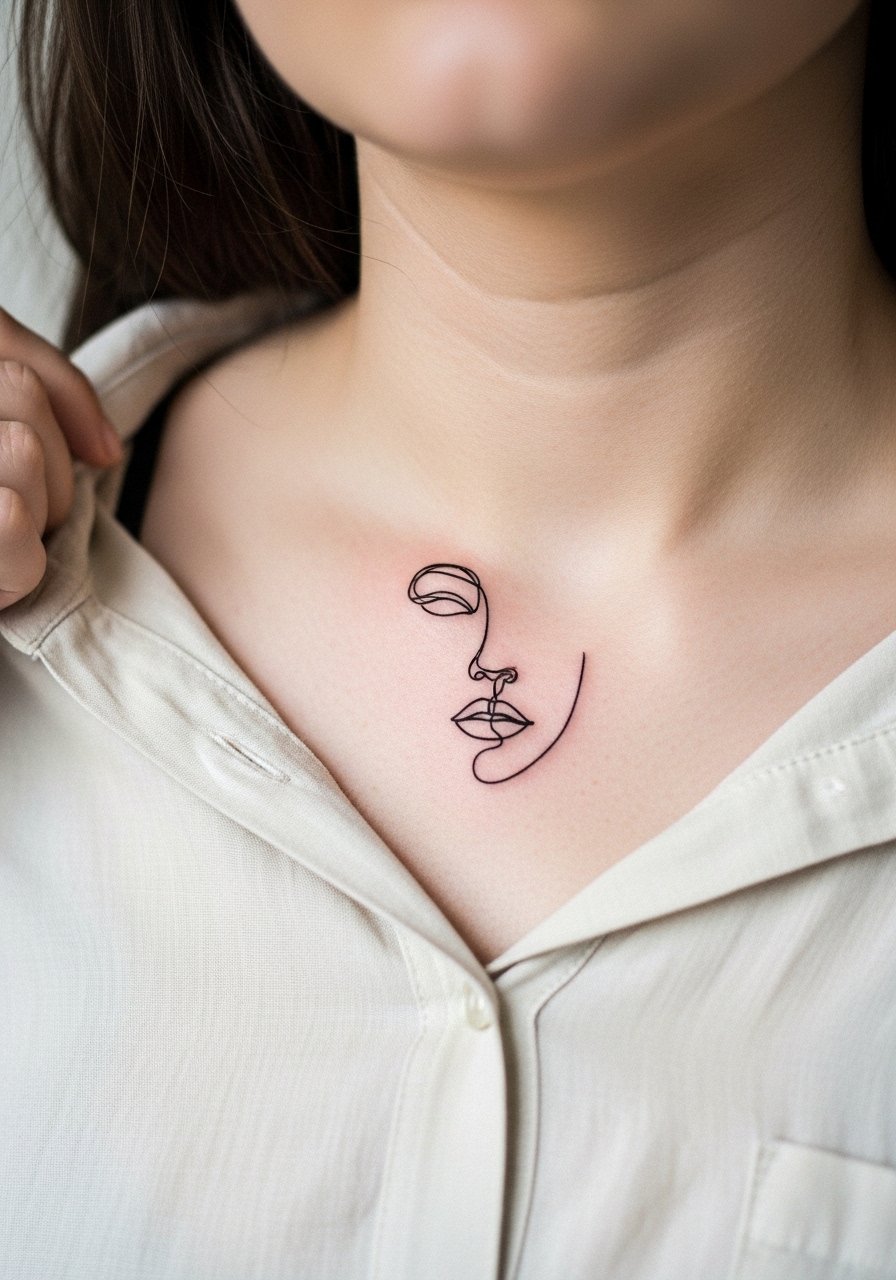
Visual impact lead: single-line silhouettes need rhythm and well-chosen negative space. The common mistake is forcing a tiny multi-feature composition that loses its identity. Ask the artist to draft several scaled stencils so you can see how it reads on your bone structure. Pain is mild. For showing it off bring a wide-neck blouse that frames the area.
22. Tiny Paw Print on the Rib Side
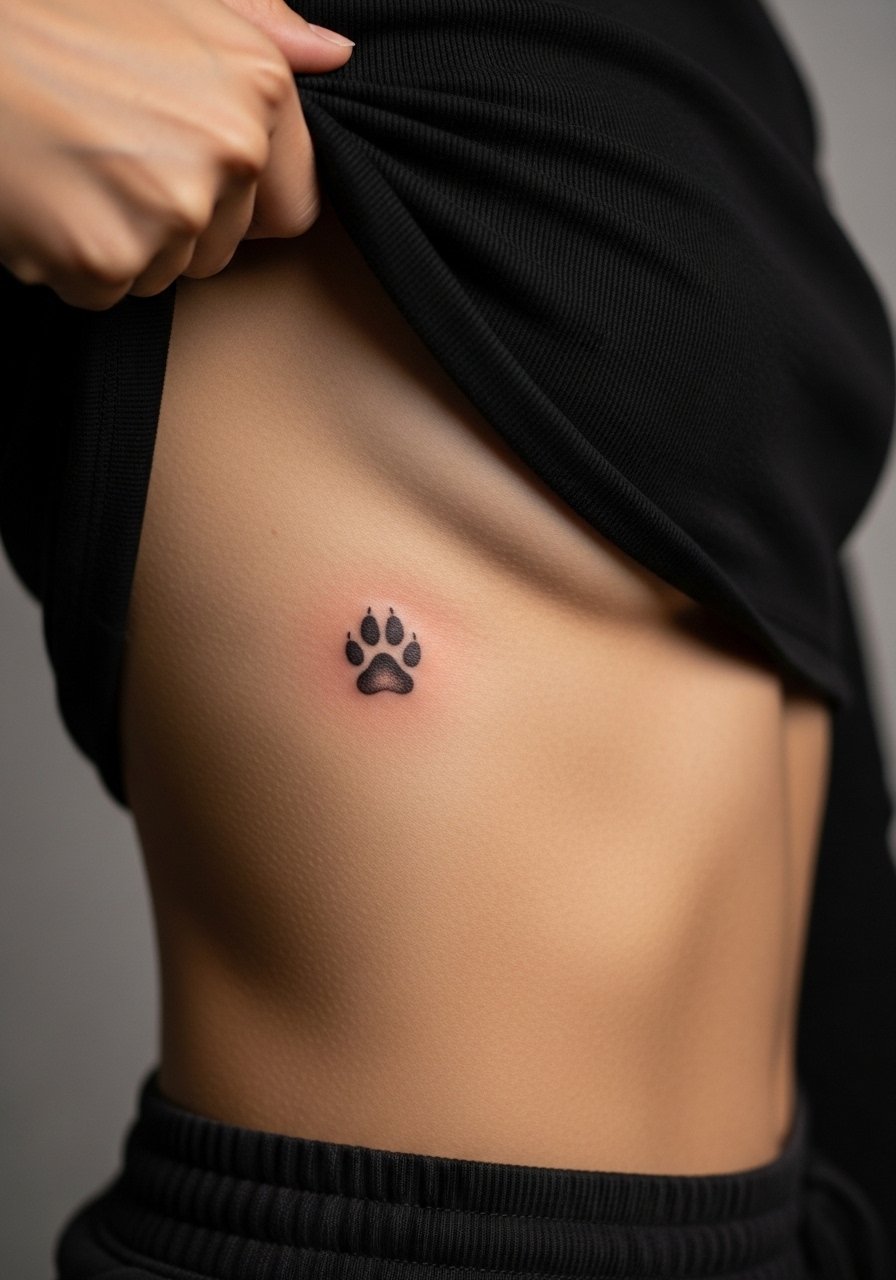
Mistake lead: small motifs on ribs can blur if the outline is too faint. Ask for a clear, slightly bolder outline and a modest interior stipple. The ribs are a painful spot. Sessions tend to be short and you should plan for a touch-up at year two if the edges soften. Consider clothing that provides privacy during healing like a fitted sports bra.
23. Minimalist Arrow Ankle Wrap
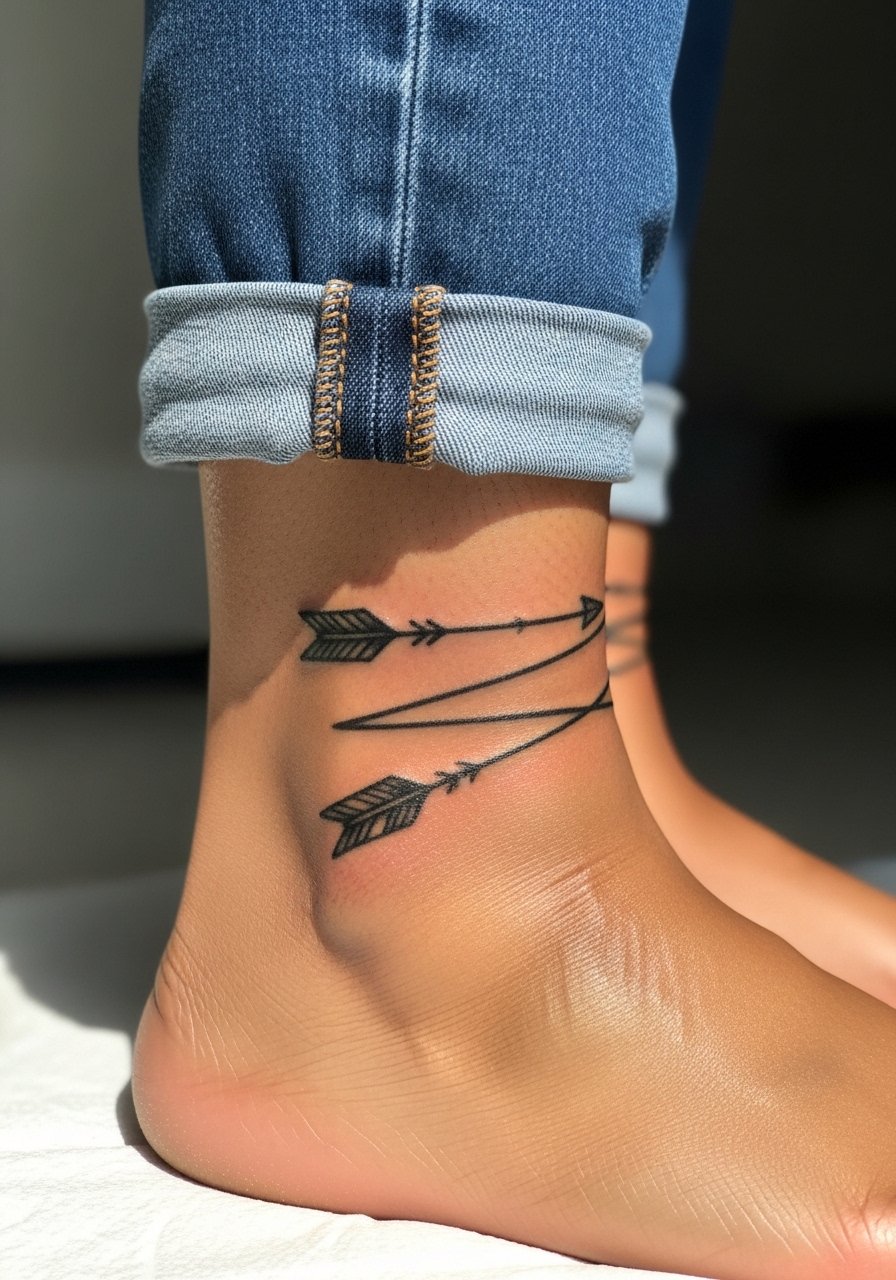
Mistake lead: wrap tattoos that meet on the underside of the ankle often collide with seams and can blur. Ask for spacing where the arrows meet and for the artist to map the exact wrap on your ankle. Pain is sharper and healing needs attention to shoe friction. Bring slip-on shoes to the appointment and wear sandals during the early healing if practical. Consider pairing with invisible anklets rather than stacked bulky bracelets.
24. Botanical Wrist Cluster
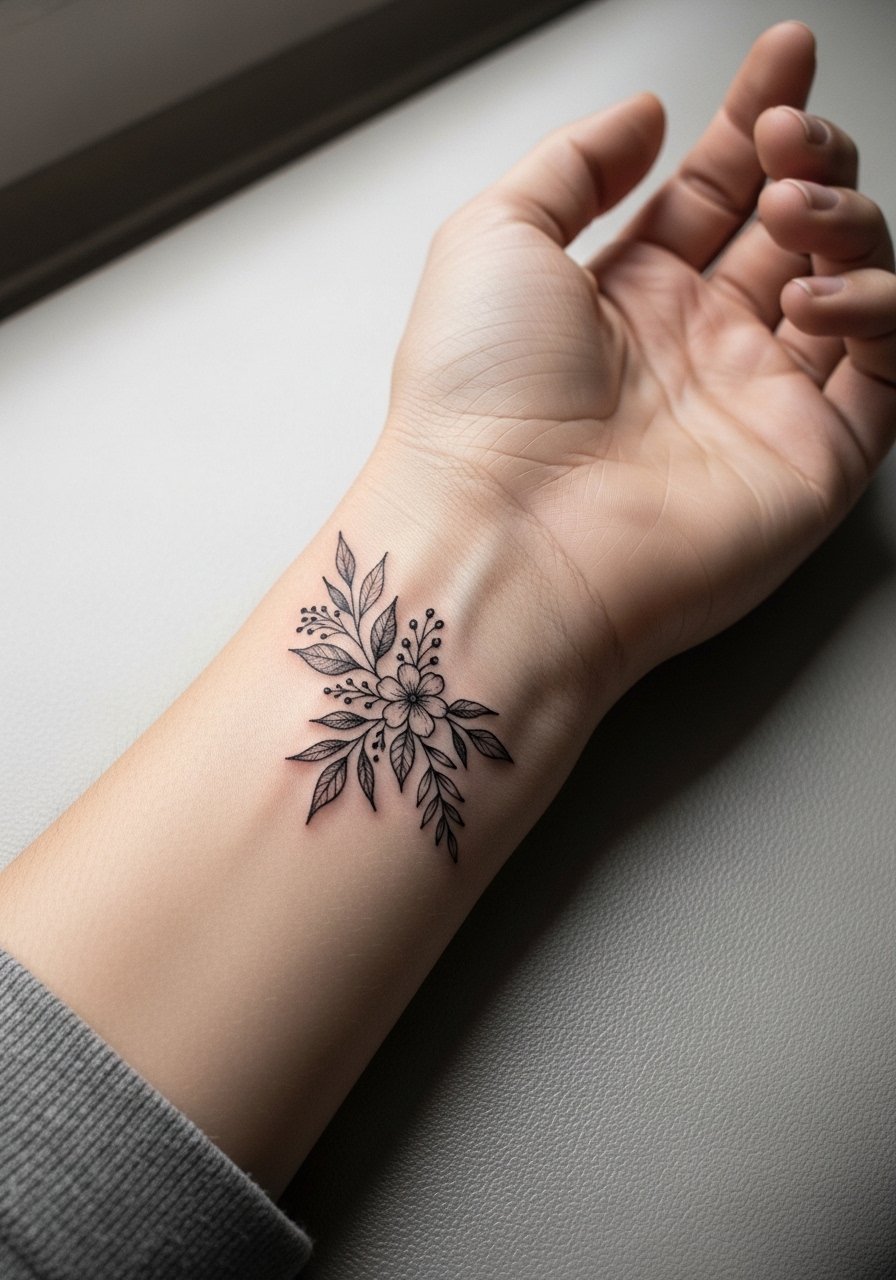
Consultation lead: wrist clusters look delicate but the common mistake is too many overlapping leaves. Ask for clear focal leaves and open stems. Pain is mild. Expect fading from hand washing and sun; a light touch-up at year three keeps the outlines crisp. For the session wear a loose button-down shirt so the artist can reach the wrist easily and you stay comfortable.
25. Tiny Anchor on the Side Foot

Personal observation: foot tattoos are convenient to hide but take a beating from shoes. The most common error is expecting long-term crispness without planning for yearly touch-ups. Pain is sharp and healing requires avoiding closed shoes for a week. Wear sandals to your appointment and for early healing. A thin ankle strap sandal looks good with this placement on days you want to show it.
26. Small Linework Fox Behind the Ear
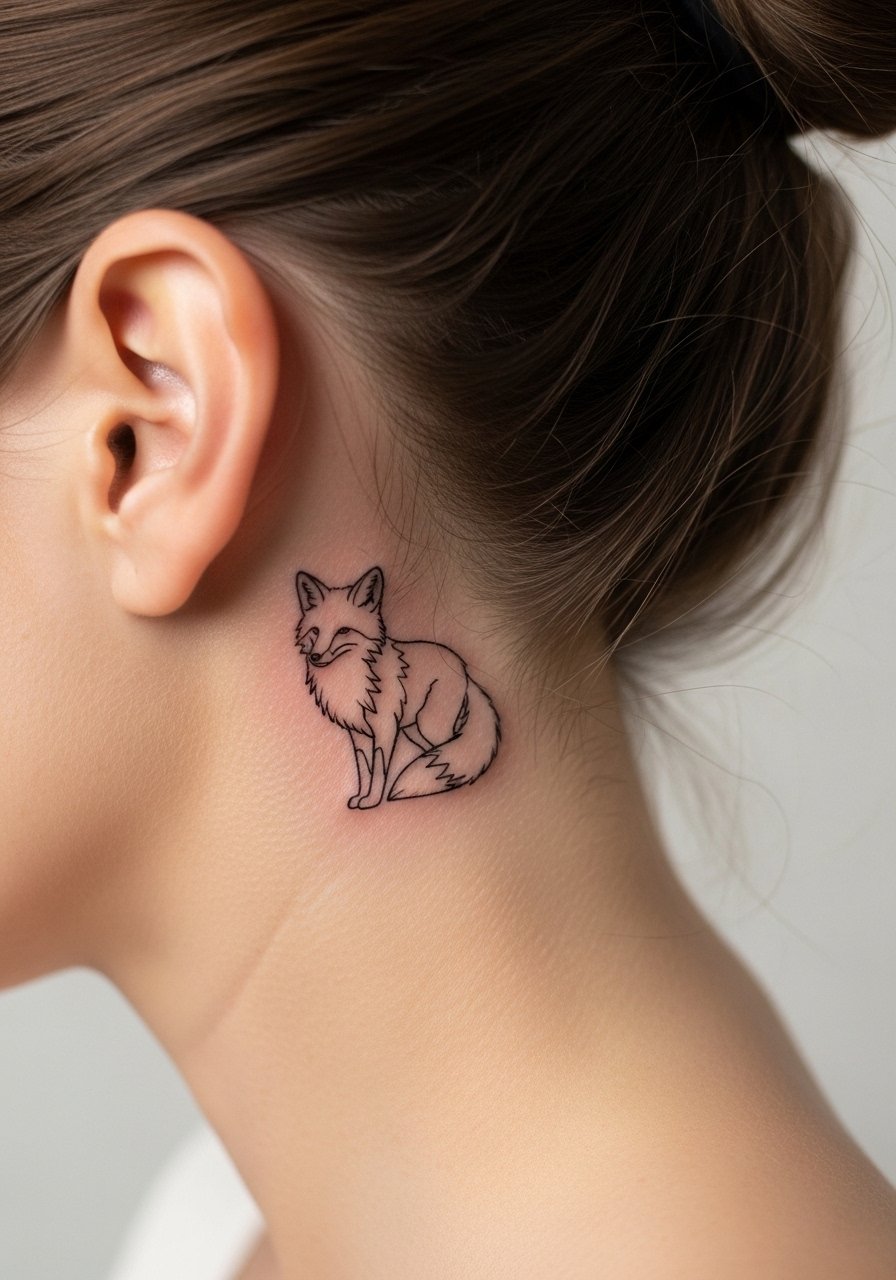
Aging lead: behind-the-ear pieces are flattering and discreet. The common mistake is over-detailing. Ask for a simplified silhouette and slightly bolder key lines so the face reads after two years. Pain is low. This is a good first discreet piece and you can hide it with hair if needed.
27. Tiny Crescent Moon on the Lower Back
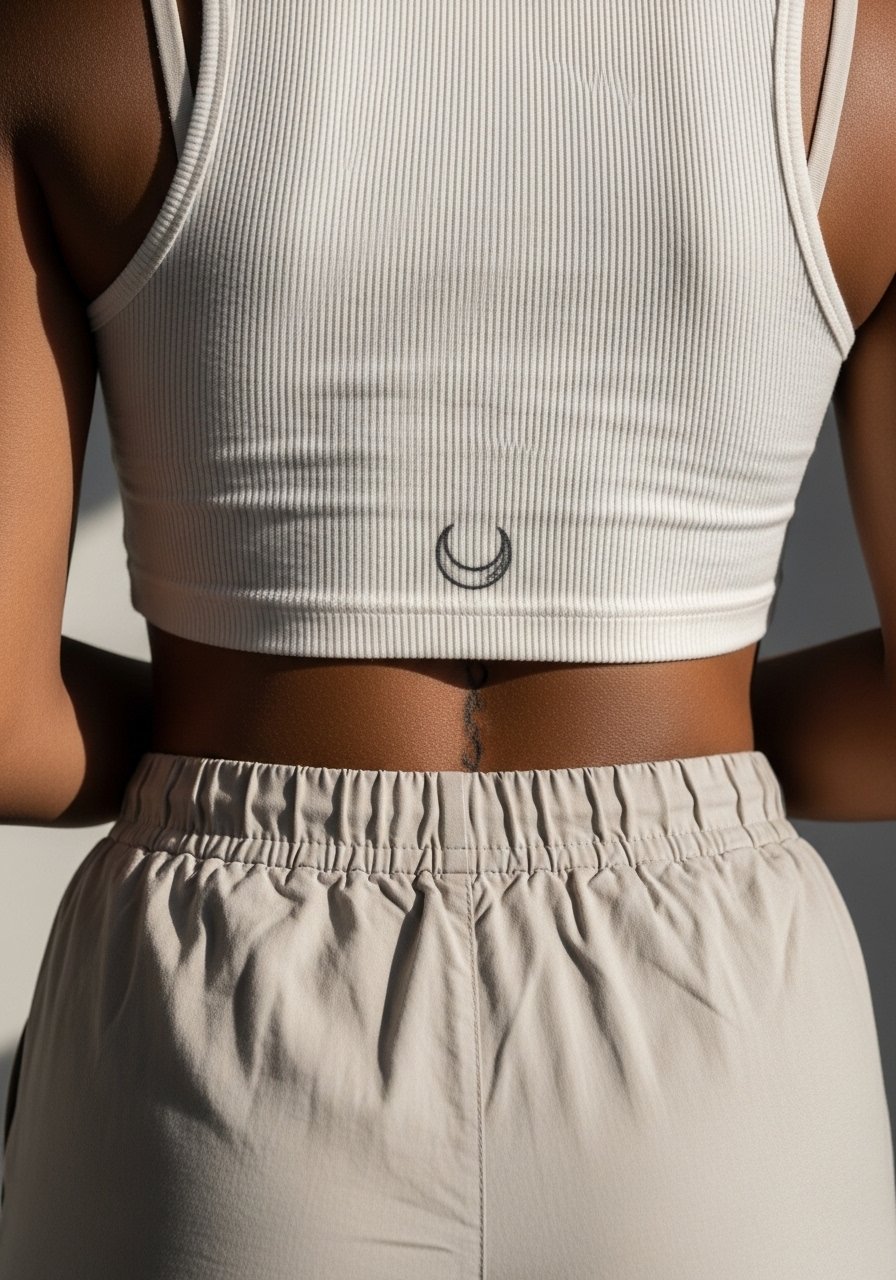
Mistake lead: lower back tattoos can migrate if placed too close to beltlines. Ask for placement just above the waist so daily clothing does not sit on the design. Sessions are moderate in pain and healing tends to be smooth if your clothing is soft and nonabrasive. For the appointment wear high-waisted bottoms you can shift slightly and a loose top that gives the artist clean access.
Frequently Asked Questions
Q: Will fine line pieces on ribs and sternum blur faster than the same designs on an arm?
A: Yes, ribs and sternum have more movement and thinner skin so fine lines can soften sooner. One camp of artists says those areas will blur within two years if lines are very thin. The other camp says proper spacing and slightly heavier primary lines avoid early merging. Ask the artist which approach they recommend for your skin and plan for a touch-up timeline accordingly.
Q: How often should I expect touch-ups for finger and wrist tattoos?
A: Expect more frequent touch-ups for fingers and wrists than for upper arm or calf pieces. Hands and wrists see daily washing, sun, and friction. I tell people to budget for a light refresh every one to three years depending on exposure and how sharp you want lines to remain.
Q: Are there design choices that help small blackwork last longer on the thigh or calf?
A: Yes. Slightly larger motifs with deliberate negative space and solid primary outlines hold up best. Dense tiny dots packed into a small field tend to soften into a muddled tone. Ask for gradual packing and check healed examples from your artist to see how their dot work ages.
Q: What should I wear to a sternum or rib session for comfort and access?
A: A fitted sports bra or a zip-up hoodie makes access straightforward and keeps you covered during breaks. If you need an item to change into at the shop, a fitted sports bra that you can pull slightly aside is practical and discreet.
Q: Do I need to avoid certain clothing during the first week of healing for ankle or foot tattoos?
A: Yes. For ankle and foot work avoid tight shoes that rub the area. Sandals or slip-ons that keep pressure off the ink are best for the early days. If closed shoes are unavoidable, plan for a longer protection window and monitor for irritation.
