
Fine line collarbone pieces are everywhere on saved boards, but the ones that keep looking crisp years later are almost always drawn with old-school American traditional logic. Bold outlines, careful spacing, and a limited palette make girly motifs like bows and pearls read intentional instead of fiddly. Below are 27 collarbone-specific American traditional ideas, each with what to ask for in consults and how to pair them with outfits so the design gets the attention it deserves.
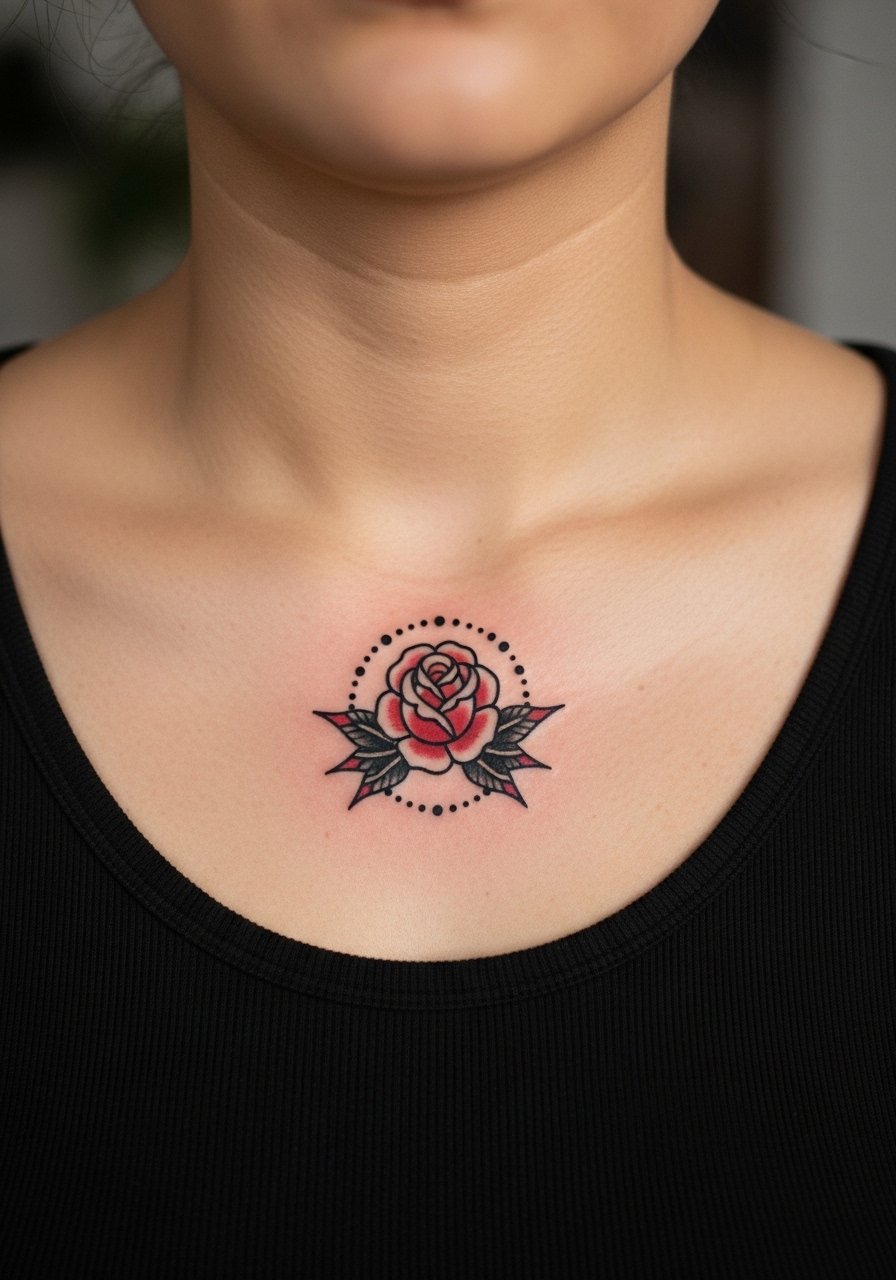
1. Tiny Ribbon Rose on the Collarbone
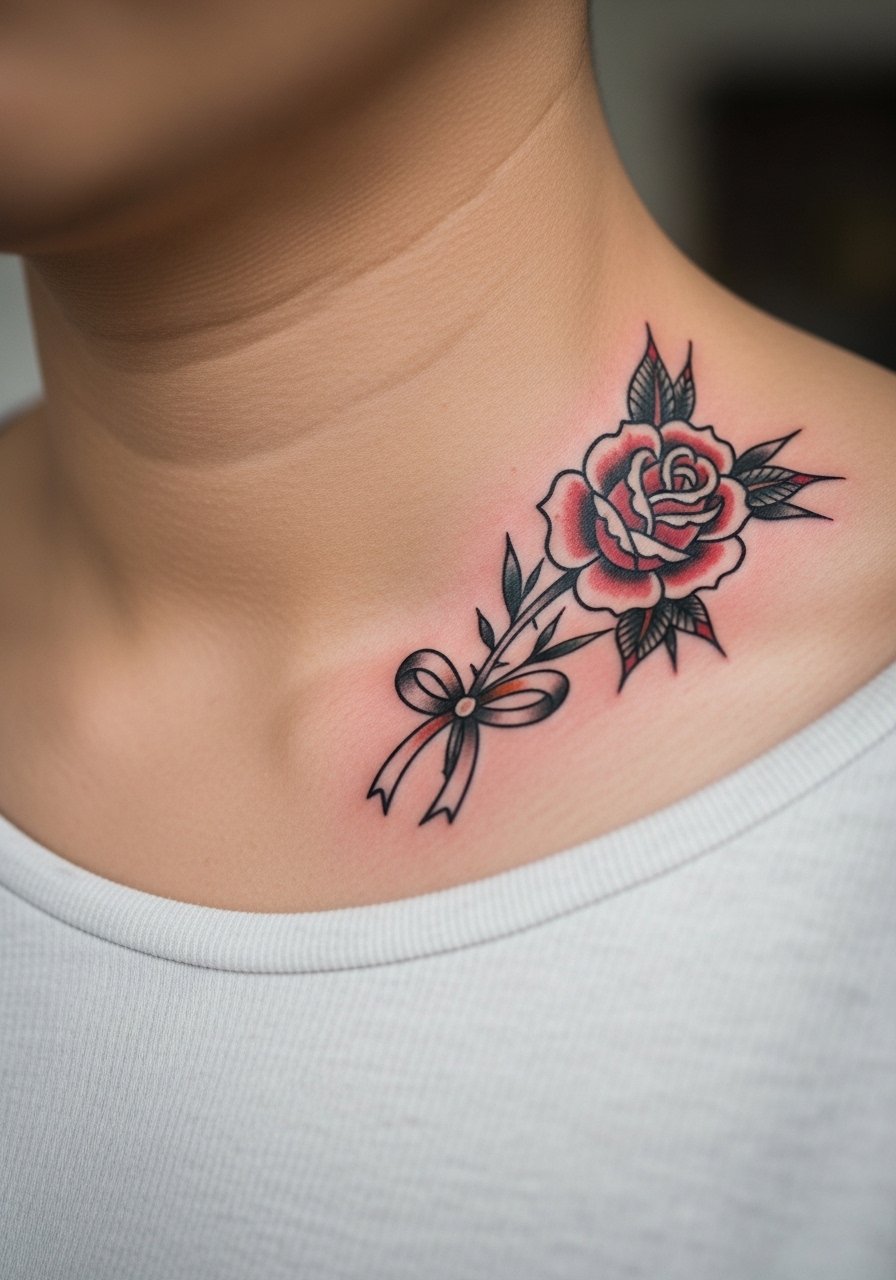
I recommend this if you want a classic symbol with feminine details that still reads at a distance. Ask your artist for thicker outlines around the rose and slightly larger petals than your reference so the dots of color do not merge over time. Fair warning, the most common mistake is asking for the petals too small, which causes saturation loss and early softening. Pain on the collarbone is usually a five out of ten. Session time is short, often under an hour, and touch-up at year two is normal for tiny accents. For showing it off, try a v-neck blouse that frames the piece without covering the ribbon.
2. Sailor Heart with Daisy Cluster
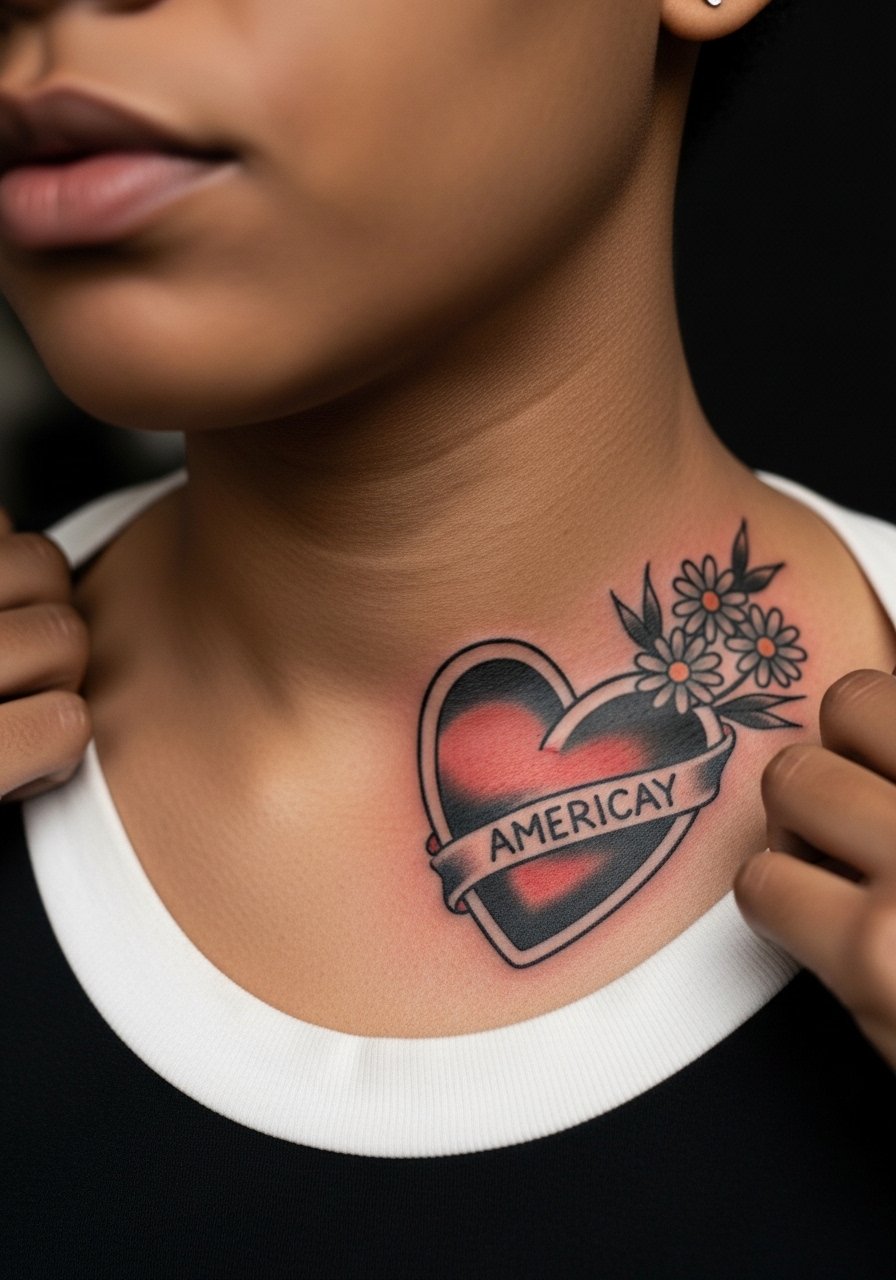
This version keeps traditional saturation but adds a softer, girly motif. Tell your artist you want heavy outer linework and punchy color fills rather than delicate micro shading. The collarbone sits near necklace friction, so bring up placement so a pendant will not sit directly over the design. Expect the session to feel pinchy at bone edges. Over time the center color retains better than tiny stencil dots. Pair with a thin chain pendant necklace if you want to play with layering without rubbing the tattoo.
3. Bannered Name with Little Stars
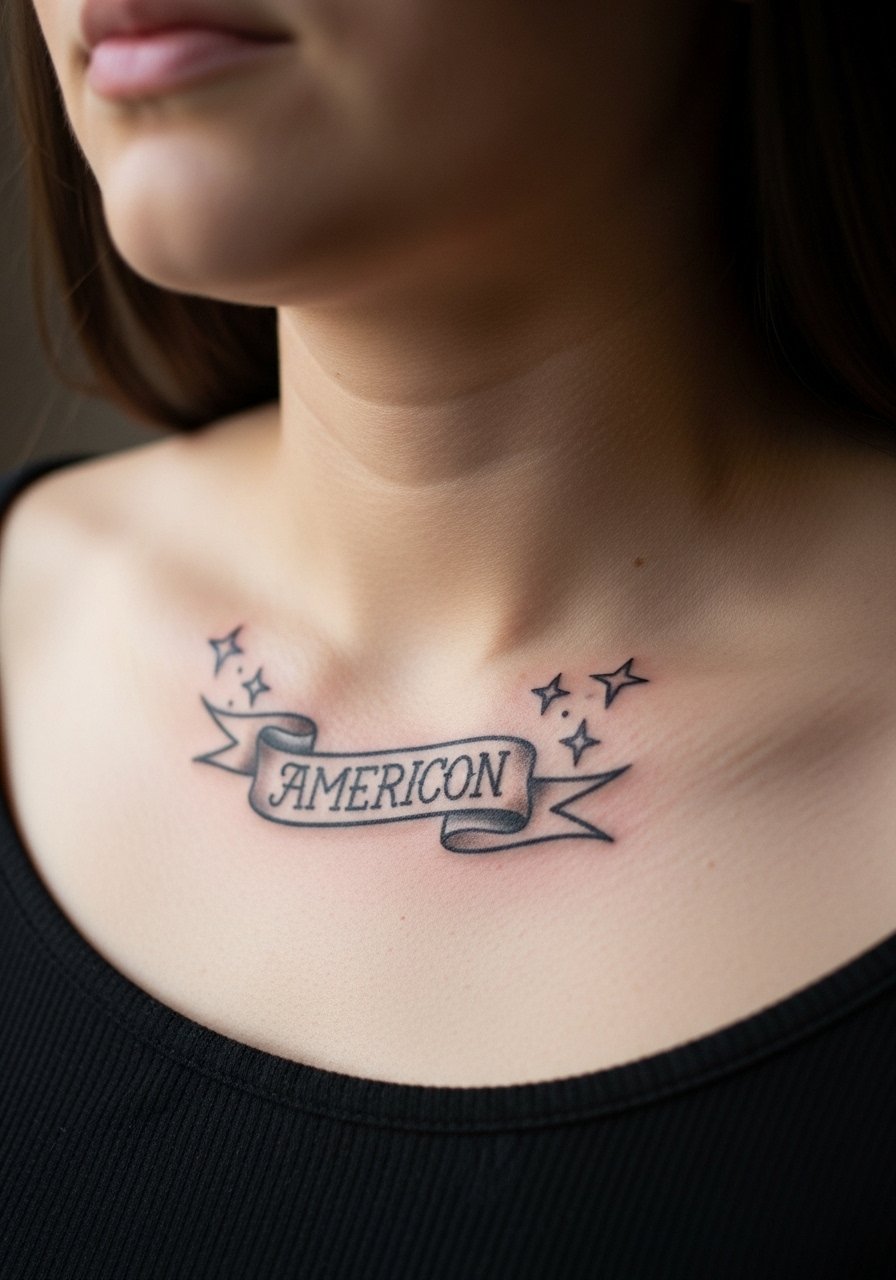
This is a go-to if you want script that reads like a classic flash piece. Ask for a slightly bolder script than your Instagram reference. There is a debate in the community about script on collarbones. One camp argues that tight script blurs quickly because of thin lines and skin movement. The other camp says proper depth and bolder letterforms make script last as long as other traditional work. Ask the artist where they stand and look for healed photos in their portfolio. Keep in mind small letters may need a touch-up around year two. For evening looks, a delicate gold choker sits just above the banner and draws the eye without covering the ink.
4. Tiny Swallow and Pearl Chain

There is a real visual payoff when swallows get bold outlines and open negative space inside their wings. Mention to your artist that you want the pearls spaced at least 6 mm apart so they do not collapse into a shaded bar over time. The collarbone vibrates more during breathing, so lighter hands feel more stable. Common mistake is a too-detailed pearl string that looks busy when healed. Expect a single short session under 90 minutes. Pair this with a satin camisole for nights out, the sheen frames the chain without creating friction.
5. Cupid Arrow Through a Mini Heart
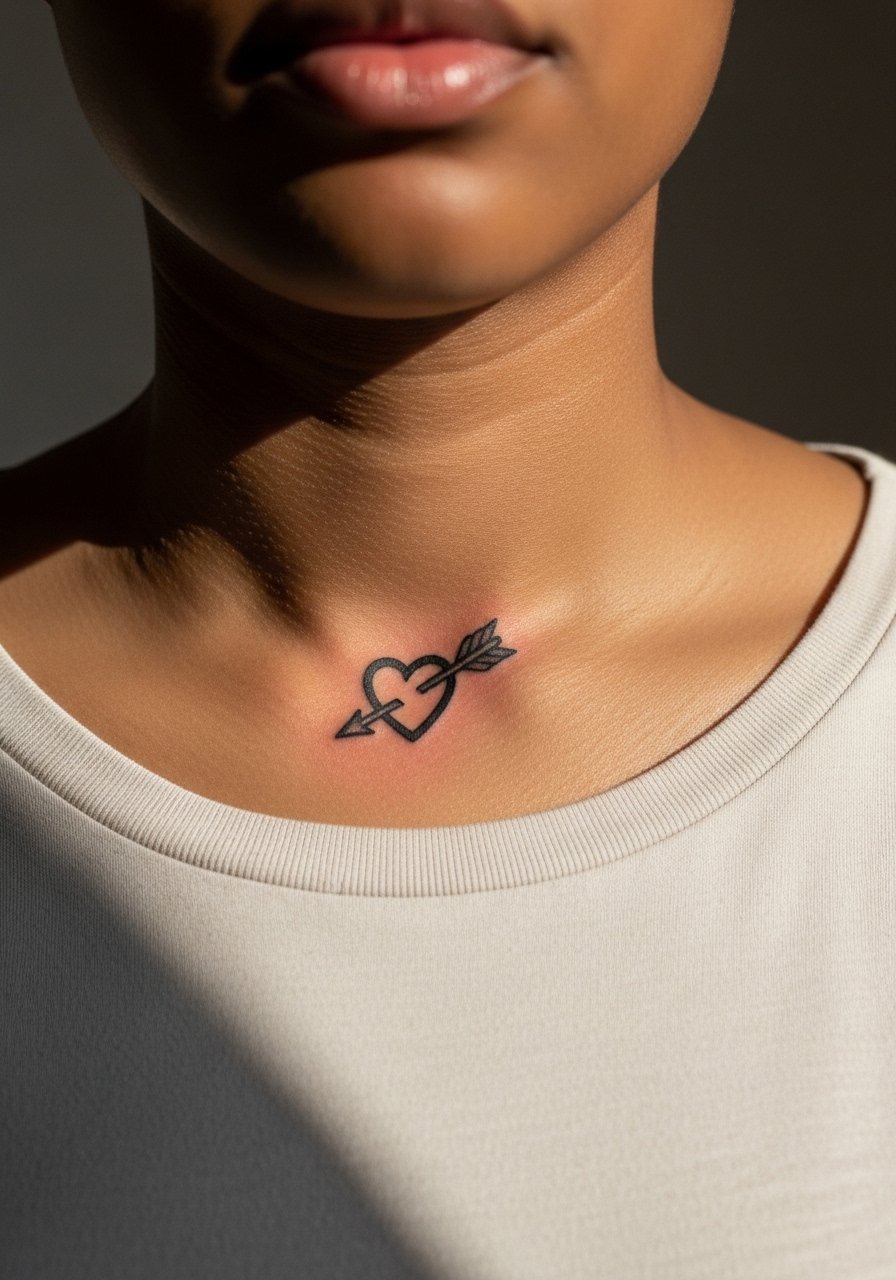
This design reads bold even when scaled down. During consult, specify a heavier shaft and slightly blunt arrowhead so the negative spacing around the heart stays clear as it heals. Collarbone pain spikes when needle crosses bone, so expect short bursts of sharpness. The main aging risk is blurred edges from tiny decorative linework, so keep embellishments minimal. For daytime outfits, an off-shoulder top exposes the piece without straps rubbing it.
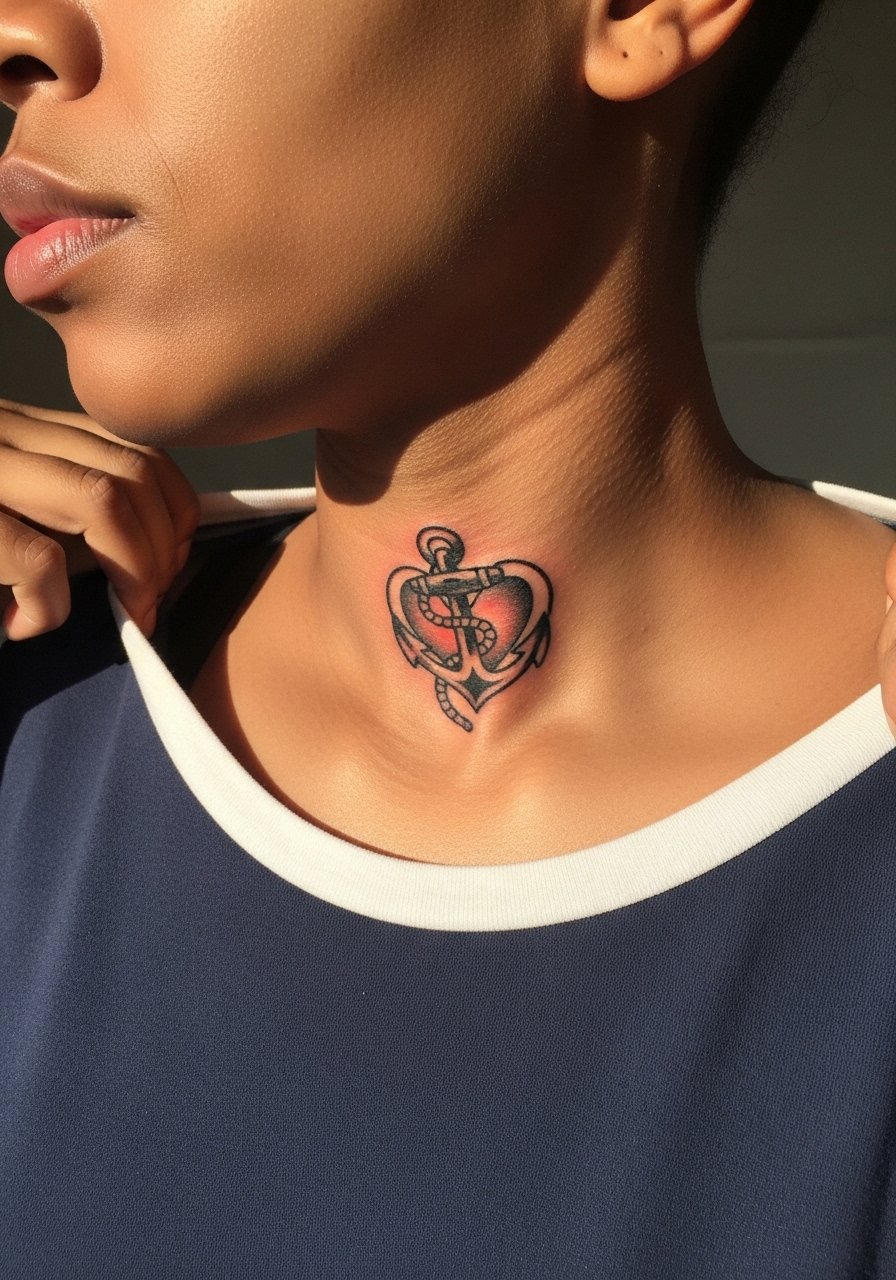
6. Anchor with Tiny Bow Accent
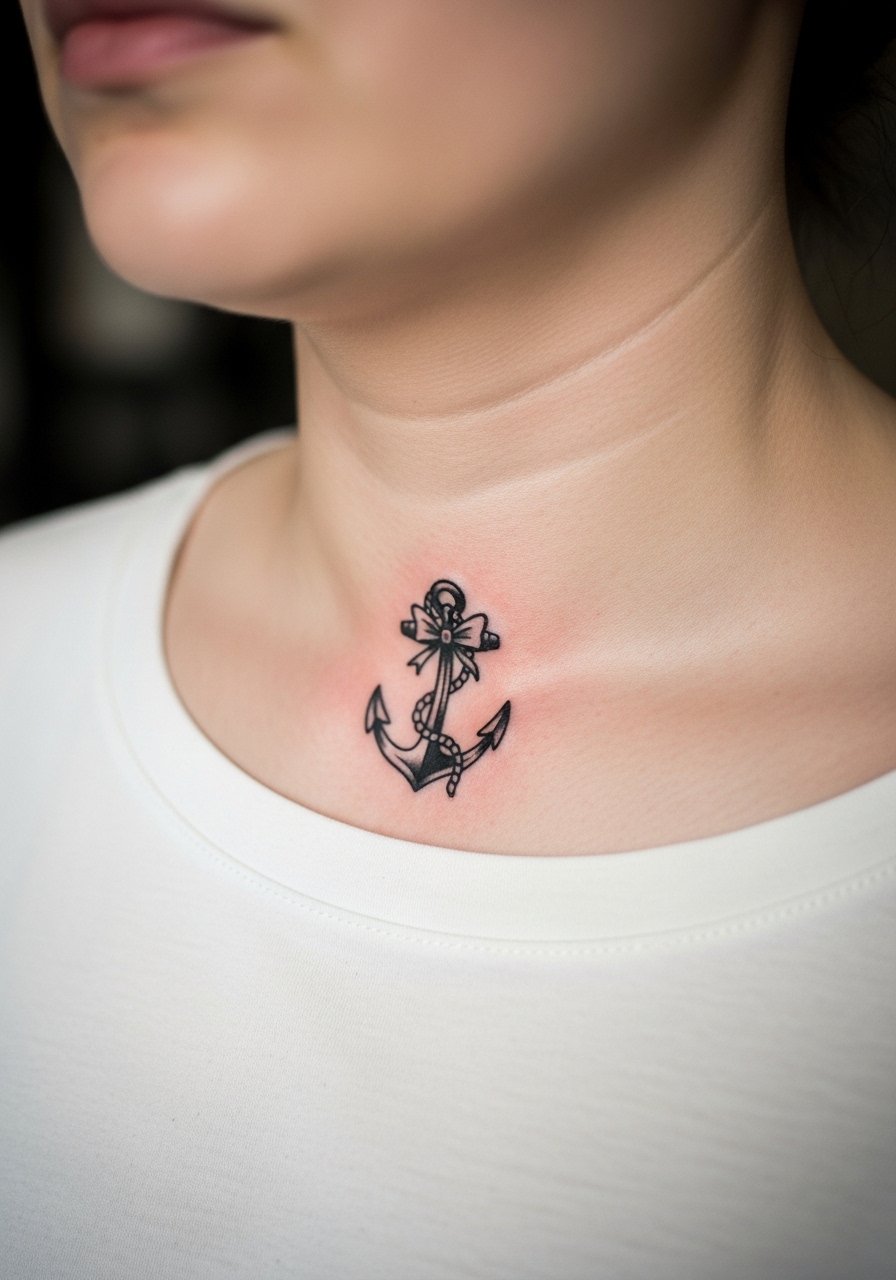
Anchors are classic and last well when scaled correctly. Ask for a wider anchor base and simpler shading so saturation holds. The bow gives a girly touch but the common mistake is asking for overly thin ribbon strands. That leads to early softening. Touch-ups are often needed around year three for small fill areas. For the session, wear a loose button-down shirt you can slide aside easily so the artist has a clean field.
Pre-Session Essentials
The collarbone placements above combine bone-edge sensitivity with necklace friction, so a few small items smooth the session and the first week.
-
Stencil transfer paper kit. Lets the artist preview line placement against your collarbone curve so banners and chains sit straight on the anatomy.
-
Topical numbing cream. Applied about 45 minutes before can ease the sharp tick when the needle crosses the bone without interfering with outlines.
-
Thin protective film roll. Useful for short covers the first day if necklaces would otherwise rub directly on fresh ink.
-
Fragrance-free body wash. Gentle cleansing keeps fine linework and small color fills from irritation during early healing.
-
Aquaphor healing ointment. Thin layers in the first few days lock in moisture around tiny traditional fills without suffocating the needle channels.
7. Classic Sailor Rose with Lace Trim
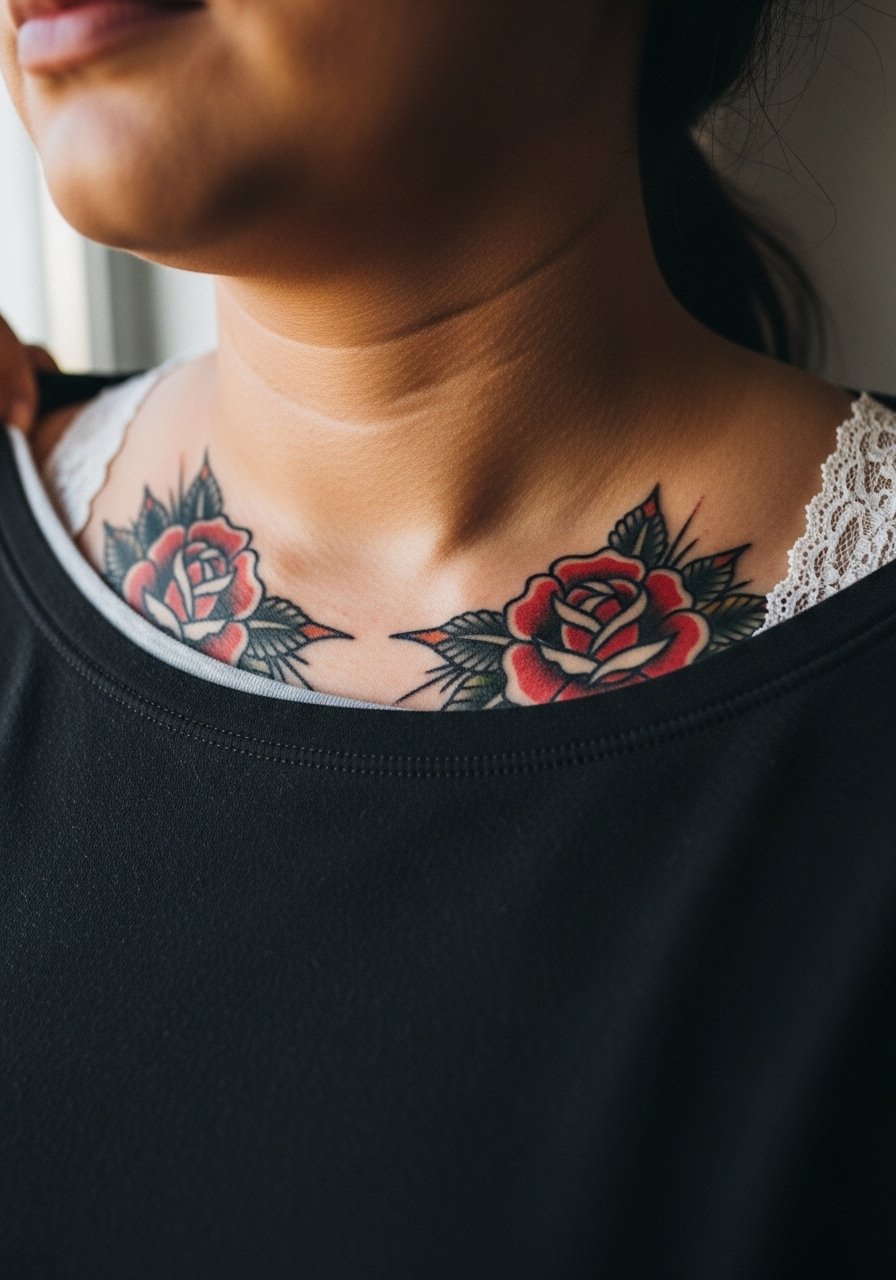
This piece balances boldness with feminine texture. Tell the artist you want stipple hints in the lace but not tight stippling close to the edges. Most mistakes come from over-detailing the lace which ages into muddiness. Expect a moderate session under two hours and a possible touch-up at year three if you want the lace crisp. For showing it off, a cropped v-neck top keeps the collarbone visible while still styled.
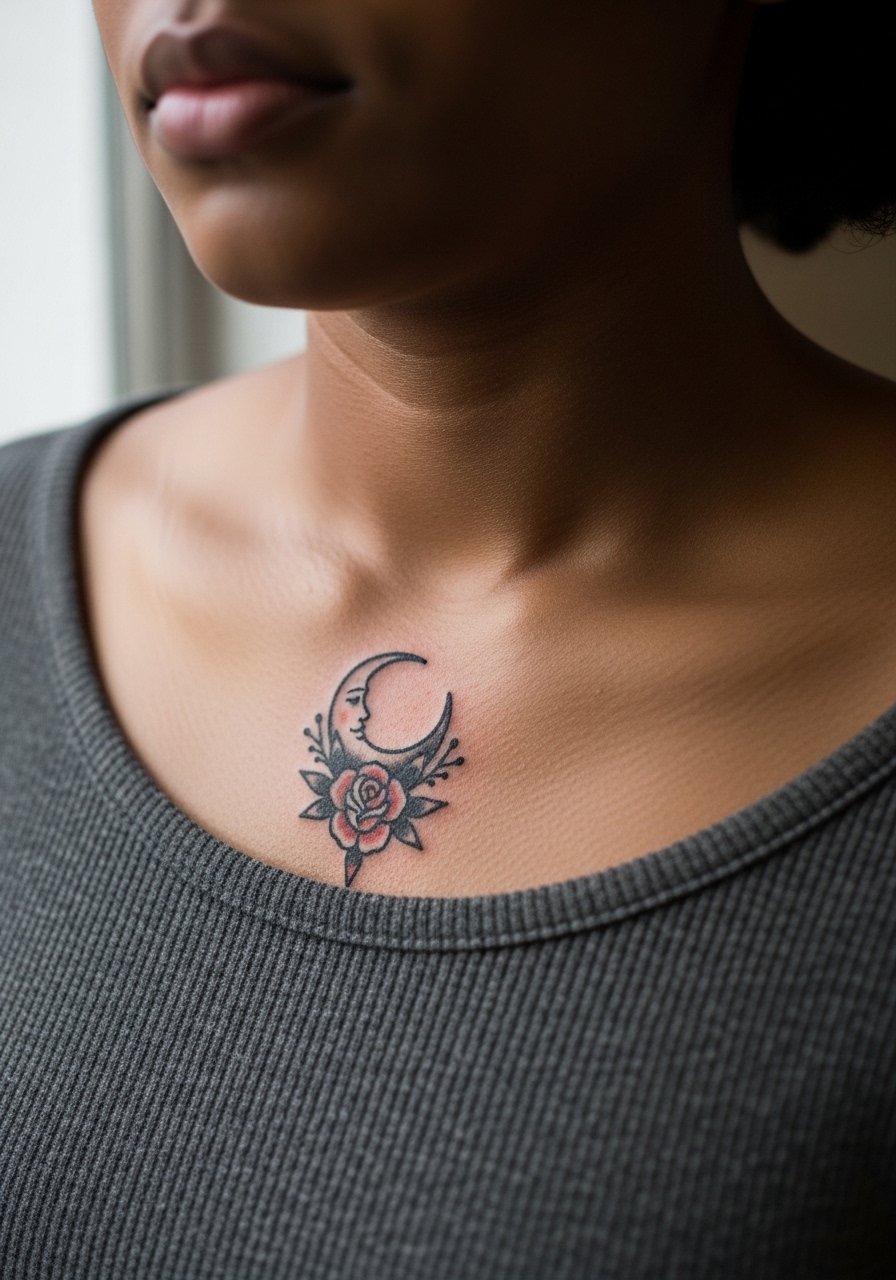
8. Crescent Moon with Tiny Traditional Flowers
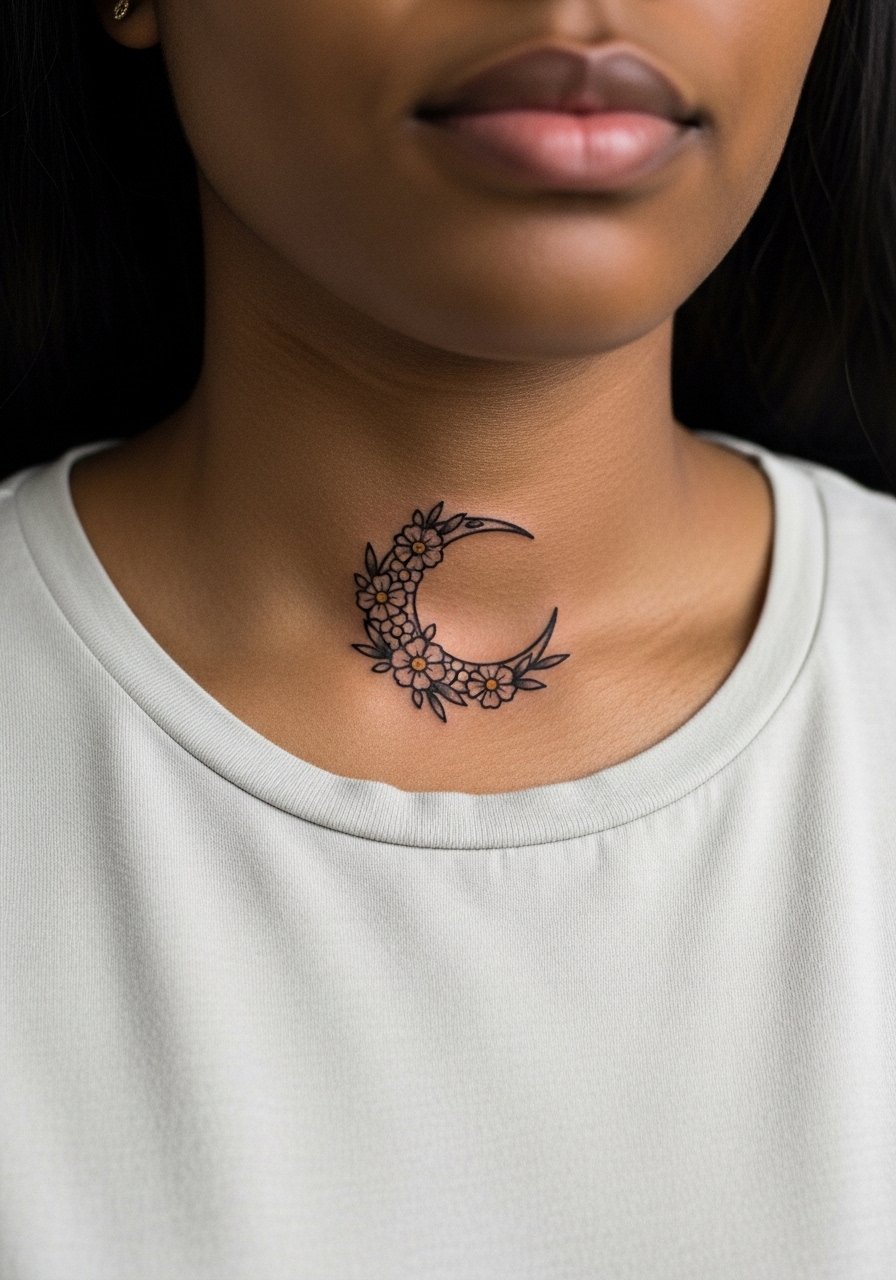
The crescent reads well in the collarbone curve since it follows natural anatomy. Ask for solid black outer lines and larger petal shapes so the tiny flowers do not blur. A common mistake is packing too many flowers into a narrow design. That reduces the negative space the moon needs to read distinct. The spot is moderately sensitive and the session is usually short. This pairs well with a delicate pendant necklace worn slightly above the tattoo to avoid rubbing.
9. Tiny Cat Head with Rose Collar
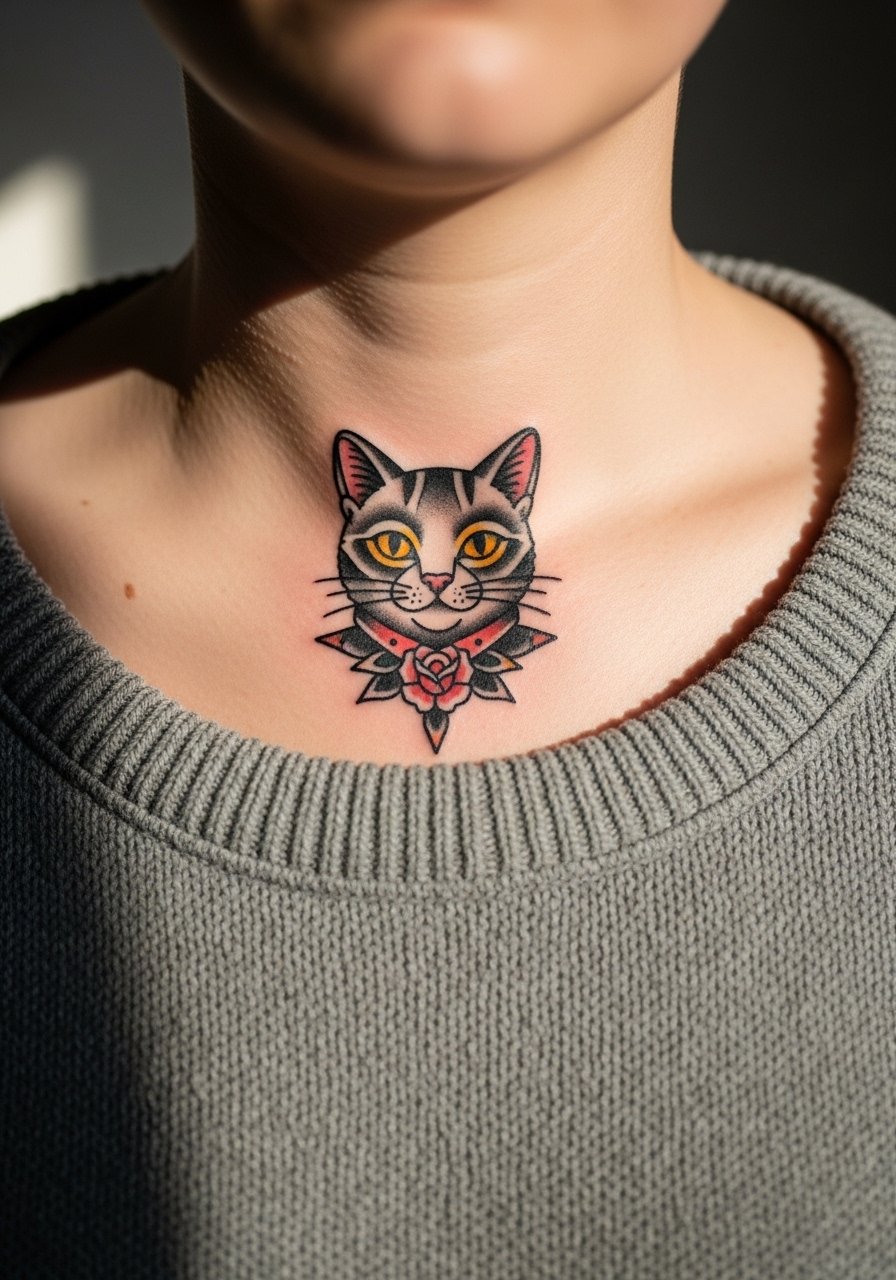
Cute motifs like an animal head keep their charm when done in clear shapes and saturated spots of color. Ask your artist to simplify the fur markings into blocks of color instead of hair-like strokes. The collarbone can make faces look distorted if the stencil sits over the bone edge, so ask for a mockup while standing upright. Expect a quick session under an hour and consider a touch-up at year three for facial detail. Wear a wide-neck sweater that frames but does not press on the fresh ink.
10. Petite Compass Rose with Ribbon
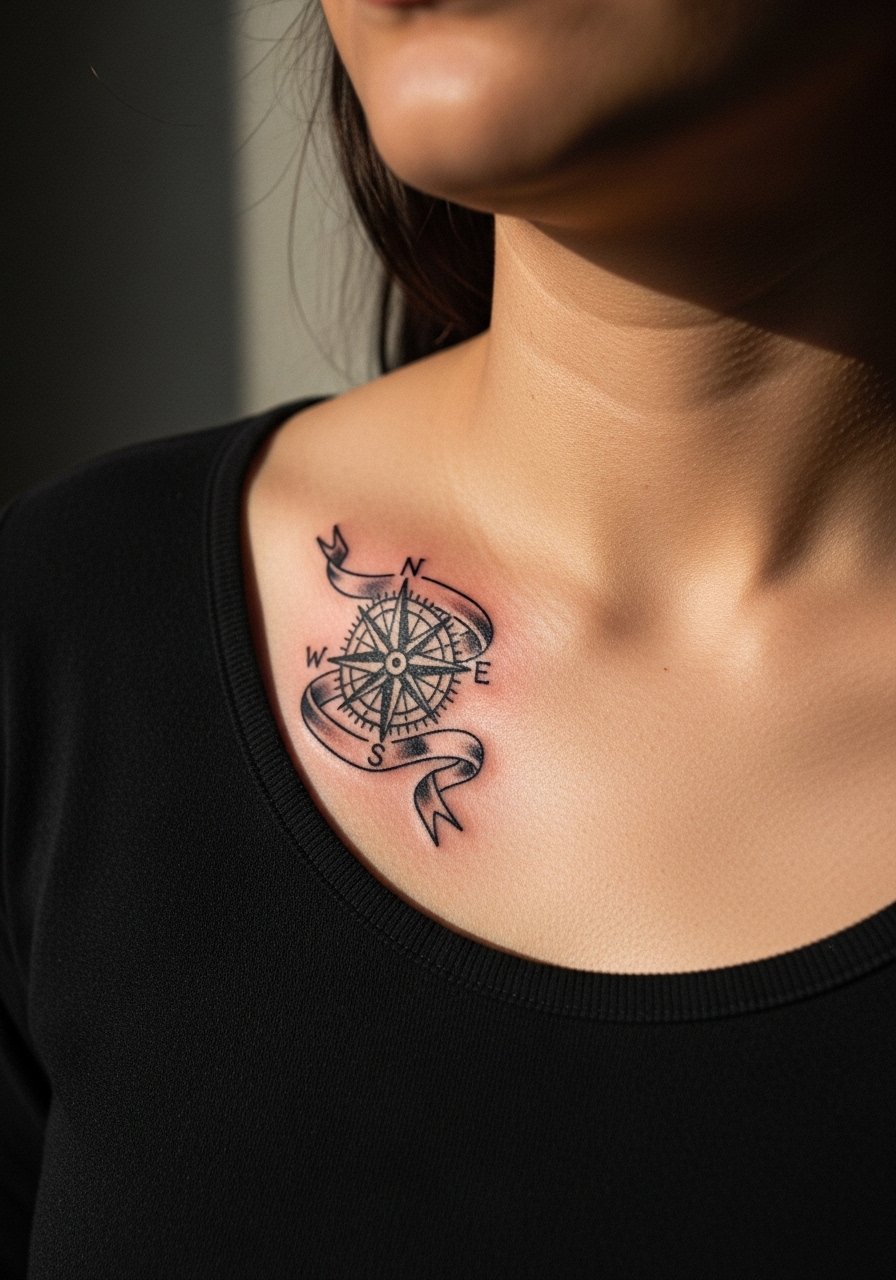
A compact compass benefits from thicker cardinal points and open negative center. Tell the artist you want the points bold rather than filigree. Common error is over-detailing the center wheel which can blur into a dark spot. Pain is moderate where the needle tracks across bone. This design tends to hold well, especially the outer points. For travel-friendly styling, layer with a thin chain necklace that sits above the compass.
11. Traditional Cupcake with Tiny Stars

A playful cup-and-stars design looks girly without being overly delicate when the cupcake frosting gets broad swashes of color. During consult, request full color blocks and avoid micro-dot sprinkles. The collarbone can make rounded shapes bow visually, so test the stencil on the stand-up position. Sessions are short and healing is straightforward. For evenings, a satin camisole frames the motif while keeping fabric off the fresh ink.
12. Anchor Locket with Keyhole
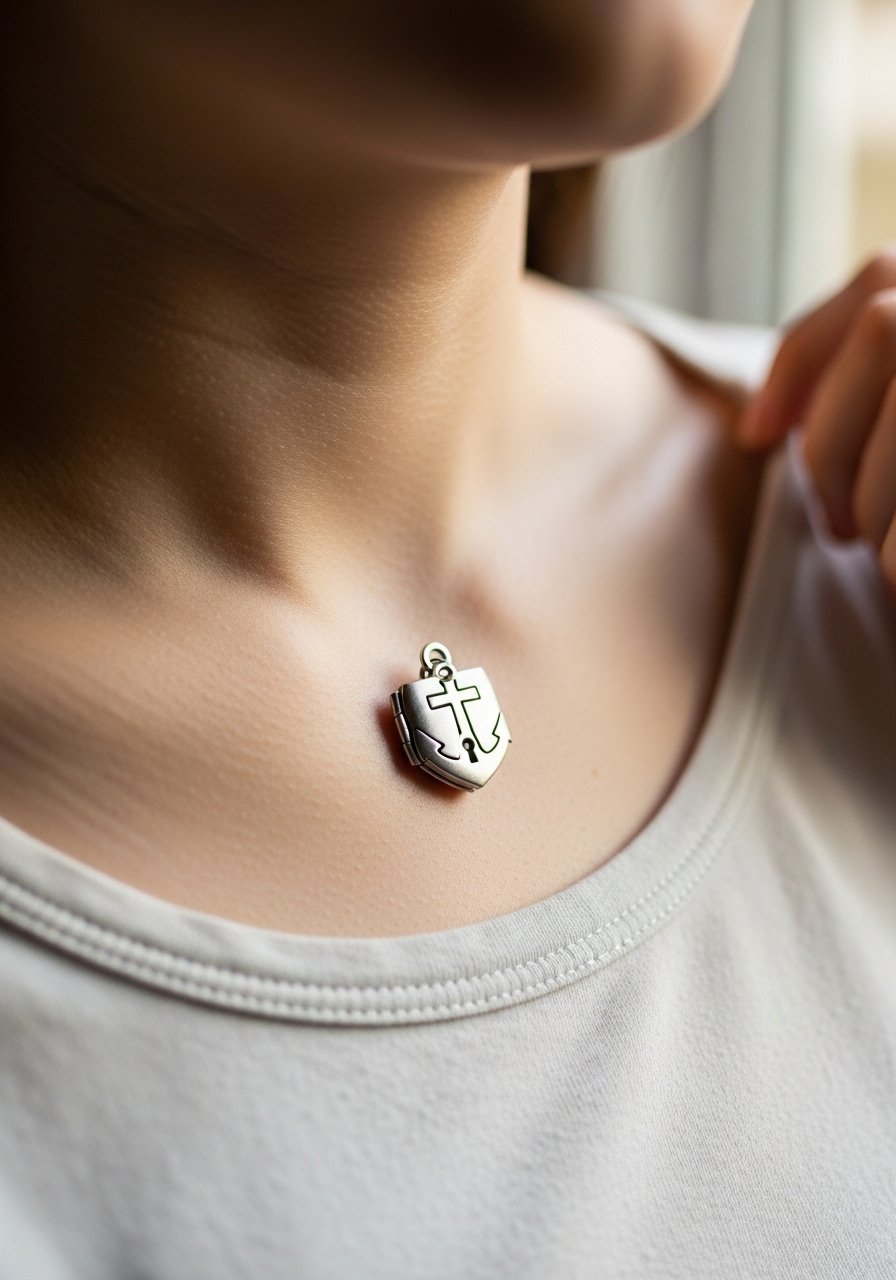
This idea blends maritime tradition with a sweet lock motif. Tell the artist you want crisp negative space in the keyhole so it does not fill in. There are two takes in the community on ornamental lock motifs. One camp favors dense shading to emphasize depth. The other camp prefers flat color fields so the symbol remains legible when healed. Decide which look you want and show examples. Expect a one-hour session and plan for a minor touch-up if the interior fills soften.
13. Tiny Butterfly with Old-School Dots
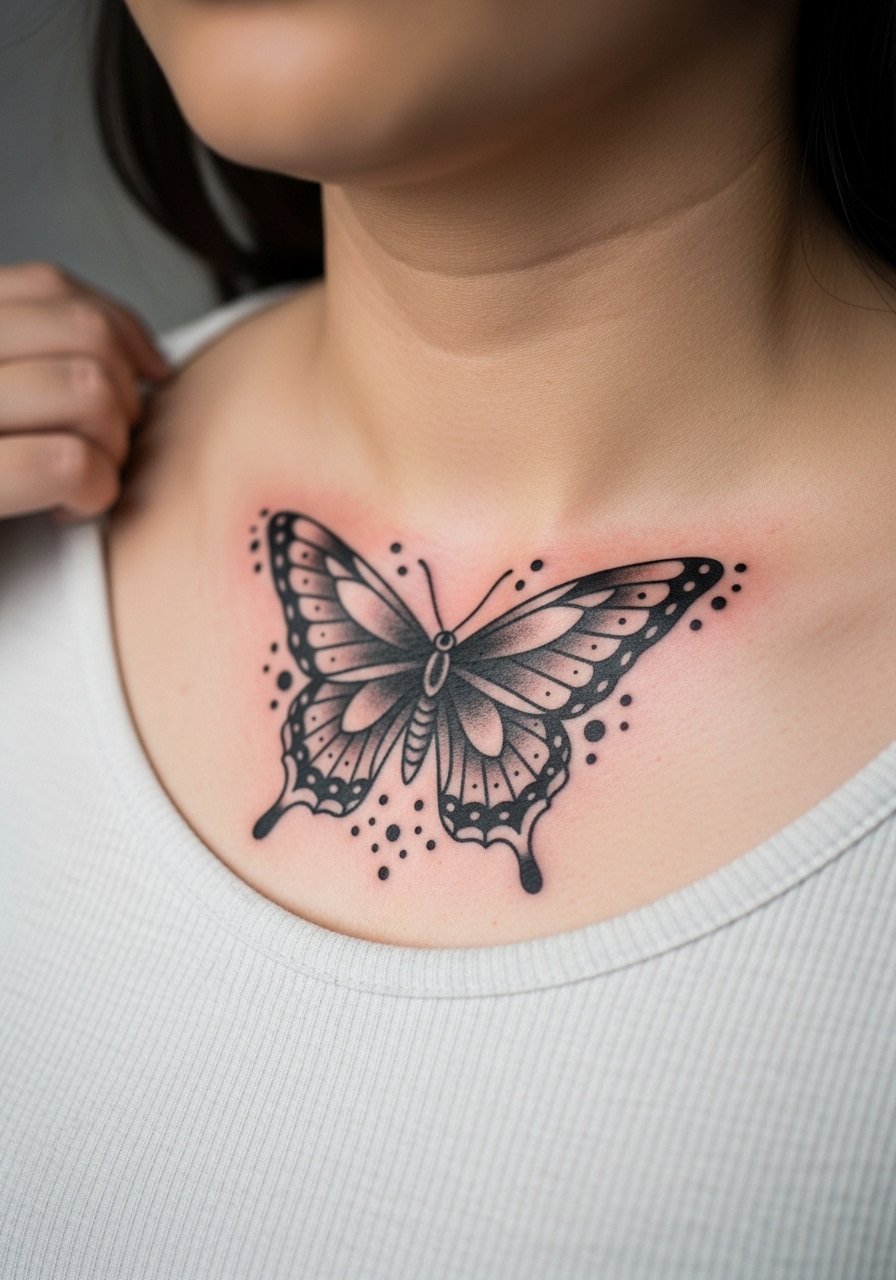
Butterflies can look either delicate or bold in a traditional treatment. Ask for strong outer wings and larger internal color shapes rather than thin wing veins. A frequent mistake is requesting tiny veins which merge in a couple of years. Collarbone flutter creates movement while breathing, so expect intermittent sharpness. For styling, try an off-shoulder blouse that exposes the wings without straps rubbing across the ink.
14. Little Lock and Key Crossed
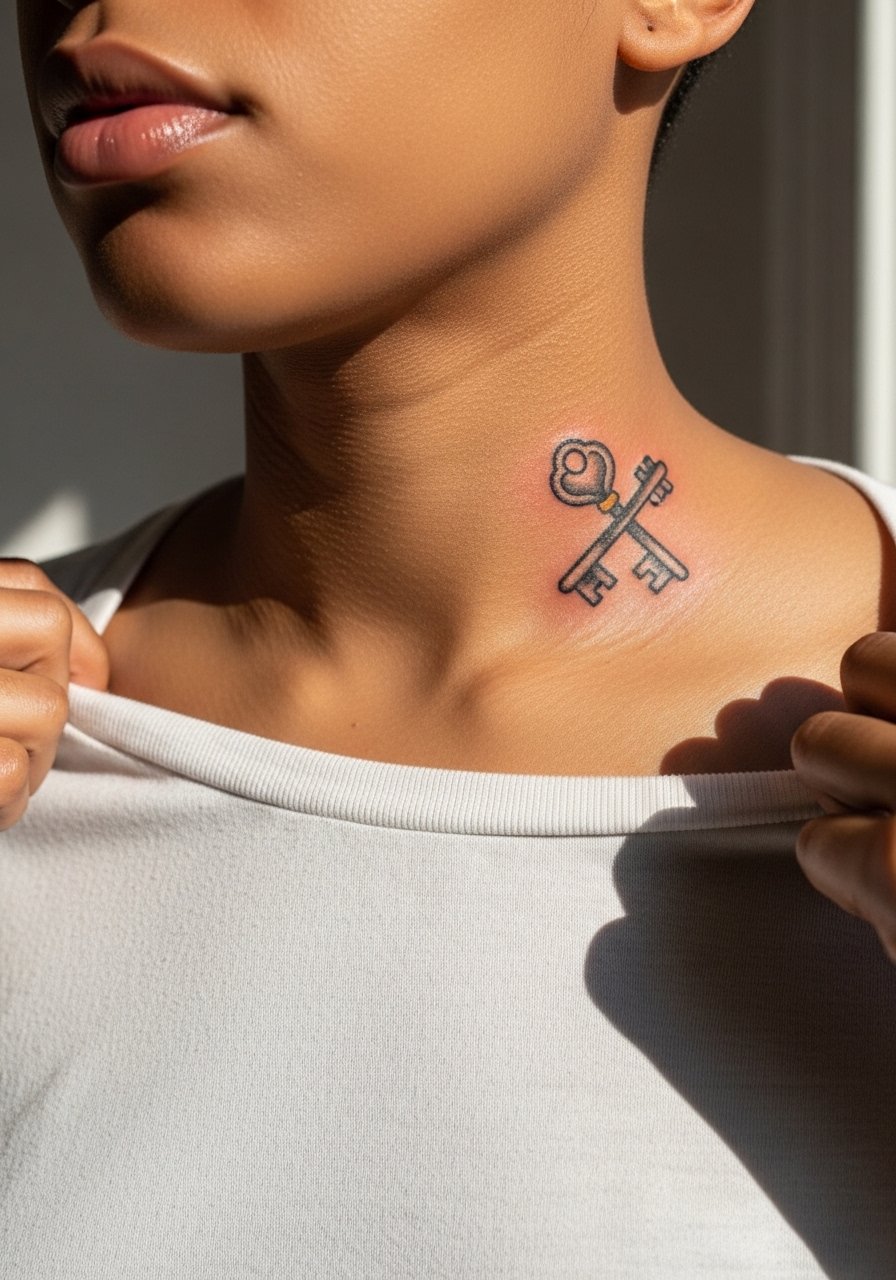
Crossed motifs read well at this site because each object supports the other visually. During consultation specify negative space between the lock and key so lines do not butt into each other. The collarbone can cause the design to skew if the stencil is placed while sitting. Always view it on standing posture. Session time is often under 90 minutes. For casual wear, a loose button-down shirt you can slide aside keeps access and shows the piece.
15. Tiny Blushing Sailor Girl Face
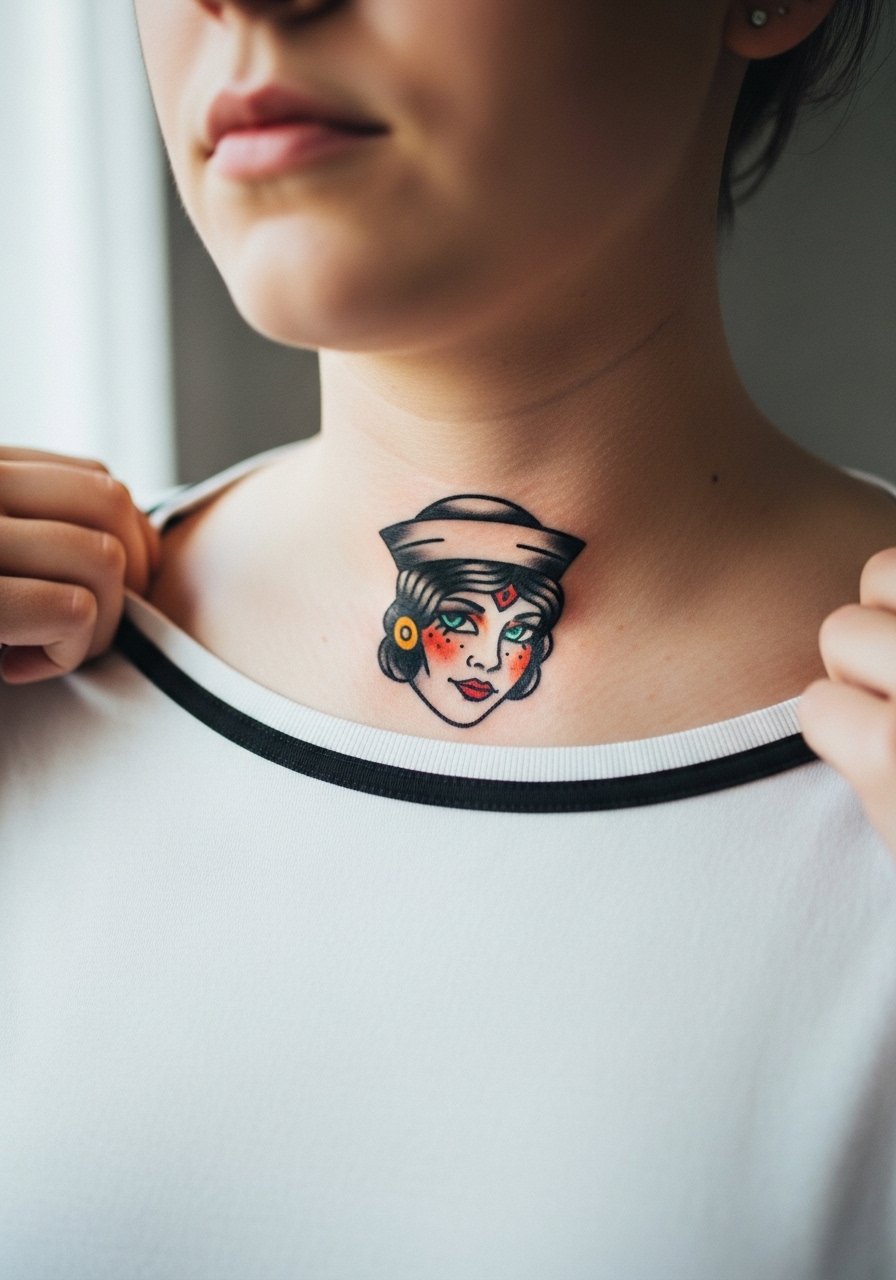
Faces are tricky at small scales, so ask the artist for simplified facial planes and bolder outlines. The common error is too much micro detail which becomes indistinct. Expect a slightly longer session if facial shading is included. Over years the cheeks and hairline retain shape better than tiny nose and mouth strokes, so plan a touch-up if you want the face crisp long term. Pair this with a vintage-style pendant that complements the sailor aesthetic without sitting on the ink.
16. Little Key with Floral Tassel
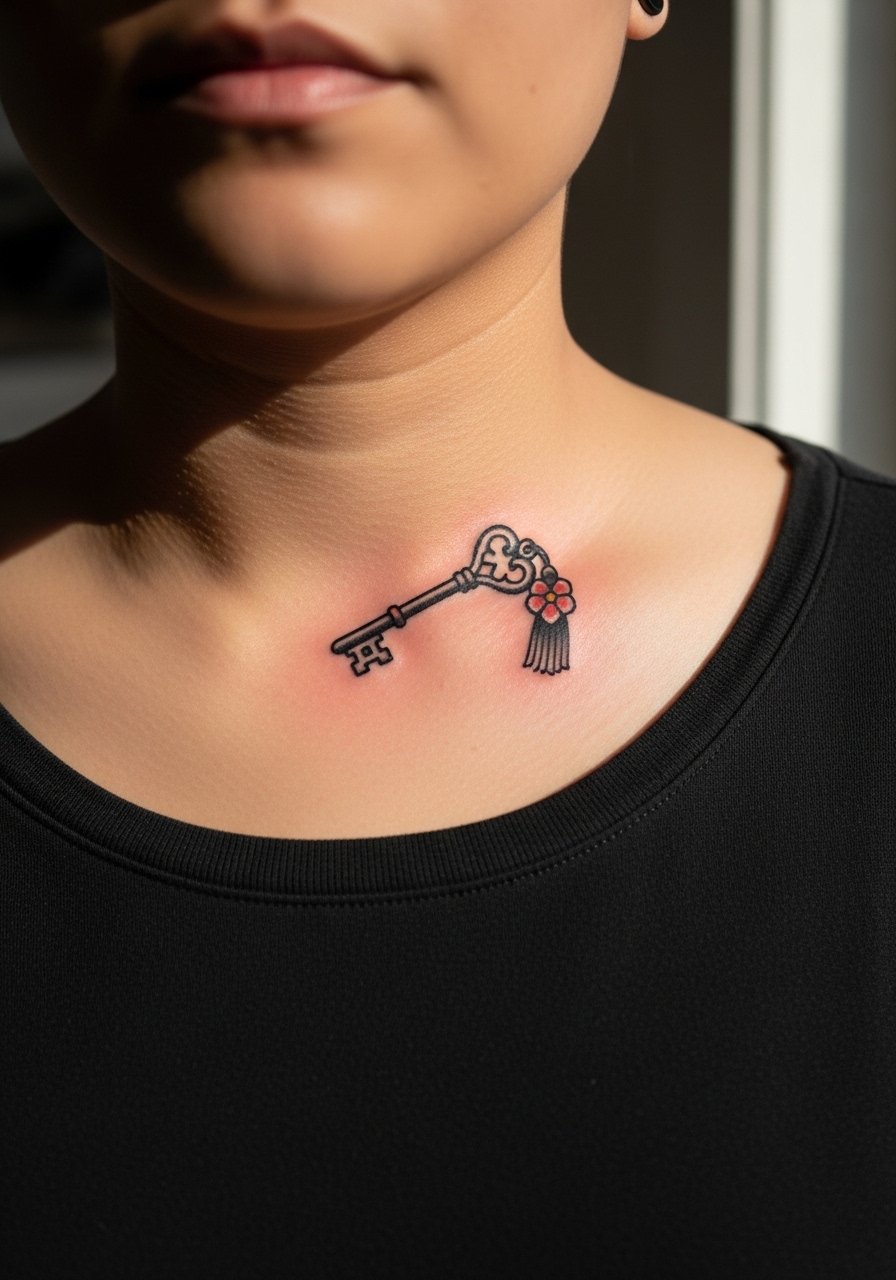
Key motifs fare well because clear metal lines and solid flowers age predictably. Tell your artist to keep tassel strands bold and spaced. The usual mistake is asking for frilly tassel lines that blur. Collarbone sessions are quick and generally manageable. For session comfort, a loose button-down or tank that you can move aside is best.
17. Tiny Crescent with Tiny Traditional Rose
Pairing moons with classic roses gives a night-sky feel while staying legible. Ask for a gap between moon and flower so each element keeps its silhouette over time. Mistakes happen when both elements are crammed into a narrow field. This placement breathes with the torso, so expect brief moments of sharper sensation. For night looks, an open-back midi dress can put the collarbone focal point on display while keeping straps away from the ink.
18. Tiny Pin-Up Lipstick Kiss
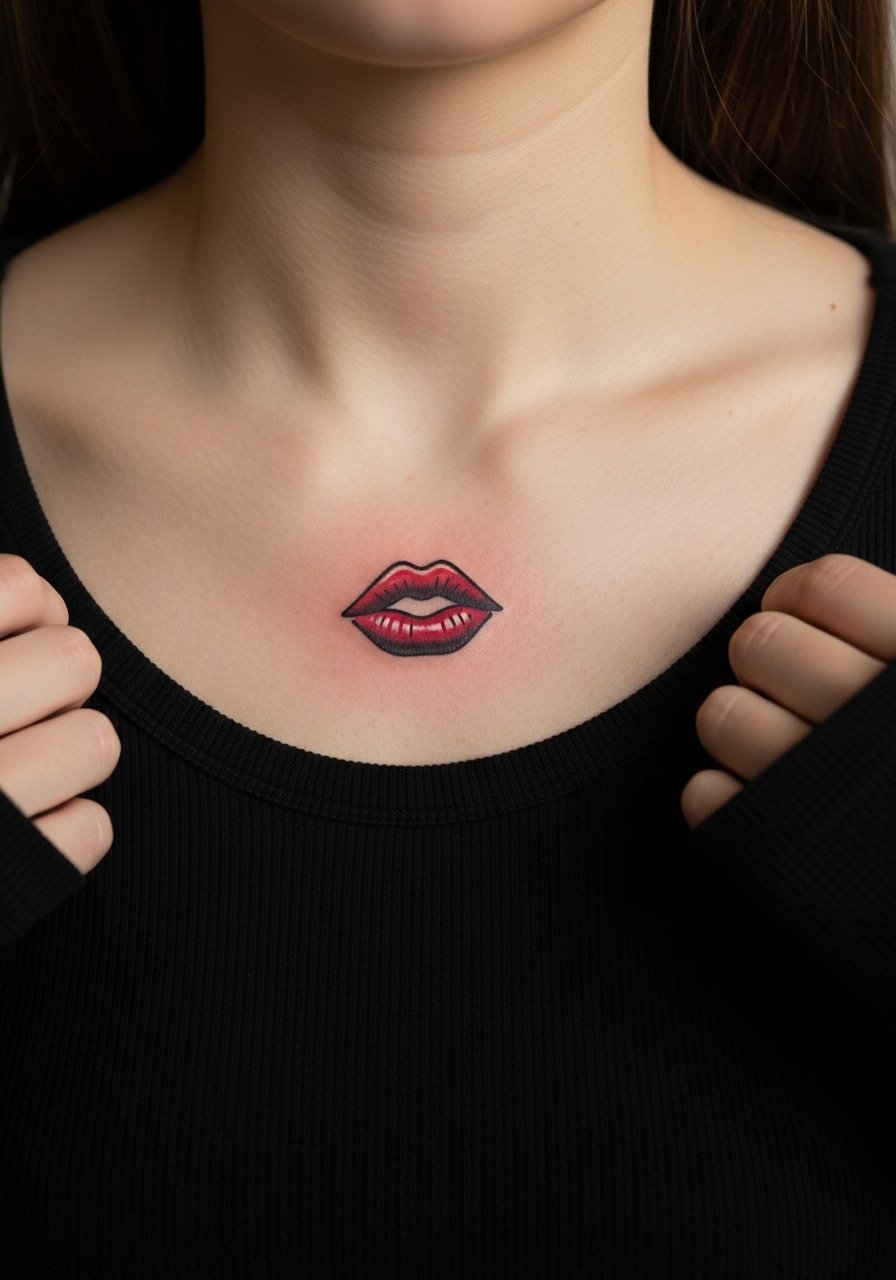
A lipstick kiss in traditional colors holds up because it uses solid color blocks and thick outlines. Ask the artist to avoid tiny texture lines inside the mark. The collarbone is visible but also at risk of necklace rubbing, so plan accessories accordingly. Sessions are typically short. Pair with a thin choker necklace that sits above the kiss and avoids contact.
19. Miniature Traditional Bow with Drop Pearl
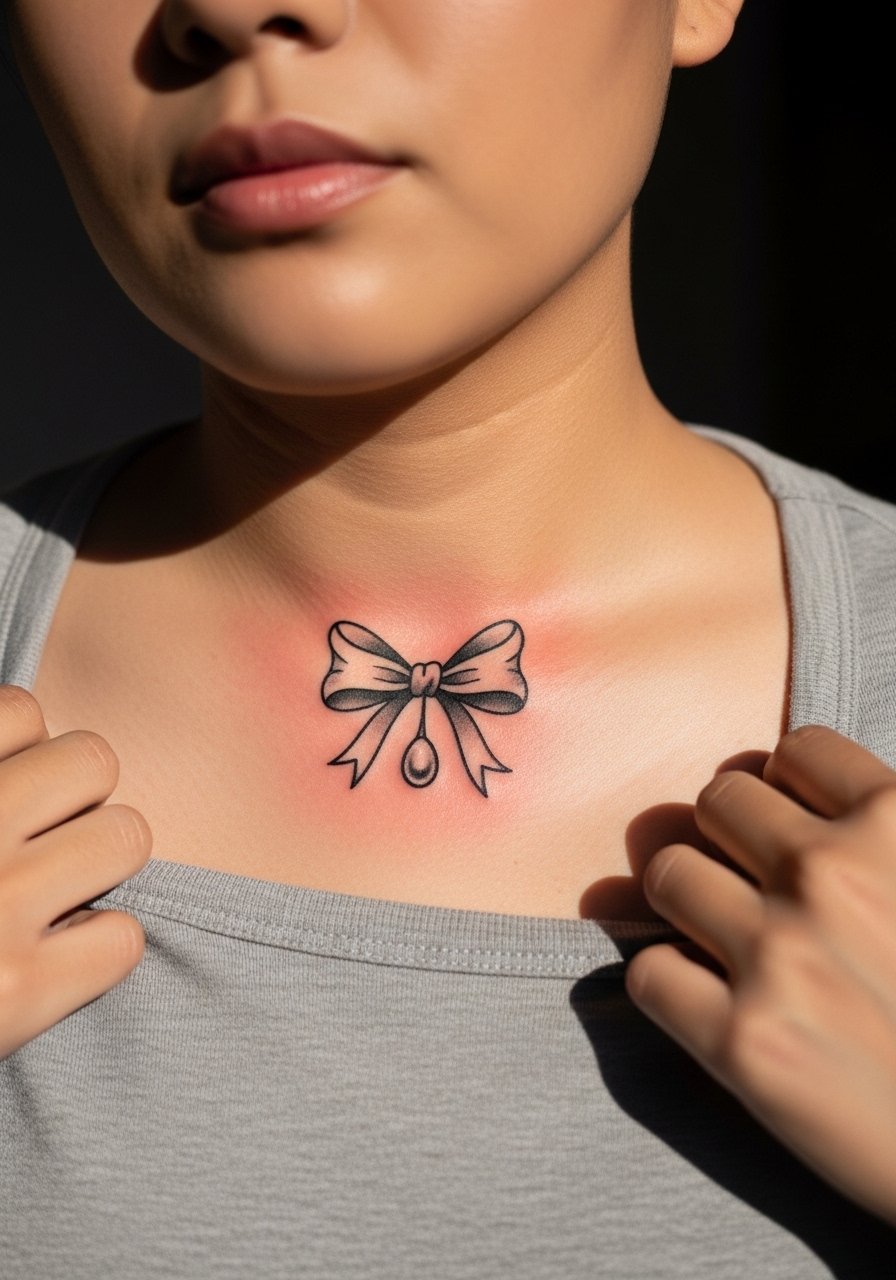
Bows can look overly delicate if the linework is too thin. Ask for a thicker bow outline with simple inner shading. The drop pearl should be sized slightly larger so it does not soften into a dot. A frequent mistake is requesting micro-ribbon tails which merge over time. For show-off outfits, a strapless bandeau top keeps the area visible without strap friction.
20. Little Anchor Heart Hybrid
Merging two motifs works if both are rendered simply. Tell the artist you want heart curves emphasized and anchor bar bold so the silhouette remains clear. The collarbone will throb at bone crossings, expect brief sharp points during the session. The piece tends to keep shape well if spacing is honored. For casual layers, a loose tee with a scooped neck shows the design without direct pressure.
21. Tiny Traditional Sunburst with Face
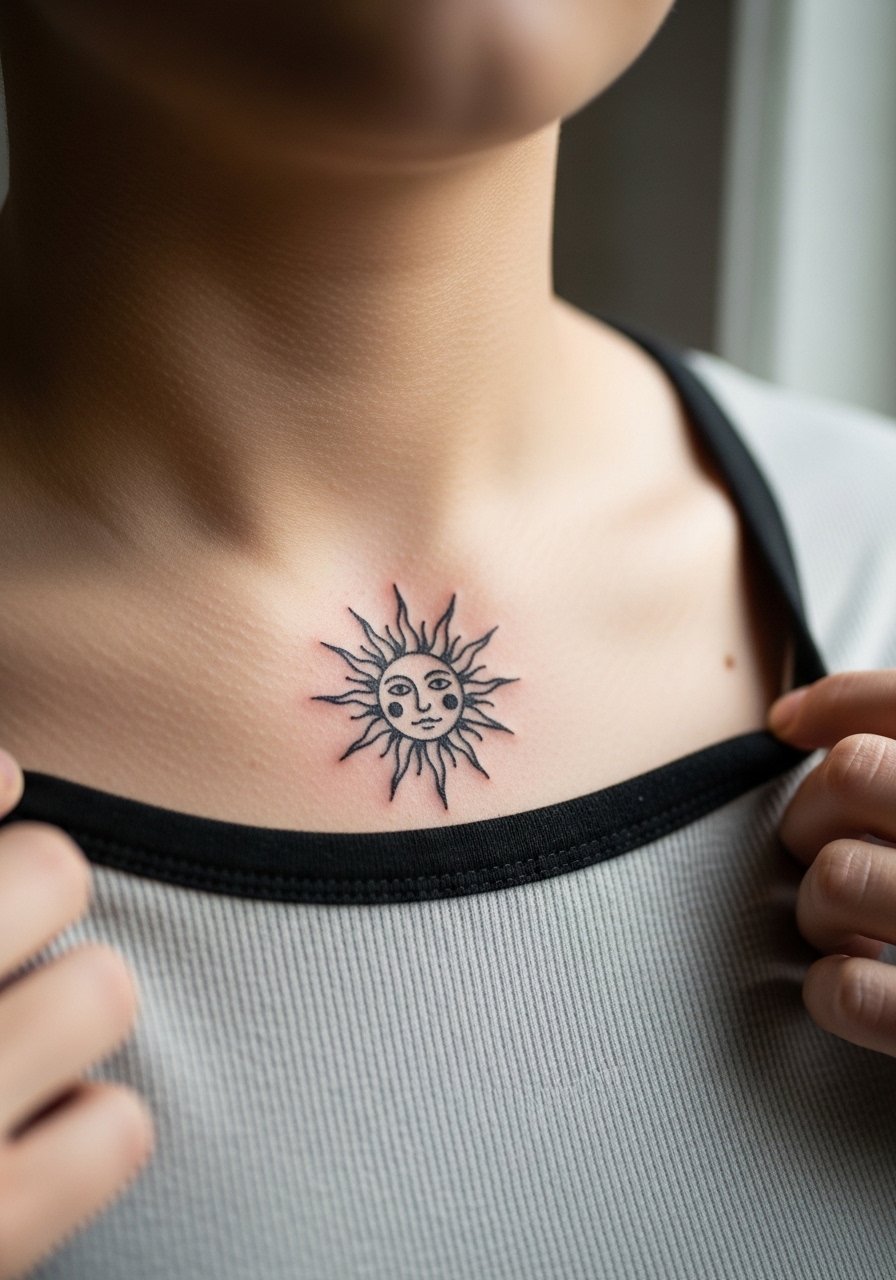
Faces at small scale need simplification. Ask for bold rays and a minimal face to avoid loss of detail. The common mistake is including too many facial lines which blur. Collarbone shading can be uneven if the needle sits over different contours. Sessions are short. For daytime wear, an airy button-down left slightly open frames the sun without rubbing.
22. Tiny Rosebud with Dotted Halo
A rosebud keeps a feminine voice when the bud is slightly oversized compared to the stem. Ask for the dotted halo to be spaced so it looks airy rather than crowded. The collarbone sees movement while breathing, so spacing helps longevity. The typical session is under an hour. For showing the bud, try a low v-neck blouse that draws attention up to the collarbone.
23. Tiny Lock of Hair Ribbon Motif
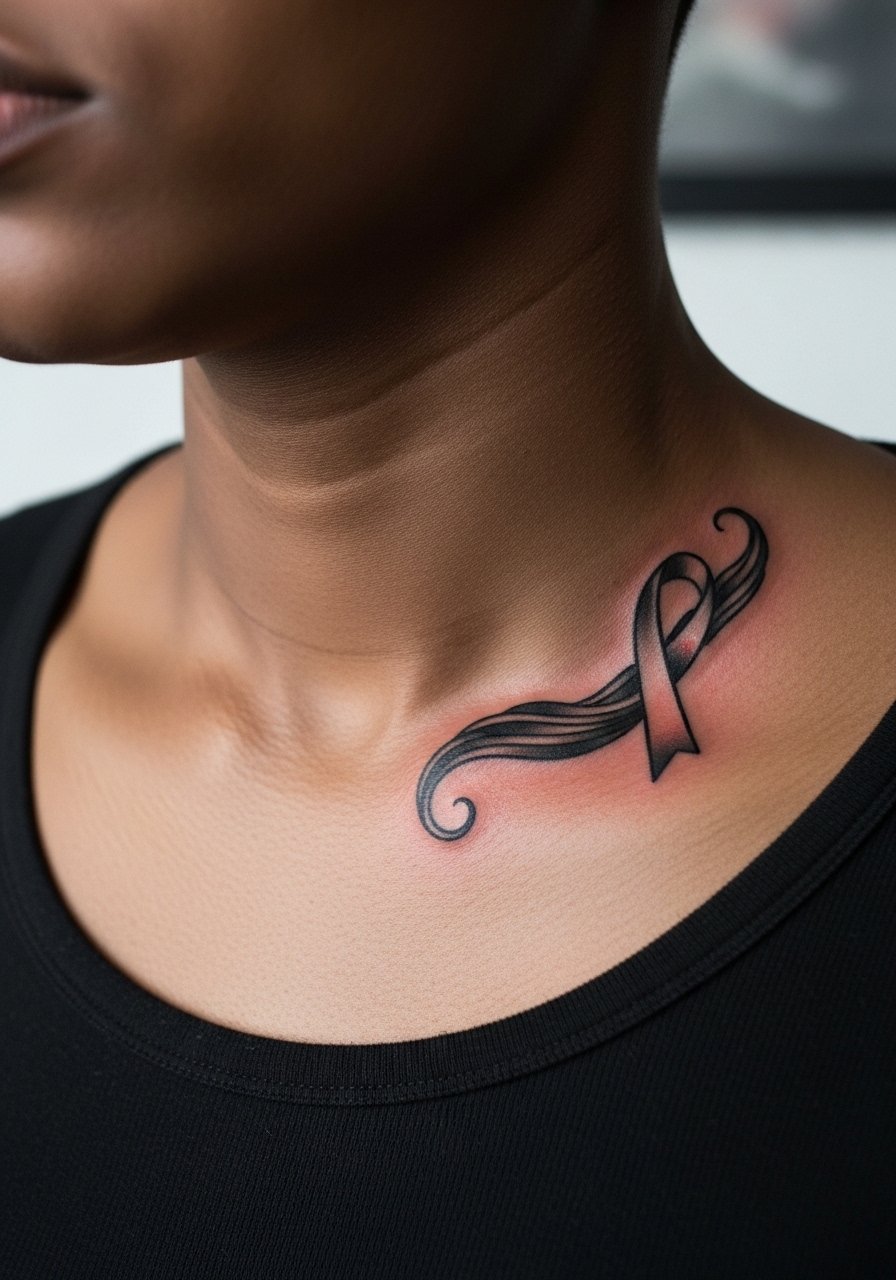
This motif gives movement along the collarbone line. Tell your artist to keep the ribbon loops open with bold outer lines and minimal inner detail. A common error is over-rendering curls which blends into a darker mass. The placement will be visible when wearing scoop necks. For sessions, wear a top that can be moved aside easily.
24. Tiny Floral Keyhole with Dainty Leaves
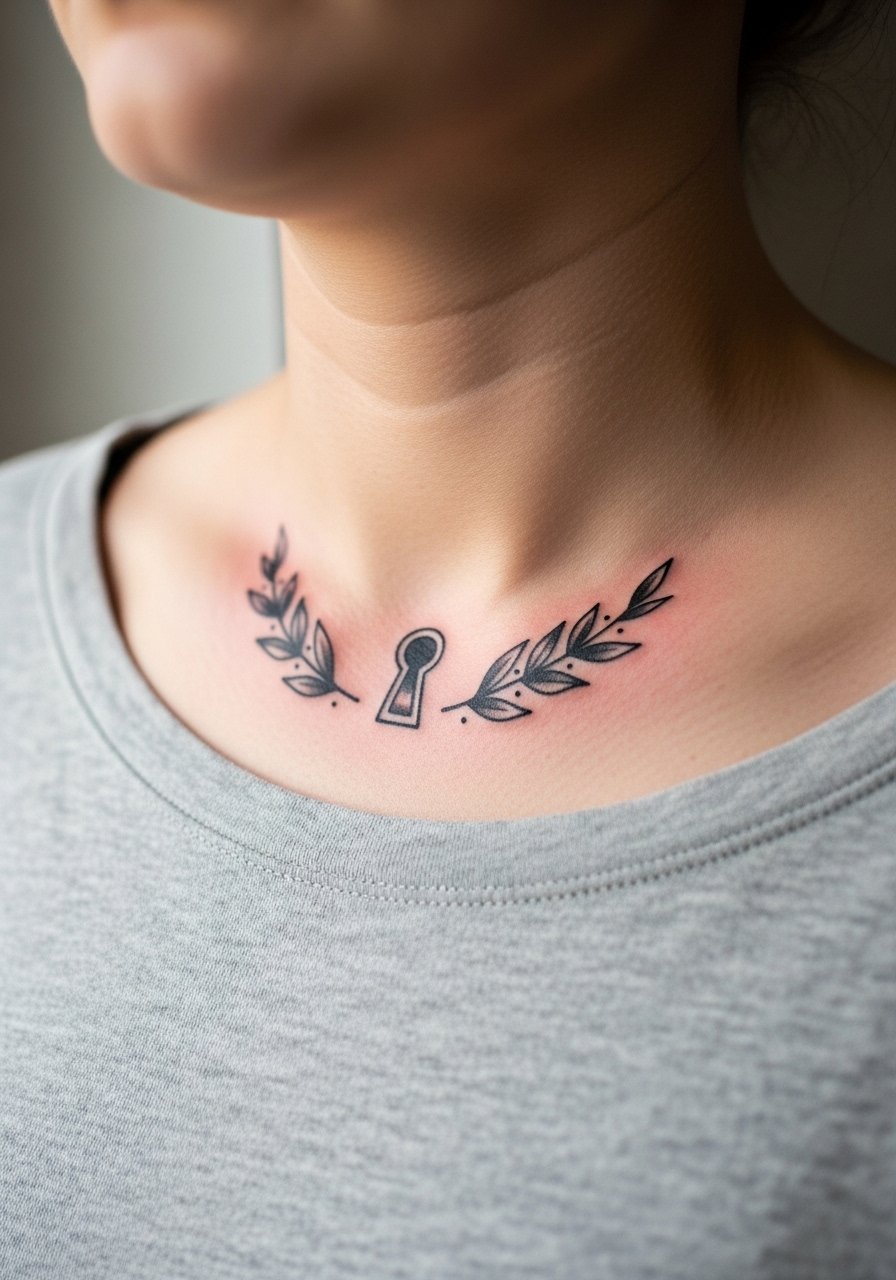
Keyholes etched into floral frames look ornate but hold better when leaves are simplified into larger shapes. Ask for clear separation between the keyhole and foliage. Collarbone skin tension can cause minor blurring if details are too tight. Expect a short session and plan a touch-up if you want the tiny leaves crisp long term. For evenings pair with a delicate pendant that rests above the ink.
25. Tiny Lucky Charm Horseshoe
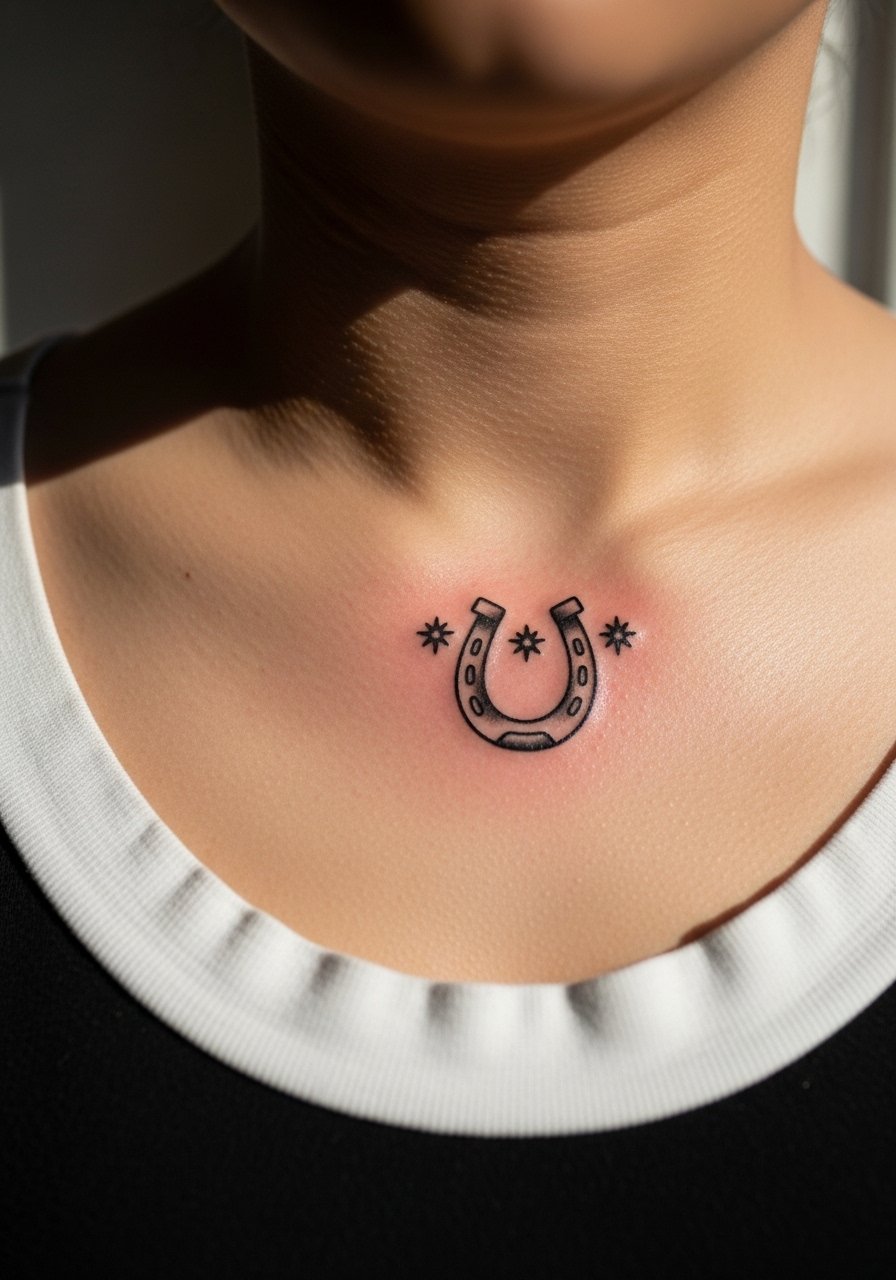
Horseshoes look great in bold black and one accent color. Ask for thicker nails and open interior space so the U-shape remains readable. A mistake is making nail details too fine, which fill in. Collarbone sessions tend to be quick with a manageable pain level. For styling, a layered delicate necklace set can sit above the piece and highlight it without contact.
26. Tiny Star Compass with Ribbon Tail
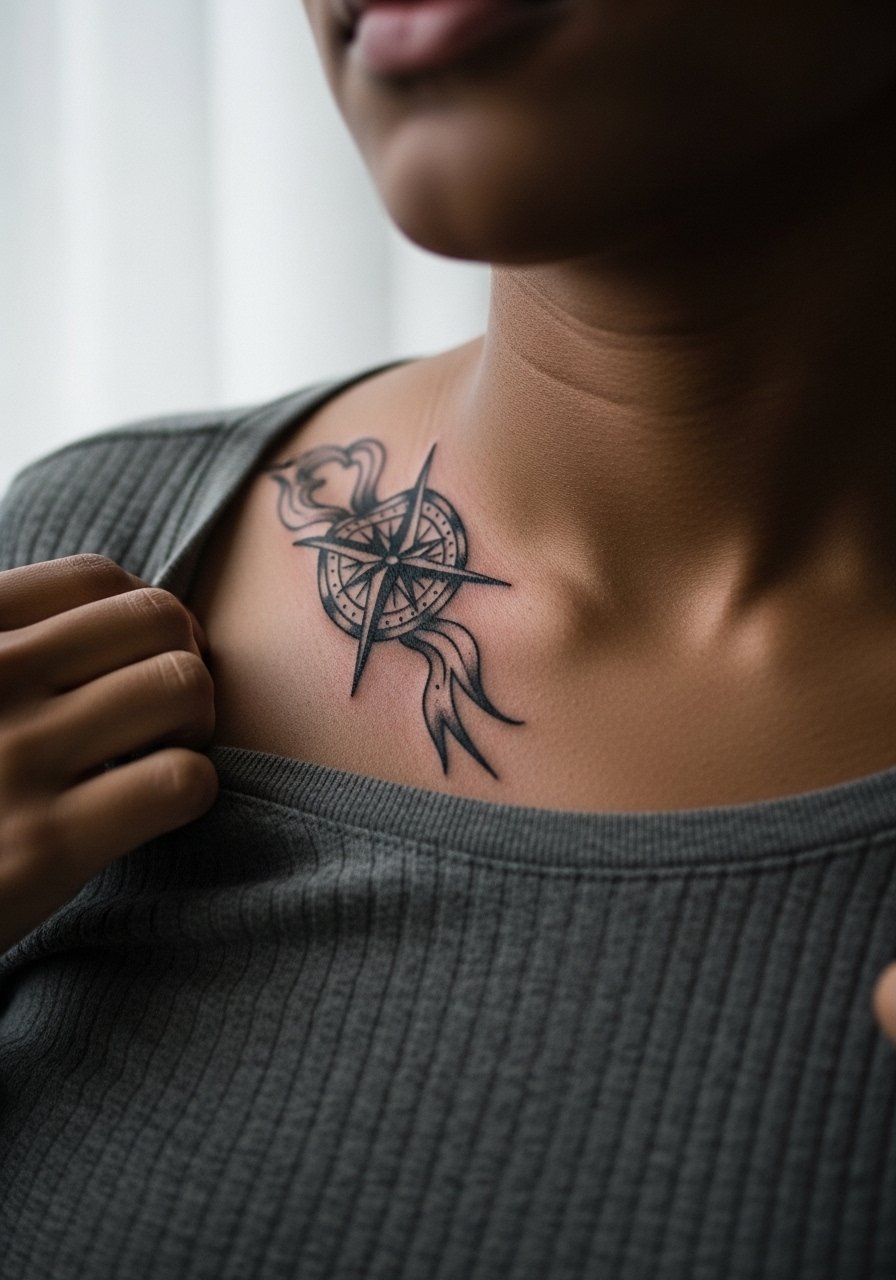
Directional stars pair well with collars because their points spread visually across the clavicle. Ask for thicker star points and an open ribbon tail so movement reads without tiny lines. Common mistake is packing too much script into the tail, which muddies. Expect a short session and occasional touch-up for ribbon edges.
27. Petite Traditional Crown with Tiny Jewels
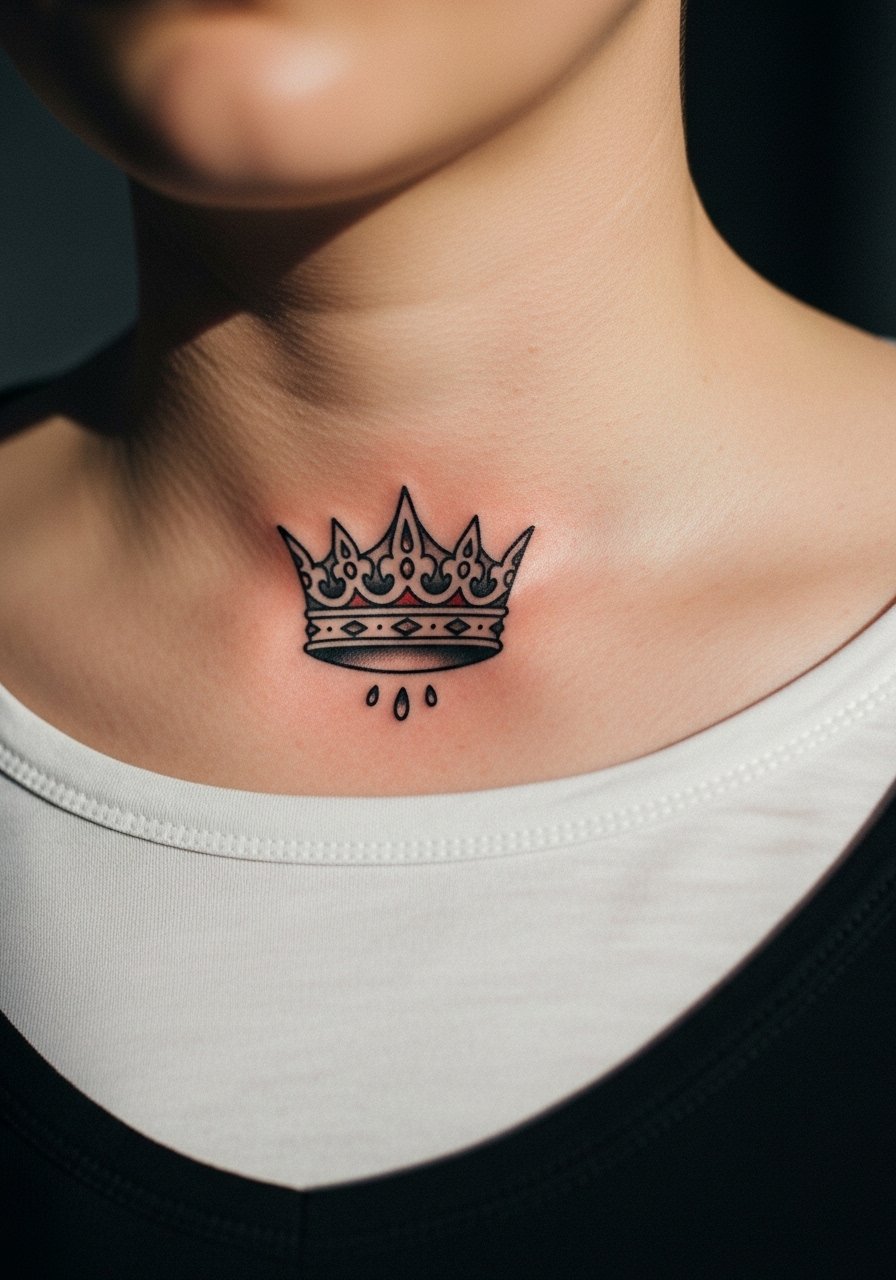
Crowns translated into traditional forms stay bold when jewels are slightly oversized. Tell the artist to render jewels as solid color spots with a thin white dot highlight rather than tiny faceting. Collarbone placement makes straight horizontal motifs prone to slight tilt, so preview the stencil standing. Sessions are brief. For special occasions try an open-back dress with a scooped front that shows the collarbone without necklaces resting on the ink.
Frequently Asked Questions
Q: How long will a tiny American traditional collarbone tattoo stay crisp before needing a touch-up?
A: From what I have seen, small traditional pieces often need touch-ups around year two to four depending on sun exposure and necklace friction. Designs with bold outlines and larger color blocks age better than micro-detailed pieces. Plan for a touch-up if you want the lines as crisp as day one.
Q: Do collarbone tattoos hurt more than shoulder or chest pieces?
A: Yes, the collarbone is often more sensitive when the needle crosses the bone because there is less soft tissue. Most people describe sharp, quick bursts rather than continuous deep pain. Numbing creams can help for short sessions but discuss topical use with your artist first.
Q: Will my necklace ruin the healing of a collarbone tattoo?
A: It depends on how the necklace sits. If a pendant rests directly on fresh ink it can cause friction and irritation. Wear an open-neck top and delay wearing close pendants for the first week. A light chain that sits above the tattoo is a safer styling option while healing.
Q: How should I choose between a very tiny delicate motif and a slightly larger traditional version?
A: I advise sizing up just a touch. Slightly larger petals, stars, or jewels keep negative space and preserve legibility over time. Ask to see healed photos from the artist of similar sized work before booking so you know how theirs ages.
Q: Are girly takeaways on American traditional designs culturally sensitive?
A: Some motifs in traditional tattoo history come from specific maritime or cultural contexts. If a symbol traces to a particular tradition, consider subtle variation or ask your artist for a respectful adaptation. Many people opt for personal motifs that nod to tradition without direct replication.
