
The fine art of Friday the 13th flash is less about trend chasing and more about choices that last. The most-shared designs often look great fresh but tell a different story at year three if sizing, placement, or line weight were wrong from the start. Plan for how the piece will age, how it fits your wardrobe, and what to ask the artist before the needle hits. The first idea below shows a compact superstition-ready motif that travels well from flash sheet to real life.
1. Black Cat Silhouette with Broken Mirror on the Wrist

I recommend this one for wrist-first tattoos because bold silhouettes survive hand washing and tight clothing friction better than micro detail. Tell your artist you want solid linework and slightly thicker internal fills so the silhouette reads at a distance. A common mistake is asking for too-fine whiskers and mirror shards. Those details blur into a gray patch at year two. Expect a 30 to 45 minute single-session flash. For the appointment, wear a sleeveless tank so the artist has clear access, and plan a touch-up window at year two if lines soften.
2. Skull Pierced by the Number 13 on the Outer Forearm
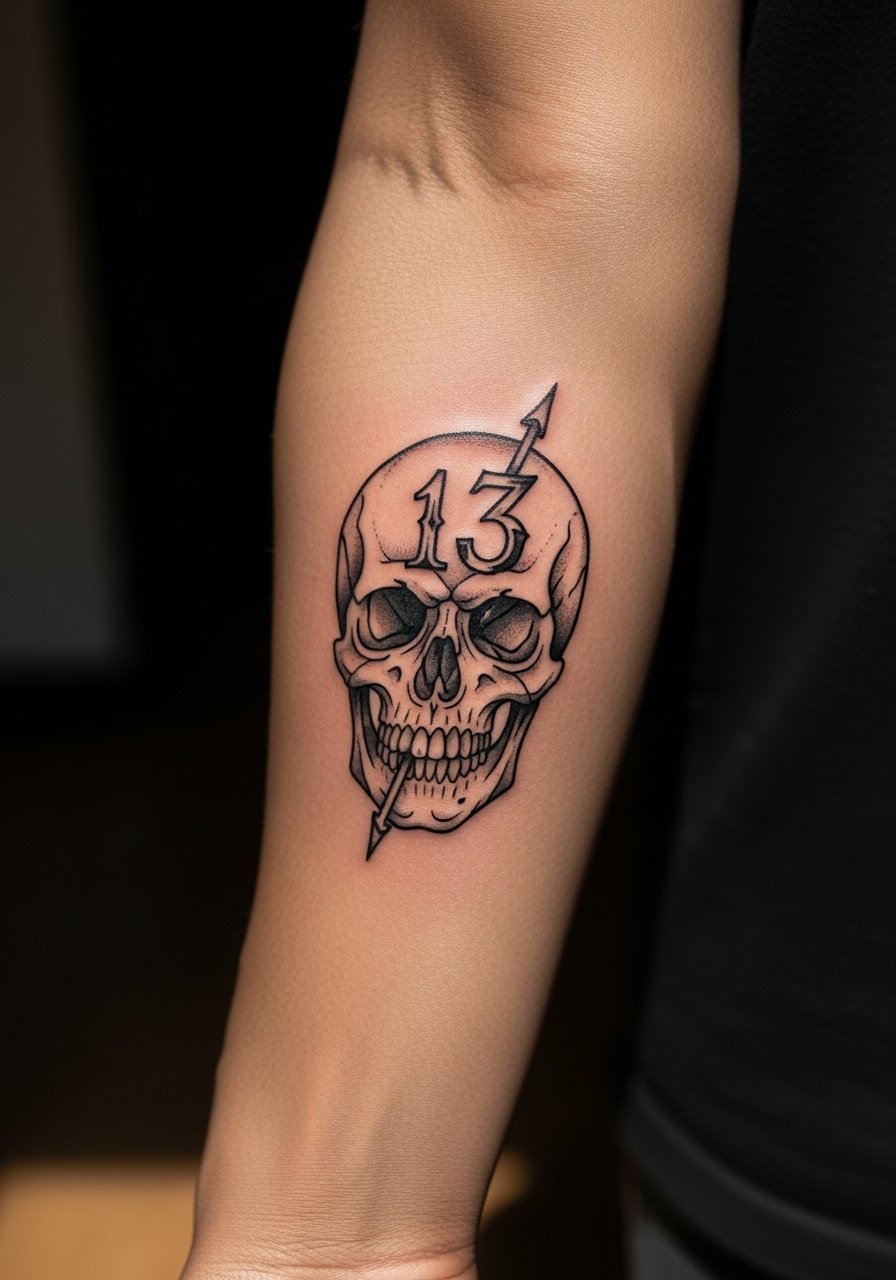
Fair warning, forearm skin holds saturation well but shows every tiny wobble in linework. I suggest a compact skull with the number "13" integrated into the eye socket so the motif reads as one bold unit. During consultation, ask for heavier lineweight on the skull outline and stipple shading inside to avoid blotchy patches later. The session feels like steady vibration with low sharp stabs on the forearm. A common regret is trying to cram micro shading into the skull at flash size. That kind of detail ages into gray within a few years. Expect one session and a likely touch-up at year two.
3. Witch Hand Holding a Black Candle on the Inner Bicep
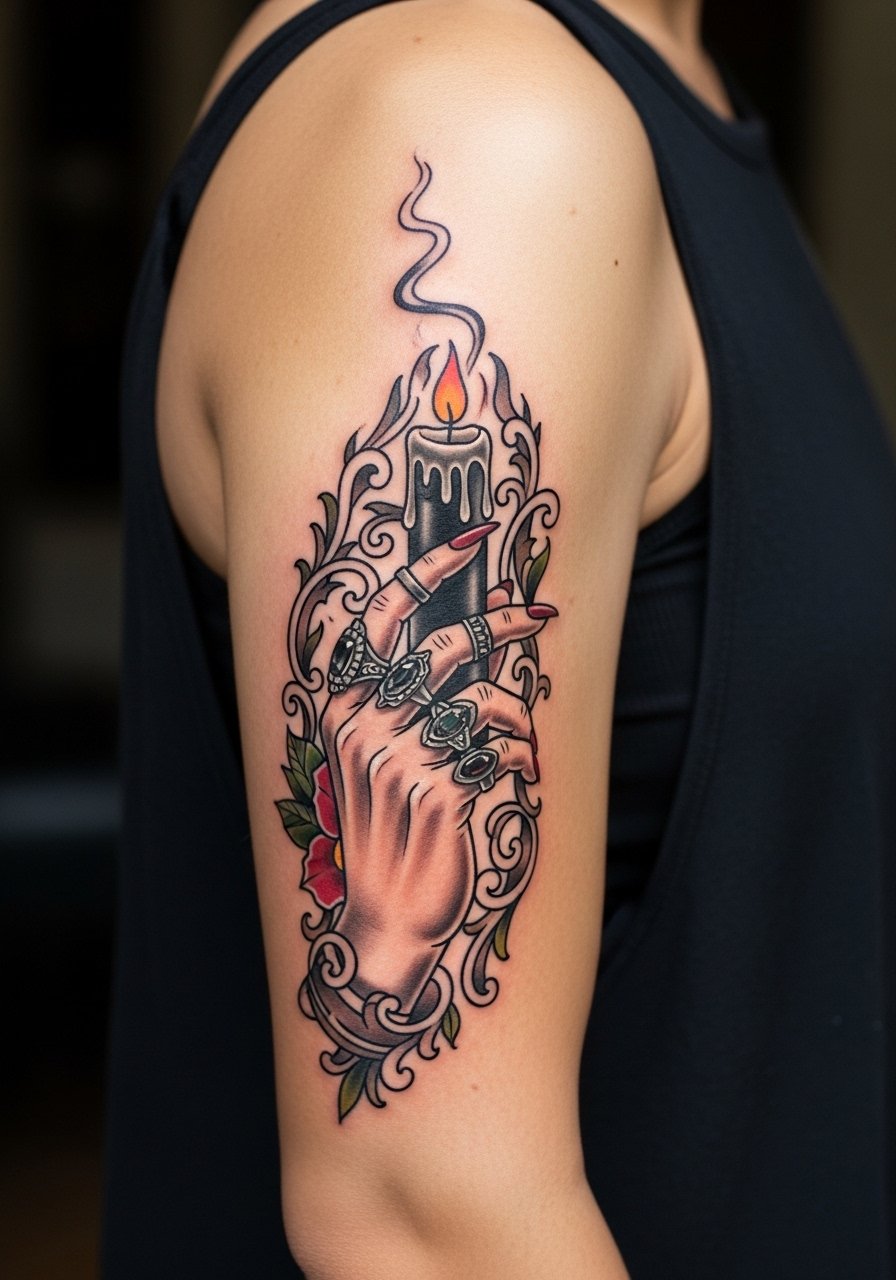
Inner bicep work is tender because the skin is thinner and moves with the arm. I prefer neo-traditional linework with gray wash around the candle to give depth without overworking the area. Tell the artist you want a compact composition that avoids dense fine shading near the armpit where blowout risk rises. Session pain rates around 6 out of 10 for most people. The common mistake is asking for heavy dot work too close to the armpit. That can migrate and look muddy at year three. Wear a tank top so the artist can angle the arm easily.
4. Number 13 in Gothic Script with Dagger on the Collarbone

Collarbone pieces read as jewelry and react to movement and clothing. Ask for slightly bolder script than the reference so the numerals do not feather over time. The dagger should be a simple silhouette with a dark spine for longevity. A mistake I see is choosing ultra-fine script that disappears when layered under necklaces. For showing off, pair with an off shoulder blouse that frames the area without rubbing the healing skin. Pain is moderate because the bone is close, and a touch-up is common at year two for crispness.
5. Broken Ladder with Bats on the Calf

Calf work is forgiving for longer compositions and stays legible for years with strong outlines and even saturation. For this motif, keep bats bold and slightly larger than flash art to prevent wing detail loss after healing. Ask the artist for a classic black outline and a soft gray wash behind the ladder for depth. The session is comfortable for most people who can sit or prop the leg. A mistake is placing too many tiny bats with fine wings. Those lines tend to merge. Pair with rolled bootcut jeans or shorts to show it off during summer.
6. Raven Perched on a Friday the 13th Banner on the Shoulder
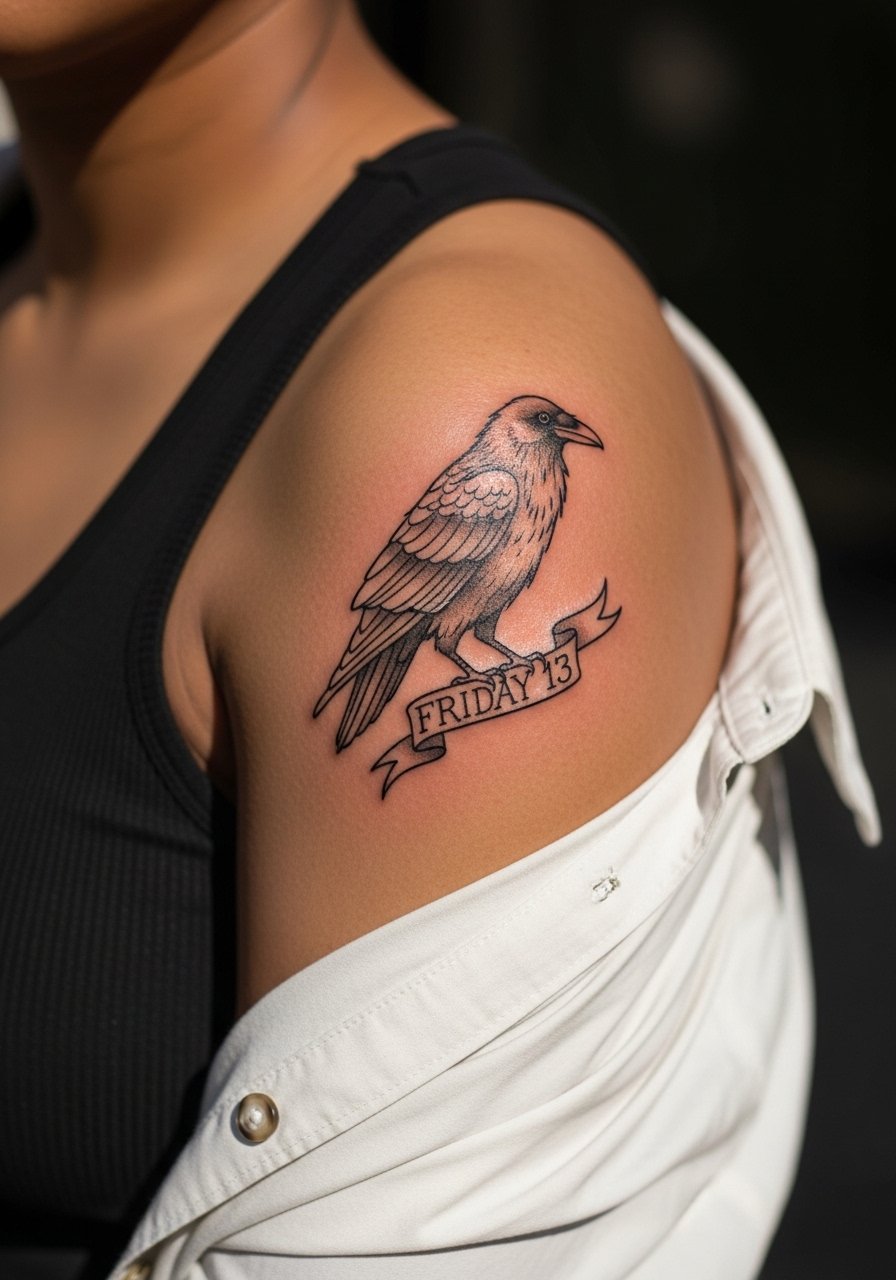
Shoulder pieces age well because the skin is relatively stable and the area gets less friction from daily clothing. For a raven and banner, request crisp linework for the banner text and denser black for the raven's body to maintain contrast. The main mistake is requesting tiny feather detail that softens into gray over time. Session time is short for a small shoulder piece. For the session, wear a loose button-down shirt you can pull aside so access is clean. Expect a minor touch-up option if the banner letters blur.
Pre-Session Essentials
The wrist, calf, and shoulder pieces above all benefit from small prep items that smooth the day and the first few healing days.
-
Stencil transfer paper kit. Lets you preview the linework on skin before committing, which is helpful for tight banner text and small numerals in ideas above.
-
Topical numbing cream. Applied per product directions it can take the edge off sensitive zones like the inner bicep and collarbone.
-
Thin protective film roll. Keeps wrist and calf tattoos clean during the first week of friction from clothing and showers.
-
Fragrance-free gentle body wash. Cleanses healing skin without irritating the linework that small blackwork designs depend on.
-
Aquaphor healing ointment. A thin layer for the initial days helps keep fine line and blackwork pieces from drying and scabbing excessively.
7. Ouija Planchette with 13 Eyes on the Inner Wrist
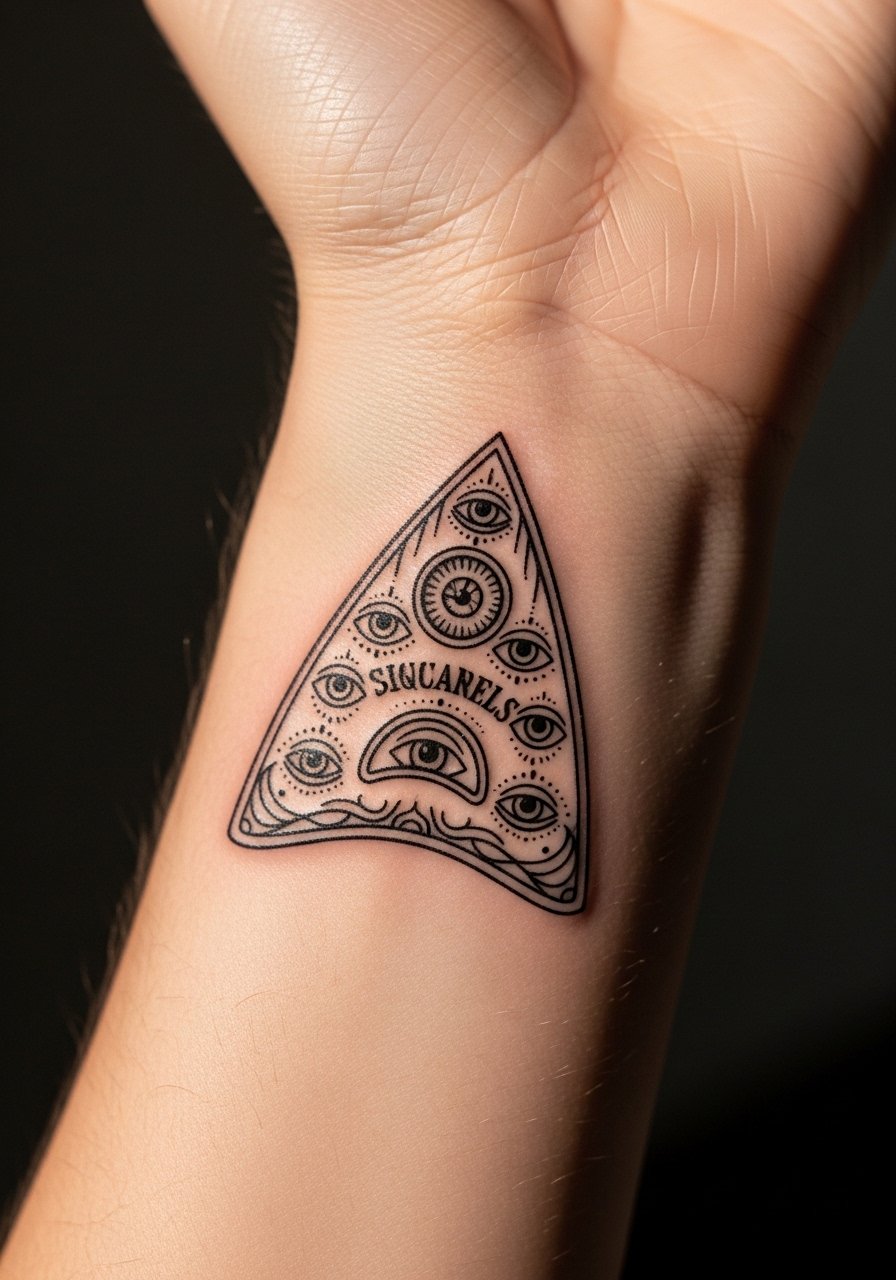
Wrist micro pieces live under a lot of motion and washing. Pick bold outlines for the planchette and keep eye detailing simple. Tell the artist you want slightly thicker outer lines so the tiny features do not spread. The common mistake is asking for micro dots that the wrist will rub away during daily life. Session feel is sharp but quick. For showing it off, stack a thin chain bracelet on the opposite wrist rather than wearing anything that will rub the new tattoo. Plan a touch-up at the six to twelve month mark for tiny details.
8. Black Cat Crossing Under a Ladder on the Ankle
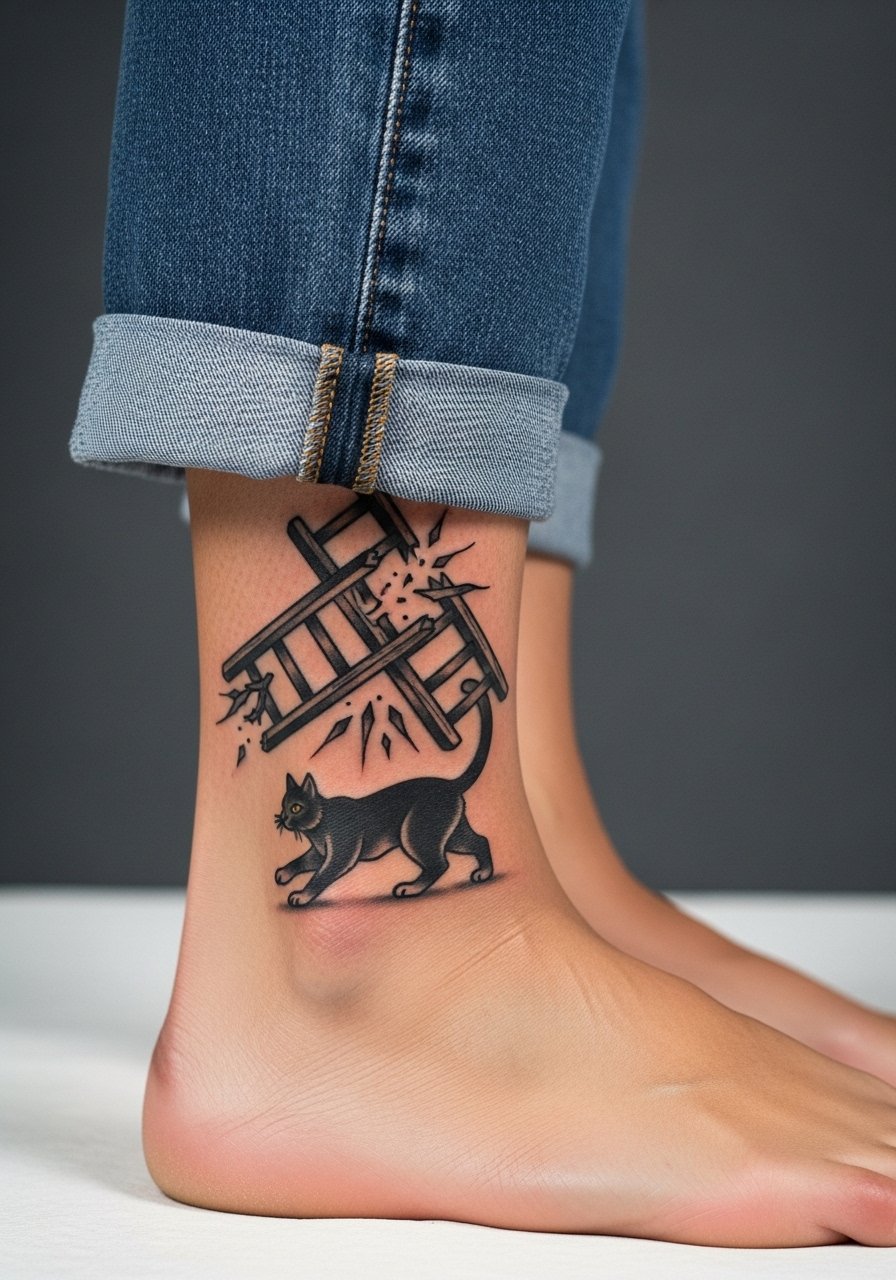
Ankle tattoos face constant friction from socks and shoes so bold linework is essential. Ask for strong outlines and reduced micro shading near the foot. The biggest regret is requesting very small internal shading. That disappears faster than the outline. For the session, wear cuffed ankle jeans or shorts so the artist can access the area without constraint. Expect the tattoo to need a touch-up sooner than forearm pieces because of movement and shoe friction.
9. Poison Bottle Labeled Friday 13th on the Ribcage

Ribcage tattoos are high on the pain chart and they stretch with breathing. The key is to ask for a compact silhouette with bold outlines and minimal tight shading. Artists disagree on how fine to go on ribs. One camp warns that thin lines blur quickly with torso movement. The other camp says careful needle depth can hold fine work. Ask your artist where they stand before booking. For the session, wear a cropped top you can lift slightly and plan for a longer rest between lines. Touch-ups are common at year two for ribcage pieces.
10. Cursed Dice Showing 13 on the Outer Thigh
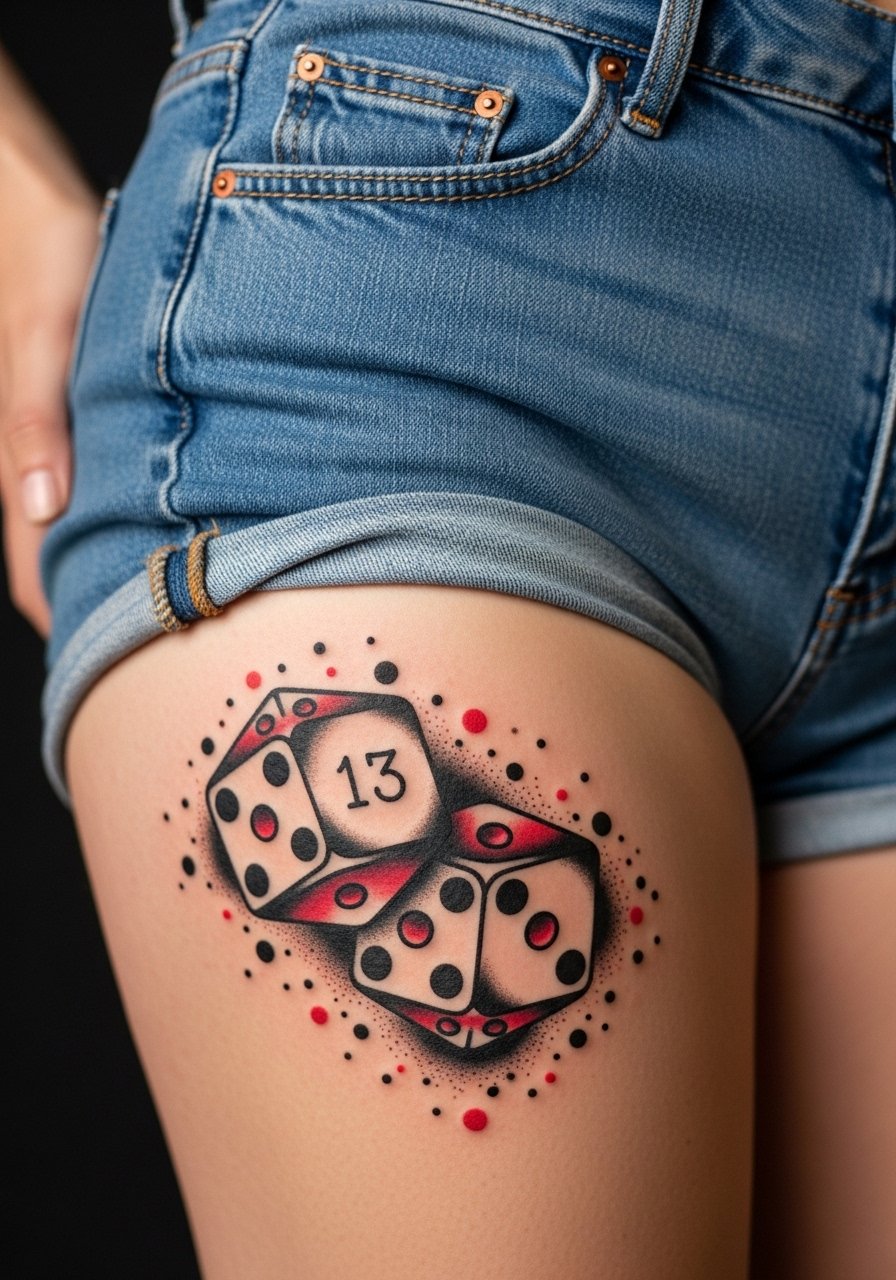
Outer thigh is forgiving for saturation and larger shapes so this is a good place for the dice motif with color accents. Request solid black outlines and resist tiny dotwork inside the pips. The common mistake is making the dice too small for the area. When sized properly the piece reads for years and resists early fading. For the session, wear high waist shorts so the artist can access the outer thigh without discomfort. Expect a comfortable session and a possible color boost at year three.
11. Witch Broom with 13 Stars on the Neck
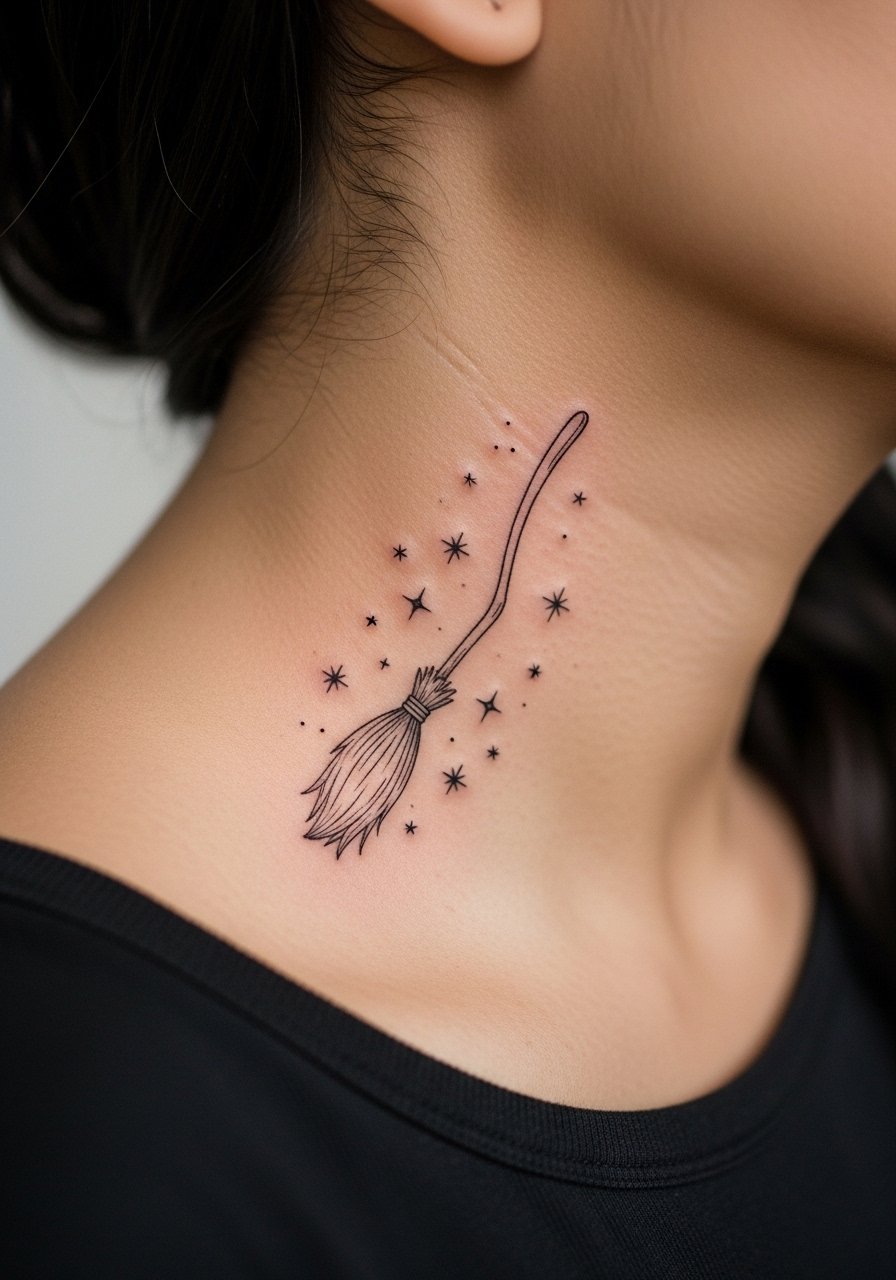
Neck tattoos are visible and can affect job considerations. Keep this broom micro and use open spacing so the lines do not merge on thinner neck skin. Ask for slightly heavier lineweight than your reference for longevity. The mistake is cramming too many stars into a tight area. For the session, wear a wide-neck shirt you can shift without full exposure. Expect quicker fading than the forearm, with touch-ups as the norm.
12. 13th Hour Clock with Cracks and Roman Numerals on the Inner Forearm
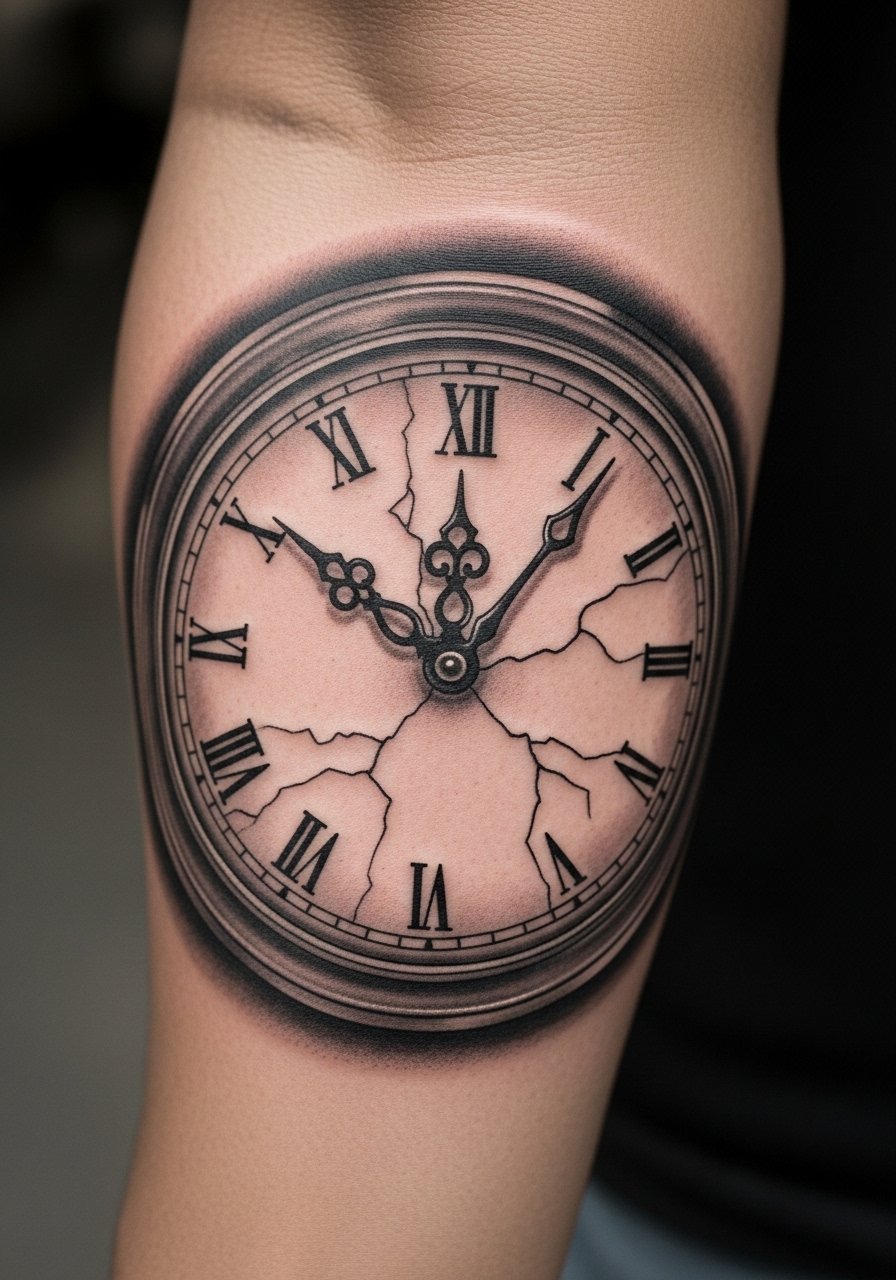
Inner forearm is a safe bet for realism and numberwork because the skin is stable and shows detail well. Tell the artist you want shallow but consistent shading and bold minute markers so the cracks appear intentional rather than blotchy. A common error is over-detailing the cracks at flash size which leads to early softening. Session sensations are steady vibration with low pain. For showing it off, roll a linen button down shirt sleeve to mid-forearm for casual contrast.
13. Poetic Raven with a Mini Banner on the Collarbone
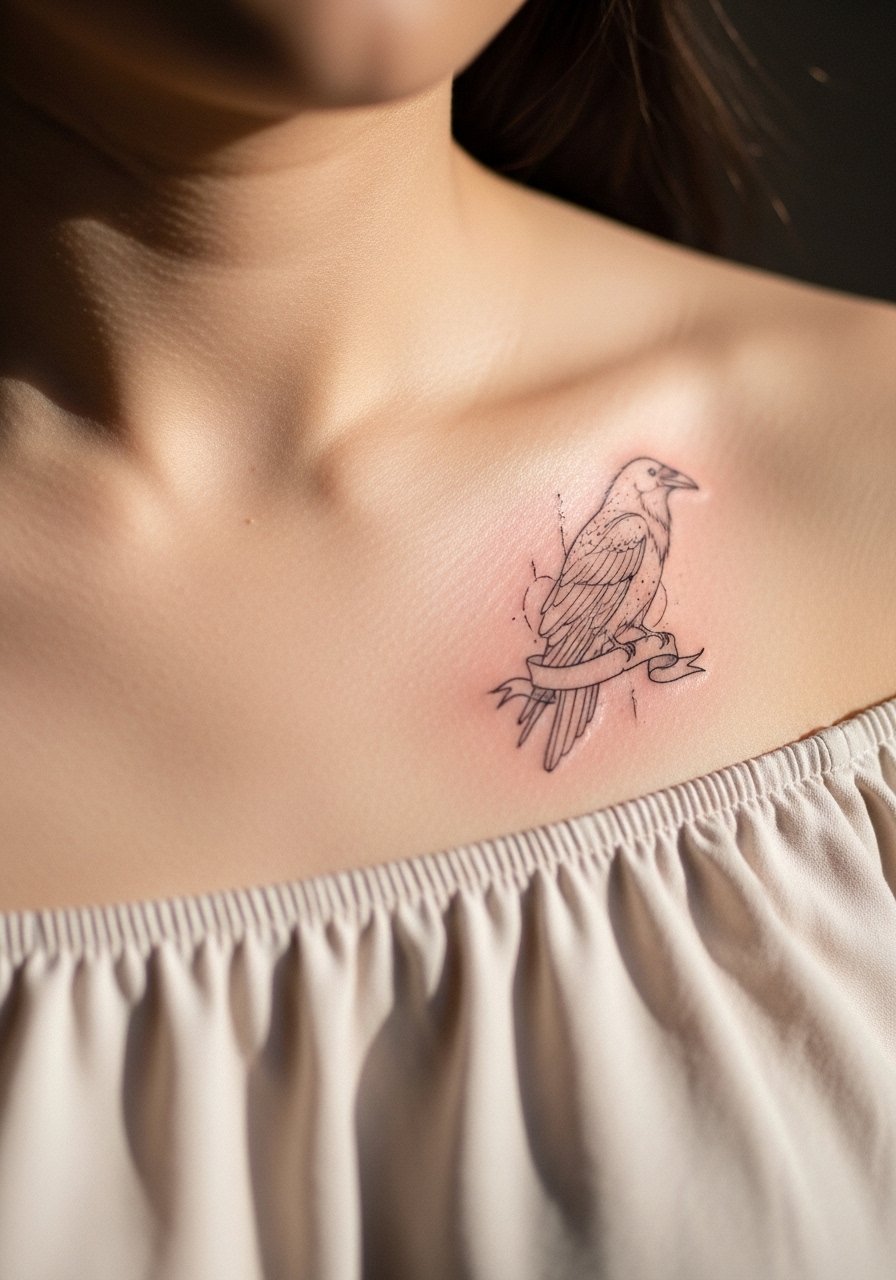
Collarbone motifs demand thought about necklace placement and straps so the banner is not obscured. Choose slightly wider linework for the banner text and a denser black for the raven's body to keep contrast against necklaces. A mistake is placing the banner too low where it competes with jewelry. For styling, tuck a layered chain necklace under the banner so the jewelry complements rather than covers the script. Expect moderate pain and a touch-up for crispness after healing.
14. Minimalist Ladder Keyhole Combo on the Ribcage
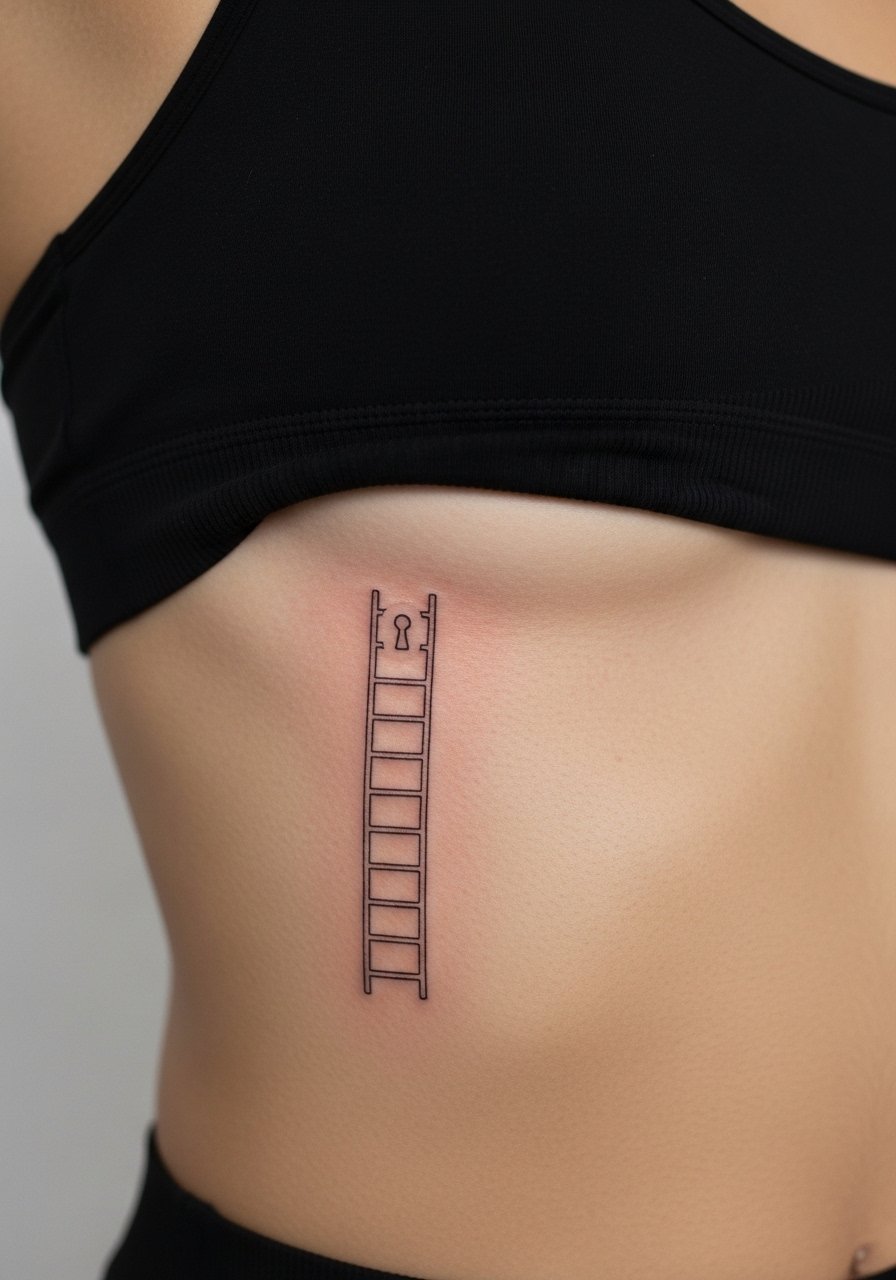
Ribcage minimalism can be striking if spaced correctly. Request more spacing between ladder rungs and a slightly thicker keyhole outline to prevent merging with torso movement. Artists are split on fine line there. One side says rib lines blur quickly. The other side maintains that small pieces hold with careful depth control. Bring the debate up in consultation. For the session, wear a fitted sports bra so access is private and practical.
15. Micro-Realism Poison Vial on the Sternum
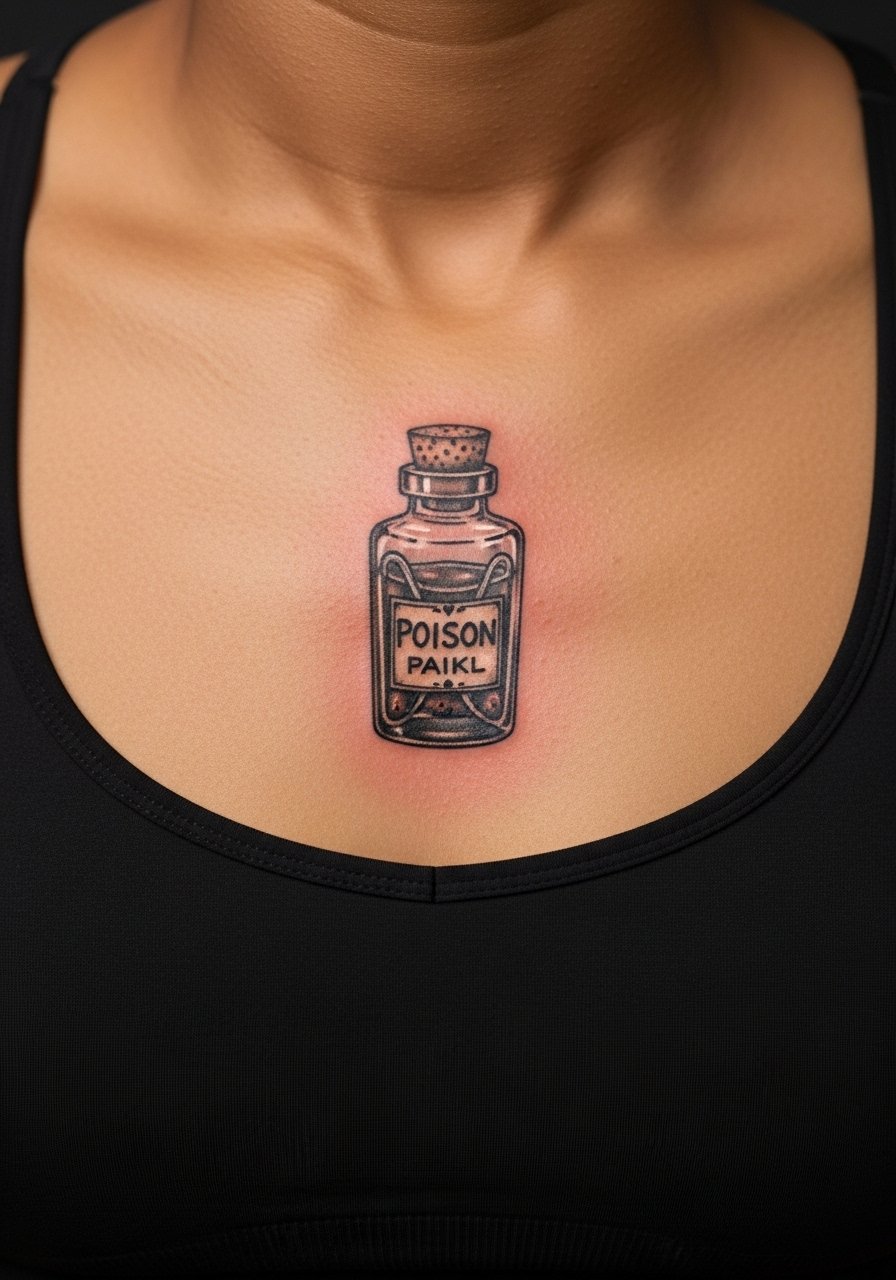
Sternum placements are sensitive and need an artist comfortable with the area. I recommend keeping the vial compact with bold outlines and minimal tiny shading close to the body line. The mistake is asking for extreme micro detail there. That detail can fade or distort because of skin movement. For the session, wear a fitted sports bra so the tattoo is exposed only where needed. Expect higher pain and routine touch-ups.
16. Cursed Coin with 13 Engraving on the Calf

Calf coins age well because of even skin and occasional sun coverage. Ask for a dark rim and shallow internal engraving lines so the "13" stays readable. The common mistake is tiny engraving strokes that melt into the wash. Session time is comfortable and usually under an hour. For showing off, roll bootcut jeans or wear shorts so the coin draws attention without crowding.
17. Ouija Board Fragment on the Wrist with Subtle Dot Work
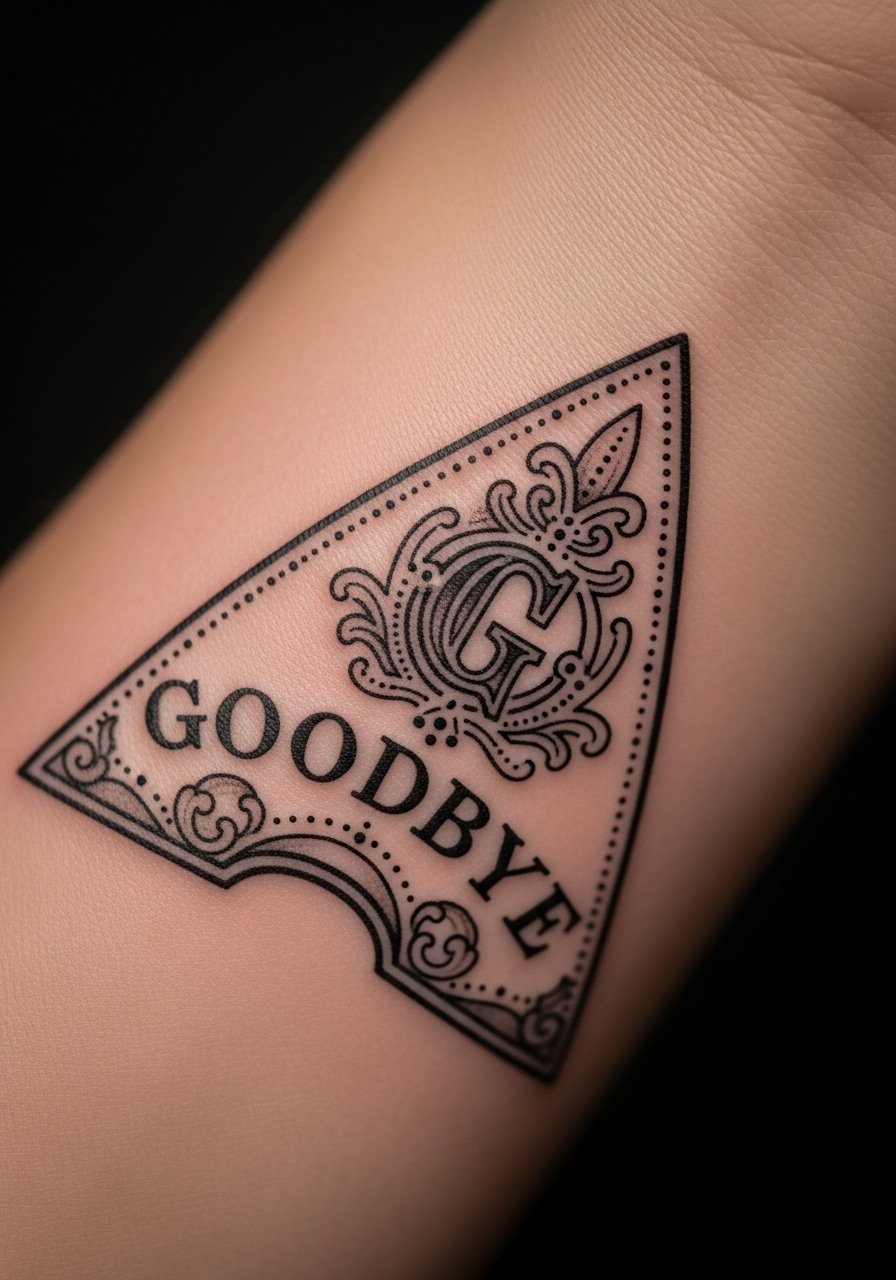
Wrist fragments are delicate and face a lot of movement. I advise requesting dot work that is airy rather than dense to prevent early smudging. Tell the artist to prioritize clear borders over micro fills. A mistake is stacking too much stippling in a tiny area. For the session, choose a rolled sleeve tee so access is clean and you keep the wrist free of jewelry for the first week. Touch-ups are normal for dot work wrist pieces.
18. Black Cat in Motion over a Broken Mirror on the Ankle

A dynamic cat pose gives storytelling without tiny detail. On the ankle, keep motion lines broad so the silhouette remains readable despite shoe friction. The common mistake is adding thin tail flicks and whiskers that vanish with daily wear. For showing off, pair with cutout ankle boots or low sandals that reveal the design. Expect a short session and a likely touch-up due to movement.
19. Dagger Piercing the Number 13 on the Shoulder Blade

Shoulder blade work heals well and is less prone to blowout. Request a strong spine line on the dagger and denser black at points of contact to preserve form. A mistake is making the dagger too narrow. Narrow shafts can blur into the background. For the session, wear a loose button-down shirt you can pull aside to expose the blade area. Plan for a touch-up if any lines soften.
20. Thirteen-Eye Mandala Micro on the Nape
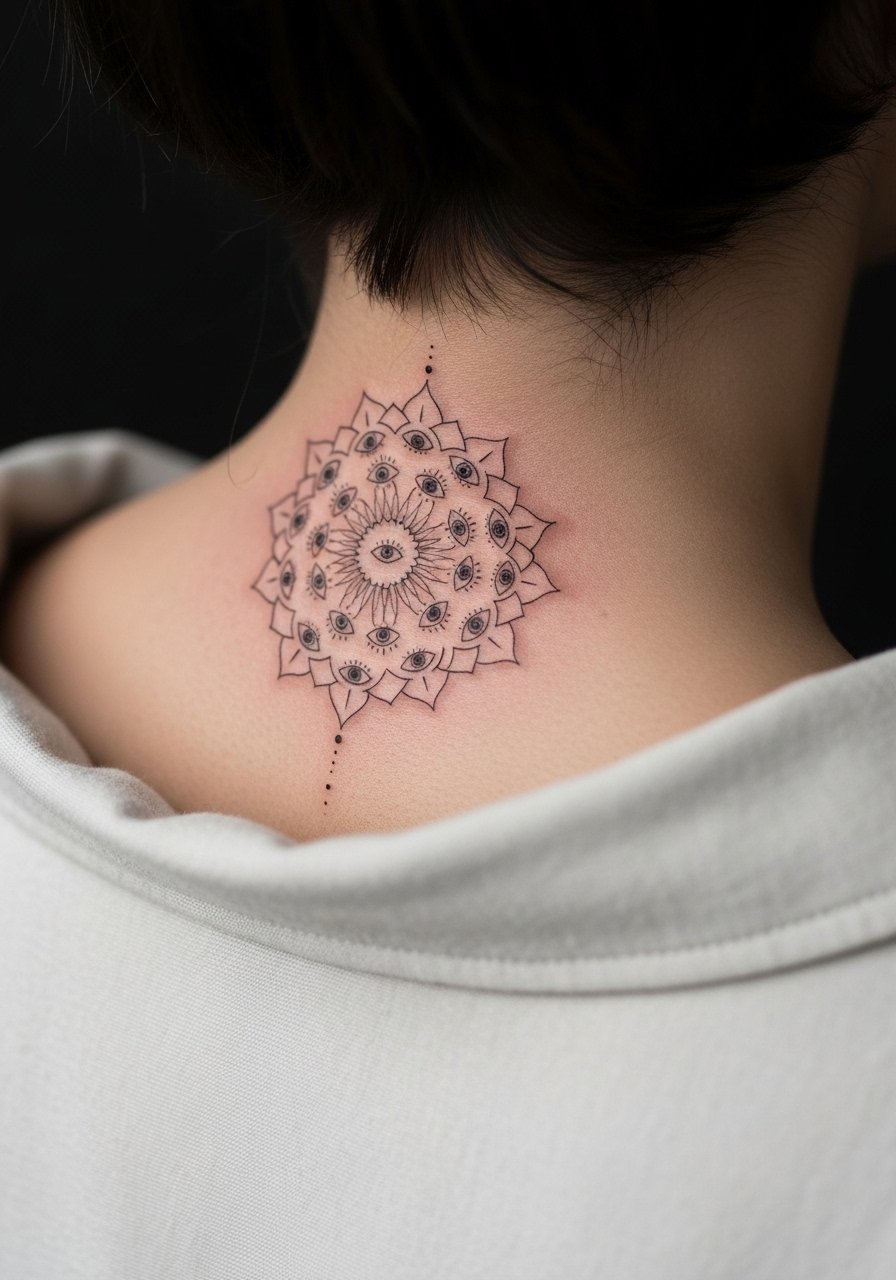
Nape tattoos are intimate and show in pulled hair or collars. For a mandala, ask for open spacing between eye motifs and avoid dense center stippling that collapses with movement. A common error is packing too many concentric rings into a micro piece. For the session, wear a wide-neck shirt so the artist can shift the collar without full exposure. Expect minimal pain but routine touch-ups for crispness.
21. Blackwork Skull with Subtle Dot Shading on the Forearm
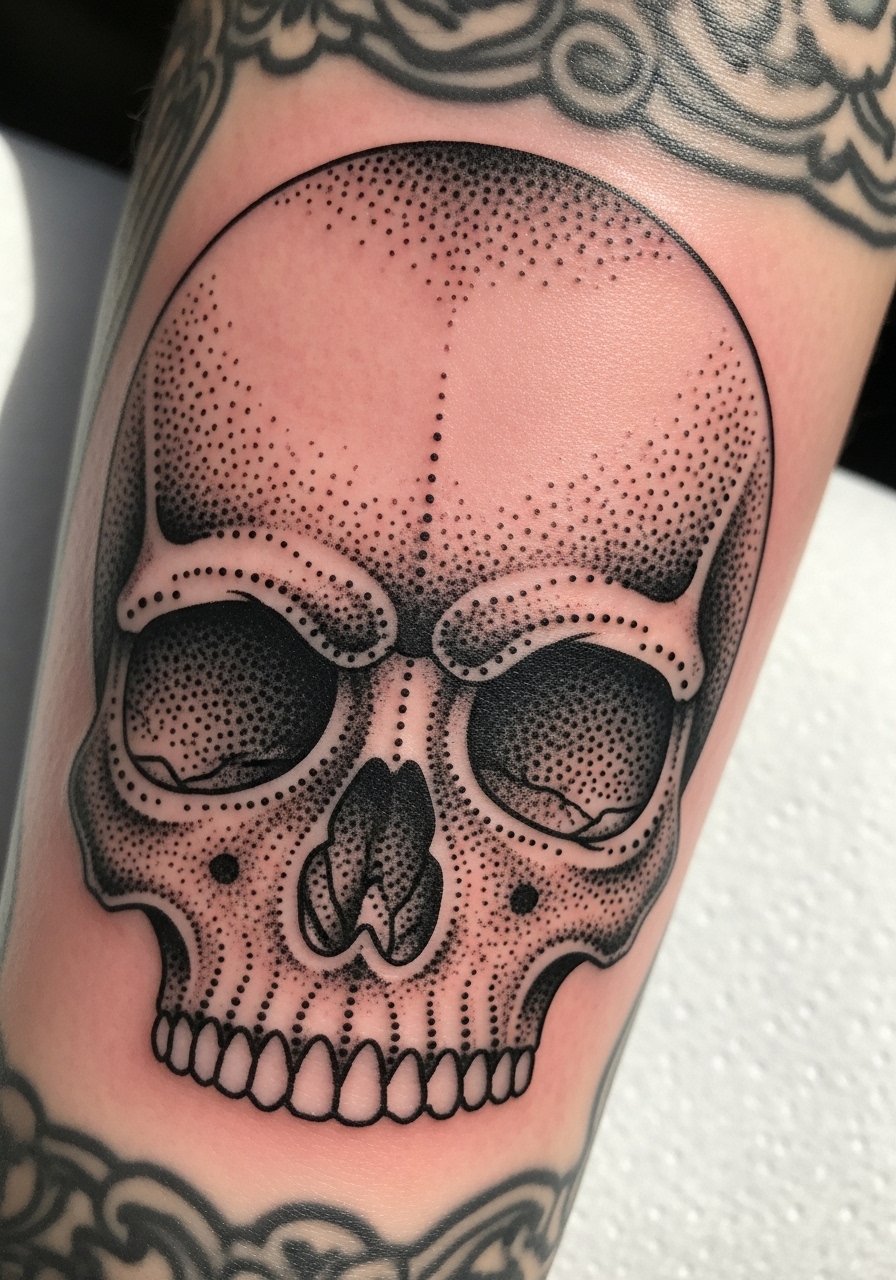
Forearm blackwork is resilient and reads strong. Ask for bold contours and light stipple shading for texture that will age as a pleasing patina instead of a gray patch. The mistake is asking for overly dense dot fills that create a block of gray later. For the session, wear a rolled sleeve tee for easy access and comfort. Expect low pain and a possible touch-up after a year to restore deep blacks.
22. Poison Label Tiny Script on the Collarbone Curve

Tiny script on collarbone needs breathing room and a slightly bolder serif to stay clear. Tell the artist you want spacing between letters and a thicker baseline to prevent feathering under necklace chains. A common regret is requesting ultra-fine script that the collarbone compresses. For showing off, pair with an off shoulder blouse so the label sits in the open. Pain rises near bone but the result photographs well.
23. Broken Hourglass with 13 Sand Grains on the Ribcage
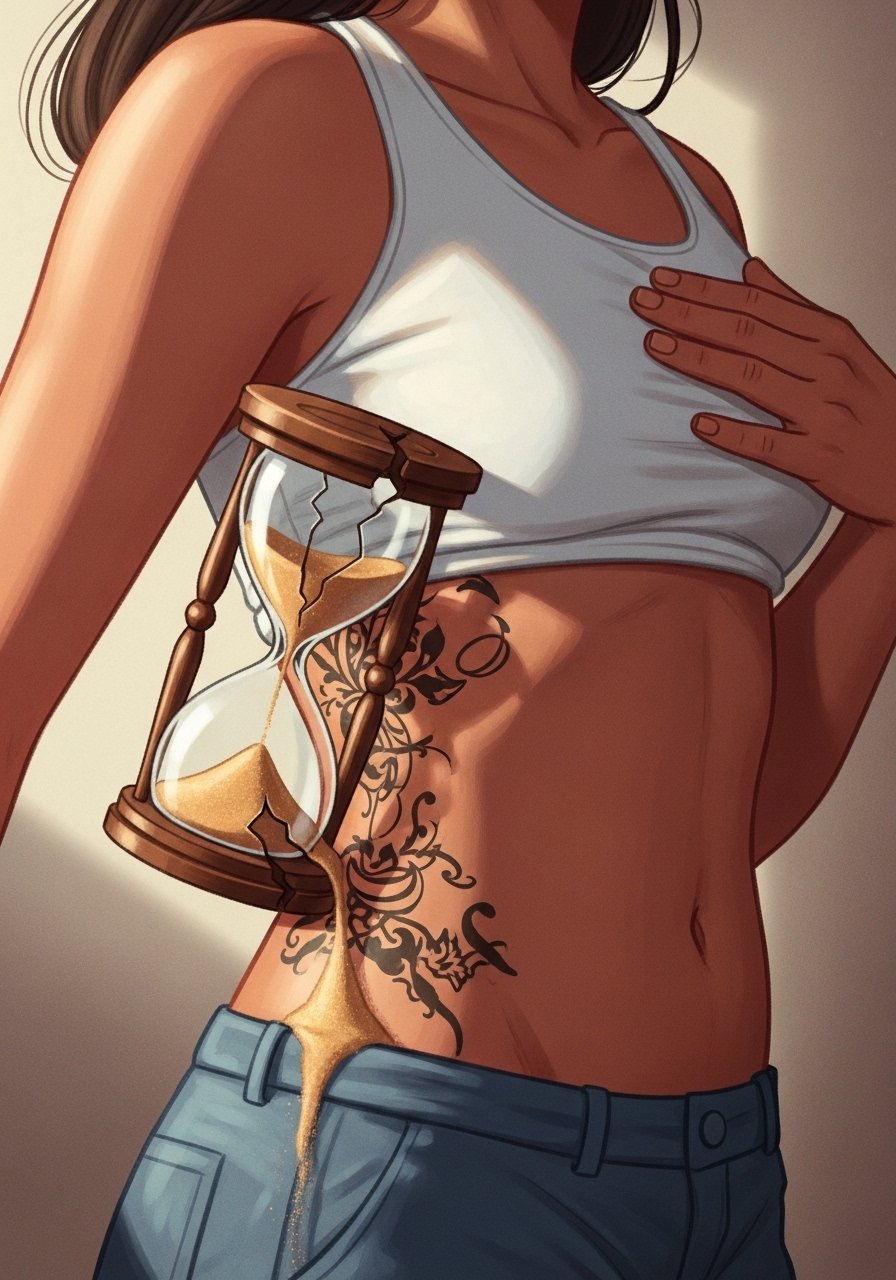
Ribcage hourglasses need clearer separation between islands of detail. Ask for defined edges and subtle wash rather than dense tiny grains. A mistake is compressing many micro grains into a tight hourglass which blurs quickly with torso movement. For the session, wear a cropped top so access is modest and efficient. Expect a higher pain score and follow-up touch-ups for minute elements.
24. Cursed Dice Cluster on the Outer Thigh with Red Pips
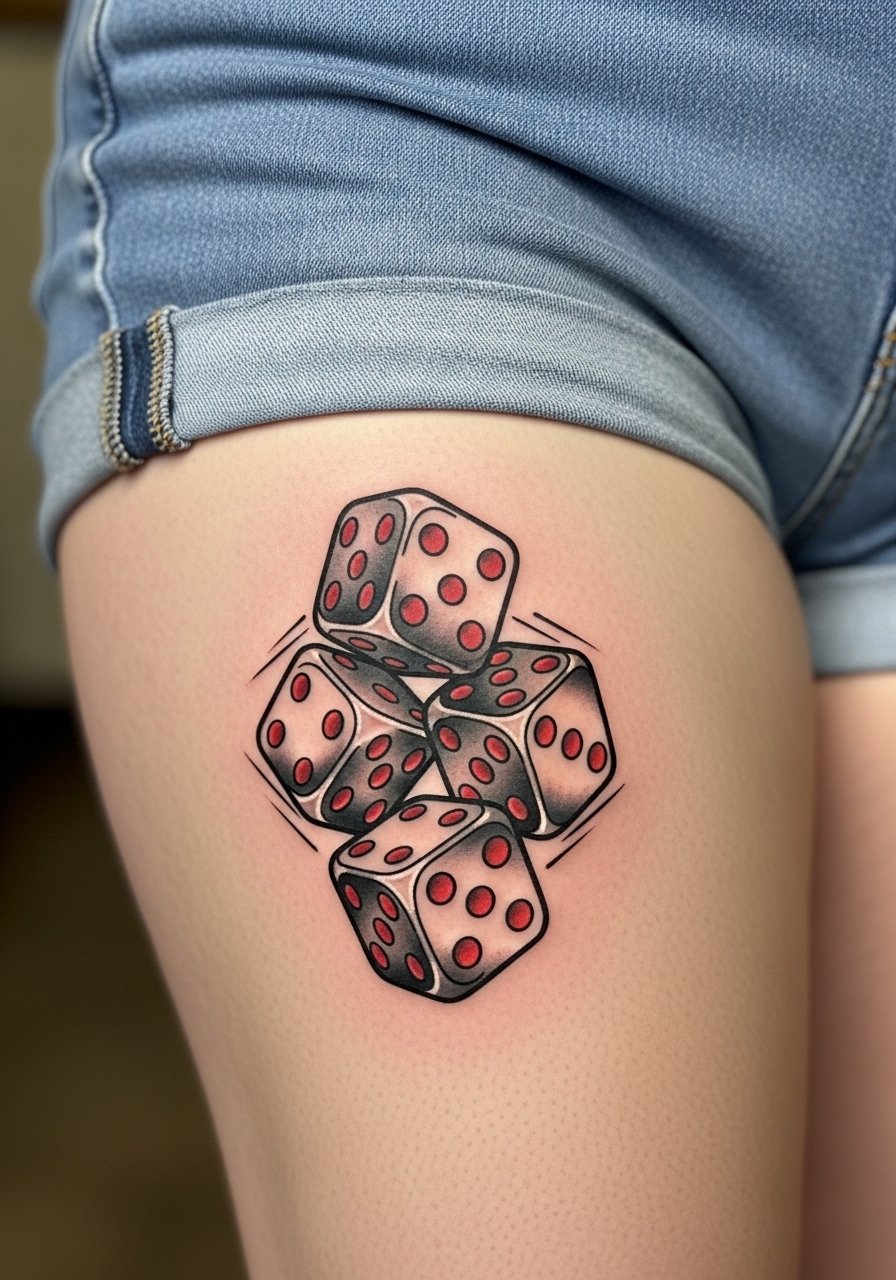
Thigh clusters allow for contrast and small color work like red pips that still read after years. Request bold black outlines and saturated dot coloring for the pips so they do not fade into mere spots. A mistake is using dilute red that looks brown after healing. For the session, wear high waist shorts for easy access and comfort. Expect a comfortable session and a color boost option after a couple of years.
25. Minimalist Witch Broom Behind the Ear Area on the Neck
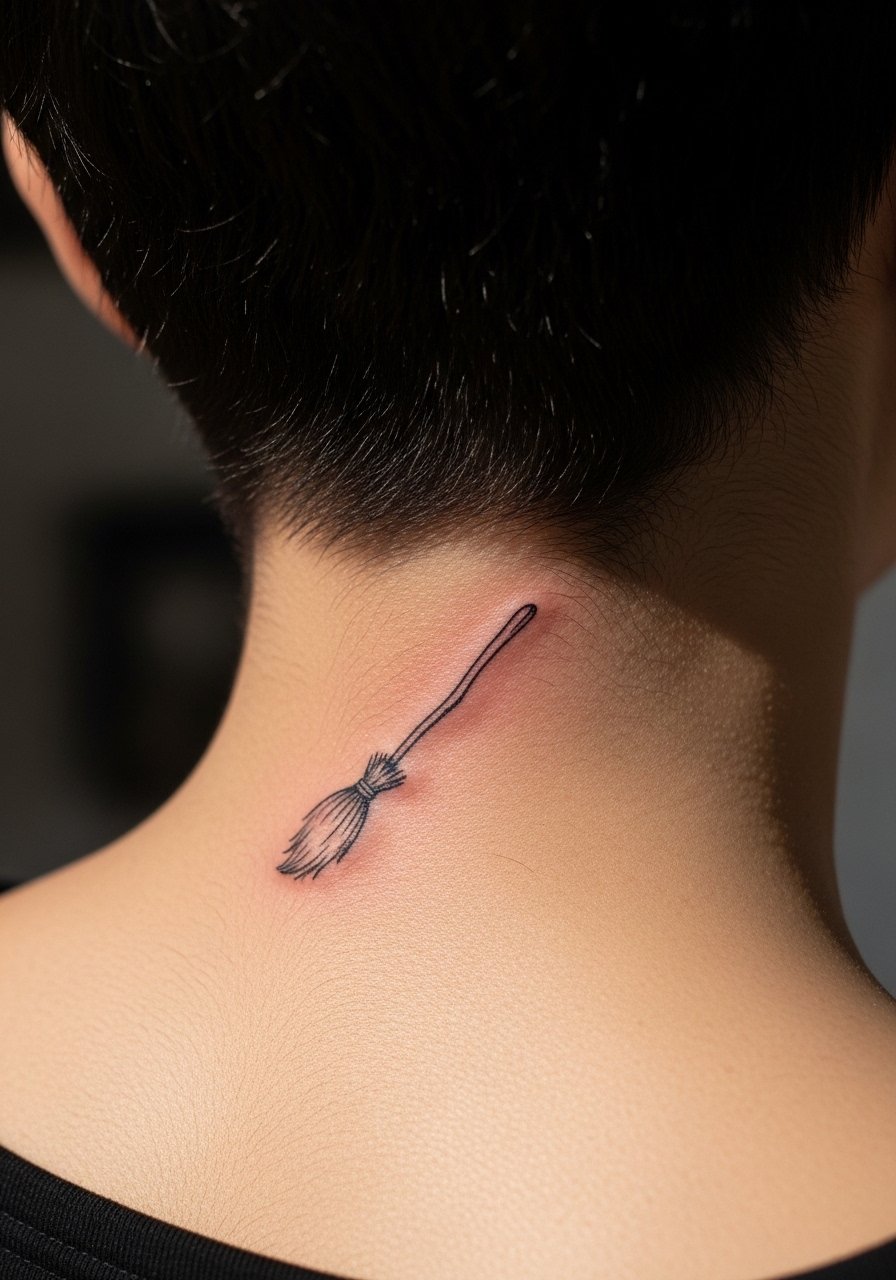
Small motifs behind the ear need careful placement under hairline and collar movement. Keep the broom minimal with clean spacing between bristles and a solid handle. The mistake is over-detailing a tiny area where the hair and collar rub. For the session, have hair tied up so the artist can position the stencil accurately. Expect modest pain and potential touch-ups at the one to two year mark.
26. Raven Silhouette with a Small Banner on the Calf

Calf silhouettes hold bold shapes well and photograph cleanly. I suggest a heavy raven fill and a simple banner with block letters for longevity. A common mistake is adding fine feather detail that fades into gray. For showing off, roll bootcut jeans or wear shorts to keep attention on the silhouette without competing patterns. Expect one session and a touch-up if the black softens.
27. Witch Hand Tarot Card with the Number 13 on the Upper Arm
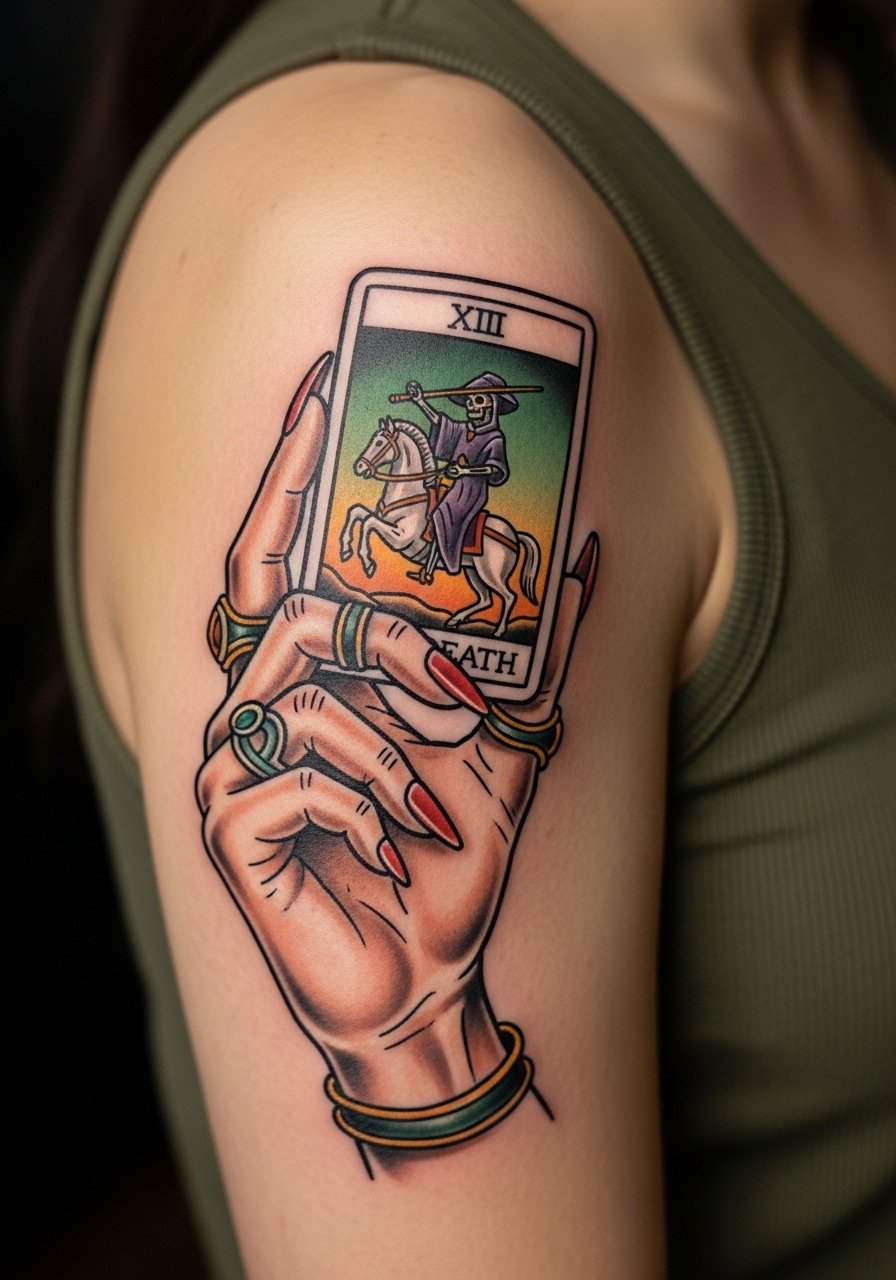
Upper arm tarot cards are classic and sit well under sleeves when needed. Ask for defined borders and a small muted background wash to keep the card readable for years. The mistake is cramming too many background symbols into a small card which causes a muddled look later. For the session, wear a sleeveless olive tank so the artist has full access and the fabric does not rub the fresh ink. Expect low to moderate pain and a routine touch-up for line crispness.
Frequently Asked Questions
Q: Will tiny Friday the 13th numerals blur faster on collarbone and ribs than on forearms?
A: Yes, finer numerals on collarbone and ribs are more likely to blur because those areas sit closer to bone and move with breathing. If you want numerals to stay legible, ask for slightly bolder strokes and more spacing. For ribs you can also ask about touch-up plans during booking.
Q: Can I customize flash on the big $13 flash day without upsetting the shop?
A: Shops split into two camps here. One camp expects the flash to be taken as-is to keep lines moving. The other camp allows small tweaks that do not change layout. Message the shop ahead and ask their policy so you arrive with clear expectations and avoid friction on the day.
Q: How long should I expect to wait for a $13 flash versus booking a reserved guest spot?
A: Wait times vary widely. Walk-in flash events can have long lines and a higher chance of rushed sessions. Booking a reserved guest spot or showing up early for a quieter shop will usually get you more time and a neater result. From what I have seen, planning ahead saves hours and reduces the need for touch-ups later.
Q: If I want a wrist black cat but worry about fading, what should I ask the artist?
A: Ask for solid silhouette fills and slightly thicker outer linework rather than ultra-fine detail. Also ask about touch-up policies and how they handle flash day work. For the session, avoid rings and bracelets on that wrist during healing.
Q: Are there clothing tips to protect new collarbone and sternum tattoos during healing?
A: Yes. For collarbone pieces pick wide-neck shirts or off-shoulder blouses that do not rub the tattoo. For sternum pieces wear a fitted sports bra that the artist can lift slightly rather than clothing that shifts a lot. Those choices reduce friction for the first week and help linework settle.
