
Fine line tattoos look effortless in photos, but they ask for reality checks. The ink that reads delicate and crisp at first can soften faster than people expect unless placement, spacing, and touch-up plans are part of the brief. These 17 fine line stay strong tattoo ideas focus on versions that age better, what to ask your artist, and how to show them off without shortening their lifespan.
1. Tiny Script on Inner Wrist

I recommend this when you want a daily reminder that stays discreet. Fair warning, the wrist faces constant friction from sleeves and watches, so ask your artist for slightly heavier single-line weight than the thinnest reference. A common mistake is asking for hairline script and expecting it to behave like it does on a straight paper print. Expect the piece to look sharp at six months, soften at two years, and likely need a light touch-up by year three if you wear a watch. Pain is mild for most people. Pair with a thin chain pendant necklace when you want to frame the area.
2. Single-Stem Botanical on Side Rib

Rib work reads intimate and elongated, which suits simple stems. Controversy exists here. One camp says ribs cause fine line to blur fast because the skin stretches when breathing. The other camp argues that with deliberate spacing and controlled needle depth, fine line can settle acceptably. I advise bringing references that show spacing between leaves, and tell your artist you prefer slightly more spacing than the smallest flash. Sessions feel longer with breathing pauses, so expect to take breaks. For the appointment, wear a cropped athletic top you can lift without getting cold.
3. Micro-Realism Heart on Sternum

Sternum pieces look delicate but the area moves with breathing and bras, which can affect longevity. I suggest a slightly bolder outline than the reference for micro-realism, and ask the artist to avoid packed tiny shading that will merge over time. The session is sensitive, closer to a seven on most pain scales, and healing needs breathable clothing. For the session, a fitted sports bra makes access easy while keeping you comfortable. If you plan to show it off later, think about tops with a clean neckline that sit above or below the piece.
4. Minimal Geometric Wrist Band
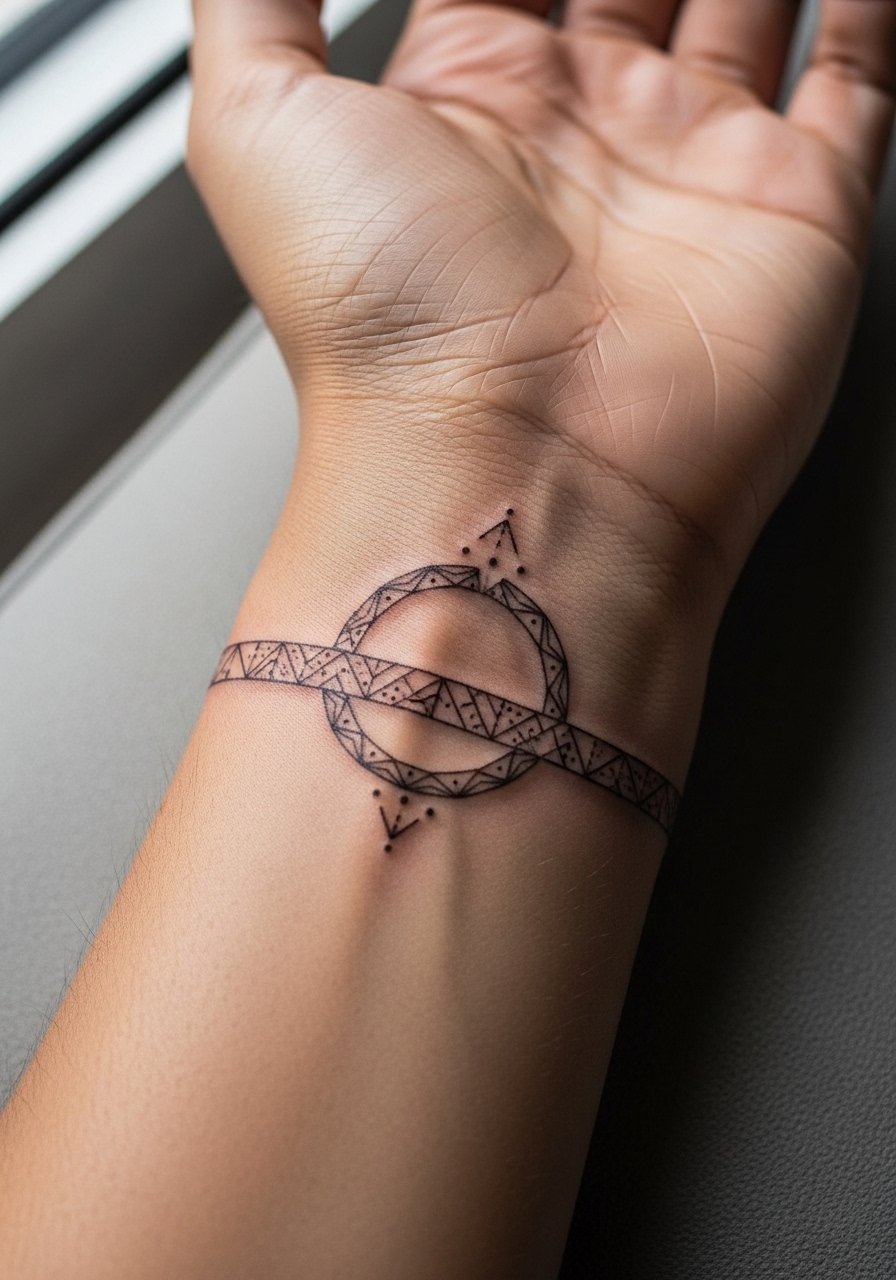
Wrist bands can read modern and discreet, but tiny repeated angles demand breathing room. The biggest mistake is going too small. Ask for slightly thicker spacing between nodes and request a stencil preview so you can see how it sits when you flex your wrist. Touch-ups are common by year two for the most delicate bands because of constant hand use. Pain is low. Wear a minimalist watch or thin bracelets to complement the band, but avoid wide wrist cuffs that rub the fresh ink.
5. Fine Line Mountain Range on Outer Forearm
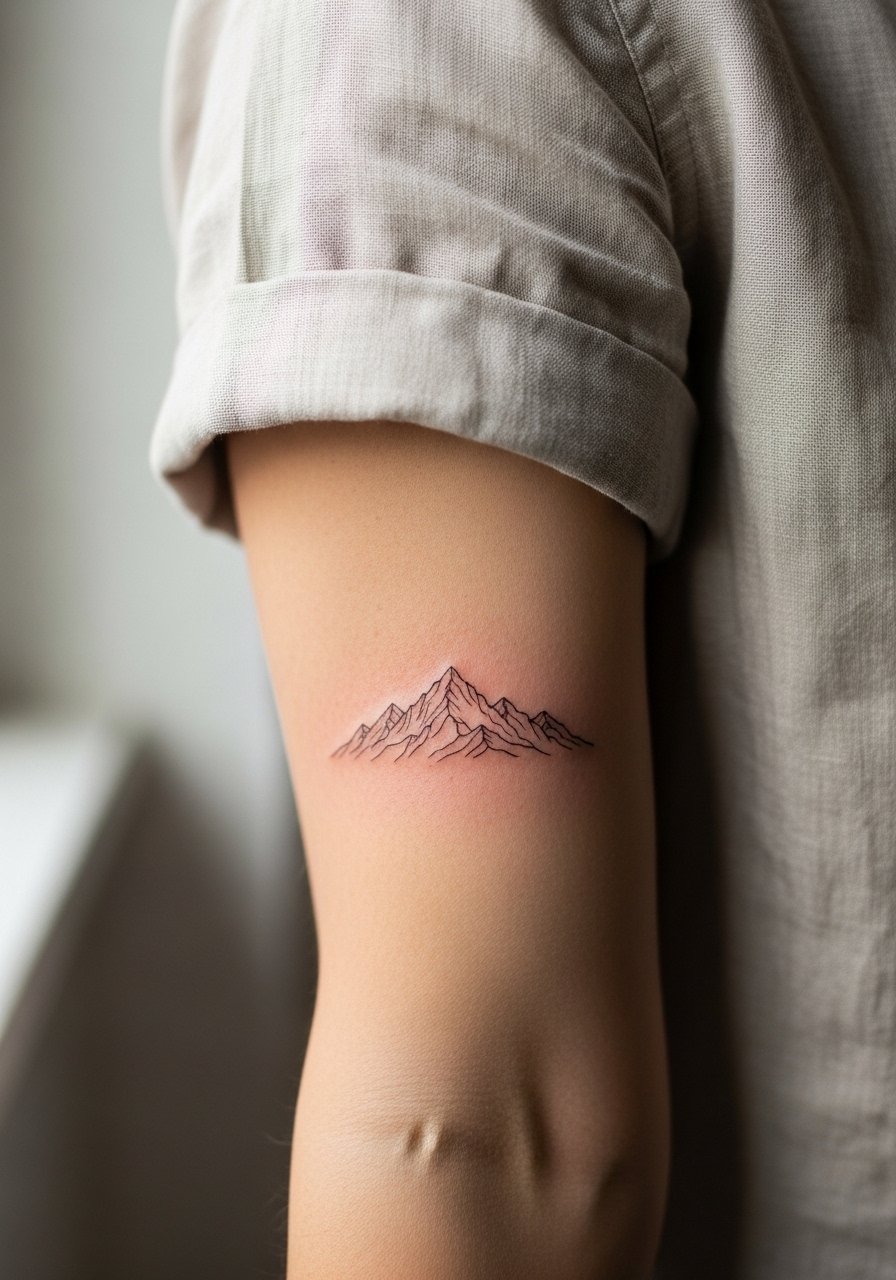
This is a low-risk spot for fine line because the skin is relatively stable. I favor a composition that lets peaks breathe so the darkest converging points do not sit too close. Tell your artist you want pin-point negative space between peaks and mention a future sleeve plan if you have one. Expect sharp lines at six months and mild softening by year five. The session is straightforward and quick. Pair with a rolled linen shirt for casual show-off style, as the neutral fabric frames the linework without distraction.
6. Tiny Constellation Behind the Ear
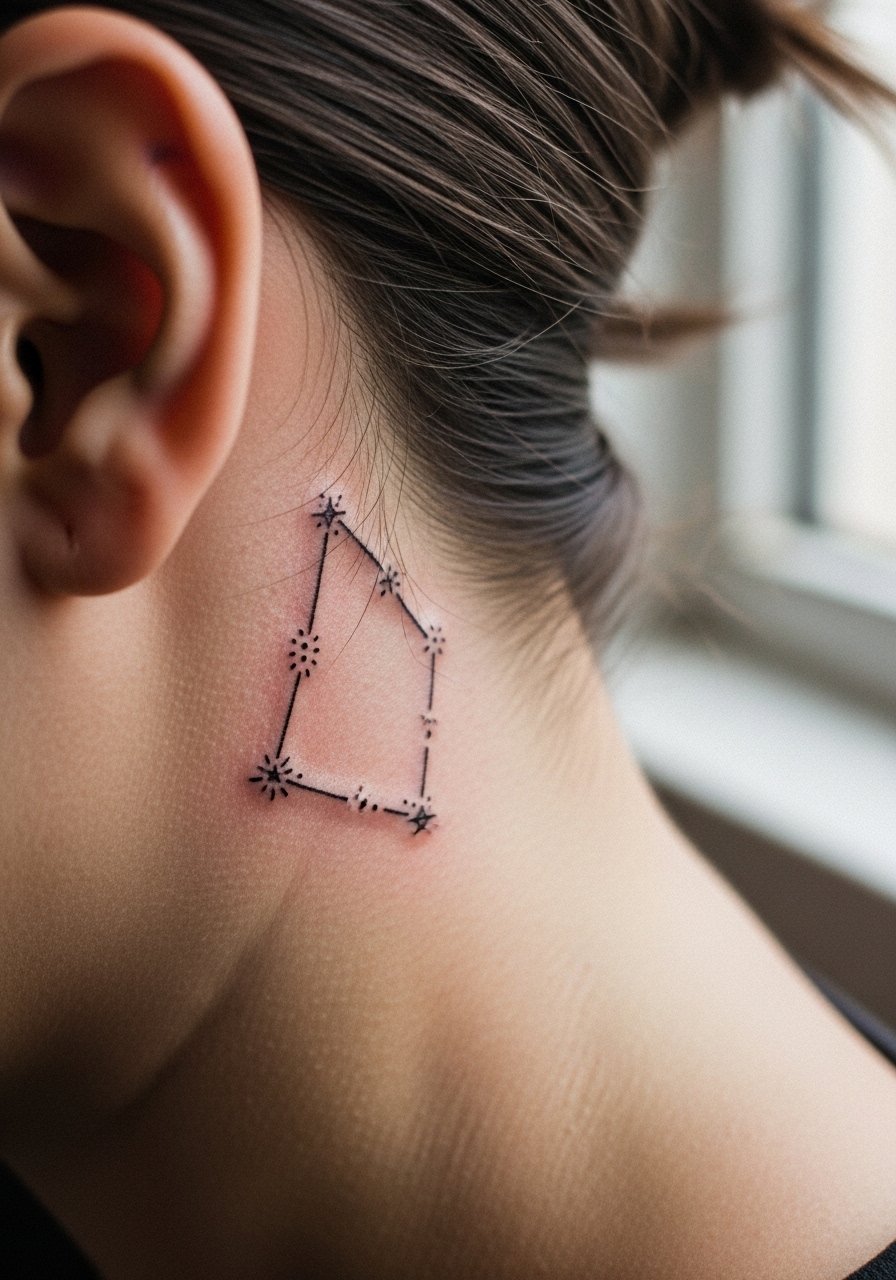
Small constellations work well here because the area is discreet and only occasionally exposed. The tricky part is stencil placement. Behind-the-ear tattoos need to sit below the hairline and be framed by hair so they do not appear awkward when you move. Expect low pain but more awkward positioning during the session. Ask for a clear preview of the exact dots and connect lines. For night and casual reveal, style with hair half-up looks or small hoop earrings. Keep in mind some workplaces still notice visible neck-area pieces, so consider that before booking.
Studio Day Picks
These items smooth out sessions and assist the fine line placements above, from wrist bands to rib pieces.
- Thin stencil transfer paper kit. Helpful to preview exact placement on wrists, ribs, and forearms so you can adjust spacing before ink.
- Disposable arm rest cover roll. Keeps longer forearm and wrist sessions more sanitary and comfortable for both client and artist.
- Cooling gel ice pack wrap. Useful for the first day after a sternum or rib session to reduce swelling and make clothing feel less abrasive.
- Low-friction compression sleeve. Helps protect wrist bands and forearm pieces from rubbing during the first week.
- Aquaphor healing ointment. Thin layers early in healing lock in moisture for fine line work without clogging the tiny needle channels.
7. Micro-Dot Mandala on Upper Arm
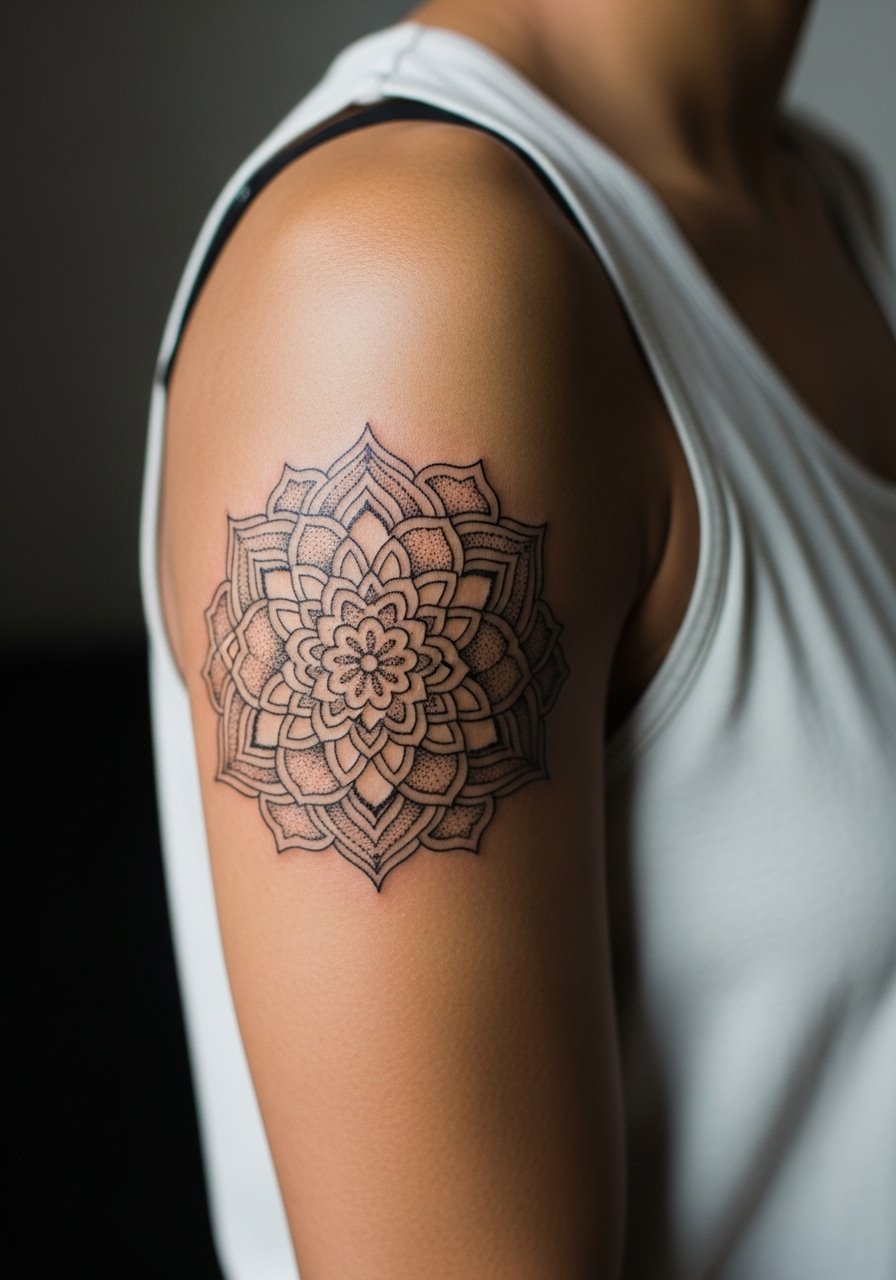
Stipple shading and dot work read particularly well on the outer arm. The main error is packing the dots too densely. Ask for negative space within the mandala and request a test patch of stippling density on similar skin during consultation. Pain is mild and sessions are moderate in length. Over time the dots that are too close can merge, so plan for a possible touch-up at year three. For evenings out, pair with a loose tank top or sleeveless dress to keep attention on the circular pattern.
8. Fine Line Arrow on Inner Forearm

This is a classic for first timers who want something directional and simple. The inner forearm is forgiving, but the common mistake is requesting an arrow too thin near the shaft and expecting it to stay crisp. Ask for a balanced shaft width and a slightly bolder point so the design keeps its silhouette over years. Expect low to moderate pain and a quick session. For session day wear, a short-sleeve cotton tee that you can roll up easily makes access simple and keeps you comfortable.
9. Minimalist Anchor on Ankle

Ankle tattoos endure a lot of friction from socks and shoes, so spacing and line weight matter more than in other places. The typical mistake is choosing ultra-fine anchors that blur from shoe rubbing. Ask for a slightly higher single-line weight and keep the anchor compact. The session is short but sensitive, and expect a touch-up window around year two because of surface wear. Style with low-cut sneakers or sandals when you want to show it off. For the appointment, wear pants you can roll or a skirt so the artist has clear access.
10. Single-Needle Rose on Collarbone

Collarbone pieces look elegant when lines are given room to sit across the bone. Avoid requesting tiny, dense petals right over the bone because the area does not hold saturation in the same way as meatier spots. During consultation, mention you want gentle spacing between petals and a slightly stronger primary contour so it reads from a short distance. The area can be prickly in pain and sits between a five and seven for most people. Pair with wide-neck shirts to show the curve without pulling collar fabric against the fresh lines.
11. Single-Line Wave on Side Ankle

Continuous single-line designs work well where the skin is stable, but the side ankle has more movement than expected. Avoid putting multiple crossing points in the same thin stroke. Ask for a clean continuous path with small spacing at curves to prevent future merging. Sessions are brief and the pain is tolerable. For showing it off, sandals or short socks frame this placement nicely. During the session, wear pants you can roll up easily so the artist has room to work.
12. Fine Line Sparrow on Upper Back
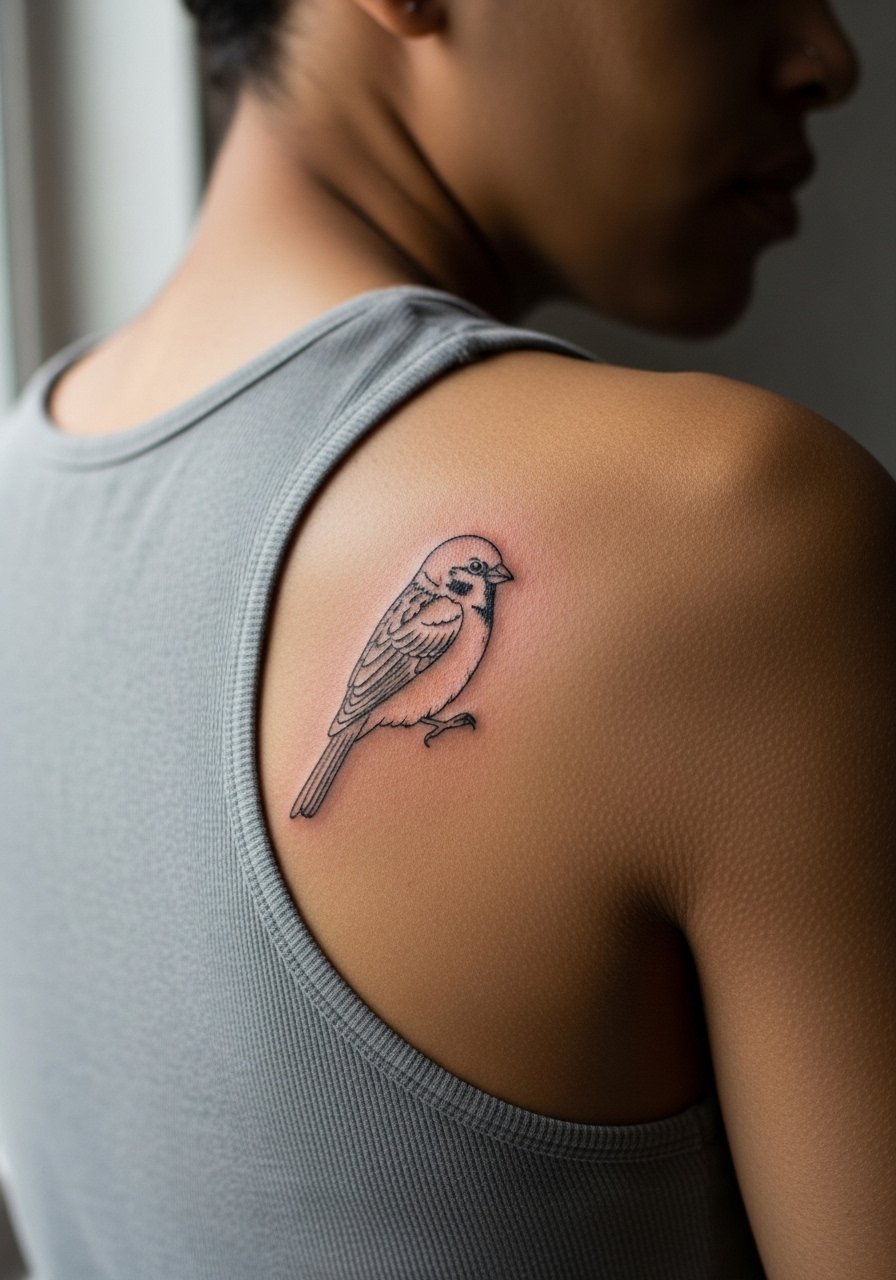
Upper back pieces give more space for wings and flight lines, which helps fine line longevity. The worst mistake is compressing a wing's feather details into too-small gaps. Tell your artist you want open feather spacing and a gentle outline rather than dense micro-shading. Sessions here are moderate and the area is easy to dress for afterward. Pair with open-back dresses or tanks to frame the wingwork when you want to reveal it. If you are booking a larger back piece, ask about multiple shorter sessions to preserve line clarity.
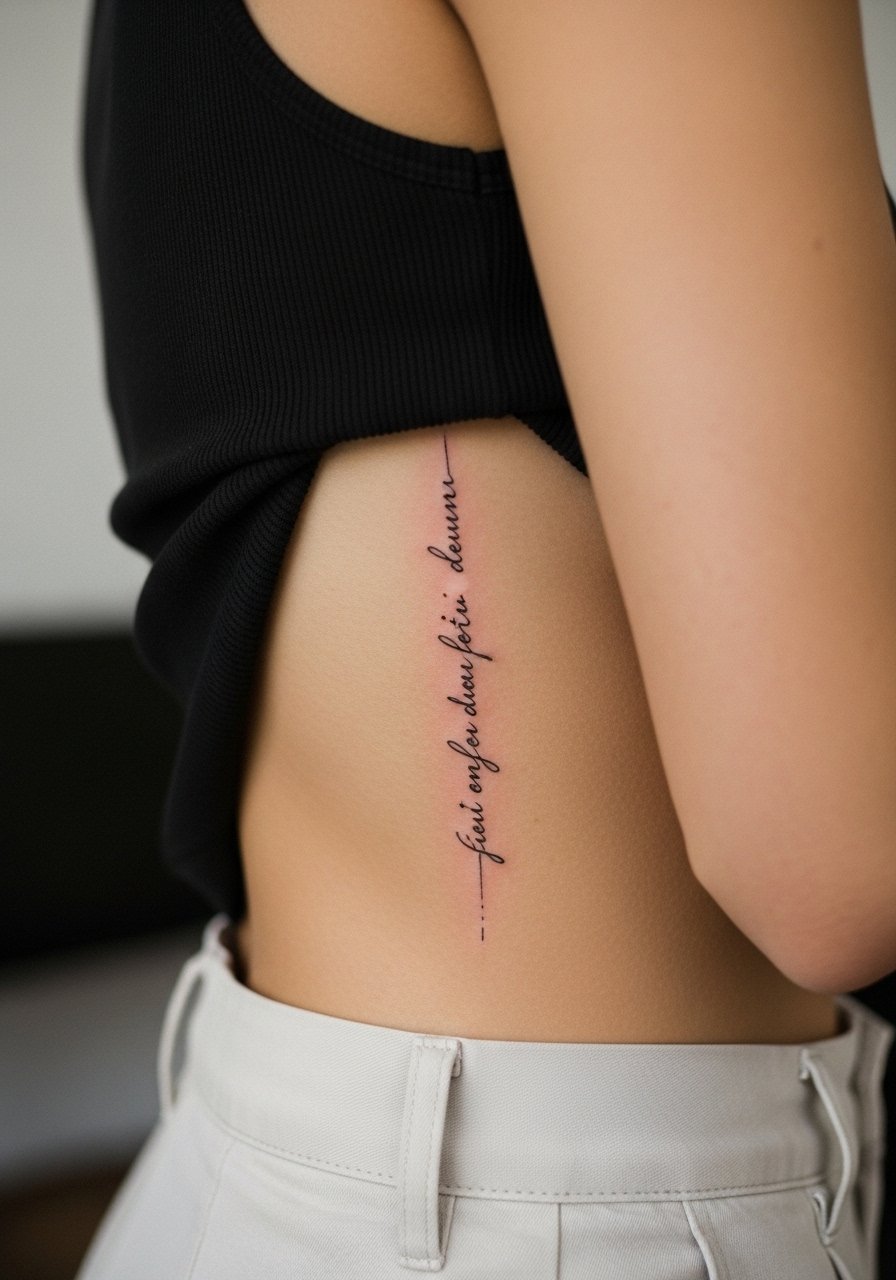
13. Micro Script on Side Rib Near Hip

Hip and side rib scripts are seductive spots but they sit near clothing edges. The common error is asking for the thinnest possible letters and then letting waistbands abrade them during healing. Request a slightly taller x-height in letters and confirm the script will sit where your clothing seam will not constantly rub. The session is more tolerant of breaks and the pain varies with proximity to bone. For the appointment, high-waisted bottoms that you can shift slightly are best. Think about how swimwear will sit against the phrase when planning placement.
14. Dainty Flower on Inner Thigh
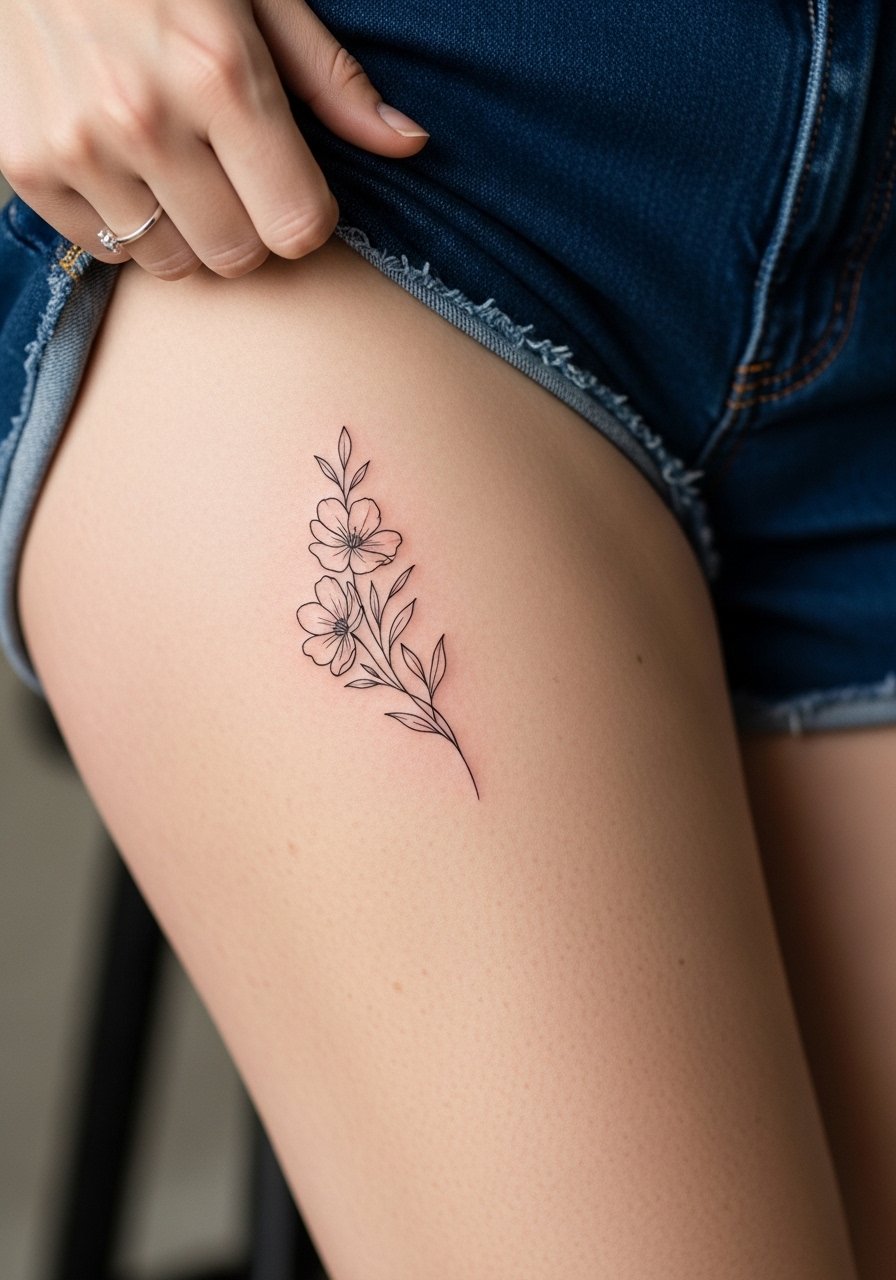
Inner thigh pieces can remain quite clear because clothing often protects them during daily life. The mistake is over-detailing small petals where tissue is softer and more prone to ink migration. Ask for a simplified silhouette with selective stipple shading. The session is more sensitive and you should expect longer healing due to friction with inner thigh movement. For the session, wear shorts you can easily pull up and down. Consider show-off pairings like high-slit skirts or swimwear when you want to reveal the piece.
15. Fine Line Anchor on Finger Side

Finger and side-of-finger tattoos carry a high blowout and fade risk. Artists split into two camps. One group says fingers provide too much friction and oil to keep fine line intact beyond a year. The other group argues that with careful depth and planned touch-ups, a finger piece can hold as a crisp accent. If you choose this, accept that frequent touch-ups are part of ownership. For consultation, ask specifically about their success rate for finger work and about expected touch-up timelines. Keep the design simple and expect higher maintenance.
16. Single-Needle Leaf Along Collarbone Curve

A sequence of leaves along the collarbone uses the bone curve to great effect. The aging issue is when leaves overlap the collarbone peak and lose saturation. Tell your artist to place leaves so they straddle soft tissue rather than sitting square on the sharpest ridge. Pain will spike near bone contact points but the session is generally manageable. For showing off, wide-neck shirts and layered open collars keep the spread readable without compressing the skin.
17. Fine Line Vertical Script on Spine Edge
Spine-edge vertical scripts photograph beautifully and use the body's natural line. Common mistakes include stacking letters too tightly so the piece blurs when you move. Request taller individual letters and ask for a placement mock-up that shows how the text sits when you stand and when you bend. Sessions require careful positioning and moderate pain tolerance. This placement pairs well with open-back tops and halter dresses when you want to show the vertical flow.
Frequently Asked Questions
Q: Will fine line tattoos blur faster on places like the ribcage and fingers?
A: In my experience, yes, some spots are more vulnerable. The fingers and ribs see constant movement and friction, which can cause the thinnest lines to merge sooner. That does not mean you cannot get them, but plan for thicker single-line weight, strategic spacing, and realistic touch-up expectations.
Q: How should I prepare clothing-wise for a sternum or rib session?
A: Wear layers you can shift without exposing more than necessary, such as a zip-front hoodie for sternum work or a cropped top for ribs. Comfort and easy access for the artist matter more than fashion during the session.
Q: When should I expect a touch-up for fine line work on the wrist or forearm?
A: Most wrist and forearm fine line pieces stay crisp for two to five years depending on sun exposure and friction. I tell people to budget mentally for a light touch-up around year two or three if they wear watches or bracelets often.
Q: Are there styling rules for showing off a collarbone or upper back piece?
A: Keep necklines clean and avoid tight collars that sit on the lines during early healing. Open backs, wide-neck shirts, and racerback tanks frame collarbone and upper back pieces without compressing them. A simple racerback tank is an easy option that shows work without distraction.
Q: How do I find an artist who understands fine line longevity without naming specific accounts?
A: Use discovery pathways like local shop directories, hashtag threads, community forums, and convention guest lists to narrow options. Ask to see healed photos of pieces at least 12 to 24 months old, and ask about their touch-up policy before booking.
