
Fine line Elden Ring tattoos look delicate on a scroll and cinematic on the feed, but the gap between what trends and what lasts is wider than most fans expect. The style reads fragile in gallery shots and sometimes softens faster in real life. These 21 ideas focus on designs and placements that keep that mythic aesthetic clear as they age, and what to ask for in the consultation to make that happen.
1. Inner Forearm Rune Band for Subtle Fans
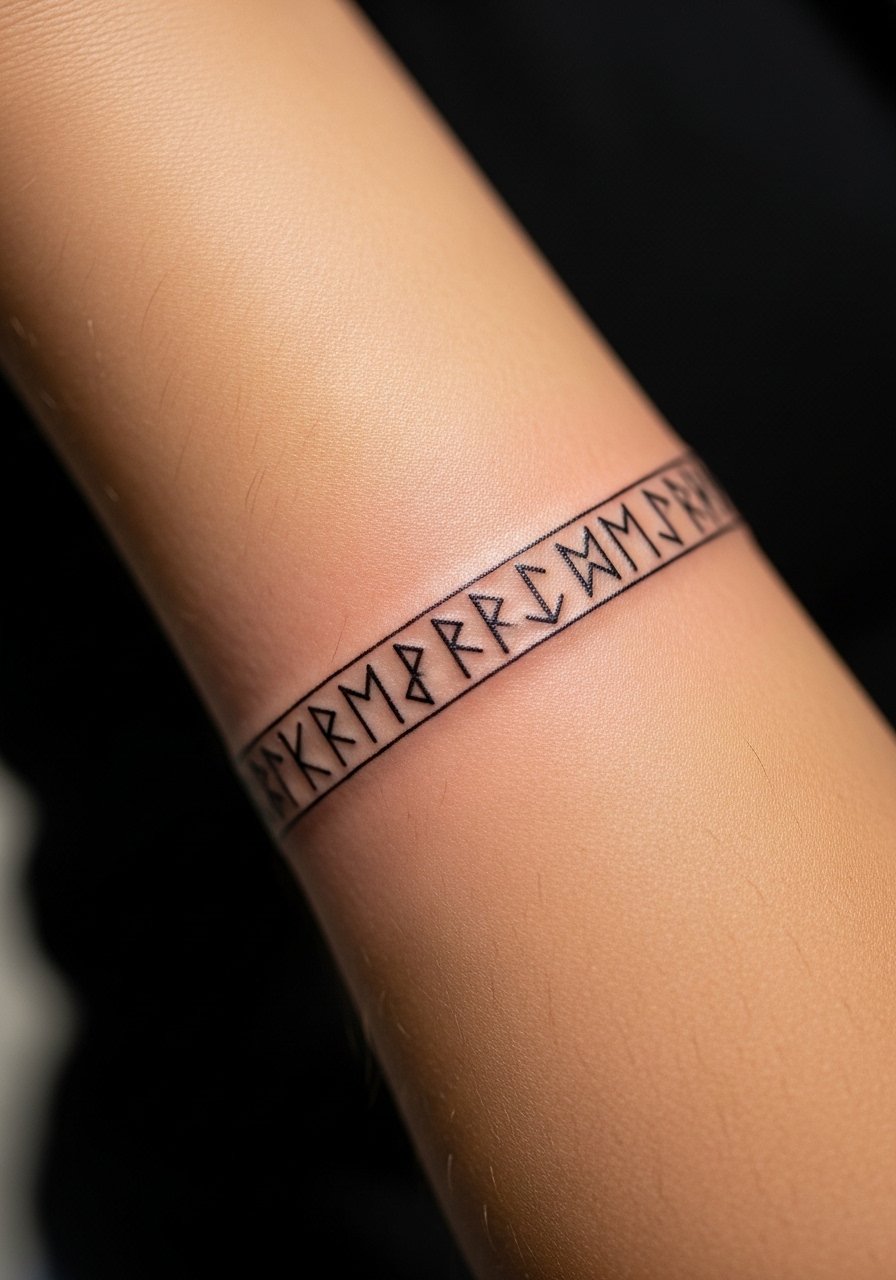
An inner forearm band with a runic motif reads clean for a long time when spaced properly. Ask your artist to keep individual glyphs at least 4–5 mm apart so the linework has breathing room, and to map the band on your arm in the sitting position so it does not twist when you bend the wrist. Pain is low to moderate and sessions are short, often a single hour, which makes touch-ups easier if lines soften at year three. Common mistake is asking for ultra-thin glyphs that merge after a year. For the session, roll up a loose linen long-sleeve so the artist has clean access without tugging the fabric.
2. Tiny Radahn Helmet on the Wrist
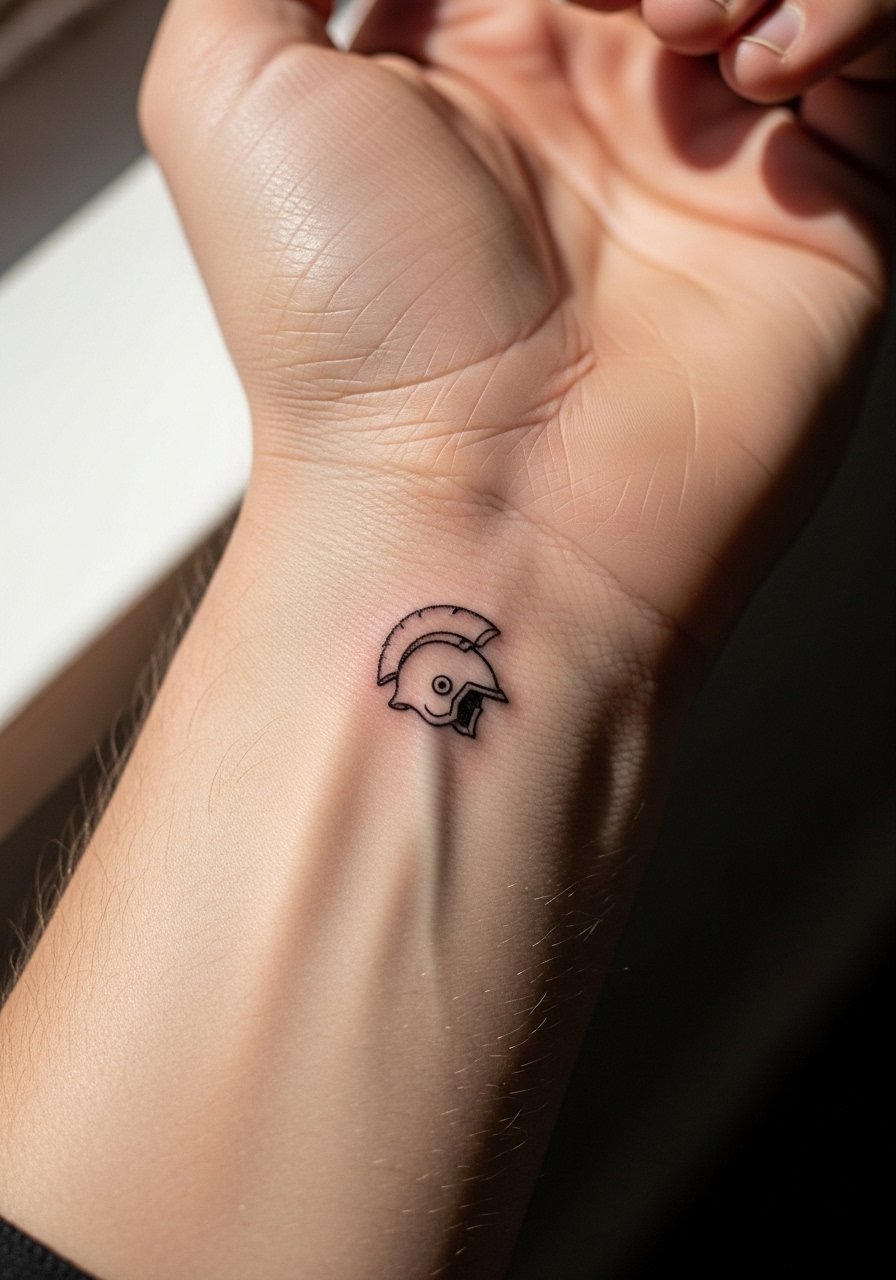
Wrist placements show well but face friction and washing. For this tiny helmet emblem, expect a 45–60 minute session and a possible touch-up at year two if the lines meet constant friction. Tell the artist you want slightly heavier core lines around the helmet silhouette while keeping inner filigree delicate. The biggest mistake is packing too much interior detail in a sub-inch piece. If you plan to show it off, a minimalist watch or stacked thin bracelets works well with this scale. Try pairing it with a thin chain bracelet to frame the emblem without crowding the wrist.
3. Collarbone Elden Tree Silhouette

A collarbone tree silhouette reads poetic and photographs well with open necklines. The area can be fussy because of thin skin and motion from breathing. For a fine line result that holds, ask for slightly more spacing between branches and a touch of stipple shading rather than dense hairlines. Sessions run one to two hours. Expect moderate pain and a touch-up window around year three if you sleep on a rough pillowcase. Pair this with open-neck tops for evenings. A simple ribbed tank top keeps the silhouette visible without pulling fabric across the healed lines.
4. Micro-Realism Erdtree Seed on the Ankle

An ankle seed works as a small talisman. The ankle sees rubbing from shoes and socks, so plan for a protective first week and aim for slightly bolder anchor lines that retain shape. The session itself is quick but uncomfortable because of thin tissue over bone. A common error is asking for featherweight filigree that blurs after heavy wear. Schedule the session when you can rest and wear slip-on shoes. For showing it off with sandals, try a simple flat leather sandal to keep the ankle visible and reduce friction.
5. Minimalist Black Flame on the Side Finger
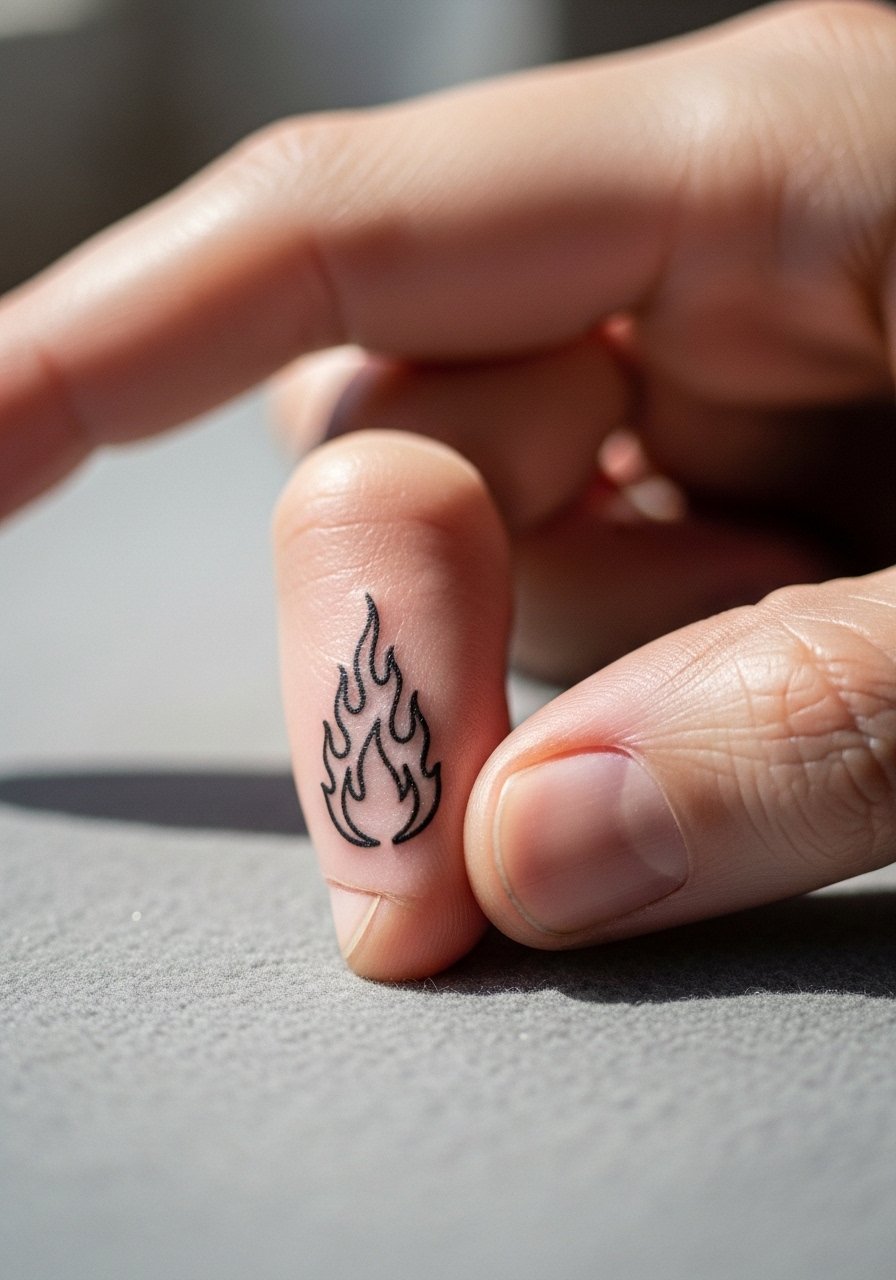
Finger tattoos demand realistic expectations. The side of the finger fades and spreads faster than most places because the skin renews quickly and experiences constant contact. If you want longevity, accept that touch-ups are likely within 12–24 months. Ask the artist for slightly thicker outer lines and a minimal interior, and prepare for a short but sharp session. Avoid having the design cross joints or knuckles. For appointment day, bring a pair of fingerless gloves to keep hands warm in transit and reduce swelling.
6. Fine Line Demi-Lotus on the Sternum

Sternum pieces carry movement from breathing and can blur if lines are too close. There's a real debate among artists about fine line on sternum. One camp warns that thin lines on sternum will merge as the body moves and ages. The other camp says proper depth and spacing keep fine line readable for years. Ask your artist where they stand and request a slightly open composition with stipple shading under the petals. Sessions are moderate in pain and often split into two appointments for comfort. For the session, wear a fitted sports bra you can loosen for the artist so only the necessary area is exposed.
Studio Day Picks
The first six ideas above include wrist, forearm, ankle, finger, collarbone, and sternum placements, so pack items that make access easy and protect delicate linework during the first days.
-
Stencil transfer paper kit. Lets you preview exact placement and line spacing on skin, which matters for small runic and emblem pieces.
-
Topical numbing cream. Applied per instructions before the session for sensitive zones like the sternum or ankle.
-
Thin protective film roll. Useful for finger and wrist pieces that rub against daily surfaces.
-
Fragrance-free gentle body wash. Cleans healing areas without stripping pigment on fine line work.
-
Aquaphor healing ointment. A thin layer in the first 48 hours helps lock in moisture for delicate line channels without clogging.
7. Spine Script in Thin Serif

A vertical script down the spine reads cinematic with thin serif lettering. The skin along the spine moves and can stretch, so request letter spacing that anticipates subtle migration. Sessions can be longer and more painful because of bone proximity. A common mistake is picking tiny caps that merge; instead, ask for slightly increased cap height and open counters. Expect a touch-up around year three depending on sun exposure. For showing it off, open-back dresses are flattering. A slim open-back midi dress lets the script breathe and keeps attention on the vertical line.
8. Fine Line Margit Portrait Micro-Piece

Micro-portraits read beautifully on upper arm skin that has more tissue to hold detail. For a recognizable but fine result, ask for a tighter reference crop and a session plan that layers tiny stipple dots rather than continuous hairlines. The session will be slow and requires patience. Common mistake is overcompressing contrast into a tiny area, which can look muddy after a year. Pain is moderate and touch-ups are realistic at year two. For the session wear a loose button-down shirt you can slide aside to expose the upper arm without tugging.
9. Thin Line Map Fragment on the Ribcage
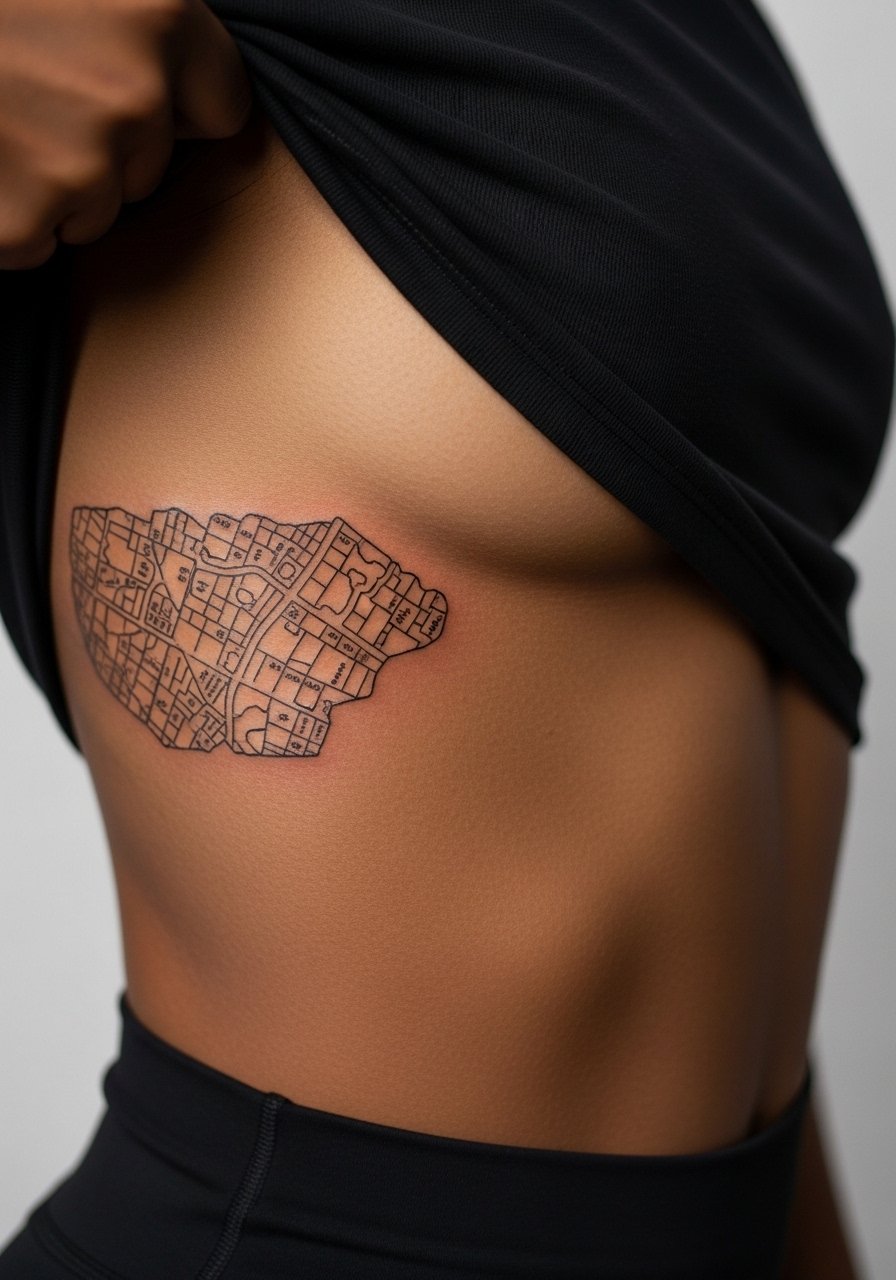
Ribcage designs look dramatic but are tricky for fine line. Artists split into two camps on this exact placement. One group argues that breathing and skin stretch will blur thin lines within two years. The other group maintains that with correct depth and spacing, fine line can hold on ribs. Before booking, ask the artist where they stand and request open line spacing and minimal micro-detail. Sessions are painful and commonly split into multiple passes. Expect touch-up needs earlier than on arms. For the session, wear a cropped top you can lift easily so the artist can access the area cleanly.
10. Constellation Cluster Behind the Ear

Behind-ear placements are tiny and intimate. The area heals quickly but can be hard to photograph. Request spacing between stars and anchor some dots with slightly heavier needles so the pattern keeps its shape. A common mistake is packing too many tiny stars into a postage-stamp area. Sessions are short and low in pain, often under 30 minutes. For the appointment, wear hair up and loose so the artist can expose the area. Use discovery pathways like local directory searches and convention walk-ins to find artists comfortable with such small placements.
11. Thin-Line Greatshield on the Upper Shoulder
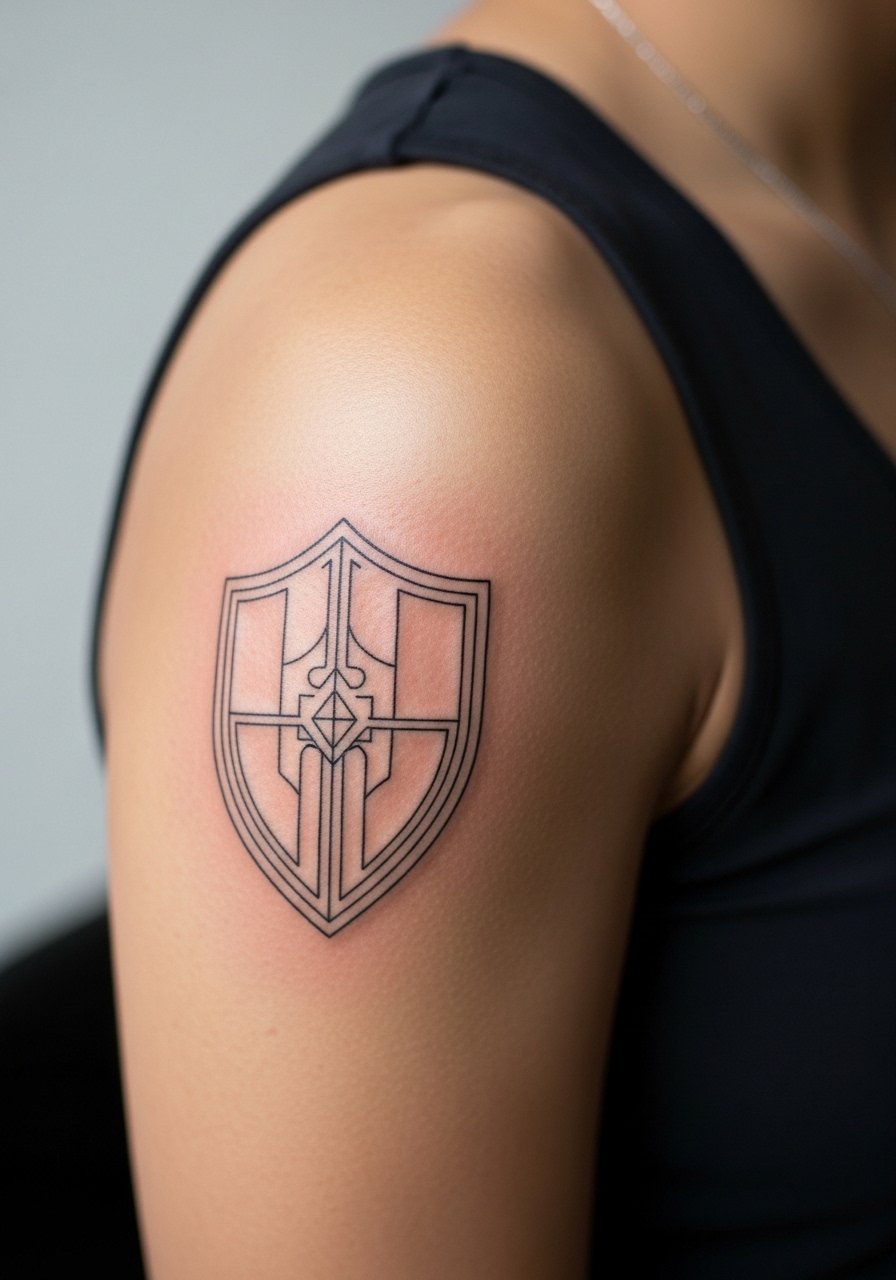
Shoulder placements handle fine line well because there is space and less friction. For a shield emblem, ask the artist for bold outer contour lines and delicate internal ornamentation. Sessions are moderate and often completed in a single sitting. The common error is to compress too many interior details into a small diameter. That invites blurring at year three. If you will show it off in summer, a loose tank top frames the shoulder without rubbing the healed ink during the day.
12. Micro-Text "Elden" on the Side of the Hand
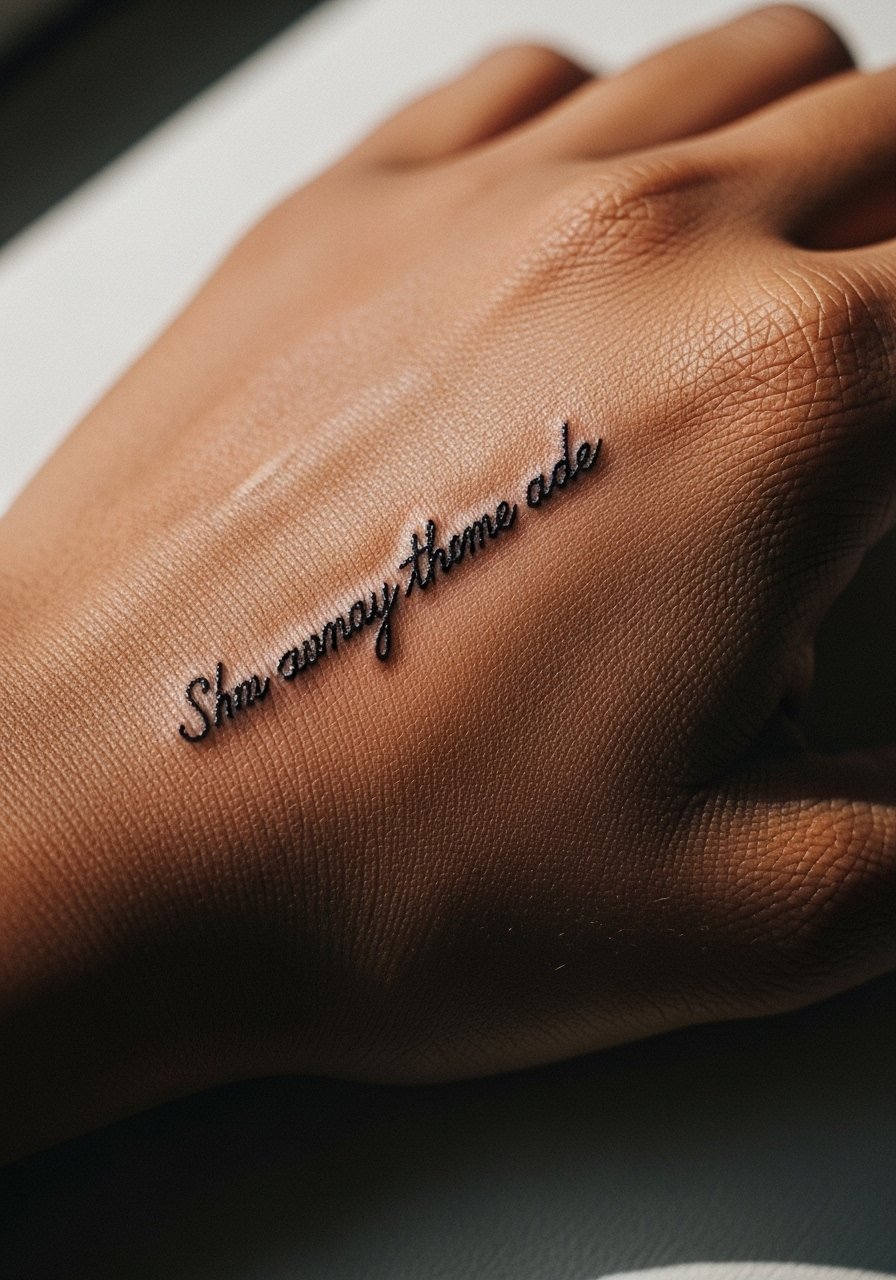
Side-of-hand text is high-maintenance. The skin regenerates quickly and the area sees heavy use. If you choose this, accept a higher touch-up cadence. Ask for slightly heavier outer strokes while keeping internal counters clean. Sessions are short but healing takes special care. A frequent mistake is choosing hairline cursive that fills in within months. Professionally consider workplace visibility for hand tattoos. For session day, keep hand movement minimal after the appointment and use discovery methods like artist portfolios that show healed hand work when selecting someone.
13. Thigh Linework Crest in Dot Work
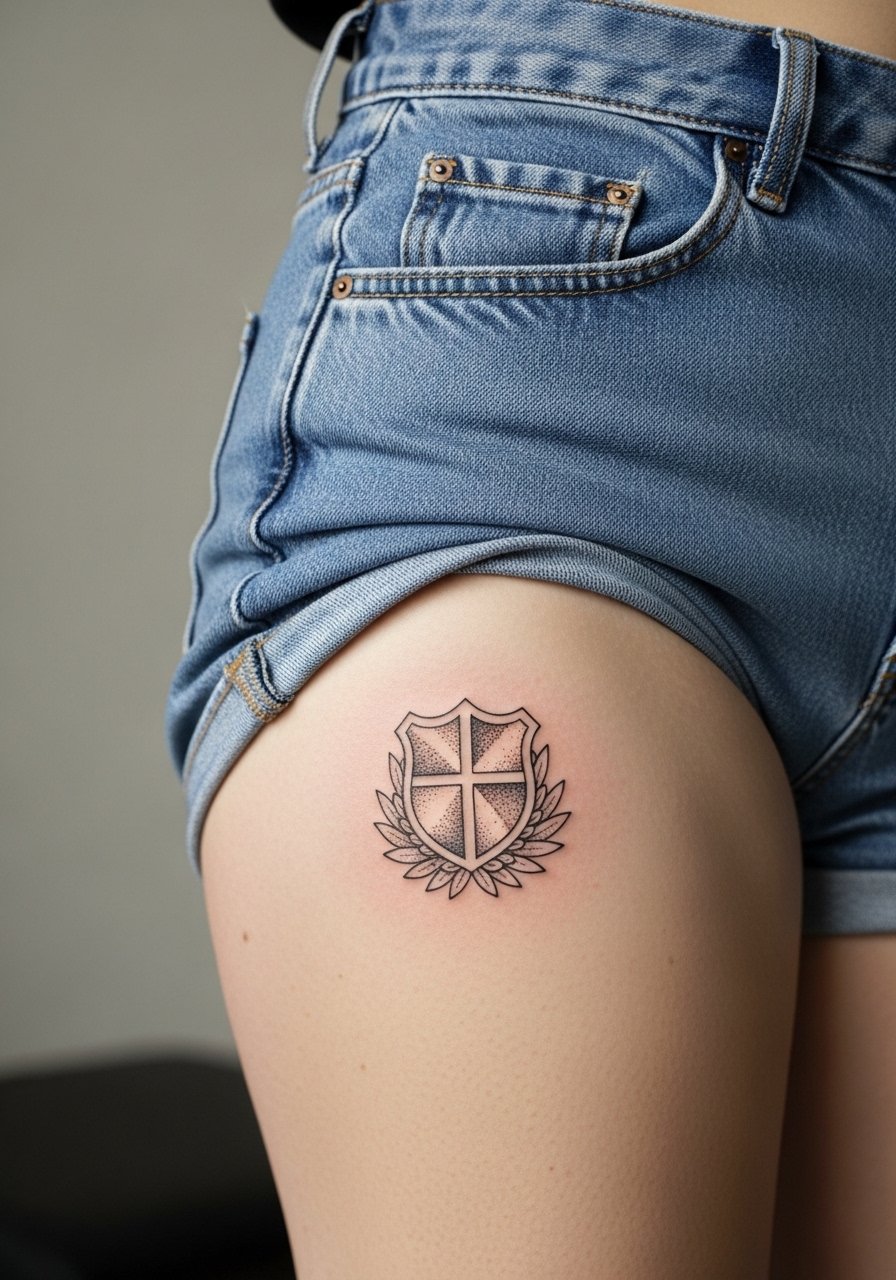
Upper thigh pieces are forgiving for fine line because of thicker skin and lower friction. A crest with stipple shading and dot work ages well when artists avoid super-thin inner filigree. The session is lower in pain and can be longer, which gives artists room to layer dot shading for depth. Common mistake is placing the crest too close to areas that rub against clothing seams. For the session, wear high-waisted bottoms you can pull down slightly. A fitted high-waisted denim short makes it easy to expose the area without full undressing.
14. Claw Marks on the Calf in Whip Shading

Calf placements are visible and durable. Claw marks that use whip shading and a mix of thin and slightly thicker lines preserve motion while keeping the motif legible. The session is moderate and often under two hours. A frequent mistake is using identical fine weights for all strokes, which allows parallel lines to blur. For showing it off, roll-up shorts or midi skirts work well. Try pairing with a casual drawstring linen short to let the calf breathe and reduce irritation from tight fabrics.
15. Tiny Torrent Flame on the Back of the Neck
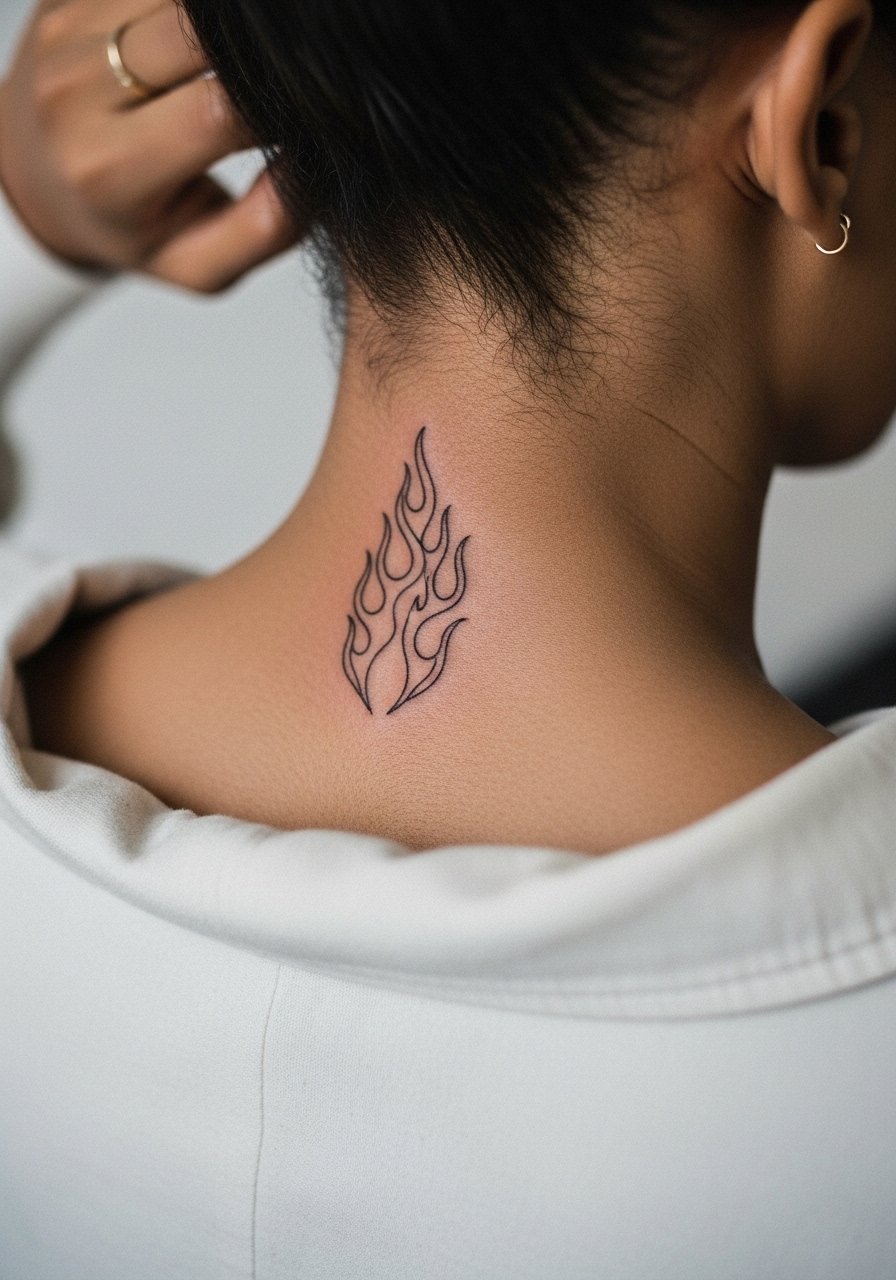
Nape tattoos are discreet and photograph well with certain hair styles. The skin at the back of the neck can move with collars and hair, so ask for compact but slightly bold anchor lines and minimal interior detail. Sessions are brief and the area can be sensitive. One mistake is overcomplicating a tiny motif that will lose definition after hair rub. For the appointment, wear a wide-neck shirt you can shift so the artist accesses the area without exposure. Consider the long-term implications if you work in conservative environments.
16. Fine Line Map Coordinates on the Ribcage Side
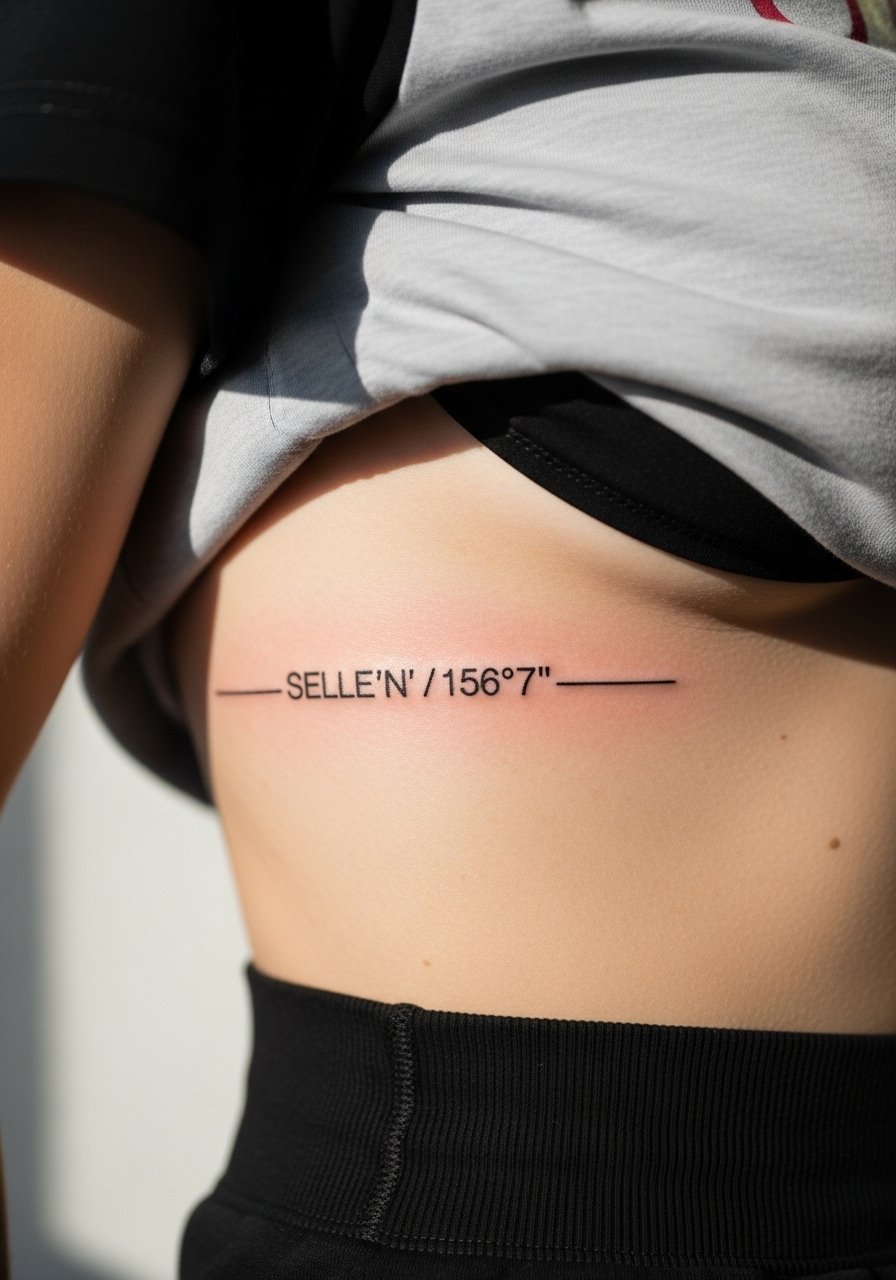
Coordinates or small numeric text on the ribs look precise but are vulnerable to movement. Ask for slightly larger numerals than you think you need and firm outer strokes so numbers stay readable over time. The ribcage is painful and sessions may be broken up. A common misstep is requesting micro-tiny digits that blur within months. For the session, choose loose clothing like a cropped tee and high-waisted bottoms so the artist can access the area without full undressing.
17. Linework Moon Phases Along the Forearm

A horizontal moon-phase sequence on the forearm photographs clean and hangs on the arm naturally. Spacing is everything. Ask your artist to stagger crescents and include subtle stipple shadows so the sequence reads at 6 months and still at 3 years. The forearm is low on friction and makes touch-ups simpler when needed. A common error is compressing too many phases into a narrow strip. For showing it off with rolled sleeves, a lightweight linen shirt keeps the arm visible and complements the linear motif.
18. Tiny Lantern on the Ribcage Lower Edge
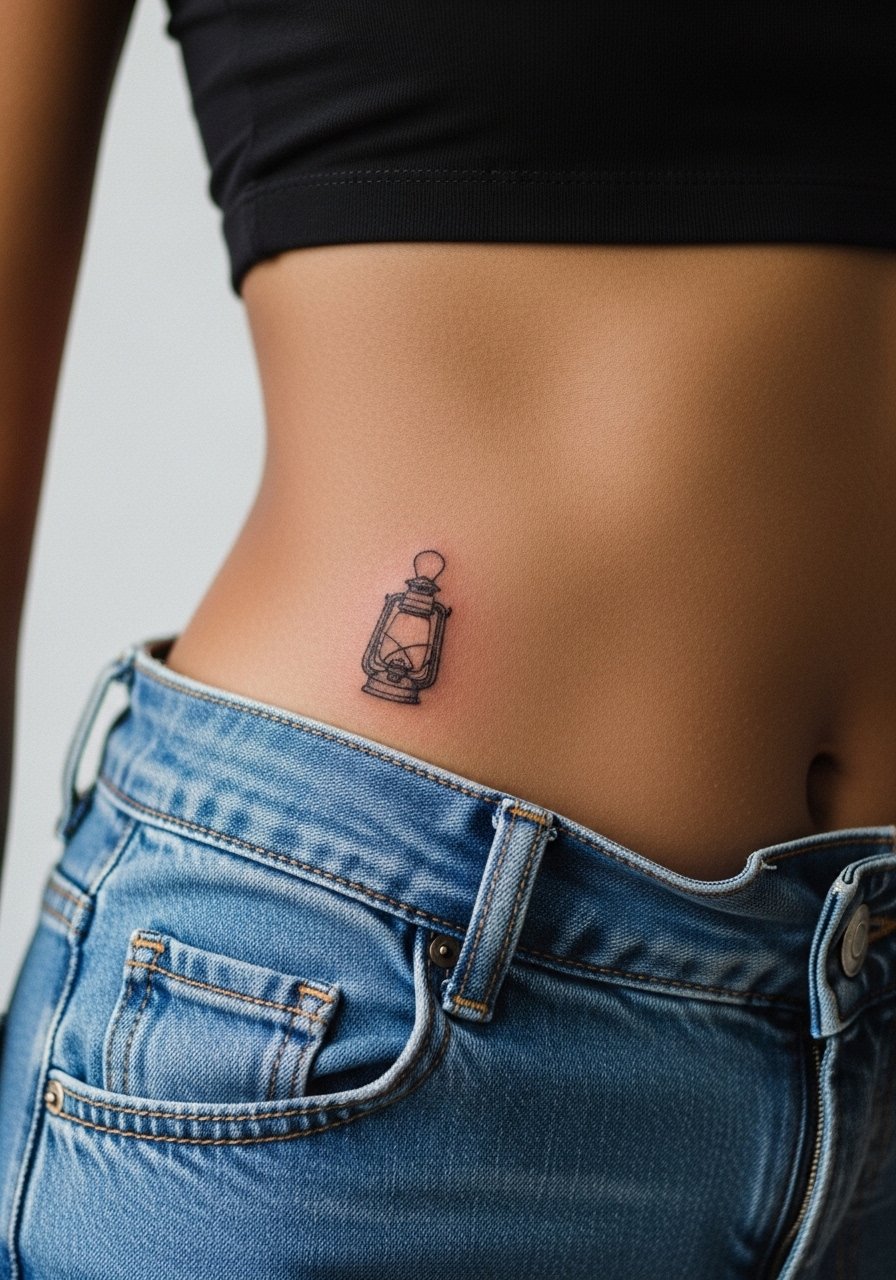
Lower ribcage placements interact with clothing waistbands. A small lantern design can last if placed slightly higher than the waistband and drawn with open interiors. The rib controversy applies here too because of stretch and motion. Ask your artist for conservative spacing and expect pain. A common mistake is placing the piece where jeans seams sit. For the session, wear high-waisted bottoms you can lower slightly. A pair of high-waisted jeans helps you expose the area without full undressing.
19. Fine Line Map of Limgrave on the Upper Back

Upper back gives space for map-style compositions and holds fine line well because it is less exposed to friction. For a small map of Limgrave-style terrain, request simplified contours and concentrated negative space rather than tiny textured detail. Sessions are longer but tolerable and often finished in a single appointment. People err by overcomplicating terrain at this scale. Show it off with open-back tops. A simple open-back tank keeps the map visible and avoids rubbing against straps during healing.
20. Fine Line Gargoyle on the Upper Thigh
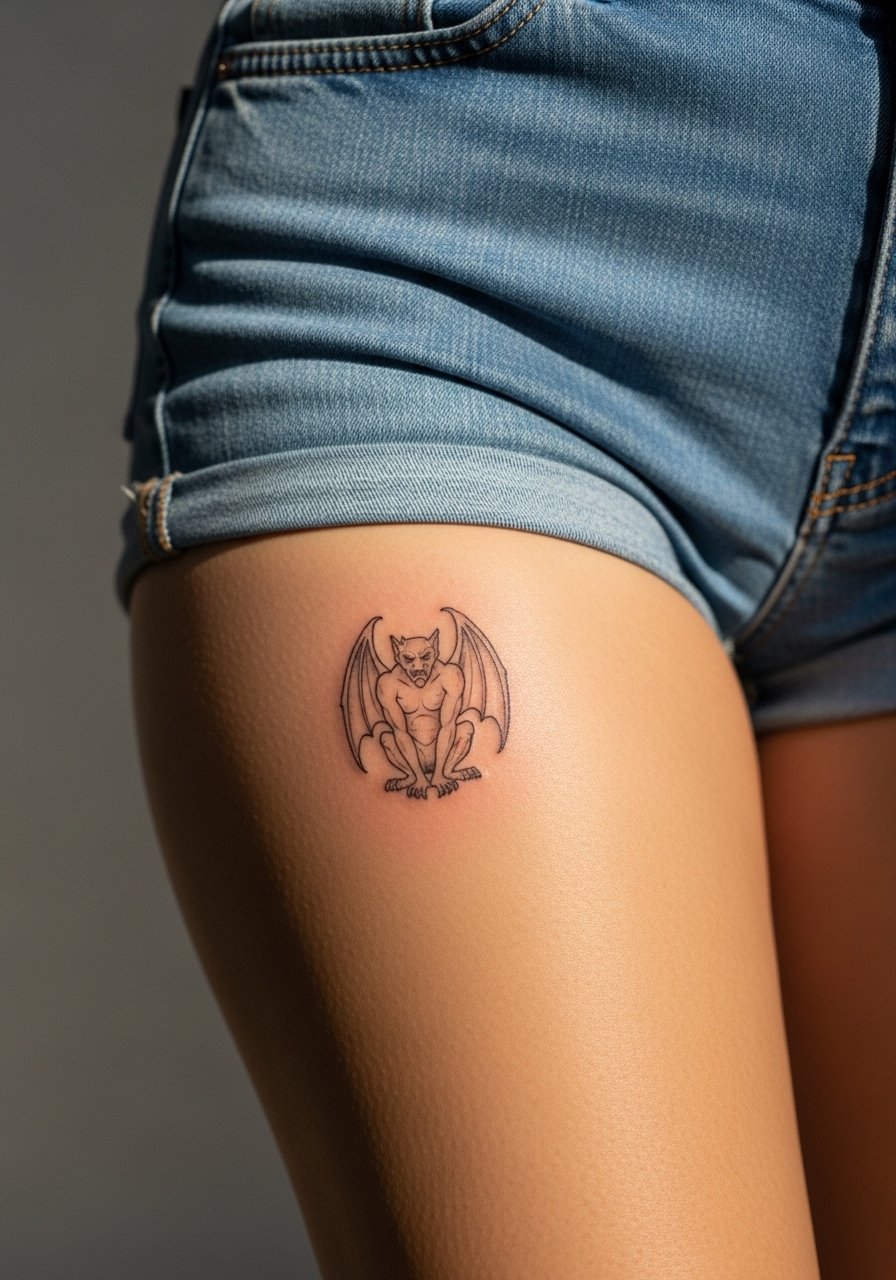
Upper thigh placements are forgiving and allow for slightly more intricate linework. A gargoyle figure in fine line with selective stipple shading will age better than one packed with micro-hatching. Sessions are lower in pain and allow for more time to refine tiny facial features. The common mistake is squeezing too much facial micro-detail into a postage stamp. For the session, wear high-cut shorts that can shift to give the artist access. Try a high-cut short so the area can be exposed without discomfort.
21. Fine Line Sigil on the Inner Bicep

Inner bicep tattoos look intimate and can hold fine detail if the artist accounts for the soft skin there. Expect moderate pain and a session that may need breaks. Ask for balanced line weights with the heaviest strokes on the sigil outline to prevent interior filigree from fading into a blur. A mistake people make is asking for too many micro-elements that the inner bicep cannot hold long term. For the session, wear a tank top you can lift and lower without friction. Consider discovery pathways like searching hashtag galleries and local directories to find portfolios showing healed inner-bicep work.
Frequently Asked Questions
Q: Will fine line Elden Ring symbols blur faster than bolder tattoos on areas like ribs and sternum?
A: From what I have seen, fine line in high-motion areas like ribs and sternum tends to need touch-ups sooner than bold blackwork. The two camps disagree. One says thin lines will merge quickly. The other argues proper spacing and depth keep them readable. Ask your artist where they land and plan for a touch-up window around year two to three for sensitive placements.
Q: How should I dress to the studio for a forearm or shoulder session to protect fine line work?
A: Wear clothing that gives clean access without tugging at the skin. For forearm or shoulder sessions, a loose button-down or a loose tank top you can slide to the side minimizes fabric irritation and helps the artist position the stencil accurately.
Q: Are there styles in this list that are poor choices for people with darker skin tones?
A: No single style is off-limits, but contrast matters. On darker skin tones, thin greys can disappear. Ask for slightly stronger outer lines or subtle stipple shading to maintain legibility. Look at healed photos of similar skin tones in portfolios before booking.
Q: If I want a faithful game emblem, is there any controversy I should consider?
A: Fans split into two camps. One side avoids exact replicas because of creative ownership and prefers personal variations. The other side values faithful tributes. Decide what you want and be transparent with your artist. A custom adaptation both honors the source and reduces the risk of a design that looks like a direct copy when scaled to skin.
Q: How often should I expect touch-ups for small fine line pieces like finger, wrist, or side-of-hand tattoos?
A: Small spots that see heavy friction usually need touch-ups every 12 to 24 months. Fingers and hands are the most frequent. Wrists often last longer but plan for a check-in around year two. Scheduling a touch-up discussion during your consultation sets realistic expectations.
