
Fine line trends look flawless on feed shots, but what holds up on skin five years from now is a different matter. Fans of Solo Leveling who want subtle, elegant ink are balancing character fidelity with longevity, placement, and how the design reads off the page. Below are focused ideas that favor clean linework, readable silhouettes, and wearable show-off pairings so your piece still reads like intent, not a costume. The first section starts with a simple forearm build you can customize in minutes with your artist.
1. Fine Line Sung Jinwoo Shadow on Inner Forearm

I recommend this placement if you want a readable, everyday piece that ages predictably. Linework on the inner forearm usually feels like a 3 out of 10 on pain scales and fits into a single two-hour session for a compact motif. Tell your artist you want slightly heavier outline anchors with airy stipple shading for the dark shapes so the piece keeps contrast after a few years. The common mistake is making the negative spaces too tight which causes the shapes to merge as the ink settles. For showing it off, roll up sleeves and layer a loose linen shirt so the forearm sits visible without glare.
2. Silhouette Portrait on Upper Arm
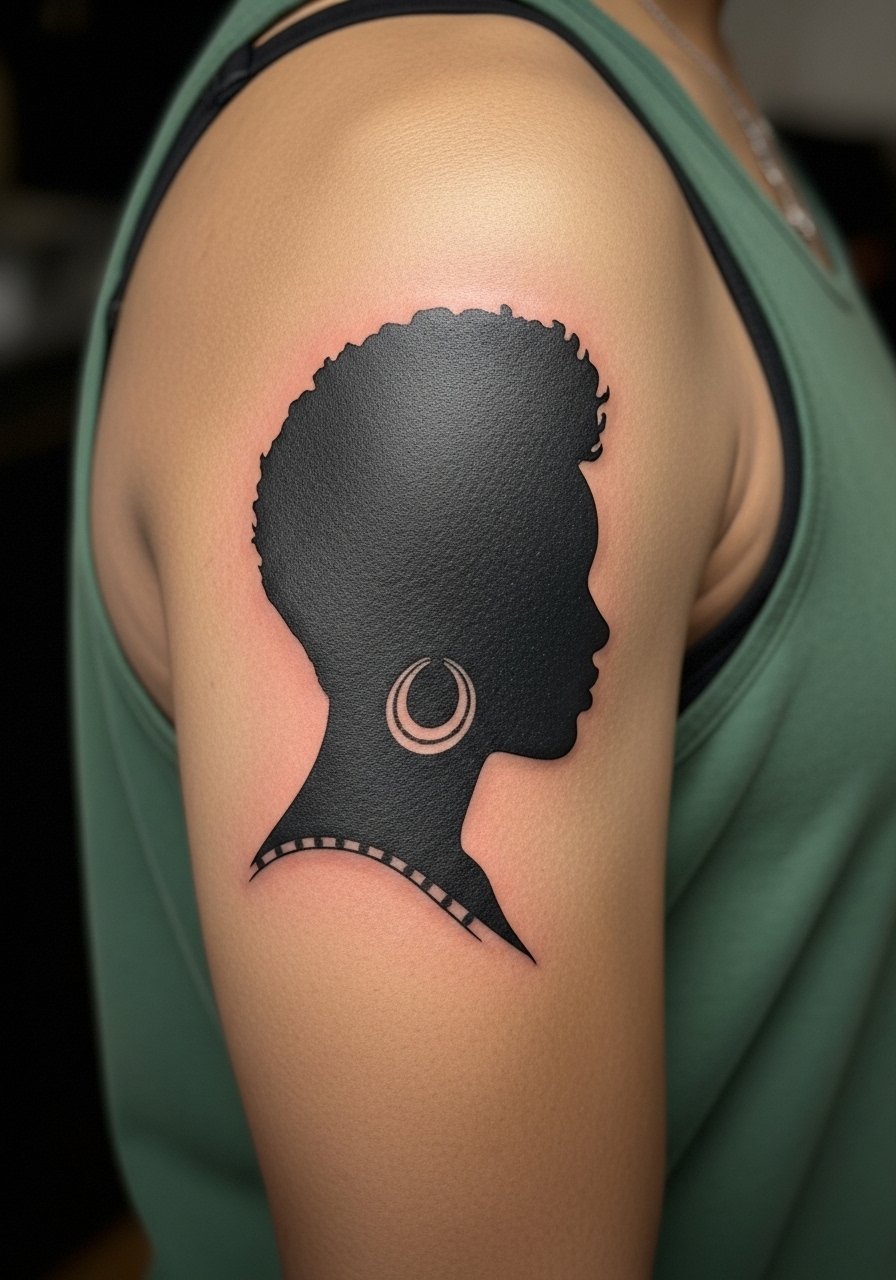
Outer upper arm pieces handle saturation well, and they stand up to friction better than wrist work. Expect a 4 out of 10 pain level and one to two sessions depending on size. Ask for the portrait in high-contrast blackwork with selective negative space rather than micro-detail. That approach keeps the image distinct at two and five years healed. A frequent misstep is asking for too-small facial detail which blurs into a shape that reads like noise. This placement pairs nicely with sleeveless tops. For the session, wear a loose tank top you can drop the strap of, and bring elbow support for longer sittings.
3. Minimal Gate Symbol on Wrist
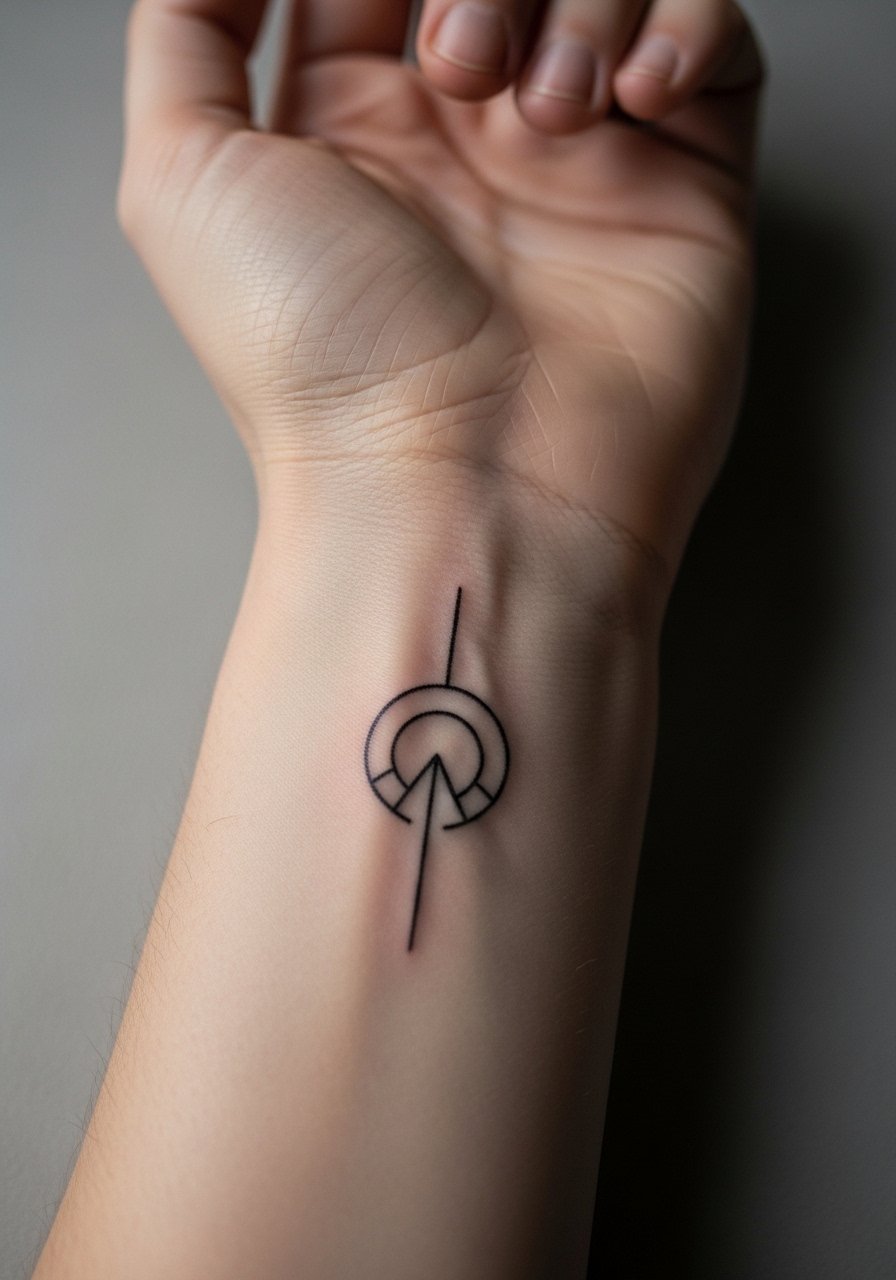
Wrist tattoos are small and visible which makes them satisfying and tricky. Pain is moderate and sessions are usually under an hour for a minimalist glyph. I suggest slightly boldened line anchors so the glyph maintains shape through daily washing and sunlight exposure. The mistake is asking for ultra-fine hairlines without spacing. Those can fade or blur into a soft gray by year two. For outfits consider a slim bracelet or a minimalist watch so the wrist reads curated rather than crowded. Finger and wrist work often needs a touch-up within two years.
4. Stipple Shadow on Ribcage
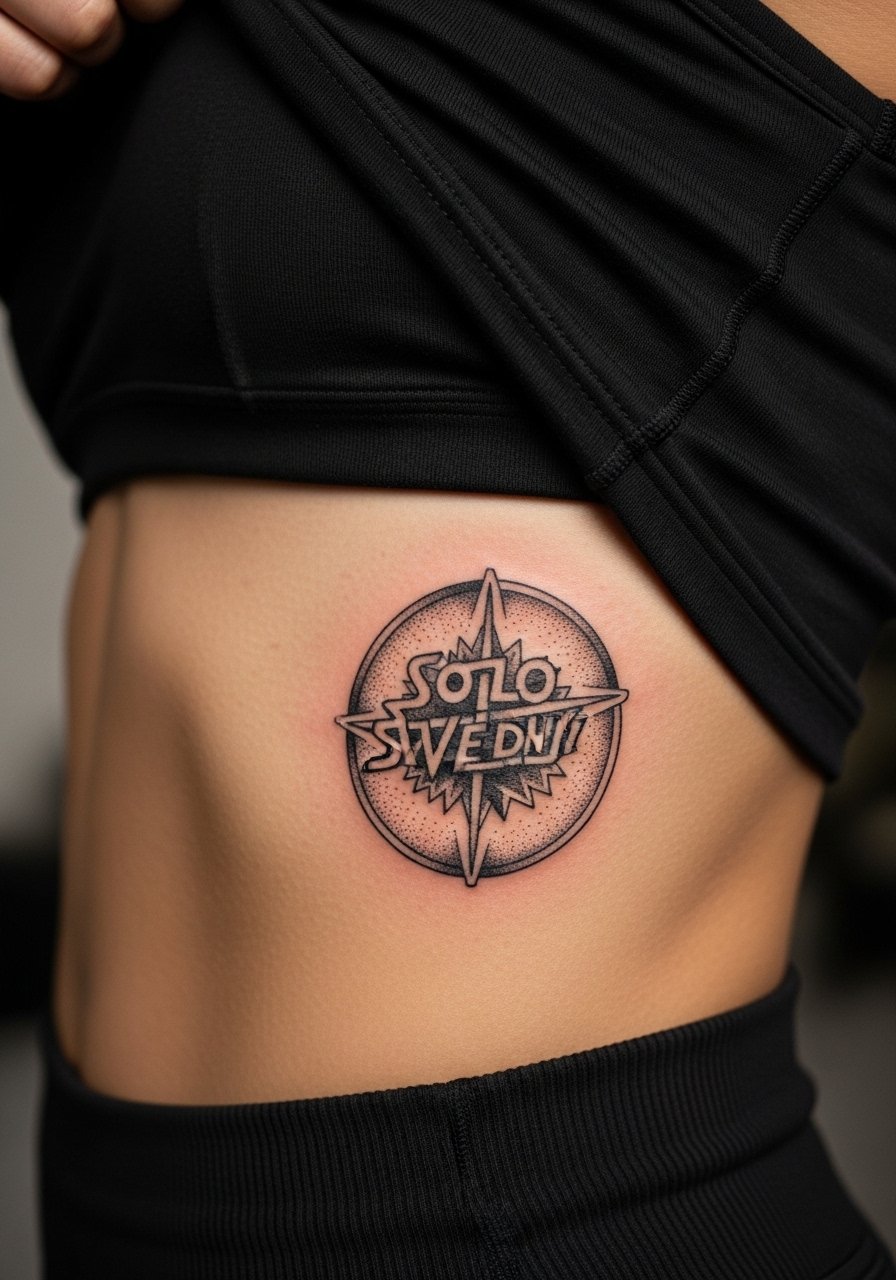
Fair warning, ribs are a high pain zone but they reward commitment with a dramatic canvas. Fine stipple shading holds better than dense smooth gradients on ribs because it breathes with the skin. Artists split on fine line on ribs. One camp argues the skin stretch blurs lines within two years. The other camp says proper depth and spacing lets fine line settle nicely. Ask your artist where they stand and expect a longer single session or two shorter ones. For session wear, use a cropped athletic top you can lift to expose only the area. Plan for a touch-up discussion at the consult.
5. Collarbone Script with Small Rune Accent
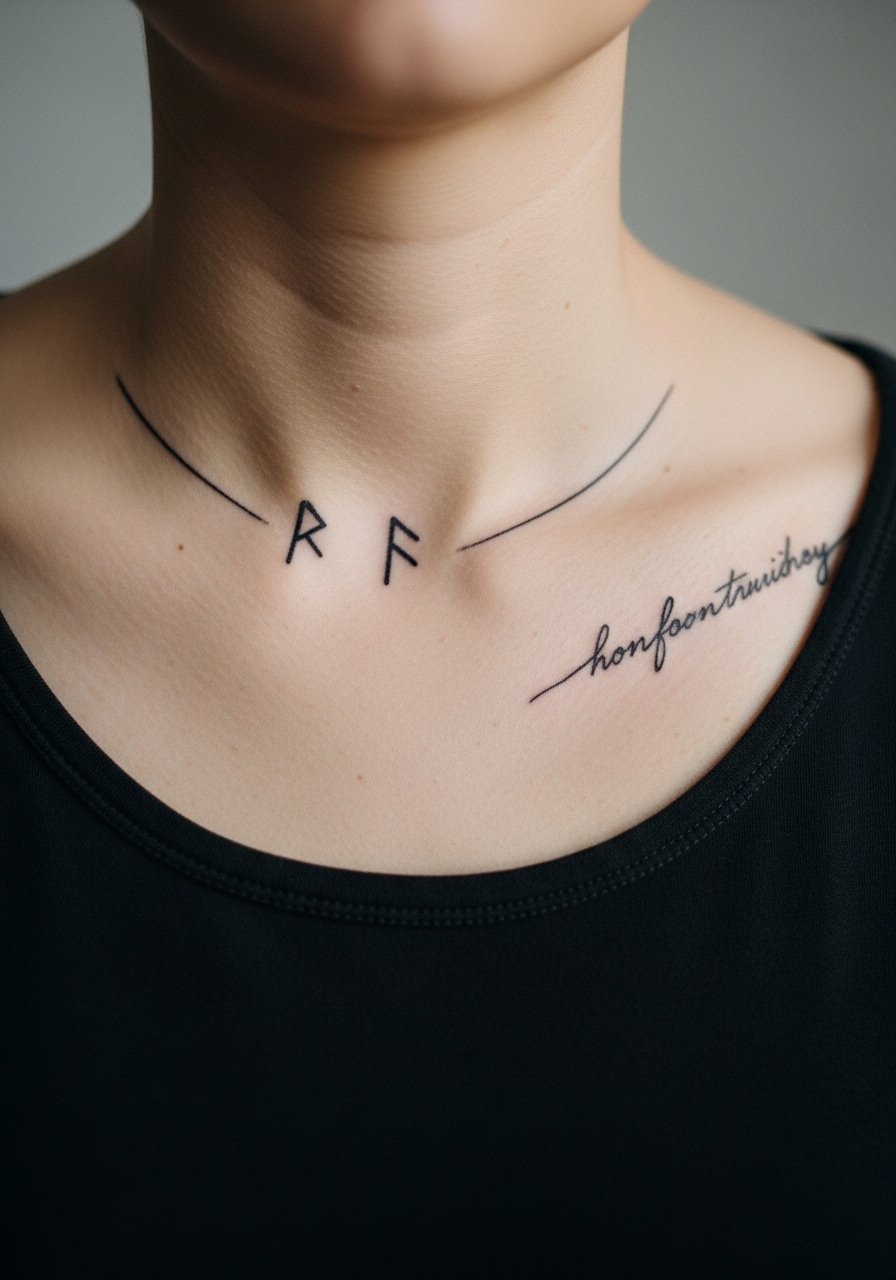
Collarbone pieces read elegant when kept narrow and horizontal. Pain varies but expect a sharper sting near bone. Keep lettering slightly condensed with comfortable spacing and pair the script with a tiny rune in blackwash for contrast. A common mistake is placing long script too close to the bone which causes the letters to warp as the skin moves. For showing it off, pair the piece with an open-neck blouse or thin chain pendant so the collarbone remains framed rather than competing with bulky necklaces.
6. Thigh Dynamic Action Scene

Thighs are forgiving for saturated pieces and larger compositions. Pain is lower and sessions can run two to four hours. For action scenes keep motion readable by using bold silhouettes and avoiding tiny facial detail. The mistake is overworking midtones which then flatten under clothes friction. Thigh work pairs with skirts and high-slit dresses for show-off moments. Wear high-waisted shorts or loose pants to the appointment so you can adjust without stretching the area.
Studio Day Picks
The chest, ribs, and thigh designs above ask for different prep than wrist and forearm pieces, so these items smooth the appointment and the first week of healing.
-
Stencil transfer paper kit. Lets you preview line placement and check scale on skin before the needle touches your body, which is crucial for forearm glyphs and collarbone script.
-
Thin barrier film roll. Useful for wrapping small high-friction spots like the wrist and ankle during the first days to reduce rubbing.
-
Cooling gel pack wrap. Handy for longer sessions on the thigh or chest to ease swelling between passes.
-
Fragrance-free gentle body wash. Keeps healing linework clean without stripping moisture or irritating sensitive spots like ribs.
-
Aquaphor Healing Ointment. Thin layers during the first few days lock in moisture for delicate fine line and stipple shading without clogging pores.
7. Minimal Shadow Crest Behind the Ear
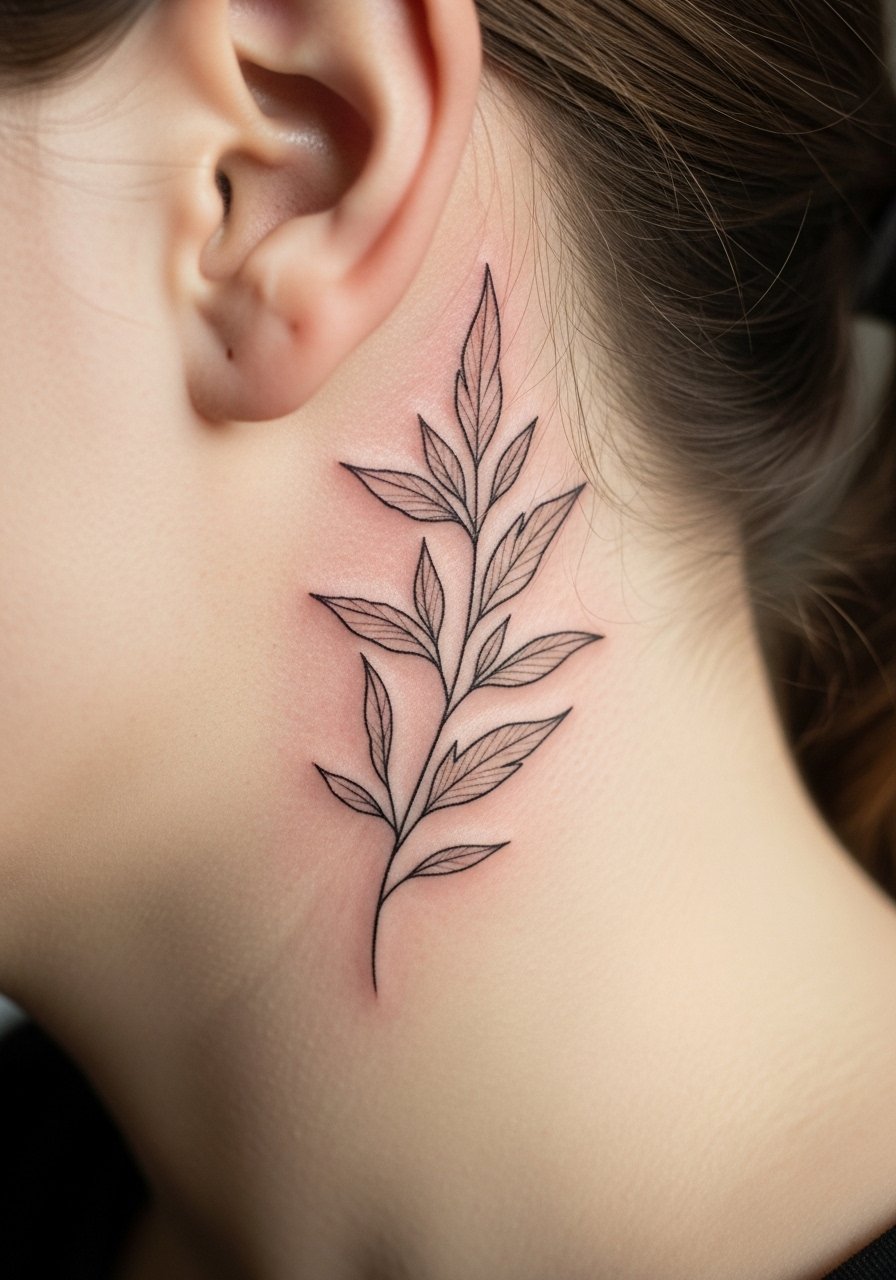
Behind-the-ear pieces are intimate and best kept small. The area is sensitive and sessions are brief but sharp. Ask for slightly heavier anchors so the silhouette reads when hair is tucked back. The common mistake is asking for tiny detail that will not resolve in such a small canvas. This placement needs a discreet artist who works well with micro proportions. For discovery, look through tattoo directories, event guest lists, and community threads rather than relying on a single feed. Because the spot is near hairline, plan hairstyles that tuck to reveal the piece for special occasions.
8. Sleeve Accent: Shadow Chain Around Wrist

A chain motif that ties into a sleeve works as an anchor piece for longer projects. Wrist chainwork needs solid linework and careful spacing so the rings do not merge over time. Pain on the wrist is moderate. This is a session-quick fill for an experienced artist but plan for precise stenciling. A common error is mismatching scale to existing sleeve elements. For showing off, stack with a minimal cuff bracelet that complements the negative spaces. Make sure your artist maps continuity between the chain and sleeve pieces.
9. Micro-Realism Wolf Head on Bicep
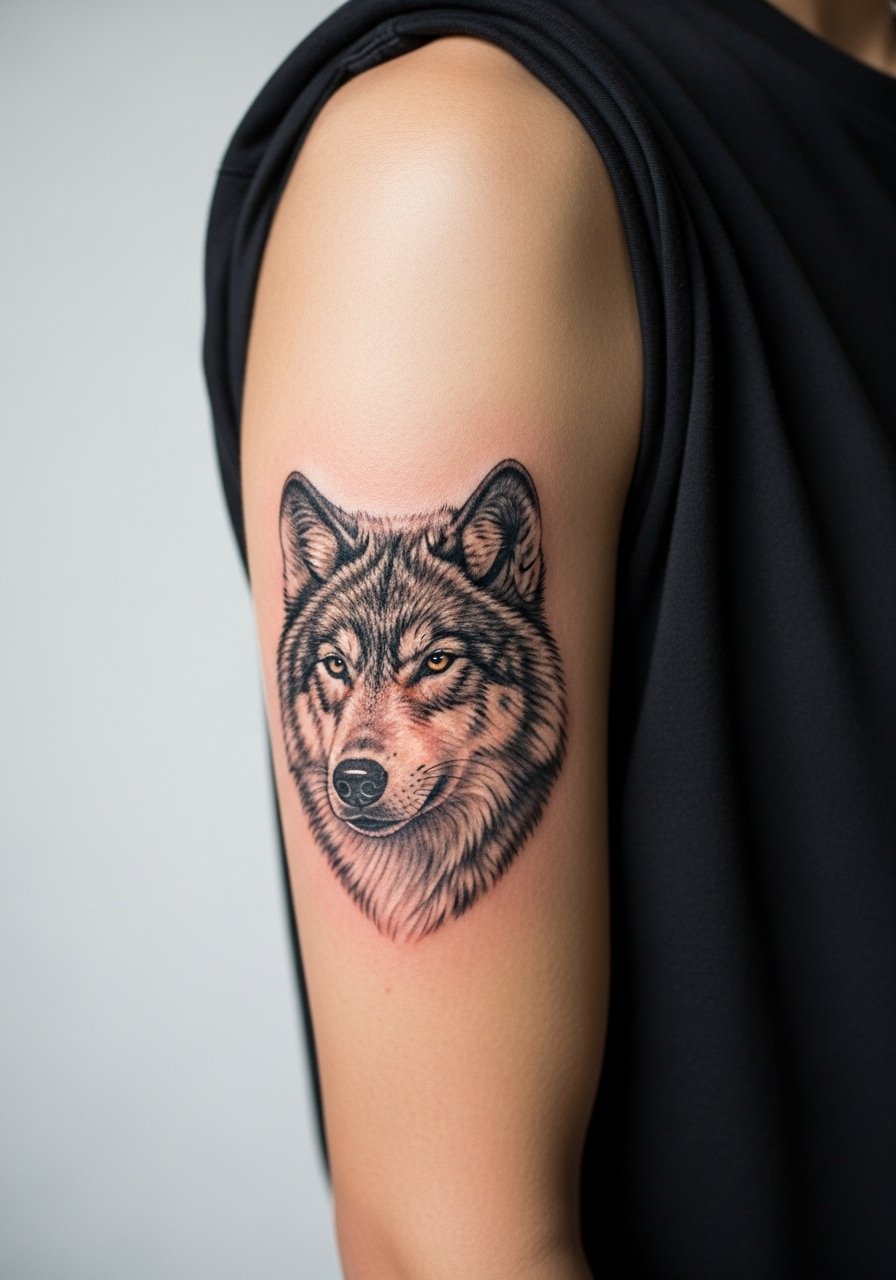
Biceps take detail well and sit in a low-friction zone. Expect a 3 out of 10 pain rating and a single multi-hour session for compact micro-realism. Tell your artist you want contrast anchors and selective stipple shading rather than wall-to-wall fine strokes. The mistake is cramming too much texture into a small bicep piece. Over time hyper-detail can blur into an indistinct gray. For casual wear pair with rolled sleeves or a short-sleeve henley so the bicep reads as an intentional accent.
10. Spine Script Running Down the Back
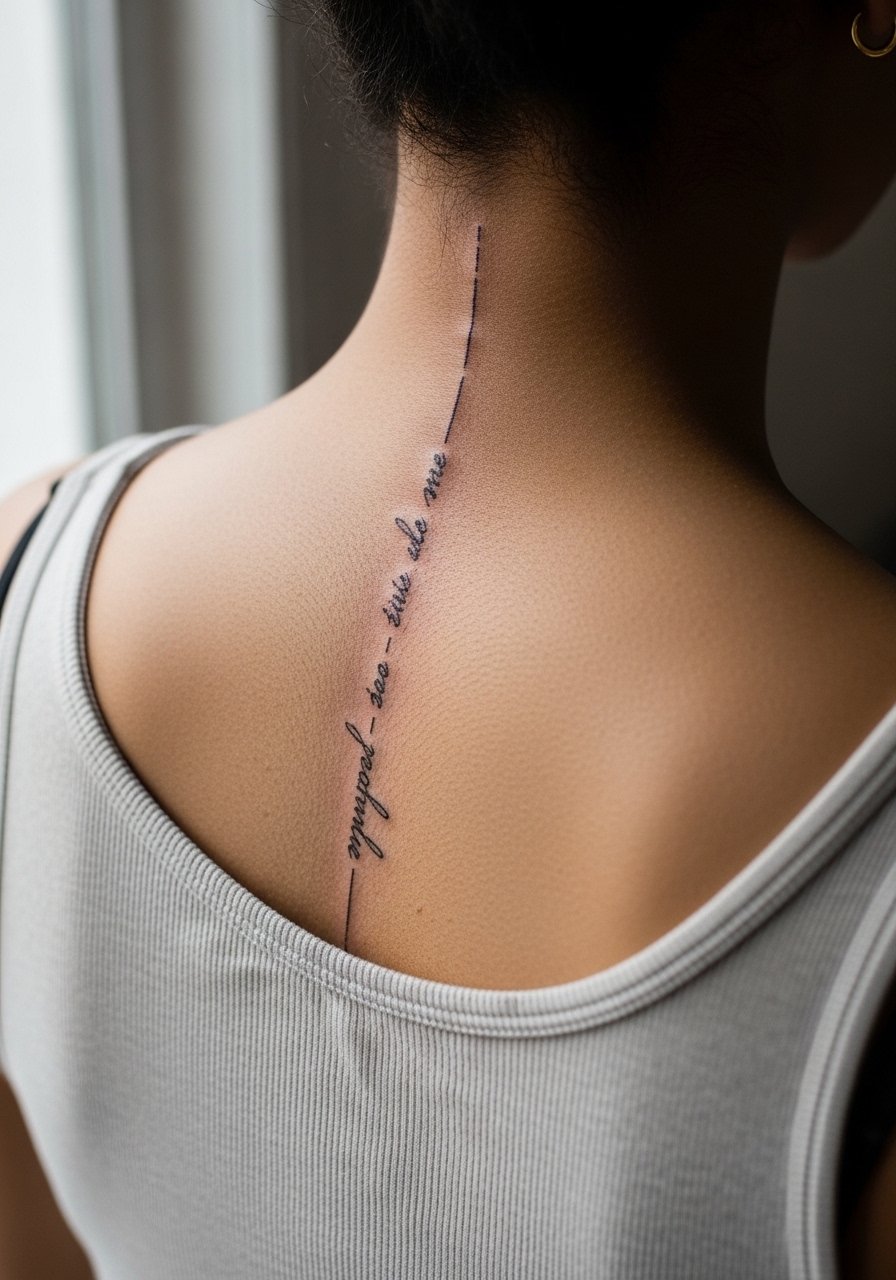
Spine script looks dramatic but it can be unforgiving on placement. Pain ranges higher near bone. Keep letters spaced and slightly bolder at stems so they do not thicken into a blur as the skin moves. A common mistake is choosing ultra-thin type that loses legibility after movement and sun exposure. For showing it off wear open-back tops or a backless dress for evenings when you want the script visible without competing jewelry. Seek artists experienced with vertical compositions.
11. Ankle Constellation Map
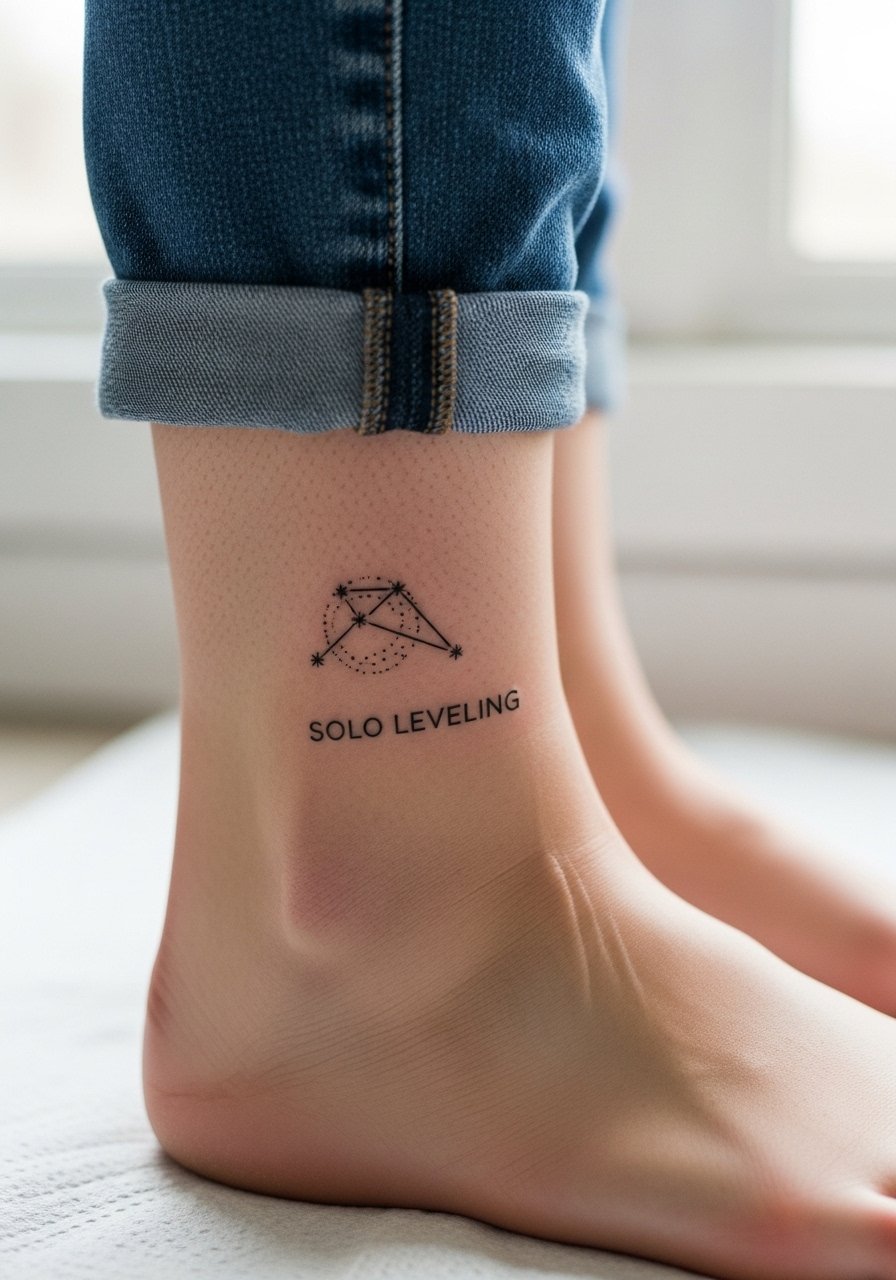
Ankle tattoos are highly visible when you want them to be and they take friction from socks and shoes. Pain is manageable and sessions are short. Use spaced dot work for stars and slightly thicker connector lines so the constellation stays coherent after a year. People often get dots too small and watch them soften into smudges. For footwear choices, sandals or cropped pants showcase the design. Try pairing with a strappy sandal for summer wear.
12. Calf Scene with Motion Blur Shading

Calf pieces age predictably because they have less daily abrasion. Sessions can be longer for larger scenes. Ask for motion lines rendered with whip shading and stipple to preserve texture as it heals. The mistake is over-smoothing gradients which then lose their sense of movement. Calf designs read well with boots or midi skirts. For the appointment wear loose shorts so the artist can work without fabric pressure on the area.
13. Tiny Gate on the Side Finger
Finger placements are beautiful and high maintenance. They tend to fade faster because of constant washing and exposure. Expect short, sharp sessions and the need for touch-ups within one to three years. If you want longevity, move the motif slightly to the side of the finger where the skin is less stretched. The frequent error is asking for solid fills on a fingertip. That part will lighten fast. For subtle styling pair with thin stacking rings rather than bulky bands so the tattoo remains the focal point.
14. Neo-Traditional Chest Panel
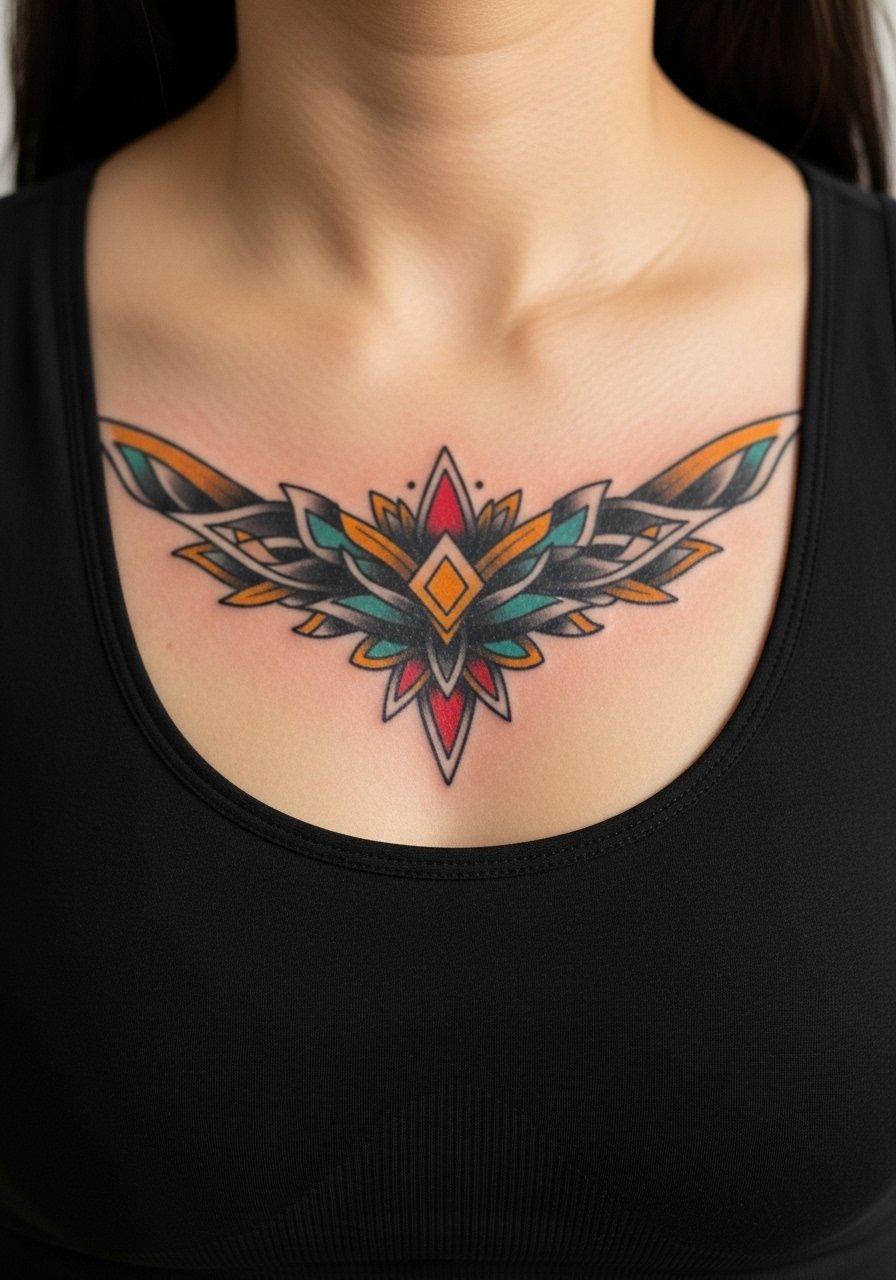
Upper chest and sternum pieces can command attention but they require careful session planning. The sternum bites with higher pain near the bone. For longevity choose bold outlines with saturated fills and plan a follow-up touch-up for color settling. One mistake is packing too many small color transitions over bone which can heal unevenly. For showing it off, wear a fitted sports bra or wide-neck tops that let the panel sit in the open when you want it visible. Expect to discuss session pacing during your consult.
15. Inner Bicep Micro Emblem

Inner bicep ink is discreet and personal and it can look crisp for years if spaced correctly. The area is tender and sessions are short but sensitive. Ask for slightly stronger line anchors and airy dot work for midtones. A common pitfall is over-detailing the emblem which then blurs as the arm moves. For session wear choose a tank top you can lift so the artist can access the area without stretching the skin. Remember to discuss aftercare recommendations with the artist at booking.
16. Subtle Back Piece near the Shoulder Blade
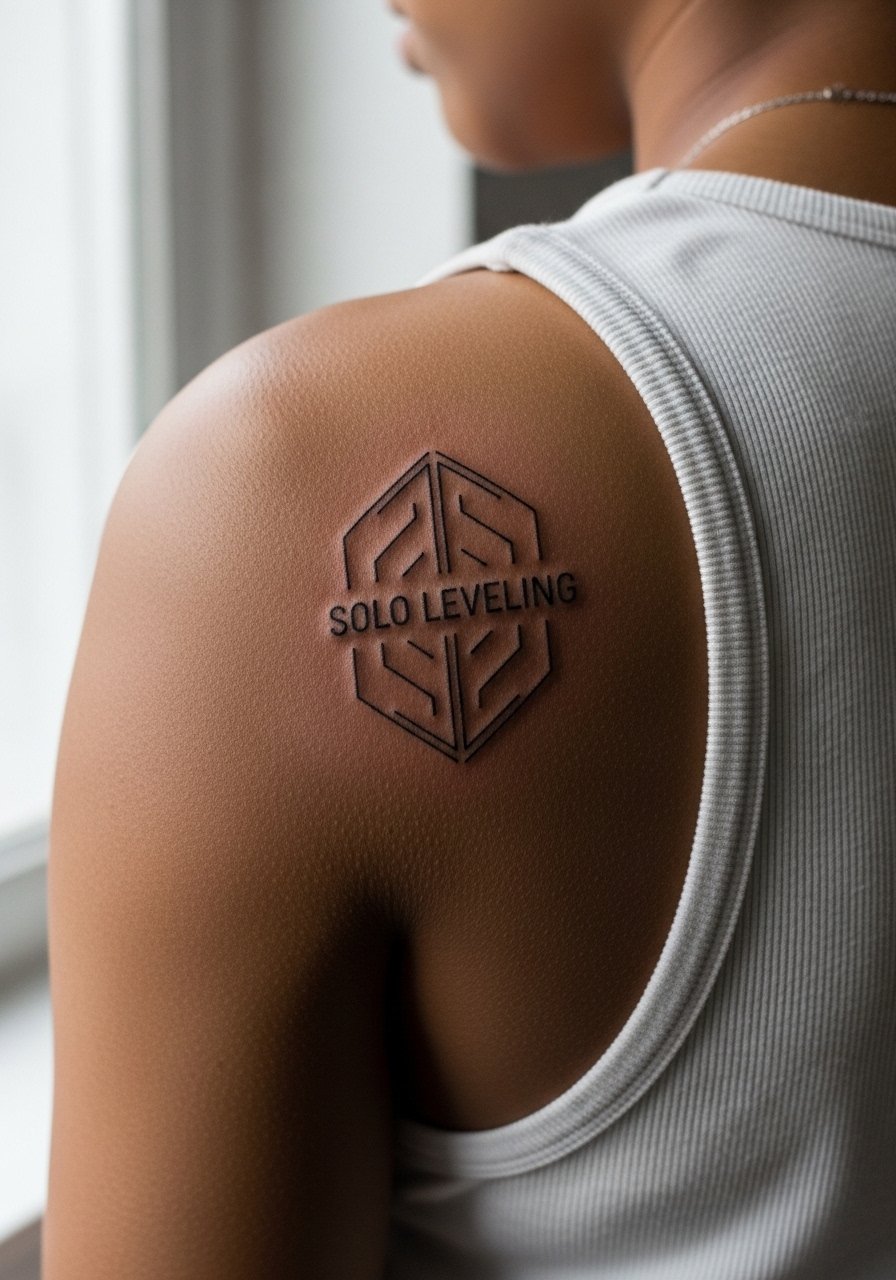
Shoulder blade pieces are relatively low-maintenance and are great for medium-sized compositions. Pain is lower and sessions are comfortable with strategic breaks. Use a combination of fine line contour and stipple shading for depth that does not rely on heavy saturation. Mistakes include placing too much micro-detail that disappears under fabric friction from backpacks and straps. For showing it off, choose open-back tops or a slip dress. If you plan frequent backpack use mention that at the consult so the artist can plan protective spacing.
17. Ankle-to-Foot Flowing Rune

Top-of-foot designs are delicate and highly exposed to wear. The area is sensitive and sessions can be uncomfortable. To preserve the lines choose slightly bolder strokes for the runes and avoid tiny dot fills. A common issue is choosing heavy coverage on the foot which can wear away unpredictably due to shoe friction. For showing it off pick low-profile sandals or cropped trousers. Bring shoes that are easy to slip on after the session and mention your usual footwear during consultation.
18. Forearm Band with Stipple Fill

A forearm band can act as a frame for larger projects or stand alone as a wearable piece. The area heals well and is good for medium sessions. Ask for modest spacing between the stipple elements so the texture does not congeal over time. Many people ask for extremely tight dot patterns that later merge into a gray block. To style it, roll sleeves or pair with a leather bracelet that echoes the band without overcrowding the wrist area.
19. Shoulder Cap Shadow with Negative Space

Shoulder caps hold saturated blackwork well because they are less exposed to daily friction. Sessions vary in length. For an elegant look use bold fills with intentional negative space cutouts so the design breathes. A mistake is filling every inch which makes the piece heavy and harder to maintain. For session comfort wear a loose button-down shirt you can pull aside so the artist has clear access without full undressing. Touch-ups are usually straightforward for this placement.
20. Inner Thigh Narrative Panel
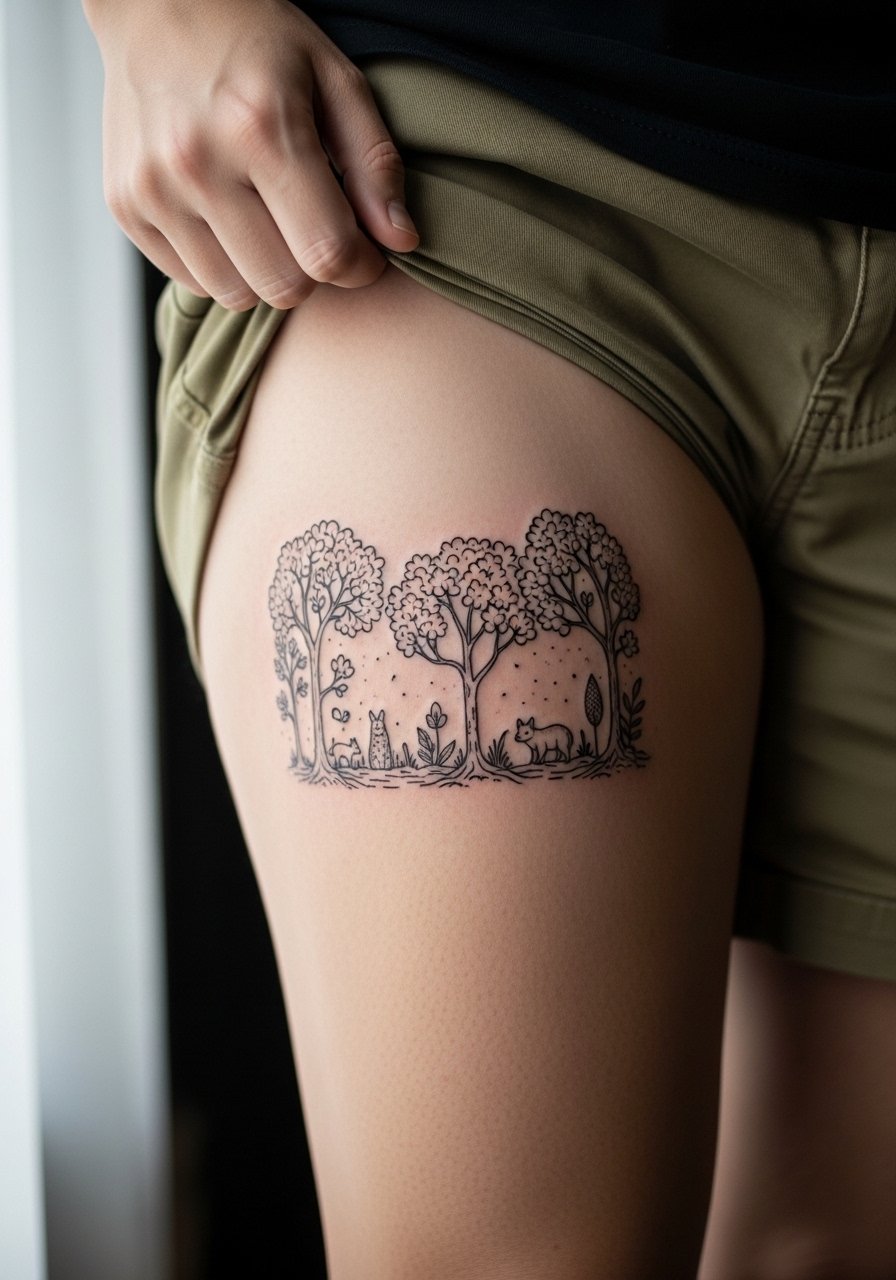
Inner thigh work is very private and often chosen for its concealability. The area is sensitive so expect higher pain and thoughtful session pacing. Keep lines slightly bolder and spacing generous so the panel holds up despite occasional friction from clothing. The mistake is overcrowding the panel with tiny scenes that lose clarity. For the session wear shorts you can shift without exposing more than the artist needs. This is a place where a touch-up after healing is common and should be part of the plan.
21. Collarbone-to-Shoulder Minimal Wing
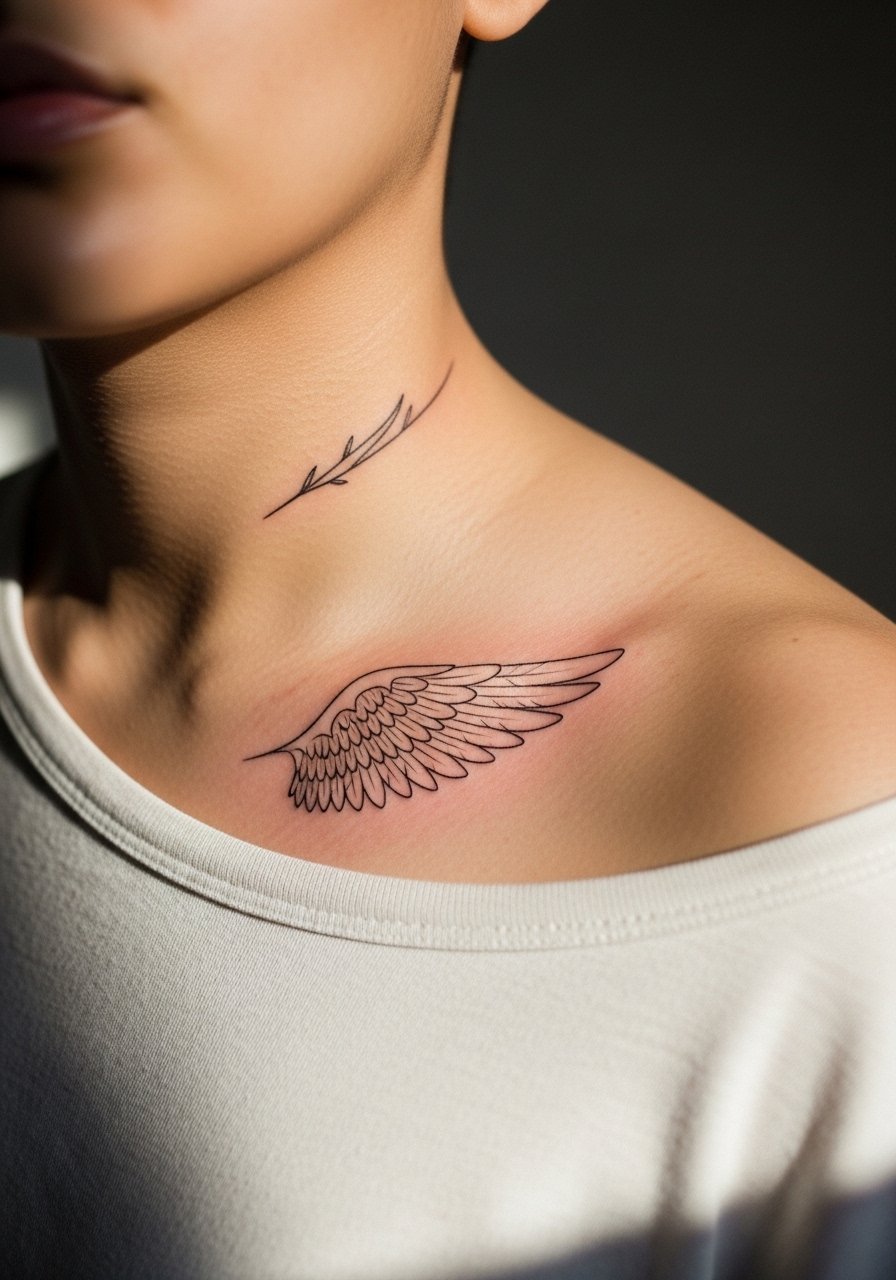
This placement gives a sense of motion and frames the upper torso in a subtle way. Pain is moderate and a single session can usually complete a minimal piece. To age well use defined anchors with soft whip shading for feather details. People often request feather tips that are too fine and later lose their shape. For daytime wear pair with an open-shoulder top so the wing sits framed without competing accessories. Ask about touch-up timing during your consult.
Frequently Asked Questions
Q: Will a fine line Solo Leveling piece on my ribs blur faster than one on my forearm?
A: Yes ribs and forearm age differently. Ribs move with deep breathing and are thinner which can make ultra-fine lines soften sooner. Forearms see sun but they have better tissue for consistent linework. Discuss spacing and slightly stronger anchors with your artist so either placement reads well over time.
Q: How often should I expect touch-ups for finger and wrist glyphs?
A: Finger and wrist areas often need touch-ups within one to three years because of constant washing and friction. Plan for a short refresh session and talk timing at the first appointment so your artist can plan line weight accordingly.
Q: Are there career or visibility considerations for chest, hand, and neck tattoos?
A: Yes certain workplaces still have visible tattoo policies. Hand and neck pieces are most visible and could affect some jobs. Chest pieces can be concealed with shirts. Think about your day-to-day dress and career plans before choosing a highly visible spot.
Q: How do I find an artist who understands the Solo Leveling aesthetic without naming specific shops?
A: Use tattoo directories, convention guest lists, and dedicated fan threads to find portfolios. Search relevant hashtags and look for healed photos rather than fresh ones. That gives a realistic sense of how their linework and saturation settle.
Q: Should I pick an artist who does micro-realism or one who specializes in blackwork for a character portrait?
A: It depends on the look you want. Micro-realism suits face-level detail but it can soften faster on thin skin. Blackwork gives a bold, readable silhouette that ages predictably. Ask to see healed photos of similar placements and discuss touch-up plans before booking.
Q: What should I wear to a rib or sternum session to make the appointment easier?
A: Wear a fitted sports bra or a wide-neck top you can lift so only the area needed is exposed. Comfortable layers help during recovery. A zip-up hoodie is useful afterward to avoid fabric friction while dressing.
