
Fine line cat paw prints are everywhere on saved boards, but the ones that still read crisp after three years use spacing and needle depth differently than the viral pieces. Tiny pads with too-dense detail can blur fast. These 27 elegant paw-print ideas lean into placements and techniques that age better, with quick notes on what to ask your artist and how to show them off.
1. Minimalist Single Paw on Inner Wrist
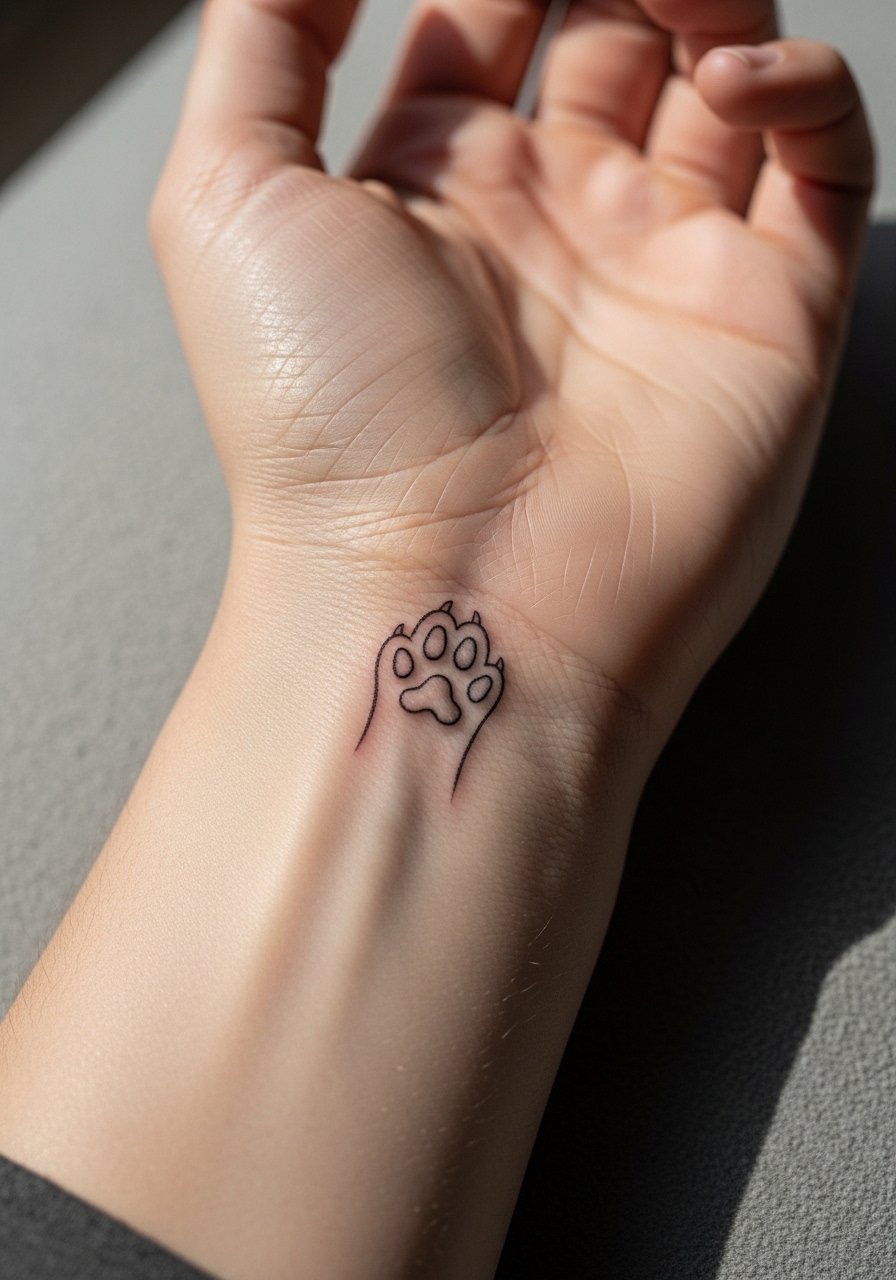
I favor a tiny, one-pad paw on the inner wrist for first-timers who want subtle meaning without committing to a sleeve. Tell your artist you want slightly heavier linework than a hairline so the tiny pads keep shape at year two and year five. Fair warning, wrists get constant friction from bracelets and typing which nudges touch-up timelines earlier. For the session wear a racerback tank you can roll the sleeve up easily. Expect a 30 to 45 minute session, light sting during the lining, and a likely touch-up around year two.
2. Tiny Paw Cluster Behind the Ear

A trio of tiny paw dots behind the ear reads like a secret tribute. Since that area sits below the hairline on the neck, mention during consultation that you want shallow placement so the dots stay crisp without risking blowout. This skin shifts with sleeping and shampooing, so touch-ups are common. The session feels quick and sharp because the needle passes close to bone. Hand discovery pathways like local studio portfolios or hashtag searches help here. Keep expectations realistic on longevity and ask about spacing to avoid merging.
3. Watercolor Paw with Fine Line Contour on Shoulder

A watercolor wash inside a crisp paw outline gives pet tribute energy without heavy saturation that risks muddying. I recommend stipple shading inside the pads to anchor color and slow fade. Tell your artist you want the contour to hold a thin even line with the watercolor sitting mostly within it. For showing off, pair this with a loose button-down shirt you can pull aside as needed. The session runs longer because of layering color, and you should expect a touch-up in year two for vibrancy.
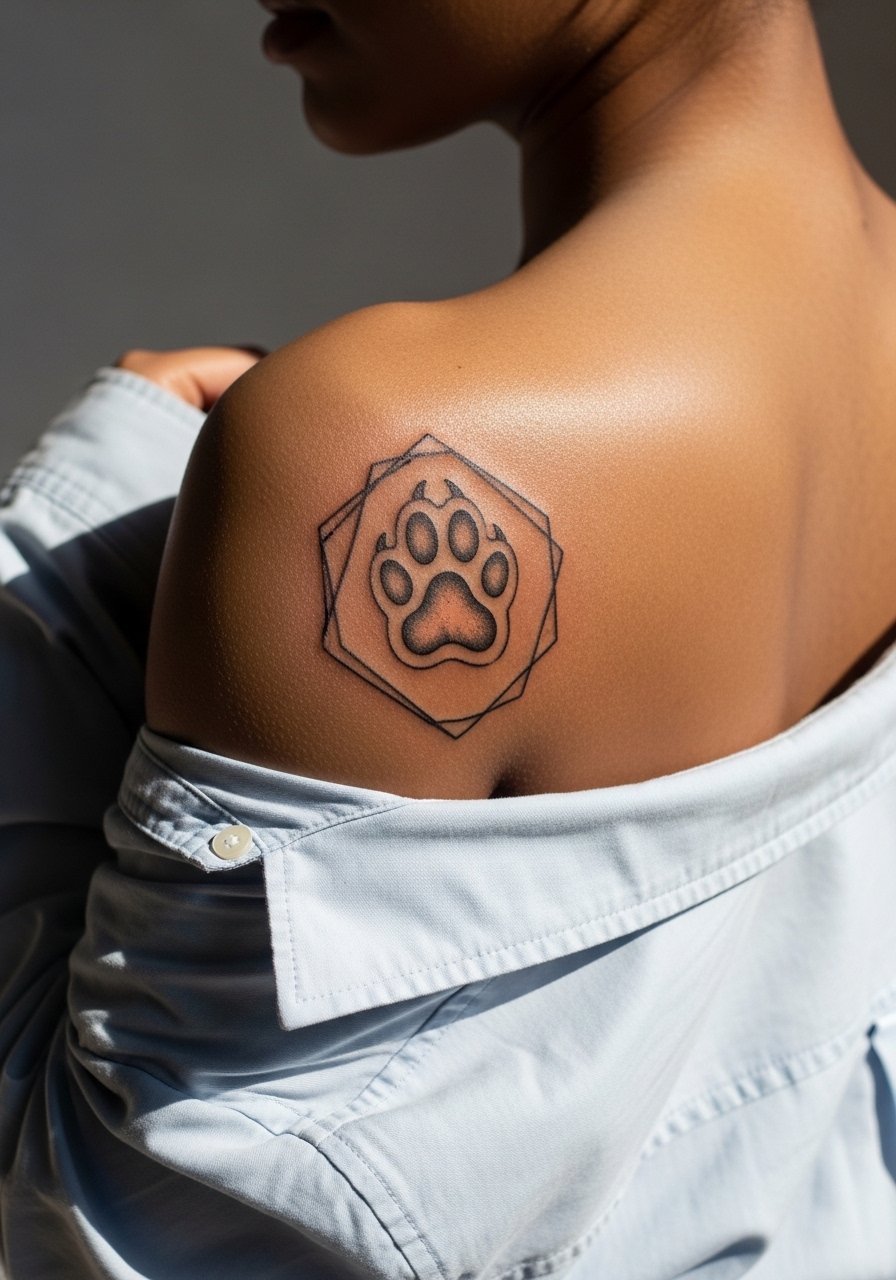
4. Geometric Paw Print on the Ankle

Geometric paw prints translate well to the ankle if you give the shapes room to breathe. The biggest mistake is shrinking a complex geometric pad too small. Ask for slightly thicker linework at the corner points to avoid premature blur. Ankle sessions are prone to movement discomfort but usually finish under an hour. For evenings out try a simple ankle bracelet that frames the tattoo without covering it. Expect slower fade on the ankle if you wear closed shoes that rub.
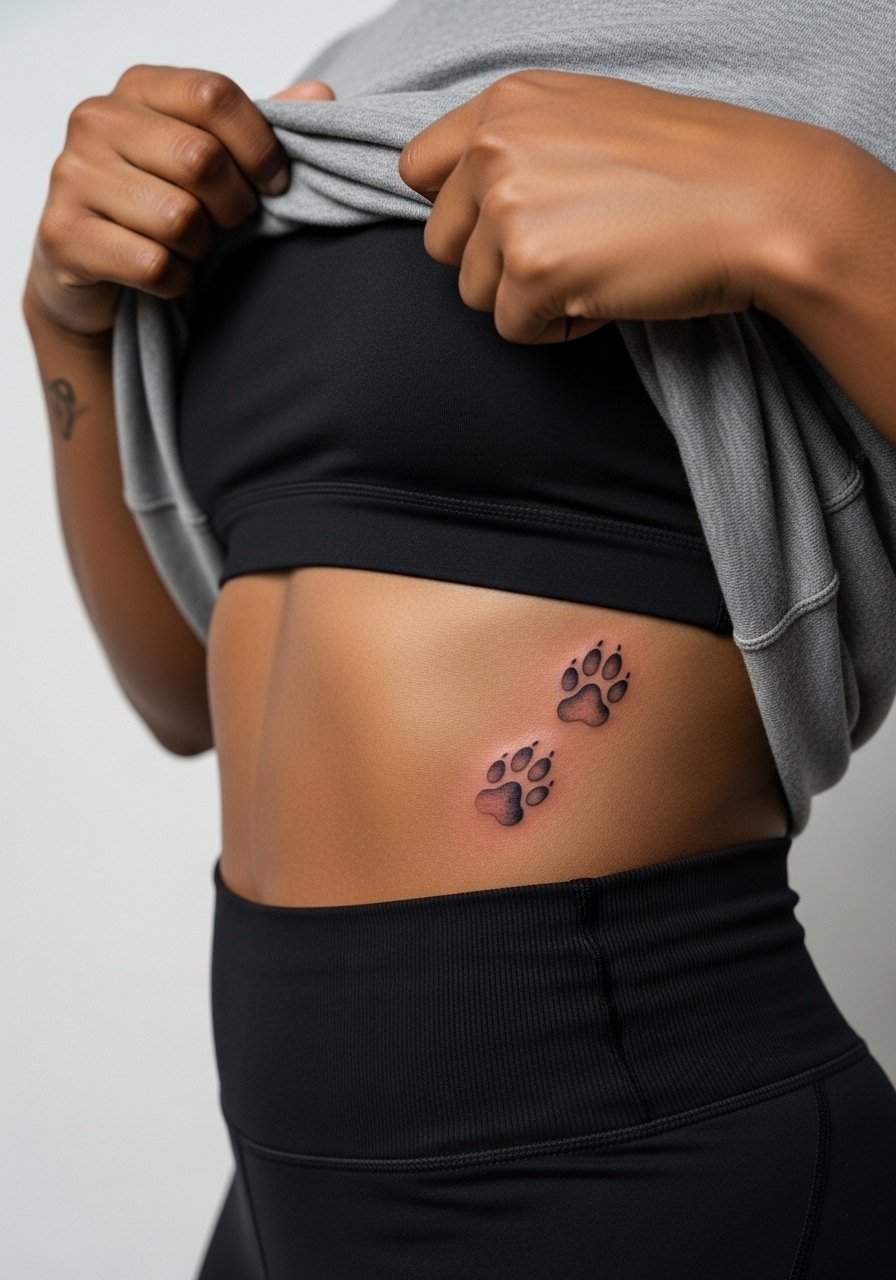
5. Paw Trail Along the Side Ribcage

Side rib designs look intimate and cinematic. Pain on the ribs is higher than the arm so plan a longer break schedule during the session. Artists split on fine line here. One camp says the skin stretch blurs delicate lines fast. The other camp argues that with proper needle depth and spacing the lines settle fine. Ask your artist where they stand and request slightly more spacing between prints. For the appointment wear a sports bra or cropped top that lets them access the area without full exposure. Healing can feel tight, and touch-ups are not unusual.
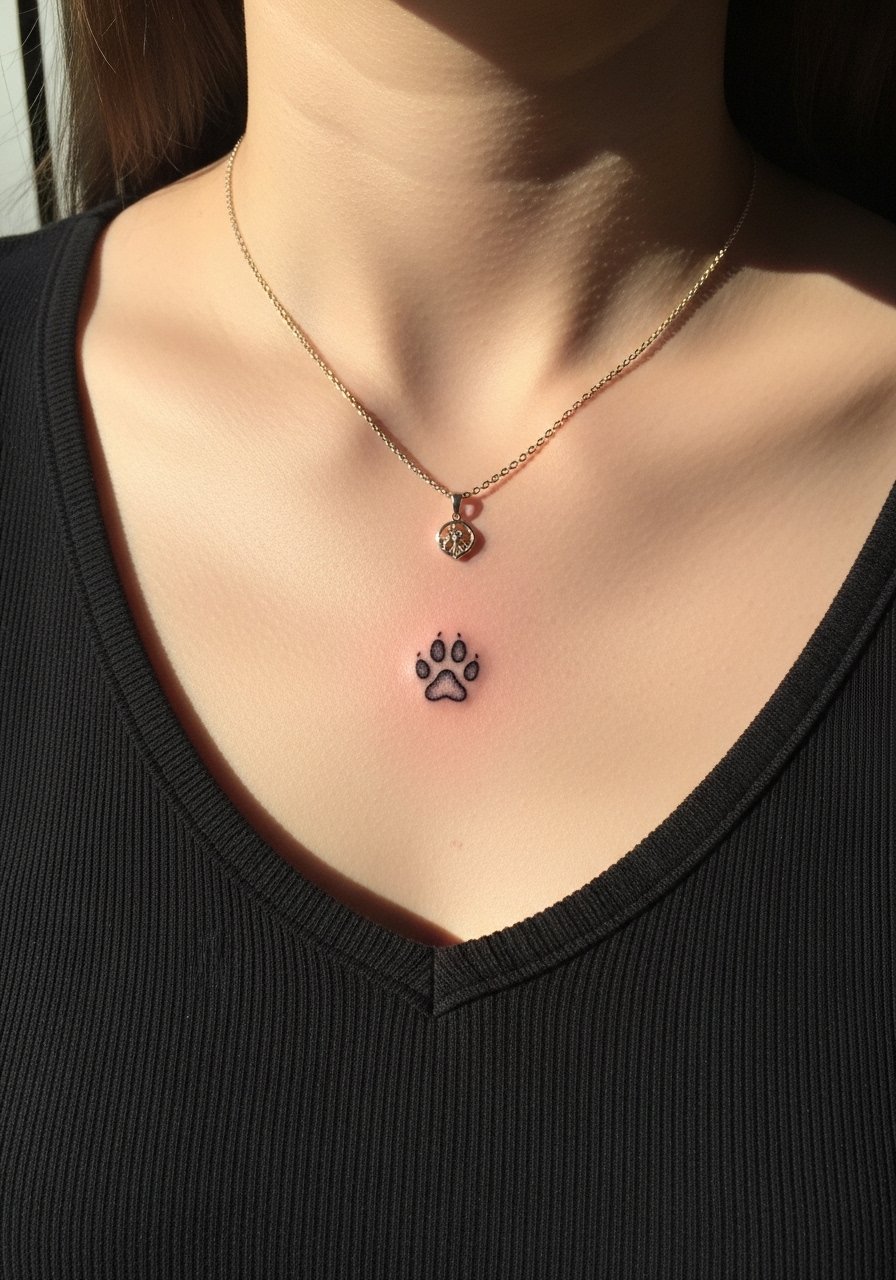
6. Paw Print with Script Name on Collarbone

Pairing a small paw with a name on the collarbone keeps the tribute readable when done at the right scale. When you consult, specify exact lettering style and size because text near bone can blur if too fine. The collarbone sits high on visibility so consider workplace norms. For evenings or photos this shows nicely with an open-back midi dress or a thin chain pendant that sits above the script. The session feels stinging near bone, and a touch-up at two to three years is common for crisp lettering.
Studio Day Picks
The wrist and collarbone pieces above call for easy access and light prep items that make the session smoother and the first week easier.
- Stencil transfer sheet kit. Lets you preview the paw placement on skin so you can test size and rotation before the needle starts, which helps with small wrist and collarbone layouts.
- Topical numbing cream. Applied about 45 minutes before can take the sharp edge off sensitive spots like the ribcage or inner wrist without affecting linework.
- Thin protective film roll. Useful for finger and wrist prints that face constant washing and friction, helps the area stay clean the first few days.
- Fragrance-free gentle body wash. Cleans the healing zone without stripping pigment on delicate fine line pads.
- Aquaphor healing ointment. A thin layer during the first 48 hours keeps fine line work from drying into flakes that pull ink.
7. Stipple-Shaded Paw on the Inner Forearm
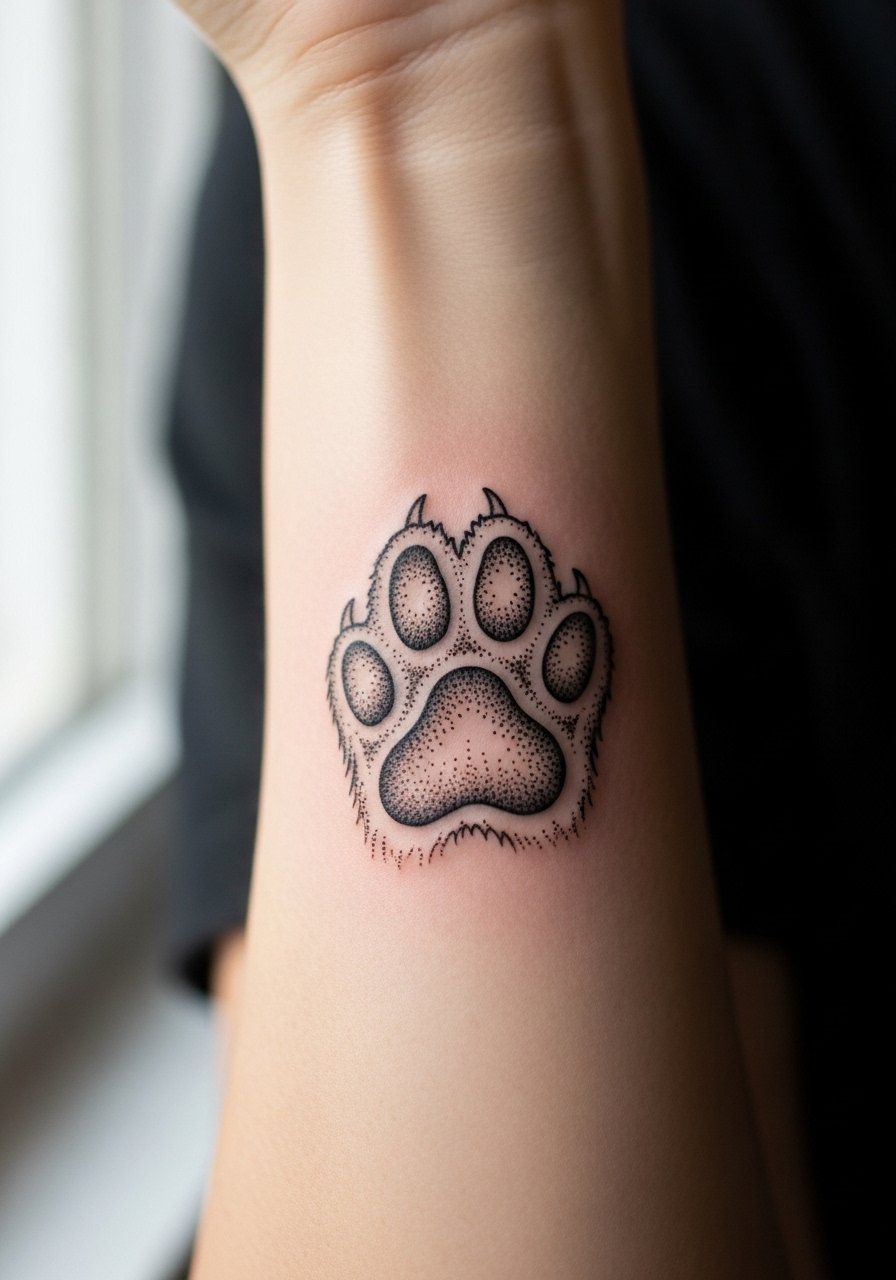
Stipple shading inside a medium-sized paw reads like texture instead of flat color. I usually tell people to go for dot work that fades from dense in the pads to sparse toward the toes. During consultation mention "stipple" and show reference images so the artist matches scale. Inner forearm placement hurts moderately and heals predictably with low blowout risk because the skin there is stable. For showing off pair with rolled-up sleeves and a thin chain bracelet. Expect a two-hour session if the dots are dense and a touch-up at three to five years.
8. Micro-Realism Paw on the Side of the Hand

Hand placements carry trade-offs. They look intimate and visible but the skin there is thin and exposed to constant washing which accelerates fade. For a micro-realism paw on the hand request slightly bolder shading in the pads rather than ultra hairline detail. The session feels sharp and quick. Be prepared for a touch-up in the first 12 to 18 months. Also consider career visibility because hands remain among the most noticeable placements. Discovery through local studio walk-ins helps because hands often require an artist confident in fast, saturated work.
9. Watercolor Paw Trail Up the Side Rib
A soft watercolor trail along the ribs reads poetic when the colors are kept light and layered inside clear contours. The common mistake is letting watercolor bleed outside the outline which makes the pads lose definition. Ask your artist to keep the contour slightly raised and use stipple blends inside the pads. Session discomfort is notable on the ribs so plan breaks. For sessions wear a high-waisted bottom and a cropped tee that can be shifted so only the tattooed strip shows. Expect color refresh in two to three years.
10. Tiny Paw on the Side of a Finger
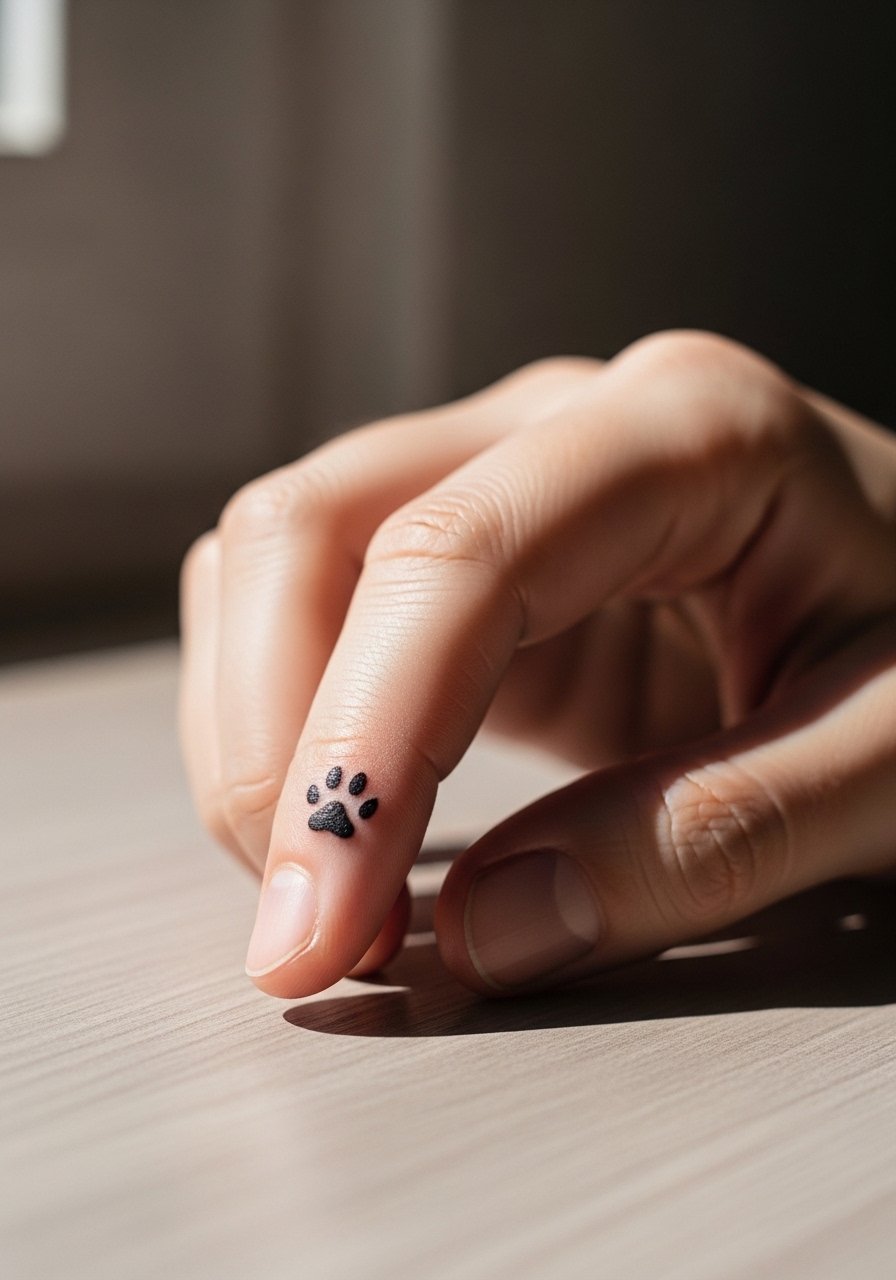
Finger skins are unforgiving for fine detail. The biggest mistake is asking for overly intricate pads in a space that rubs against rings and pockets. For a lasting result request bold tiny pads rather than micro texture. The session is brief but the fade rate is high and touch-ups are often needed in the first year. Protective film helps in the first week though it is a short-term fix. Keep in mind finger tattoos sometimes migrate and require maintenance. Trade the extreme detail for clarity at small scale.
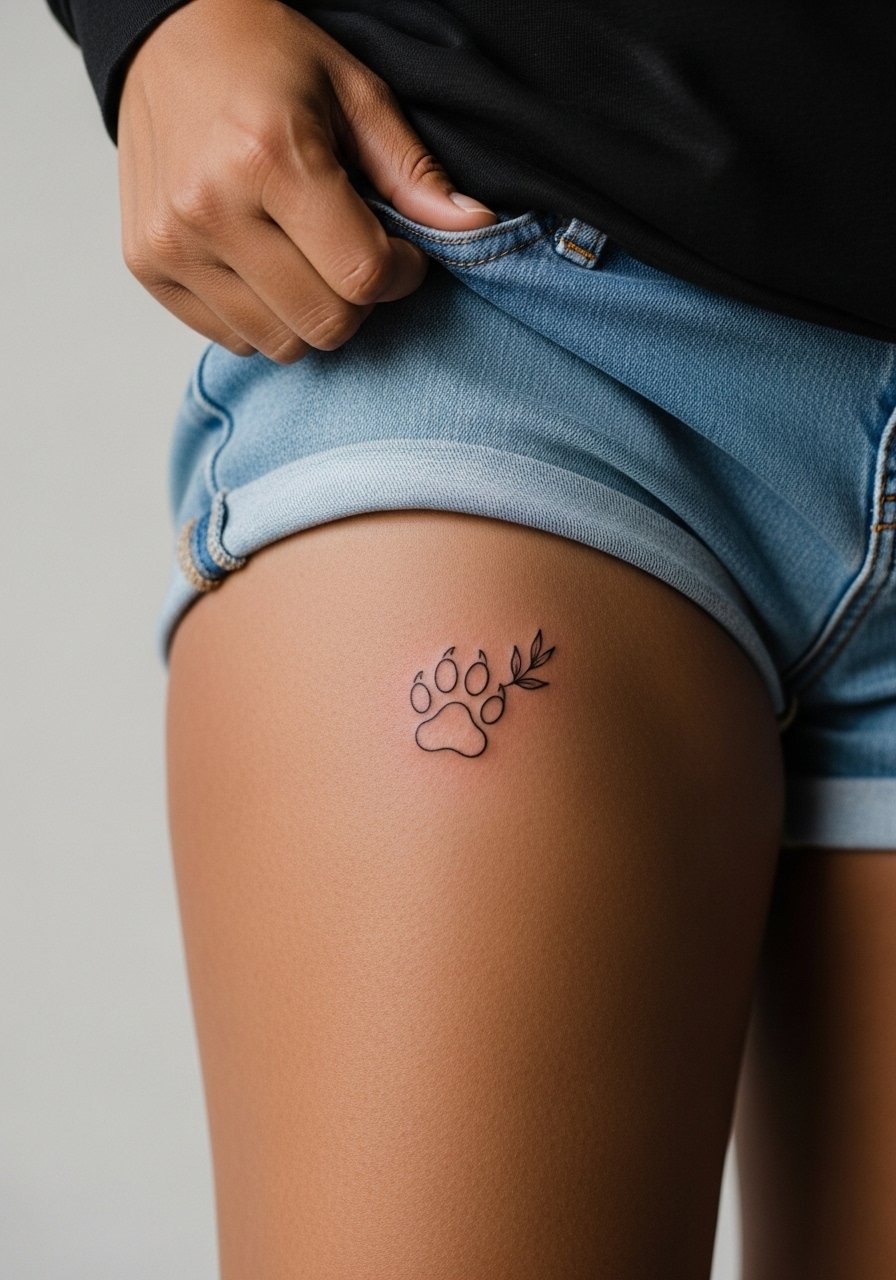
11. Paw Print with Floral Accent on the Upper Thigh
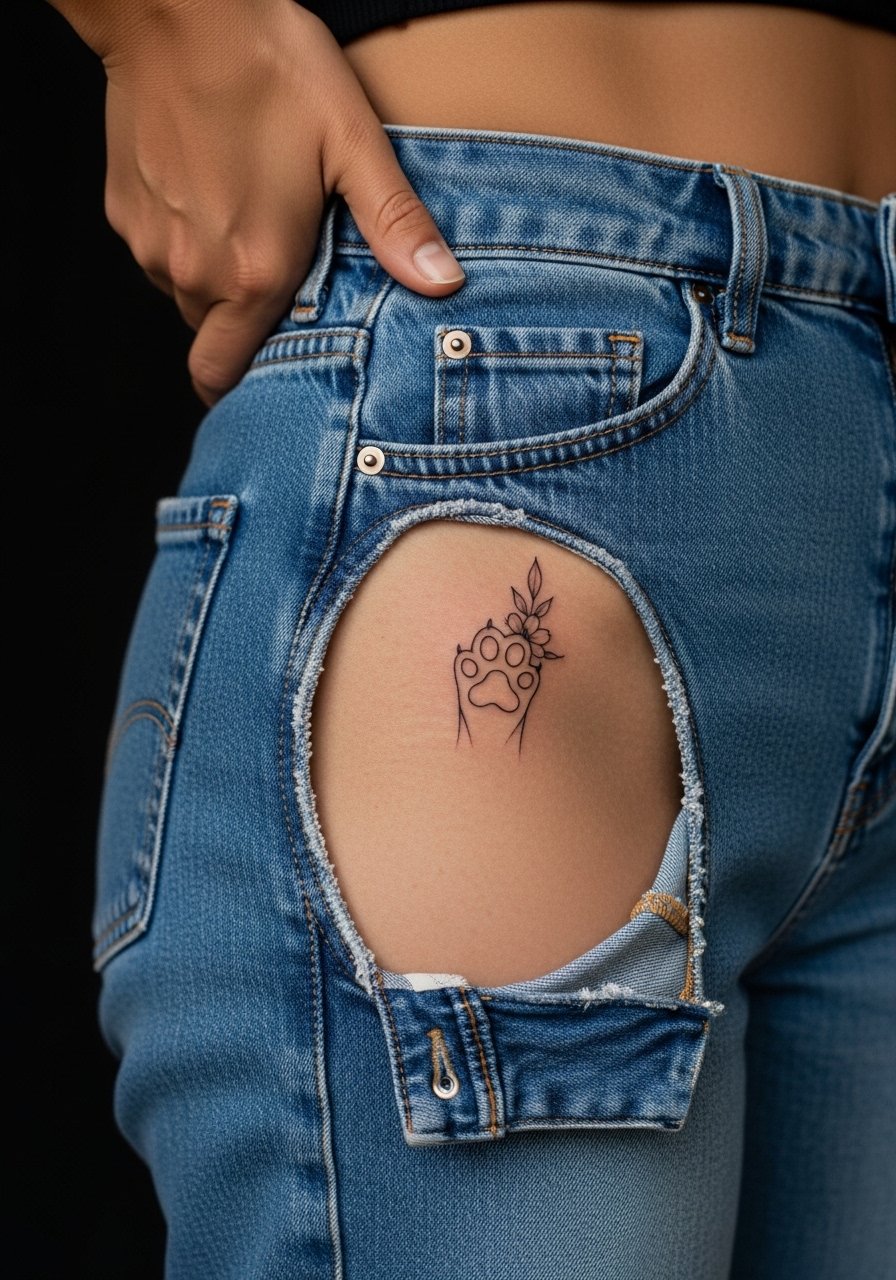
Combining a paw with a tiny floral motif gives softness and frames the print for photos. Inner thigh and hip areas are sensitive so pick an artist experienced with that skin type. During consultation mention exact flower size and spacing so the cluster breathes rather than crowding the paw. For the appointment wear high-waisted bottoms you can shift easily like high-waisted denim. Sessions here can feel deep and tender and may require breaks. Expect touch-ups at two to three years depending on friction from waistbands.
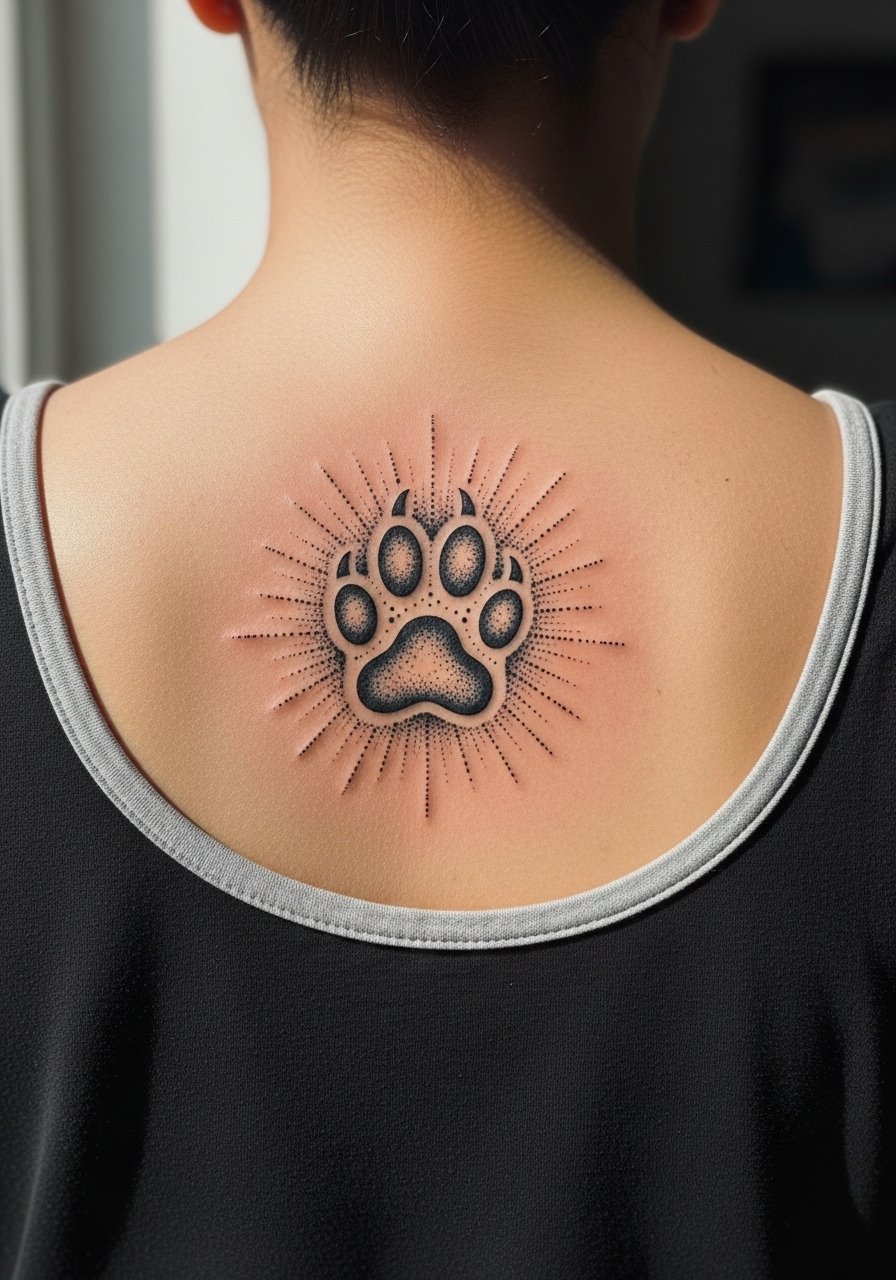
12. Paw Print Negative Space on the Back of the Neck
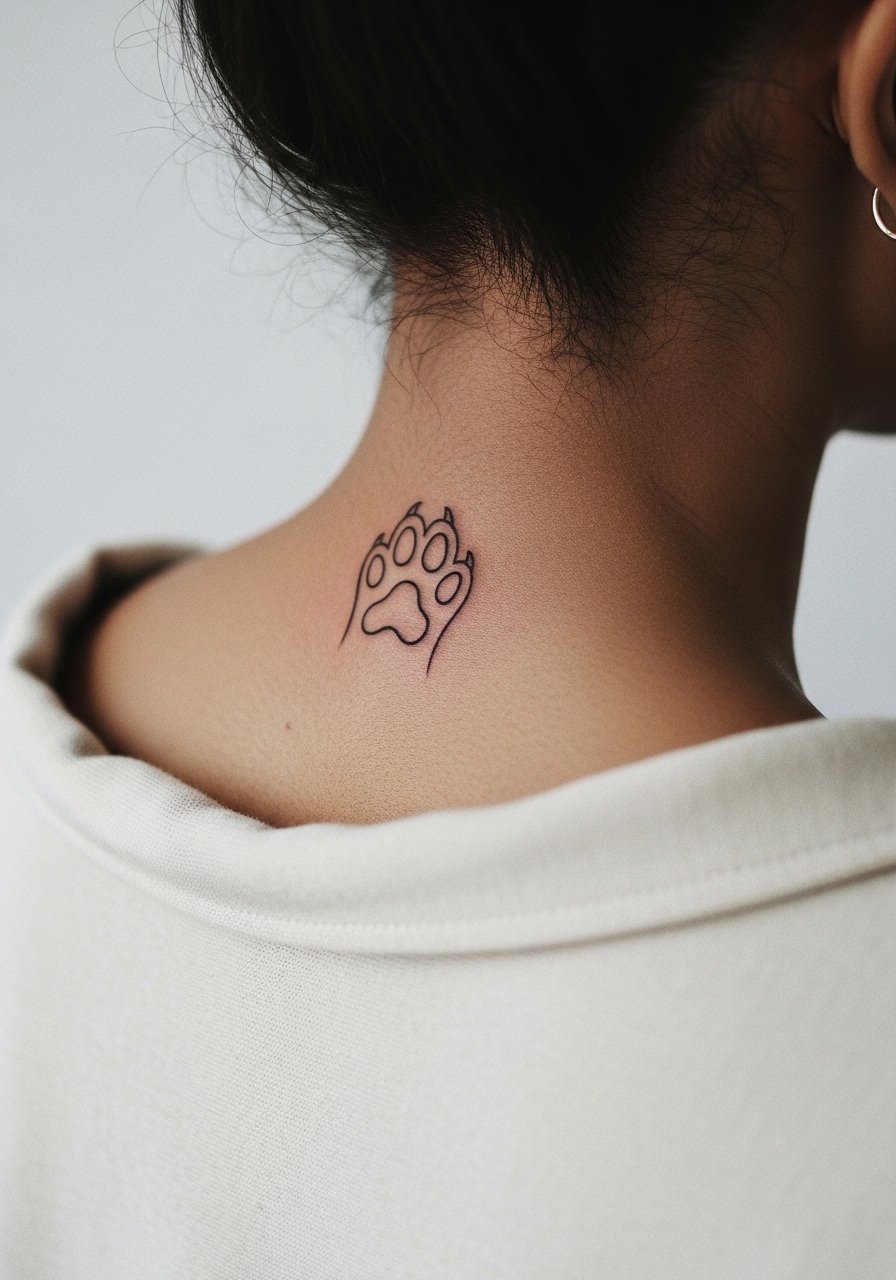
Negative space paw prints use surrounding shading or dot work to make the pads read without filling them. That trick keeps saturation low which helps longevity. The neck requires a confident hand because any wobble shows readily. Ask for a slightly heavier outer line to keep edges crisp. Consider how often you will show the neck at work. The session is quick and the touch-up window varies by exposure to sun. Keep hairline changes in mind when picking placement.
13. Paw and Crescent Moon on the Upper Arm
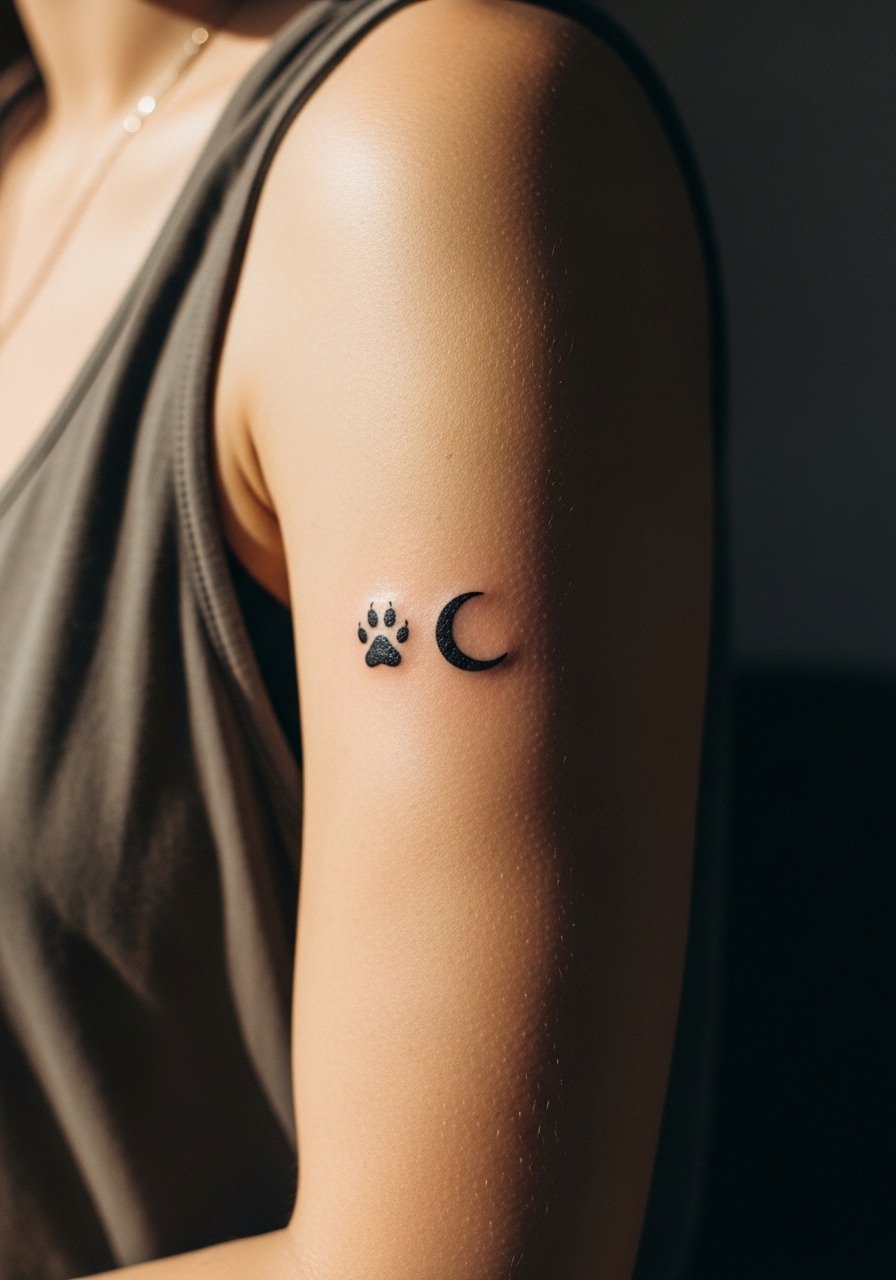
Pairing a paw print with a small moon gives a subtle narrative. For upper arm placement ask the artist to place the moon so the paw reads as foreground. This spot handles finer linework with lower blowout risk, and sessions are comfortable. For showing off wear a loose tank top that frames the upper arm without covering the piece. Expect the piece to hold shape well through five years with occasional touch-ups for line crispness.
14. Minimalist Paw on the Side of the Foot

Foot tattoos face rubbing from shoes and frequent movement which speeds fading. The common error is putting too much tiny detail into a small foot pad. I recommend bold simple pads and asking for deeper saturation in the first session so pigment has a chance to settle. Sessions here are uncomfortable for some because bone is close. Healing can feel sticky if sandals kick up dust. Use sandals or shoes that do not press on the area for the first two weeks.
15. Paw Print Pair on the Collarbone Edge

Two small prints staggered along the collarbone read modern and balanced when spaced properly. The risky move is putting them too close which blurs the negative space over time. Ask for measured spacing in your stencil preview and expect a short session with mild tenderness near bone. For date nights a thin chain pendant necklace sits above without distracting. Touch-ups for collarbone text or small lines are common due to thin skin.
16. Abstract Paw with Geometric Lines on the Forearm
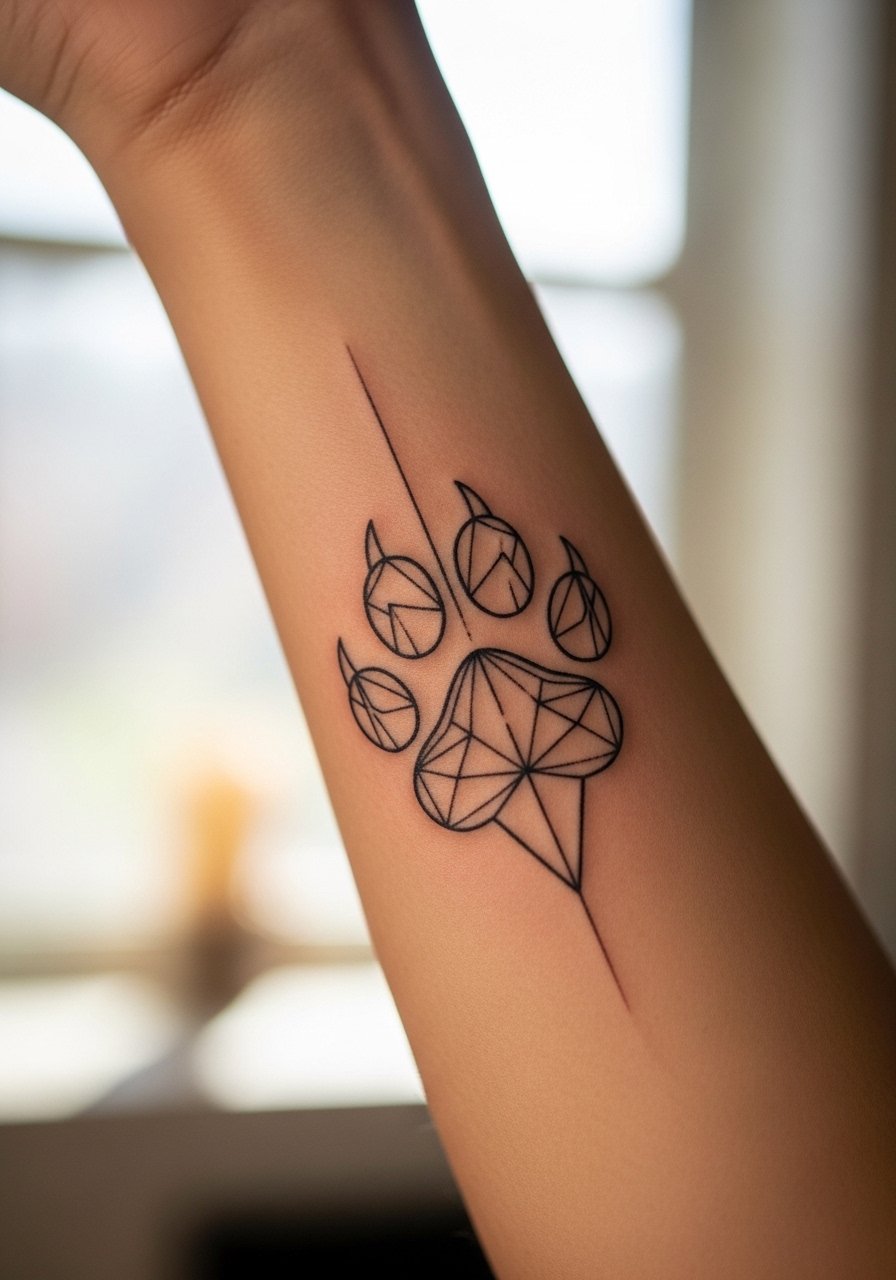
Abstract and geometric paw prints make a modern statement while avoiding literal detail that ages poorly. Tell your artist you want open spacing between lines and avoid tiny internal intersections. The forearm carries low blowout risk and ages predictably, though direct sunlight will soften contrast over time. Sessions feel steady and manageable. A touch-up in three to five years keeps the geometric crisp. Pair informally with rolled sleeves for a casual reveal.
17. Tiny Paw Under the Clavicle with Dainty Chain Styling
An under-clavicle paw is delicate and visible in low necklines. Keep the pads simple and avoid micro-texture. During consultation specify exact spacing relative to the collarbone so a necklace does not sit on top of the tattoo. For showing off wear a thin chain pendant necklace that complements rather than competes. Session discomfort is mild and healing is straightforward if you avoid tight tops against the site. Expect a touch-up in a few years if you sun-expose the chest.
18. Paw Print with Dot Work Halo on the Upper Back
A halo of dot work around a paw lifts it visually without heavy color. Ask for gradual density so the dot field dissipates naturally and does not compete with the paw. The upper back is low risk for blowout and handles dense dots well. Sessions are comfortable and often done in a single sitting. For post-session photos an open-back top or strapless dress shows the halo off. Touch-ups for dot work are typically minor.
19. Paw Print on the Inner Bicep with Script Arc
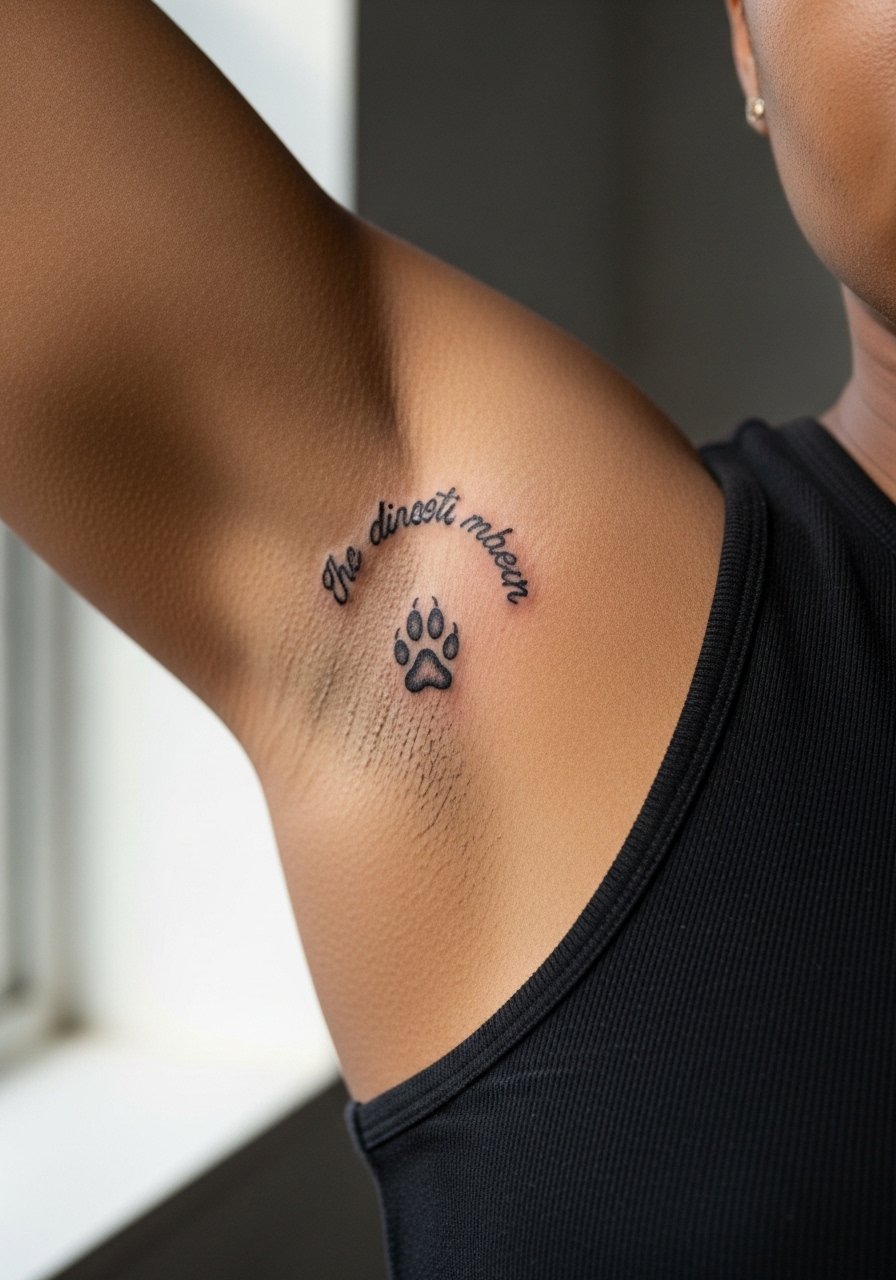
Inner bicep placements hide nicely and wear well if spacing is correct. The skin here moves with muscle, so tell your artist you want a slightly bolder script arc and a clear gap between letters and the paw. The session feels tender but manageable. For the appointment wear a loose tank top you can lift without restricting circulation. Expect a touch-up if the arc sits too close to the pads as muscle use can blur tight connections.
20. Paw Print Trio on the Calf
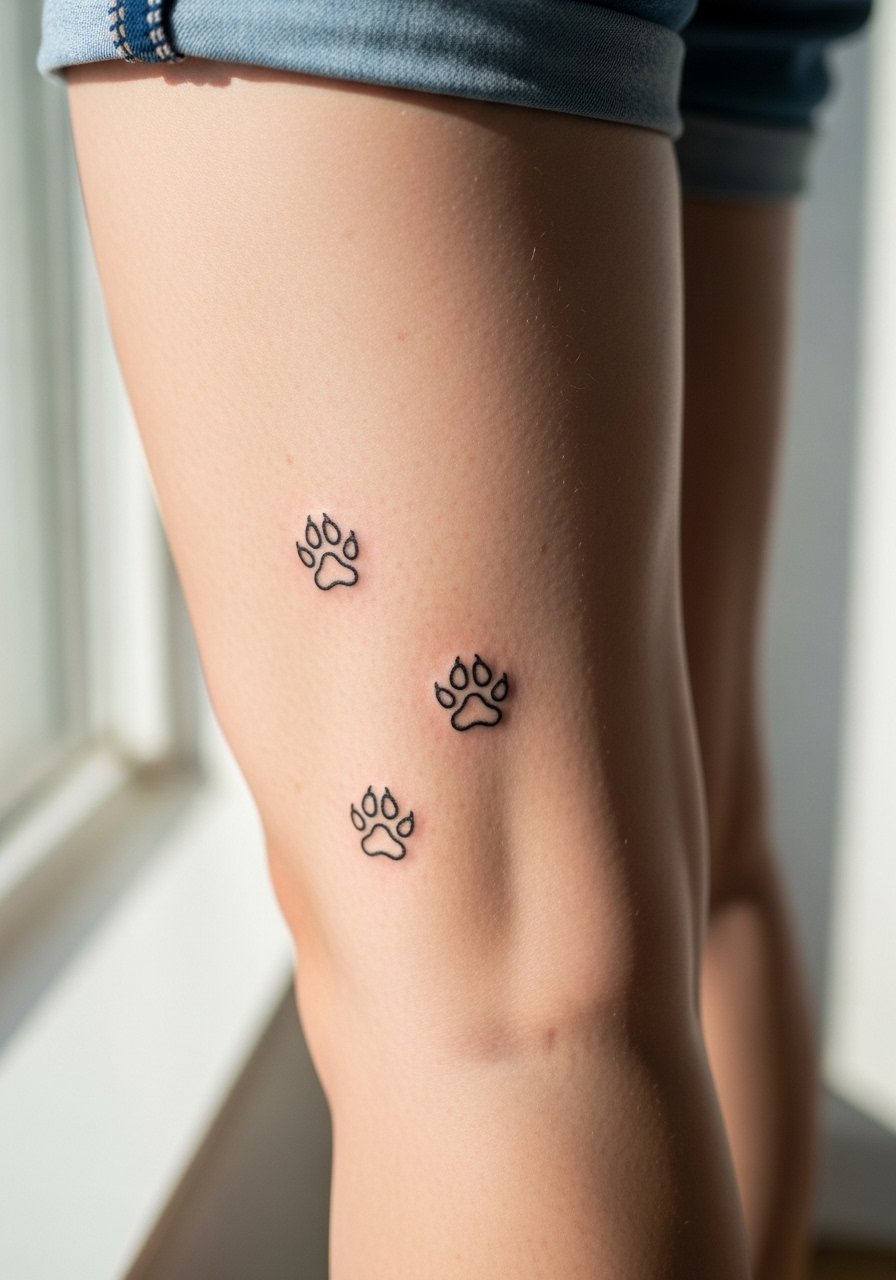
Calf placements tolerate saturation and age well thanks to thicker skin. A diagonal trio lends motion and reads easily in photos. The main mistake is crowding the prints in a vertical stack so they lose negative space. Ask for a preview with your calf flexed so the artist sees muscle shifts. Session pain is mild and healing is straightforward. Pair with mid-length skirts or shorts for showing off. Touch-ups are rare if you avoid constant sun exposure.
21. Paw Print over a Scar on the Upper Arm

Using a paw to integrate a scar can turn an old mark into a focal point. Not all scars accept ink equally so mention the scar's age and texture during consultation. The artist might suggest a slightly altered placement or denser saturation to compensate. Sessions over scar tissue feel different because the needle meets uneven resistance. For the session wear a loose tank top that allows easy access. A touch-up is more likely when ink sits over scar tissue.
22. Paw Print with Tiny Stars on the Wrist

Adding tiny stars around a wrist paw injects personality without clutter. Keep star sizes simple to avoid busy fades. The wrist area contacts clothing and is washed often so expect earlier fading than the forearm. The session feels quick and the sensation mild. Protective film in the first days helps but regular washing still nudges pigment out. Plan for a touch-up within one to two years depending on lifestyle.
23. Paw Print with Geometric Backing on the Shoulder Blade
Layering a simple geometric shape behind a paw keeps the design architectural and resilient. The shoulder blade handles linework well if the geometry is not too dense. Tell your artist to avoid tiny intersections where the paw touches the backing so the negative space survives over time. For the session wear a loose button-down shirt you can shift easily. Expect low maintenance aside from sun protection.
24. Paw Print on the Side Hip
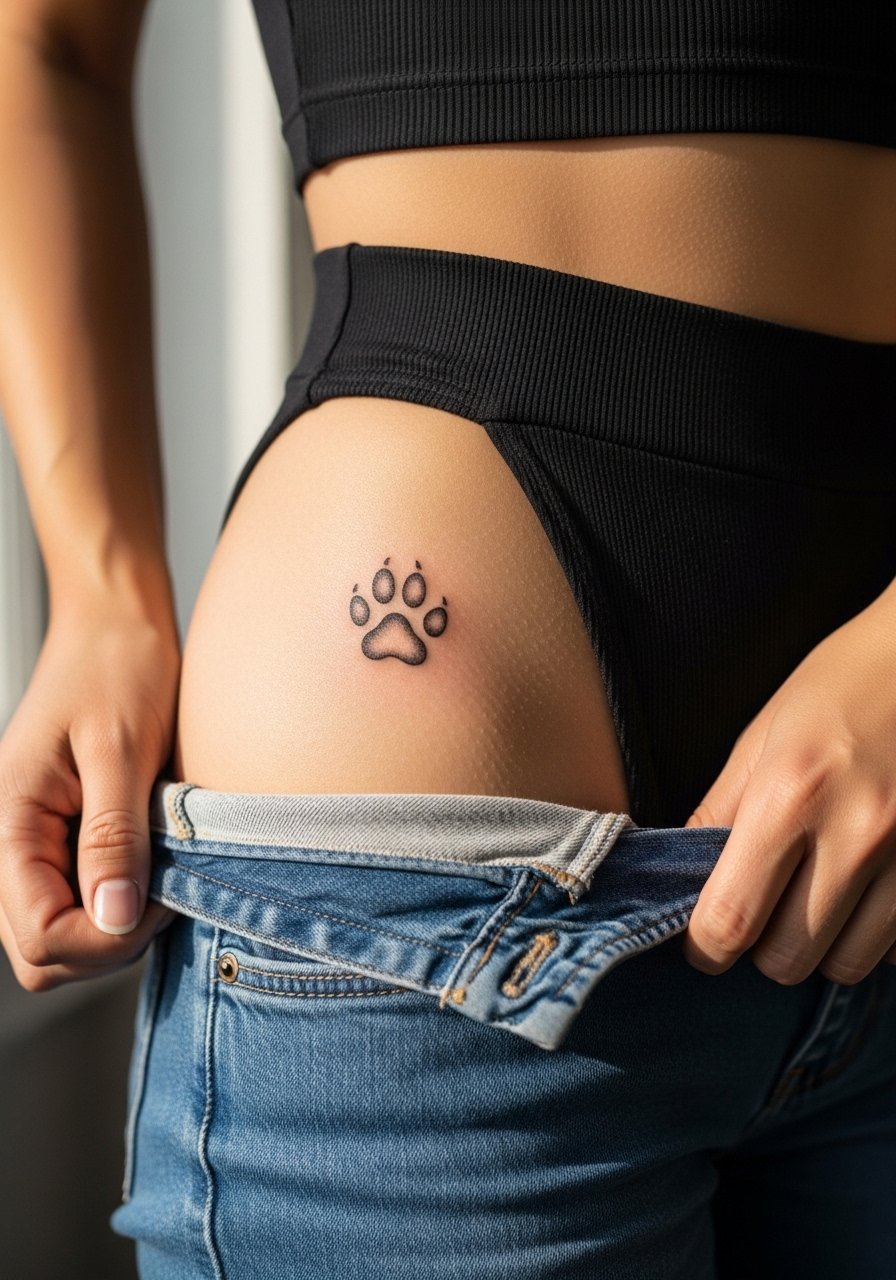
Hip placements are sensual and private, they also suffer from waistbands and shifting fabric. Ask for the paw to sit slightly higher than your waistband so friction is minimized. The session can feel tender and sometimes awkward depending on seating. Wear flexible high-waisted bottoms to your appointment so the artist can access the area without full exposure. Healing depends on your clothing choices in the first two weeks.
25. Paw Print with Lace Impression on the Sternum
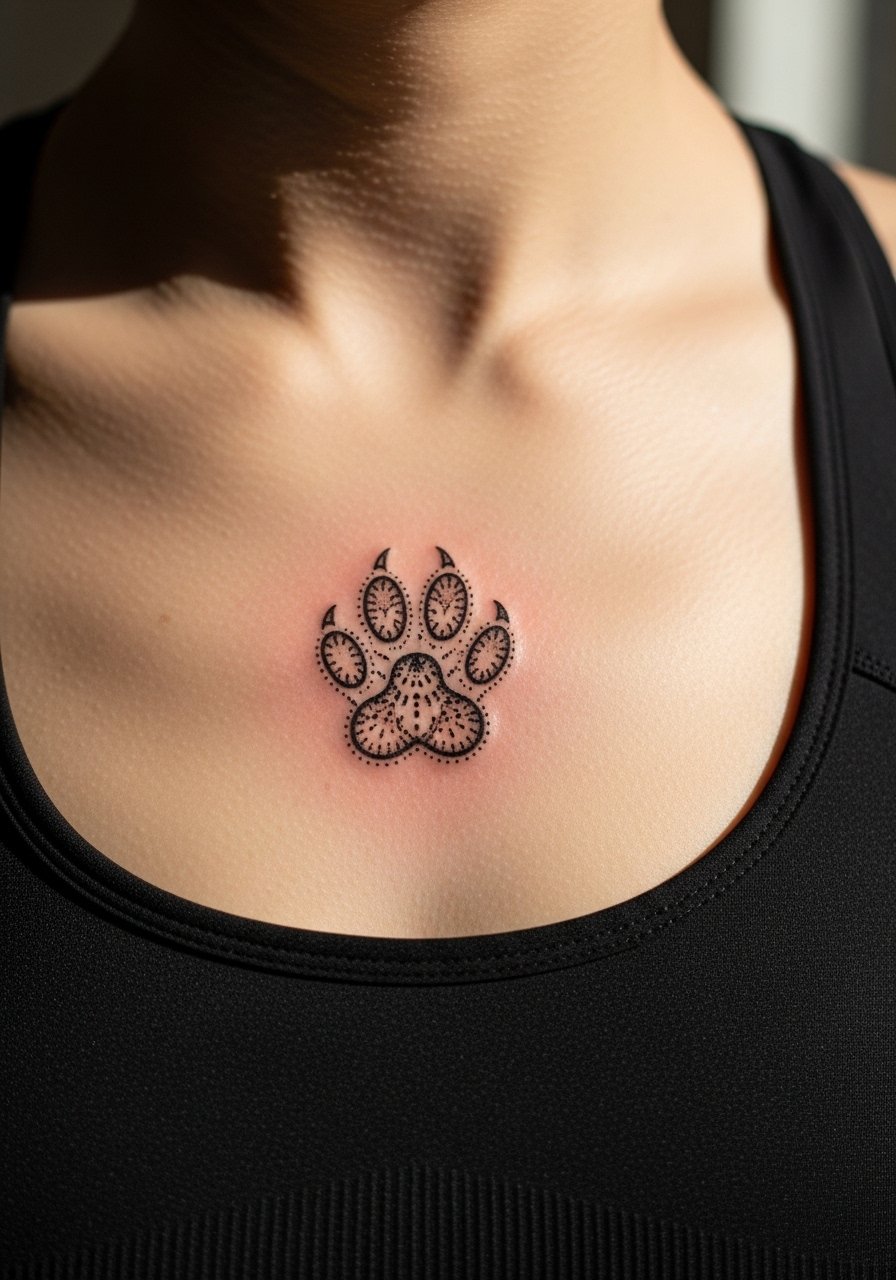
Sternum pieces are intimate and look striking with lace-style dot work radiating from a central paw. Do not arrive wanting micro details pressed too close to the midline, they blur over time. Tell the artist you want breathable spacing in the lace so the pattern keeps its lightness. For the session wear a fitted sports bra you can lower slightly so only the area shows. Pain is higher and healing can feel sensitive, and a touch-up is often part of the long-term plan.
26. Paw Print on the Inner Thigh with Tiny Vine
Inner thigh designs reward privacy and can look very elegant paired with a small vine. Because the area rarely sees sunlight, color longevity can be good but friction from clothing matters. During consultation mention the vine length and whether it should hug the paw or float separately. For the session wear shorts you can shift easily like loose drawstring shorts. Expect tenderness and a higher likelihood of a touch-up if the area rubs against pants.
27. Matching Mini Paw Pair for Ankles
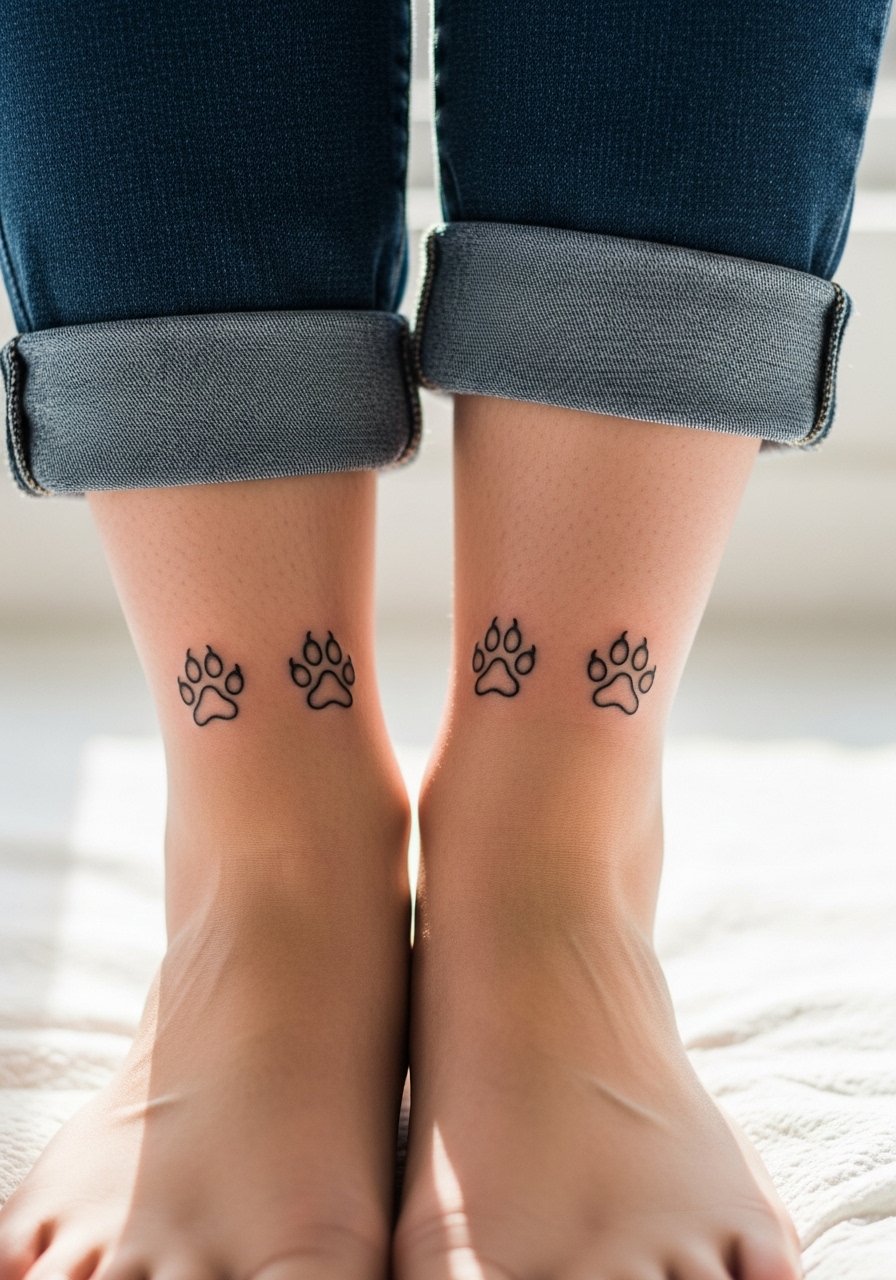
Matching small paws on both ankles read cohesive and playful for someone who likes symmetry. The challenge is keeping the pairs identical in scale and rotation. Use the stencil transfer during placement so you can compare both sides before the first pass. Ankle skin handles bold tiny pads better than micro detail. For showing off slip into sandals or roll your jeans and add an ankle bracelet. Expect touch-ups depending on shoe friction and sun exposure.
Frequently Asked Questions
Q: Will tiny paw prints on the wrist and fingers blur into one another over time?
A: They can if they are placed too close or done with ultra-hairline strokes. I recommend leaving visible negative space between prints and asking for slightly stronger lineweight at tiny scales. Also plan for touch-ups within one to three years depending on washing and friction.
Q: Is it true that fine line paw designs fade faster on the ribs than on the forearm?
A: Yes, many artists divide into two camps on this. One camp says rib skin stretches and fine lines blur faster. The other camp says with correct depth and spacing fine line can settle well. The practical step is to ask your artist where they stand and request spacing or slightly bolder lines if you prefer longevity.
Q: What should I wear to the appointment for a sternum or ribcage paw tattoo?
A: Wear a fitted sports bra or a cropped top that can be shifted so only the tattooed strip shows. This gives the artist access while keeping you comfortable. A loose zip hoodie is also handy for travel afterwards.
Q: How often do ankle and foot paw prints need touch-ups compared with upper arm pieces?
A: Foot and ankle areas face more abrasion and water exposure so expect touch-ups sooner, often within one to three years. Upper arms generally retain saturation longer, so their touch-up windows are broader, often three to five years.
Q: Can I pair a tiny paw with jewelry like necklaces or bracelets without risking the tattoo getting covered or irritated?
A: Yes. When placing the tattoo, show your artist the jewelry you plan to wear so they can position the design for photos and daily wear. For necklaces choose delicate chains that sit above small collarbone or sternum pieces. For wrists pick thin bracelets so the tattoo is not constantly rubbed.
Q: How do I find an artist who understands small paw print work if I do not want to name or follow a specific person?
A: Look through local studio portfolios, use hashtag discovery for small-scale work, and check walk-in or appointment galleries. Ask for healed photos of similar small-scale pieces and see how the linework looks at ages one and two. That gives you the best sense of how the artist’s technique ages.
