
Fine line Creation of Adam riffs look incredible fresh, and they do not always age the same. What trends light up saved boards today often need spacing choices and placement thinking to survive daily wear, fabric friction, and sun exposure. Below are 27 edgy takes on the Creation of Adam motif with what to ask for in consultation, how each version heals over time, and practical styling notes to help you show it off or cover it for work.
1. Inner Forearm Fragment in Fine Line

I recommend this when you want the detail of the fingers visible at arm length. Tell your artist you want slightly heavier primary contour lines and delicate stipple shading inside the shadows so the fingers do not blur into one another over time. Fair warning: the inner forearm reads low on pain but gets sun exposure that bleaches fine line, so plan touch-ups at year three if you spend time outdoors. Common mistake is asking for hairline strokes everywhere. For the session, wear a loose button-down shirt you can roll up to the elbow without fabric tugging.
2. Stipple Shaded Hands on the Ribcage
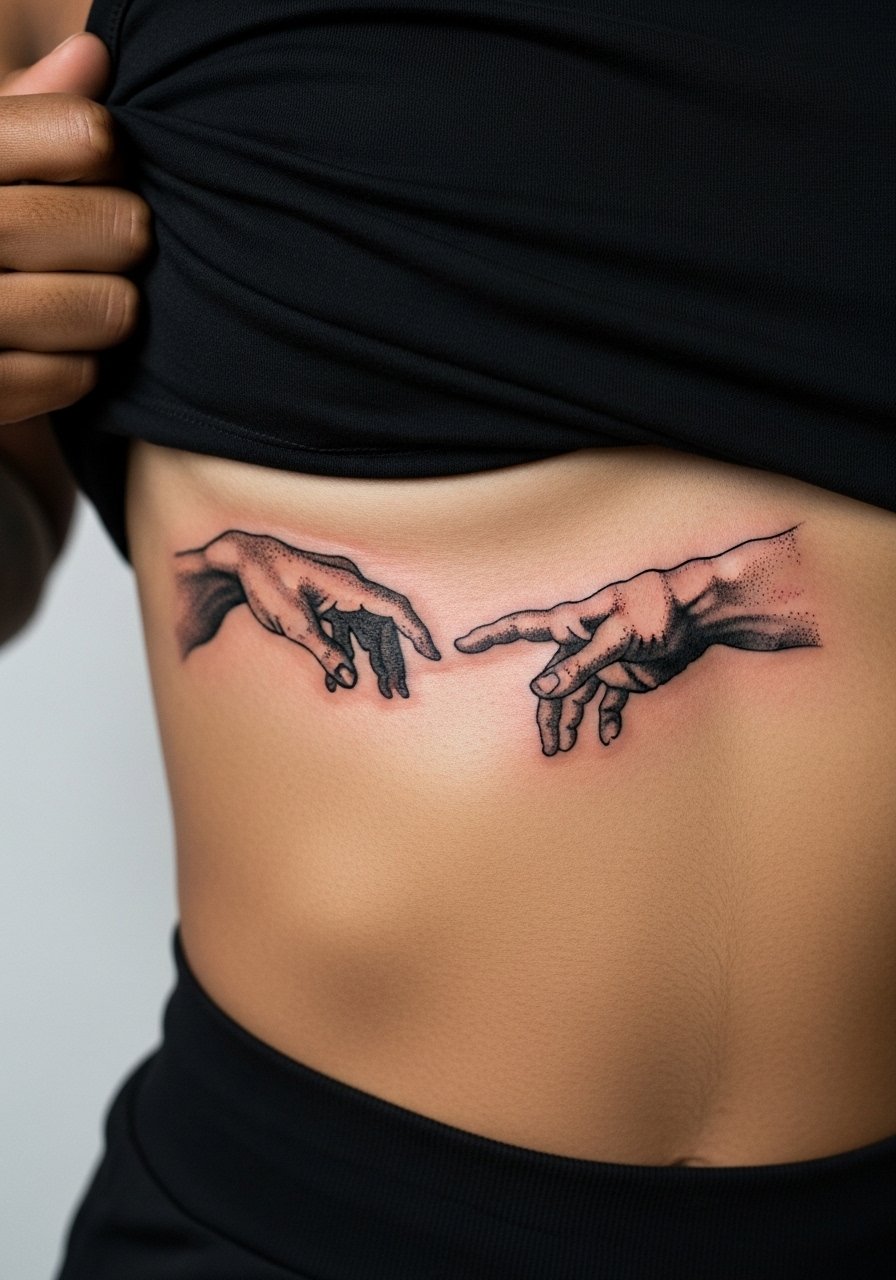
Expect higher pain on the ribs and a design that breathes when scaled properly. Stipple holds texture well, but the controversy about fine detail on ribs is real. One camp says dense linework on ribs blurs within two years because the skin stretches and the needle sits unevenly. The other camp argues if the artist spaces dots and anchors depth, stipple can last. Ask where the artist stands and request a test stencil placement so you can see scale against breathing. For the session, wear a sports bra or cropped top that makes access easy.
3. Half-Statue, Half-Glitch Upper Arm
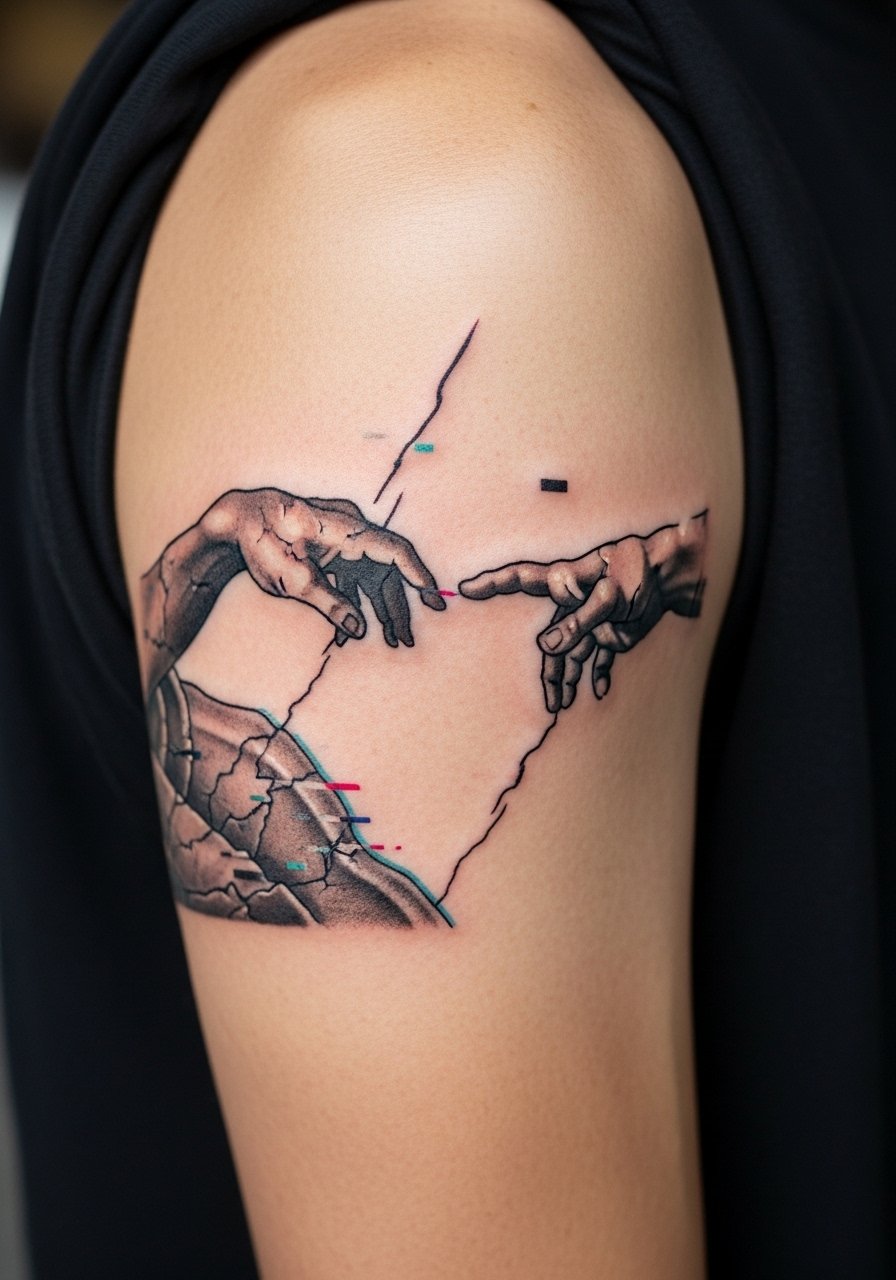
This is for someone who wants classical reference with modern noise. Tell your artist to keep the statue texture low contrast around the wrist so the glitch lines read as intentional, not as spreading. Expect the outer arm to be a 4 out of 10 on most pain scales and one session for a mid-sized piece. A common mistake is crowding the glitch into tiny areas where it will melt into fuzz. Pair with rolled sleeves or a racerback tank when you want to show it off.
4. Skeleton Hand Reaching on the Calf
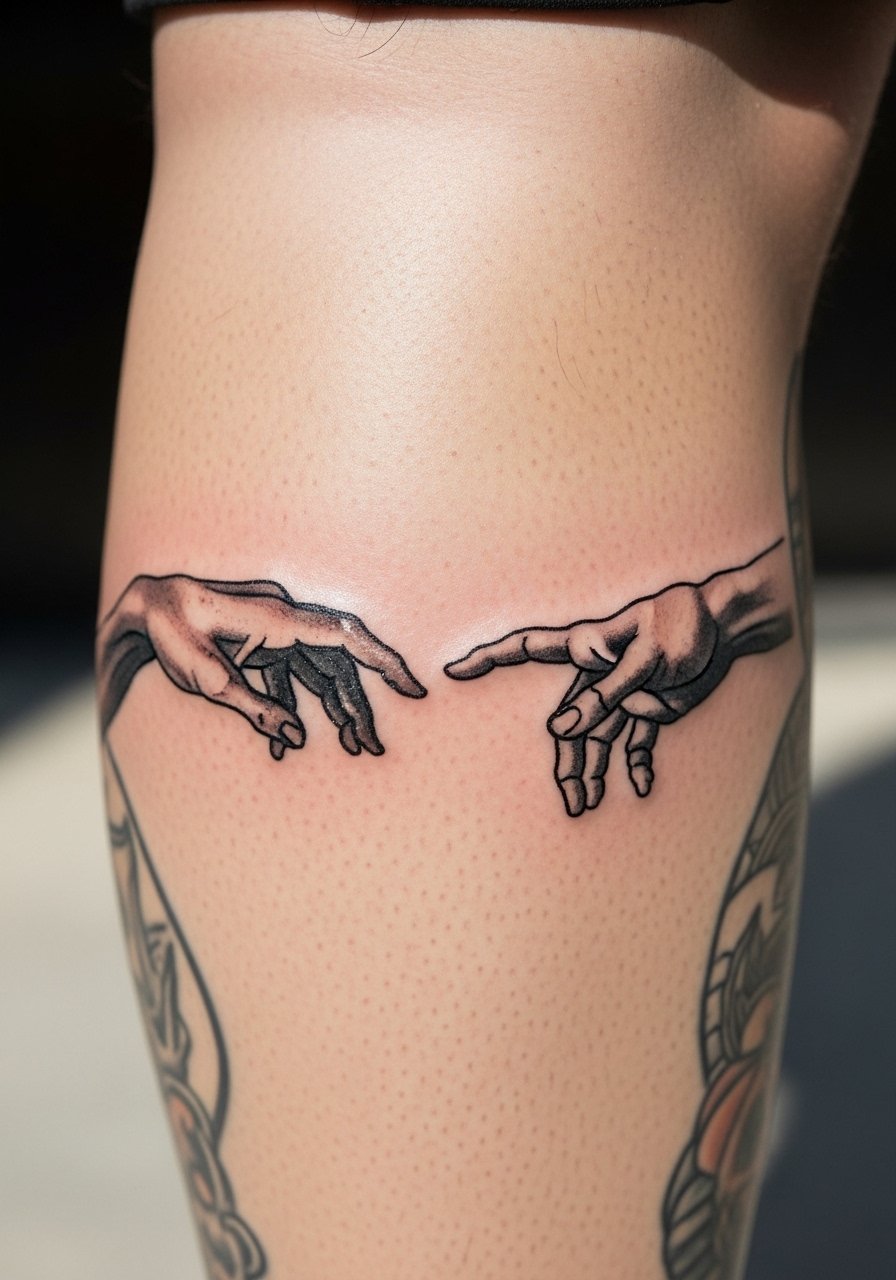
Calf placement gives the artist room for scale and three-dimensional wrapping. For this, ask for bold outlines around the knuckles and soft whip shading within the bone hollows so the negative space reads at a distance. The session can be brisk since the area tolerates medium needle speed, and touch-ups are typically later than on hands. Styling tip for evenings out is to cuff your jeans or wear low-top canvas sneakers to keep attention on the wrap without covering it.
5. Cigarette and Smoke Detail on the Wrist
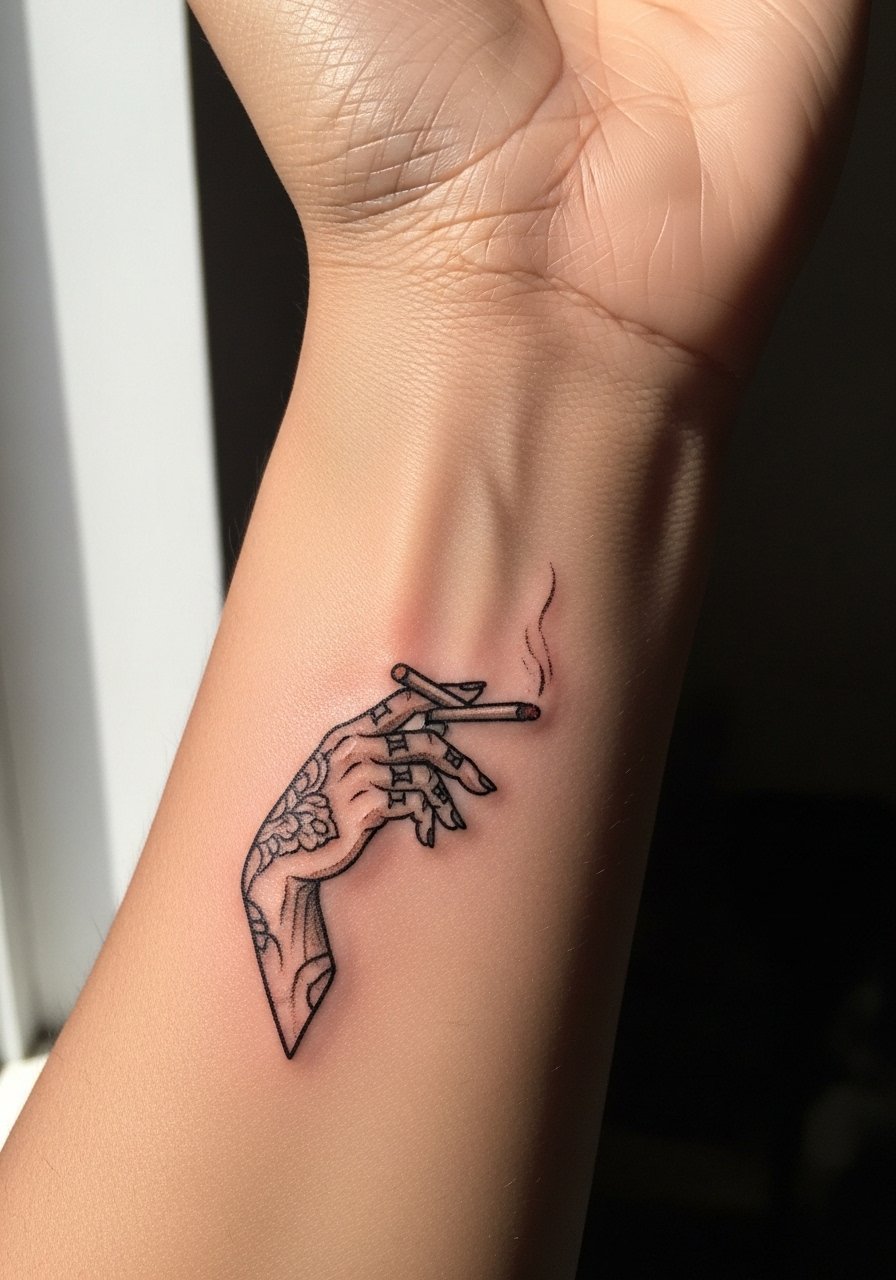
Tiny props like a cigarette add narrative but increase detail density in a small zone that sees friction. Tell your artist to scale the cigarette slightly larger than life and to anchor the smoke with thicker base lines so it does not feather into a gray blur. Wrist tattoos are high friction from watchbands and bracelets, so expect touch-up sooner than forearm pieces. For the session, bring a thin chain bracelet to try against the piece after healing so you know how accessories sit.
6. Barbed Wire Contour Around Reaching Hands on the Shoulder

Shoulder pieces handle bolder work well and the barbed wire adds an edgy frame that still reads from a distance. Ask for a mix of solid black and fine detail within the hands so the silhouette stays clean through years. The biggest mistake is making barbs too small; they need breathing room or they look like spots later. For showing the piece, pull on a loose tank top or wear a button shirt off one shoulder.
Studio Day Picks
The pieces above include wrists, shoulders, and the rib area, so these items smooth session access and early healing for those placements.
-
Stencil transfer paper kit. Helps you preview placement on skin before the needle hits, especially useful for the wrist and shoulder pieces above.
-
Cooling gel pads. Applied between breaks to ease the sting on the ribcage and inner arm without interfering with the ink.
-
Breathable protective film roll. Keeps small wrist and finger pieces clean during the first few days when friction from watches is highest.
-
Fragrance-free gentle wash. Cleans areas like the calf and shoulder without stripping delicate linework.
-
Aquaphor healing ointment. A thin layer in the first 48 hours helps hold moisture for fine details while the skin starts to seal.
7. Minimalist Single-Line Hands on the Side Neck
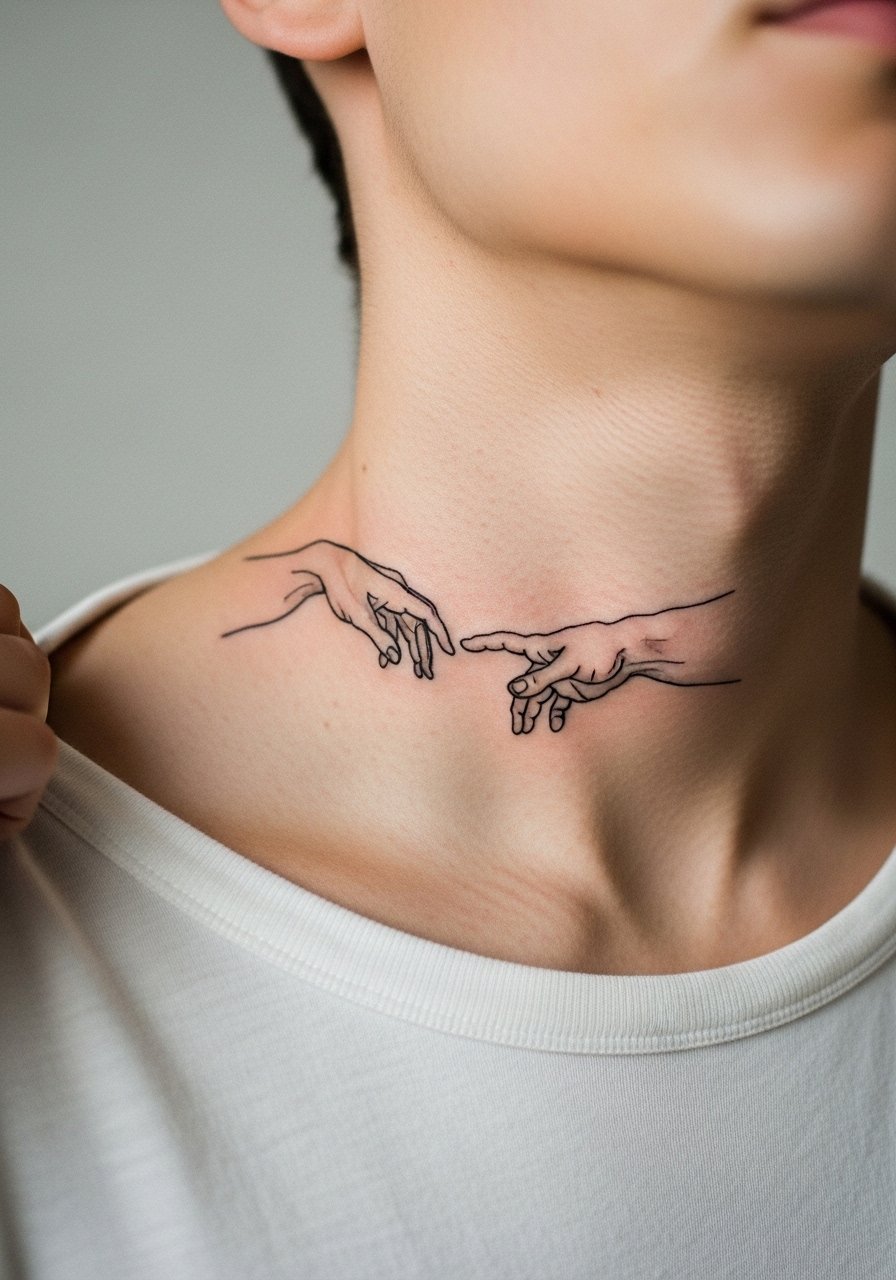
Neck placements require a confident decision about visibility. Single-line pieces read crisp initially, but they need good spacing between curves so they do not merge over time. The side neck can be a 6 out of 10 for discomfort and needs a precise stencil because you cannot reposition easily. For showing the design subtly, a wide-neck top keeps the tattoo visible without being loud. If your work requires discretion, weigh that before booking.
8. Floral Overlay on Cracked Statue on the Sternum

Sternum work reads intimate and demands a steady hand. Ask for anchor points where petals meet the cracks so the floral detail does not drift into shaded blobs as the skin moves. Most artists warn clients this area needs breaks during the session because of sensitivity. For showing off with evening wear, an open-back dress or bandeau styles frame the sternum without full exposure. Respect the area; choose an artist comfortable with chest anatomy.
9. Micro-Realism Hands on the Back of the Hand

Hand tattoos are high visibility and high wear. Micro-realism looks incredible up close but faces heavy fading from constant washing and sun. The common mistake is making the piece too detailed for the small canvas, which guarantees faster touch-ups. Ask your artist to simplify textures and strengthen primary outlines so the fingers stay readable. Keep in mind some workplaces may still have restrictions on visible hand ink. For the session, bring a pair of relaxed shorts so you are comfortable during what can be a quick but intense hour.
10. Half-Mechanical, Half-Classical on the Forearm

This is a good split for people who like hybrid storytelling. Tell your artist to delineate where metal ends and skin begins with small negative-space gaps rather than tiny crosshatching, that helps long-term clarity. Forearm placement is forgiving for touch-ups and the area tolerates mid-session breaks. For showing this piece with urban outfits, a rolled cuff denim jacket keeps the arm framed and the mechanical details readable.
11. Negative Space Hands on the Inner Thigh
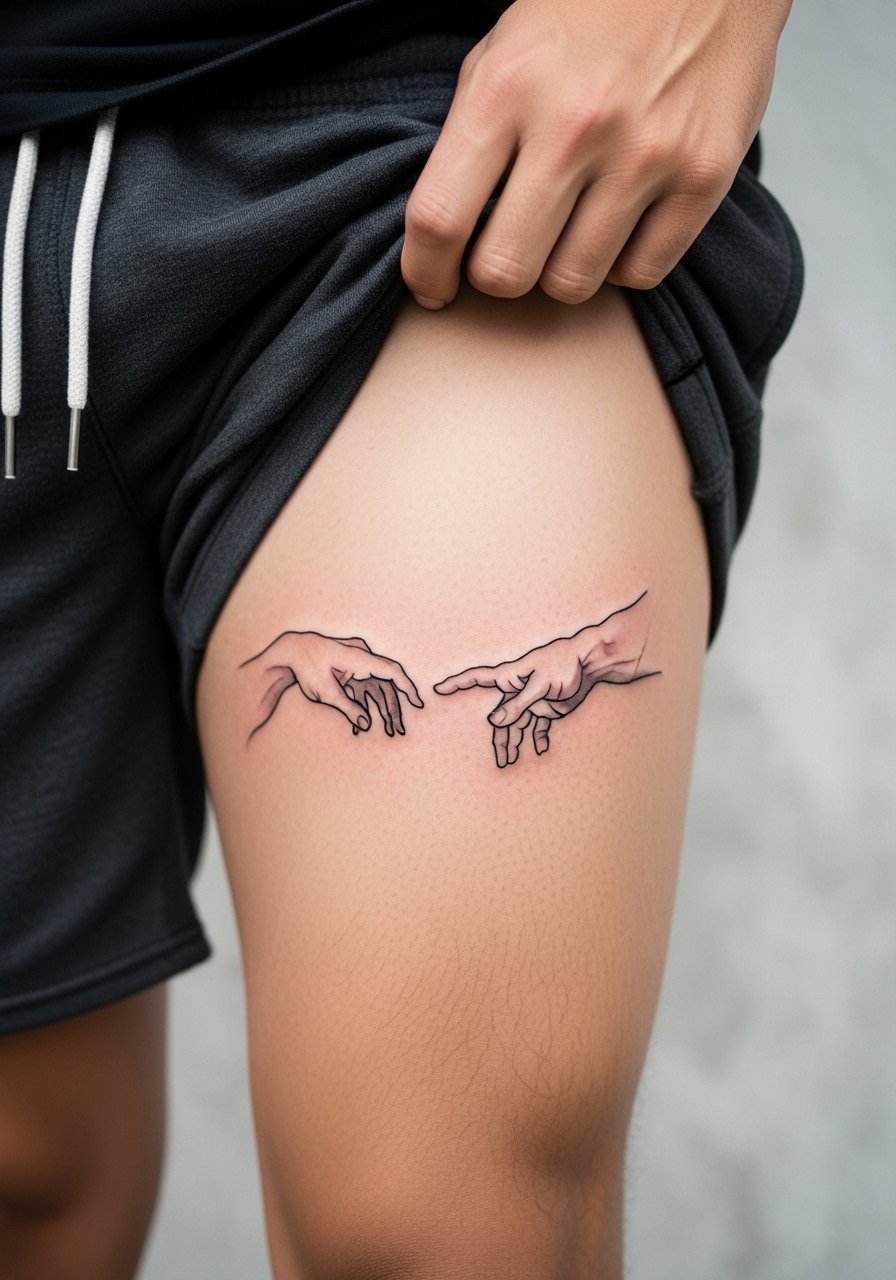
Inner thigh gives scale without constant UV exposure, which benefits negative space designs. The skin here holds saturation well but can be sensitive during the session. A common mistake is compressing negative fields into tight areas that later lose contrast. Wear shorts or a wrap skirt for the appointment so the artist can access the zone cleanly. Expect the piece to age slowly if you avoid tight waistbands rubbing the area.
12. High-Contrast Blackwork on the Chest Near the Collarbone

Bold blackwork survives time well on the chest because saturation holds. Ask for clear negative margins around the fingers so the hands do not become a dark blob where they meet the sternum. The chest is moderate on pain and tends to need less frequent touch-ups than hands. For daytime styling, an open collar button shirt shows the piece subtly under layers.
13. Dot Work Mandala Surrounding Reaching Fingers on the Lower Back

Lower back offers a broad canvas for mandala framing that keeps the central hands visible. Dot work creates texture but needs intentional spacing so dots do not merge into gray fields over time. A mistake is over-densifying the dot field near the center. Plan session wear like a tank top you can shift, and consider high-waisted bottoms for the days after so waistbands do not chafe the healing area. This placement is forgiving for touch-ups compared with extremities.
14. Graffiti Tag Creation on the Ankle

Ankle tattoos look great with sneakers and socks that can either hide or highlight the art. Ask for simplified shapes and thicker accents so the graffiti effect reads from a distance and survives shoe friction. The ankle sees friction from socks and straps, so thin details take a hit first. For showing it with casual wear, try low-cut sneakers and rolled jeans, and bring breathable socks to the session for comfort.
15. Watercolor Wash Behind the Hands on the Shoulder Blade

Watercolor adds a painterly echo to the classical hands but it ages differently than black linework. The wash will fade faster, especially in sun-exposed zones, while the hand linework can remain crisp. Tell your artist you want the watercolor as an accent, not the main structure. For showing this piece, an open-back top or a slip dress keeps the shoulder blade visible and frames the color without competing patterns.
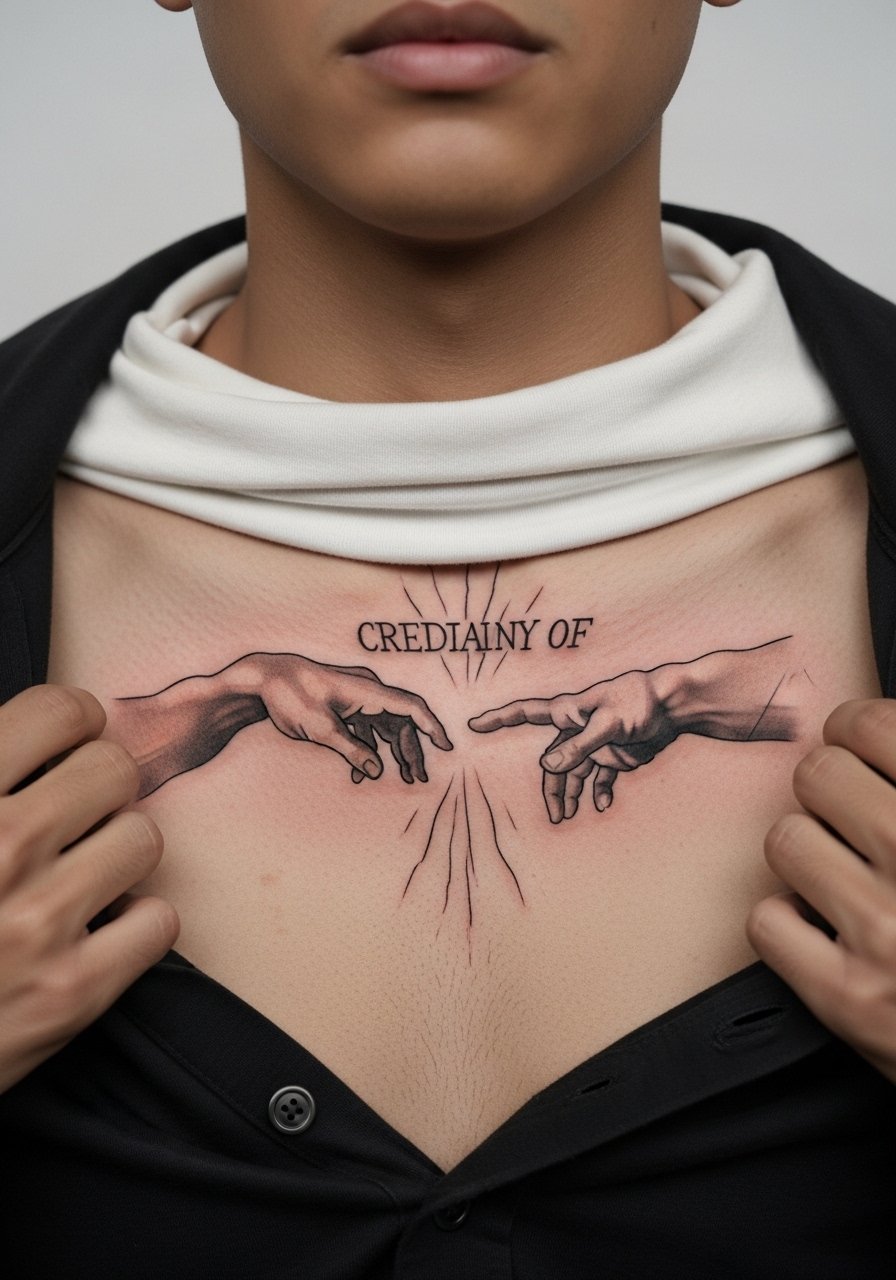
16. Gothic Blackletter Text Paired With the Reaching Hand Across the Rib Side

When text is part of the composition, pick exact wording and font during consultation. Artists need the precise blackletter reference to reproduce letter spacing that holds. Rib side placement increases the chance of line merging if the letters are too tight. A session at this location is more intense, so plan breaks. If you want to display the piece briefly, use a cropped top that shows just the band.
17. Matching Pairs on Opposite Wrists, Mirror Hands

Matching wrist pieces read well as a symbolic gesture and are visible daily. A common mistake is making each wrist slightly different in scale. Ask the artist to stencil both simultaneously for symmetry. Wrist work gets washed and bumped often, so expect earlier touch-ups and stronger contrast lines to preserve the image. For daily style, use a minimalist watch that sits beside the piece rather than over it.
18. Half-Faded Marble Bust on the Thigh
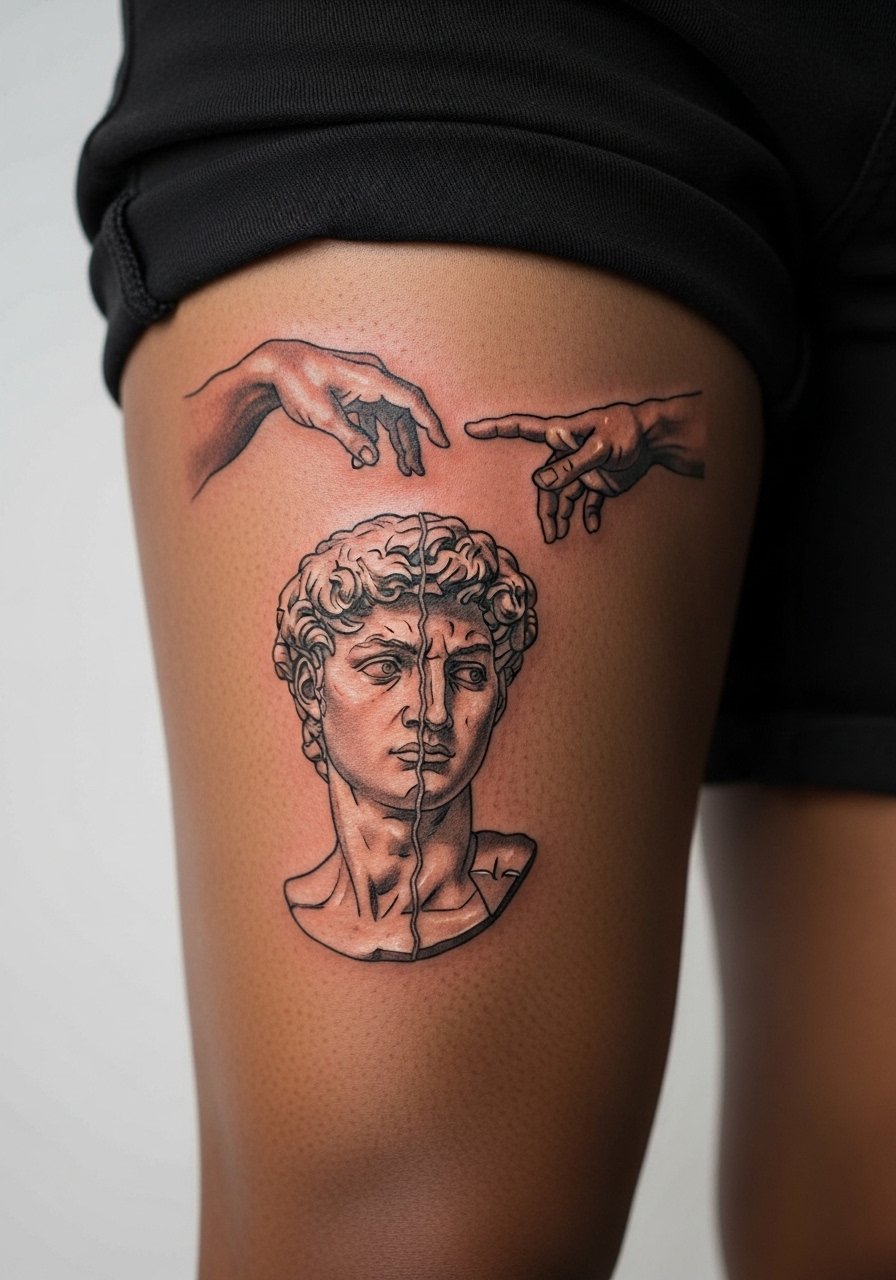
Thigh placement is comfortable during long sessions and resists sun, so marble textures can hold subtle shading. Ask for light contrast and leave wider separations between fine grain areas to prevent merging. The session can run longer because of accessibility, and the area handles touch-ups well. For showing the piece casually, high-waisted shorts or a skirt lifted slightly frame the thigh and keep the art visible.
19. Collage of Tiny Hands Along the Collarbone

Collarbone clusters look delicate but need spacing so each tiny hand keeps definition. Crowding is the typical error. The collarbone sits in an area that moves with breathing and clothing, so treat the piece as semi-permanent in placement decisions. For showing it, a thin chain pendant necklace sits above the cluster without competing.
20. Fragmented Marble Hands with Crack Fillers on the Back

Full-back or upper-back fragments let you scale the marble texture and cracks for dramatic distance reading. The care here is not to put tiny detail where the back's flatter planes will cause it to blur into visual noise. Big shapes and negative space win long term. For wardrobe that shows the upper back, choose an open-back top that frames the central hands.
21. Script Ribbon Wrapped Around the Fingers on the Hand
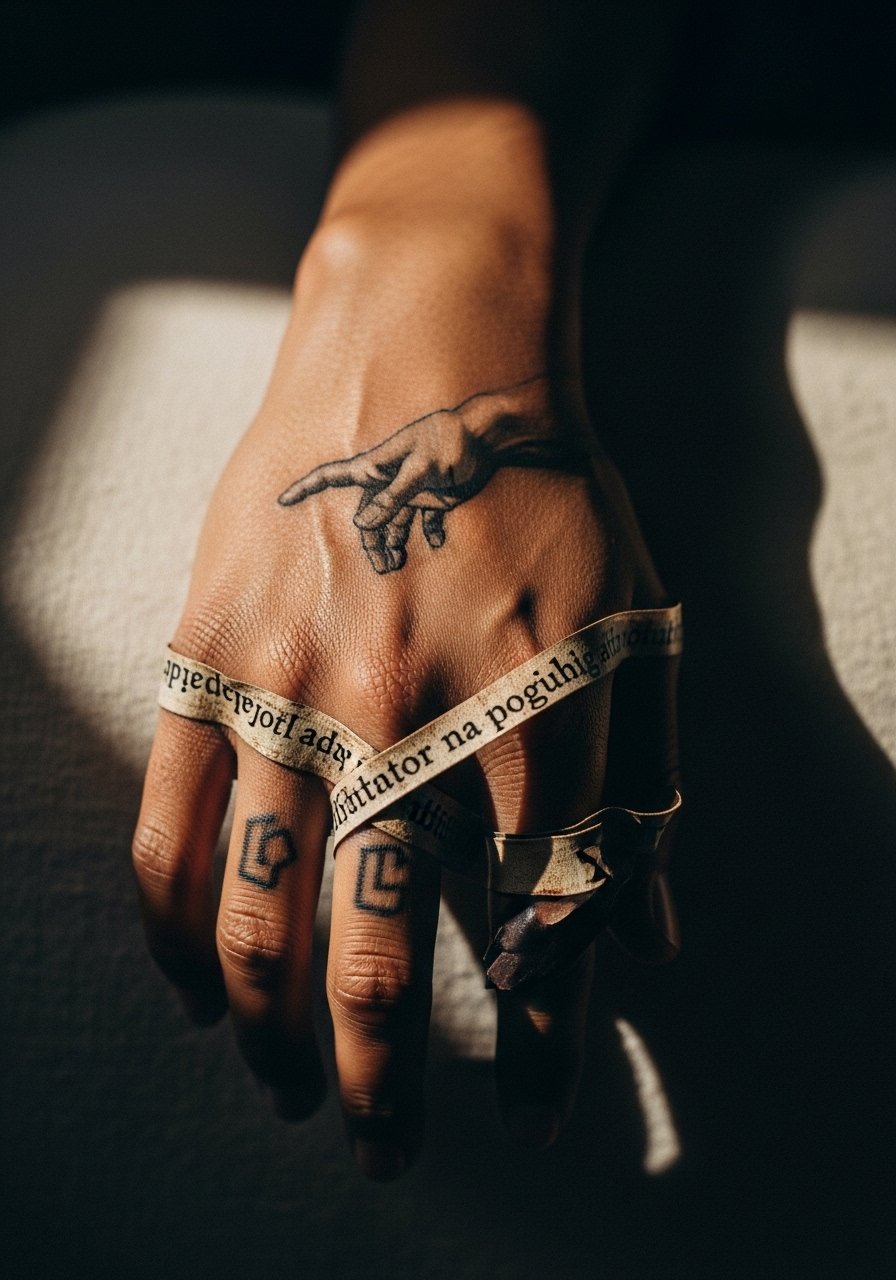
When adding script that wraps fingers, specify exact lettering and spacing so the text reads when the hand is at rest. Fingers are known for fast fading; the ribbon gives contrast but it will require frequent touch-ups. The usual mistake is dense cursive on narrow bands. For the session, keep your hands relaxed and bring a comfy chair; the area heals fast but is sensitive to repetitive motion.
22. Neon-Glow Outline with Black Core on the Forearm

Neon effects look striking in photos but the colored outline fades faster than the black interior. Ask for a slightly wider neon halo so color longevity improves. Forearms are an easy spot for touch-ups and show well under rolled sleeves. For evenings out, a rolled cuff shirt keeps the neon edge visible and dramatic.
23. Photo-Realist Marble Hand on the Chest Center
Center-chest realism reads strong and ages well if the artist spaces the darkest shadows with midtone transitions rather than wall-to-wall black. The chest tolerates heavy saturation, so this option is for people who want a lasting, tactile feel. Mention mid-session breaks to the artist and expect less frequent touch-ups than hands. For showing this, a wide-neck shirt or open collar works best.
24. Chain-Link Bracelet Where Hands Touch on the Wrist
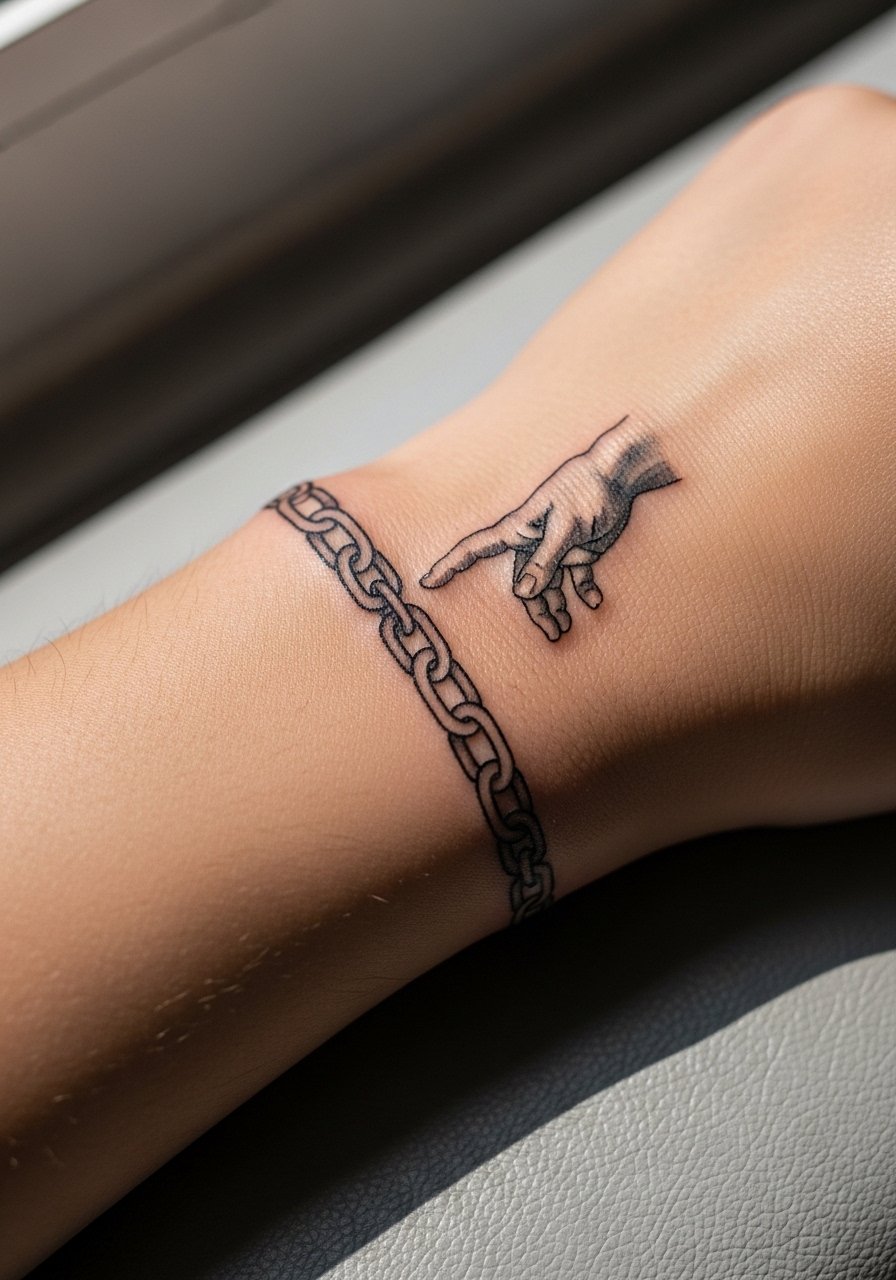
Combining jewelry tattoos with hands creates a natural frame and reduces the visual need for tiny interior detail. Ask the artist to thicken key links slightly so they do not dissolve under washing. Wrist friction is the main enemy of tiny chainwork, so plan touch-ups and avoid tight bands during healing. A thin leather bracelet worn beside the tattoo can complement the ink after healing.
25. Angel Versus Demon Contrast, Split Torso
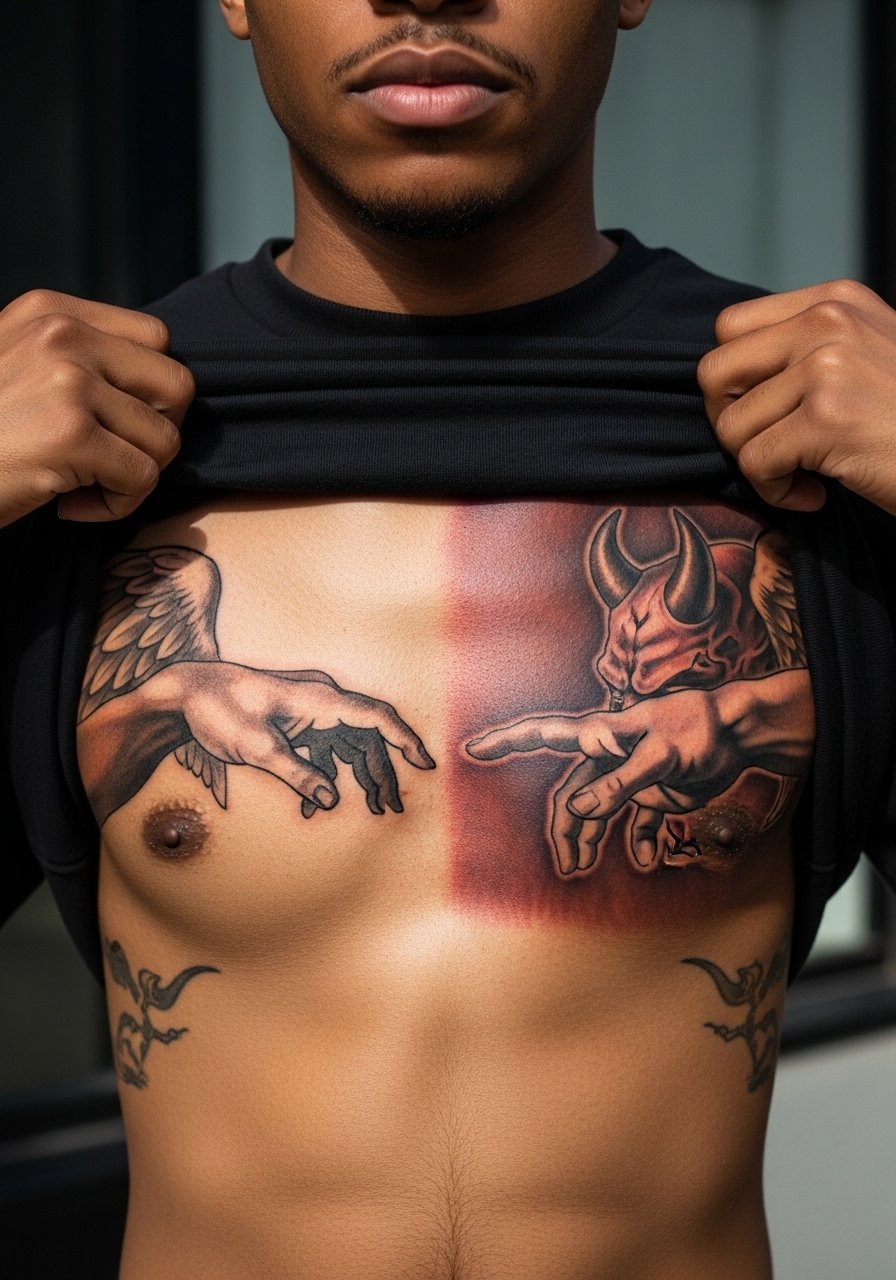
Contrast stories play well across the chest and ribs if you allow space between the two halves. The mistake is packing both sides with equal tiny detail, which makes the split read muddy. Ask for contrast in saturation rather than only in line work to maintain separation. For session comfort, wear a top you can easily shift and expect multiple short sittings.
26. Matchstick or Flame Between Fingers on the Hand Edge

Tiny props like flames demand bold anchors. On the hand edge, ask for a slightly bolder match head and a simplified flame silhouette so it survives frequent washing. Hand edges are one of the fastest-fading locations, so plan for touch-up conversations up front. For style, minimal rings work to keep the focus on the tiny narrative without covering the art.
27. Cosmic Overlay with Stars and Constellations Behind the Hands
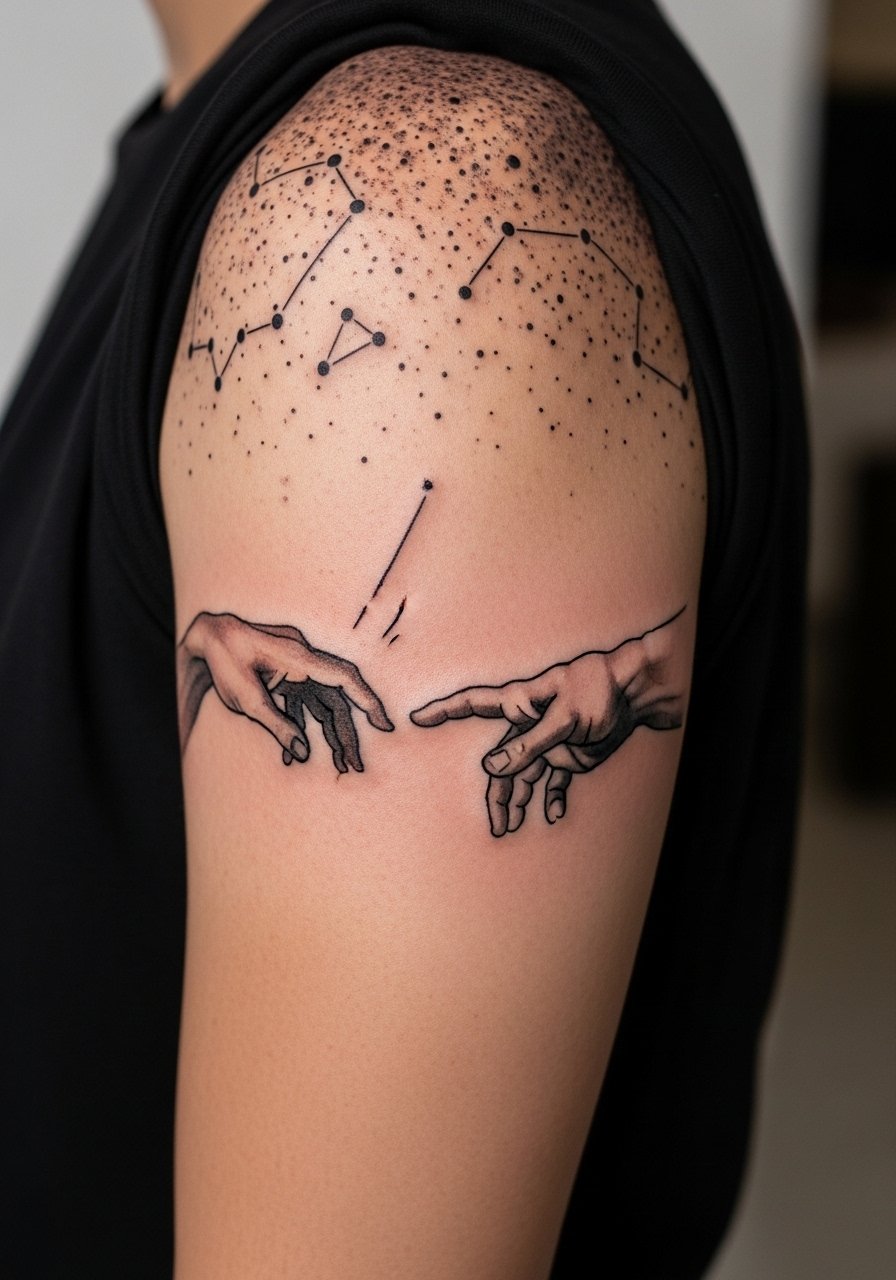
A cosmic wash makes the classical hands feel otherworldly and gives the artist room to use dot work and tiny stars that age at different rates. The upper arm handles detail well and resists the worst of daily abrasion. A typical mistake is over-inked microstars that later look like noise. For showing the piece, short sleeves or a rolled sleeve linen shirt frame the constellation without competing.
Frequently Asked Questions
Q: How long before a fine line Creation of Adam on the wrist needs a touch-up?
A: It depends on your daily habits and sun exposure. For a wrist fine line piece, plan on revisiting the artist around year two to three if you wash hands frequently and wear a watch. Stronger initial line weight and clean spacing slow the need for touch-ups.
Q: Is a ribcage dot work piece worth the pain if I want detail to last?
A: Many choose ribs because they offer a big canvas with less abrasion than hands. The trade-off is higher discomfort during the session. If you want precise dot work, ask your artist to space points deliberately and schedule short breaks so the line and dot depths settle consistently.
Q: Will hand tattoos affect job prospects, and how can I hide them when needed?
A: Some industries still notice visible hand ink. If that matters, consider placement on the forearm or choose sleeves and accessories that hide the ink. Lightweight slim gloves or a watch and bracelets can cover hands temporarily for interviews.
Q: For a shoulder or back Creation of Adam piece, what should I wear to the appointment?
A: Wear a loose tank top or a button-down that you can pull aside without removing. That gives the artist clean access and keeps you comfortable during longer sessions.
Q: Do watercolor backgrounds require different aftercare than black linework?
A: Watercolor color tends to fade faster, but aftercare basics are the same. Keep the area protected from direct sun and avoid heavy scrubbing. Plan touch-ups for color separately from linework as the pigment ages differently.
Q: If I want a classical-to-modern hybrid like a glitch or cyber hand, what should I ask in consultation?
A: Ask to see scale mock-ups and ask the artist to show how the glitch will read at arm's length versus up close. Request that primary contours stay slightly stronger so the hybrid reads clean in photos and in person.
