
Fine line dotwork is having a moment among Phantom Troupe fans who want ink that reads like a relic from the manga, not a cosplay badge. The trick is how the tiny stippling and negative space behave on real skin over years of sun, sleeves, and typing. These 27 ideas lean into dotwork techniques that hold up, and each entry tells you the placement, what to ask your artist, and how the design will wear in the long run.
1. Micro Dot Spider Emblem on Inner Forearm

I open with a forearm staple because it reads like a secret badge when you roll your sleeve. Fair warning: the inner forearm sees friction from sleeves and watches. Ask your artist to keep the spider slightly larger than you think, use stipple shading for texture, and place the densest dots toward the center so the negative space reads longer. Expect a low pain session under an hour. A common mistake is asking for the piece tiny enough to fit a coin; that invites early blurring and the need for touch-up at year two or three. For showing it off, roll up sleeves and pair with a loose button-down shirt that frames the forearm.
2. Phantom Silhouette on Wrist Band
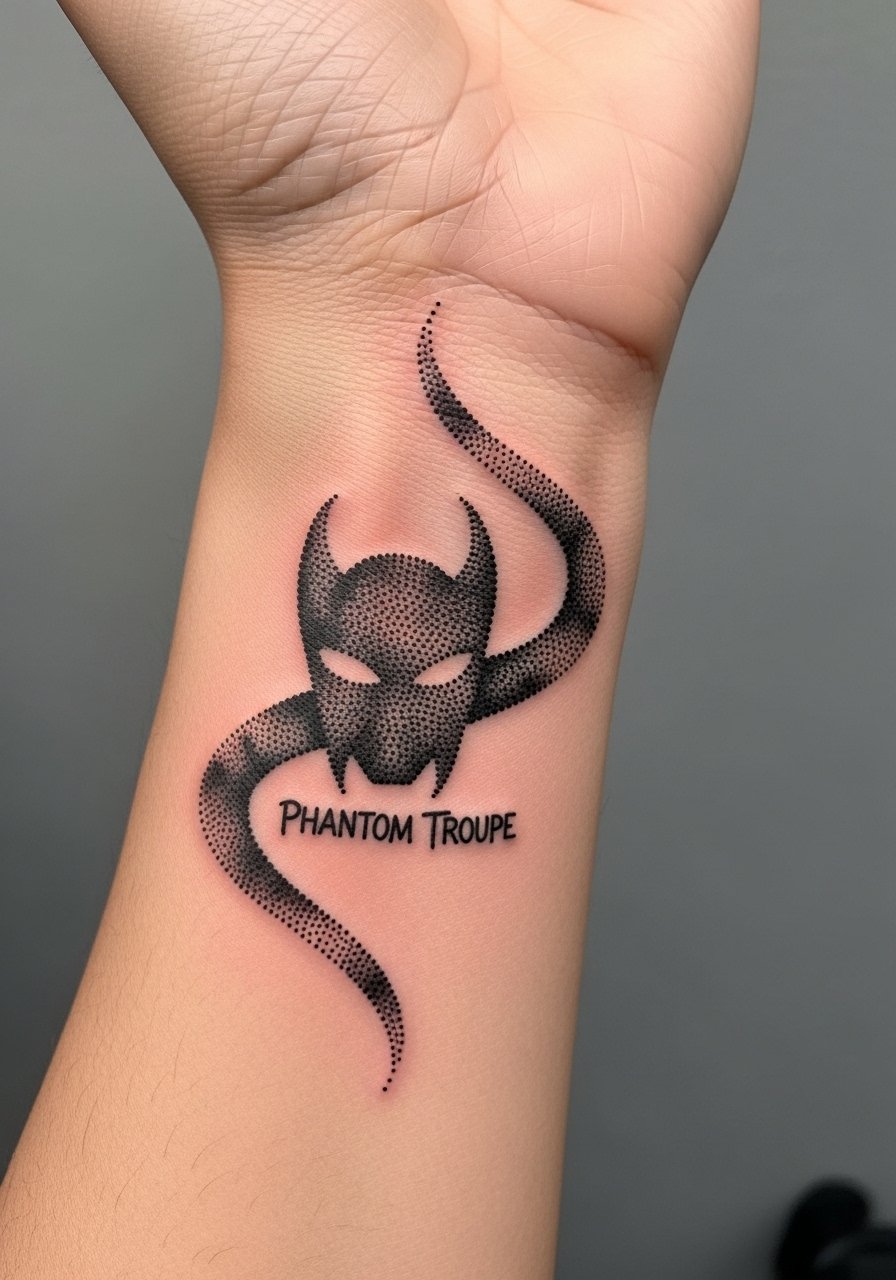
I've seen more wrist bands requested by fans who want something visible without committing to a sleeve. The wrist is high on the blowout and fading risk list because of thin skin and constant motion. Plan for a session under 90 minutes with spaced dotwork and slightly bolder outer contour so the silhouette keeps shape as it softens. Tell your artist you want more spacing between dots near the edges to prevent merging. For the session, wear a thin chain bracelet you can remove easily and a short-sleeve top the artist can access.
3. Chest Emblem with Negative Space
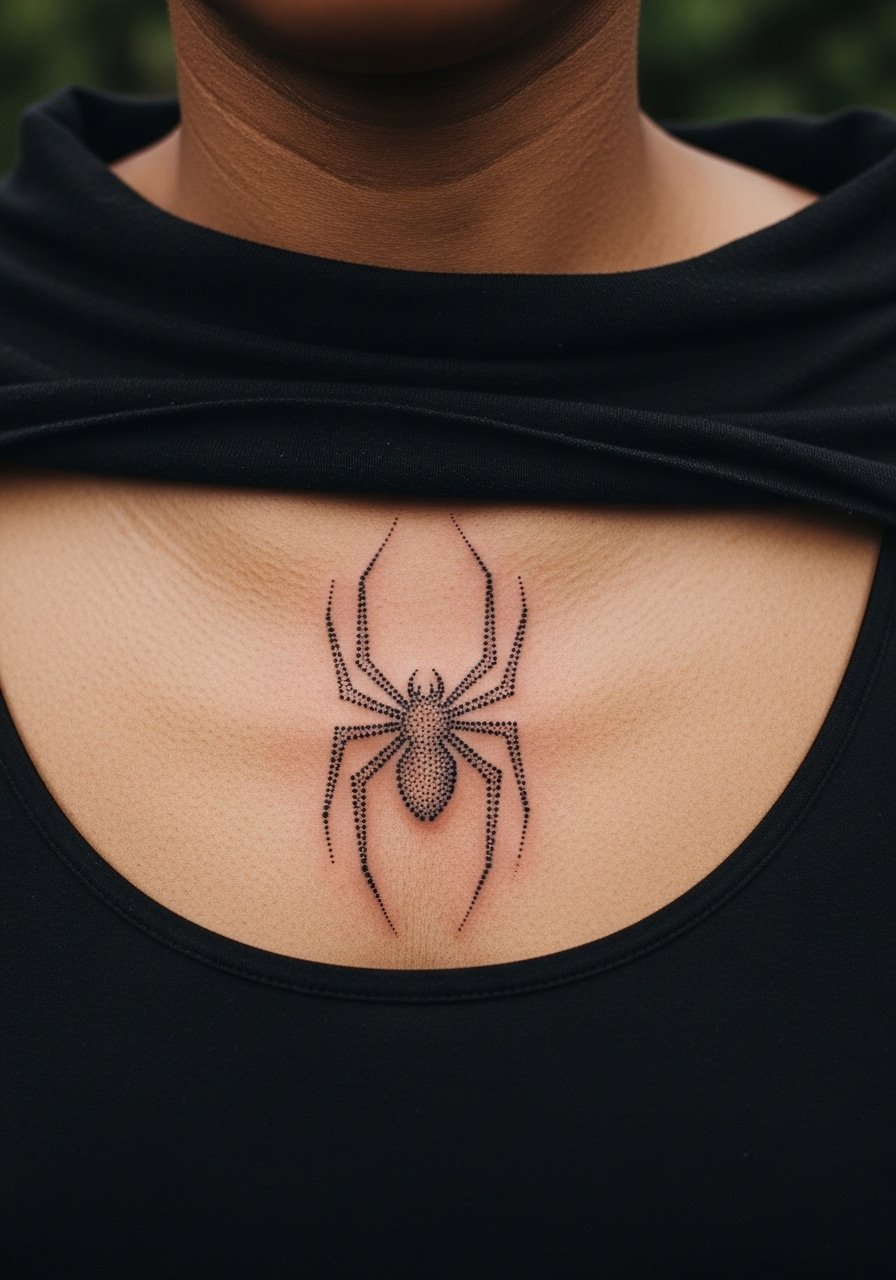
Most people underestimate how chest pieces sit under clothing. Pain is moderate and sessions can be 1.5 to 3 hours depending on detail. I recommend reserving bold central negative space so the emblem reads from across a room even after a few years. A common mistake is overcrowding the center with tiny dots that merge on darker or oilier skin. Ask for slightly more contrast in the first session and plan a touch-up at year two for saturation if you want crisp edges. For evening wear, an open-collar shirt frames the collarbone and keeps attention on the chest emblem.
4. Ribcage Script with Dotwork Fill
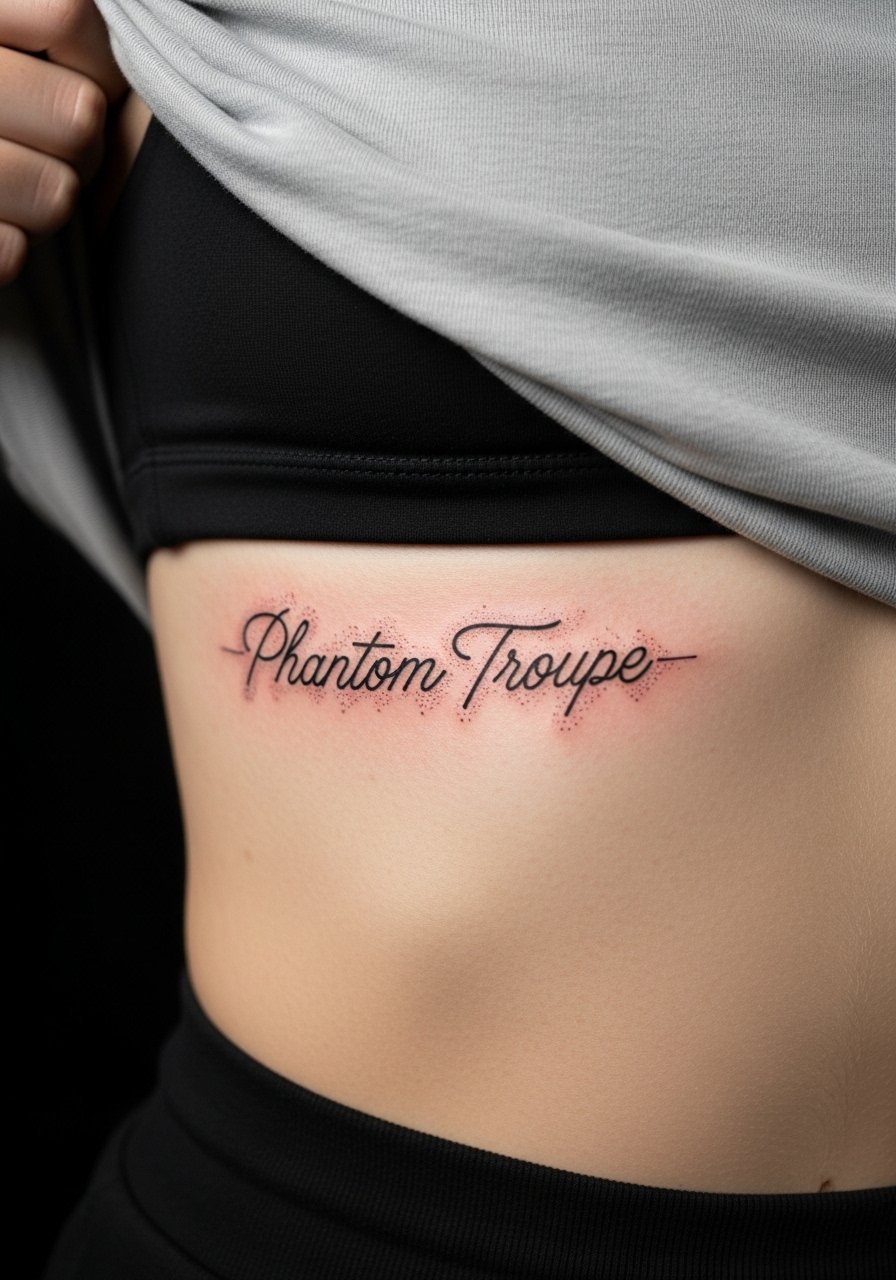
Fair warning: the ribcage ranks high on pain scales but it gives dramatic visual impact when done right. There is a real debate about fine line on ribs. One camp says the skin stretch and movement blur fine line within two years. The other camp argues that with proper needle depth and spacing fine line settles fine on ribs. Ask your artist which camp they fall into and have them plan for slightly larger lettering with stipple fill so the design keeps form. Session time varies widely. Wear a cropped top you can lift and expect to return for a touch-up if you want the dotwork dense long term.
5. Phalanx Spider Dot on Finger

Finger tattoos are tactile and eye-catching but they fade faster because of constant washing and motion. The biggest mistake is asking for full shading on a fingertip. Instead, go for sparse dots and a stronger outline along the outer edge so the symbol stays readable. Expect a short session and likely a touch-up at year one or two. For wearing after the session pick rings or thin bands that do not rub directly over the ink. Pair the finger piece with a delicate stacking ring you can remove in the first week.
6. Phantom Troupe Crest on Outer Calf

This placement is mid-range on pain and sessions run around 90 minutes for moderate detail. The outer calf gives room for dotwork textures that age well. A common error is packing dots too densely near the edges, which causes softening that steals the crisp crest silhouette. Tell your artist you want stippling gradients from center outward and ask how they plan touch-ups. For casual wear, roll your jeans or pair with high-top canvas sneakers to show the calf without overexposure.
Studio Day Picks
The wrist, finger, chest, and rib pieces above need different prep and first-week protection, so a few select items smooth the session and the initial healing window.
- Fragrance-free gentle body wash. Helps cleanse new dotwork without stripping oils that keep fine stippling defined in the first week.
- Thin protective film roll. Keeps wrist and finger pieces shielded from repeated hand washing while still allowing breathability.
- Topical numbing cream. Applied per instructions it eases rib and chest sessions long enough to get through detailed dotwork without tensing up.
- Tattoo stencil transfer paper kit. Lets you preview precise placement on forearms and calves so the crest sits where it reads best.
- Aquaphor healing ointment. Thin application for the first few days helps maintain moisture for delicate dotwork without clogging the skin.
7. Spider Web Half-Sleeve in Dotwork

There's something about a partial sleeve that lets you commit to a theme while keeping options open. Most sleeves like this take multiple sessions. Open with a personal observation: sleeves that start with a focal piece age better if the artist spaces the densest work first and leaves breathing room for later additions. For the consultation ask for reference shots showing exact stipple density and ask how they plan line weight transitions. Expect moderate pain on the upper arm and touch-ups the first year if you plan heavier blackwork later. When you want to show it, roll a sleeve and wear an open-sleeve tank that complements the negative space.
8. Minimalist Phantom Spider Behind the Ear

Pain is low but placement is subtle and often visible depending on hair. A consultation lead helps here. Bring clear photos of hairlines and discuss size carefully. The risk is going too small, which makes the silhouette unreadable once the skin settles. The session is usually brief. Because this is a neck-adjacent spot, confirm the artist uses shallow passes and leaves room in the dots to avoid merging. For showing it off tuck hair behind the ear and wear simple hoop studs.
9. Ribcage Spider with Stipple Halo

Aging and placement lead fits here. Most rib pieces look striking fresh but need planning to age. Again acknowledge the controversy: one camp warns that rib movement and breathing blur fine details quickly. The other camp says careful spacing and depth keep dotwork legible for years. If you like stipple halos, ask the artist to space outer dots more and keep central contrast stronger. Plan for a longer session. For the studio wear a cropped top to make access easy. Expect to revisit for a touch-up if you want the halo dense after the first year.
10. Phantom Troupe Thigh Panel
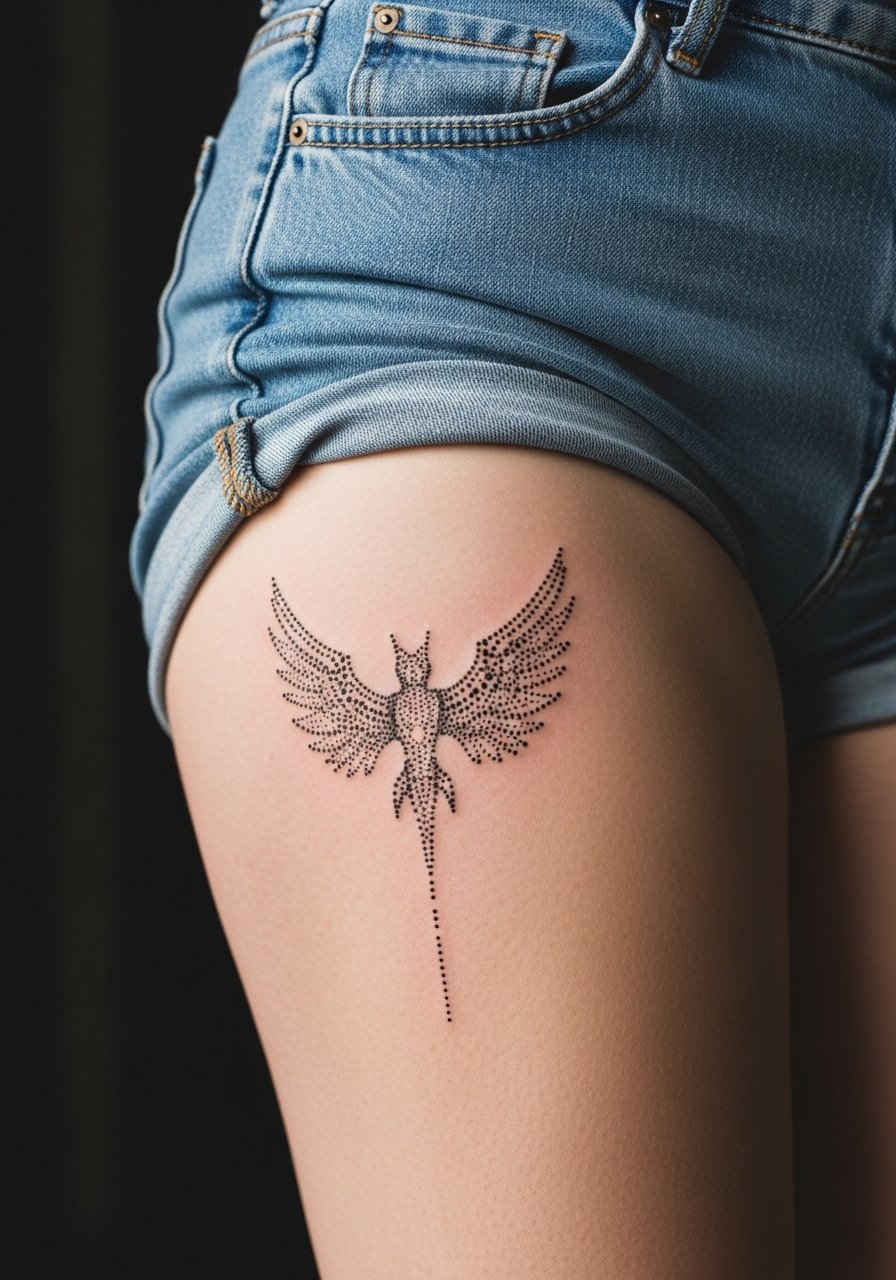
The outer thigh is forgiving and a great canvas for vertical emblem work. Pain is lower compared with ribs and sessions can be comfortable. A common mistake is placing the design too close to seams where jeans will rub. Tell your artist to test the placement while you stand and while you sit so the panel reads in both positions. The design will hold saturation well. For sessions wear loose shorts or high-waisted pants you can shift easily and consider pairing the piece with a wrap skirt to show it off.
11. Collarbone Micro Emblem with Dot Edge

Visual impact lead works here. The collarbone is high-visibility and the skin varies. Expect moderate pain and sessions under an hour for micro work. The common error is crowding the emblem against jewelry. Ask for a slightly higher placement so necklaces do not sit directly on the ink. Dot edges should be spaced so necklaces and straps do not accelerate fading. For evenings out pair with a thin chain pendant necklace that sits above the piece rather than over it.
12. Back of Neck Small Crest

Consultation lead: hair length and clothing choices matter more here than technique. The back of the neck heals well when the artist spaces dotwork slightly to allow for minimal friction from collars. Pain is low. For showing it off, wear wider necklines or pull a collar to the side. Note that some workplaces still raise eyebrows at visible neck tattoos, so consider placement carefully.
13. Phantom Troupe Ankle Band Dotwork
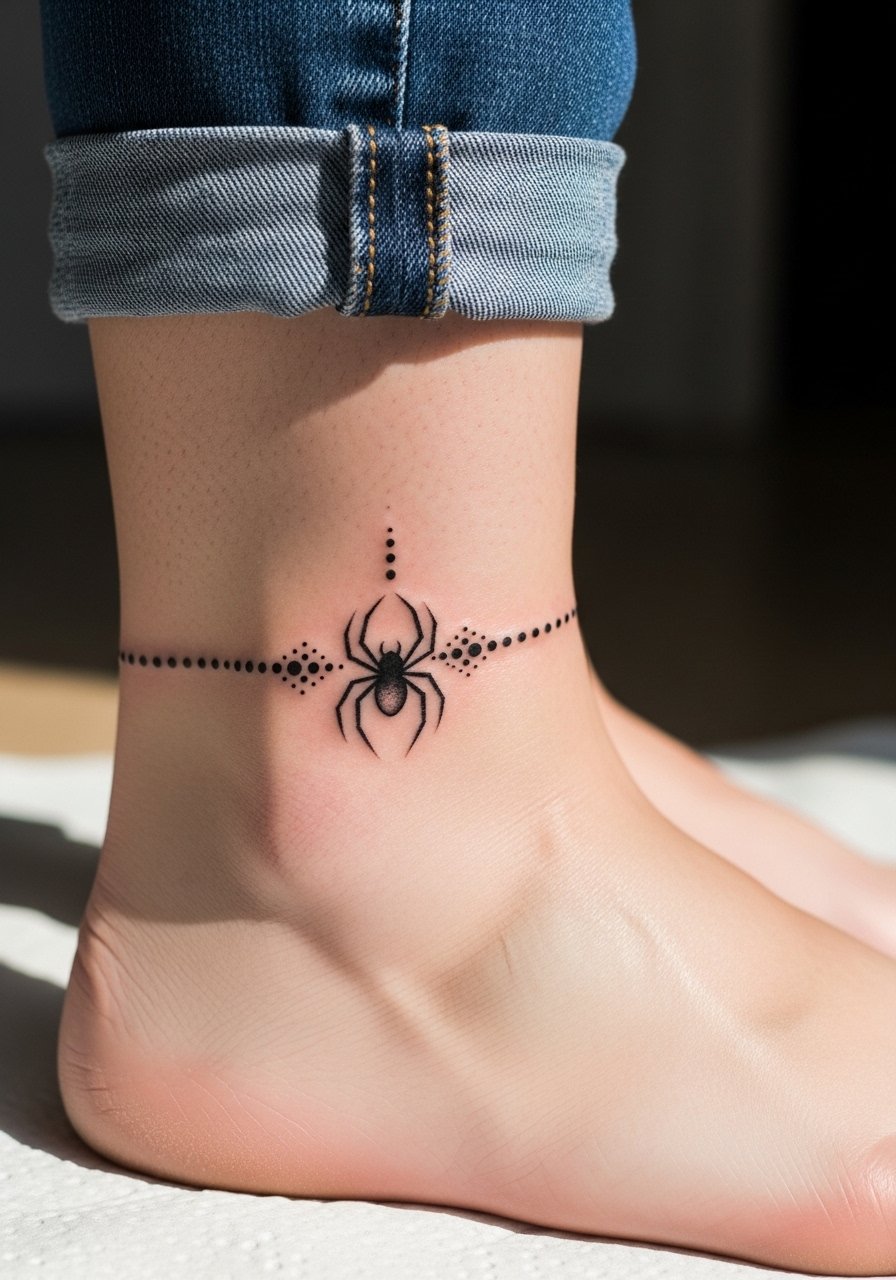
Visual impact leads to logistics. The ankle endures a lot of friction from socks and shoes. The common mistake is asking for dense stippling all the way around. Instead, request open spacing on the underside where rubbing occurs and a stronger top-facing line so the motif stays readable. Sessions are short. For showing it off pair with low-cut sandals and rolled pants to avoid immediate friction.
14. Full Back Phantom Troupe Mosaic

Personal observation lead: large mosaics age differently across zones. The center of the back takes ink very well; the shoulder blades flex and can distort dense dots. Discuss with your artist how the design maps to muscle movement and ask for staged sessions. Expect multiple sittings and longer cumulative time. A common mistake is starting with too much dark fill in moving areas. For wardrobe, loose tanks and open-back dresses show the mosaic without friction.
15. Phantom Troupe Finger Knot Accent
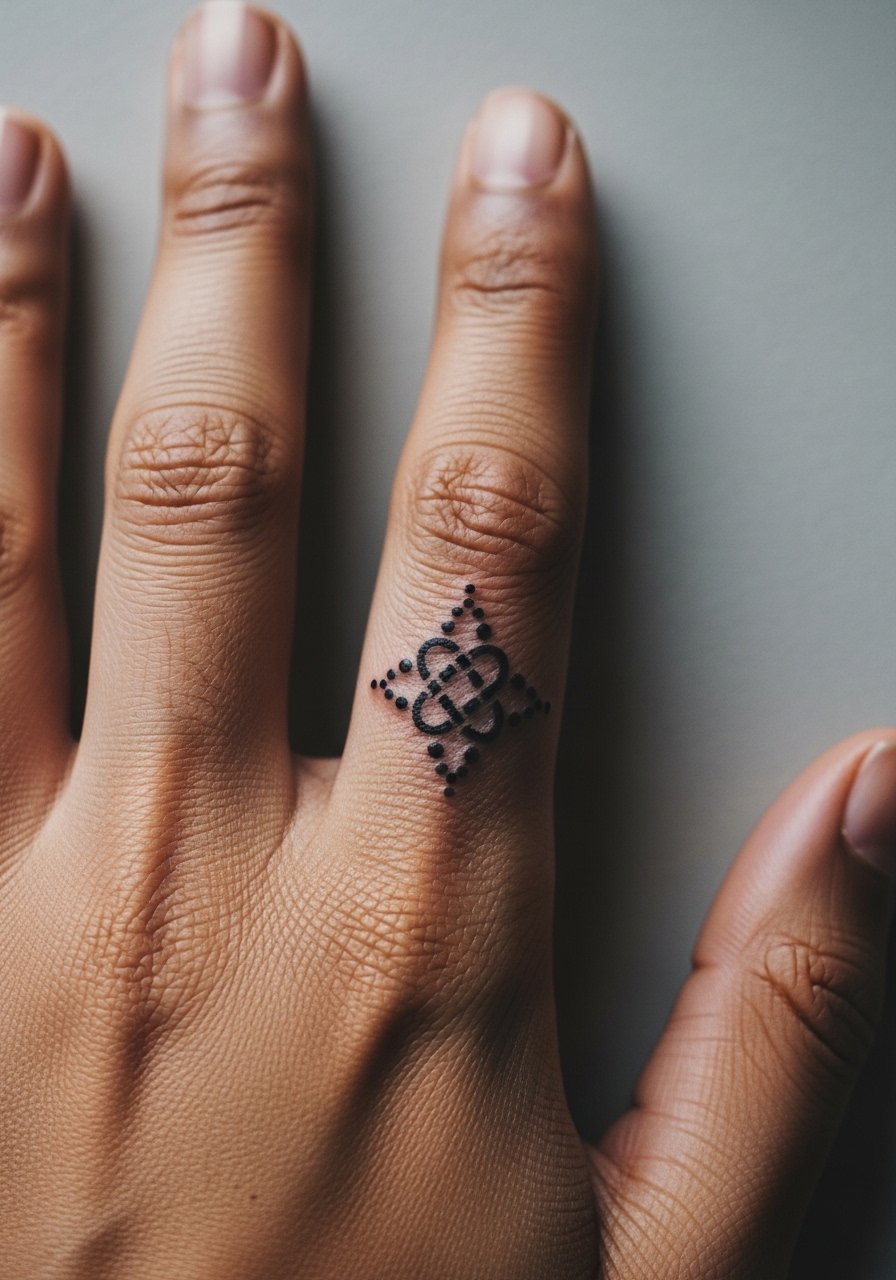
Mistake lead works here. The worst requests are fully shaded finger fills that bleed into illegibility. For a knot accent ask for minimal dots and a slightly thicker outer contour so the motif keeps definition. Sessions are quick but plan on a touch-up at year one. For pairing, simple bands or a minimalist watch keep attention on the fingers without rubbing the ink.
16. Phantom Troupe Throat Accent Script

Mistake lead again. Neck scripts can look delicate and chic, but too-small lettering blurs. If you want script, ask for increased letter spacing with stipple backgrounds for contrast. Pain is moderate. Professionals split on visible neck work, so think about long-term visibility. For showing it off wear a wide-neck sweater or open collars.
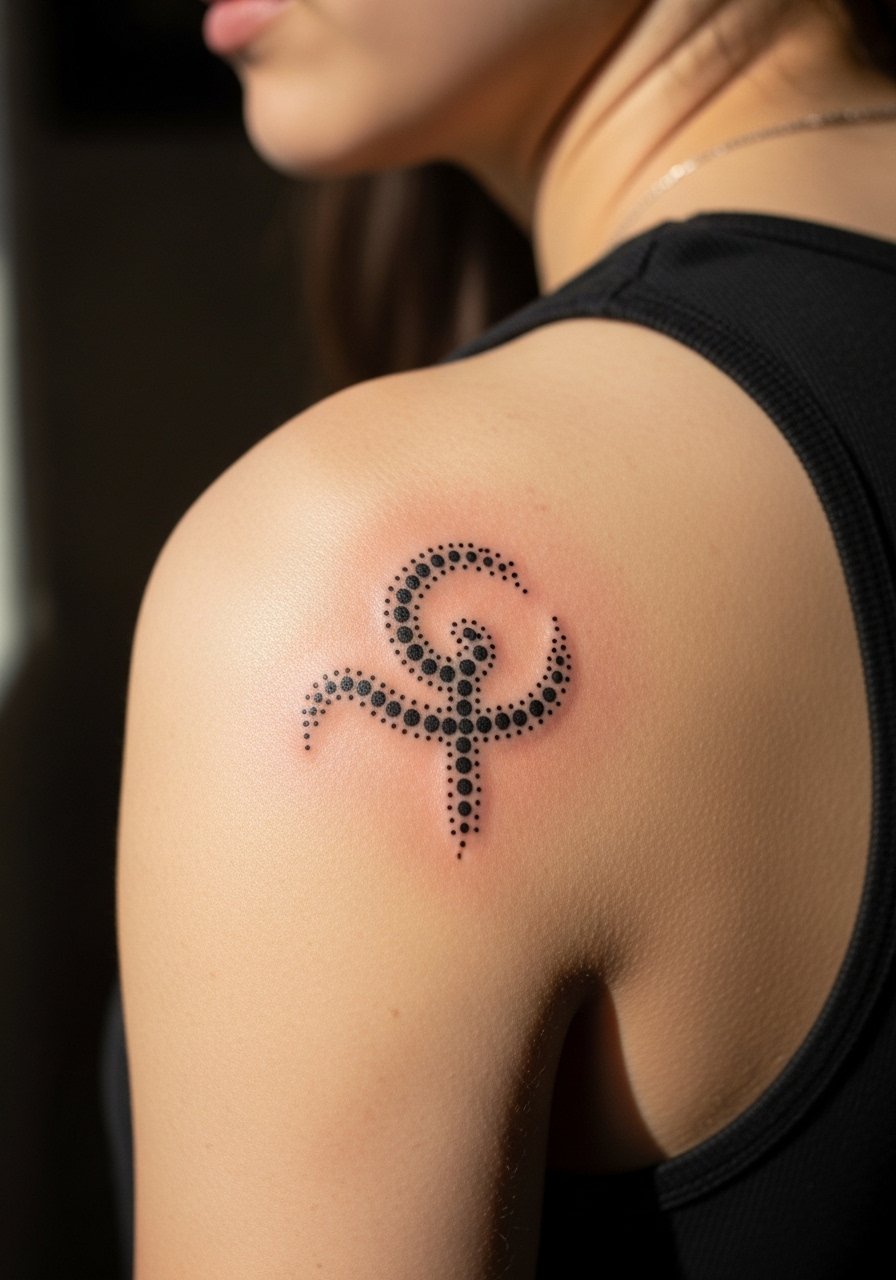
17. Phantom Troupe Shoulder Cap Dotwork
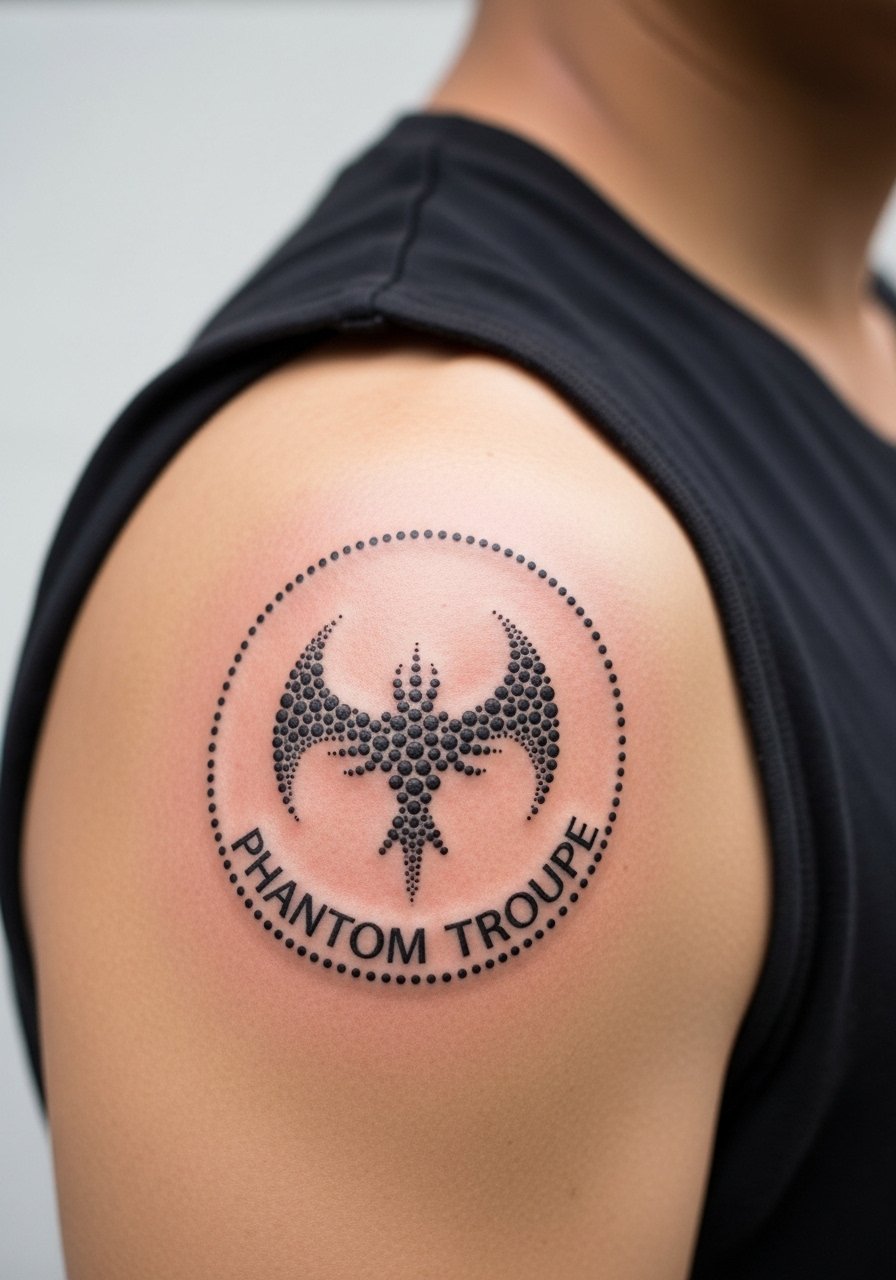
Consultation lead: shoulders allow for strong negative space and hold saturation well. Specify how the piece will sit under sleeves and whether you plan to extend into a sleeve. Sessions are moderate and discomfort is low. A common mistake is assuming the shoulder cap reads the same when the arm is down and when it is raised. Ask for mock positioning photos during consultation. For showing it off wear sleeveless tops or a loose tank top.
18. Inner Bicep Phantom Stipple Portrait

Pain warning lead applies. Inner bicep sessions are more sensitive but they look great tucked into a sleeve. Artists sometimes argue about the best depth on inner arms. Make sure the artist plans shallower passes near the surface and leaves room between dense areas. Expect moderate pain and potential swelling. For the session wear a sleeveless top you can lift and avoid tight sleeves the first week.
19. Phantom Troupe Calf Crest with Negative Ring

Visual impact lead. The lower calf is forgiving and holds contrast well. The negative ring idea helps the crest stay readable when the outer dots soften. A common mistake is wrapping the design too close to the ankle where rubbing occurs. For casual shows pair with cropped trousers and canvas sneakers.
20. Sternum Phantom Lace Dotwork

Aging/healing lead is necessary. Sternum and underbust pieces sit on moving and sweat-prone skin. Artists split into two camps here. One group warns the central sternum area can blur with chest expansion and perspiration. The other group says tight spacing and correct needle depth keep detail intact. Ask where your artist stands and plan for a staged shading approach. Sessions can be painful. For the appointment wear a strapless or fitted sports bra you can remove or shift easily.
21. Phantom Troupe Hip Sprig

Decision-pressure lead: the hip reads well under clothing and holds shape. The notable risk is placing the design where waistbands sit. Tell your artist the types of bottoms you wear and have them test placement sitting and standing. Pain is moderate. Session wear should be loose shorts or high-waisted bottoms. For showing it off consider a bikini bottom or high-waisted skirt that keeps the area visible without rubbing.
22. Phantom Troupe Lower Back Mandala Dotwork
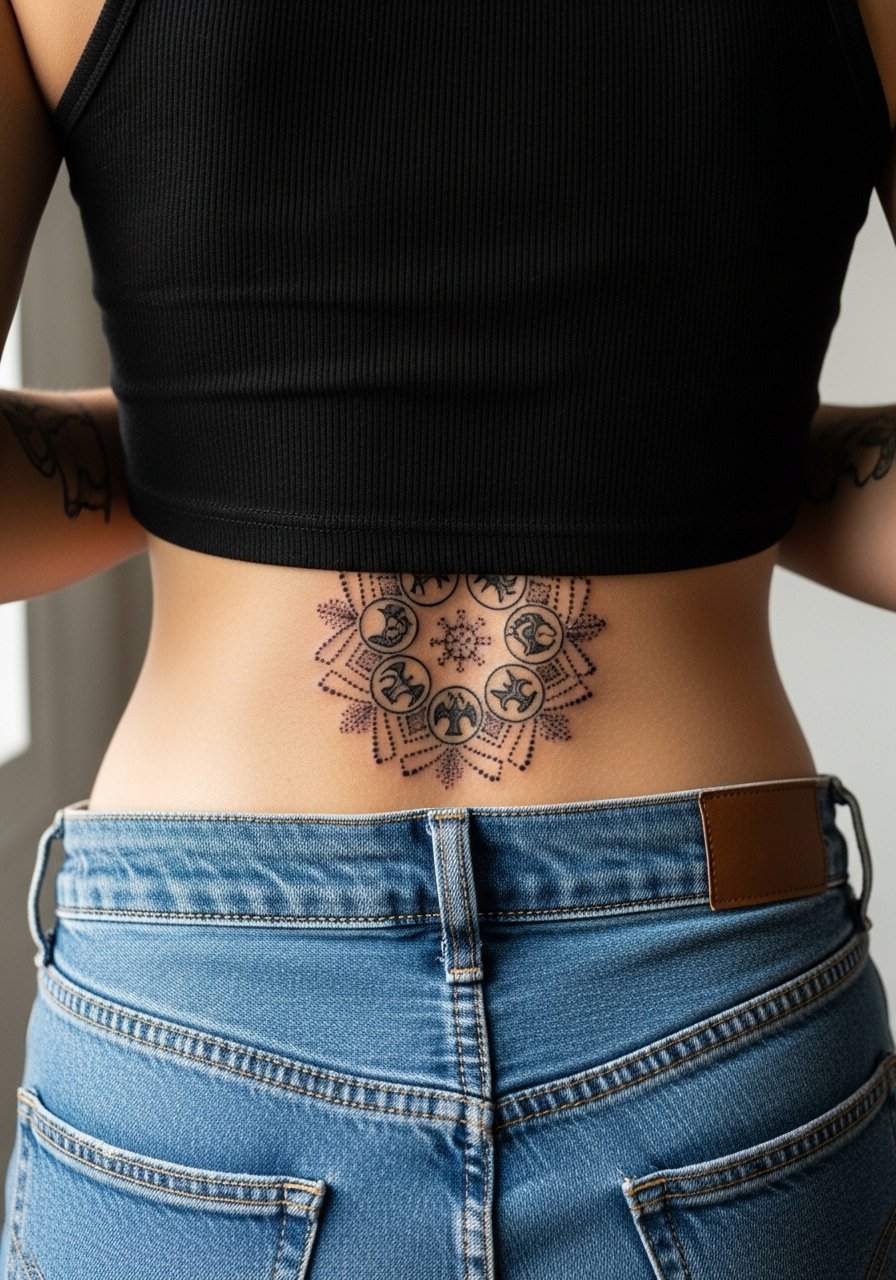
Personal observation lead: lower back pieces age well when they avoid the beltline. The key mistake is placing heavy dots directly where belts contact. Ask your artist to place the mandala a bit higher than you expect and to use lighter dot density near the edges that meet clothing. Sessions are moderate. For showing it off try low-rise jeans or open-back tops.
23. Phantom Troupe Inner Thigh Crescent

Pain warning lead. Inner thigh can be tender but yields great privacy for intimate motifs. The common error is demanding hyper-fine detail that blurs with movement and friction from clothing. Tell the artist you want slightly bolder dots near stress zones and plan a touch-up if you wear tight clothing often. For the session wear loose shorts or a wrap skirt so the artist can work without discomfort.
24. Phantom Troupe Elbow Shell Dotwork
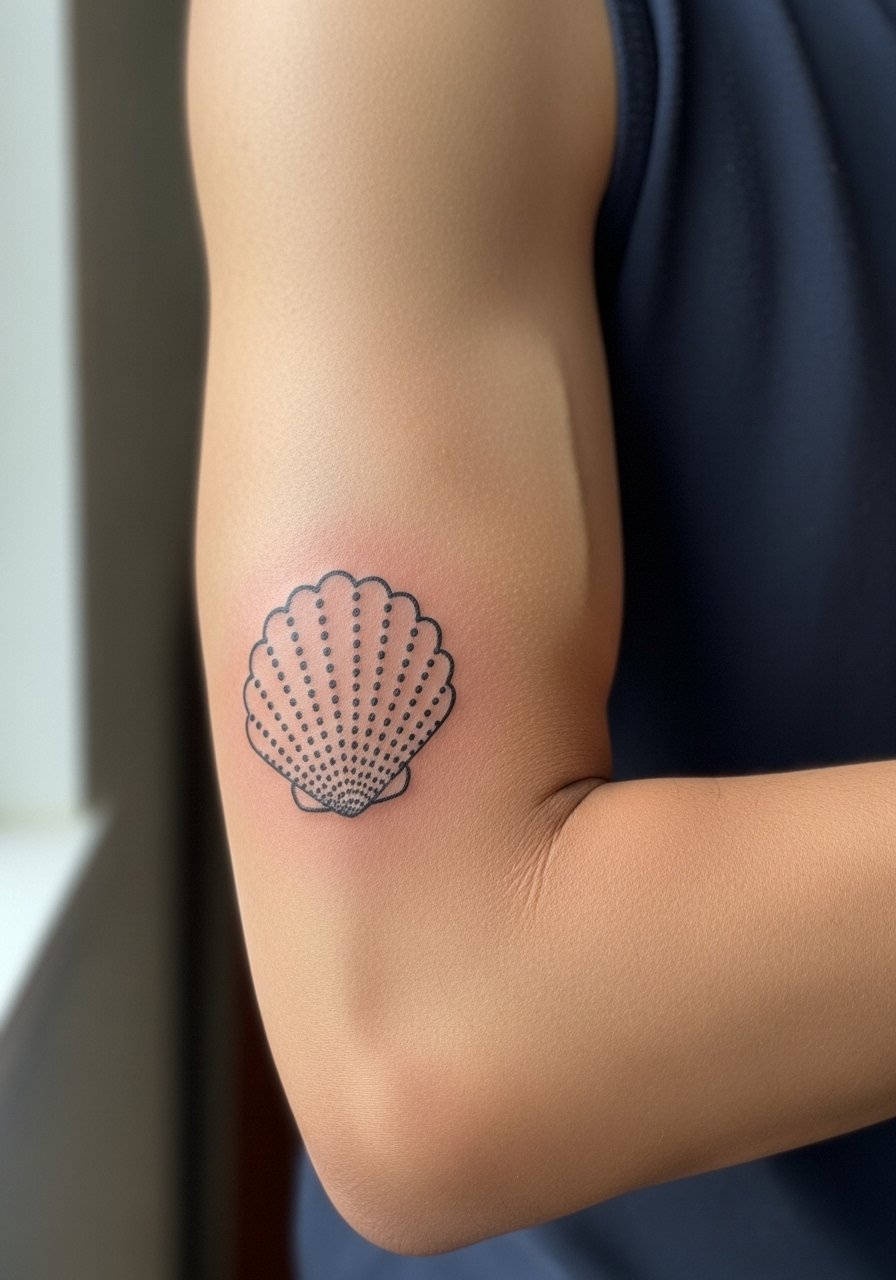
Mistake lead. Elbow and joint-adjacent work is prone to early softening. Avoid placing dense dots directly over the joint where skin stretches. Ask for surrounding negative space and a bolder perimeter so the shape survives motion. Sessions are short but may require a follow-up. Show it off with rolled sleeves or sleeveless tops.
25. Phantom Troupe Nape Linework

Consultation lead. Nape pieces can peek out from collars or hair. Ask about how the piece will look with common hairstyles and whether you prefer high or low placement. This area tolerates fine work but needs spacing to avoid merging with hair oils over time. Sessions are brief. Pair with high collars or a simple choker if you want occasional reveal.
26. Phantom Troupe Shoulder Blade Sigil
Visual impact lead. Shoulder blade pieces age predictably if the artist avoids dense fills on the moving scapula. The usual mistake is packing tight stippling where movement will distort the pattern. Ask for staged shading and test arm positions during consultation. Session time is moderate to long. For showing it off consider open-back tops or a backless dress.
27. Phantom Troupe Small Foot Emblem

Mistake lead to close the list. Foot tattoos face heavy friction from shoes and wear quickly. The trick is to keep dots spaced and avoid fills on the sole-adjacent zones. Sessions are short but expect faster fading and plan for touch-ups if you wear closed shoes often. For showing it off wear sandals or low-cut shoes the first couple weeks to reduce rubbing.
Frequently Asked Questions
Q: How does dotwork compare to regular linework for Phantom Troupe designs on ribs and chest?
A: Dotwork uses stippling to build tone and it breathes differently than continuous linework. On ribs and chest dotwork can look softer over time if dots are packed too close. The practical approach is asking for staged dot density and a plan for touch-up at year one or two depending on your skin type.
Q: Will a tiny Phantom Troupe finger tattoo survive daily hand washing and typing?
A: It will, but it needs protection. Fingers fade faster because of friction and water exposure. Expect touch-ups, especially in high-use fingers. Consider a slightly bolder outer contour and spacing inside the dots to preserve legibility longer.
Q: Are there visibility or career concerns with neck, hand, or face placements for Phantom Troupe pieces?
A: Yes, those placements remain visible and some workplaces still have policies on visible ink. Neck and hands are more likely to be noticed than chest or thigh. Think about where you want daily visibility and how it aligns with your career before booking.
Q: How should I prep outfits for a sternum or rib dotwork session?
A: Wear clothing that gives the artist clear access without exposing more than necessary. For sternum, a fitted sports bra or bandeau works. For ribs, a cropped athletic top you can lift slightly is best. A simple option is a fitted sports bra you can shift during the session.
Q: Do darker skin tones need different dotwork spacing for Phantom Troupe motifs?
A: In my experience darker skin tones benefit from slightly larger negative spaces and more contrast in initial sessions so stippling reads well as it heals. Discuss how the artist adjusts spacing and contrast for your skin during consultation.
