
The tattoos that still read clean at year ten are not always the ones that looked the freshest the day they healed. Bold outlines and deliberate spacing often outlast delicate detail, and color choices matter more than most people expect. If you are scrolling for coi fish tattoo inspiration, this collection balances how a design looks now with how it will age so you can pick a direction that holds up and still feels personal.
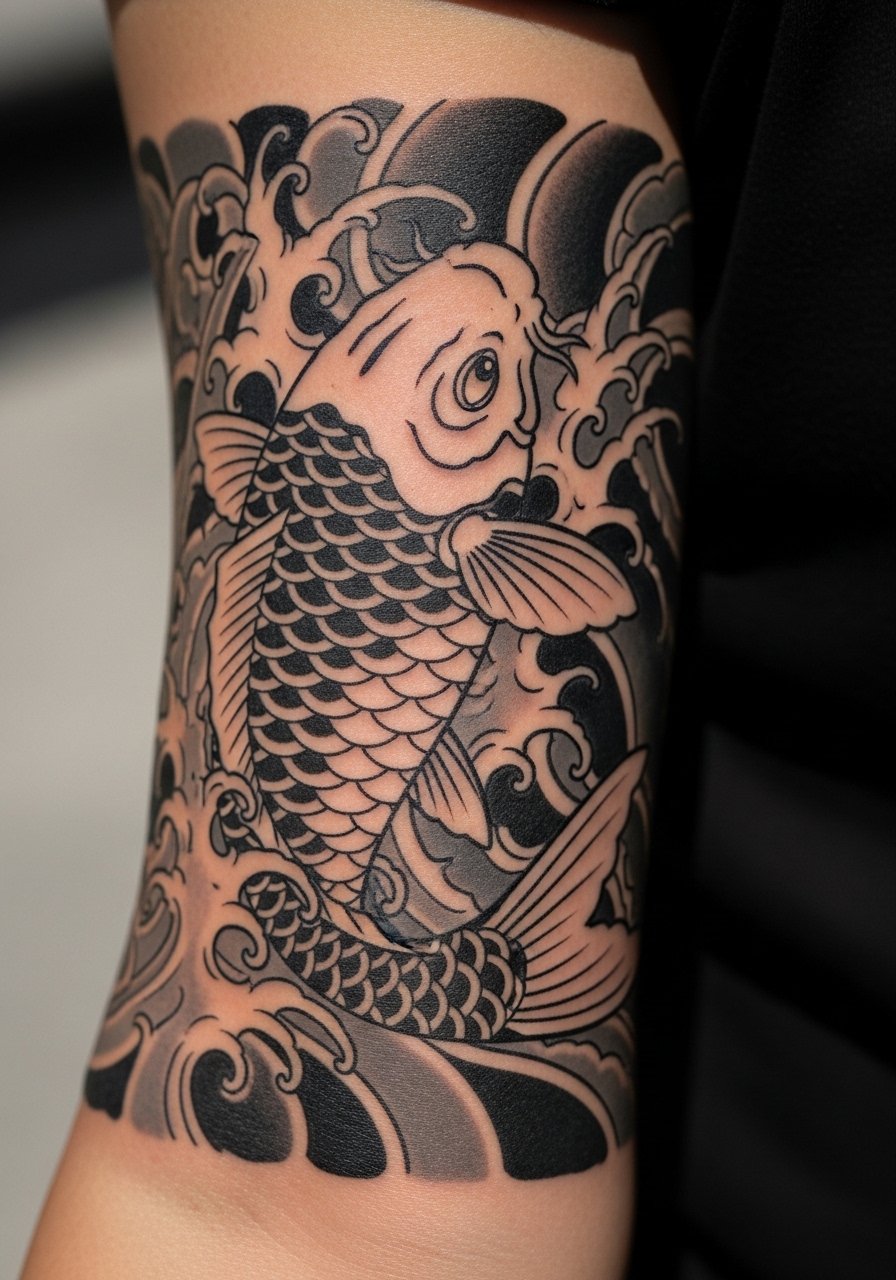
1. Traditional Upstream Koi on the Forearm
I've watched forearm traditional koi hold up better when artists use solid black outlines and medium saturation rather than tiny hairline details. Ask your artist for bold linework around the scales and for waves placed to flow with the arm's curve so movement reads from every angle. Fair warning, the forearm is exposed to sun more than other spots so expect color softening by year three without sunscreen. For showing it off wear a rolled sleeve chambray shirt that frames the design without competing with the palette.
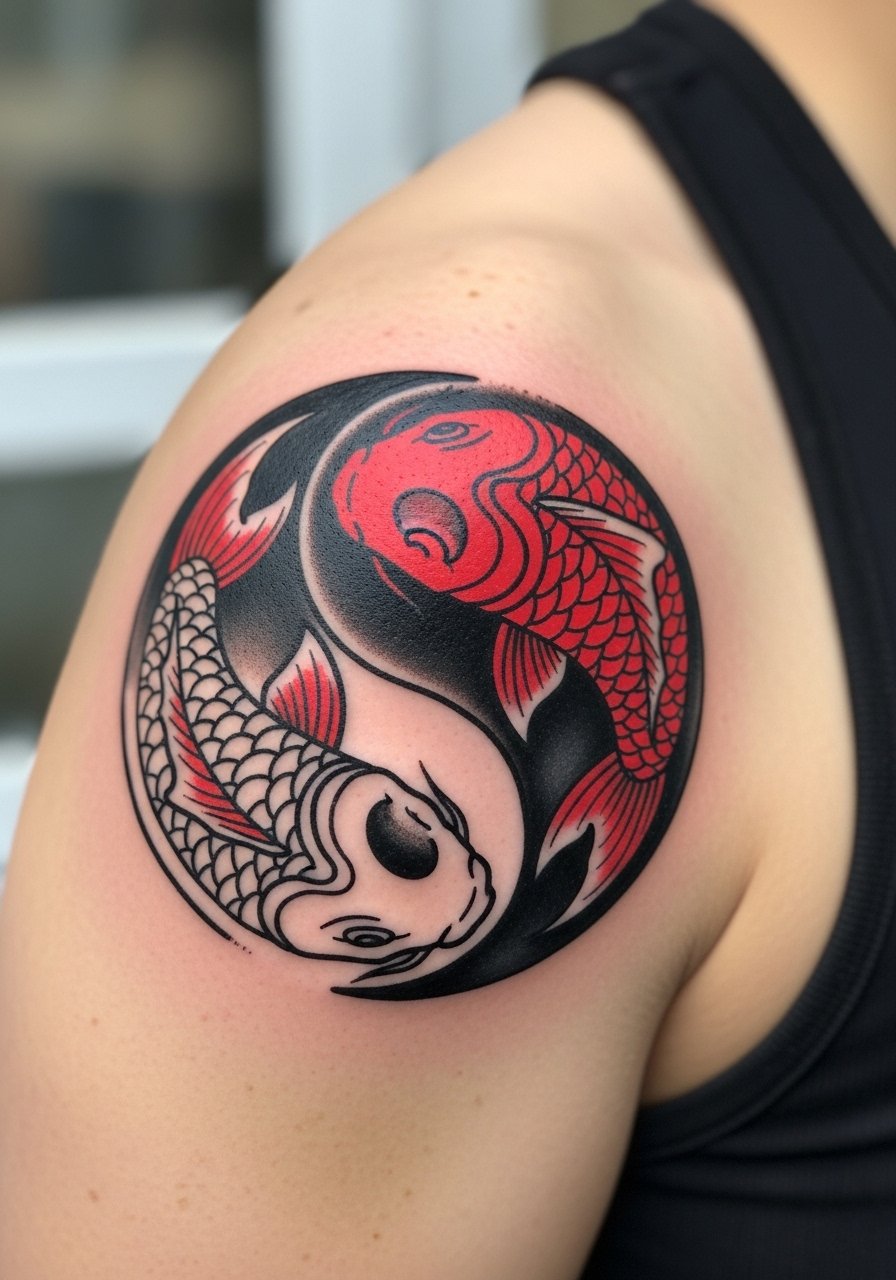
2. Yin Yang Pair on the Shoulder
Shoulder placement suits circular yin yang koi because the muscle dome complements the flow. In consultation, say you want one fish darker and the other lighter with a thin red accent to keep the pair readable at a distance. There is a debate among artists about palette choices here. One camp prefers full color for immediate contrast and depth. The other camp prefers black and gray for longevity across skin tones. Ask which approach the artist uses on shoulders and why. For session comfort wear an off shoulder top or a sleeveless tank you can pull aside easily.
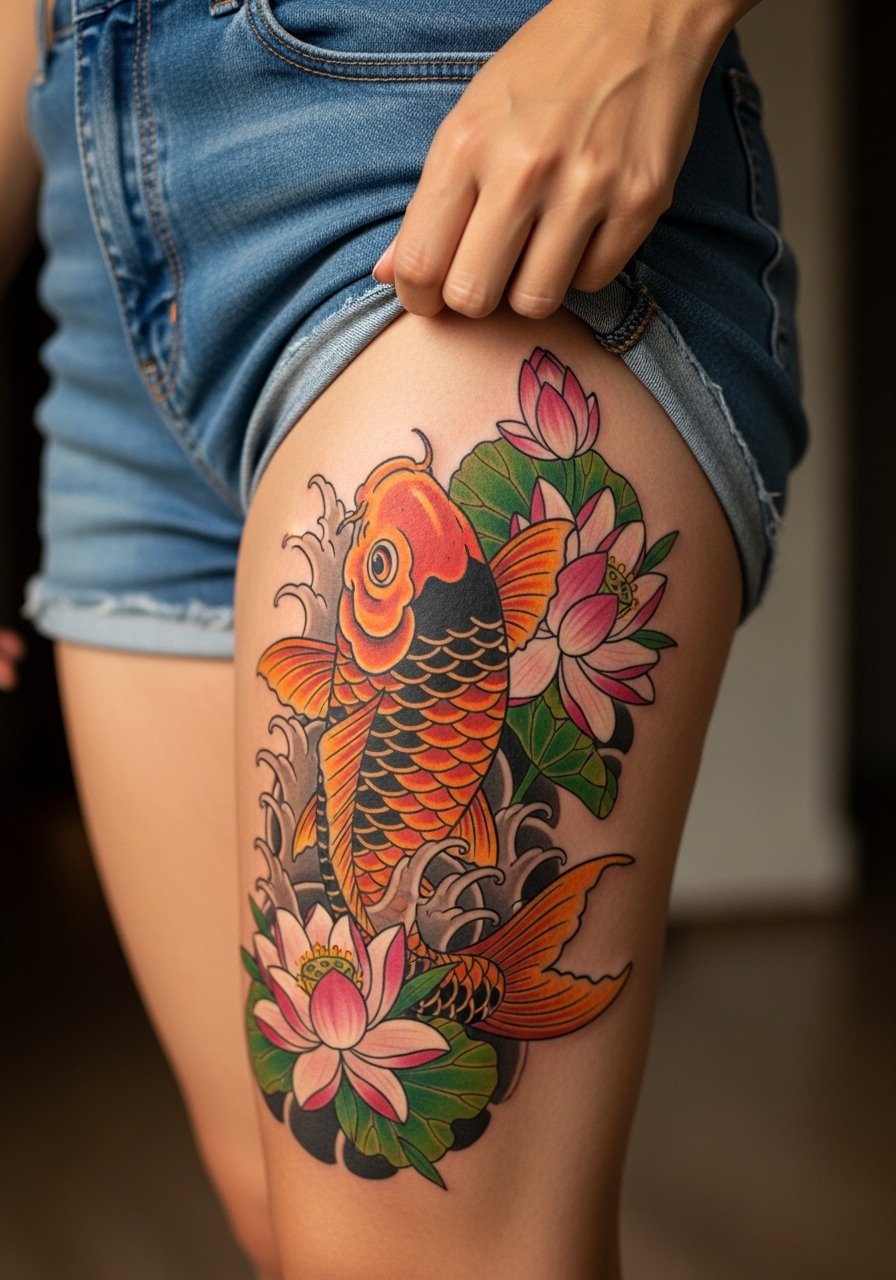
3. Lotus-Integrated Koi on the Thigh
Thigh pieces let you go large with floral framing and keep the work private until you choose to reveal it. Tell your artist to scale the lotus petals so they anchor the koi without crowding the scales. A common mistake is packing too many tiny details on a curved thigh surface which leads to blurring if weight fluctuates. For the appointment wear high waisted shorts so the artist can access the area without pressure on the skin. On darker skin tones ask for higher contrast shading rather than thin color washes.
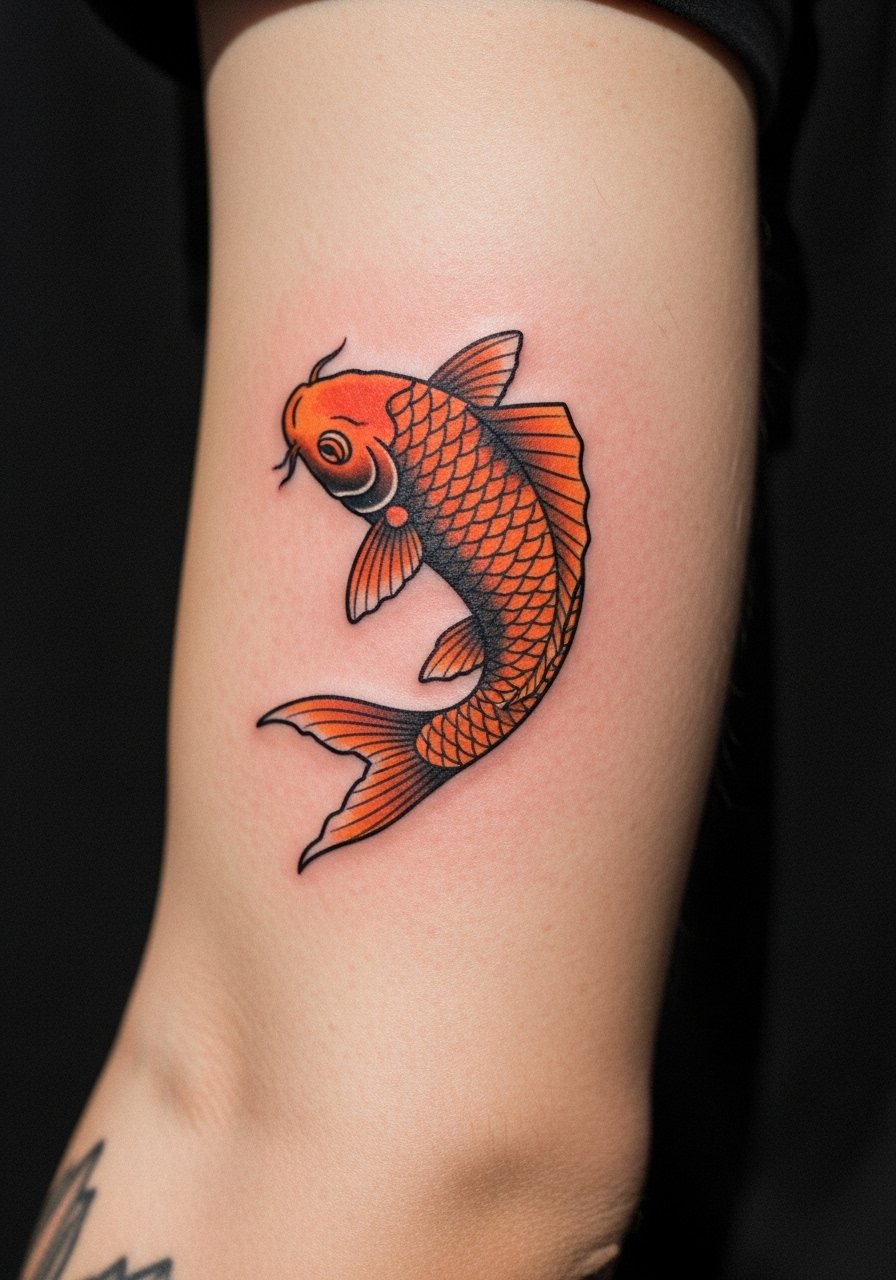
4. Single Orange Koi Leaping on the Upper Arm
Upper arm pieces are a classic for small to medium koi that want motion. I recommend a leaping composition with scale gradient suggestions instead of tiny stippled scales. The biggest mistake is overworking micro-detail in a single session which increases swelling and risks blowout. Expect one session around 60 to 90 minutes for a medium piece and moderate soreness afterward. When you want to show it off choose a fitted muscle tank that keeps focus on the fish and not the rest of the arm.
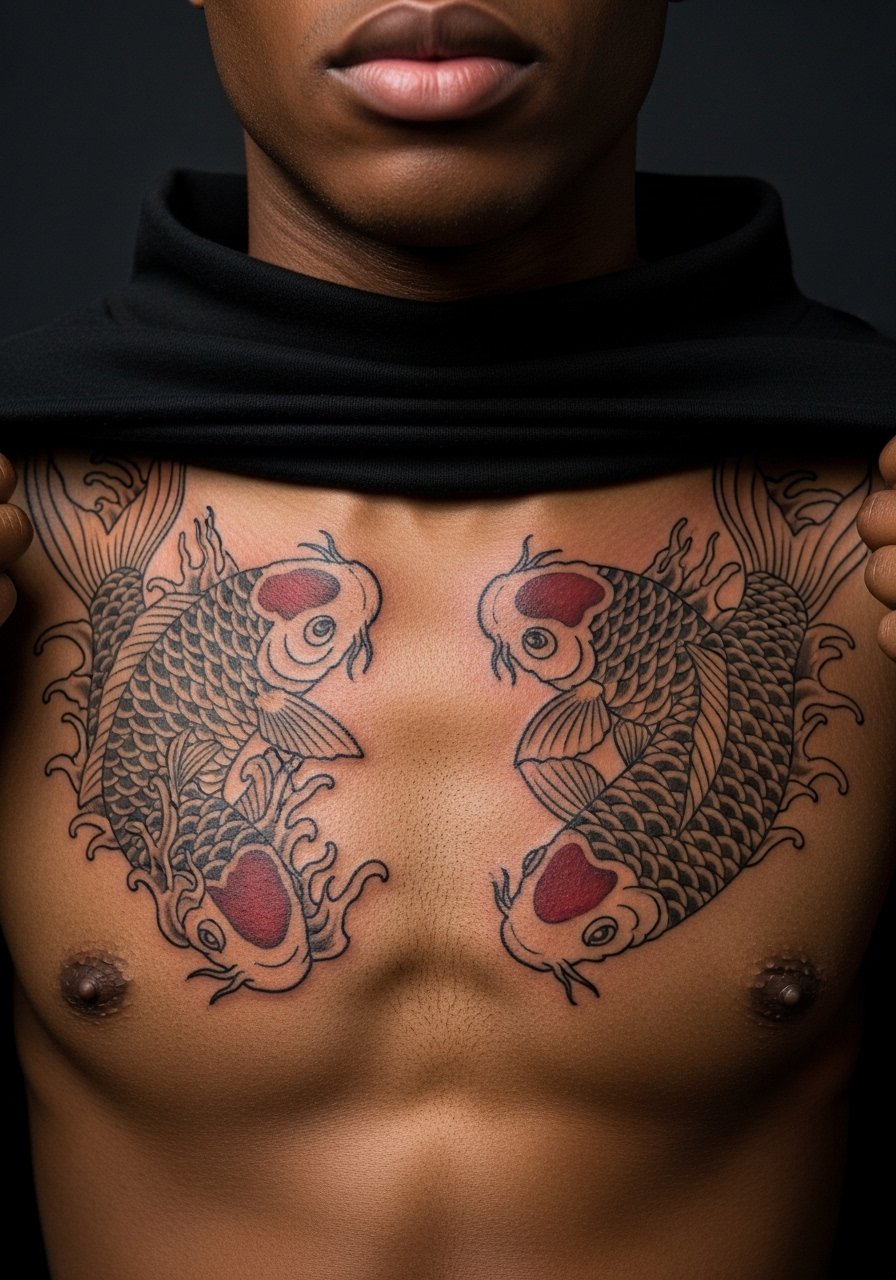
5. Dual Koi Across the Chest
Chest pieces read grand because the rib cage and sternum add curvature for motion. Be warned, the chest is a higher pain placement for many. For couples or partnership tattoos, mirror placement across the sternum can create a relational balance without forcing identical mirror lines. A frequent error is starting the fish too low which distorts the symmetry when the wearer breathes. For session day bring a loose button-down shirt you can slide to one side for access and warmth between sets.
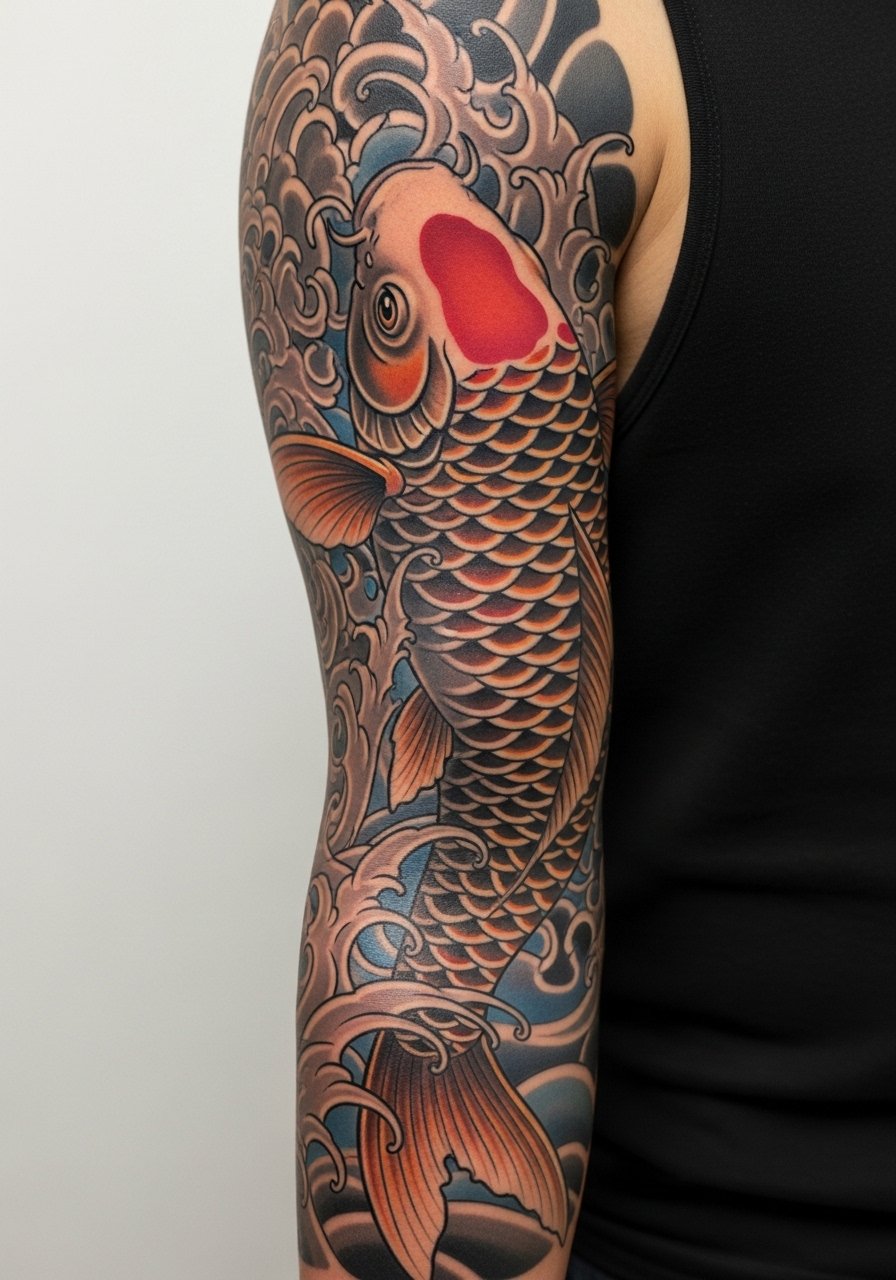
6. Realistic Full-Sleeve Koi with Ripple Detailing
Realistic sleeves demand session planning and patience because scale textures, highlights, and water ripples need time to settle. Realistic micro-work often takes multiple sessions across months and you should budget for touch-ups after the first year. Artists are divided about fine detail longevity on sleeves. One side says dense realism matures into a soft painterly sleeve. The other side argues that realism requires heavier saturation up front to avoid early washout. If you plan longer sits, layer clothing choices like a breathable tank and bring water.
Studio Day Picks
The forearm, chest, and thigh pieces above each ask for slightly different prep, and a short kit makes sessions easier and the first week smoother.
- Stencil transfer paper kit. Lets you preview line placement on skin before the needle goes in, which is helpful for forearm and chest symmetry.
- Topical numbing cream. Applied as directed before longer sessions eases shoulder and chest sensitivity without altering artist technique.
- Thin protective film roll. Useful for ankle and hand pieces that face constant friction from clothing and daily use.
- Fragrance-free gentle body wash. Cleans the healing area without irritating fine line edges after the first day.
- Aquaphor healing ointment. A thin layer in the initial healing window keeps tight linework moisturized and helps prevent excessive scabbing on detailed koi.
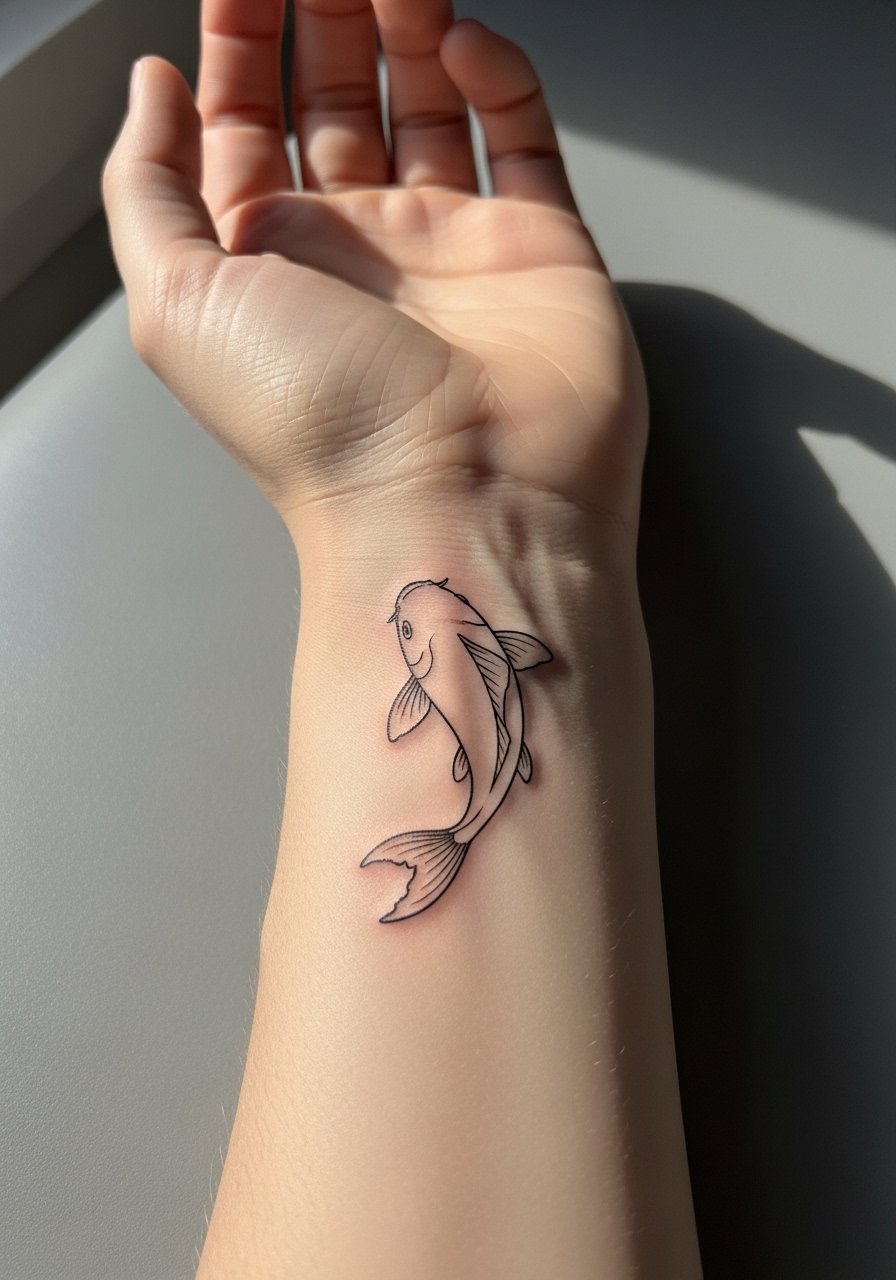
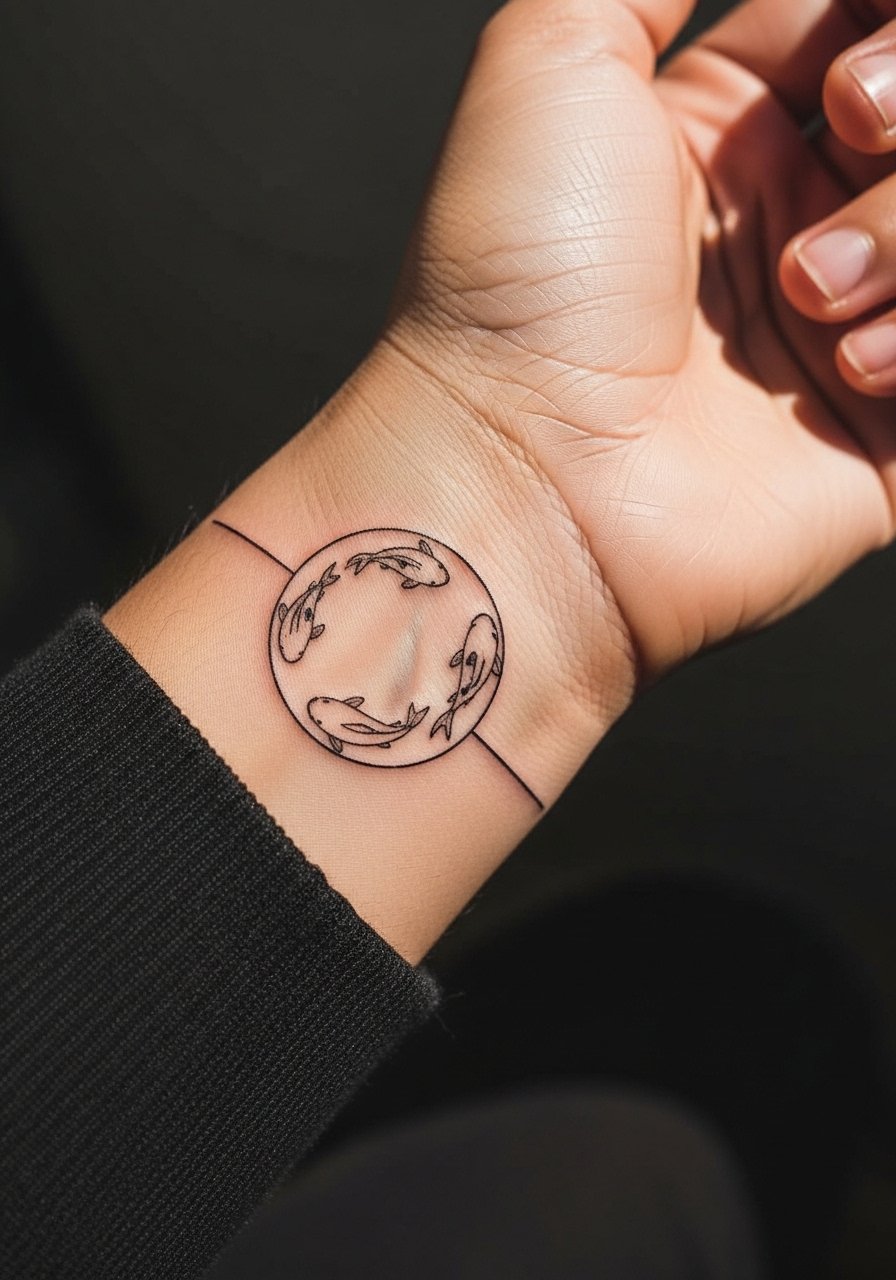
7. Minimalist Outline Koi on the Wrist
Wrist placements favor minimal silhouettes for subtlety and quick sessions. The wrist is a high-motion and high-friction area so tiny lines can blur faster than you expect. The common version that ages poorly uses hairline strokes too close together. Ask for slightly heavier linework and clear spacing between curves. For showing it off pair the tattoo with a thin leather cuff bracelet on the opposite wrist to balance the look. Expect light tenderness for 48 hours after the session.
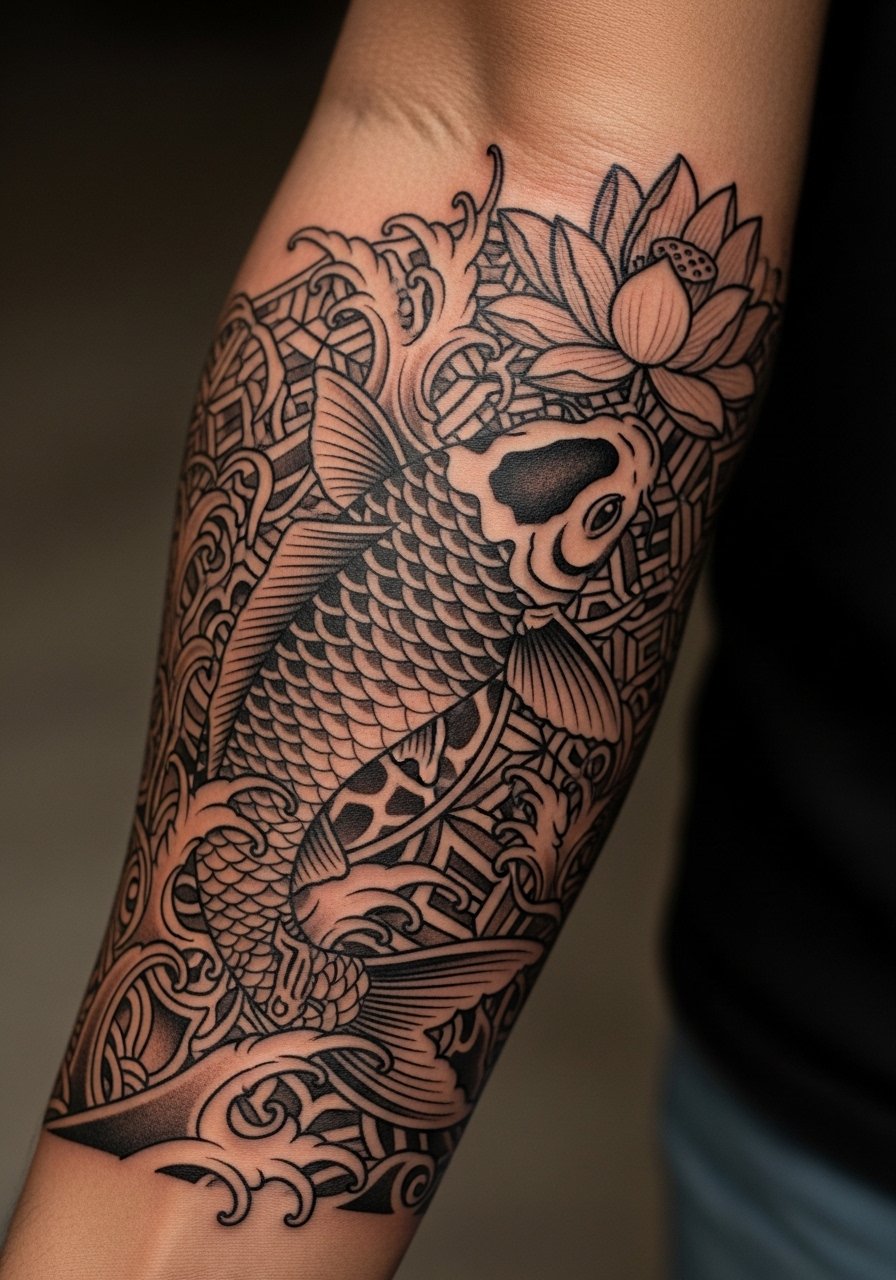
8. Blackwork Koi with Geometric Waves on the Forearm
Blackwork reads strong from a distance and ages into bold contrast over time. If you want a modern edge, combine saturated black shapes for the koi body with geometric negative-space waves. The main risk is overfilling small areas which can cause a dense block that looks flat after healing. Tell your artist you want negative space for highlights and gradual transitions rather than solid blocks everywhere. This is a good pick for darker skin tones where saturated black preserves shape best.
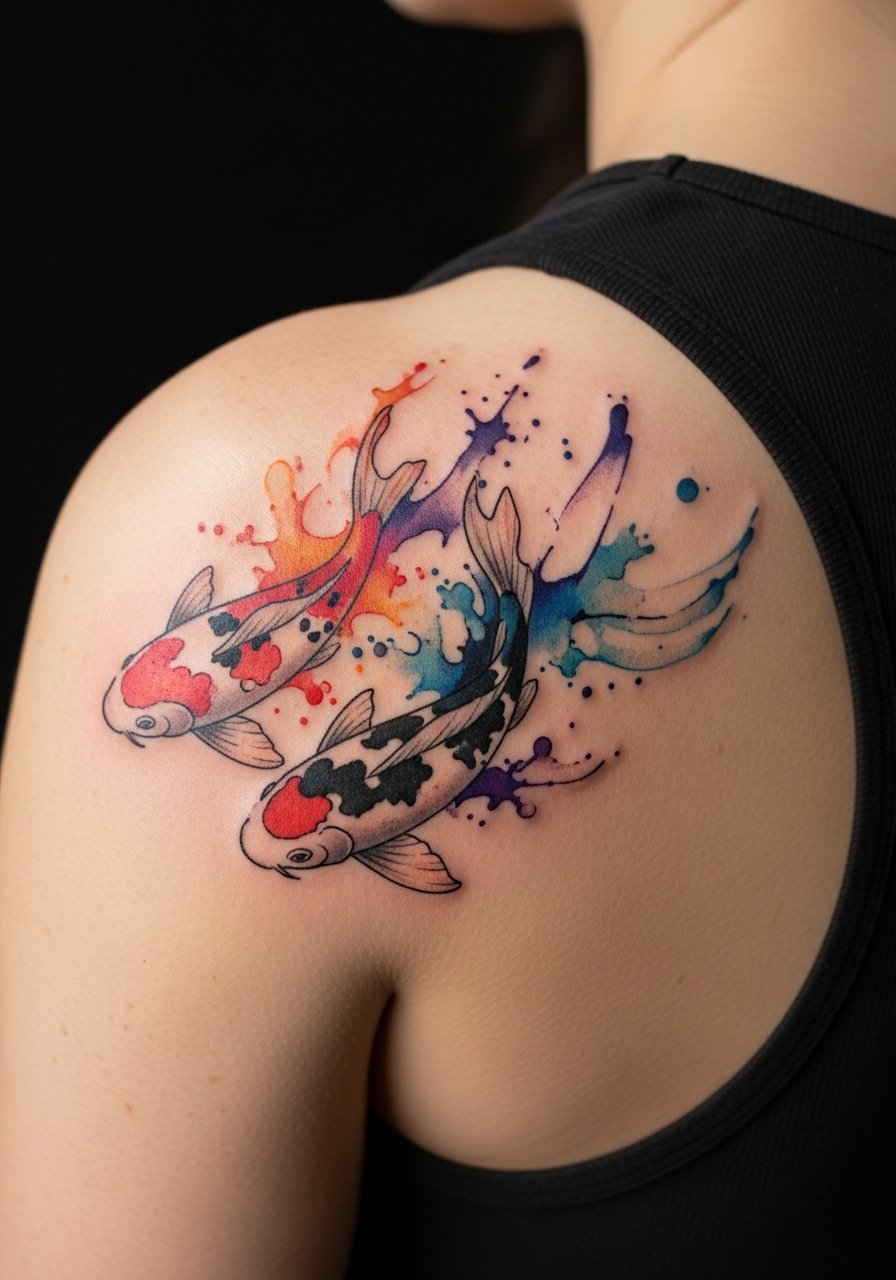
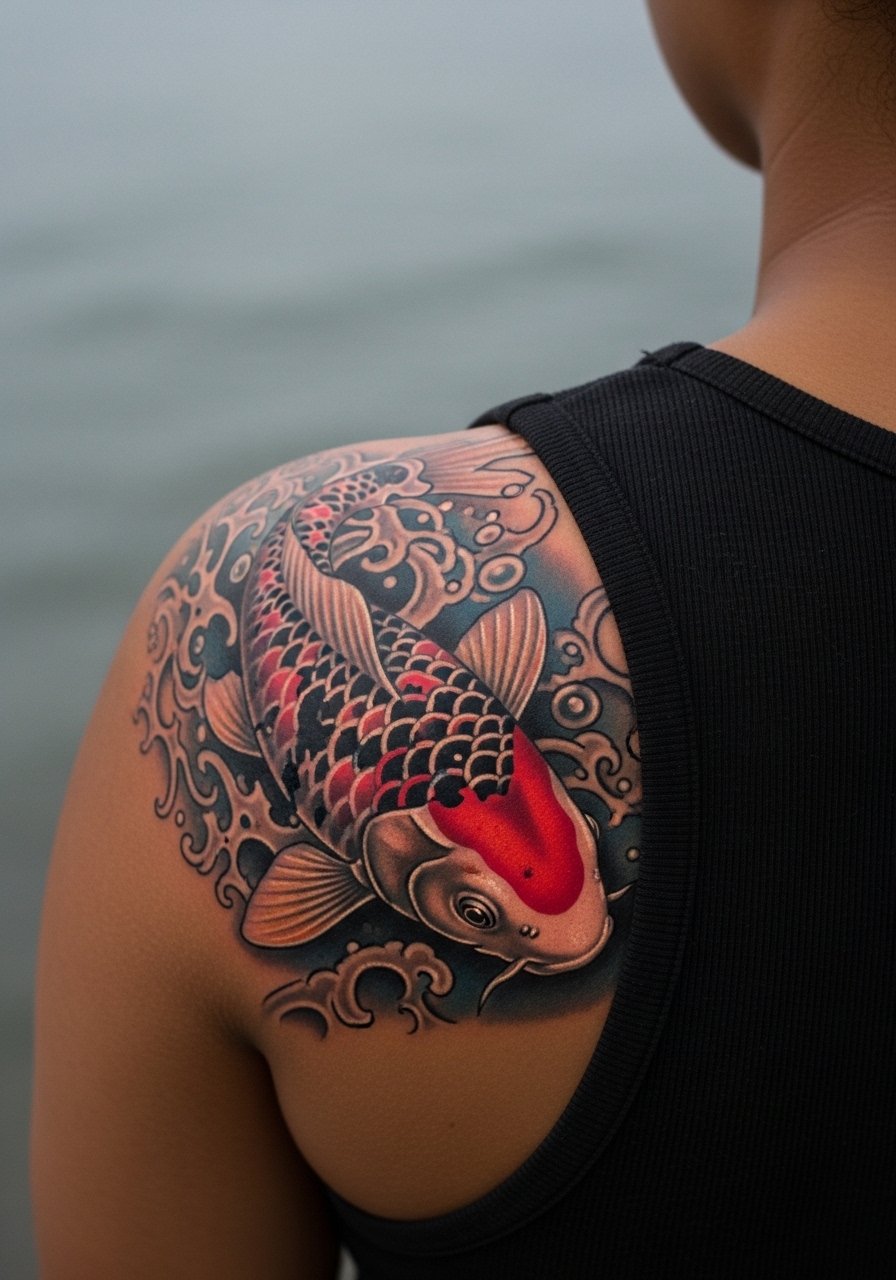
9. Watercolor Koi on the Shoulder Blade
Watercolor pieces deliver a painterly wash around the fish but they demand thoughtful placement to avoid early fading. On the shoulder blade you get natural protection under clothing so the colors last longer than on an exposed forearm. A common mistake is using very light washes without anchoring outlines, which can turn into a blur with time. During the appointment wear a sleeveless tank or an open button shirt for easy access. This style is best if you prefer a softer, less graphic look.
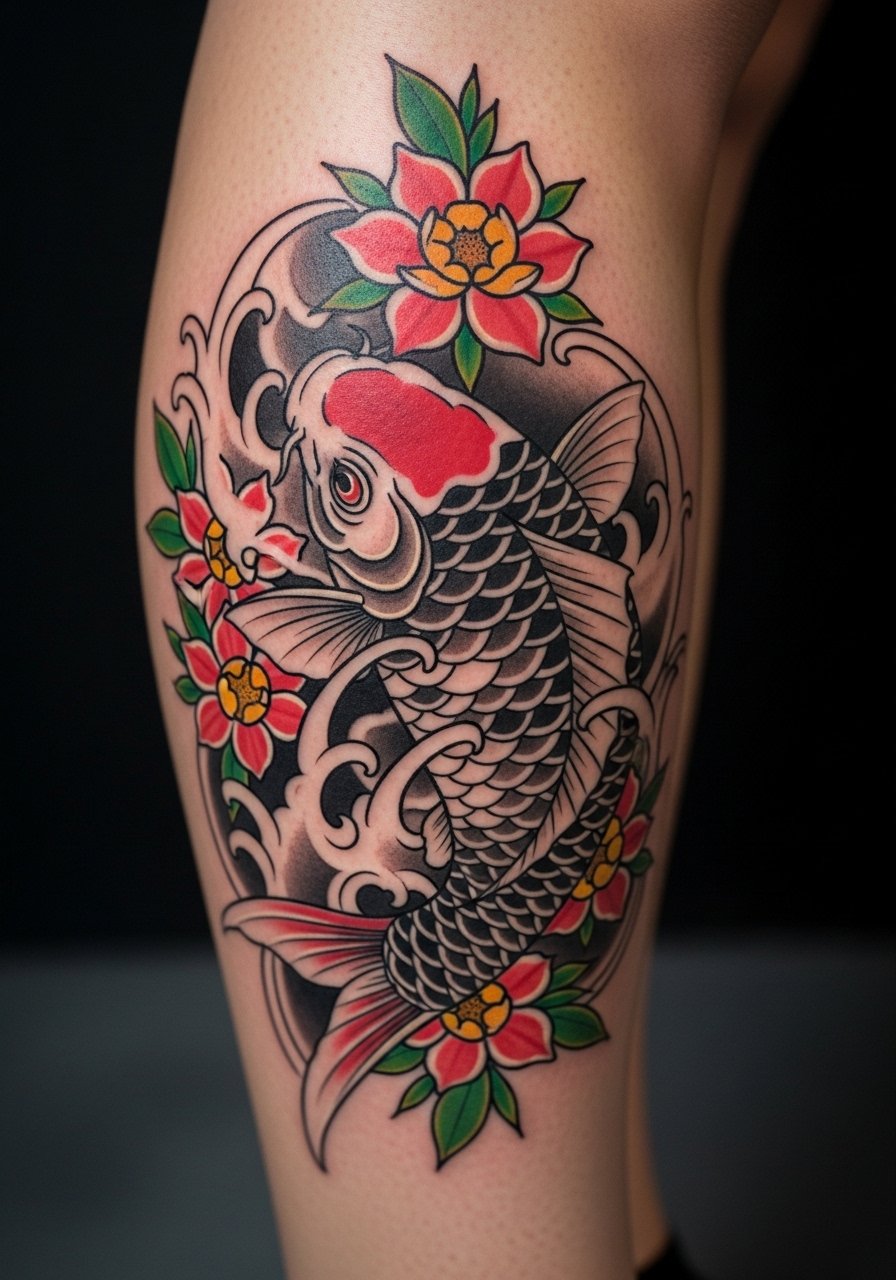
10. Neo-Traditional Koi with Floral Accents on the Calf
Calf tattoos offer space for vertical movement and fine floral framing. Neo-traditional work with bold outlines and controlled saturation tends to age well here because the leg sees less UV exposure. Avoid compressing too many thin lines into one vertical column or the piece will blur if the leg shifts with muscle gain. For summer shows, pair the design with cropped chino pants or shorts that stop at the right height to reveal the fish during warm months. Expect two to three sessions for large color blocks.
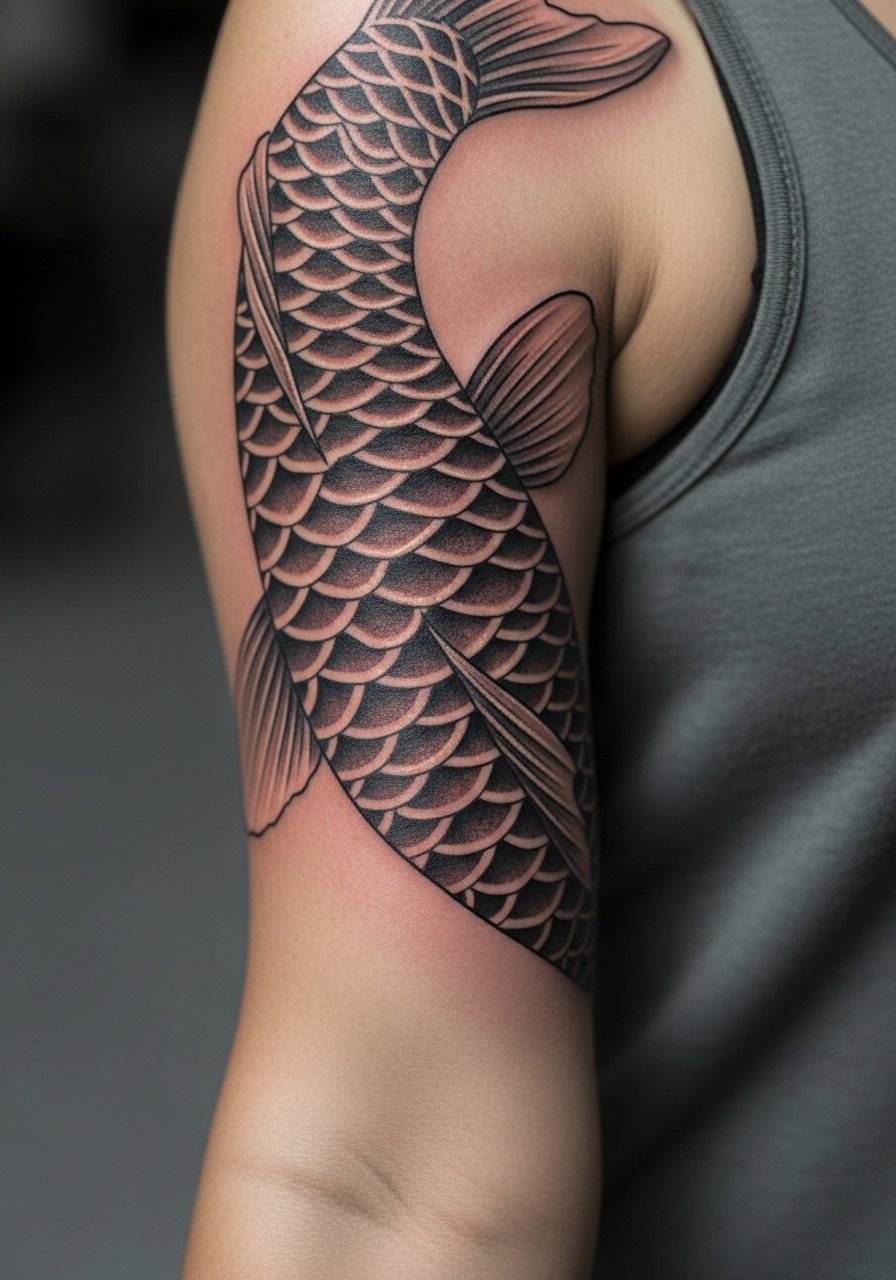
11. Micro-Realism Scale Study on the Inner Bicep
Inner bicep work sits in a spot that flexes and swells, so micro-realism requires careful needle depth to avoid blowout. The inner bicep also hides well under sleeves which is why some choose this for a private reminder. Artists are split on fine detail in this spot. One group warns the skin stretch makes hairline work fade into a wash. The other claims precise depth and spacing keeps the fidelity intact. If you pick inner bicep, expect occasional touch-ups and wear a tank top to the session so the arm can be positioned easily.
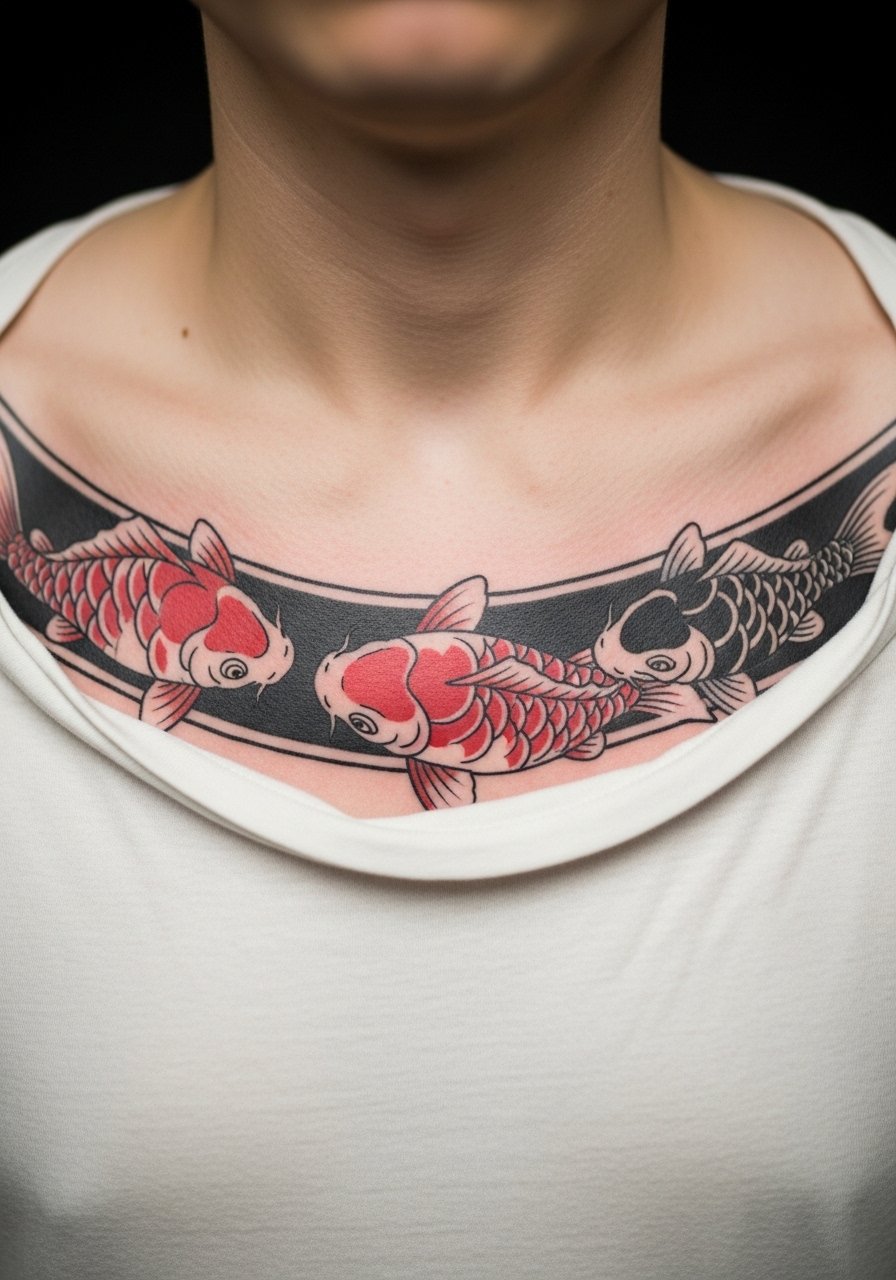
12. Ornamental Chest Band with Two Koi
A chest band balances ornament and negative space to sit across the sternum and upper ribs. Ribs are sensitive and the session feels sharp in areas near bone. The common mistake is compressing ornament lines too closely which leads to merging in denser areas as healing progresses. Plan for two shorter sessions rather than one marathon set and use layers of rest between passes. For the appointment bring a loose button-down that is easy to slide aside while keeping you covered between sets.
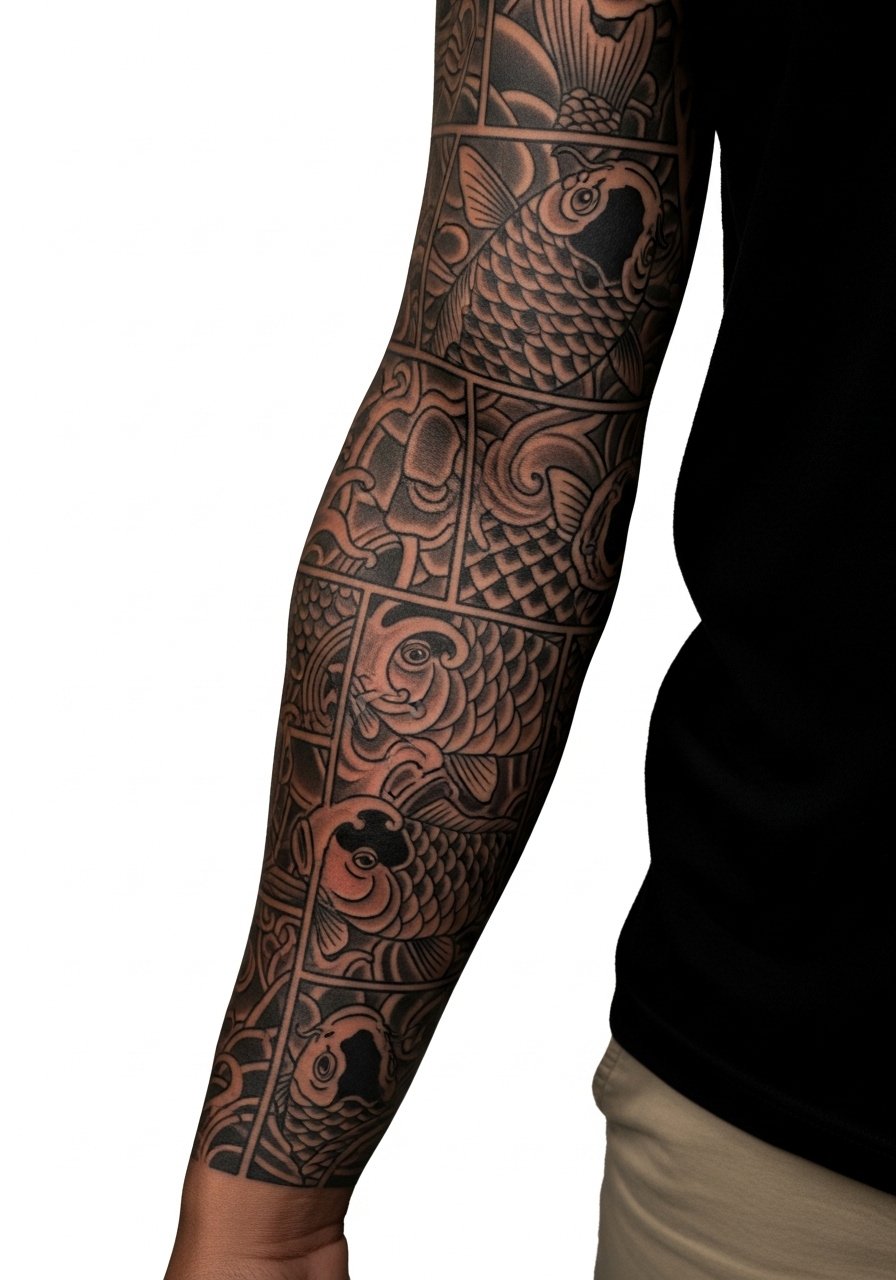
13. Patchwork Koi Sleeve That Marks Milestones
Patchwork sleeves let you add koi motifs across time without forcing one continuous composition. This approach helps if you want to mark specific dates or milestones with separate vignettes. The downside is inconsistent line weight across different sessions if you change artists. Tell each artist you want consistent scale and shading notes saved. Sleeve patchwork usually refreshes well with touch-ups every few years. Pair an initial koi vignette with a fitted muscle tank for session comfort and to showcase early pieces as you add more.
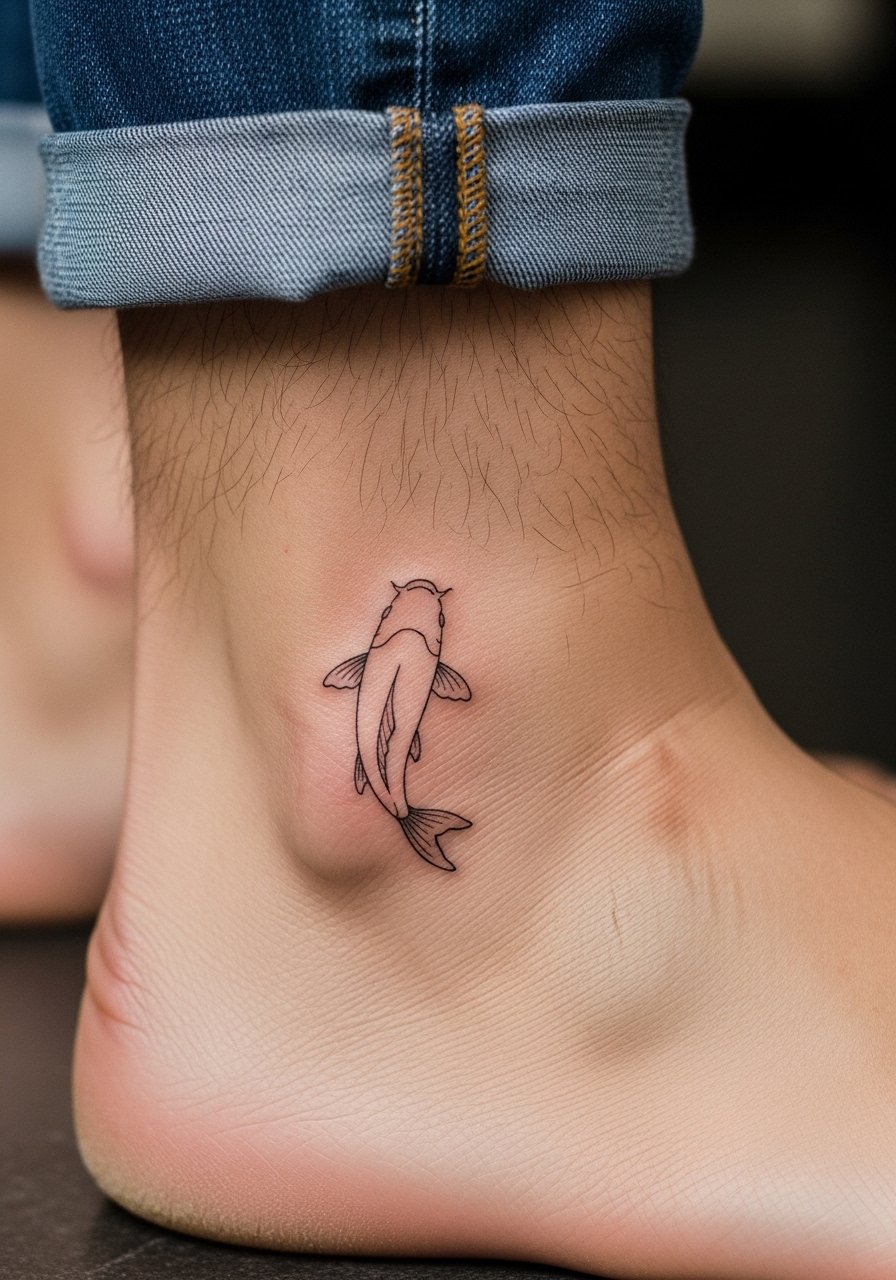
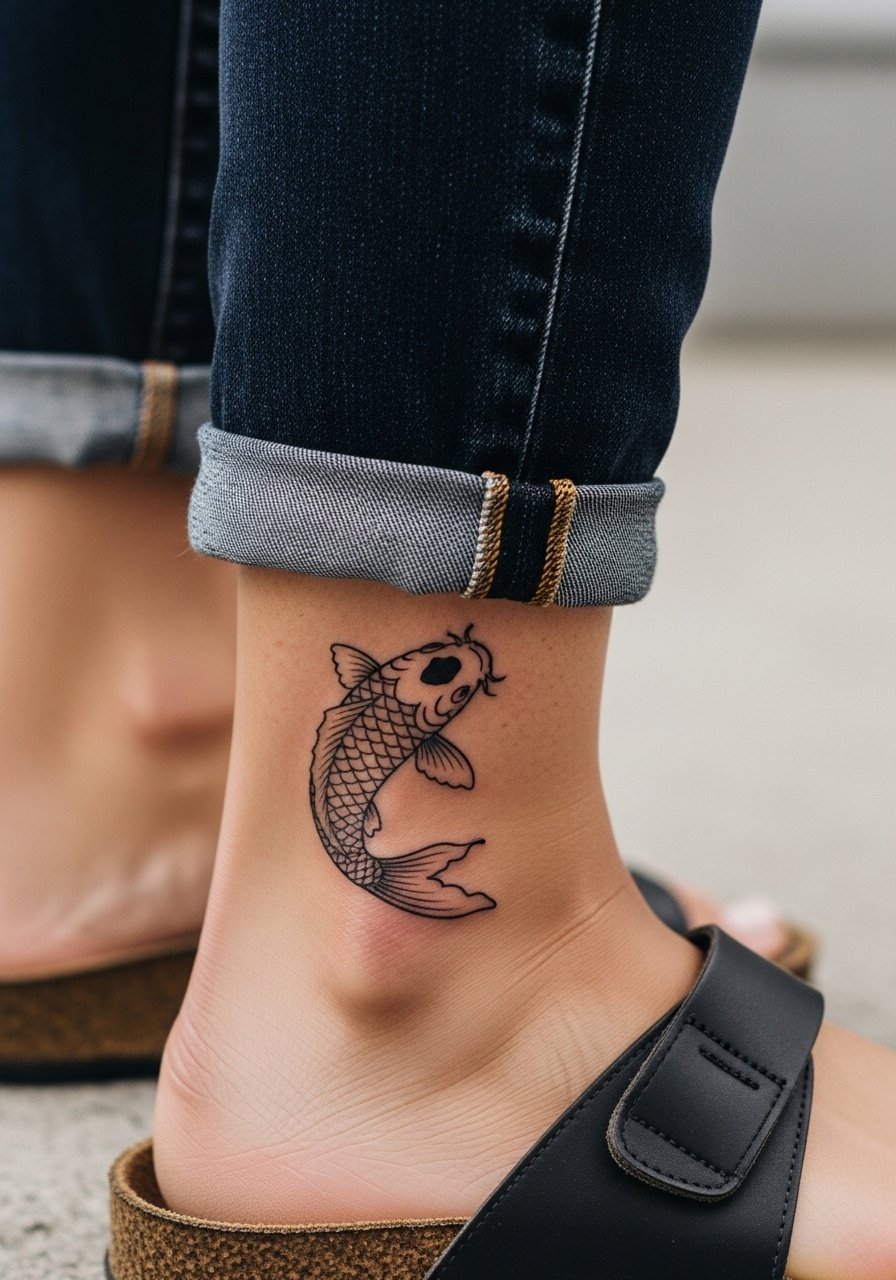
14. Tiny Ankle Koi for a Subtle Statement
Tiny ankle koi are low-commitment and great for first-timers, but the ankle gets rubbed by socks and shoes. The mistake is putting too much fine detail into a very small footprint. Ask for clean simple linework with modest fill so the fish keeps shape after the first year. On session day wear jeans you can roll up or sandals to avoid pressure on the area during travel home. Expect a short sit and light swelling overnight.
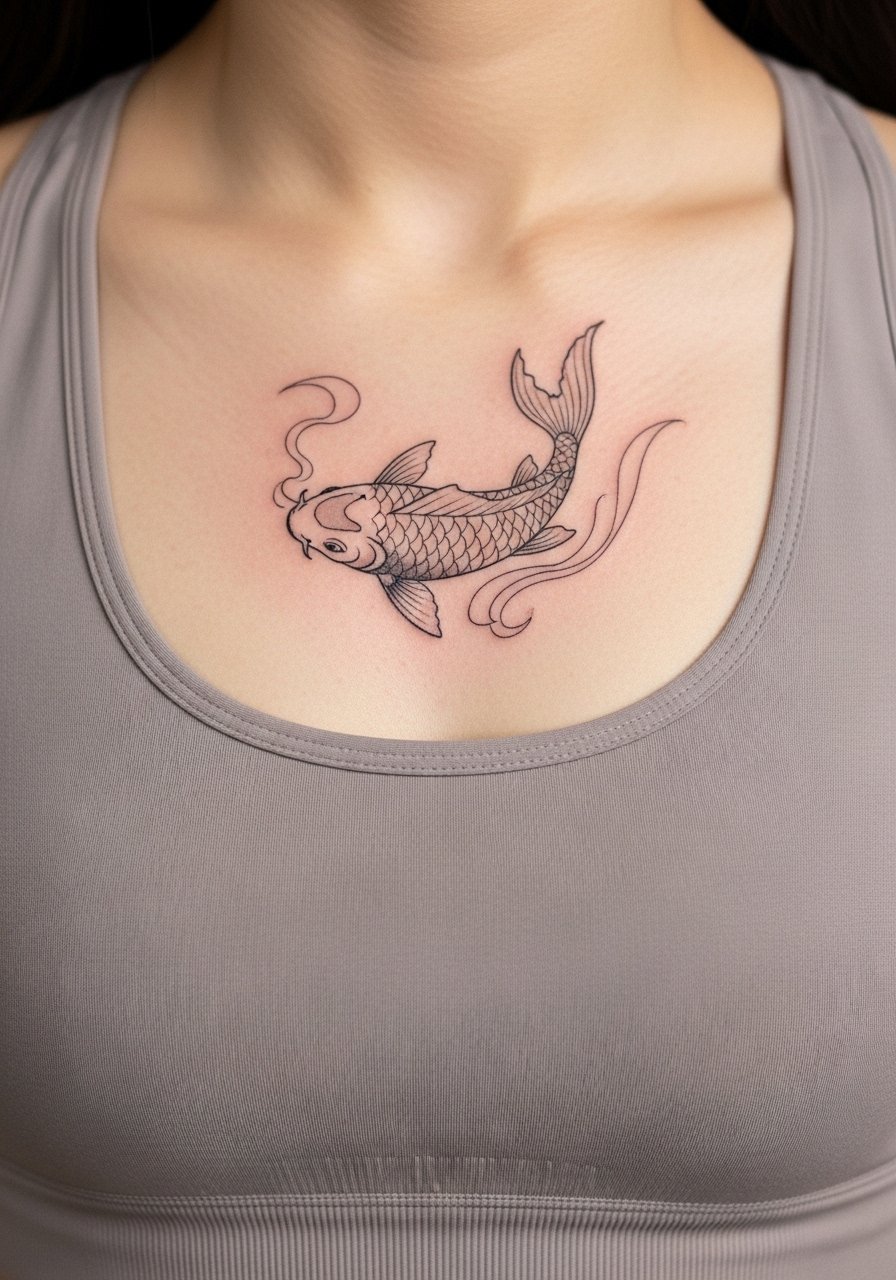
15. Sternum Curve Koi with Subtle Shading
Sternum pieces look stunning framed by garments but the area is sensitive and breath affects placement. One practical tip is to breathe steadily during the stencil check so the artist can see movement and place the fish where it reads while you breathe. Choose subtle dot work shading rather than dense blocks to prevent heavy scabbing. For the session wear a fitted sports bra or bandeau so the artist can work and you remain supported. Expect tenderness for a few days.
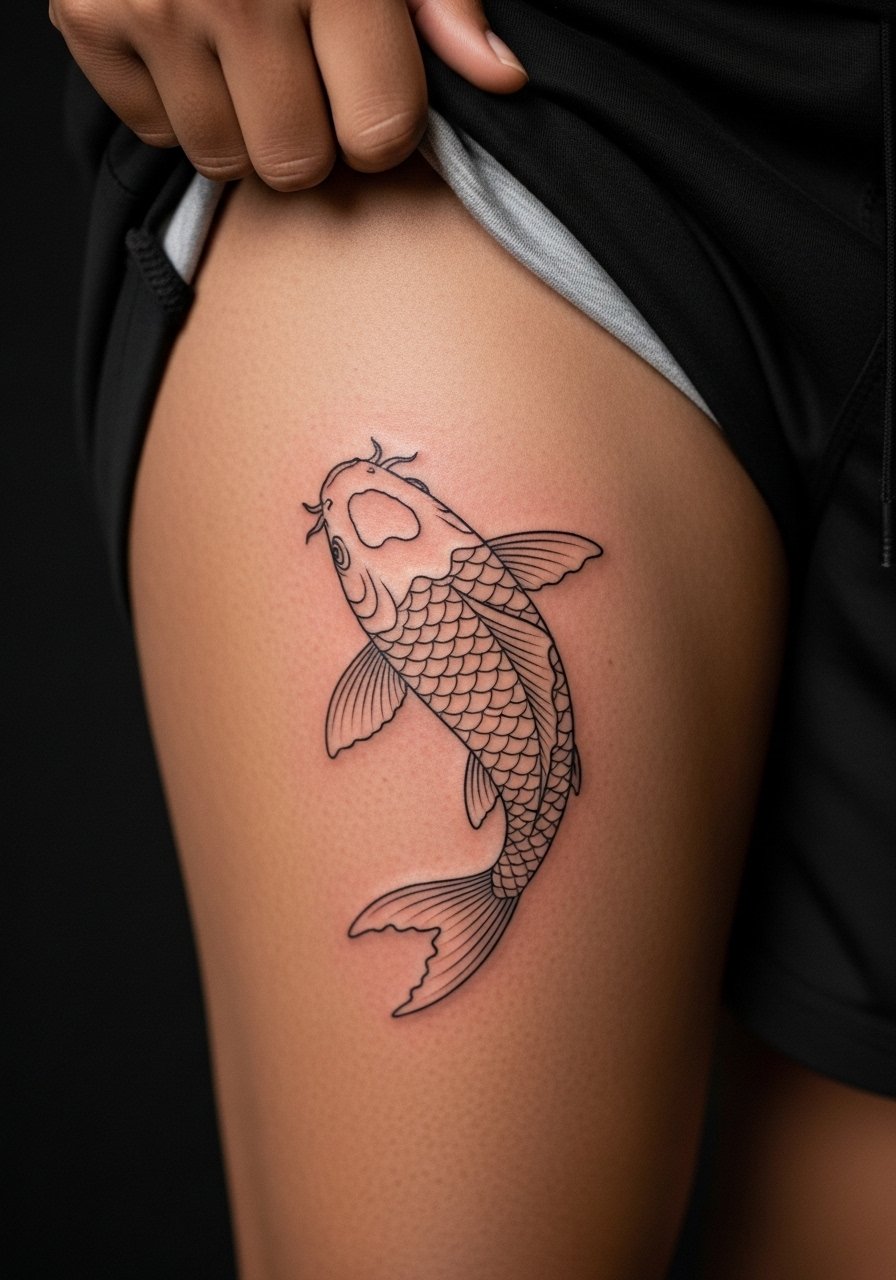
16. Inner Thigh Koi Hidden from View
Inner thigh placements are intimate and hide well under clothing. The skin here can stretch and change with weight shifts, so avoid overly small compositions. Ask for balanced negative space around the koi to accommodate changes in contour. For the appointment wear shorts that can be shifted slightly so the artist can reach without discomfort. If your lifestyle includes frequent gym work or cycling, mention that to the artist so they can adapt placement away from high-friction zones.
17. Lower Back Koi That Peeks Above a Waistline
Lower back pieces sit nicely with high-waisted clothing for a surprise reveal. The tricky part is that the area moves with bending and sitting so designs with wide curves tend to read more consistently. A common pitfall is putting too many narrow lines in the center where the skin creases. Wear a tank top or a shirt that can be lifted slightly for session access and comfort. This placement pairs with high-waisted bottoms when you want to show it off.
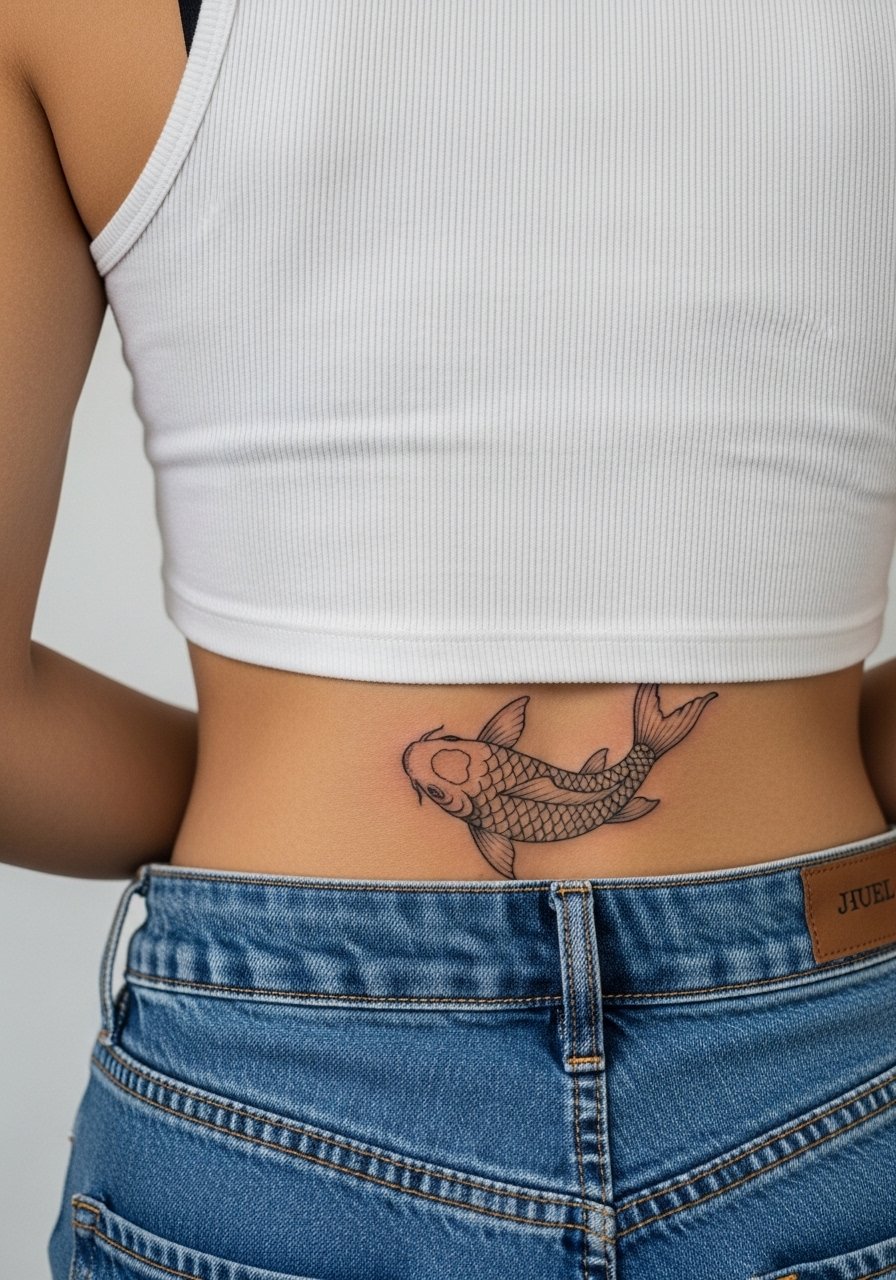
18. Small Forearm Koi for First-Timers
If you are nervous about pain or time, a small forearm koi gives motion without a long session. The forearm's visibility makes lines and color choices important since you will see it daily. Start with slightly bolder outlines than you think you need so the image survives the first few years. A single session typically finishes a small piece. On session day wear a loose short-sleeve button-up so the artist can roll the sleeve comfortably.
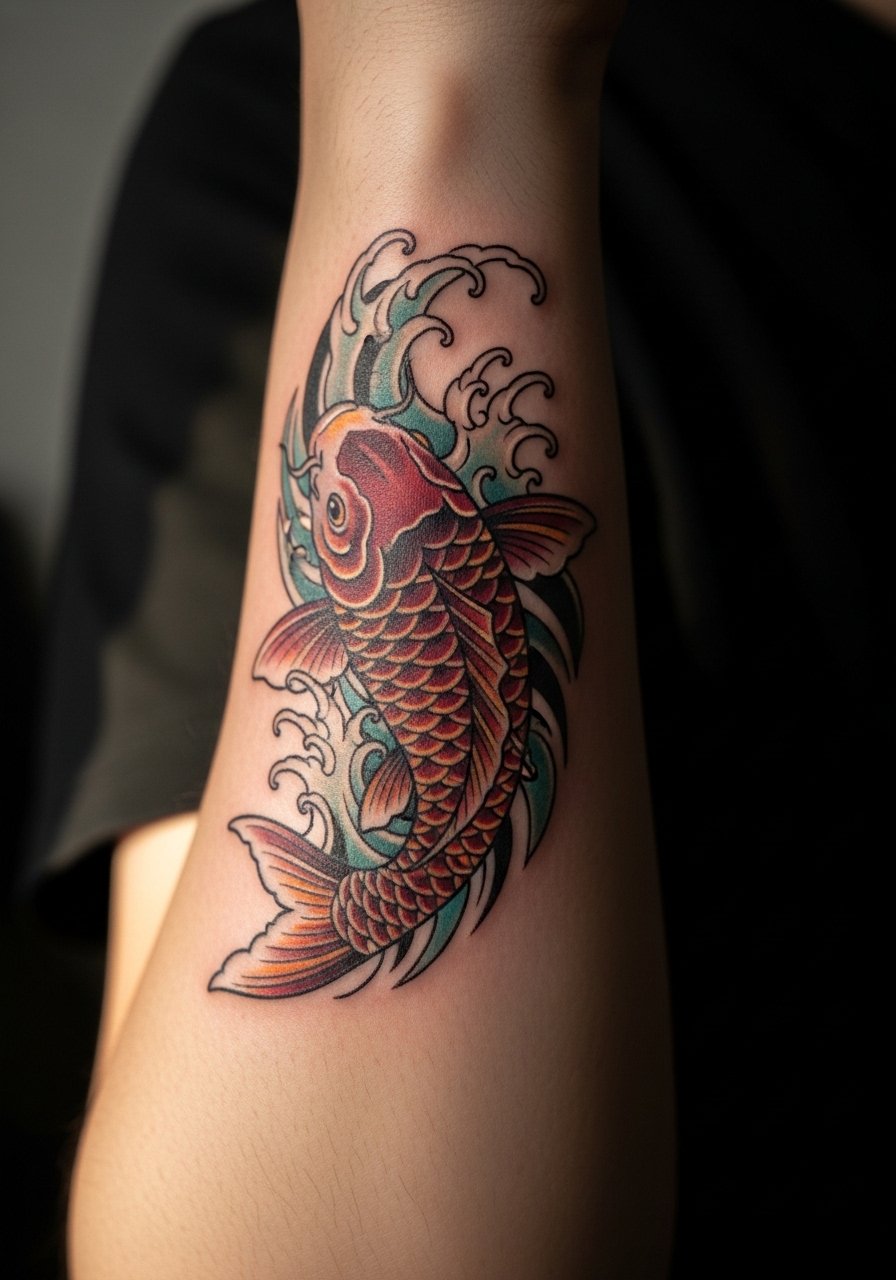
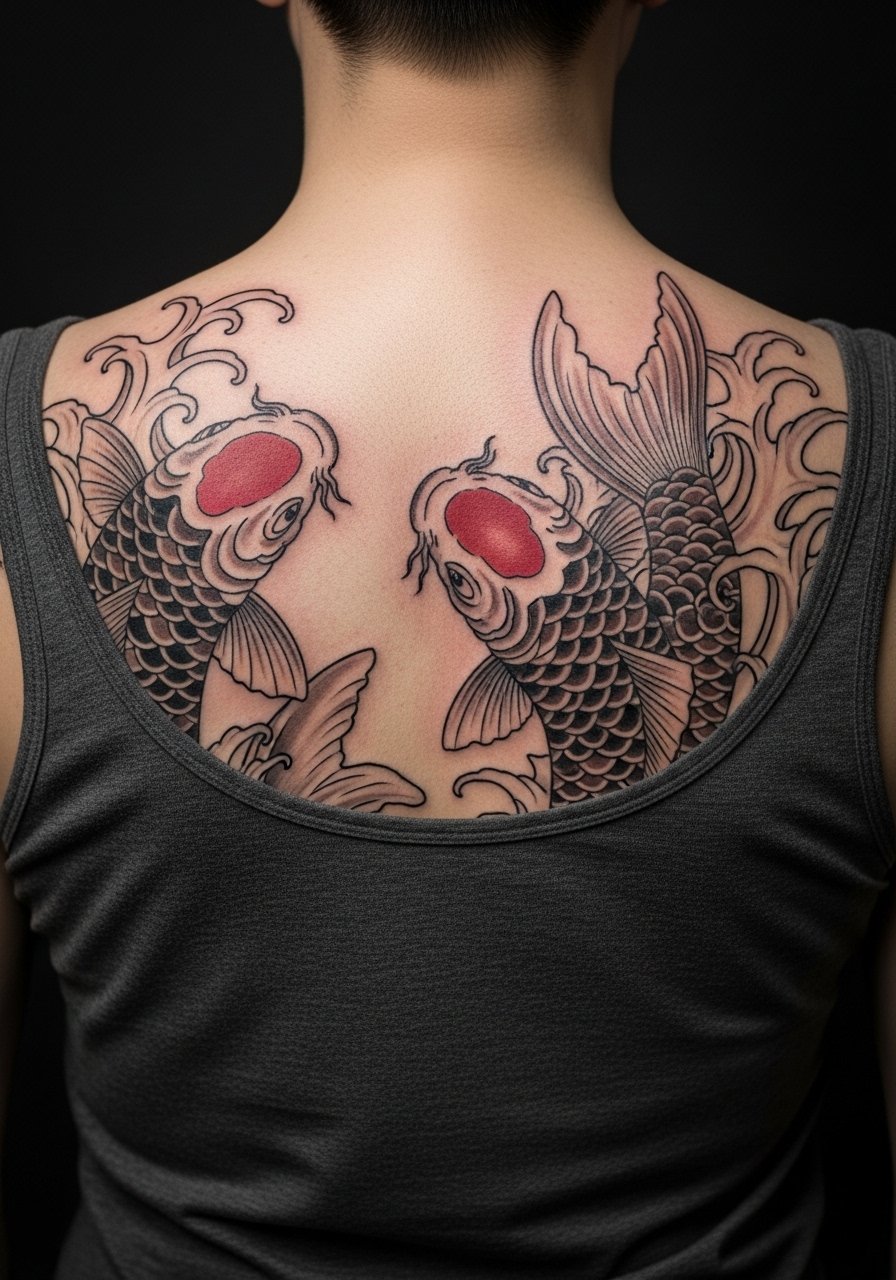
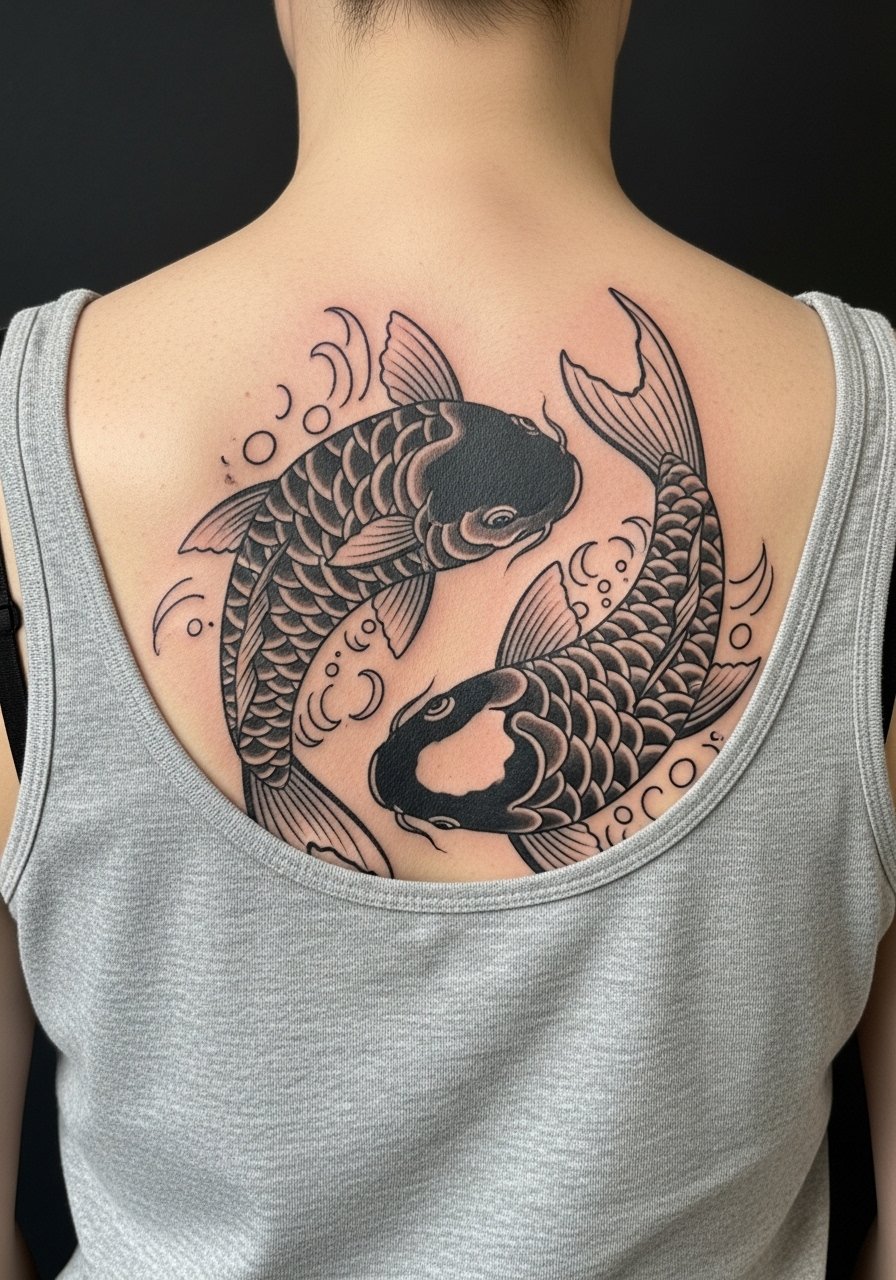
19. Full Back Koi with Landscape Waves
Full back koi compositions let you create a scene with multiple fish and detailed water. These are long-term projects that require strong planning for flow and negative space. Pain varies by area across the back, and long sessions can be physically draining. Split the work into mapped stages and ask for test patches for large color washes. For recovery wear loose shirts that do not rub the back during the first week and plan on a relaxed schedule post-session.
20. Minimalist Wrist Band Koi Linework
A thin wrist band of small koi silhouettes reads like a bracelet and feels discreet. The trade-off is that tight repetitive lines on the wrist need space to avoid merging. Ask the artist to leave breathing room between fish and to orient the band with wrist movement. The wrist heals quickly but is vulnerable to daily washing and sun. For showing it off, stack with a minimalist watch or dainty bracelets so metal accents do not crowd the linework.
21. Shoulder Blade Neo-Realism with Soft Washes
Shoulder blade placements protect color and allow for soft transitions from fish to background. Neo-realism here benefits from layered shading and careful highlights near the fin edges. The common error is placing too much dense ink near the spine where movement compresses the detail. During consult, ask for reference photos that show the specific highlight style you want. For session comfort a loose tank or button shirt that can be moved aside keeps you covered between passes.
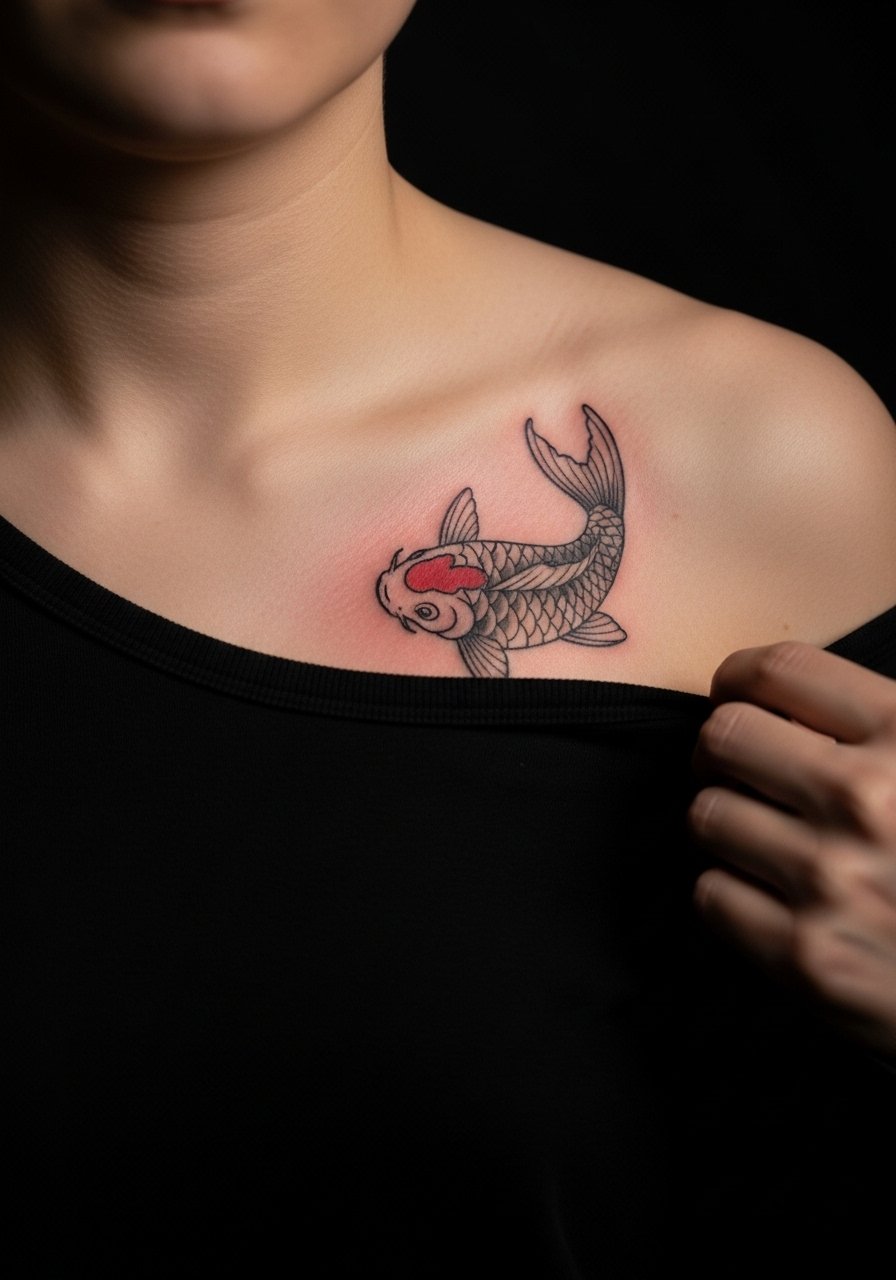
22. Chest Pocket Koi That Sits Near the Heart
A small koi placed near the heart is a symbolic spot chosen by many for private reasons. The piece demands careful stencil placement so it does not drift with chest expansion. Keep the design compact and prefer curved contours rather than hard angles. One practical note is that chest hair and sweat can affect early healing, so plan for gentle cleansing in the first week. For the session wear a wide-neck shirt you can pull aside without exposing the rest of your torso.
23. Tiny Ankle Constellation Koi for Travelers
Ankle koi that nod to travel or luck function as discreet talismans. Because ankles scrape against shoes, keep details minimal and focus on shape. A thin protective film for the first 24 hours reduces irritation from socks. Wear sandals to and from the studio so the area is not pressured on the trip home. This placement suits people who want a low-visibility piece with occasional reveals.
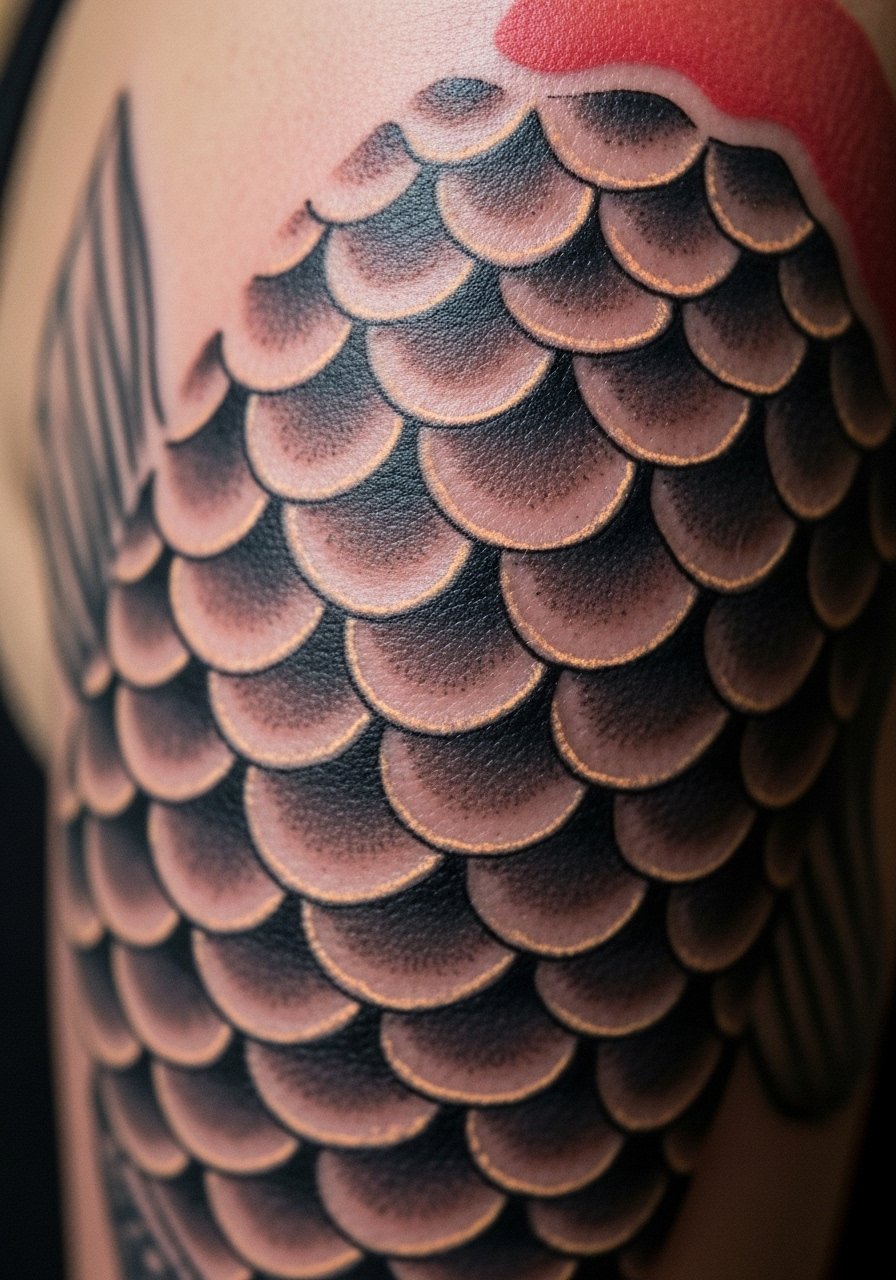
24. Upper Arm Micro Scales with Subtle Highlights
Upper arm micro-scale studies show off texture when the ink is spaced and shaded for depth rather than tiny single-line scales. The mistake to avoid is stacking too many scales in a small patch which leads to a cloudy result after healing. This placement is forgiving for touch-ups and is low on day-to-day friction. For the session wear an easy tank so the muscle can be relaxed and the artist can work the curve without you tensing.
25. Calf Band Koi That Wraps the Leg
A calf band that wraps gives motion and reads well with shorts. The calf can handle denser patterns without rapid aging because it sees less sun. Common errors here are mismatched scale sizes around the circumference which make the band look inconsistent. Ask your artist to mark the wrap points and check symmetry sitting and standing. For show-off days choose cropped pants or leather boat shoes with shorts that stop at the right height to reveal the wrap.
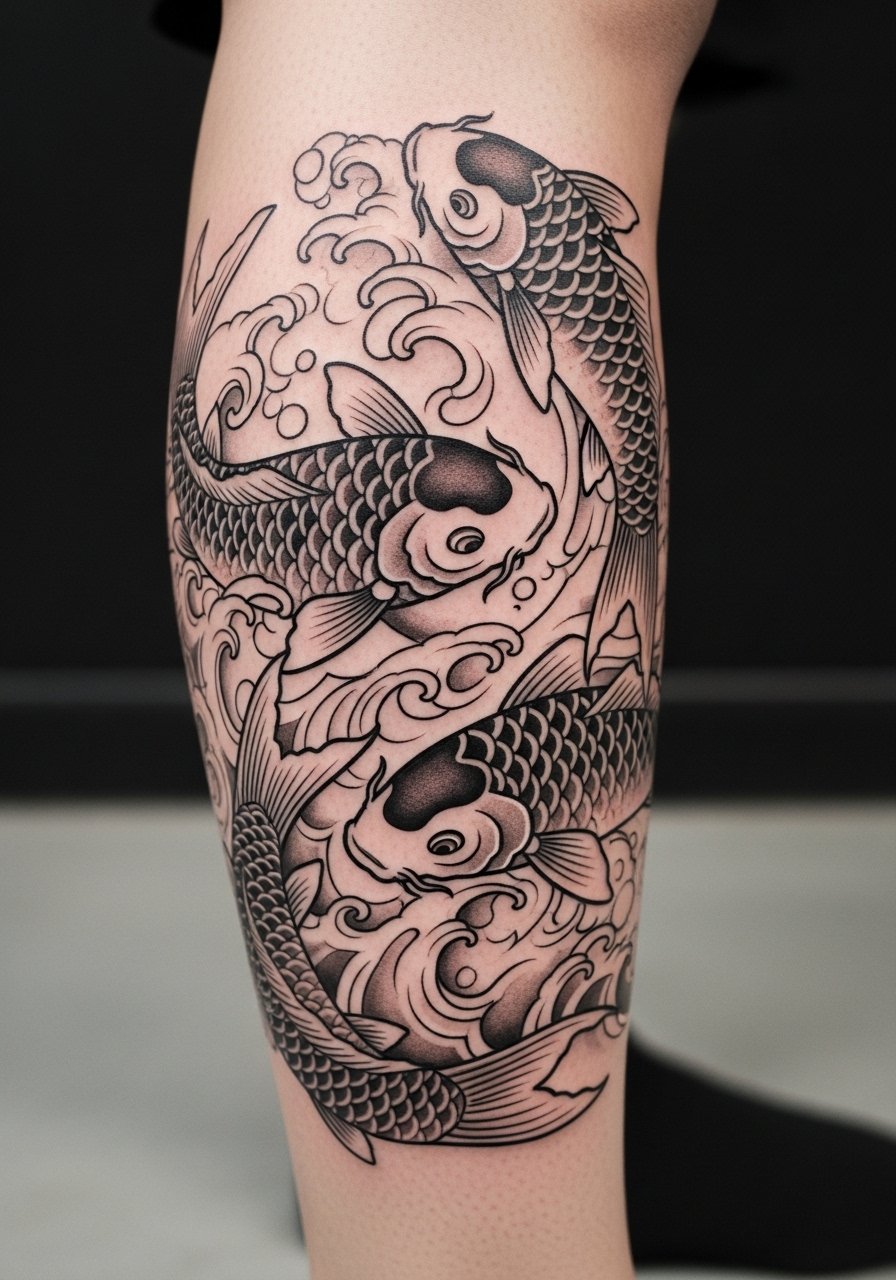
26. Black and Gray Koi for Darker Skin Tones
Black and gray approaches often outperform light washes on darker skin tones because saturation holds contrast better. When working on deeper tones, ask for high-contrast scale highlights and bold negative space rather than thin pastel fills. This is one of the under-covered ideas you do not see often in galleries. Expect a strong initial contrast that softens into a readable silhouette, and plan touch-ups in areas that get friction from clothing. Discuss portfolio examples that show healed work on similar tones.
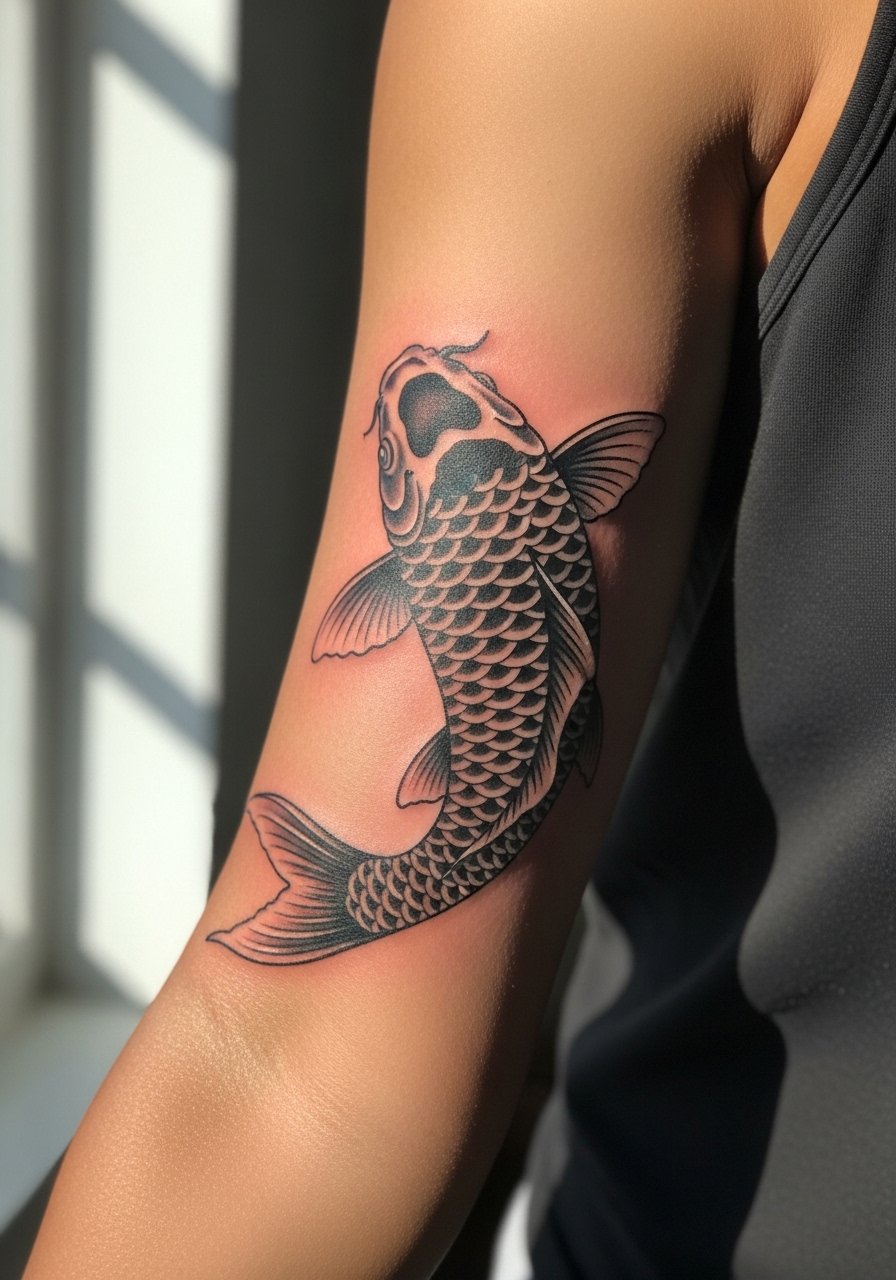
27. Yin-Yang Back Piece for Balance and Motion
A full back yin-yang koi composition uses the spine as a natural divider for two opposing fish. Planning is essential because the back surface changes with movement and posture. Make sure your artist marks the stencil with you standing and seated so the composition reads in both positions. There is a continuing debate about color choice in paired designs. One position favors bright complementary palettes for immediate contrast. The other position favors monochrome to keep the pair timeless and legible. Ask where the artist stands and why before booking.
Frequently Asked Questions
Q: How should I choose between fine line and bold traditional for a koi on my forearm?
A: Think about longevity and daily exposure. Fine line looks delicate at first but often needs touch-ups sooner on exposed forearms. Bold traditional with solid outlines usually keeps its shape longer. Ask the artist to show healed examples on forearms so you can compare real results.
Q: Will color koi fade faster on darker skin, and what are my options?
A: Color can appear less saturated on deeper tones, so many people opt for black and gray or higher-contrast palettes that preserve definition. Another option is to use bolder pigments and stronger contrast rather than pale washes. Discuss healed photos on similar tones during consultation.
Q: How many sessions will a realistic full sleeve koi take and what is the recovery like?
A: Expect multiple sessions spread across months, with each session targeting different layers like linework, midtones, and highlights. Recovery between sessions focuses on gentle care and avoiding sun. Plan touch-ups after healing and budget time for each stage.
Q: Is numbing cream okay for long koi sessions on ribs or chest?
A: Artists split on numbing. Some say a topical makes long sits manageable and keeps you still. Others worry it masks feedback that helps regulate needle depth. If you consider numbing, tell the artist so they can advise on timing and compatibility with their technique.
Q: What should I wear to a thigh or calf koi appointment to stay comfortable and get easy access?
A: For thigh work pick loose athletic shorts or high-waisted shorts you can shift slightly. For calf sessions wear cropped pants or shorts that roll up easily so the artist can work without you feeling restricted.
