
Bold black bows and honest arrows are having a moment because they age better than the ultra-fine trends that look great for a week and then need touch-ups. If you want designs that read clean in photos and still look intentional at year three, lean into clear linework, sensible scale, and placements that move with your body. Below are 21 bold bow and arrow tattoo directions, each with what to ask your artist, how it heals over time, styling notes you can wear during the session or to show it off, and an image prompt to visualize the healed look.
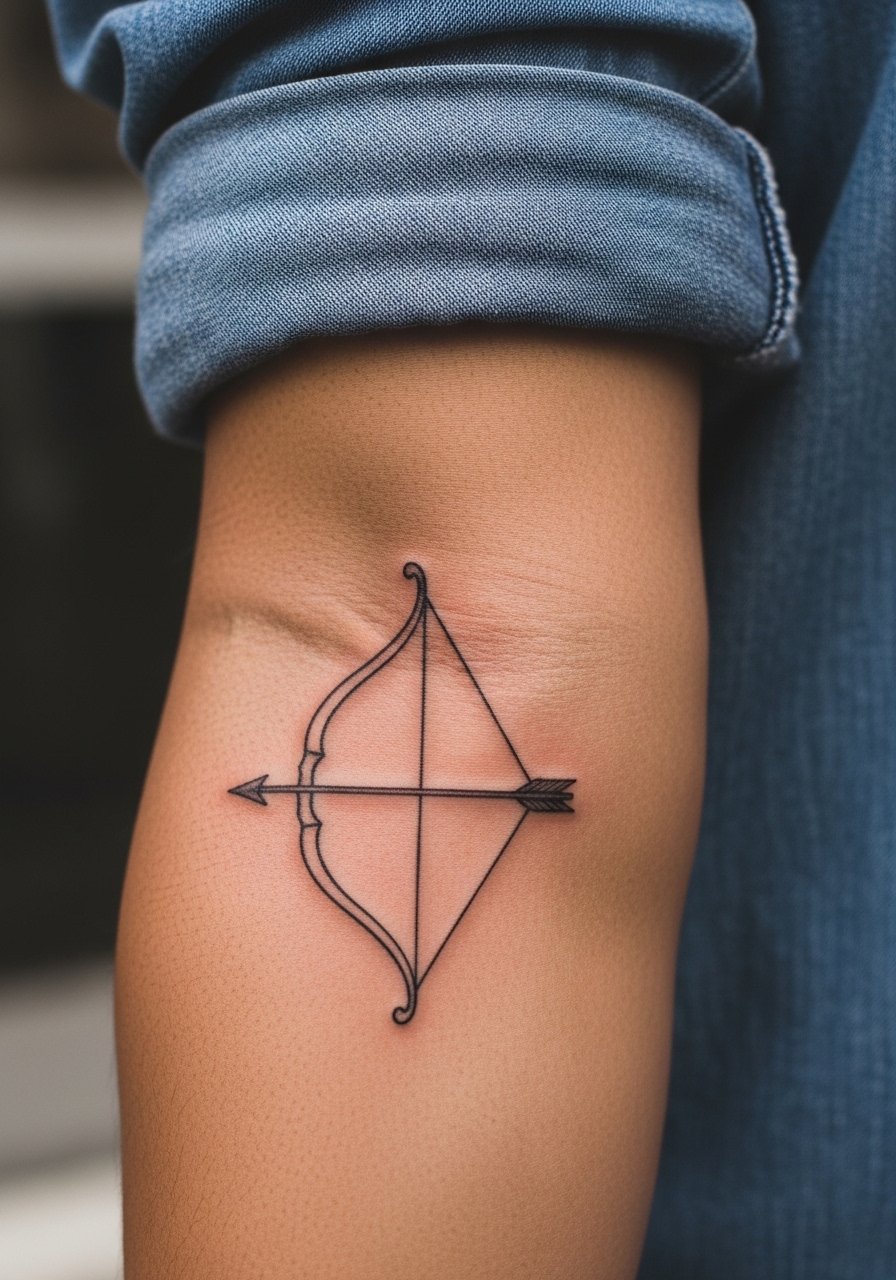
1. Fine-Line Arrow on Inner Forearm
I've seen fine-line bows on inner forearms that read elegant for a year and then soften into a grey wash by year three. Choose this when you want a discreet directional marker that still feels sculptural up close. Tell your artist you want thicker anchor lines with light interior hairlines so the design keeps definition without looking heavy. Watch for two common mistakes. Artists who go too shallow create faint lines in months. Artists who crowd the arrows make the piece blur. Expect a one-session tattoo, moderate pain, and a possible touch-up around year two for denser areas. For showing it off, roll a chambray rolled sleeve shirt to frame the forearm and keep attention on the linework.
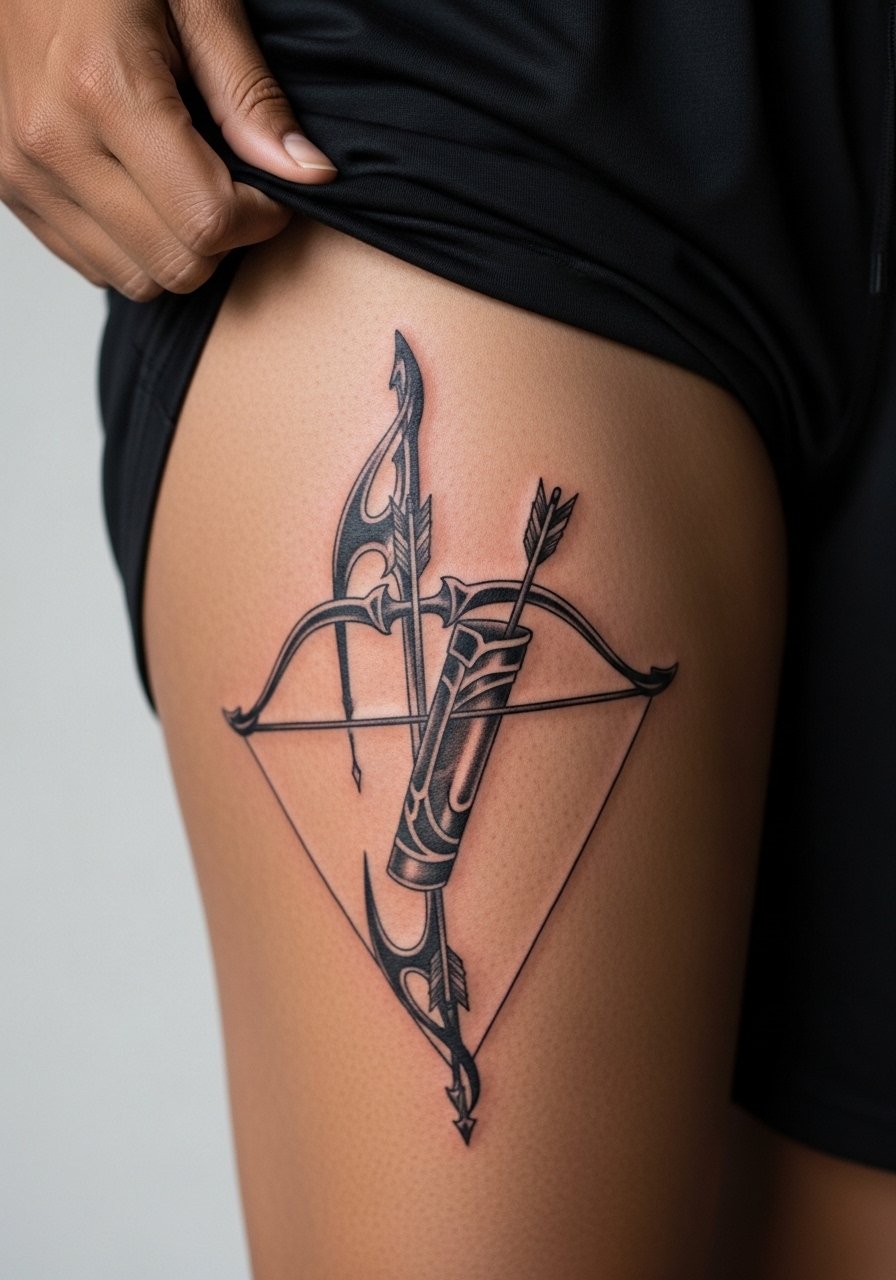
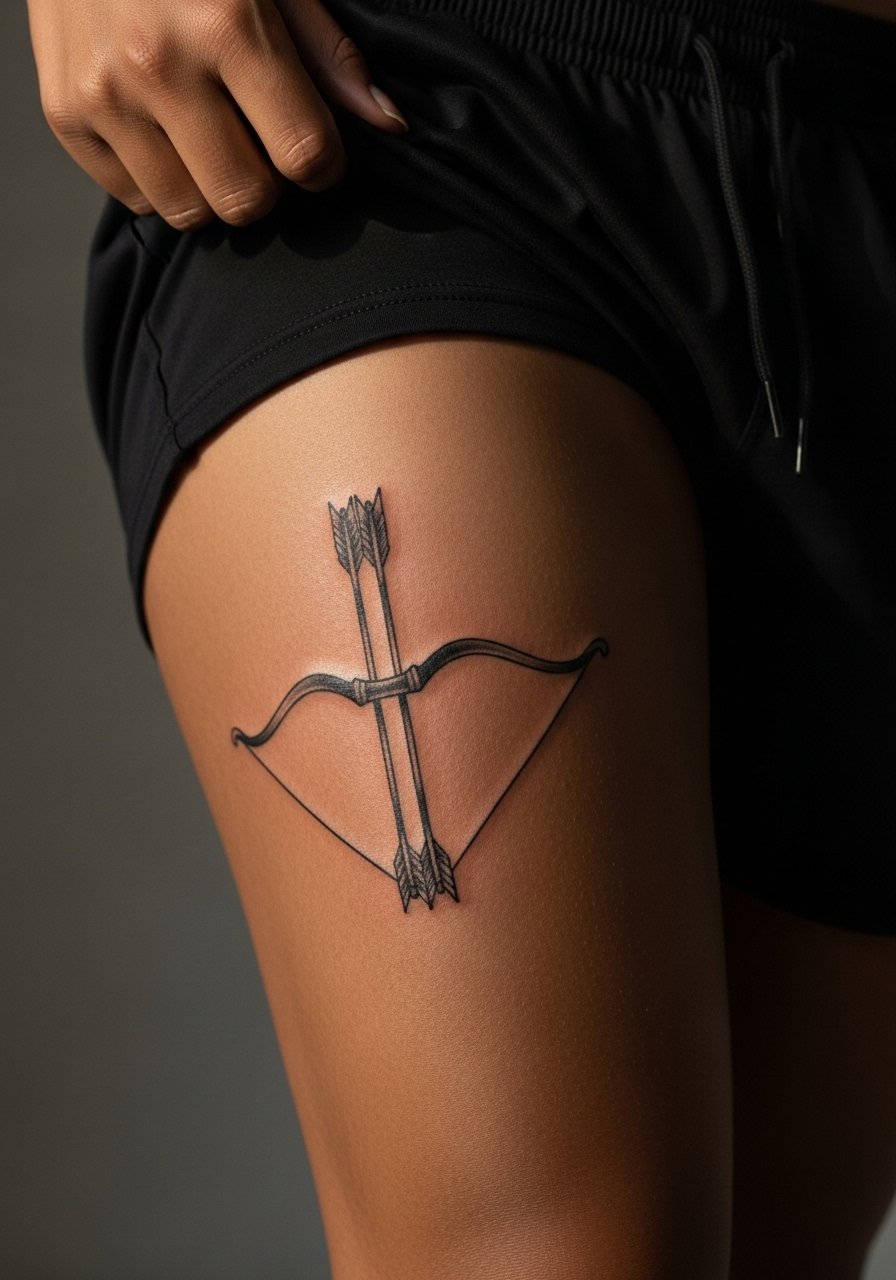
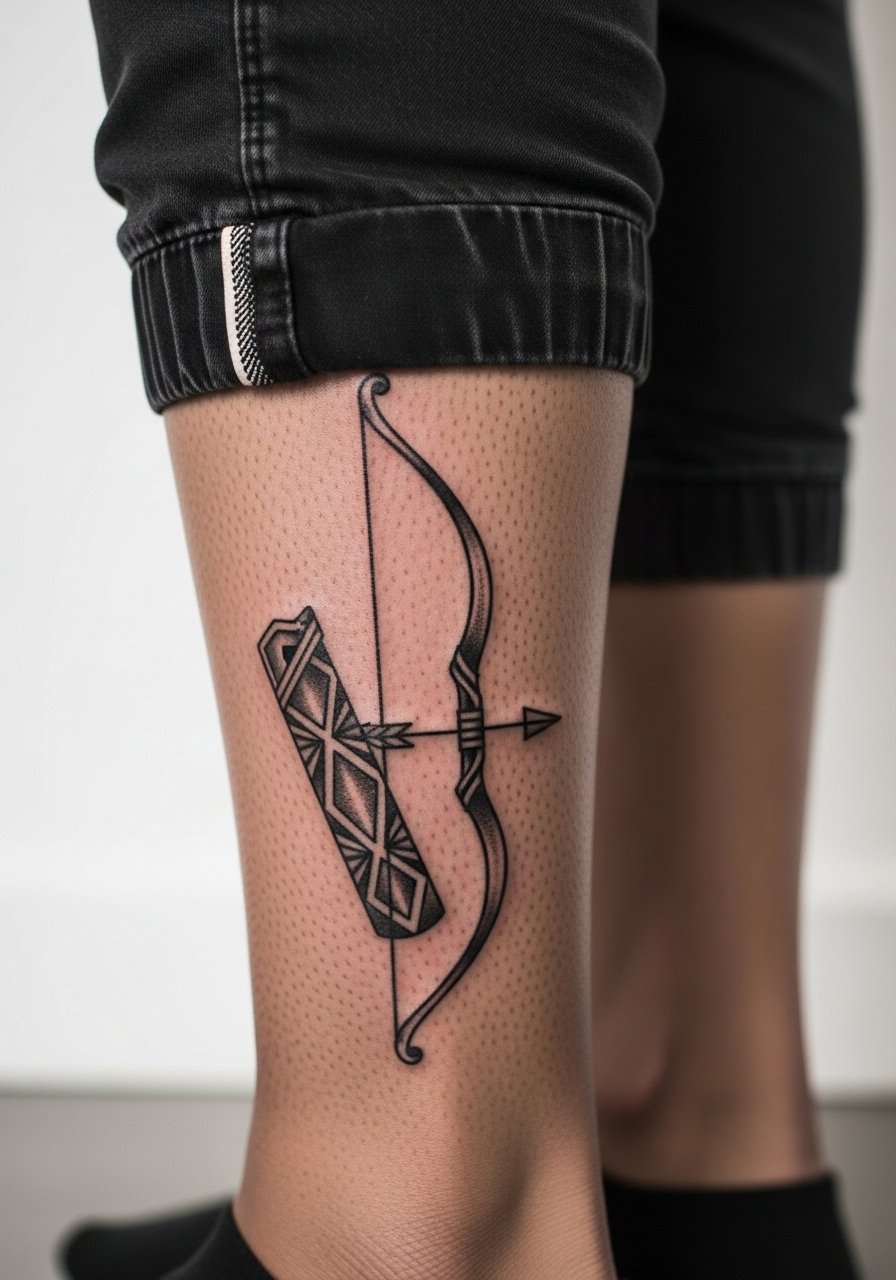
2. Bold Tribal Bow and Quiver on Outer Thigh
The outer thigh takes scale well. For large, geometric tribal bows and quivers, ask for strong black saturation and negative-space panels to keep the geometry readable over time. I recommend this style if you want a dramatic piece that follows athletic movement. Pain is moderate and sessions are usually one to two hours depending on size. A common error is compressing too many thin details into one area which stretches with weight change. If you sit a lot, have the artist mock the design on you while seated. For session comfort and flashes of show-off style, wear black athletic shorts so the artist can access the thigh without bunching fabric.
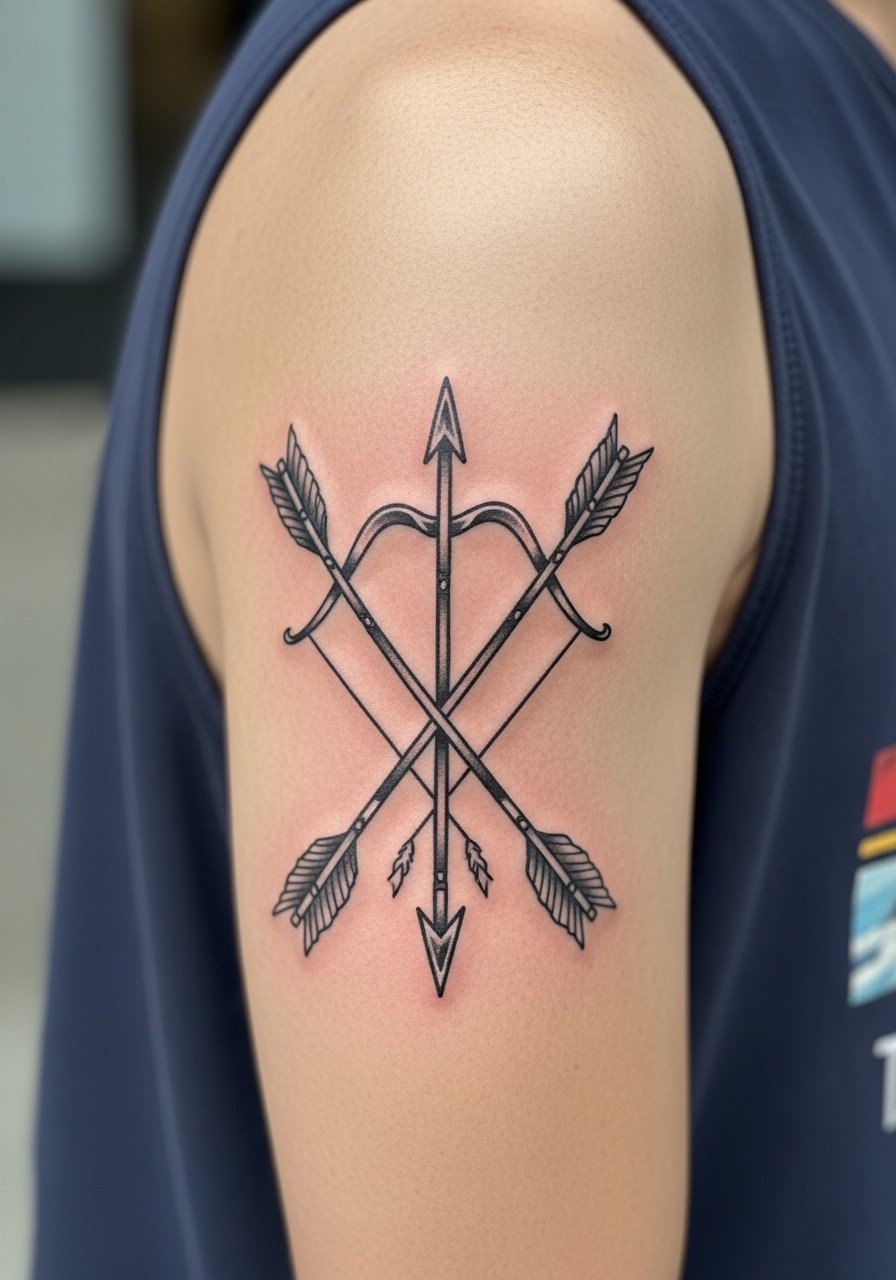
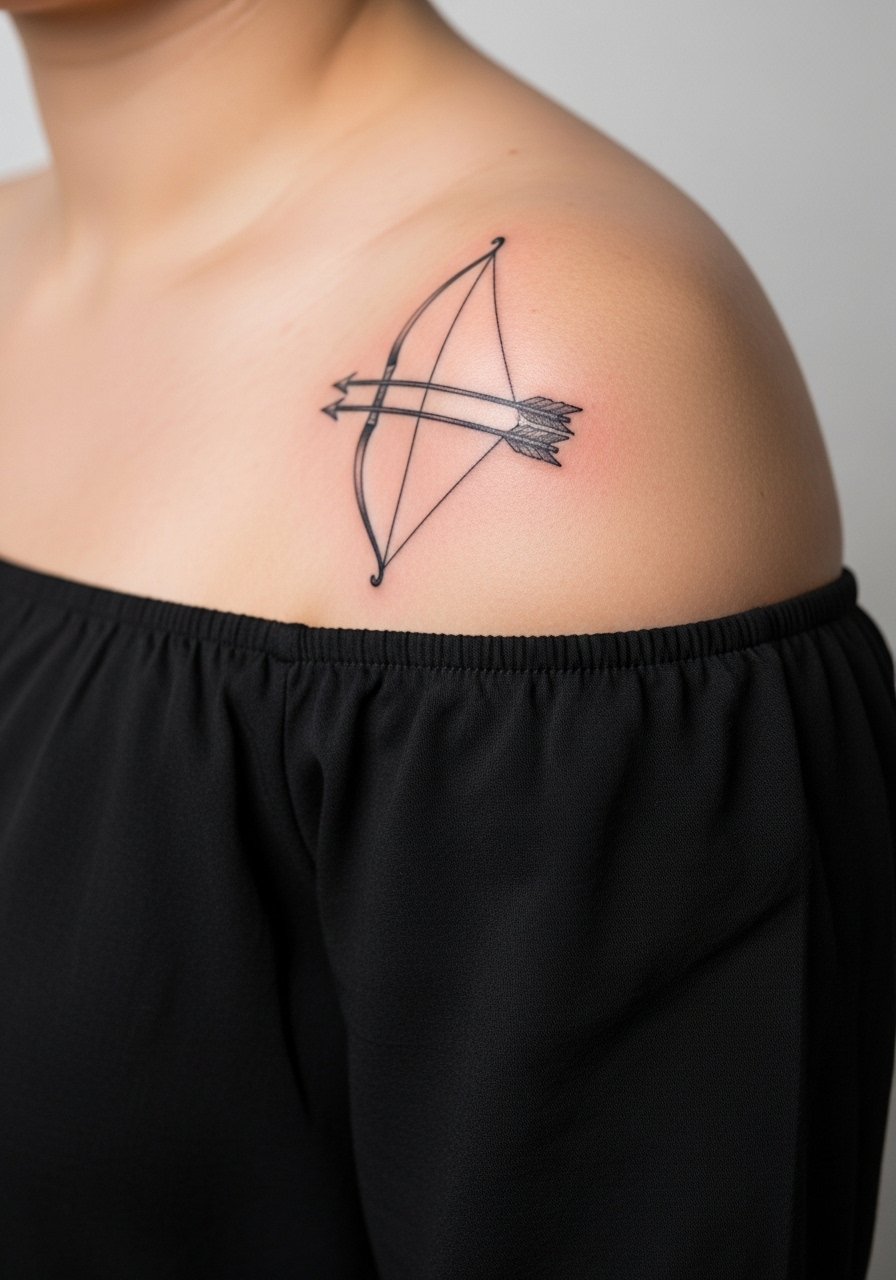
3. Crossed Arrows with Bow on Outer Bicep
Crossed arrows with a central bow read like an alliance emblem when scaled to the outer bicep. I suggest this for people who want relational symbolism that sits comfortably under rolled sleeves. Ask the artist for bold outline around the crossing point to avoid softening at year two. A mistake I see is making the crossing so fine that the overlap blurs. Pain is low to moderate and session time is often under an hour for a 4 to 6 inch piece. For show-off outfits choose a sleeveless tank or roll a short-sleeve button-down so the bicep looks intentional.
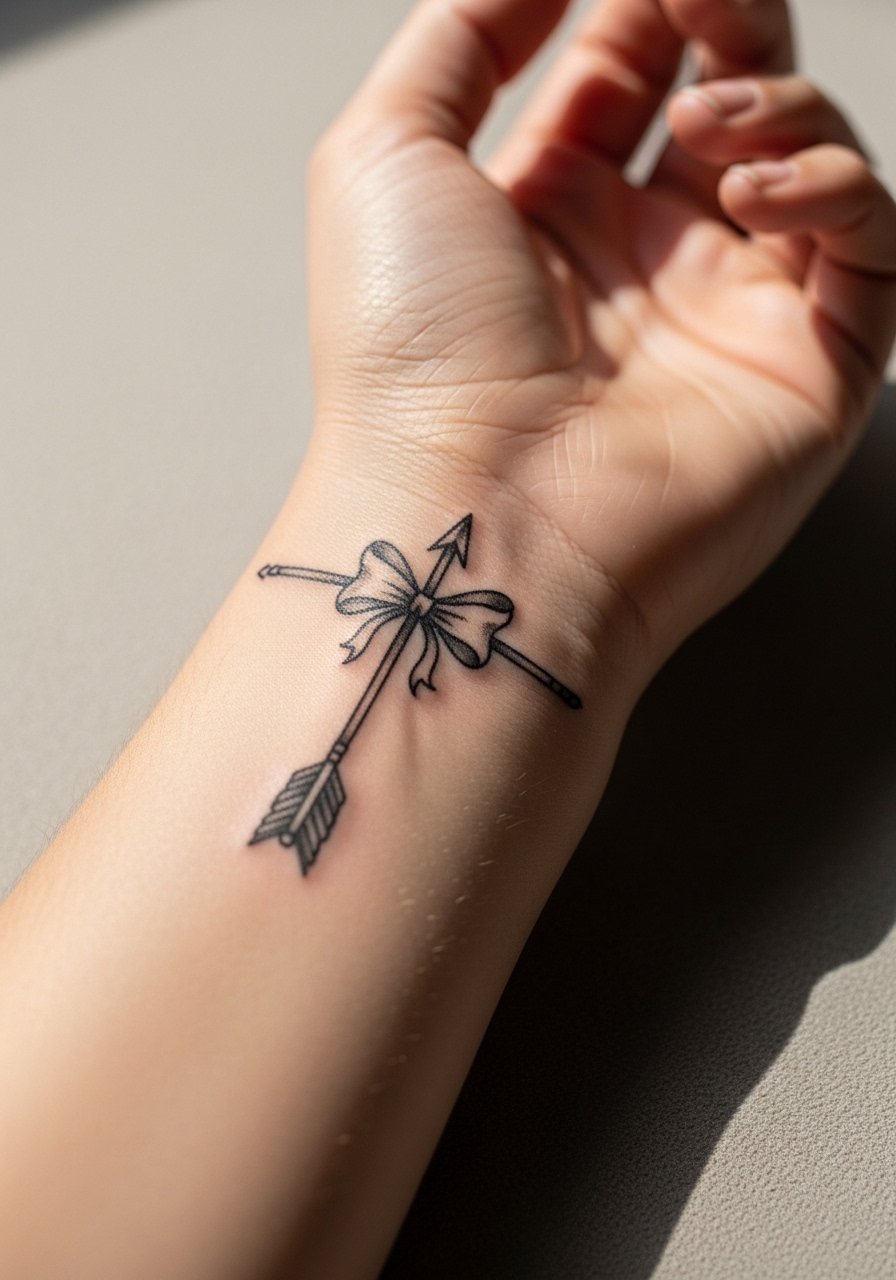
4. Biomorphic Bow Piercing a Heart on Forearm
This blackwork illustrative option reads bold in photos and anchors a heartfelt concept visually. When you request a biomorphic bow, bring reference images showing the flow you want along the forearm axis so the composition moves with muscle. Tell your artist to prioritize solid black anchor lines and stipple shading inside the form for texture. The biggest mistake is soft, thin internal shading that vanishes in months. Expect a single session and a higher saturation touch-up at year two if you want the black to stay dense. For session wear and casual shows, a short sleeve chambray shirt rolled at the cuff keeps the forearm visible and clean during healing.

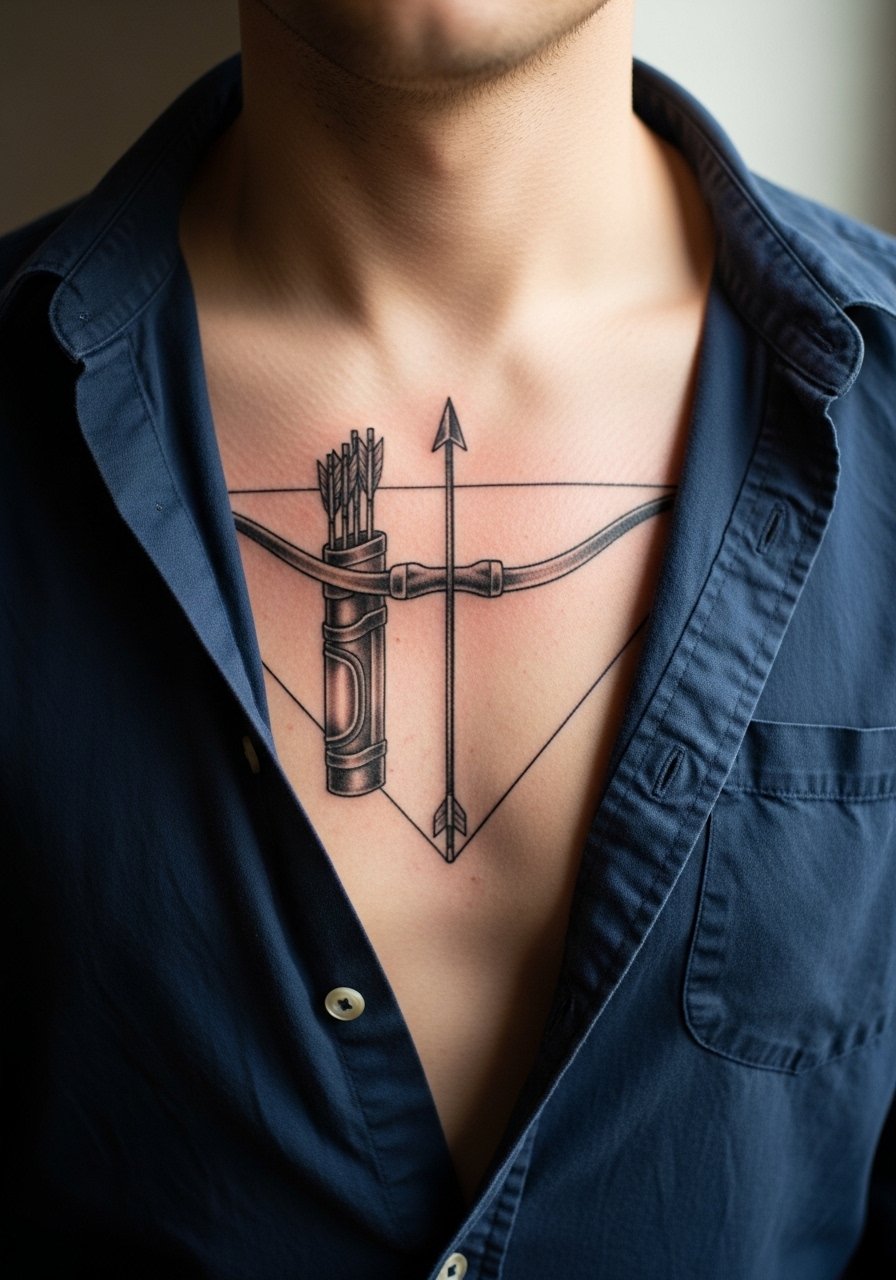
5. Full Bow and Arrow with Quiver on Center Chest
Large center chest bows read as directional anchors and look orderly when scaled to roughly 8 inches. The chest moves with breathing so ask for slightly bolder linework in the lower arc to prevent early softening. Sessions usually span two sittings for an 8-inch composition. A common issue is under-scaling which fights with the chest topography and ages poorly. Pain on the sternum is higher than on the pectoral so plan for breaks. For showing it off, an open button-down or a navy button up shirt worn open frames the chest without exposing too much skin.
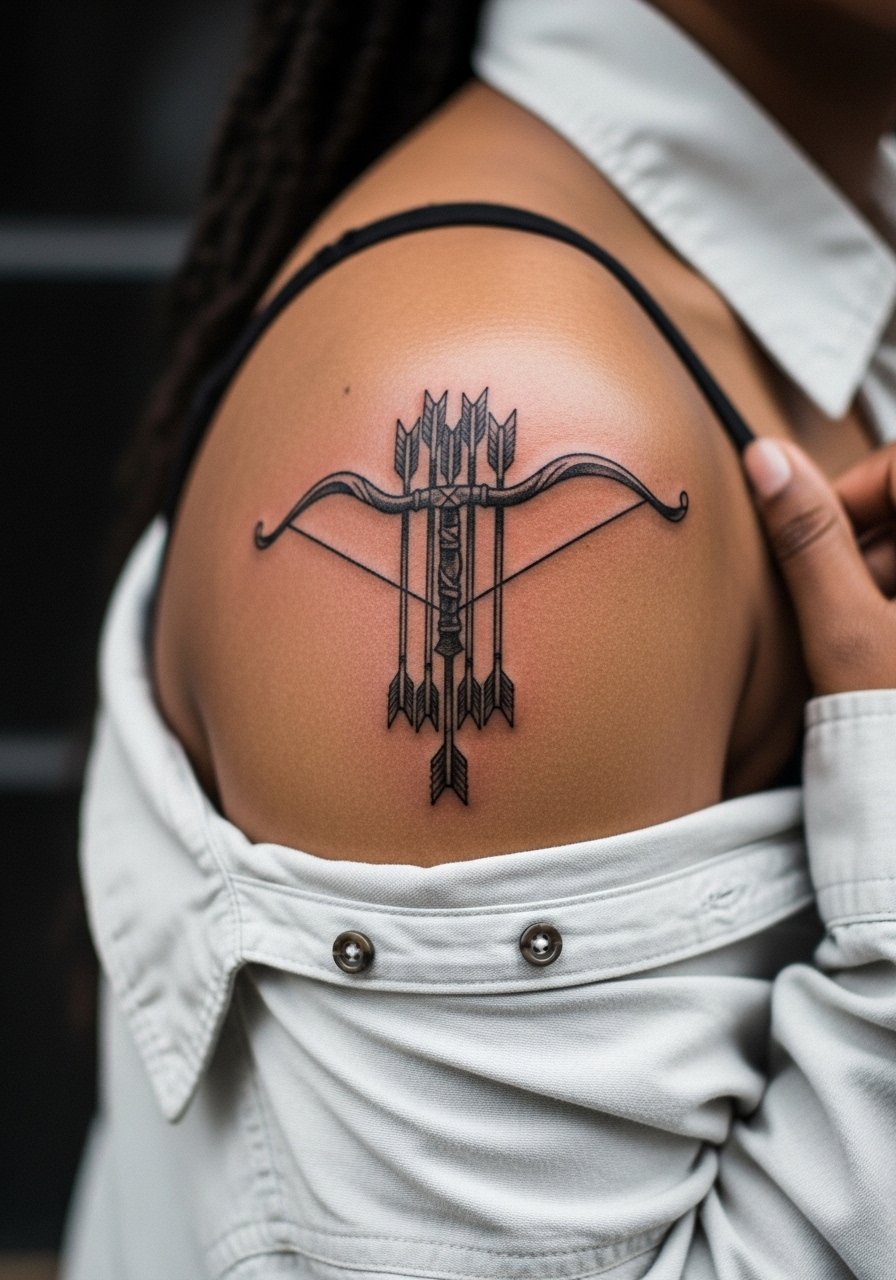
6. Splayed Arrows Under Laid Bow on Shoulder
A shoulder composition with splayed arrows beneath a laid bow uses the shoulder curve to create motion. I prefer medium scale four to seven inches so the arcs read at arm movement. Tell your artist to reinforce the outermost arrow shafts with heavier linework where the skin flexes. Common mistakes include packing too many arrows in a small area which leads to muddiness after a year. Shoulder pain is low and single sessions are typical. For session access and to show it off, pull on a loose button-down shirt you can slide aside so the artist has clear exposure.
Studio Day Picks
The upper arm, chest, and shoulder pieces above demand different prep than wrist and ankle work. These five items smooth the studio day and the first week of healing for the placements in ideas 1 through 6.
-
Stencil transfer paper kit. Lets you preview placement and line weight directly on skin before the needle starts, which is useful for forearm and chest curves.
-
Topical numbing cream. Apply as directed to take the edge off sternum or inner rib sessions that can spike pain.
-
Thin protective film roll. Ideal for shoulder and chest pieces that may rub against straps during the first few days.
-
Fragrance-free body wash. Cleans without irritating fresh linework after showers for pieces on the torso and arms.
-
Aquaphor healing ointment. A thin layer in the initial days helps retain moisture on thicker blackwork without suffocating the skin.
7. Lyric Semi-Circle Bow with Script on Ribcage
Ribcage pieces pair text and imagery well because the vertical real estate allows a lyric to arc. Fair warning rib sessions rate high on most pain charts. If you crave words with your bow, bring the exact script and the exact font you want so the artist can scale the letters properly. Artists split on fine line here. One camp says the stretching and breathing blur thin script in two years. The other camp insists on proper needle depth and spacing to keep it sharp. Ask where they stand and expect a two-session plan with a touch-up window at year two. For showing the piece, cropped tanks or a cropped tank top lift just enough fabric to display the arc.

8. Single Bold Arrow from Bow on Inner Wrist
Wrist arrows age unevenly because of daily washing and friction. For a wrist piece, ask for thicker shaft linework and avoid hairline details. The common mistake is requesting ultra-fine points that fade within a year. Expect the session to be quick and the pain to be sharp but short. Most people see fading sooner on the inner wrist than on the forearm. Use a thin leather wrap bracelet on the opposite wrist when showing it off so the arrow remains the focal point. Wear something simple during the session like a minimalist leather bracelet removed from the tattooed wrist so the artist has clear access.
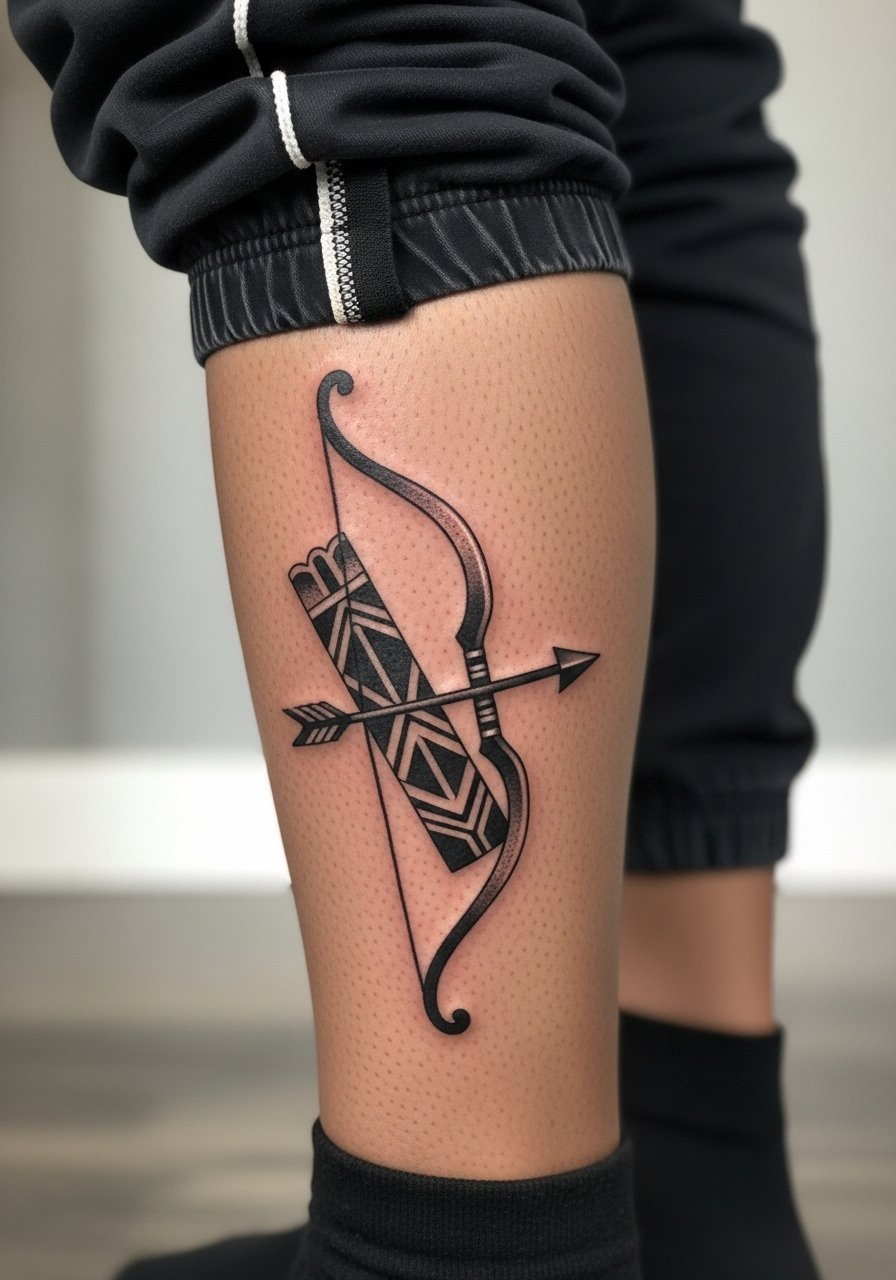
9. Geometric Quiver with Curved Bow on Calf
Calf placements let geometric quivers breathe and show movement with walking. I suggest a seven-inch composition that follows the calf curve so the shapes remain readable from distance. Common mistakes include running parallel thin geometry too close together which causes merge as tissue shifts. Pain is moderate and sessions usually finish in one sitting for a 7 inch piece. For show-off pairings use cuffed joggers or summer shorts. A cuffed jogger pants look intentional when you want to reveal the quiver without a full leg exposure.
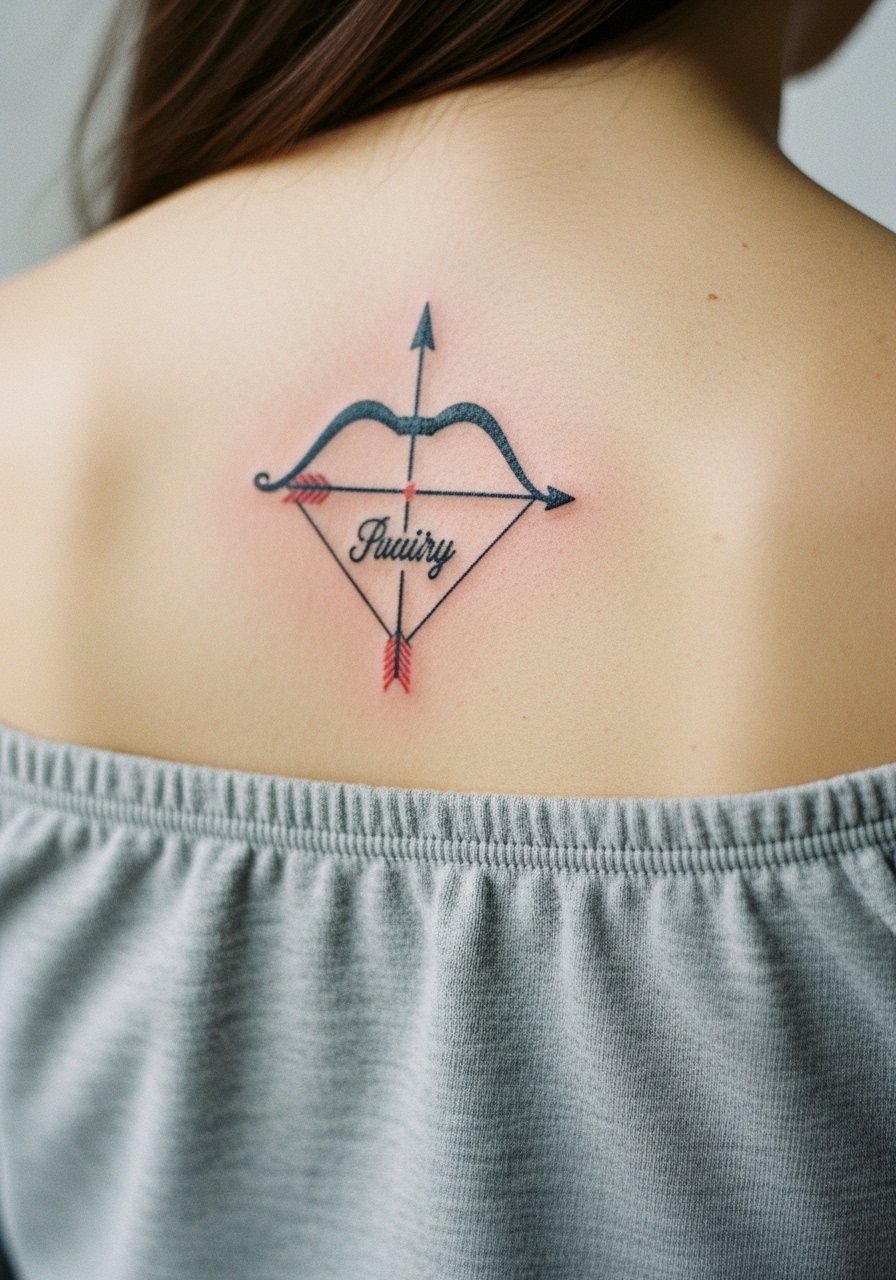
10. Bow and Arrow with Word on Upper Back
Upper back placements accommodate medium-large bows with a single word beneath for a quiet statement. Ask your artist to map the word in the posture you will have in photos so the lettering does not compress when you round your shoulders. Common error is placing delicate lettering too close to the bow's lower curve which causes overlap as the skin moves. Expect moderate pain and at least one follow-up touch-up for delicate script. For showing it off at events choose an off shoulder top or a wide-neck shirt to reveal just the upper back.
11. Heartbound Arrow from Bold Bow on Ankle
Ankle pieces are discreet but they see a lot of friction from shoes and socks. For a heartbound arrow, ask for strong outline and slightly thicker heart fill so it reads after the first year. The common mistake is tiny details near the ankle bone that erode quickly. Pain is focused and short. For session wear and public looks, roll up jeans or choose sandals so the ankle remains visible. Try a high low skirt or sandals to let the ankle speak without competing prints.

12. Paired Bow and Arrows for Alliance on Inner Thigh
Inner thigh pieces sit private but they can be bold and intimate. Expect higher sensitivity during the session and discuss modesty options with the shop beforehand. The advantage is smooth canvas for five-inch neo-traditional paired bows. Avoid compressive details that will stretch with weight change. A common mistake is treating inner thigh like outer thigh and skipping spacing. For session comfort wear loose fitness shorts or an athletic skirt so you can shift without exposing more than needed. A loose fitness shorts option makes access simple and discreet.
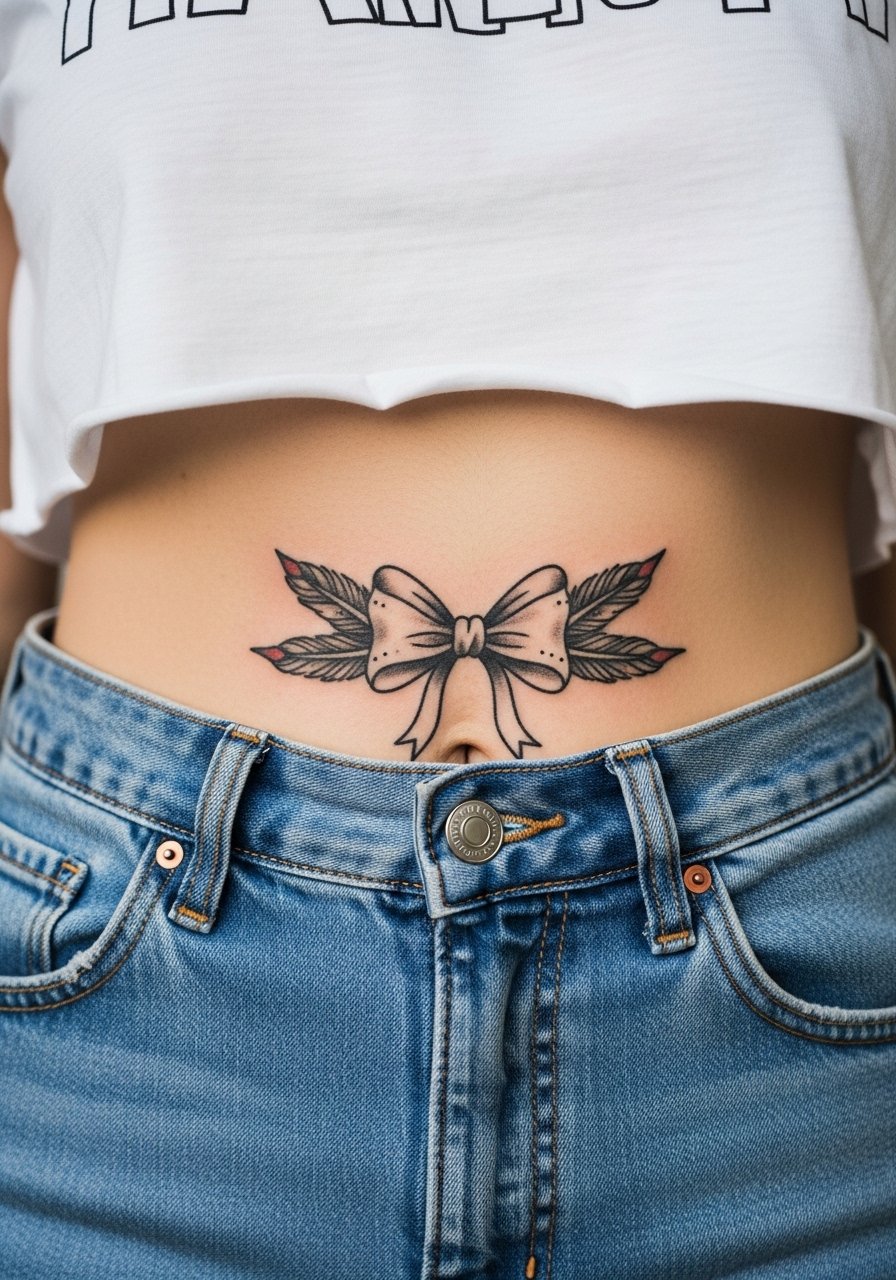
13. Traditional Bow with Feathers on Lower Stomach
Stomach placements work for medium pieces that benefit from a central axis. Traditional bows with feather accents look emblematic when placed just above the pelvis line. Do not request extremely fine feather lines near the belly button because movement can blur them. Pain varies with tummy sensitivity and sessions for this area are usually two sittings for sufficient saturation. A common complaint is unexpected distortion with weight fluctuation. For session wear choose high-waisted bottoms and a cropped tee so the artist can expose only the narrow band they need.
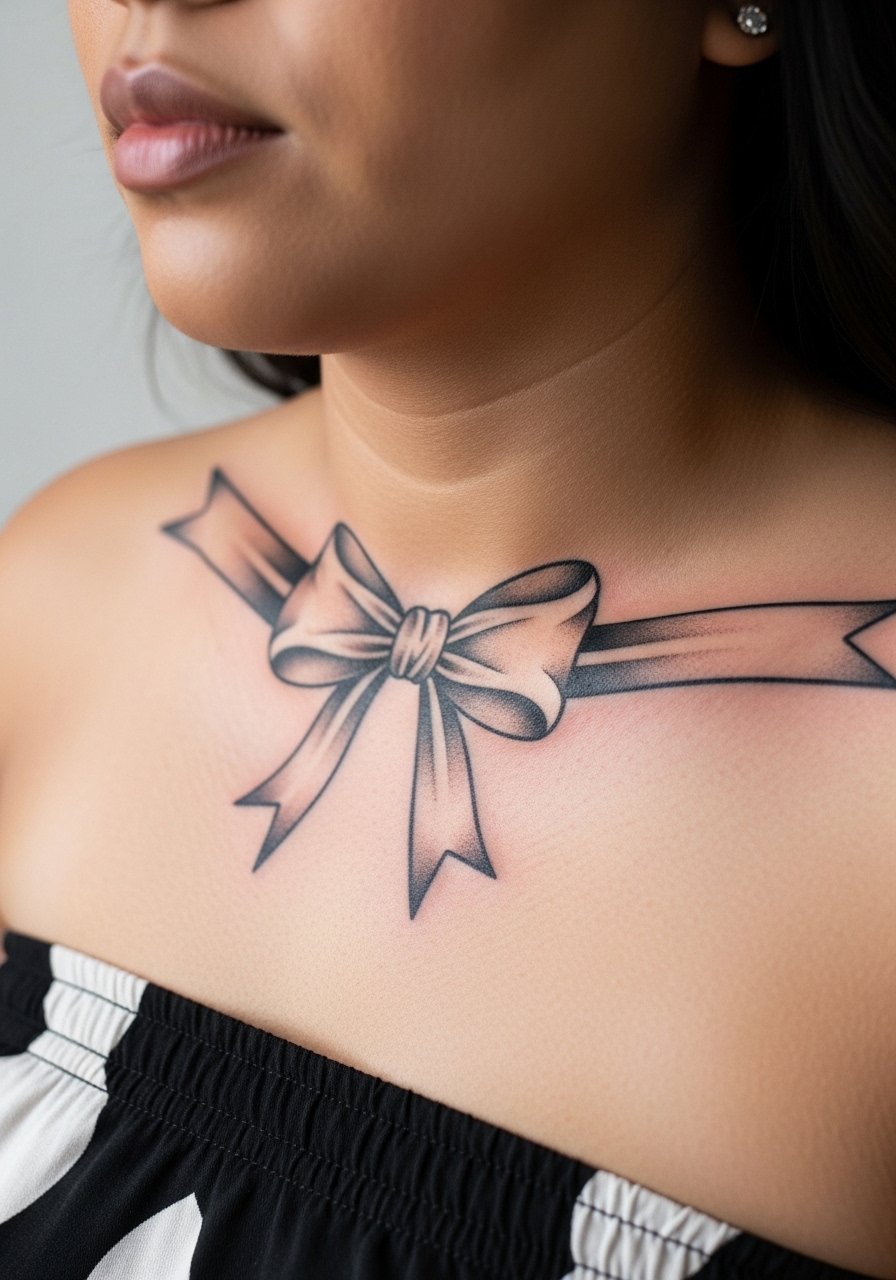
14. Bold Line Bow Across Collarbone Curve
A bow that follows the collarbone is graceful and visible in summer outfits. Ask for a linear composition about four inches across that hugs the bone and uses heavier outer strokes so the form stays strong as it heals. The common error is making the bow too thin which translates to a fragile line in photos. Collarbone work is a single session and has low to moderate pain with occasional sharp spots near bone. Show it off with a strapless dress or an off-shoulder top to frame the curve.
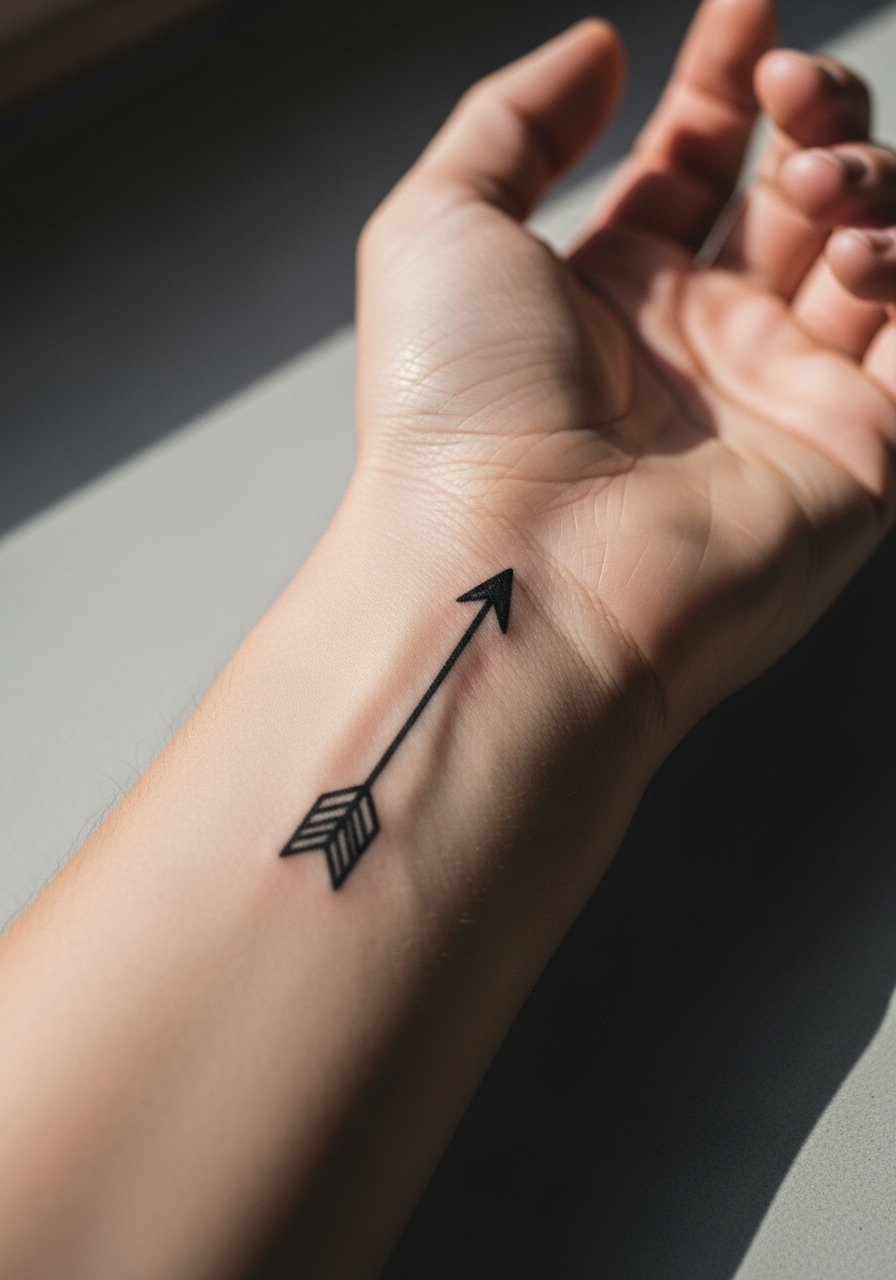
15. Minimalist Thick-Black Wrist Arrow That Lasts
If you want longevity in a minimal piece, swap hairline shafts for a solid, thick black arrow on the wrist. From what I have seen, that approach holds up far better than tiny midline details. Tell the artist you want clean, slightly tapered edges and avoid feathered fletching that adds tiny lines. Expect quick sessions and faster fading in the thin skin of the wrist. Plan a touch-up at year two if you use a lot of hand creams. For showing it off pair with a thin leather wrap bracelet on the opposite wrist for balance.
16. Curved Bow with Geometric Quiver on Outer Calf
A curved bow that meets a geometric quiver reads dynamically on the outer calf. The curve should follow the muscle so the geometry does not appear warped when standing. Tell your artist to test the stencil while you stand so they can see flow. Common mistakes are ignoring natural muscle bulges and laying a straight grid over a curved surface. Pain is moderate and sessions usually finish in one visit for a mid-sized piece. For easy display wear shorts or cuffed jogger pants rolled to a precise reveal.
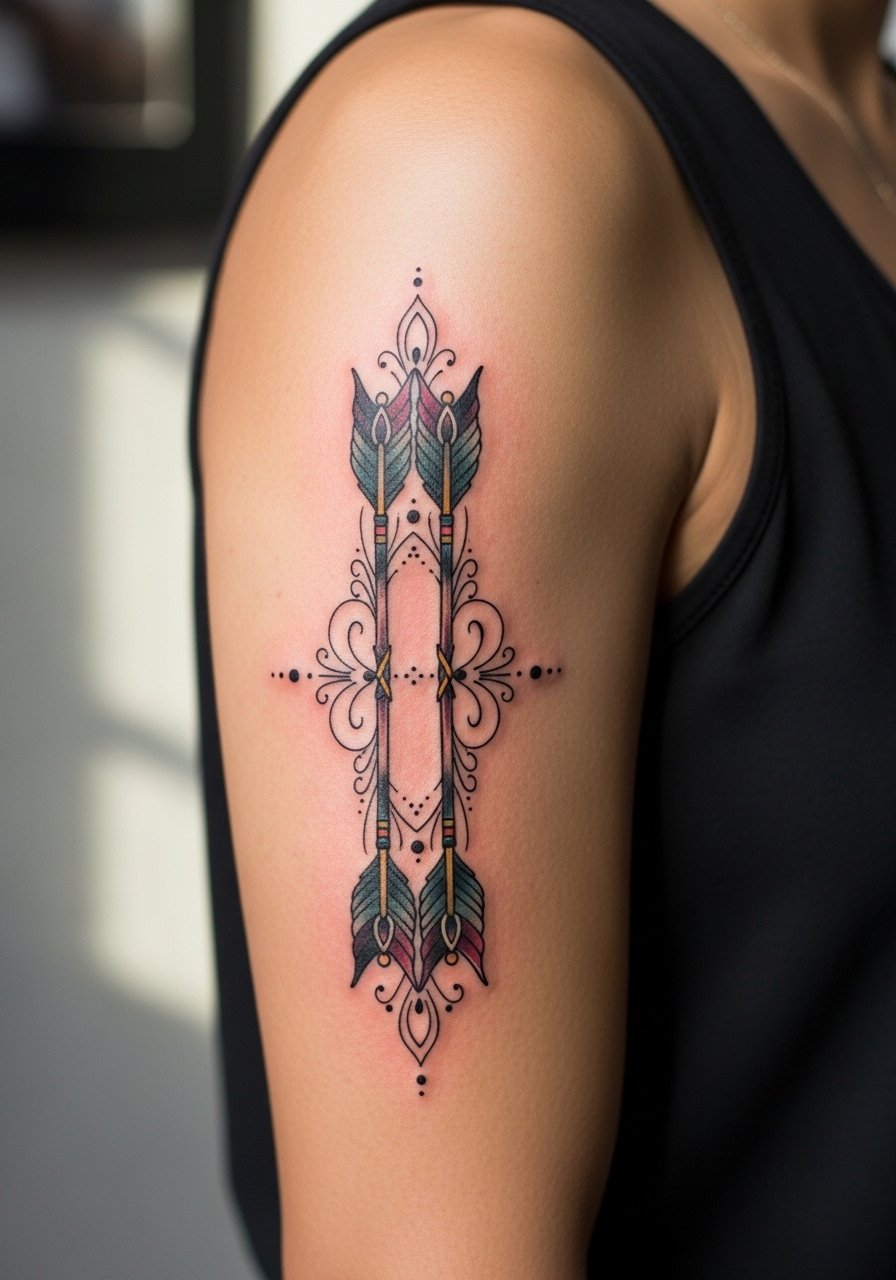
17. Inner Bicep Paired Arrows for an Intimate Statement
Inner bicep work reads personal and sits well when scaled to five inches. Expect higher sensitivity and a single session for a bold black illustration. A common mistake is asking for too many closely packed feathers which the inner arm cannot keep crisp. Ask for solid anchor lines and stipple shading instead of hairline cross-hatching. For appointment comfort, wear a tank top with the arm raised slightly so the artist has unobstructed access. A sleeveless tank works well for both the session and showing the placement afterward.
18. Non-Notched Arrow Layout Under Shoulder Curve
An ornamental piece with non-notched arrows laid under a bow plays nicely with shoulder contours. This layout is less literal and reads as an abstract quiver. Ask for wider spacing and a heavier outer contour so the arrows remain distinct after a few years. The main mistake is clustering small arrowheads into a tight band which becomes a blur. Expect a single session and low pain. For show-off styling, a black off-shoulder blouse reveals the design while keeping the rest of the outfit simple.
19. Splayed Arrow Ankle Band That Circles the Foot
An ankle band of small splayed arrows wraps subtly and can be bold without being bulky. Because ankles see constant movement, ask for a slightly thicker baseline so the band keeps definition. Common mistakes include placing minute barbs that fade with shoe friction. Expect brief sessions and an early fade window around year one for high-activity feet. To show it off choose sandals or rolled jeans. A cuffed jogger pants option rolled above the ankle keeps the band visible without full leg exposure.

20. Arching Bow Across the Scapula for Back Movement
A bow arched across the scapula reads cinematic in action shots because the shoulder blades provide a moving canvas. Ask the artist to map the bow while you move your shoulders so the ends do not tuck into the back crease. A common mistake is under-scaling the arc which makes it look pinched when you reach. Pain is moderate and sessions usually need one longer appointment. For wardrobe, open-back tanks and halter tops frame the piece. Try an off shoulder top or a halter for controlled reveals.
21. Thigh Tribal Pairing That Flows with the Leg
Finish with a paired thigh composition that mirrors both legs or sits solo on one side. This neo-traditional tribal approach benefits from mirrored negative space so both pieces breathe as the body changes. A frequent mistake is copying a flat thigh stencil without checking how it looks when seated. Expect single sessions per thigh when scaled to five to eight inches and plan for touch-ups if weight shifts. For sessions wear shorts or an athletic skirt for quick access and low fuss. A loose fitness shorts option keeps privacy and makes artist access simple.

Frequently Asked Questions
Q: Will a fine-line bow on my ribcage blur faster than a bold blackwork piece?
A: Fine-line rib pieces tend to require more spacing and careful needle depth to last. There is a split in approach. One camp recommends thicker anchor lines for rib work because breathing and skin movement can blur hairline strokes. The other camp says expertly placed fine line can settle well. Discuss touch-up expectations with your artist and consider a slightly bolder line if you want lower maintenance.
Q: How often do wrist arrows typically need touch-ups compared with forearm pieces?
A: Wrist tattoos see more washing and friction so they often require touch-ups sooner than forearm work. In my observation many wrist arrows need refreshment by year two while forearm work can keep clarity longer. Ask for thicker shaft lines and plan a small touch-up budget if you use a lot of hand creams.
Q: Are chest and sternum bow pieces more painful than thigh or calf work?
A: Chest and sternum areas usually score higher on pain scales because of thinner tissue and proximity to bone. Thigh and calf have more muscle and fat which spreads out the sensation. If you worry about pain, consider splitting the session into shorter sittings and using a topical numbing cream applied as advised.
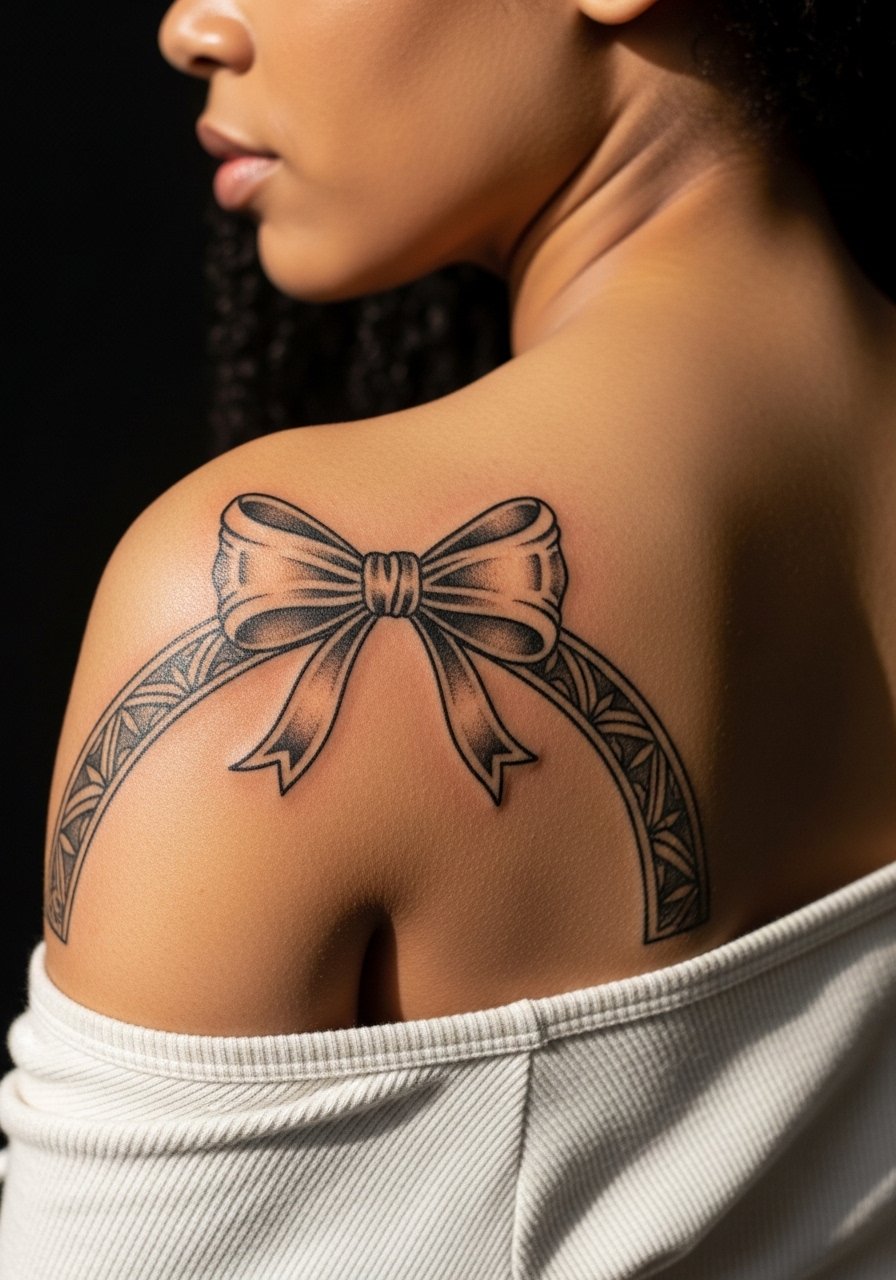
Q: Can blackwork bows on darker skin tones still read well in photos?
A: Strong black saturation and contrast help blackwork read clearly on darker skin tones. I have seen healed pieces that photograph very well when the artist uses solid fills and bold outlines. If you have darker skin, ask for a mockup in-shop under natural light and request a slightly heavier anchor line so the design remains visible in photos.
Q: What should I wear to a ribcage or inner thigh session for privacy and access?
A: For ribcage work bring a loose cropped tank or side-slit tee you can lift just enough to expose the area. For inner thigh choose loose fitness shorts or an athletic skirt so you can shift fabric without exposing more than necessary. A simple wardrobe plan keeps the session focused and comfortable.
Q: How do I find artists who specialize in bold tribal bows or traditional saturation near me?
A: Search city plus "bold bow tattoo studio" or try hashtags like #boldarrowtattoo and #traditionalbowtattoo on social platforms. Also check convention lineups and local shop portfolios to see healed examples in the style you want before booking.
