
Fine line is trendy, but black and grey on an arm is where the style pays off for daily wear. Clean blackwork and soft grey shading age into a carried look, while hyper-detailed micro-realism can soften faster if placement and spacing are off. Read these ideas with an eye for how they heal, what to ask at consultation, and what to wear so the piece gets seen the way you want.
1. Fine Line Arrow on Inner Forearm
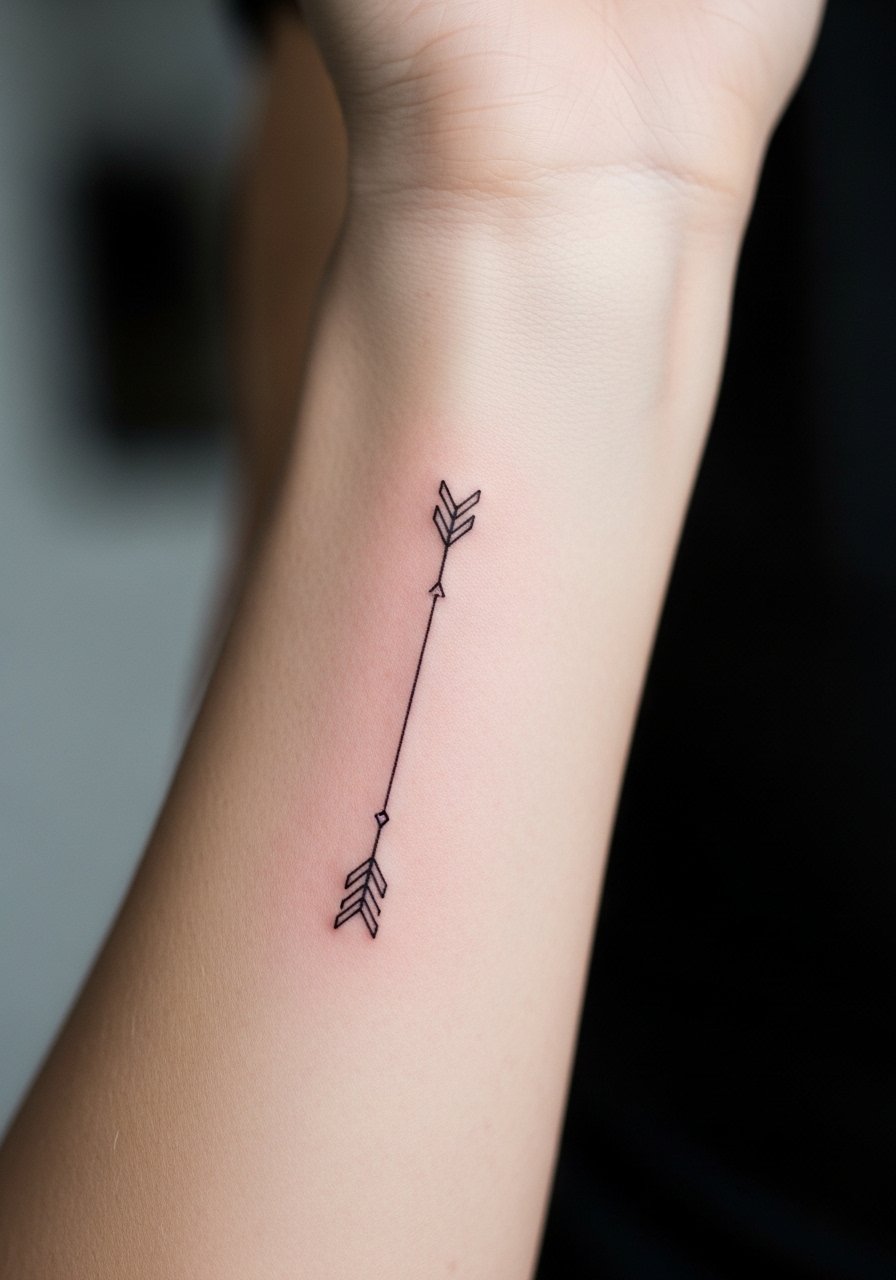
I like this one because it reads small but clear for years when you space the negative areas correctly. Fair warning, the inner forearm is forgiving for thin work but going too tight makes the lines merge after a few years. Tell your artist to leave a tiny gap between parallel strokes and to avoid ultra-tiny flourishes that sit inside a 2 cm area. Session feels like a steady buzz and usually takes under an hour. For showing it off, roll sleeves to the elbow and wear a rolled sleeve linen shirt to frame the piece, or choose a watch that sits below the arrow so the head points toward the wrist.
2. Micro-Realism Wolf Head on the Bicep

This is where shading technique shines, and you should ask for stipple shading to avoid heavy saturation that can look muddy on thick biceps. Artists split on realism on curved muscle. One camp says heavy saturation holds better on the bicep because the skin is tight. The other camp argues lighter, layered grey work preserves texture and contrast longer. Ask which camp your artist falls into before booking. Expect a one- to two-hour session for a medium-sized piece and a touch-up at year two if you like crisp highlights. The biggest mistake is asking for every hair and pore, which flattens at close range when healed.
3. Botanical Sprig Along the Outer Forearm
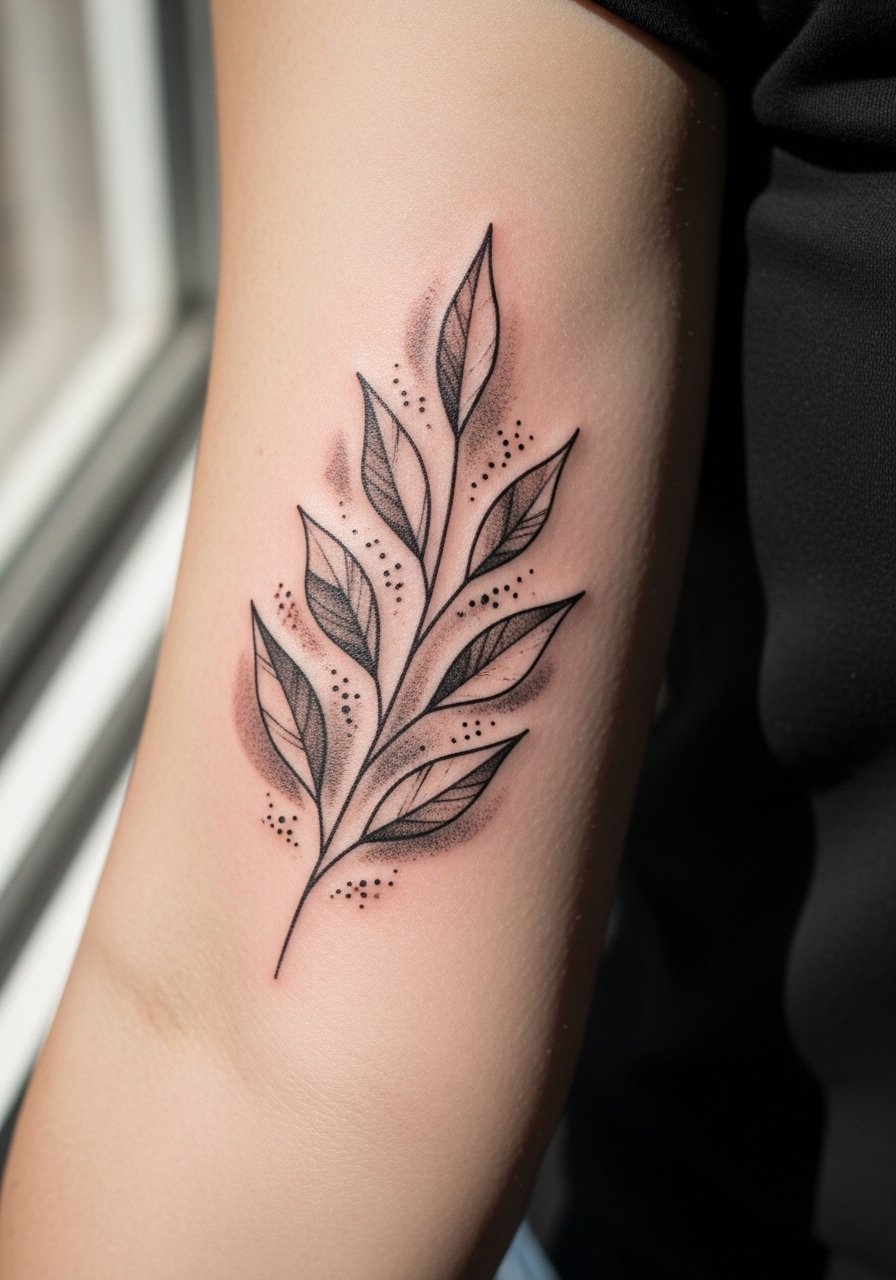
Botanical sprigs are classic for arms because they follow the forearm line and age predictably. Tell your artist you want slightly thicker stems and stipple shading in leaves so small veins do not blur together over time. Pain is mild and sessions are short, often under an hour. For showing this off, pair it with a minimalist gold bangle or a rolled cuff blouse to keep attention on the sprig without covering it. A common rookie move is requesting a full leaf network in the same small area, which looks busy after a year.
4. Geometric Mandala on Upper Arm
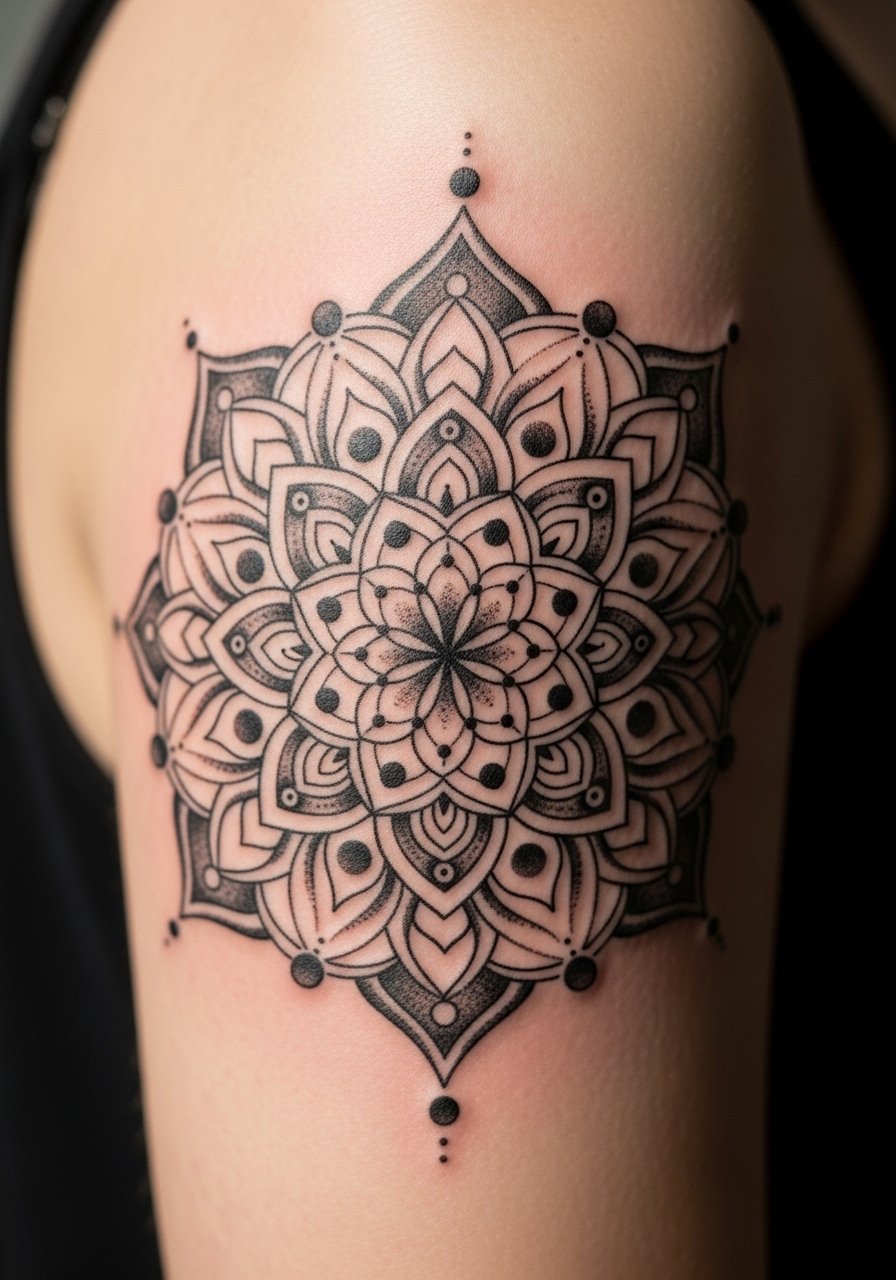
Geometric mandalas on the outer arm make for a strong focal point and they need room to breathe. Most aging issues come from packing too many concentric rings into a small circle. The fix is larger spacing and stipple shading to hold contrast as the skin shifts. Expect a two-hour session for a medium mandala and a touch-up around year three if the dots fill in. For evenings out, a short-sleeve button shirt that shows the upper arm keeps the mandala visible without exposing the rest of the piece.
5. Traditional Rose at the Elbow Flank
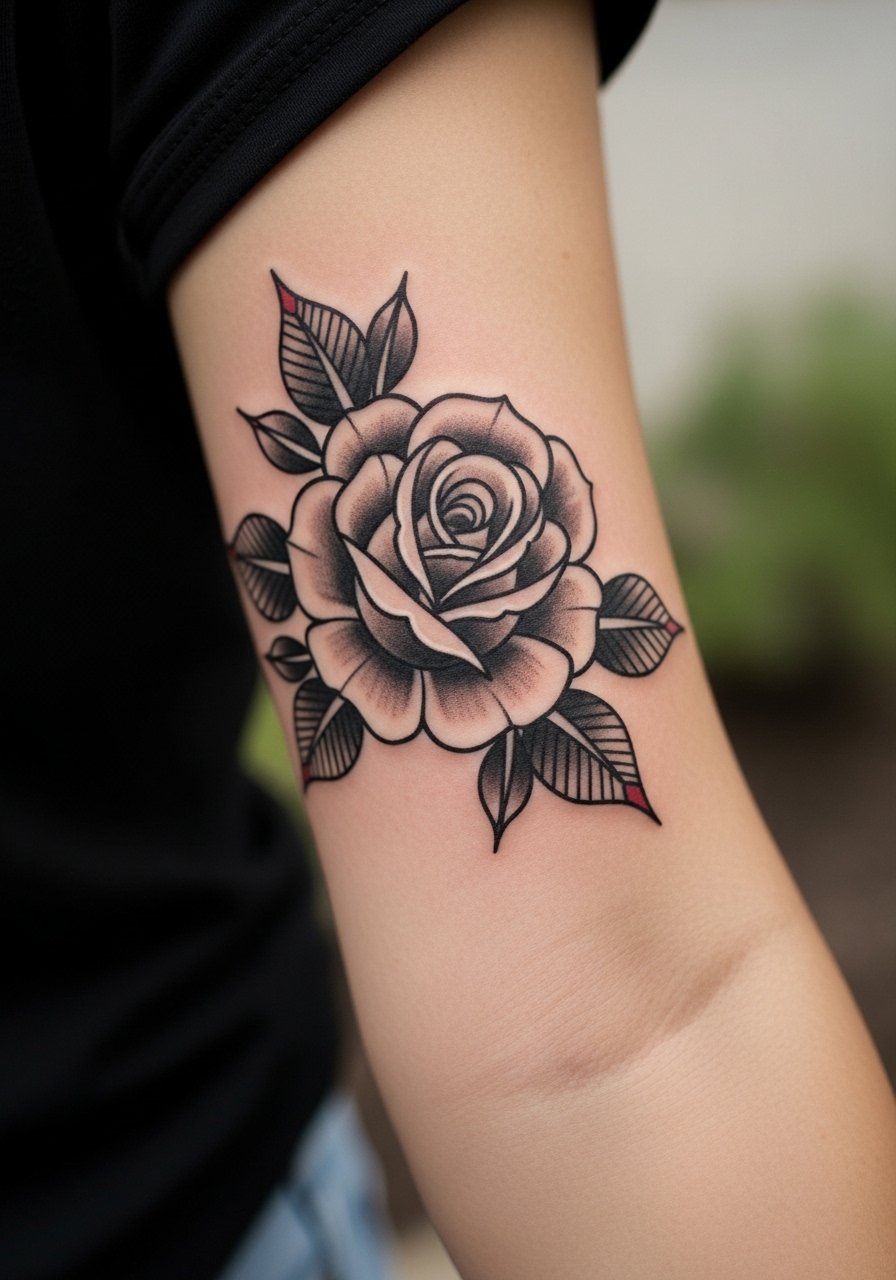
The elbow zone is a tricky place because constant bending stresses the ink. Place the rose slightly off the joint rather than centered over the crease to reduce blowout risk. Expect a grittier sensation during the session and plan for a longer healing window where movement can tug on scabs. The common mistake is centering a small detailed bloom directly on the crease. Instead pick a slightly larger outline and leave open grey areas so the shape reads clearly at six months and beyond. This area benefits from a light touch-up at year two.
6. Script "Breathe" on Inner Wrist
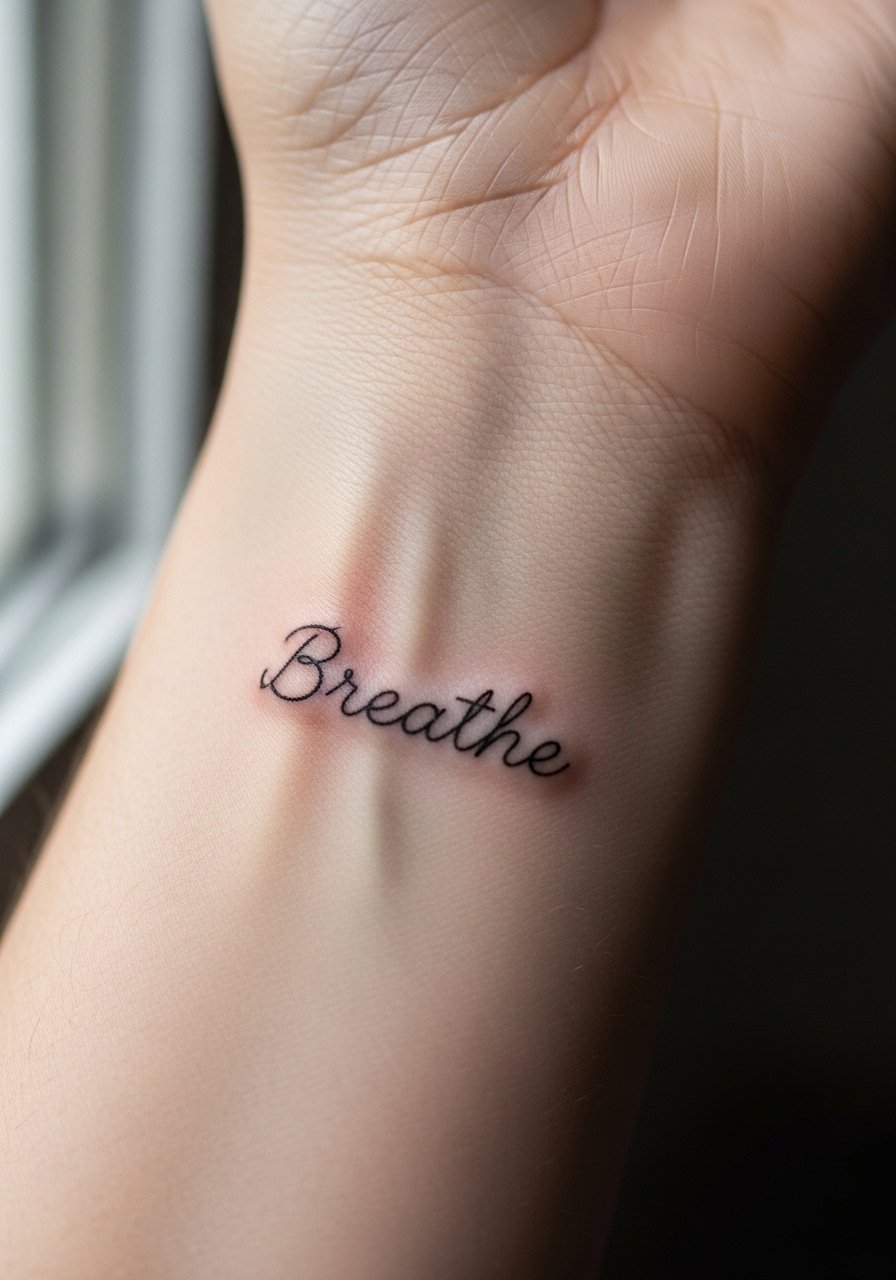
A short script on the inner wrist is intimate and highly visible, so pick the exact word carefully. The term "Breathe" written in minimalist lowercase keeps the message readable while limiting tiny flourishes that blur. Hand and wrist work splits artists into two camps. One group warns tiny script on the wrist will blur within a couple of years. The other group says with the right depth and slightly bolder minuscule letters it settles fine. Ask your artist where they stand, and expect touch-ups sooner than you would on the forearm. For the session wear a racerback tank so the artist can access the inner wrist comfortably.
Studio Day Picks
Those forearm, bicep, and wrist pieces above benefit from small practical items that make the session and the first week easier.
-
Stencil transfer paper kit. Lets you preview the placement on your arm so a forearm sprig or mandala sits exactly where you expect.
-
Disposable arm rest cover pads. Keeps the elbow and forearm clean and reduces slipping during longer bicep sessions.
-
Thin protective film roll. Useful for wrist and hand pieces that face constant washing and friction during the initial healing.
-
Fragrance-free gentle body wash. Cleans the area without stripping the grey washes that botanical and portrait pieces rely on.
-
Aquaphor healing ointment. A thin layer during the first few days helps protect delicate linework on the inner wrist and forearm without clogging needle channels.
7. Portrait Fragment on Outer Forearm

A portrait fragment uses part of a face or figure so it sits well on the forearm's long canvas. The main consultation point is scale. Too small and the facial planes merge into a grey patch by year three. Ask your artist for reduced detail and stronger contrast rather than micro-feathered hairlines. Sessions run two to three hours depending on size. The common mistake is pushing for ultra-high photographic detail that cannot be maintained in the narrow forearm space. Expect touch-ups at two to four years if you want to preserve crisp highlights.
8. Chain Bracelet Wrap Around Wrist

A chain bracelet is deceptively technical because it wraps and moves with the wrist. Ask for slightly bolder links on the bottom side that face more friction. Tiny links on the inner wrist will soften faster from washing. Sessions are short but may require a touch-up at the band overlap. For showing it off, a thin chain pendant necklace layered with a bracelet keeps the wrist area looking intentional without crowding the chain tattoo.
9. Dotwork Sunflower on Outer Arm

Dotwork or stipple shading is a strong choice for botanical motifs because the texture holds rather than fills in. Tell your artist you prefer spaced dots and a lighter hand in the central disk to avoid heavy saturation. Sessions can run one to two hours depending on diameter. The usual mistake is asking for a fully shaded center that becomes a blotch after healing. Dotwork ages well because the contrast is in the density of dots rather than heavy grey washes.
10. Compass on Outer Forearm
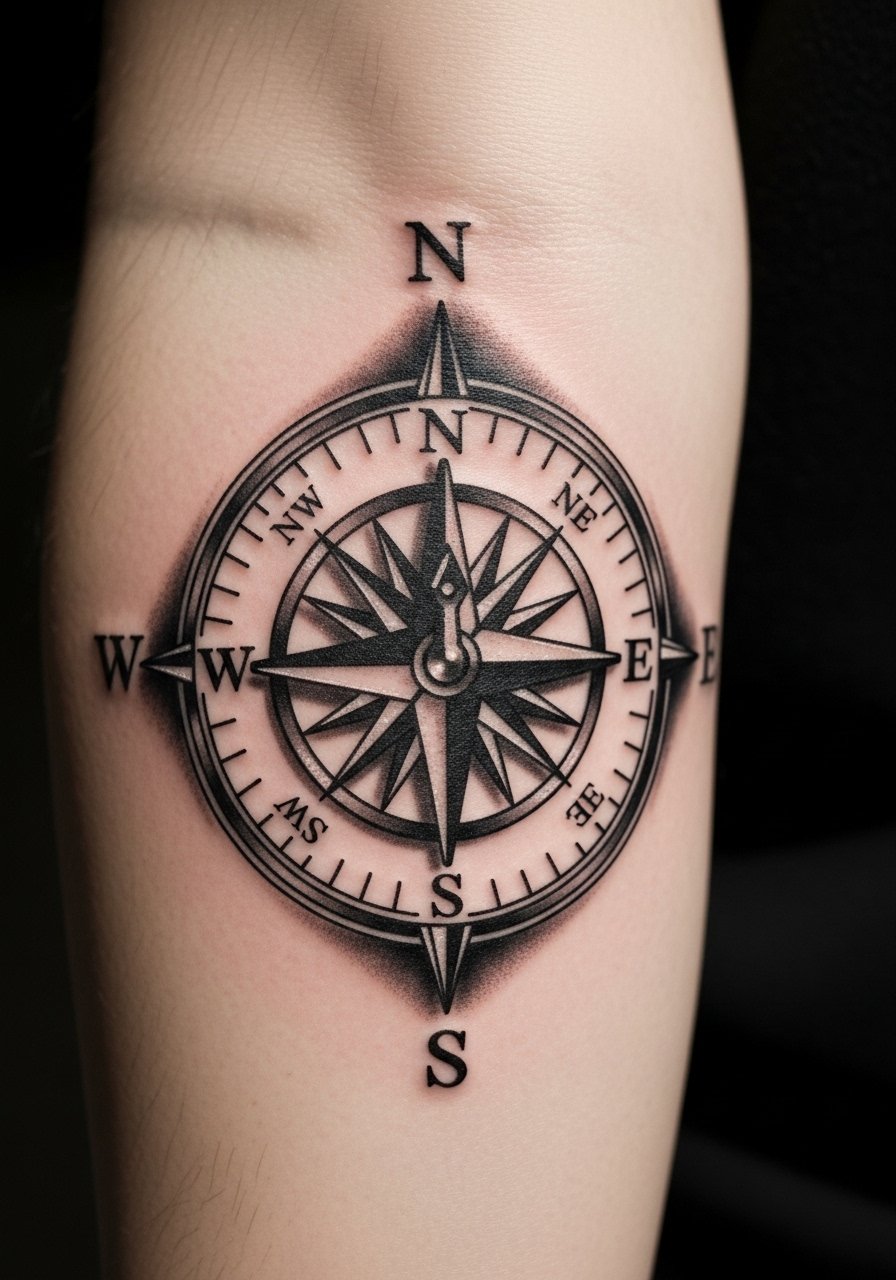
Compasses read clean when the needle and cardinal points are clearly separated. The trick is to keep the central point slightly bolder and the outer ring slightly lighter. Expect a one-hour session for a medium compass and a touch-up at year three if the needle loses crispness. For casual wear, roll sleeves or pick a short-sleeve linen shirt so the compass sits on show during warm months without overexposure to sun.
11. Skull and Rose on Lower Bicep
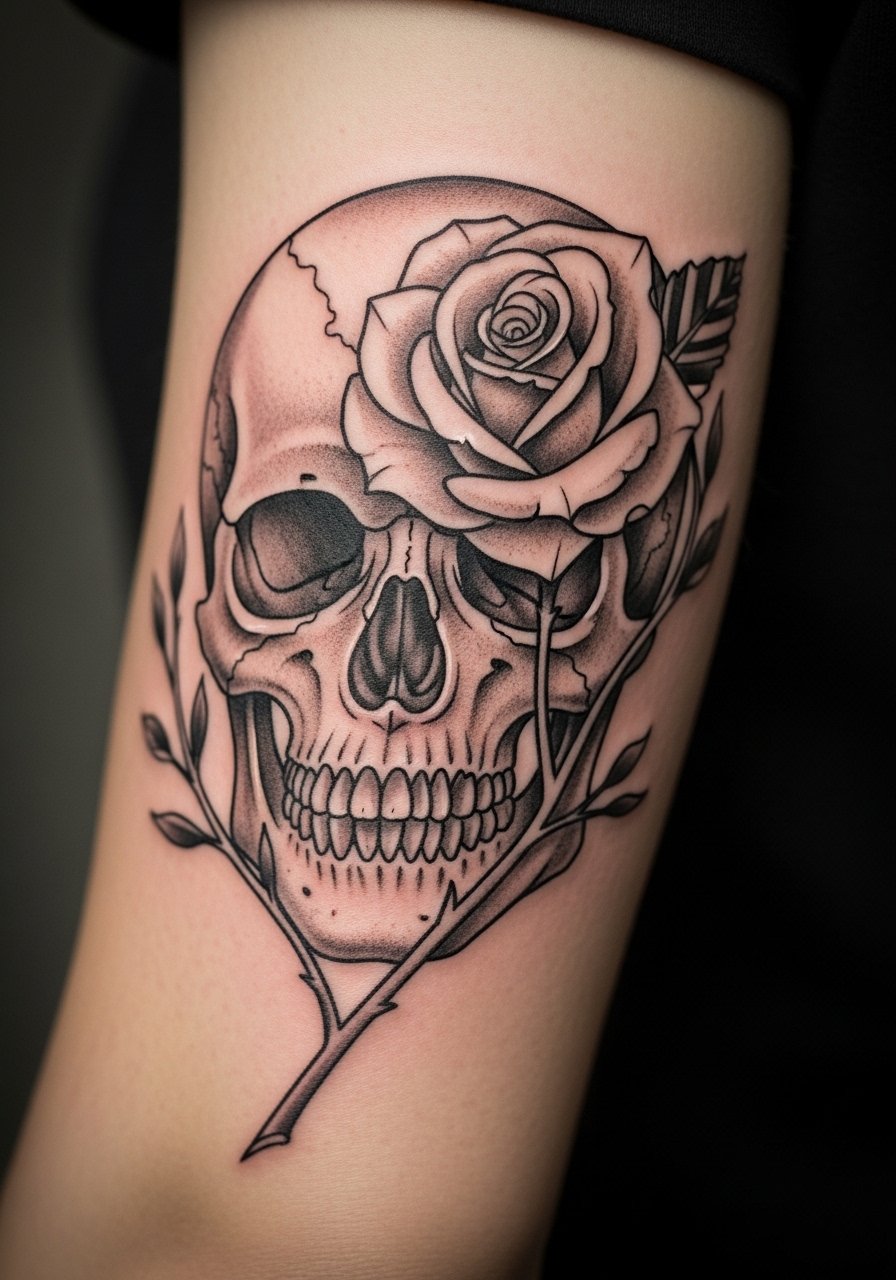
Skull and floral combinations balance hard and soft elements, but avoid packing tiny petals into the jawline which makes the whole piece read muddy over time. Ask for separated negative space between the skull contours and the rose petals. Pain is moderate on the lower bicep and sessions usually last two hours. The common mistake is insisting on extreme micro-detail inside the skull that cannot survive movement and rubbing from shirts.
12. Minimalist Mountain Range on Inner Upper Arm

Inner upper arm work sits on softer skin so thin lines can shift more than on the outer arm. For a minimalist mountain, request slightly heavier peaks and restrained valley lines so the silhouette remains legible at six months. Session time is short and pain is moderate. For the session wear a loose tank top you can lift or pull aside, which gives clear access without excess tugging on the skin. Avoid placing tiny contour marks where the skin creases.
13. Negative-Space Tribal Armband

Negative-space designs use the skin as part of the composition and tend to age well when the black blocks are saturated evenly. The mistake is uneven saturation which becomes obvious as the edges soften. Ask your artist for consistent packing and for slightly larger negative shapes than you think you need. Sessions may be longer if the armband wraps fully around the forearm. Expect touch-ups at three to five years depending on sun exposure.
14. Dot-Work Constellation Trail on Outer Forearm
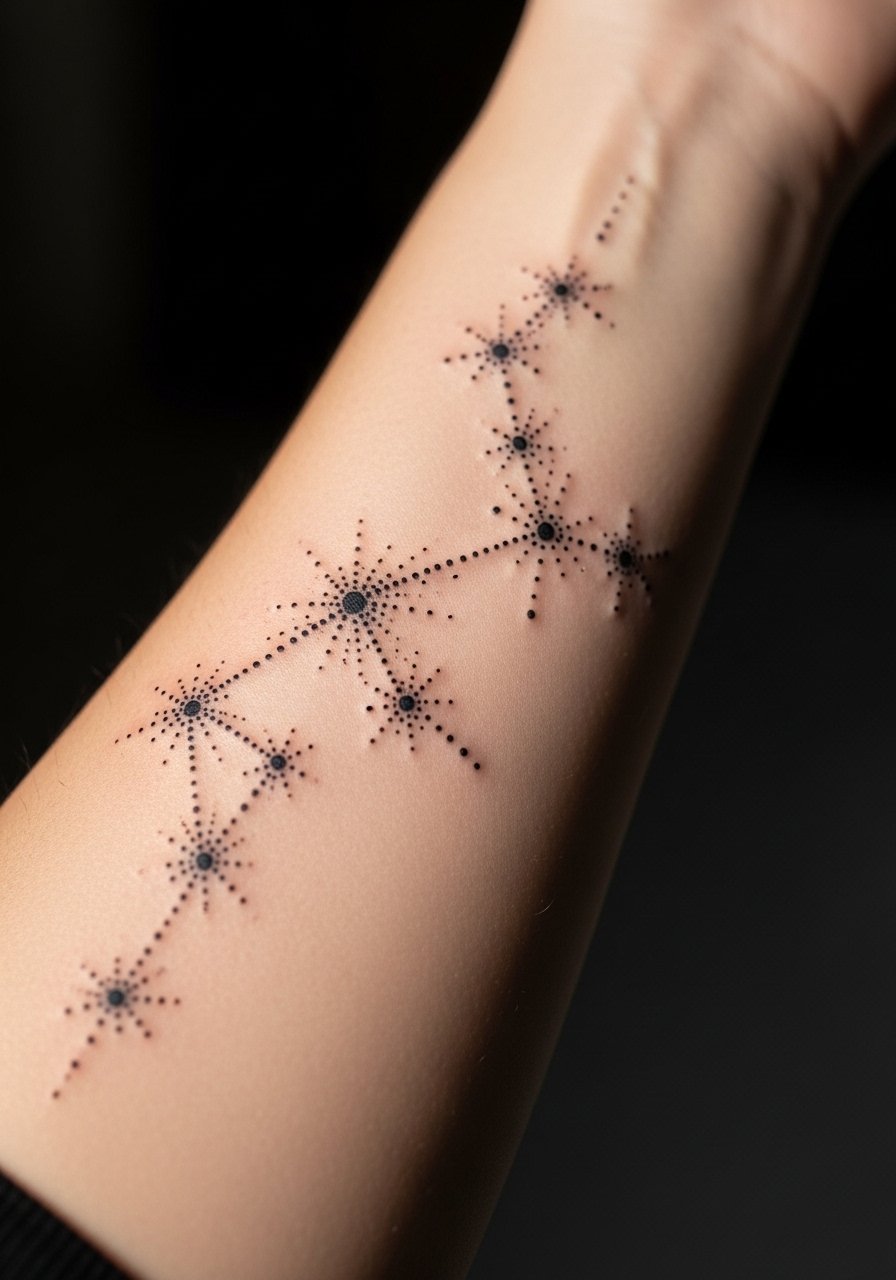
Constellation trails work because they flow with the arm and can wrap around a wrist or travel toward the elbow. Keep star clusters slightly spaced and avoid ultra-thin connector lines that fade into the skin. This style feels light during the session and typically takes under an hour for a short trail. For showing the piece, try a stacked dainty bracelet that sits above the trail so the negative space breathes. The usual error is requesting dotted clusters too close together which merge into a single dark shape.
15. Anchor Near the Wrist
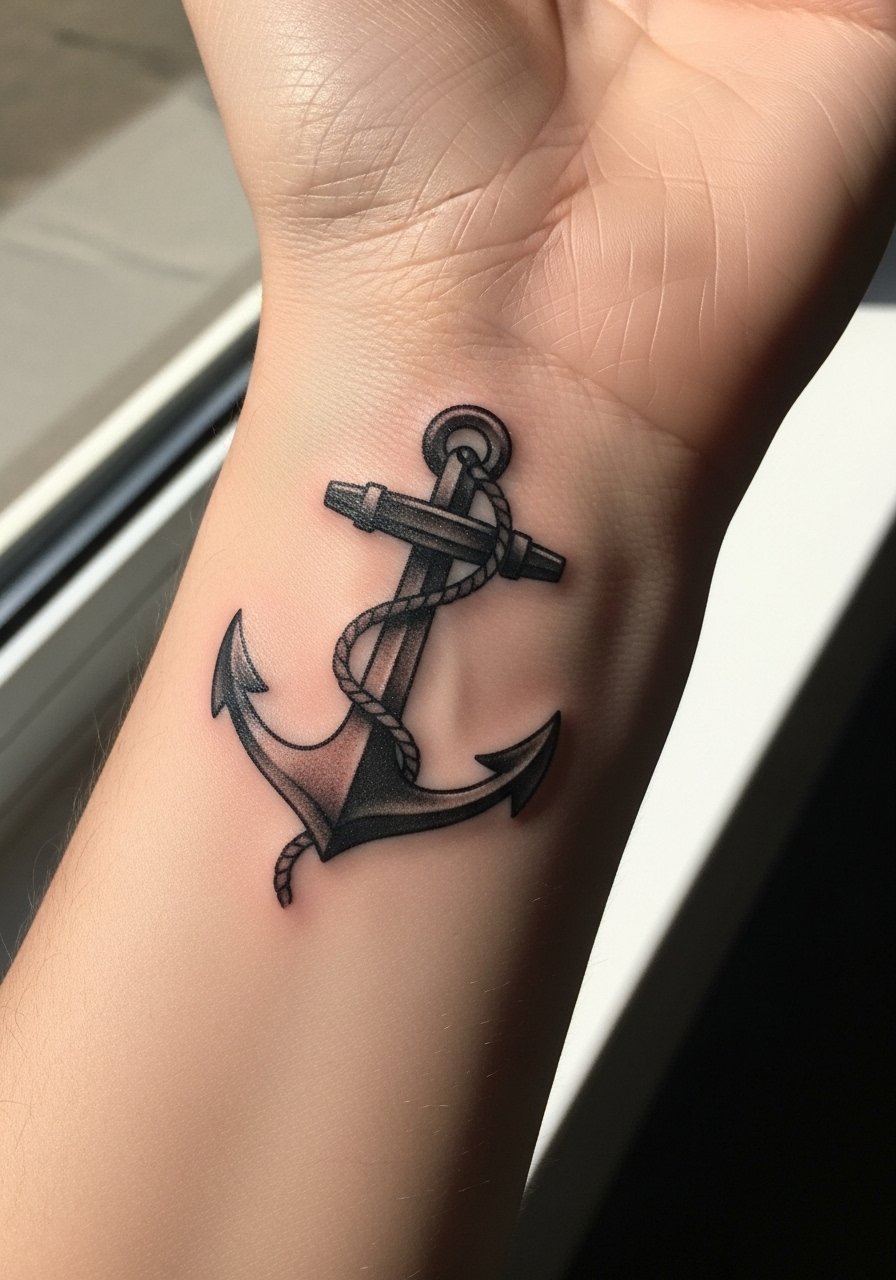
Wrist anchors are classic but they face constant friction. Place the anchor a centimeter higher from the very edge of the wrist so washing and bracelets have less impact. Sessions are brief and healing requires mindful movement. The common mistake is getting an anchor too tiny with too many interior details. If you want to layer bracelets later, leave a narrow band of skin above or below the anchor for that jewelry to sit.
16. Floral Cuff That Wraps the Lower Forearm
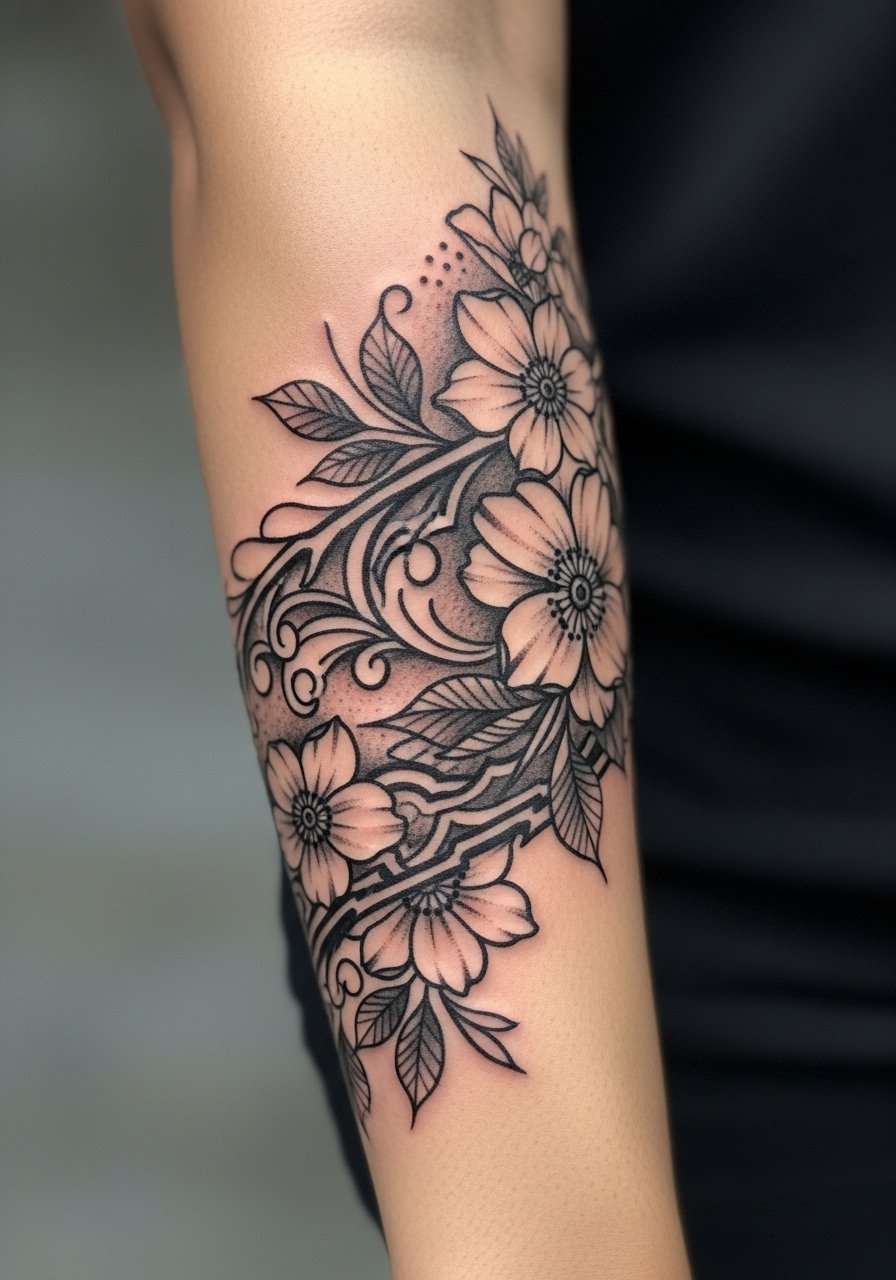
Cuff pieces look deliberate when the negative space follows the wrist taper. Ask for staggered leaf sizes and alternating stipple to keep the cuff from becoming a flat grey band. Sessions can run two to three hours depending on coverage. For outfits, a loose button-down shirt with sleeves you can roll gives the cuff regular visibility without constant sun exposure. Avoid tight cuff areas that sit under watch straps.
17. Anatomical Heart on Outer Upper Arm

An anatomical heart in black and grey reads well on the outer upper arm because the muscle holds the shading. The consultation should cover how much internal detail you want. Too many capillaries and tiny valves become indistinct once healed. Expect a two-hour session for a medium piece and a touch-up if you want to refresh thin highlights. A polite note on origin sensitivity is useful if you borrow medical illustration styles, and small modifications help make the design personal.
Frequently Asked Questions
Q: Will fine line scripts on the wrist blur faster than a forearm script?
A: Yes, in my experience wrist script faces more friction and washing which accelerates softening. The wrist skin is thinner and the motion from bending concentrates stress. If you want longevity, ask for slightly bolder hairlines and plan for a possible touch-up around year two.
Q: How should I prepare clothing-wise for a bicep or upper arm portrait session?
A: Wear a loose short-sleeve or a button-down you can slide off without pulling over your head. For inner bicep access raise the arm in a tank top so the artist works without tugging. A simple loose tank top is often the easiest option.
Q: Are dotwork and stipple shading better for darker skin tones?
A: Dotwork can be excellent because it builds texture through density rather than relying on subtle grey gradients that may read differently across tones. Ask your artist to show healed examples on skin similar to yours and prefer slightly larger dot spacing for long-term clarity.
Q: How often do black and grey arm pieces need touch-ups?
A: It depends on placement and sun exposure. Forearm pieces often need touch-ups at three to five years if you want crisp definition. Wrists and areas with constant friction usually need attention sooner. Darker saturated black blocks tend to hold longer than ultra-thin linework.
Q: Is it okay to mix traditional bold outlines with micro-realistic grey shading in the same arm sleeve?
A: Mixing styles works if you plan transitions carefully. Strong outlines anchor the composition while grey realism adds depth. Tell your artist you want a clear edge between the styles so the bolds do not visually wash into the micro details as the piece ages.
Q: Will an arm sleeve limit my wardrobe choices long-term?
A: Not really, but think about seasons and sleeves. Sleeveless tops and rolled shirts show arm work best. If you work in a setting that requires covered arms, consider placements that peek near the wrist or upper arm instead of full exposed sleeves.
