
Fine line cuffs dominate feeds, and the trend looks easy until you wear your arm through a day of typing and gym sessions. The designs that still look crisp after three years are often the ones that respected spacing, circumference, and movement from the start. Below are 21 arm cuff tattoo sketches that balance fresh visuals with real-world wear, plus what to tell your artist and what to wear on session day to help the lines last.
1. Geometric Armband Cuff with Negative Space
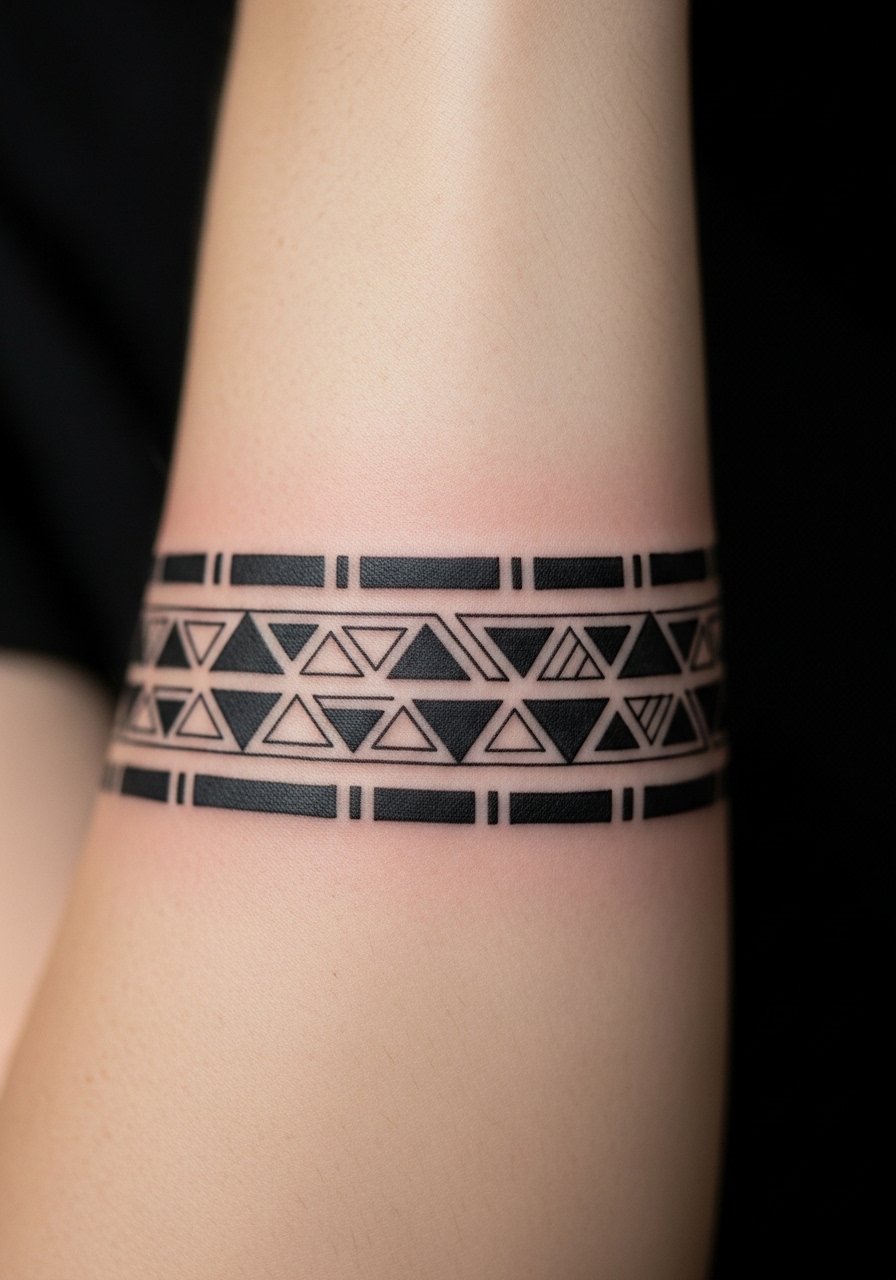
I recommend this when you want a bold wrap that still breathes when you flex. In consultation, ask the artist to measure your arm circumference and trace the stencil with you standing and then flexing. The biggest mistake is shrinking the pattern to fit an idea photo, which makes dense details merge when the arm moves. Expect low to moderate pain and a 45 to 90 minute session for a narrow band. At six months the negative space remains crisp, at two years the thicker lines hold while very fine gaps may soften, and a touch-up at year two keeps the geometry sharp. For showing it off, roll back a sleeve and pair the cuff with a rolled sleeve henley that frames the forearm without hiding the band.
2. Tribal Forearm Cuff Band, Bold Lines
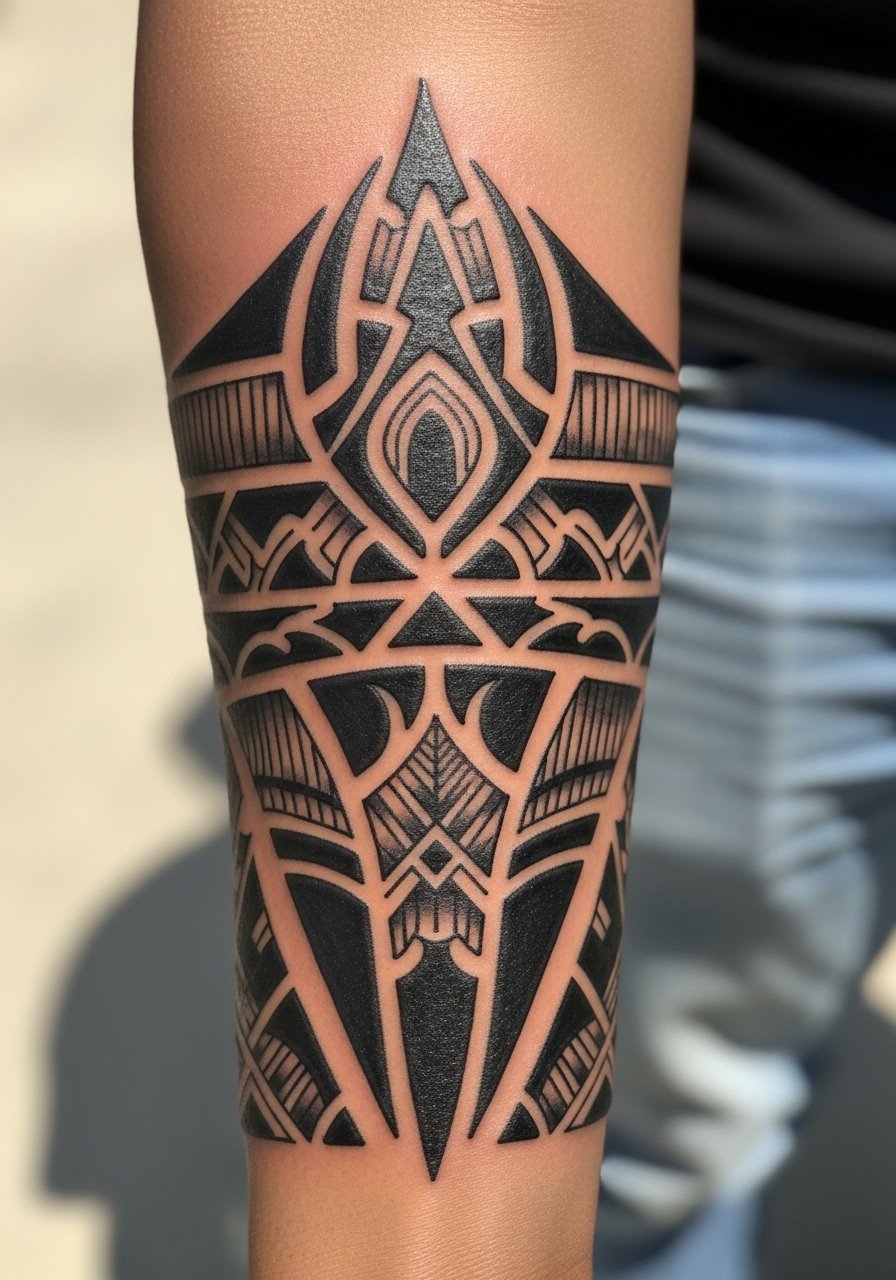
This style is for someone who wants graphic impact and durability. Tell your artist you want saturated fills and slightly wider linework so the pattern lasts longer on mobile skin. A common error is asking for ultra-thin fills that bleed into an indistinct mass over time. Pain is moderate and sessions run 1 to 2 hours depending on wrap complexity. Expect touch-ups around year three if you live in sun-exposed conditions. For weekend wear, balance the strong cuff with a leather cuff bracelet on the opposite wrist to keep the look cohesive without crowding the tattooed arm.
3. Tropical Greenery Upper-Arm Cuff in Color
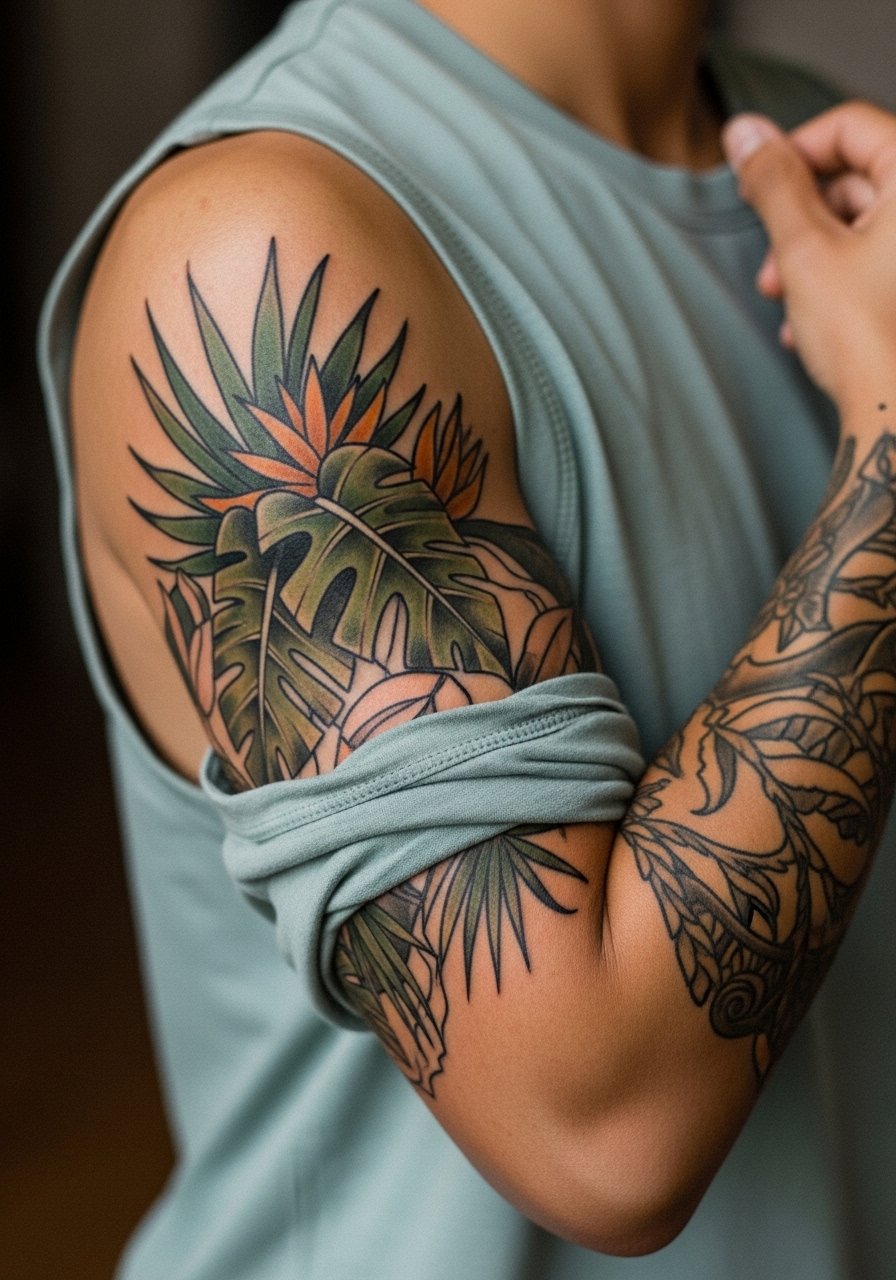
Pick this when you want color and a seasonal heritage nod. Ask for slightly desaturated greens and medium saturation so the leaves age to a softer tone instead of flattening into a single patch. The common version that ages poorly uses neon saturation that breaks down unevenly. Expect 1 to 2 sessions and a bit more stinging than simple blackwork. At two years the color will mellow but the composition still reads if the artist prioritized saturation and contrast. Show it off with a sleeveless muscle tank in olive or white and accent with a thin chain necklace to echo the organic lines.
4. Roman Armor Wrist Cuff, Antique Shading
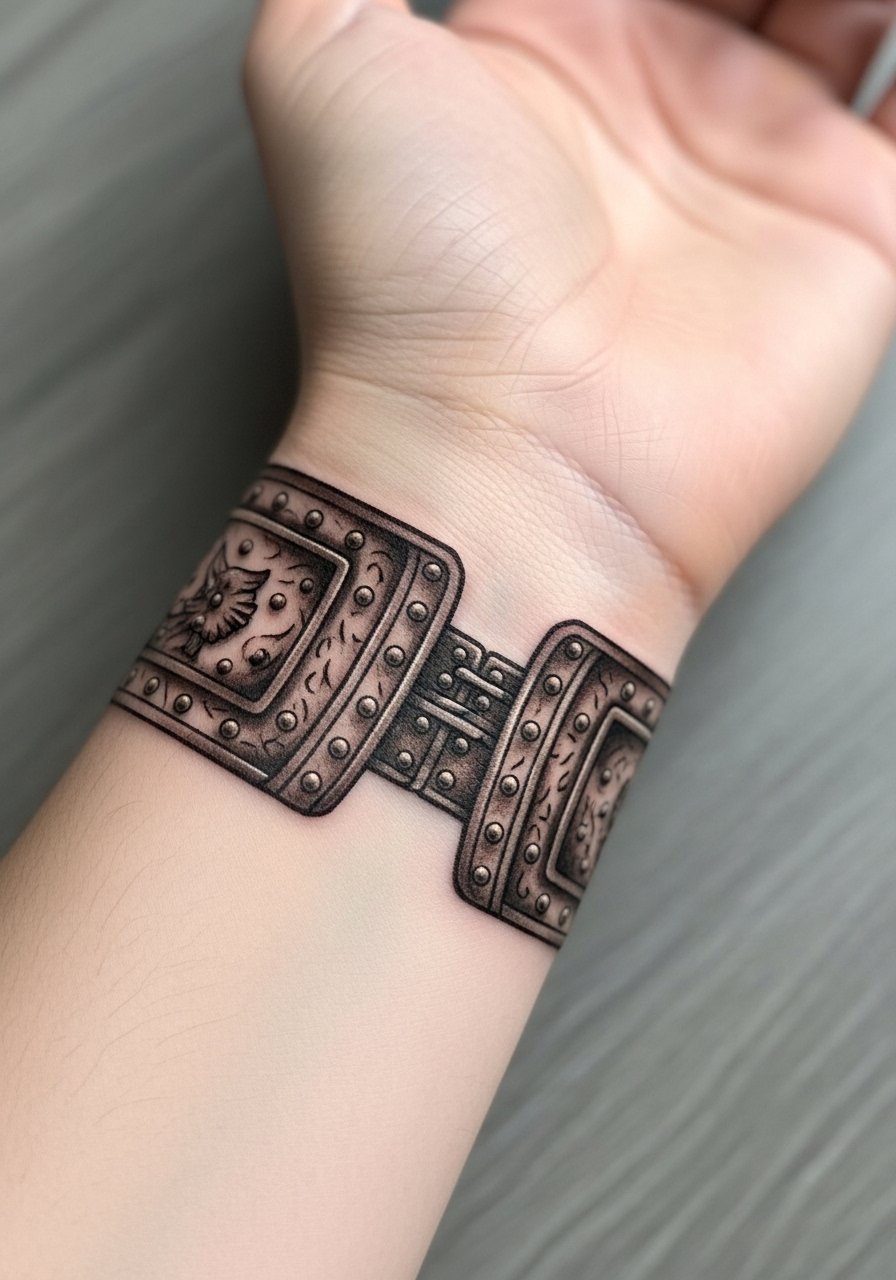
This compact cuff reads like jewelry and works well near the wrist. If you want the worn metal look, ask for stipple and light brown wash instead of flat gray fills. A typical mistake is over-detailing at a small scale, which blurs into an indecipherable texture after healing. Pain at the wrist is higher than on the forearm and a session is often under an hour for a small band. Expect that the highlights will soften by year two and a subtle touch-up can restore the antique contrast. Pair the piece with a slim minimalist watch on the opposite wrist so the cuff acts as wearable metal, not competing decoration.
5. Repeating Pattern Arm Band for Seamless Wrap
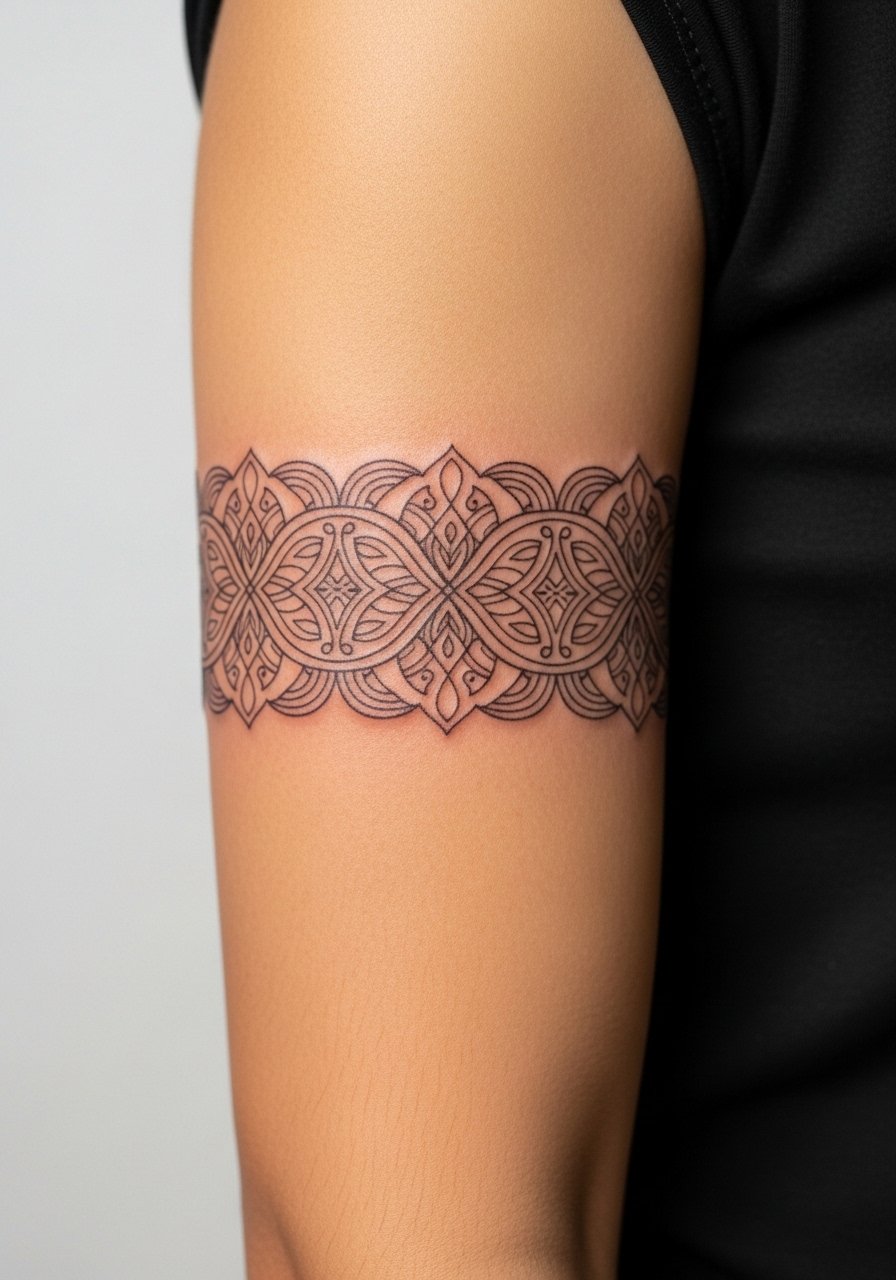
Choose this when you want a bracelet-like illusion that reads continuous around the arm. Tell your artist you want the repeat to align at a natural seam like the inner arm crease. People often underestimate how a misaligned repeat looks when the arm rotates. Pain is low and a large repeating band can take 2 to 3 sessions if it is wide. Over time the symmetry holds best when spacing is generous rather than overly dense. If you might extend into a sleeve later, leave a buffer zone so new work can flow into the repeat without overlapping.
6. Simple Negative Space Cuff for Low-Maintenance Wear
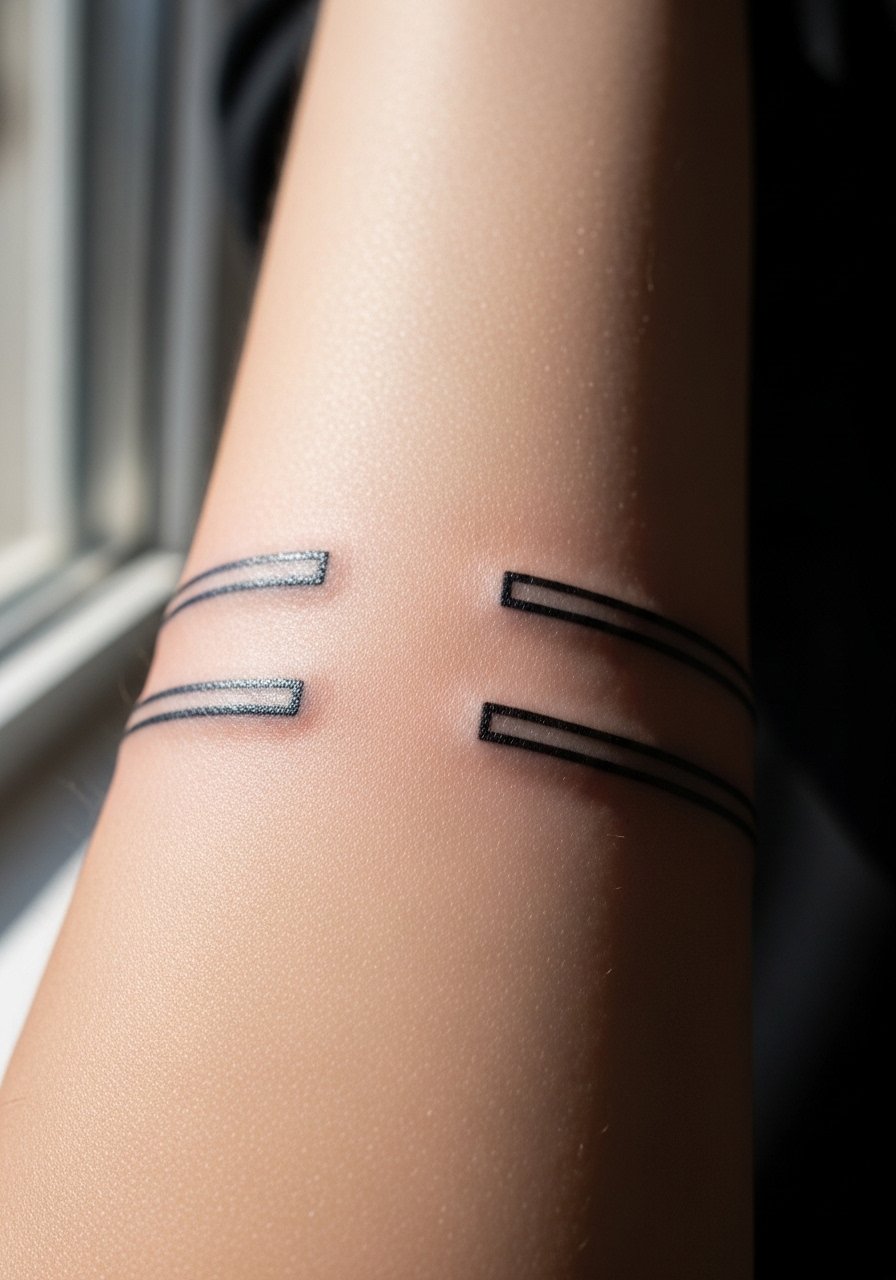
Negative space cuffs age well because they avoid tiny hairline fills that blur. When you consult, show a reference and ask for wider spacing between lines so the skin movement does not collapse the design. A common mistake is squeezing too many tiny details into a thin band, which looks busy after a year. Pain is low at the forearm and single-session pieces often finish in under an hour. At two years the band usually retains its graphic silhouette with only minor softening. For session comfort wear a loose tank top so the artist has clear access and you stay cool.
Studio Day Picks
These first six designs include wrist and forearm pieces that benefit from specific prep and a couple small tools for the first week.
- Stencil transfer paper kit. Lets you preview exact placement and repeat alignment, which matters for the repeating pattern and geometric cuff above.
- Topical numbing cream. Applied 45 minutes before can take the edge off wrist sensitivity without affecting linework when used as directed.
- Thin protective film roll. Keeps wrist and hand cuffs cleaner through the first week of constant washing and friction.
- Fragrance-free body wash. Gentle cleansing protects fine gaps and negative space bands while the skin seals.
- Aquaphor healing ointment. A thin layer in the first days helps maintain moisture for fine line work without clogging the area.
7. Mandala Arm Cuff with Dotwork Center
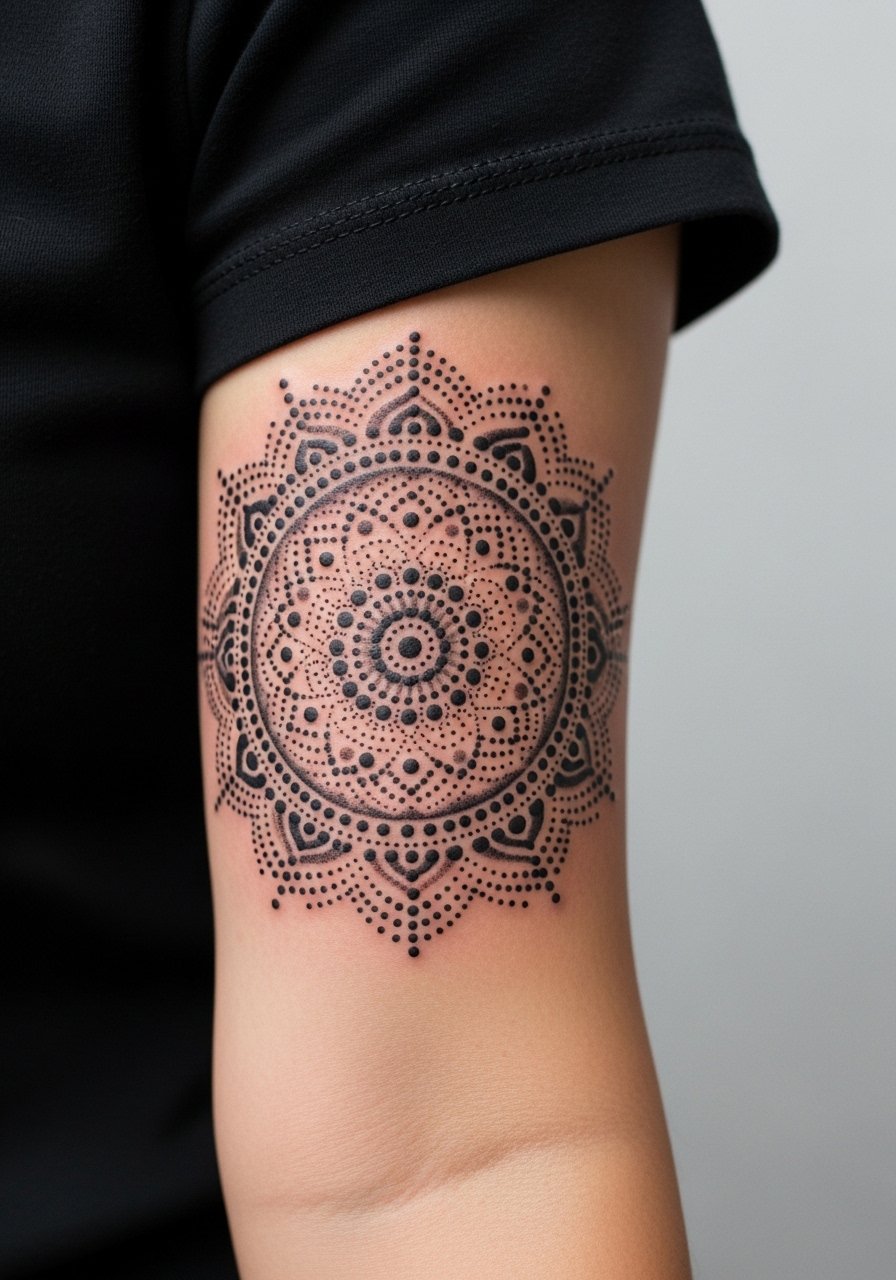
Mandala bands read meditative and photograph well, but the density needs planning. Tell the artist you want broader spacing between concentric rings so dot work holds as the skin stretches. The usual misstep is compressing too many rings into a narrow band, which looks like a smudge after healing. Pain on the inner bicep is moderate and sessions can be split into two if the piece is wide. At six months the dots look crisp, at two years the inner rings may require a light touch-up. For show-off styling roll up a rolled cuff shirt to keep the mandala visible without overexposing the arm.
8. Dotwork Geometric Band on the Bicep
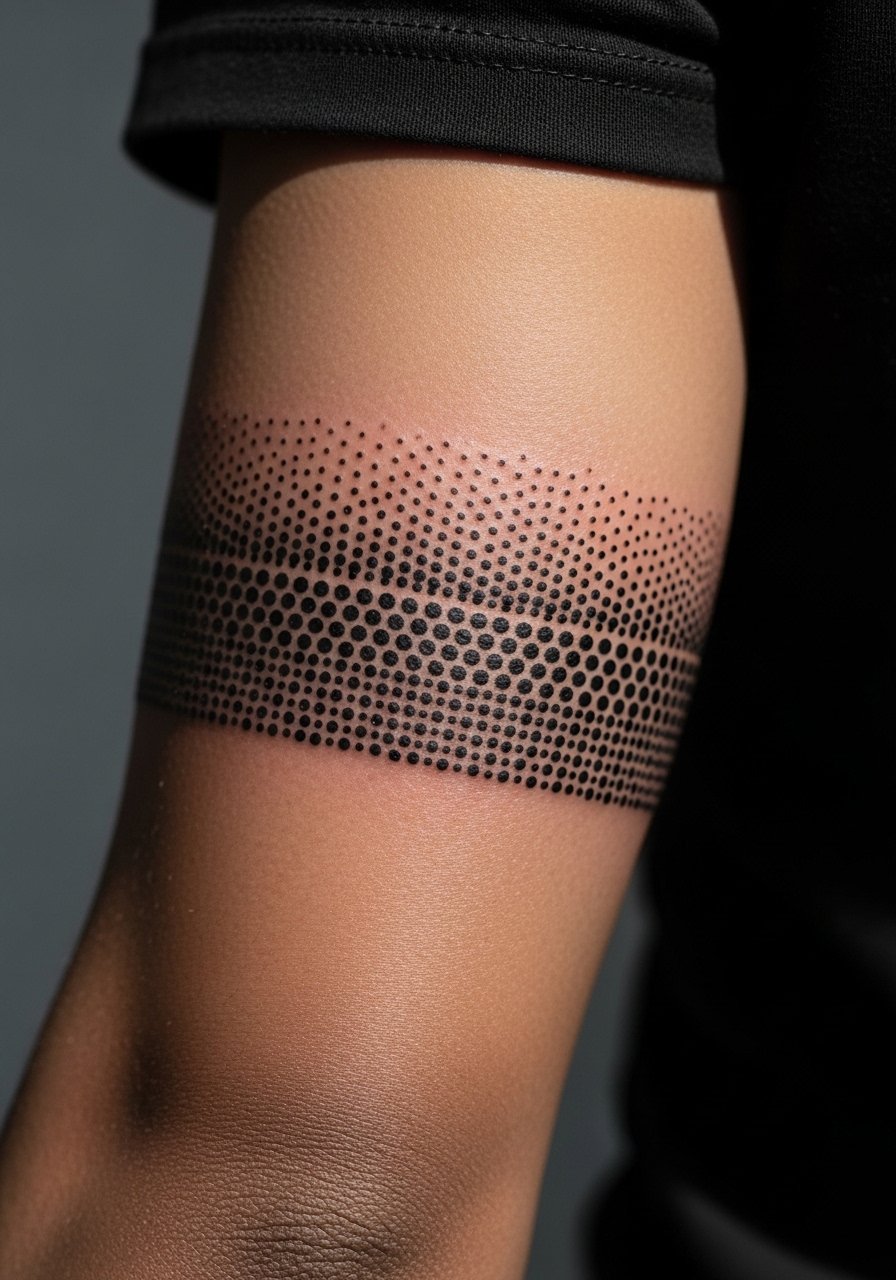
This is a lower-pain option with a hypnotic finish. When consulting, request a dot size map so your artist spaces the stipple relative to curvature. A common mistake is using identical dot size across curves, which reads uneven. Session time is usually under an hour for narrow bands and up to 90 minutes for wider dotwork. Dotwork tends to age gracefully because dots maintain contrast even as skin softens, but expect some fading in high-sun areas by year three. For casual display, pair the band with a fitted long-sleeve thermal rolled mid-forearm in gray to frame the stipple without competing patterns.
9. Wave Pattern Oceanic Cuff with Blue Shading
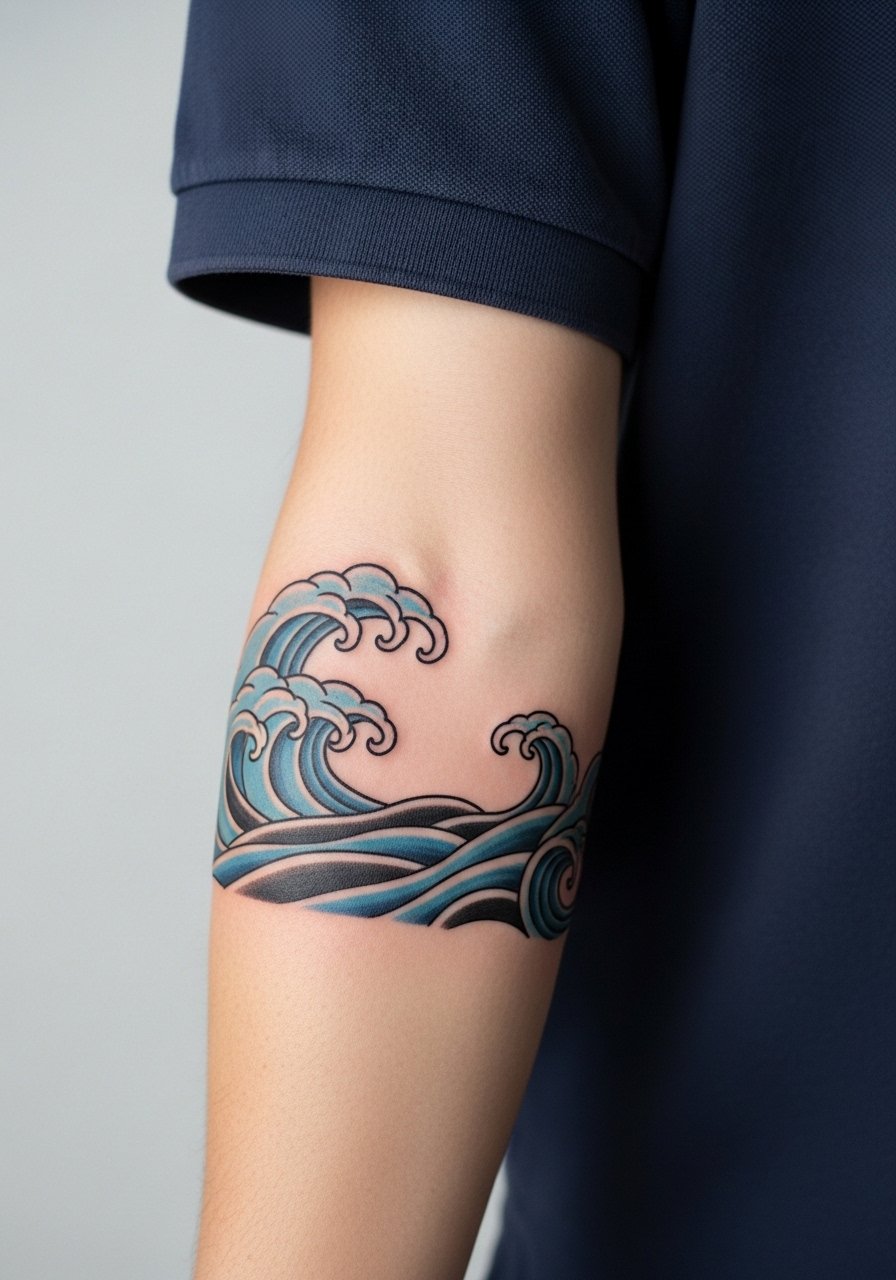
Pick this for a seasonal or surfer heritage nod. Ask for a limited blue palette blended into black so the waves read as a cuff rather than a color patch. The error I see is over-saturating blues that break down unevenly. Pain at the lower forearm is low and sessions run 1 to 2 hours depending on shading. At two years the blue softens but the motion remains if contrast was prioritized. Pair with a short sleeve polo shirt in solid teal to echo the ocean tones during summer outings.
10. Arrow Band Tattoo, Minimalist Directional Wrap

This is a good small cuff for someone who wants symbolism without heavy saturation. When you consult, specify orientation and whether arrowheads should meet or repeat in a gap. The usual mistake is making the arrows too tiny, which leads to merging lines over time. Pain at the wrist is higher than the forearm and expect a quick single session under an hour for a clean wrap. At one year the arrows still read if spacing was prioritized. Style it with a thin bangle stack on the opposite wrist to keep the visual balance and avoid crowding the tattooed side.
11. Feather Band Cuff, Ultra-Fine Illustration
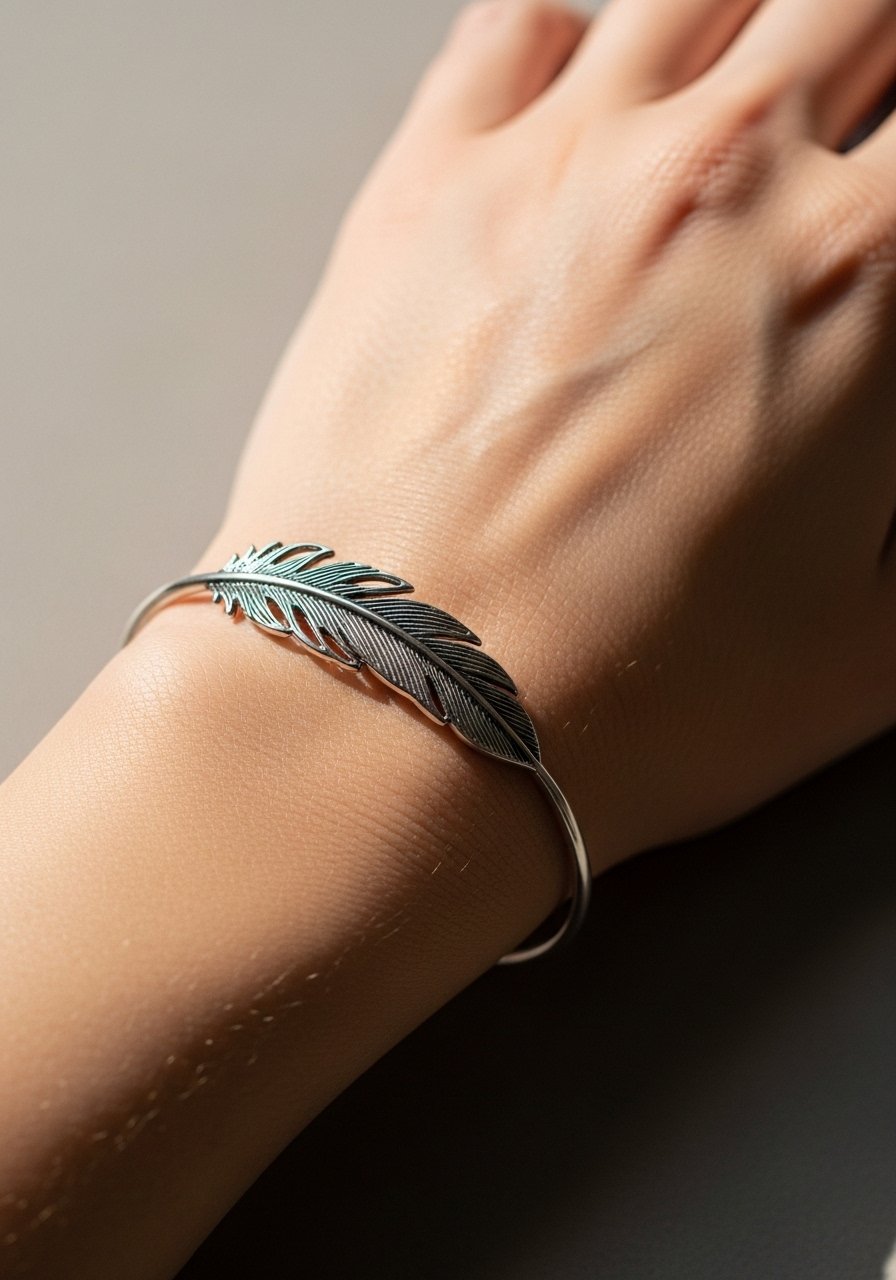
Feather cuffs are delicate and vulnerable to blur on busy skin. In consultation ask for slightly bolder barb lines rather than hair-thin marks so the feather keeps texture as it heals. The controversy here is real. One camp says fine line styles at the wrist fade quickly and need touch-ups at year two. The other camp insists that with the right depth and spacing fine line can last. Ask your artist which approach they favor before booking. Expect higher sensitivity at the wrist and a short session. For evenings out pair the feather with a slim minimalist watch on the other wrist to keep styling clean.
12. Celtic Knot Armband on the Upper Arm
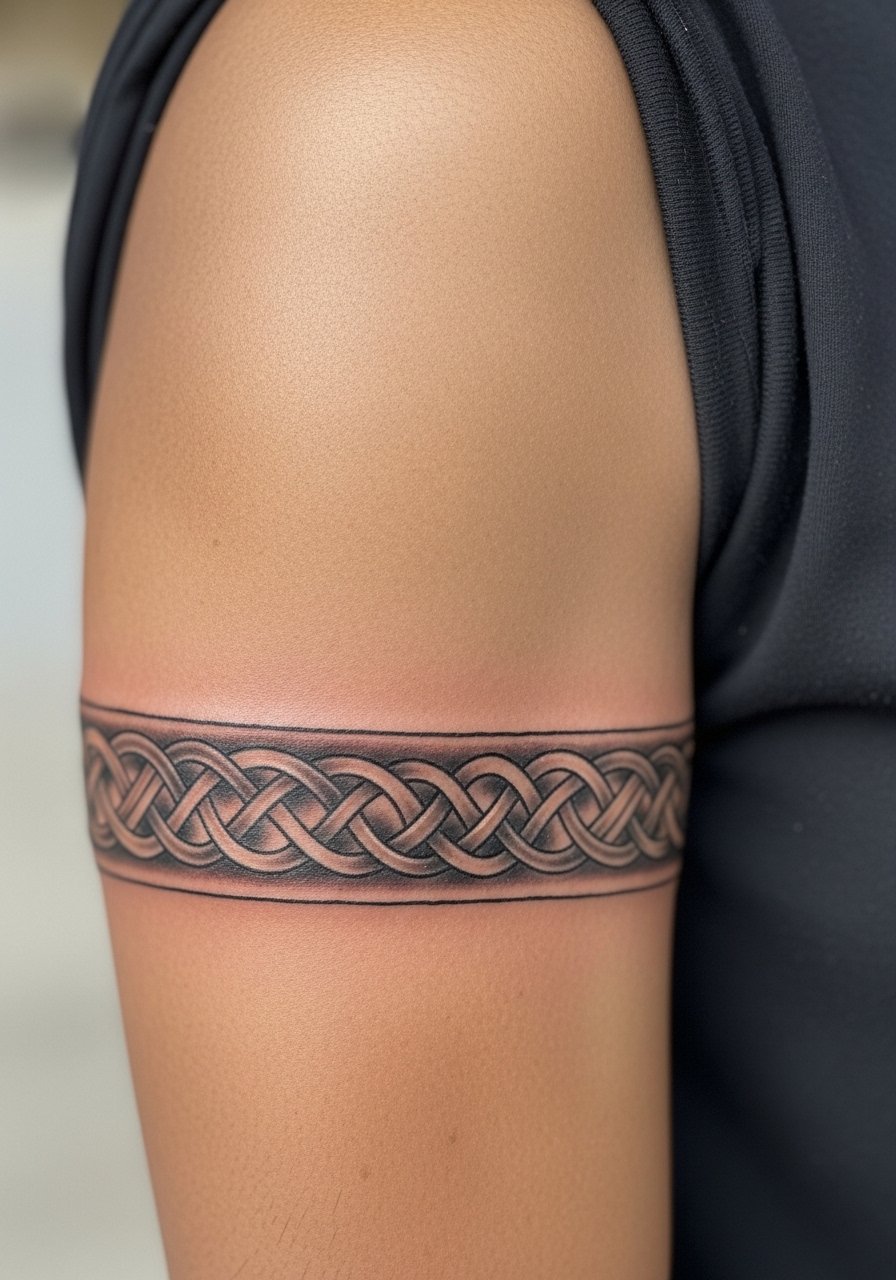
Celtic knots are compact symbols of continuity but demand precise repeat alignment. Tell your artist you want clear negative channels between knot strands so the pattern does not merge into blocks after a year. A common mistake is compressing loops into a narrow band where the skin stretch blurs crossings. Pain on the upper arm is lower and this can finish quickly. Over time the knot reads best when spacing was prioritized. If you want a subtle show, wear a sleeveless muscle tank in neutral tones so the knot sits as quiet jewelry.
13. Detailed Forearm Sleeve Cuff Extension, Tribal to Sleeve

This hybrid suits someone who wants a cuff that can evolve into a sleeve later. During consultation, plan clear buffer zones and agree on how motifs will repeat or transition. The biggest mistake is starting a cuff that tightens into the new sleeve without leaving breathing space, which complicates future additions. Expect multiple sessions and moderate discomfort across a longer area. Touch-ups are common when a cuff becomes a sleeve to maintain consistent saturation. For session comfort wear a loose button-down shirt you can pull aside so the artist has clean access without tugging fabric.
14. Repeating Floral Band with Negative Space
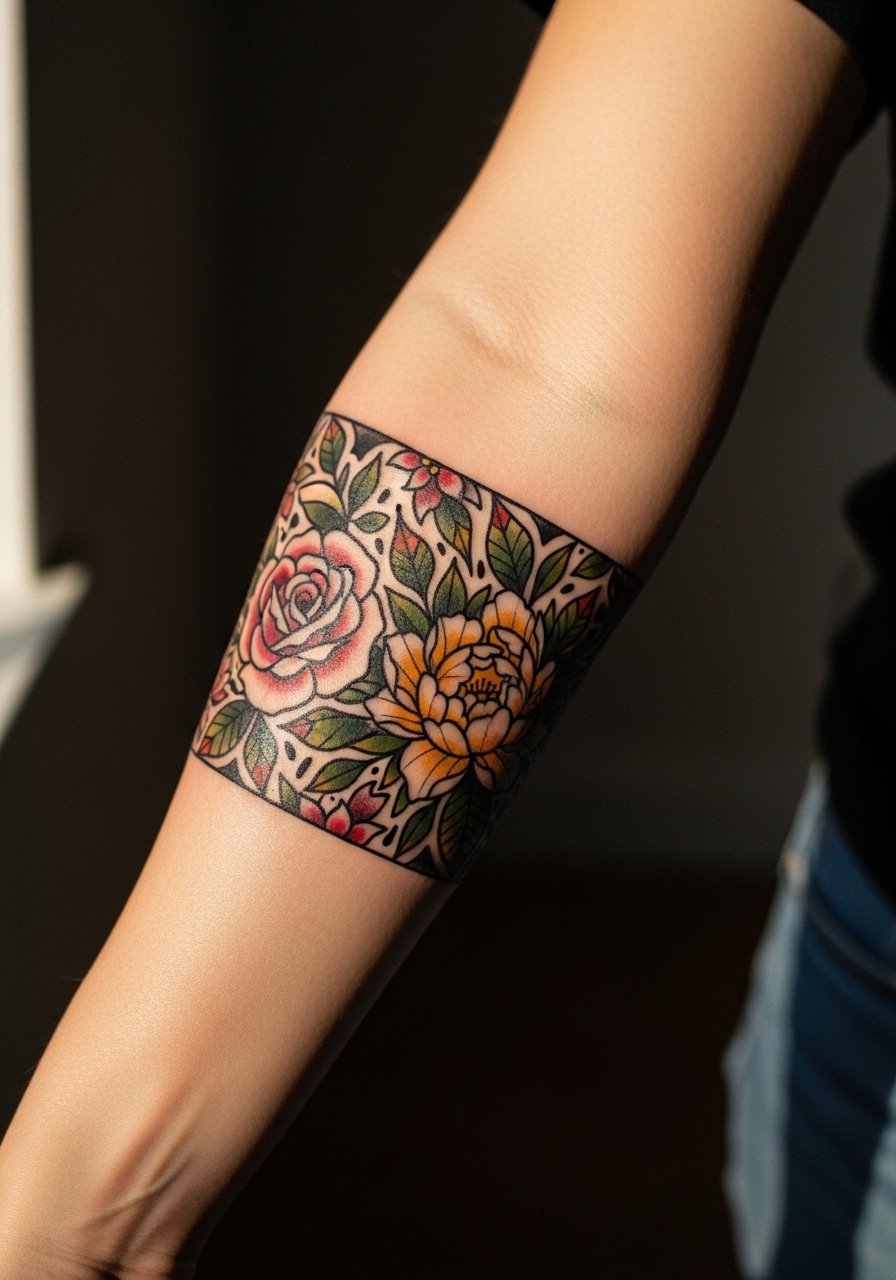
Floral repeats read softer than geometric bands and suit those who want a bracelet-style look. Ask for slightly larger petal gaps so the negative space reads over years. A common error is over-detailing petals at narrow widths where lines merge during the healing cycle. Pain is low and a medium-width band often takes about 90 minutes. At two years the silhouette remains if contrast was prioritized. This placement pairs well with rolled sleeves and a thin chain necklace if you want the botanical motif echoed upward.
15. Micro-Realism Band with Tiny Motifs

Micro-realism cuffs reward close viewing but they demand scale discipline. Tell the artist which motifs must read at arm distance and which can be micro details. The frequent mistake is shrinking the artwork, which loses legibility after healing. Pain is low to moderate and sessions vary by how many small motifs you include. Expect that minute shading will need touch-ups sooner than bold lines. For the session wear a loose tank top so the artist has unobstructed access and you remain comfortable while they work.
16. Roman Numeral Band, Scripted Wrap

A numeral cuff feels personal and minimal. Make sure to provide exact text or numerals in the stencil stage so spacing is accurate. The common mistake is inconsistent kerning between characters that becomes obvious once healed. Pain is low and the session is quick. Over time thin numerals can fade faster than thicker strokes, so ask for moderate line weight if you want longevity. For low-key display a thin bangle stack on the other wrist and avoid bracelets on the tattooed side during the first week.
17. Reptilian Scale Band for Texture
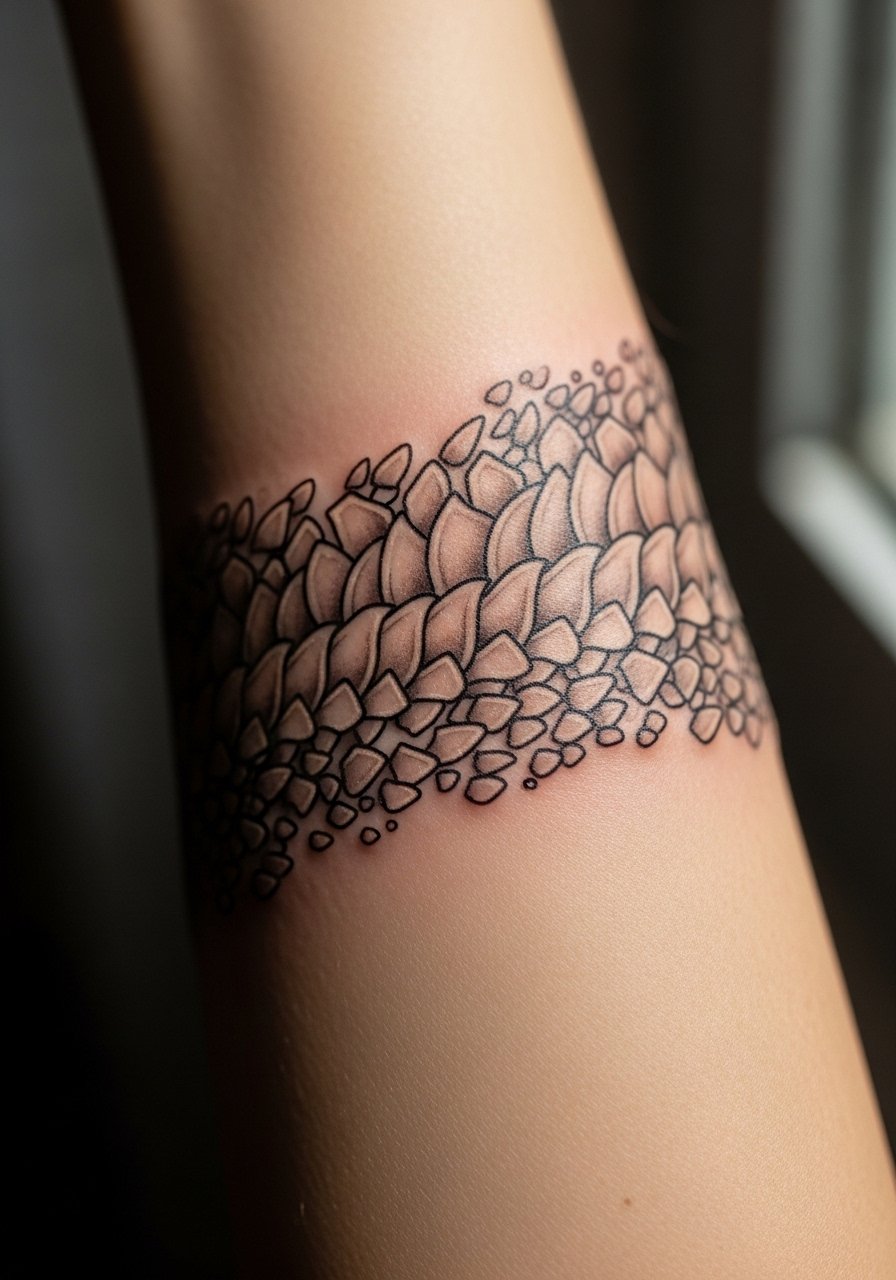
This is a tactile-looking cuff without actual texture. Ask your artist for alternating scale sizes and light whip shading so scales keep separation over time. A frequent error is uniform scale size, which creates visual monotony and faster blending. Expect moderate pain for shaded areas and a session time of 1 to 2 hours. The pattern holds best when contrast is prioritized and the largest scales are given room to breathe. If you plan outdoor sessions soon after your appointment, pick clothing that avoids rubbing the area while it seals.
18. Wavecrest Half-Cuff Near the Elbow
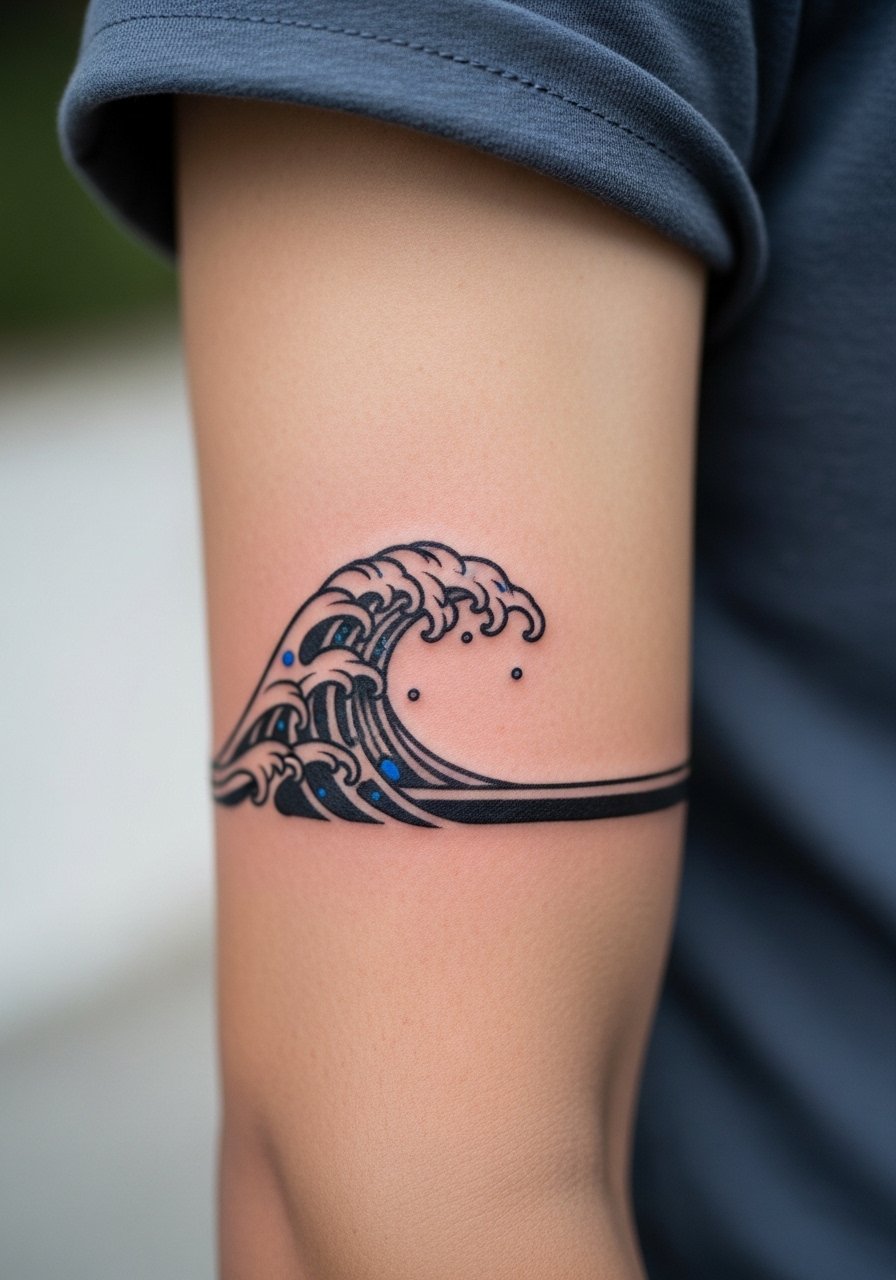
Elbow-adjacent cuffs need extra planning because the skin there compresses and flexes. In the consult mention range of motion and let the artist place the band where it will avoid the crease when you bend. The common mistake is wrapping too close to the joint, which causes distortion when you move. Pain increases near the elbow and sessions can be interrupted by numbness. Expect touch-ups more frequently if the band crosses the moving crease. For seasonal wear try a short sleeve polo that lifts easily to show the cuff without pinching.
19. Constellation Ring Band, Tiny Stars Loop
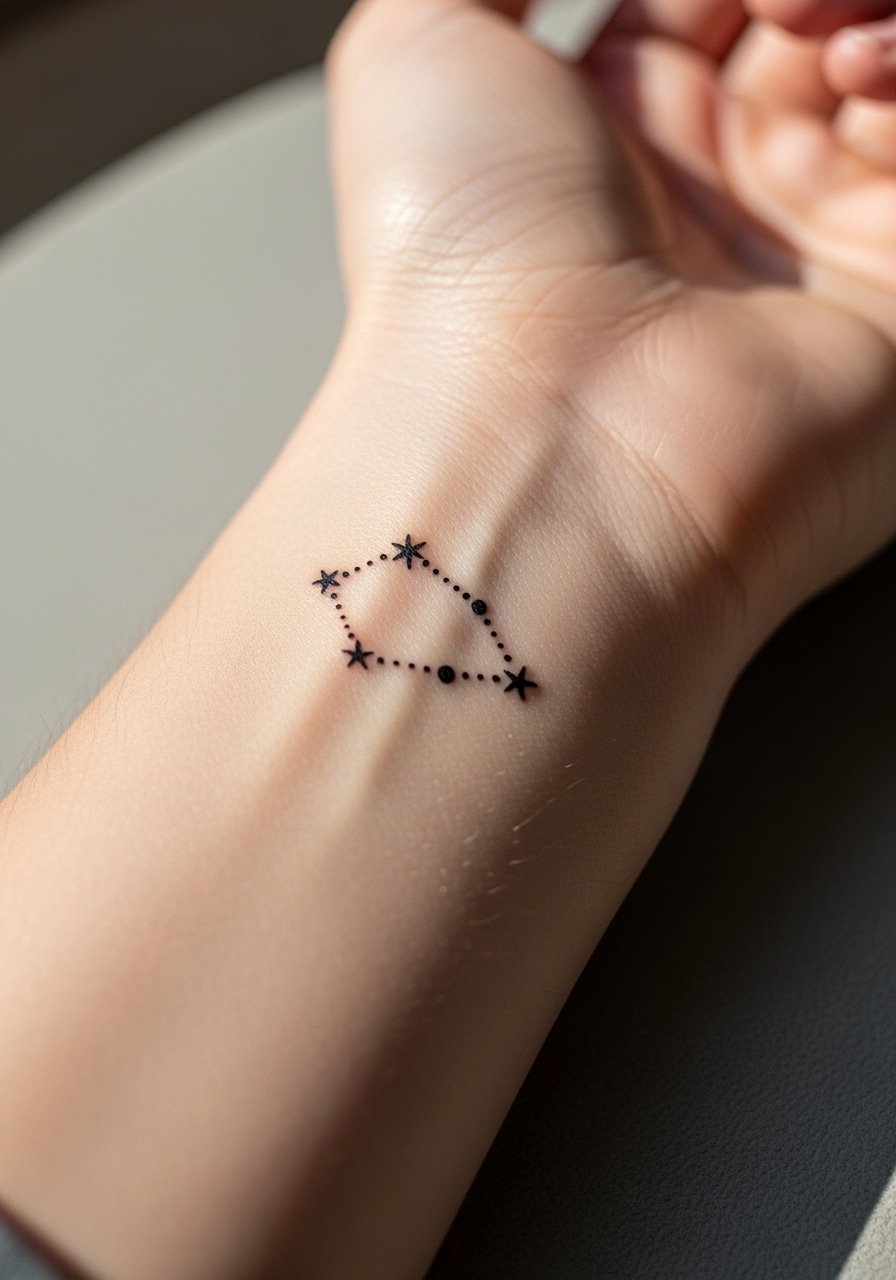
Constellation loops are delicate and sensitive to wash and friction. Tell your artist to space stars and connectors generously and to use slightly heavier dot anchors so the pattern keeps structure. People often ask for ultra-fine connectors that disappear after healing. The wrist is sensitive and the session is quick. Expect small dot connectors to fade faster than star anchors and plan for a light touch-up around year two. Keep daily friction down in the first week by avoiding tight bracelets and instead wear a slim minimalist watch on the opposite wrist.
20. Armor Plate Cuff with Subtle Highlights
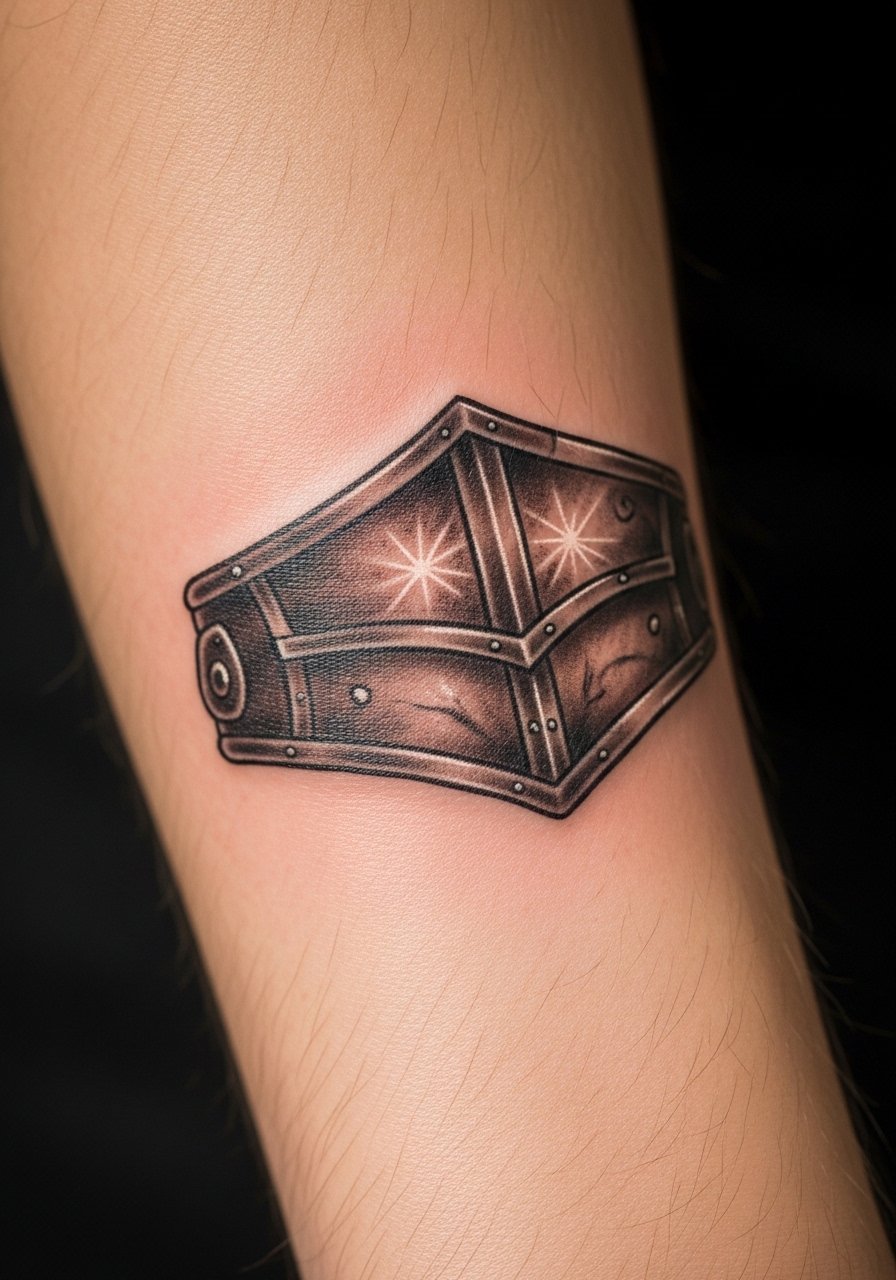
This approach mimics metalwork and benefits from careful highlight placement. Ask for stipple highlights and soft white ink sparingly so they fade into the piece rather than become focal points. The mistake is overusing white to try to make a piece pop, which often disappears unevenly. Pain is low to moderate and a narrow cuff like this finishes in one session. Over time the piece keeps its depth if contrast is preserved with occasional touch-ups. For practical wear roll your sleeves or choose a fitted thermal long sleeve you can pull up without rubbing the fresh ink.
21. Negative Space Tribal Band Inspired by Heritage Motifs
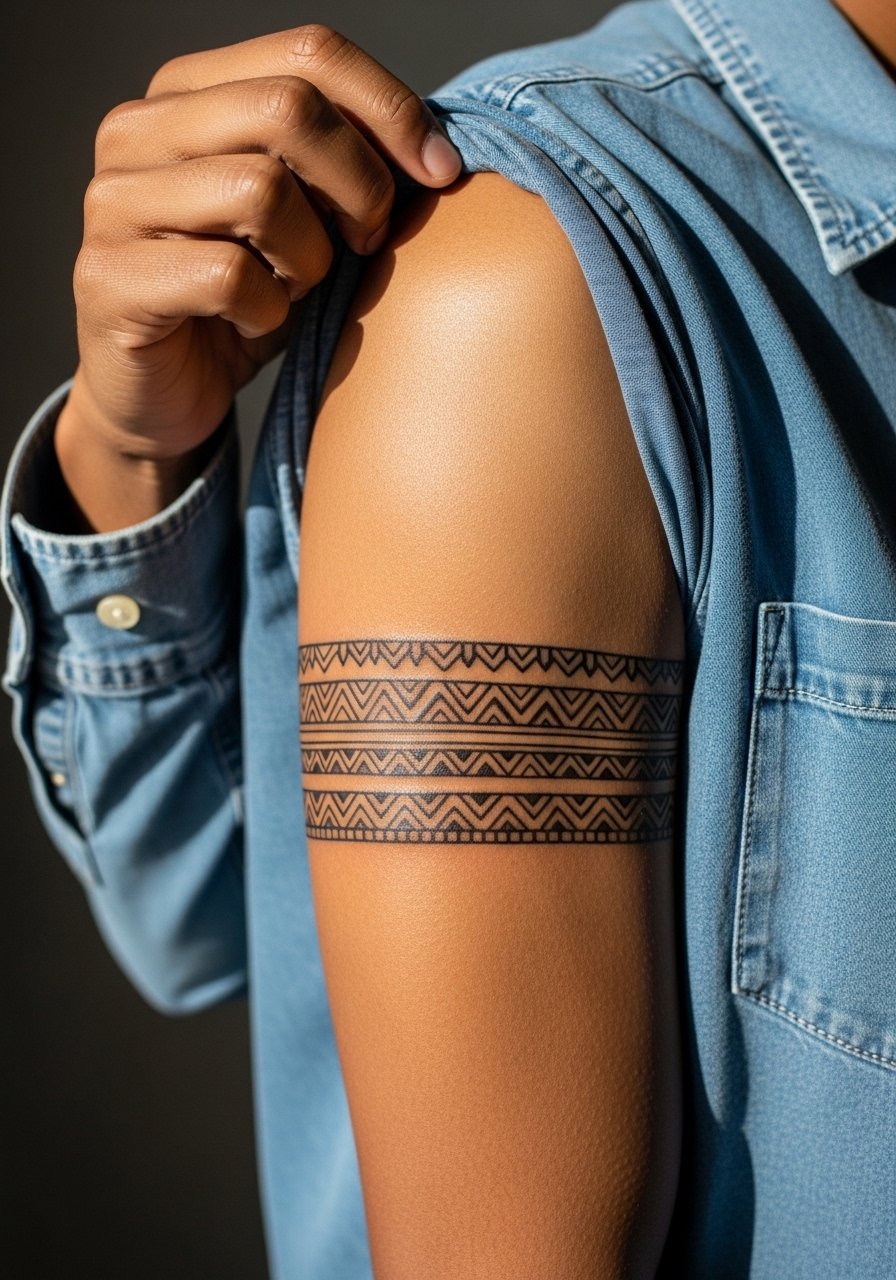
When drawing on cultural motifs, mention origin respect and ask about subtle variations rather than an exact replica. The responsible approach is to discuss reference elements and ensure the final flash is not a direct sacred symbol taken out of context. A common mistake is copying a cultural pattern without context which can feel inauthentic. Upper arm pain is usually low and a medium-width band takes one to two sessions. If you might extend into a sleeve later, leave a buffer and plan transitions now. For session comfort wear an open button shirt so you can reveal the area without tugging fabric.
Frequently Asked Questions
Q: Will a geometric armband distort when I flex my arm and is there a way to prevent it?
A: Yes, bands can look different when the arm flexes. The practical fix is pre-measuring circumference and testing the stencil while you flex so the repeat aligns with natural movement. Ask your artist to design slight asymmetry into repeats or to place motifs where the skin stretches less. This planning reduces the chance you see odd breaks when you bend.
Q: How do fine line feather and micro-realism cuffs compare for longevity?
A: Fine line and micro-realism both look fragile, but micro-realism that is scaled properly can hold up as well as bolder work if the artist spaces elements and uses slightly heavier anchor points. There is a split among artists about thin lines on mobile areas. One camp says thin lines fade faster. The other camp says correct depth and spacing can make them last. The safe middle ground is to ask for modest line weight and plan a touch-up at year two.
Q: If I want a cuff that can turn into a sleeve later, what should I tell my artist?
A: Say you want future expansion and ask for buffer zones with consistent motif flow. Plan where the sleeve will start and where negative space will live so the cuff does not box in later work. That makes future sessions cleaner and saves time on reworking overlaps.
Q: Do skin tone differences affect how I should choose a cuff style?
A: Yes. On darker skin tones, bolder lines and higher contrast often preserve detail better than ultra-fine fills. For medium and dark skin, tell the artist you prefer slightly wider linework or more negative space so motifs read clearly after healing. Artists who post healed photos across tones are useful to review.
Q: What should I wear to a forearm or upper-arm cuff appointment?
A: Wear clothing that gives the artist easy, direct access. For forearm pieces a loose tank top or a rolled sleeve tee works. For upper-arm work a sleeveless muscle tank or an open button shirt is easiest. Comfort matters because sitting tense makes the session harder.
Q: Are there cultural considerations with tribal or knotwork cuffs?
A: Yes. These patterns often come from specific traditions. Consider discussing modifications or choosing motifs that nod to origin without copying sacred imagery directly. That approach is respectful and still gives you a meaningful band.
Q: How soon should I plan a touch-up for a wrist or thin band tattoo?
A: Plan for a light touch-up around year two to three for thin wrist bands, sooner if you spend a lot of time in strong sun or if daily wash and friction are high. Bands on the forearm often last longer before needing work because the skin moves less and gets less friction.
