
Fine line Alice silhouettes are everywhere in saved boards right now, but they do not all age the same. A small silhouette on the inner forearm reads crisp at month one, and then spreads into a softer shape by year three if the linework sits too shallow. These 27 ideas mix classic motifs with placement and styling notes so you can pick a version that looks intentional at month one and still reads as art at year five.
1. Tiny Alice Silhouette on Inner Forearm
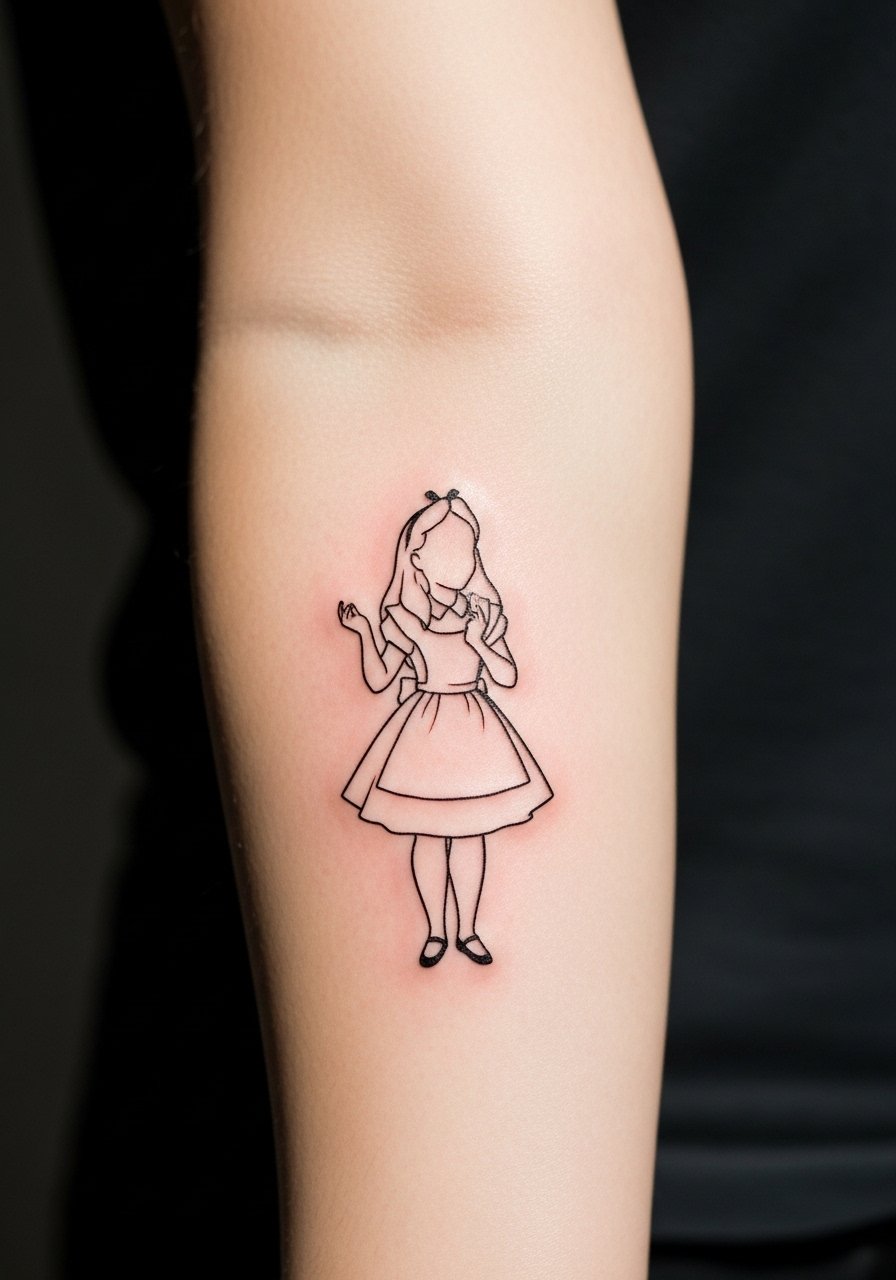
I have seen tiny silhouettes on the inner forearm hold well when artists use slightly heavier linework than a true needle-fine hairline. Fair warning, the inner forearm is forgiving but still stretches with time. Tell your artist you want lineweight that reads from a few feet away and ask for slightly more spacing between tiny elements. Common mistake is requesting the absolute thinnest lines, which look delicate fresh and then merge. Pain is low. Session time is short. For showing it off, roll sleeves and pair with a thin chain bracelet that sits near the wrist to frame the forearm.
2. Alice in a Teacup, Wrist Wrap
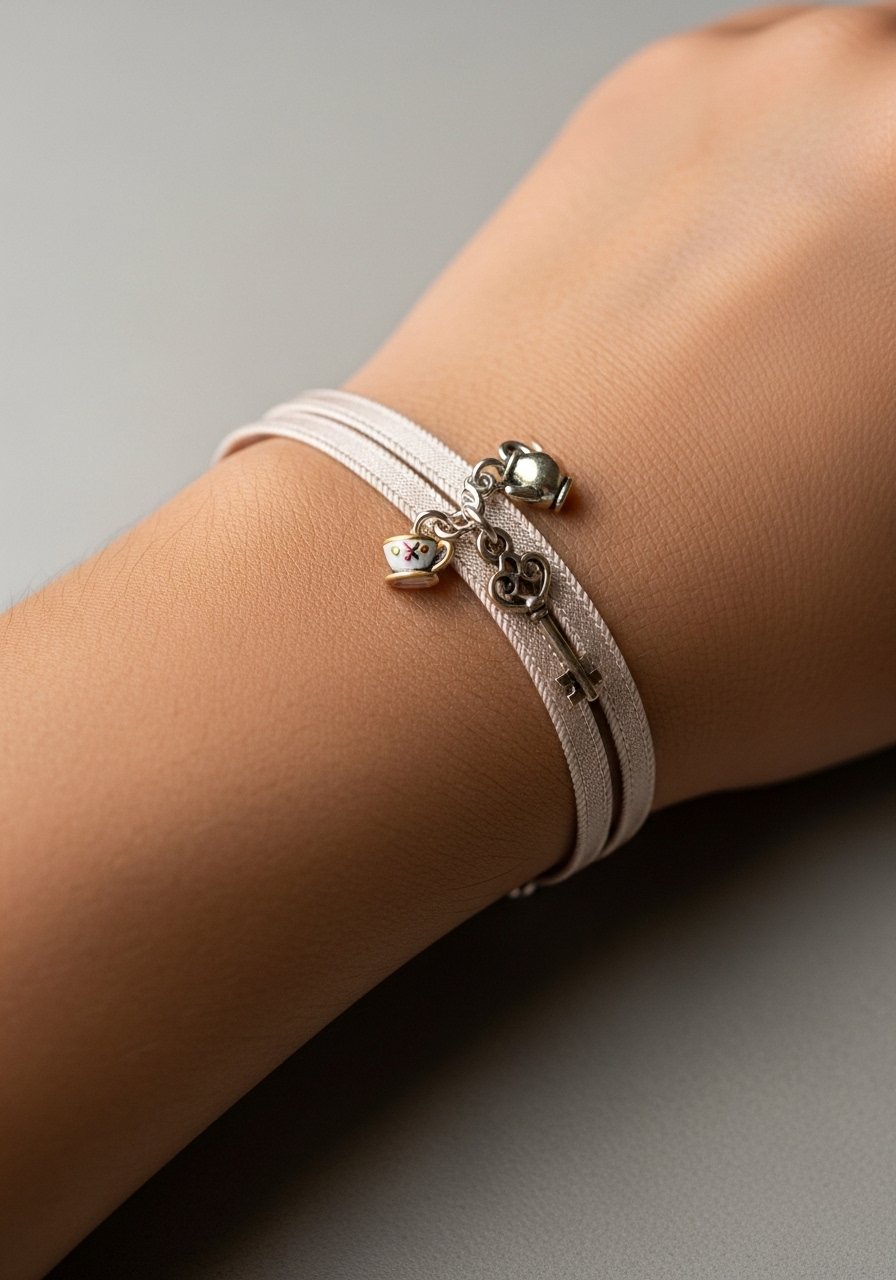
Most wrist wraps read best when the design follows the curve of the bone rather than trying to circle fully. Pain on the wrist is moderate because of thin skin over bone, and touch-up expectations are realistic at year two for fine details. In consultation, ask for slightly bolder contour and for the artist to show the stencil rotated a touch so the teacup faces outward naturally. The mistake is packing too many tiny elements into the band. During a night out, pair this wrist piece with a minimalist watch to keep attention on the art.
3. Micro-Realism White Rabbit on Upper Arm
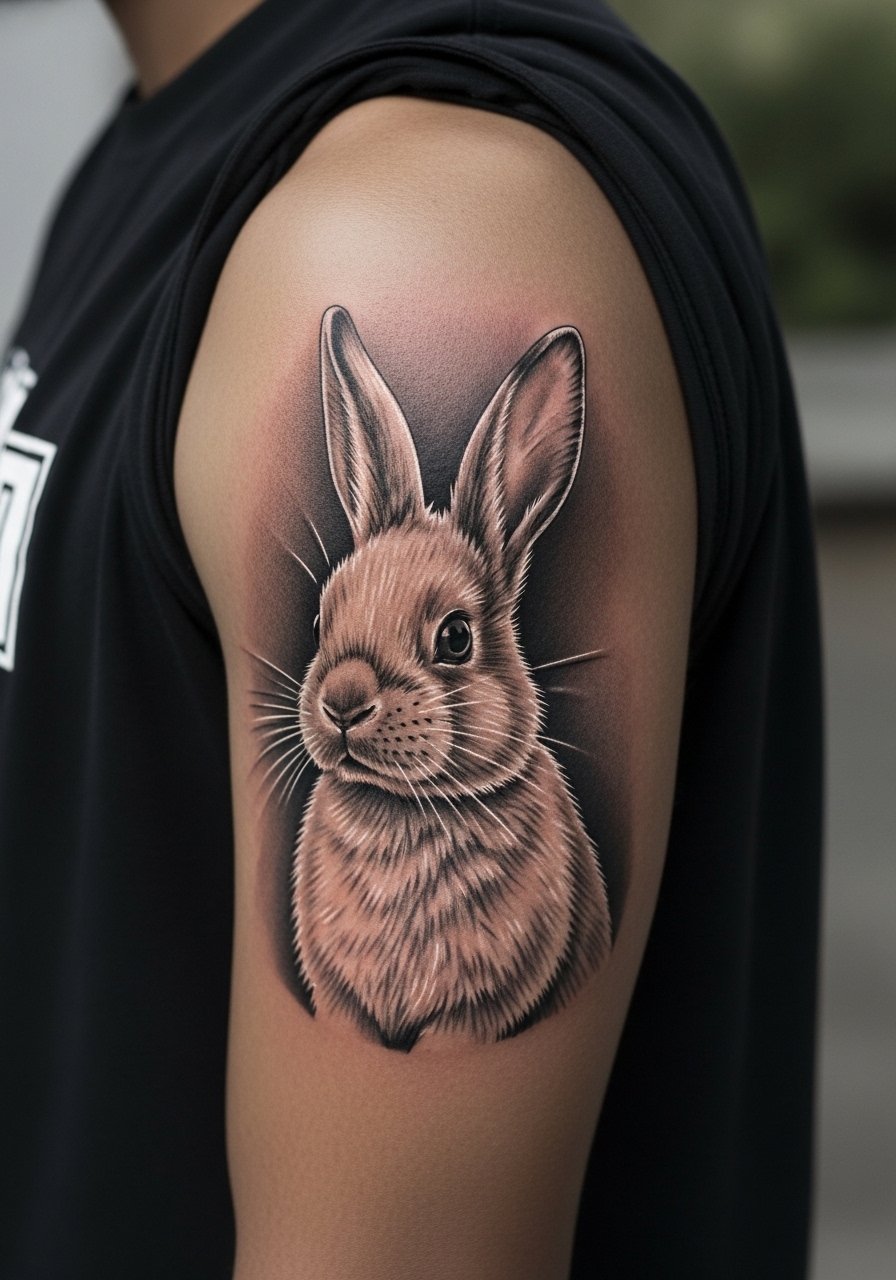
There is something about micro-realism that reads like a photograph when healed correctly. Outer upper arm is low pain and a reliable spot for saturation. Tell the artist you want stipple shading for softer edges rather than heavy gray wash, and plan a single two-hour session. The common error is pushing too much black into tiny facial features, which can obliterate expression after a year. Show-off pairing is easy here with a rolled short-sleeve linen shirt that frames the piece without covering it.
4. Playing Cards Cluster Behind the Ear
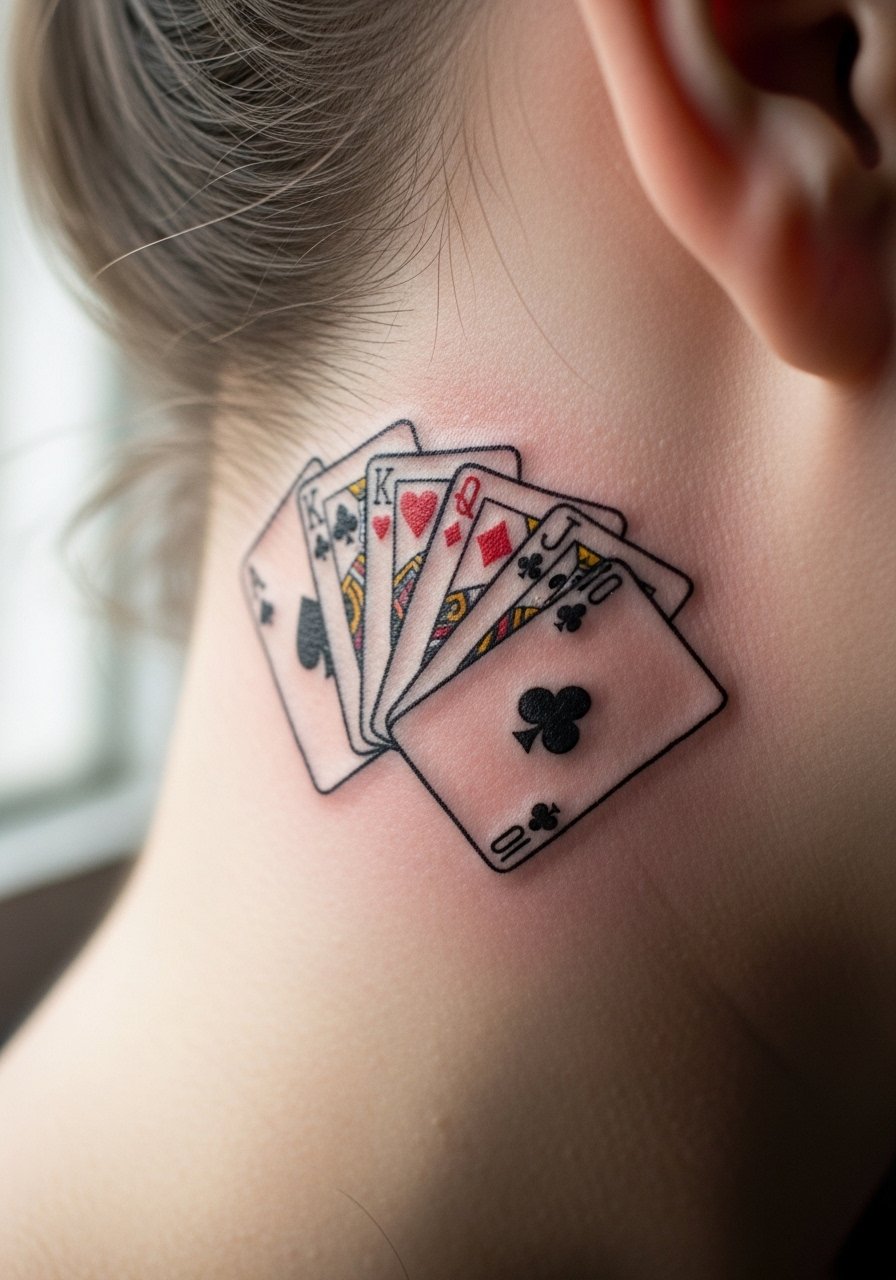
Behind-the-ear pieces require careful stencil placement because the canvas is small and curved. Artists split on this placement. One camp says the hairline and movement blur tiny detail within two years. The other camp argues that with very shallow, controlled lines and touch-ups, the work can stay legible. If you choose this spot, ask about touch-up timelines up front. Session time is short but the area can be sensitive. For after-session comfort wear a loose-collared shirt that lets the artist access the area without tugging the hair.
5. Cheshire Cat Grin on Ribcage
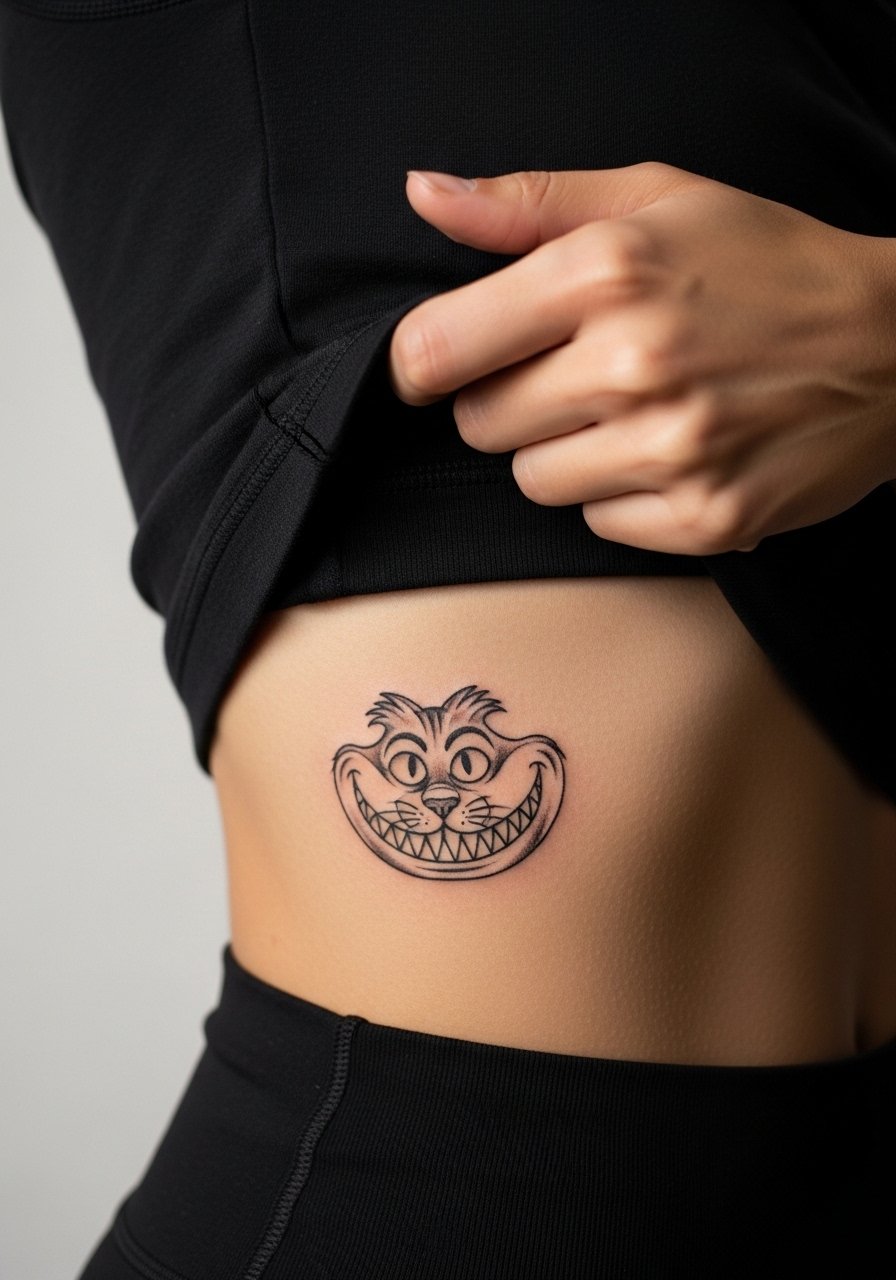
Fair warning: the ribcage is one of the higher pain placements. Most people I know book ribs for symbolism rather than visibility. The design above works best slightly larger than intuition suggests so the grin's teeth hold up as linework settles. Tell the artist you want a bold contour and negative-space teeth rather than micro detail. One mistake is compressing facial lines into a small patch. Expect a single longer session and a likely touch-up in the first two years.
6. Pocket Watch with Tiny Script on Collarbone
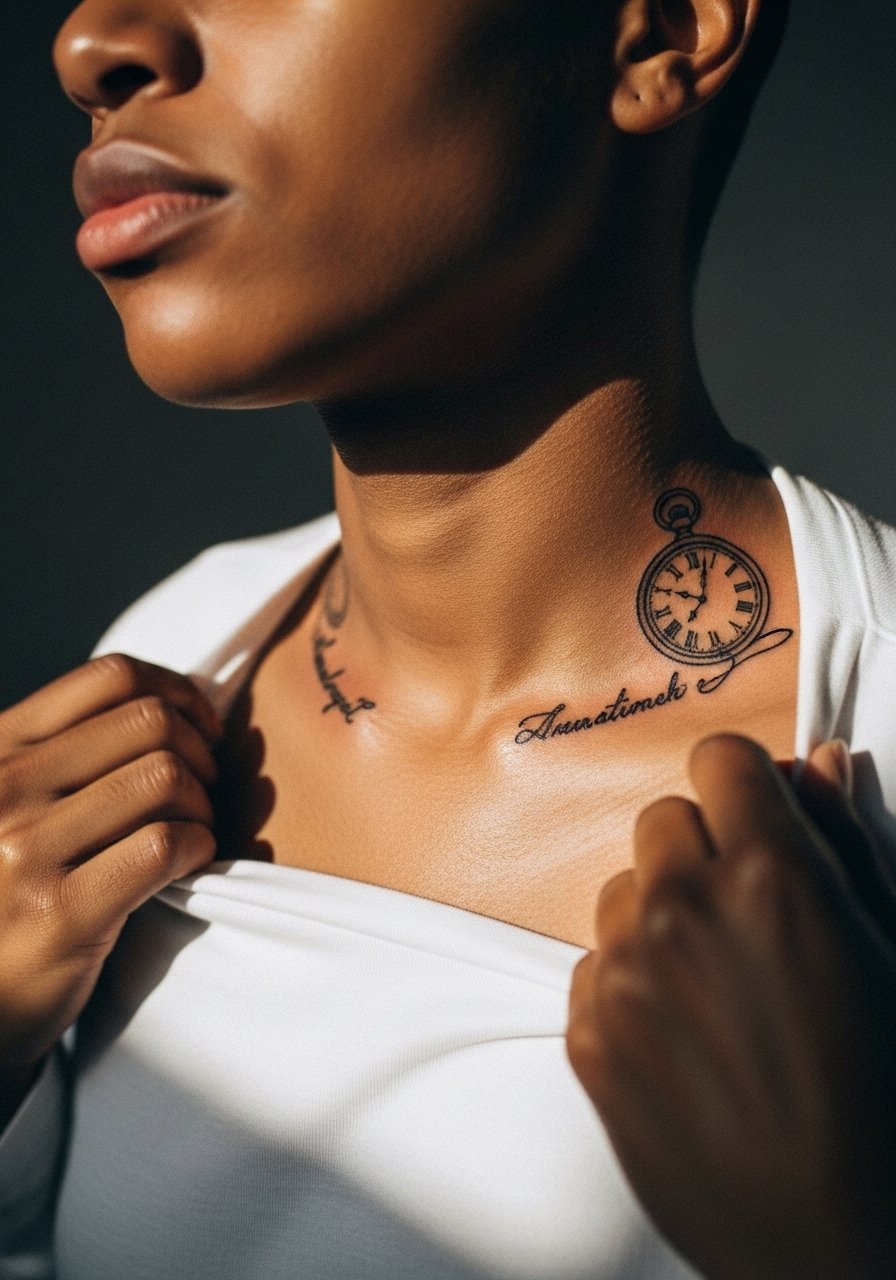
The upper chest wears jewelry and clothing friction, which affects delicate script. For this pocket watch piece, ask the artist to place the script a hair above or below friction lines from necklaces. A common mistake is putting script right in a chain's path. Pain is moderate. Session time is medium. For showing it off, pair with an open-neck blouse or a thin pendant that sits above the watch so the tattoo remains visible without rubbing.
Studio Day Picks
The inner forearm, wrist, ribs, and collarbone pieces above present different prep and healing needs, and bringing a few targeted items to the appointment smooths the session and the first week.
-
Disposable stencil transfer paper kit. Lets you preview placement and ensure the Alice silhouette sits where you want it on the forearm and collarbone.
-
Low-residue numbing cream. Helps with ribcage sessions without leaving sticky film that interferes with stencil see-through.
-
Thin protective film rolls. Useful for wrist and collarbone pieces that rub against clothing during the first days.
-
Fragrance free gentle body wash. Gentle cleansing for delicate linework on the forearm and chest during showers.
-
Aquaphor healing ointment. Thin layer application for the first few days locks moisture into tight linework without suffocating the skin.
7. Alice Reading, Inner Bicep Micro-Scene
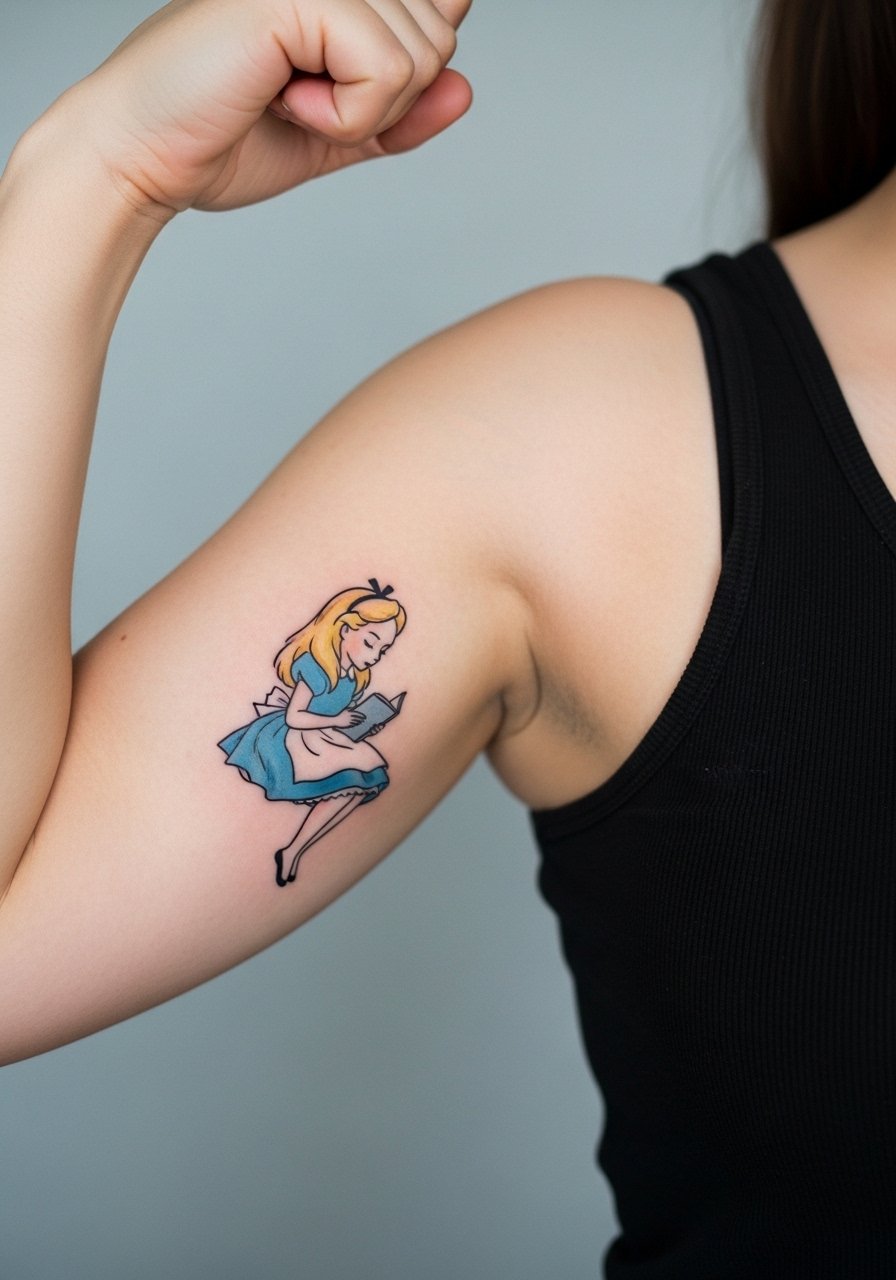
Personal observation: inner bicep pieces can look like hidden keepsakes and age fairly predictably when shaded softly. The inner bicep moves a lot with arm motion so ask for stipple shading and avoid crisp miniature text. Pain varies by person. Common mistake is pushing too much sharp detail into a fleshy, stretching area. Session time is medium. For the session wear a loose tank top and bring a cotton tank that lets the artist work comfortably.
8. Tea Party Sleeve Element, Outer Forearm
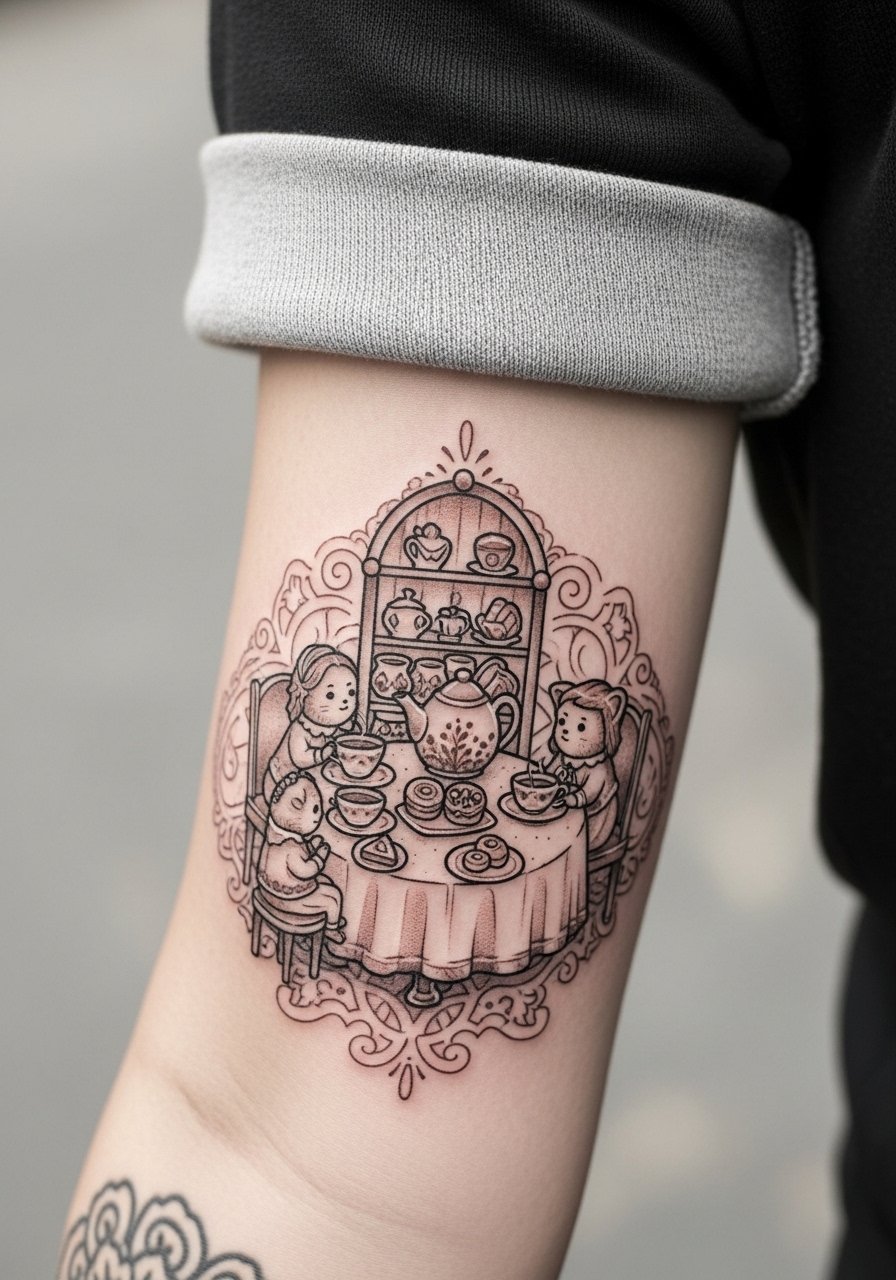
There is something about a forearm sleeve element that reads from a distance if the silhouette contrasts with negative space. Tell your artist you want strong linework anchors in three places to prevent blowout across years. The outer forearm is low pain. A common error is spacing motifs too close, which accelerates visual merging after a few years. Touch-ups are normal at year three for fine details. For showing the art, roll sleeves and choose a linen button shirt to keep the forearm visible.
9. Mad Hatter Hat with Color Accent on Calf

Visual impact lead applies here. Calf pieces sit well with saturated color because there's space for saturation to age gracefully. Ask for color saturation that takes the artist a little deeper so the pigment anchors without overworking. The mistake is using watercolor-style splashes without anchor lines, which tend to feather. Pain is low. Session time is medium. Pair with cropped pants or a midi skirt to show off the calf in warm months.
10. Tiny Key on a Finger Side
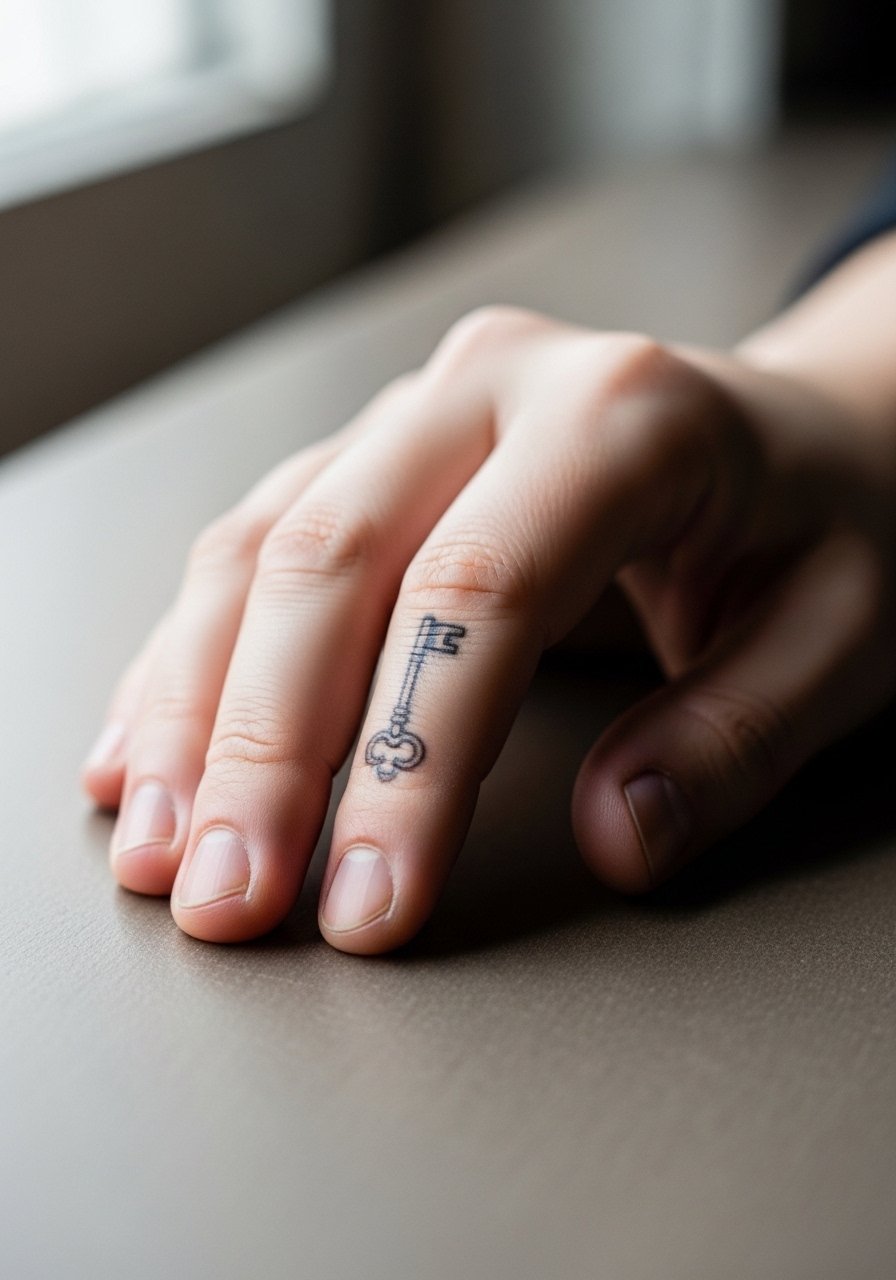
Finger work is notorious for changing over time because of constant use and washing. Most tiny keys need touch-ups within two years. When you consult, ask about placement off the joint and slightly larger proportions so the key stays readable. Pain is sharp and quick. Expect short sessions but multiple visits if you want crisp longevity. A common mistake is asking for micro detail on the pad of a finger. For showing it off, stack with a delicate ring that complements the tattoo without covering it.
11. Alice and Caterpillar on Thigh Panel
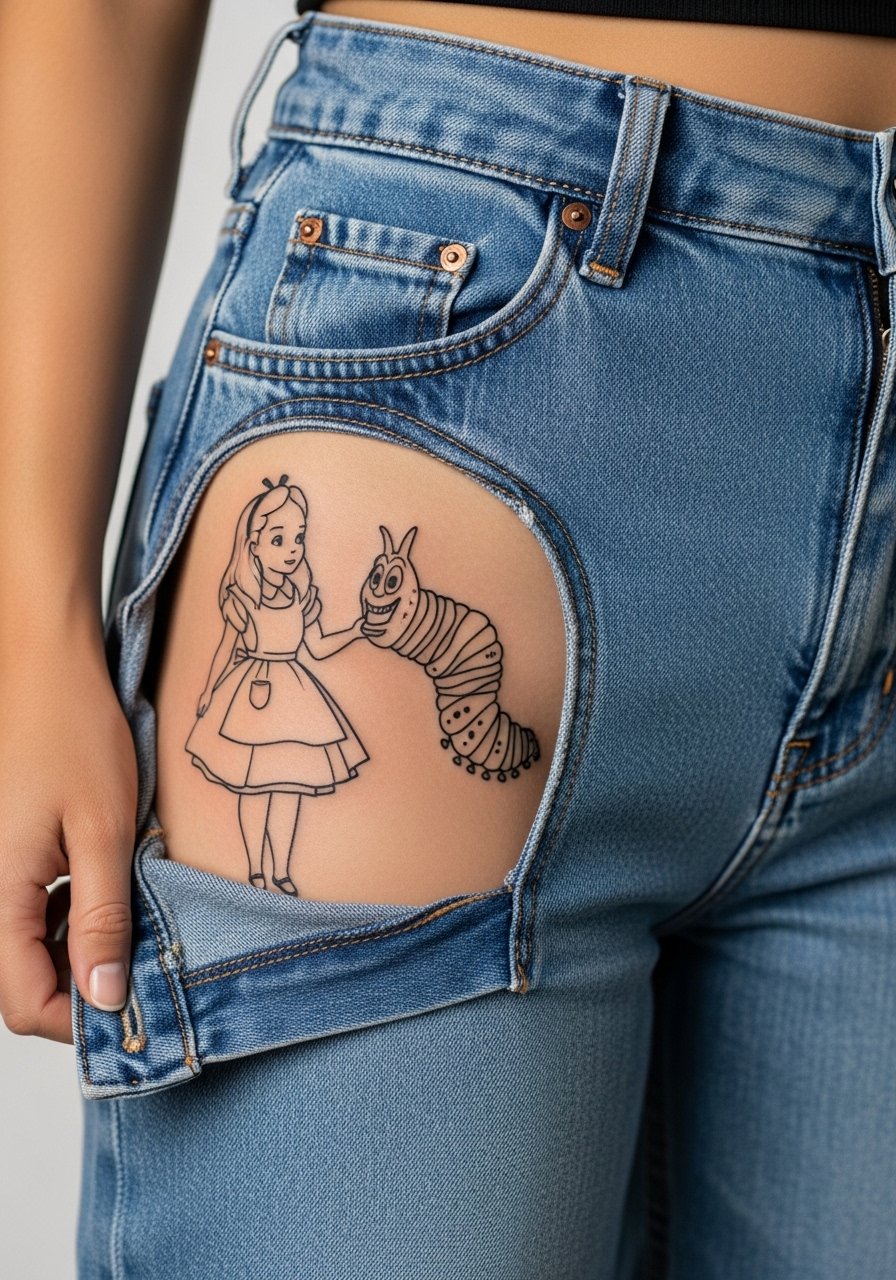
Most thigh pieces take advantage of larger canvases so you can keep fine detail without crowding. Pain is moderate. The biggest mistake is shrinking a panel meant for a thigh into a postcard size. Tell the artist you want negative space around the figures so the Caterpillar's smoke reads at year five. Session time is longer. For session comfort, wear high-waisted shorts so you can expose the area without discomfort.
12. Watercolor Alice Backpiece Accent
Aging and reality lead applies here. Watercolor work splits artists into two camps. One camp says watercolor fades into a bruise and loses its intent within a few years. The other camp says controlled staining with anchor lines retains the aesthetic if placed away from heavy sun exposure. If you like watercolor, ask for subtle anchors and expect yearly sunscreen care. Session time is longer for backpieces. The common error is skipping anchors entirely.
13. Pocket Mirror Script on Inner Wrist
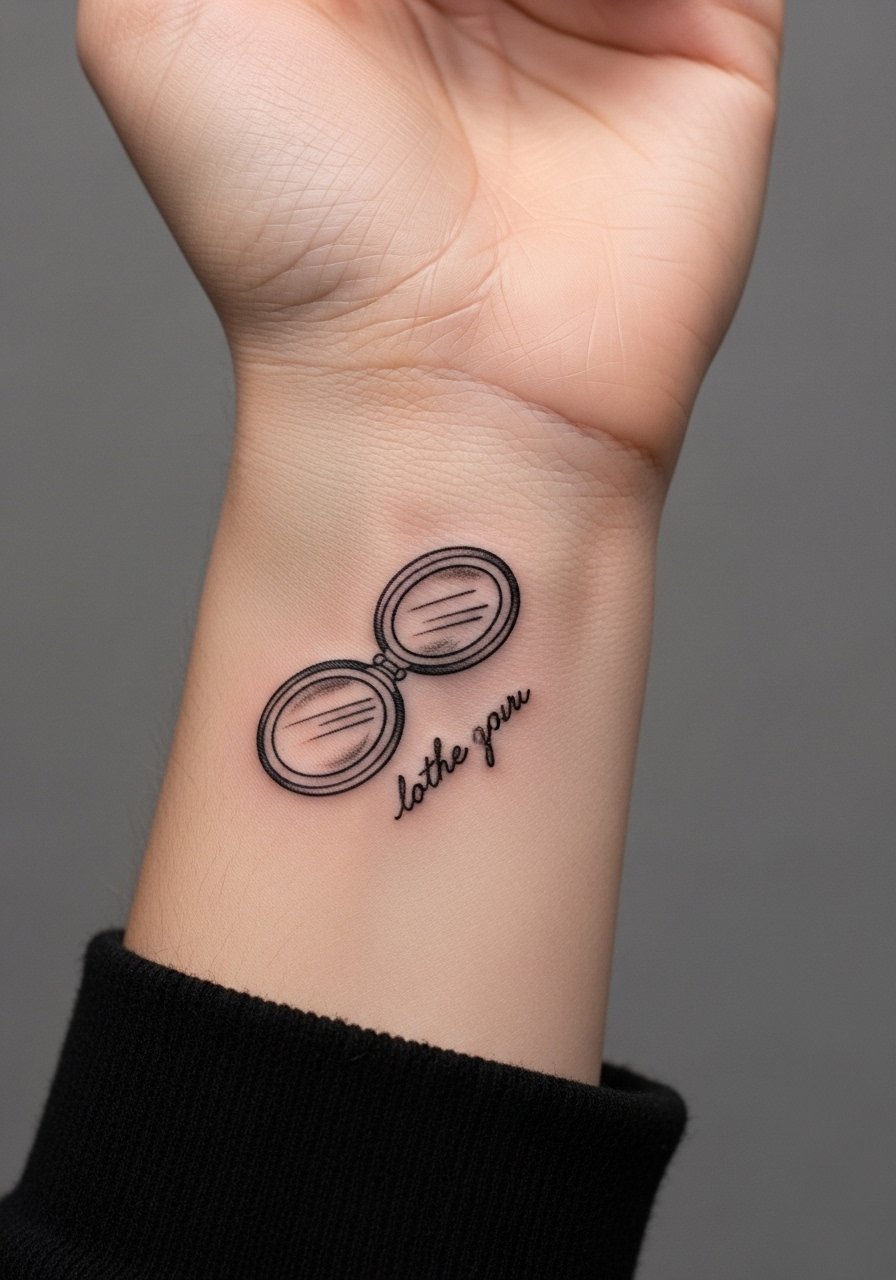
Consultation lead: tell your artist the exact script placement relative to wrist creases so it does not sit where bracelets rest. Inner wrist is sensitive. Most scripts need touch-ups because of friction and washing. Avoid ultra-tiny fonts. A useful session tip is to apply gentle pressure to the wrist during inking and note how the skin stretches. For showing, a thin chain pendant necklace sits above the mirror without rubbing the script.
14. Caterpillar Smoke Ribbon, Side Torso
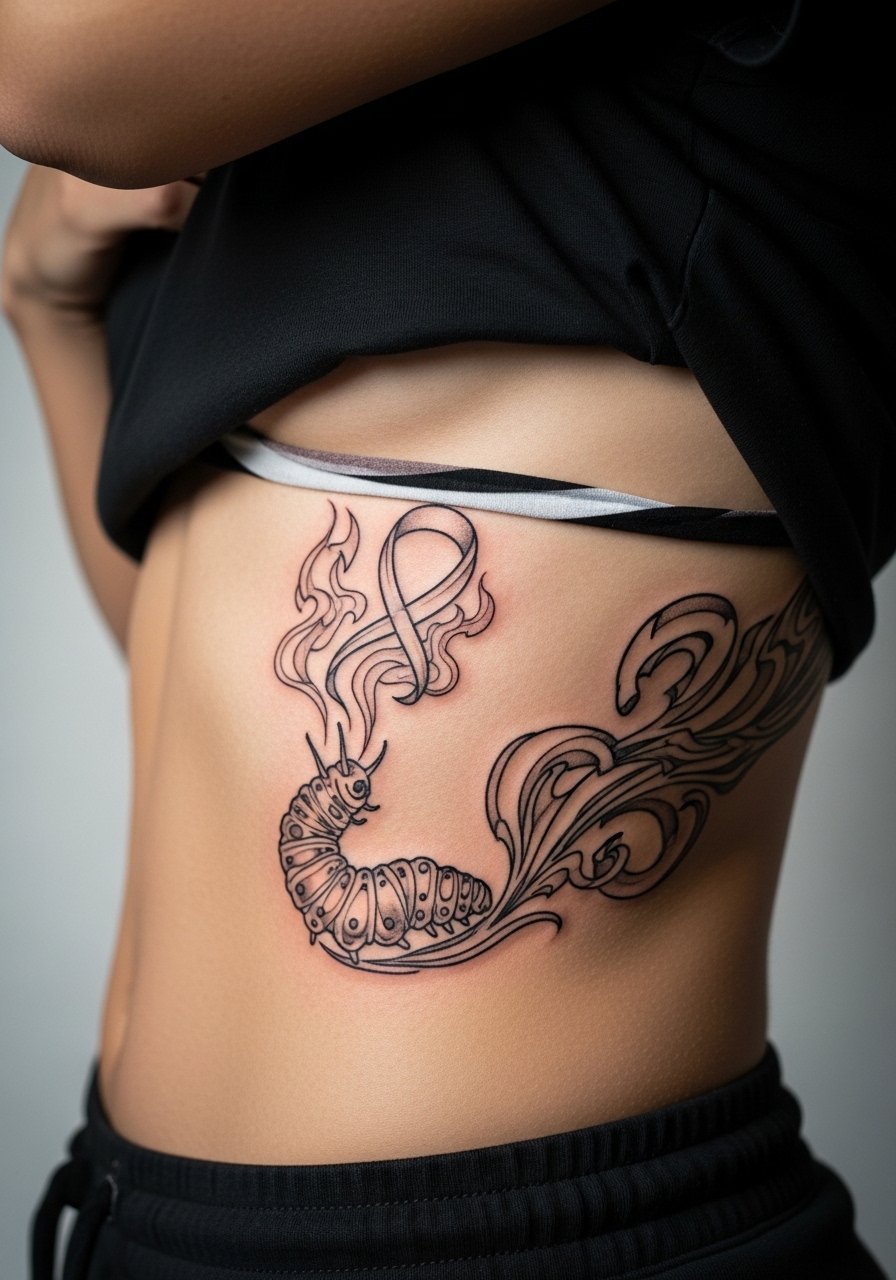
Mistake lead: designers often make the ribbon too wispy for the side torso, which stretches when bending. Ask for a balanced mix of thin lines and slightly bolder anchors to keep the smoke readable. Side torso moves with respiration, so pain ranges from moderate to high. Expect a mid-length session and plan for one touch-up. If the piece sits near clothing edges, choose session wear that does not rub the area.
15. Alice Silhouette with Floral Halo on Lower Leg
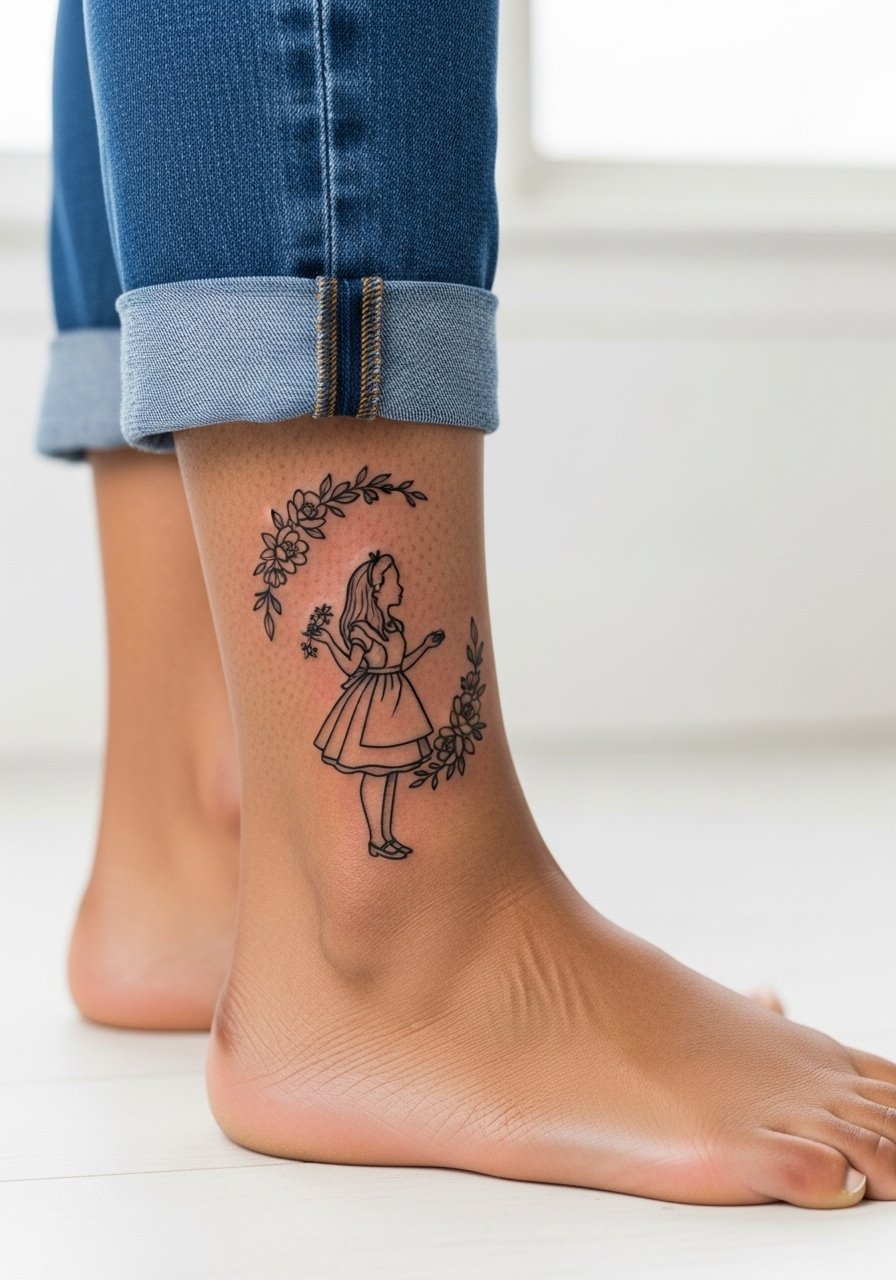
Visual impact lead: lower leg pieces are visible and photograph well. Tell the artist you want contrast between silhouette and halo to avoid the halo filling in over time. The mistake is making the halo so intricate that it merges after a couple of years. Pain is low to moderate. Session time is medium. For evenings out pair with cropped jeans and a suede ankle boot that frames the tattoo.
16. Keyhole Negative Space on Sternum
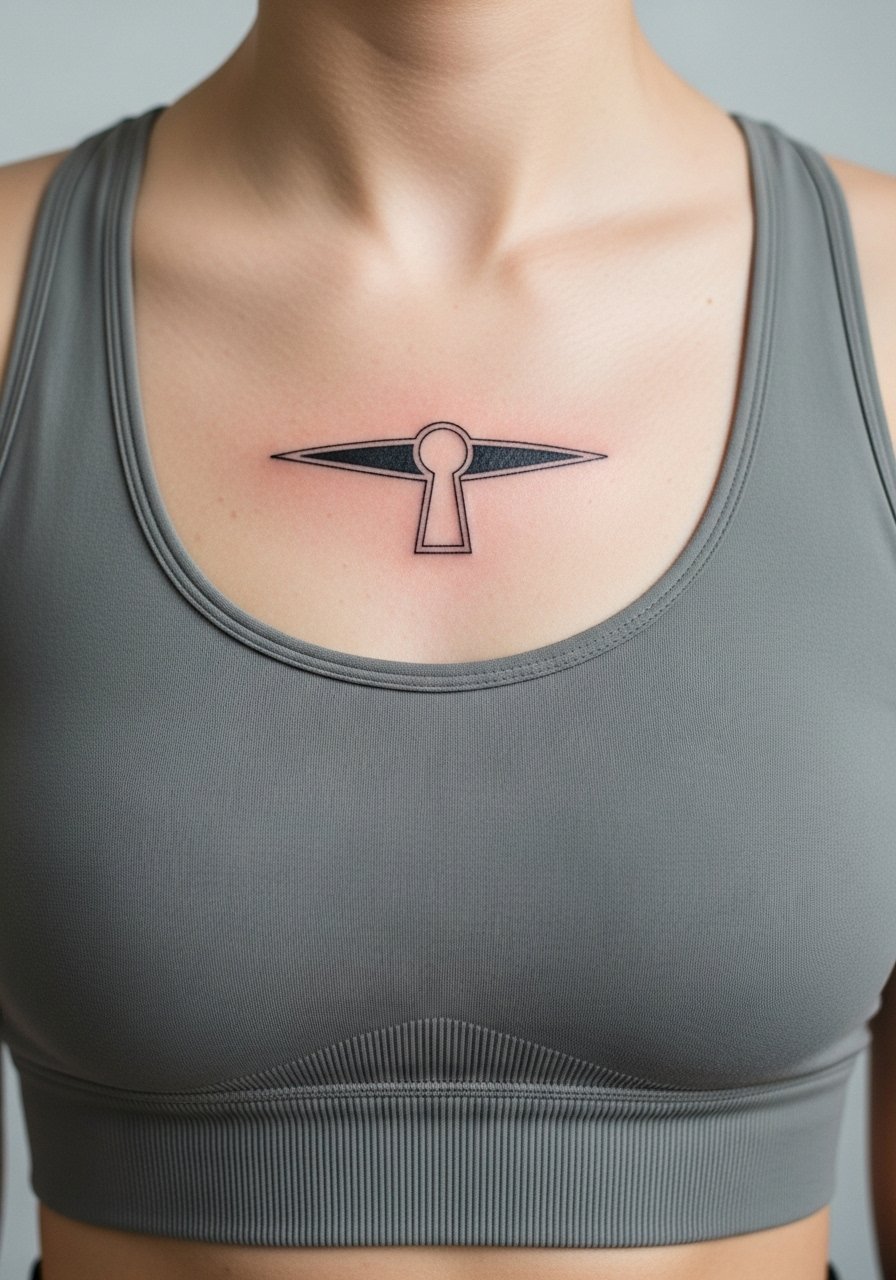
Sternum placements require careful planning because of curvature and clothing friction. If you choose negative space, the keyhole should be sized to avoid distortion with movement. Pain is high for sternum work. The common error is underestimating touch-up needs. During consultation, ask how the design sits with a bra line and plan session wear that leaves the area accessible without causing pressure.
17. Pocket Watch Half-Sleeve Accent, Outer Arm
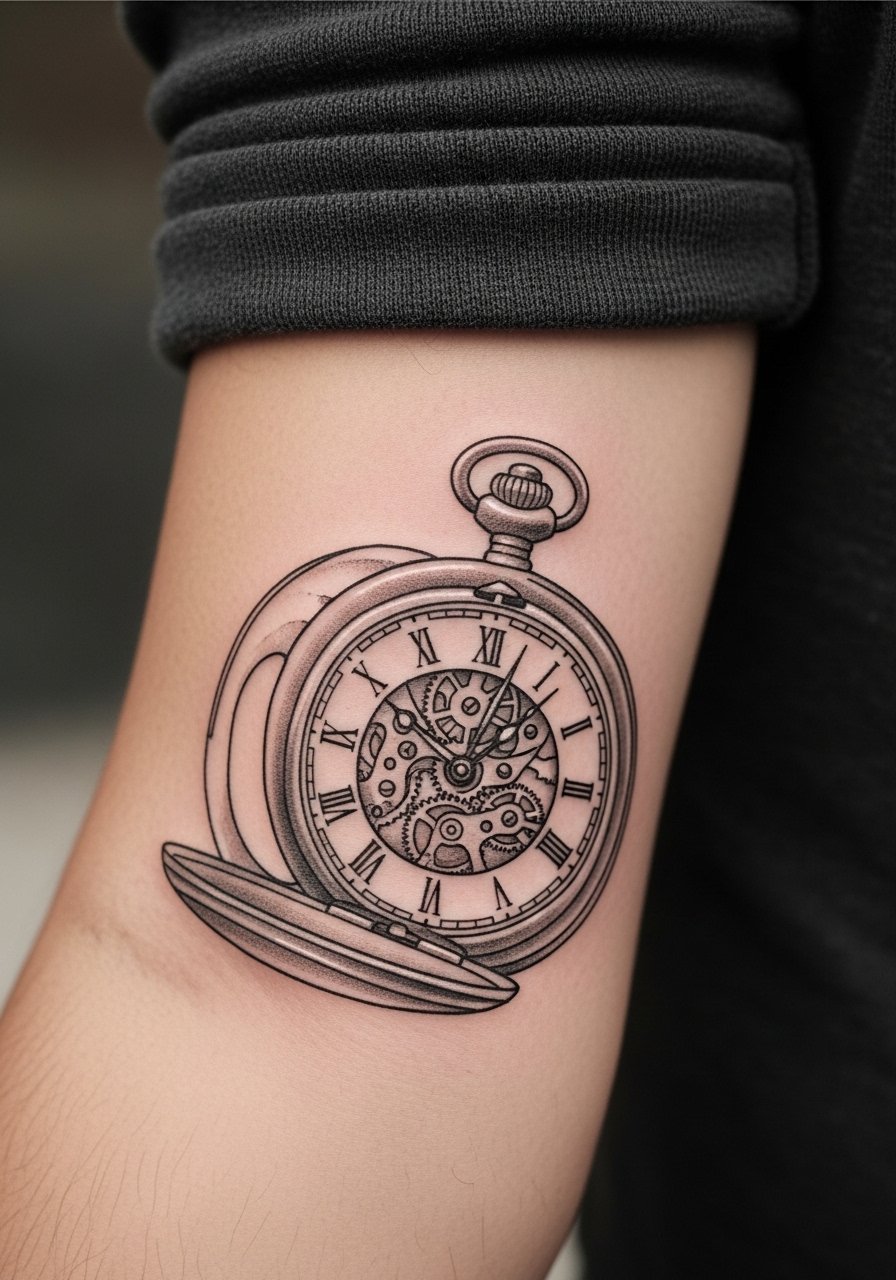
Personal observation: outer arm half-sleeves combine portraits and motifs best when there are clear visual anchors. For this pocket watch element, request bold anchor lines and mid-tone shading to protect face detail from merging over time. Pain is low. Session time varies by how much color you add. A mistake is cramming too many tiny hands and gears into a small area. Show it off with a rolled sleeve shirt.
18. Alice in a Bottle, Side Rib Accent
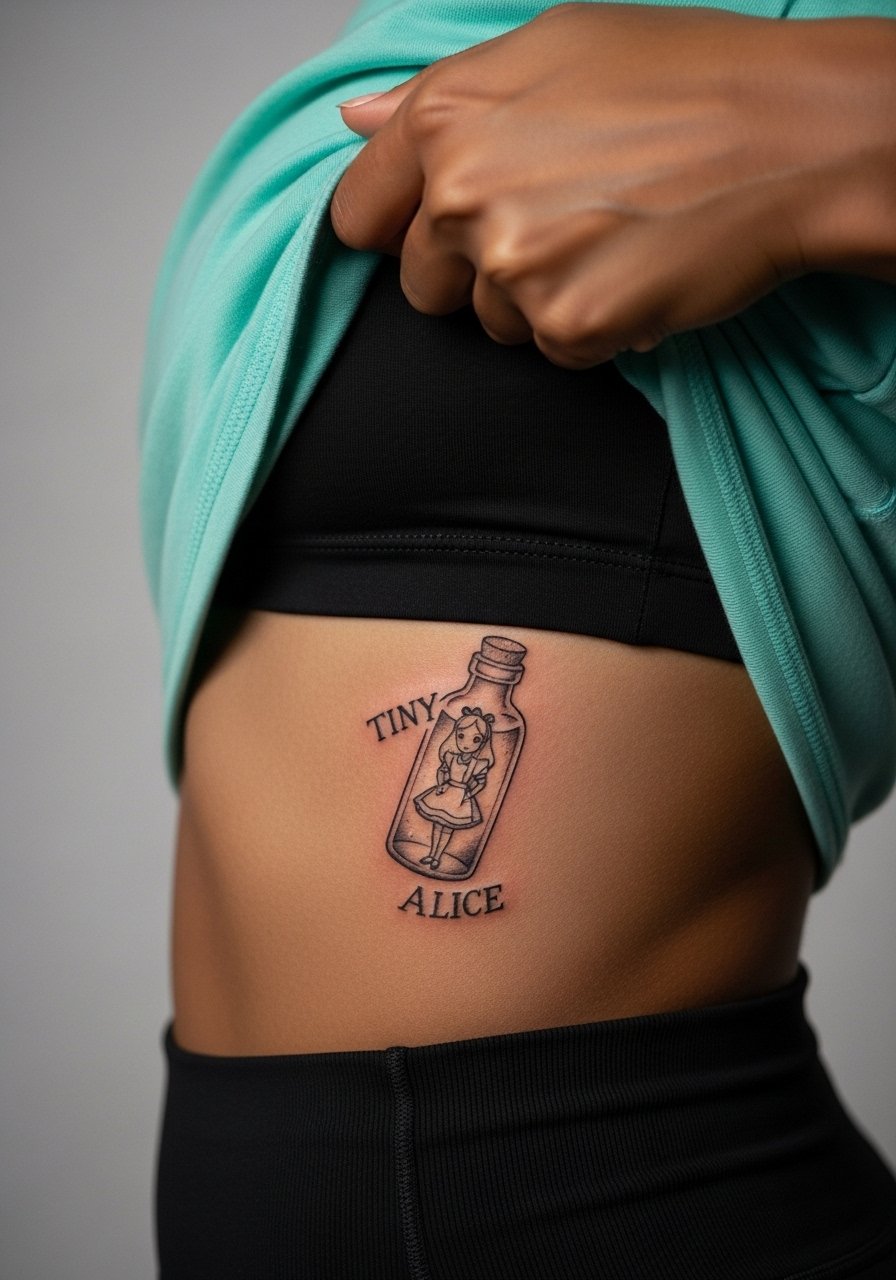
Pain warning lead: side rib accents hurt more than most placements. Keep the bottle slightly larger than you think so the internal figure reads over time. The common mistake is requesting micro details inside a bottle, which blur. Expect a single focused session and a likely touch-up.
19. Mad Tea Party Linework Band on Ankle
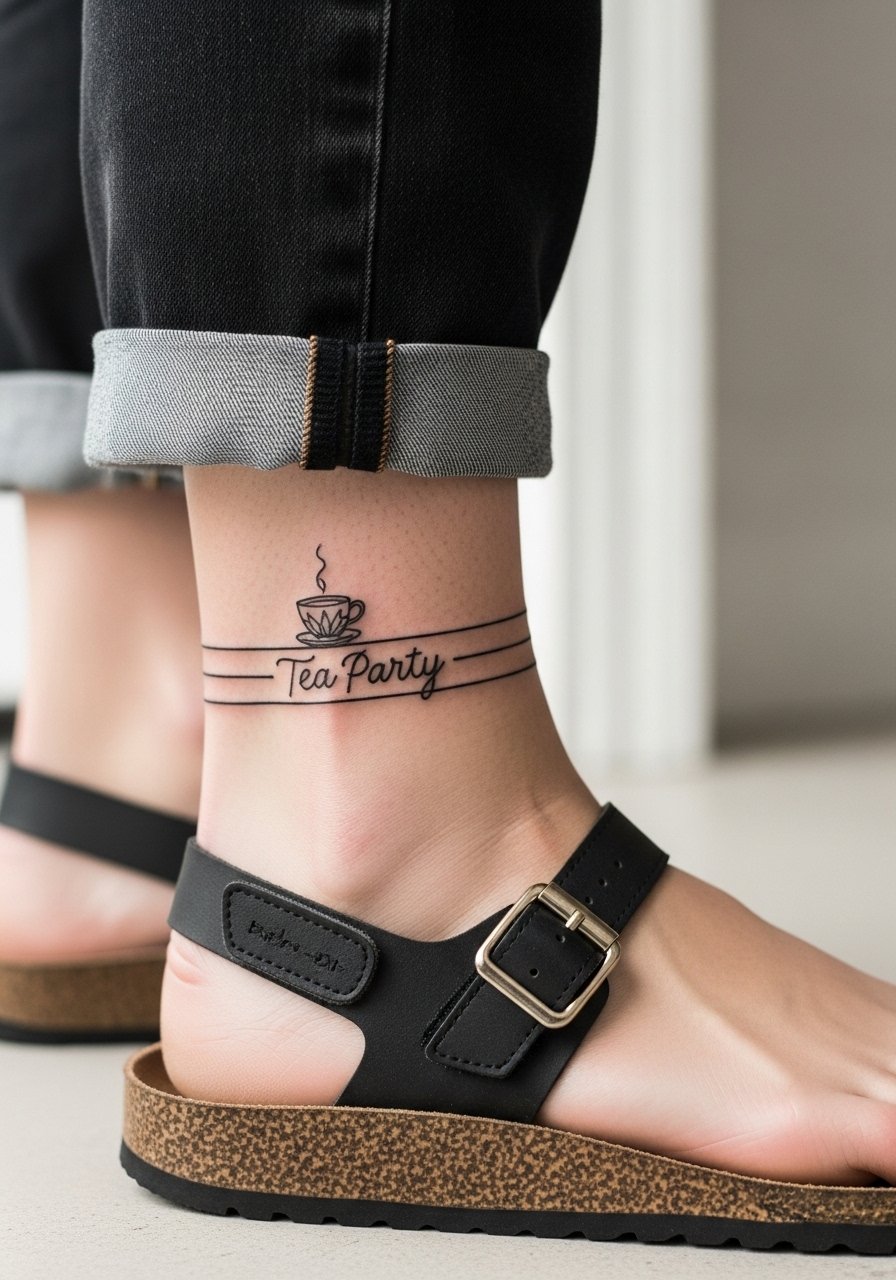
Visual impact: ankle bands must consider footwear and socks. Friction from shoes can scuff fresh ink. Ask for slightly flatter linework and spacing that tolerates rubbing. The common mistake is placing the band where ankle movement compresses the lines. Pain is low. For showing off wear strappy sandals that let the band sit unobstructed.
20. Alice Silhouette Behind Knee
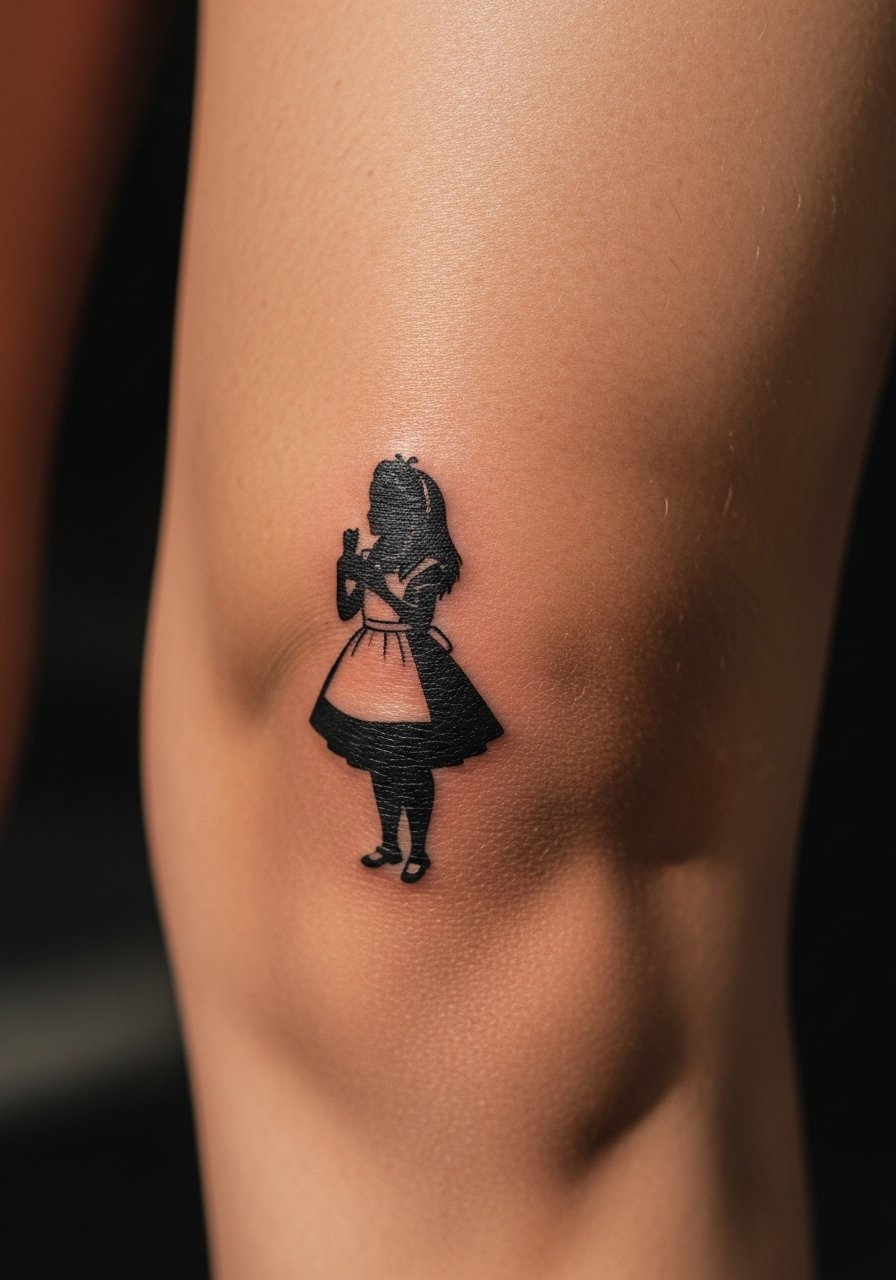
Placement advice: behind-knee tattoos sit on a moving joint and can blur if lines are too fine. Tell the artist you want slightly bolder outlines and avoid packed shading. Pain is moderate. Session time is short but expect a touch-up at year two. Also consider mobility after the session; walking can feel stiff for a day.
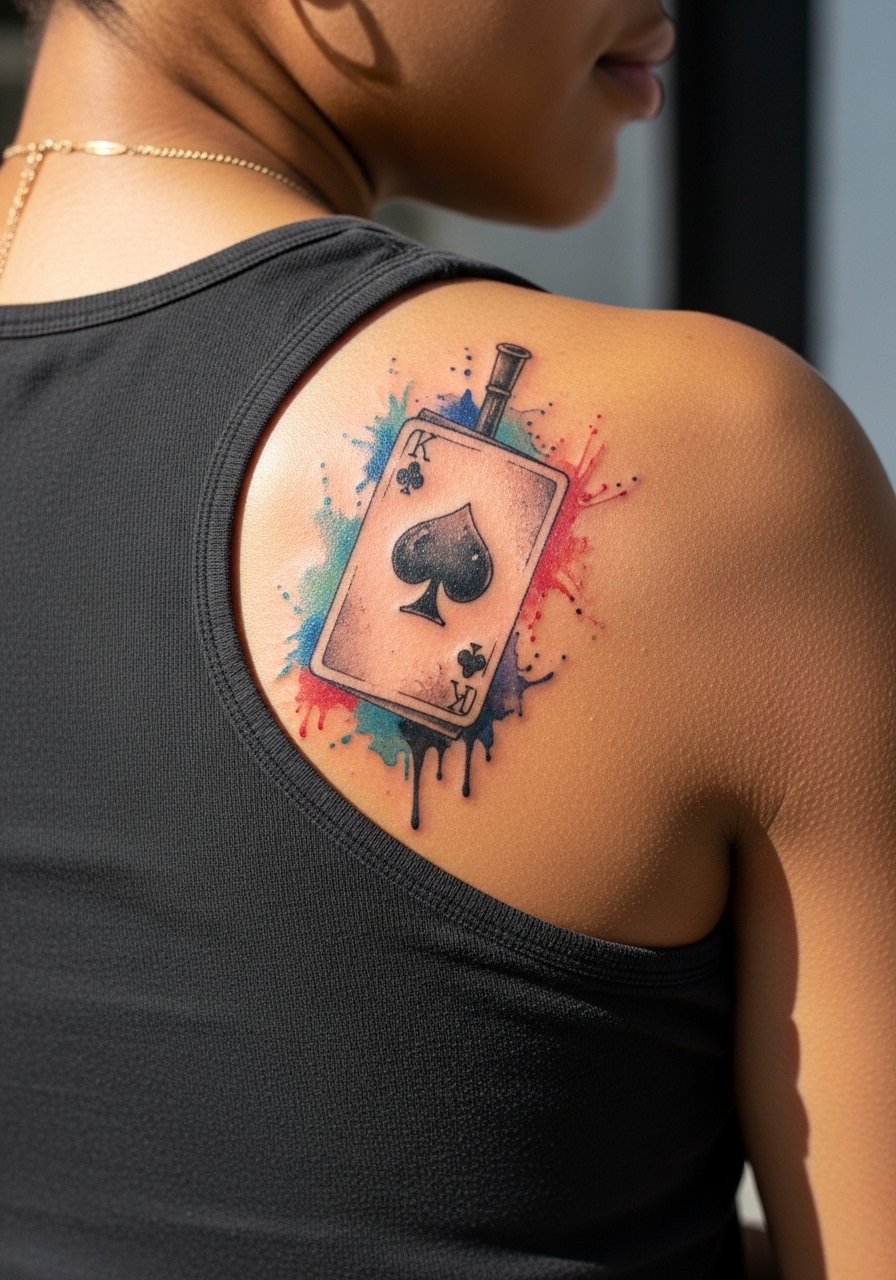
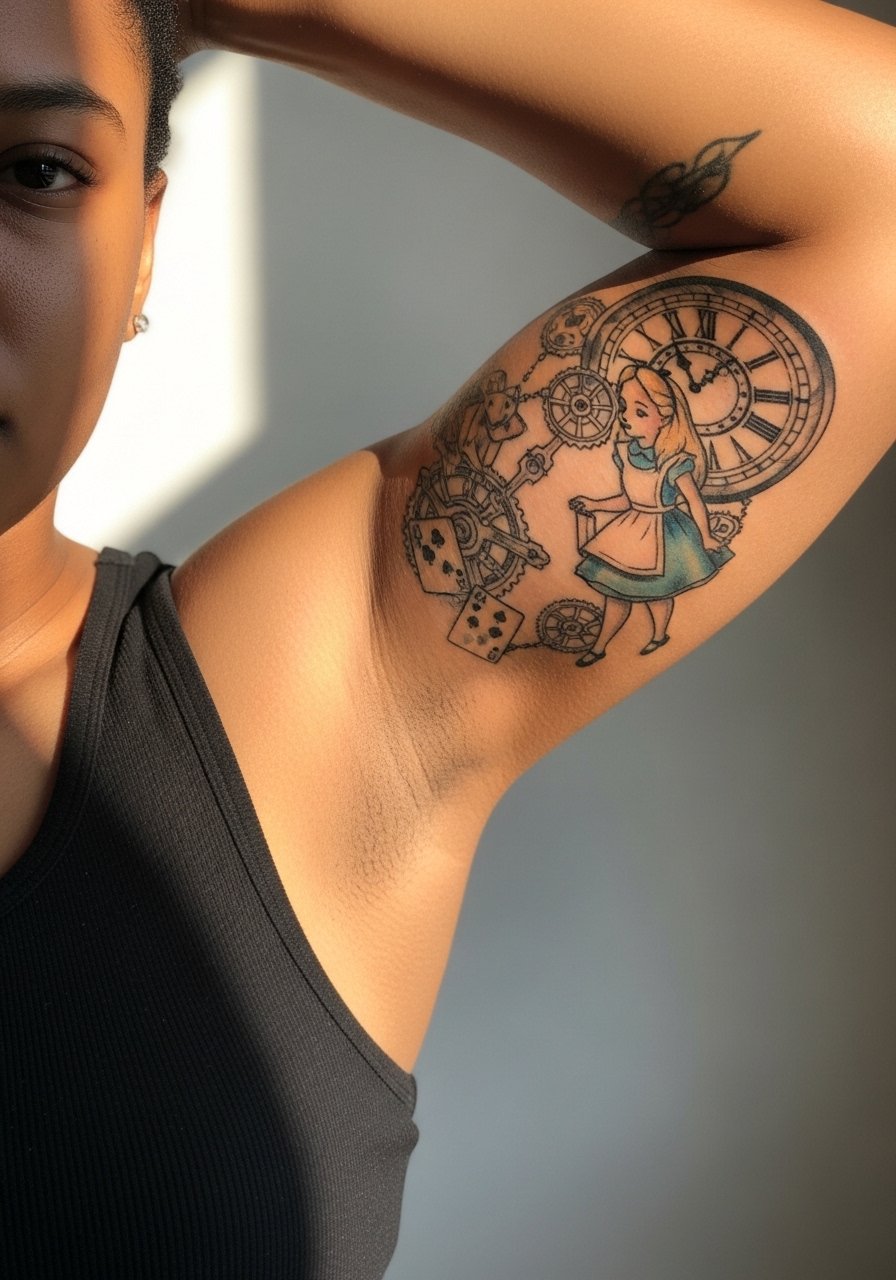
21. Vintage Clock with Alice Motif on Shoulder Blade
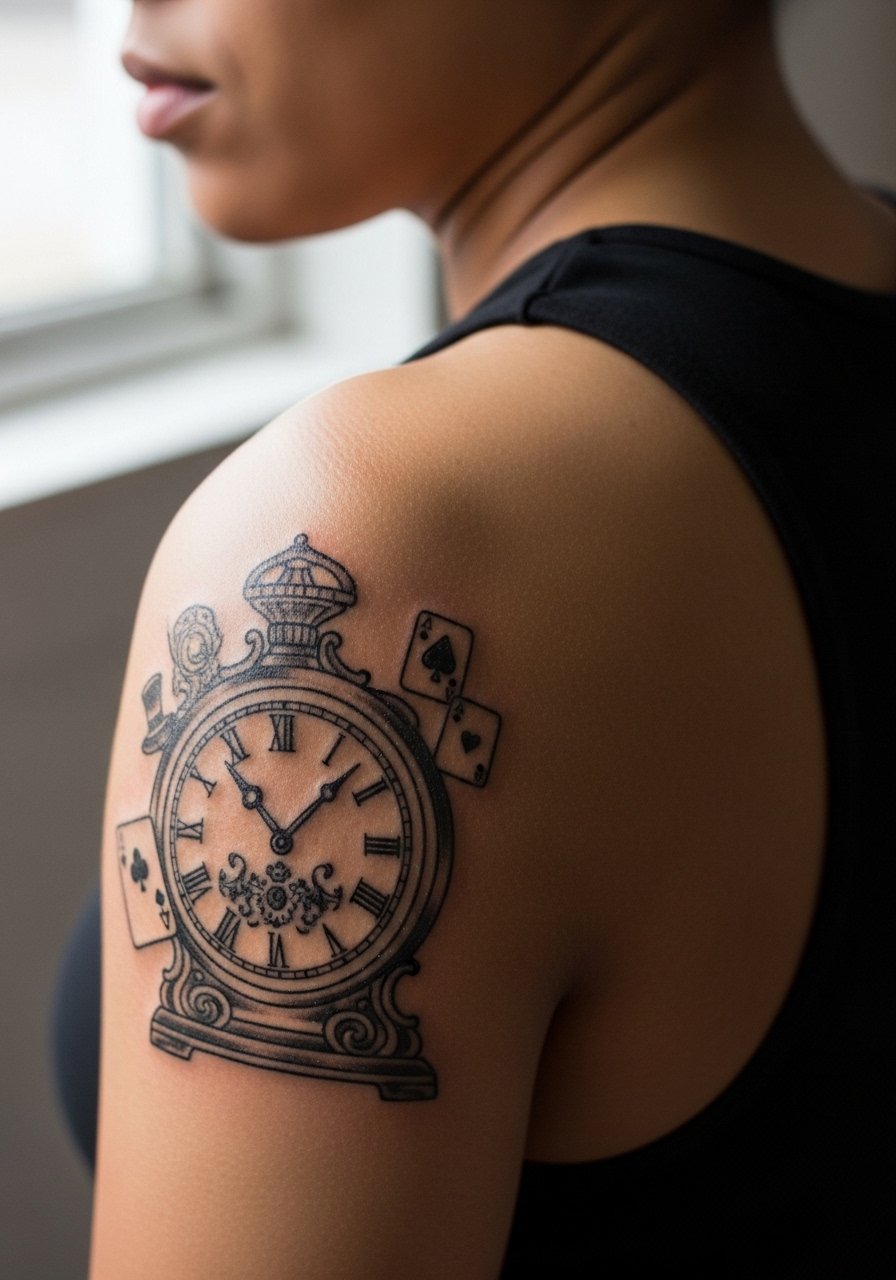
Visual impact lead: shoulder blades are great for slightly larger compositions that still tuck under clothing. Ask for a clear separation between clock hands and background to prevent merging. Pain is low to moderate. Mistake is cramming script into the curvature. Session time is medium. Show off with open-back tops or a spaghetti strap dress.
22. Alice Silhouette within Botanical Frame on Lower Back
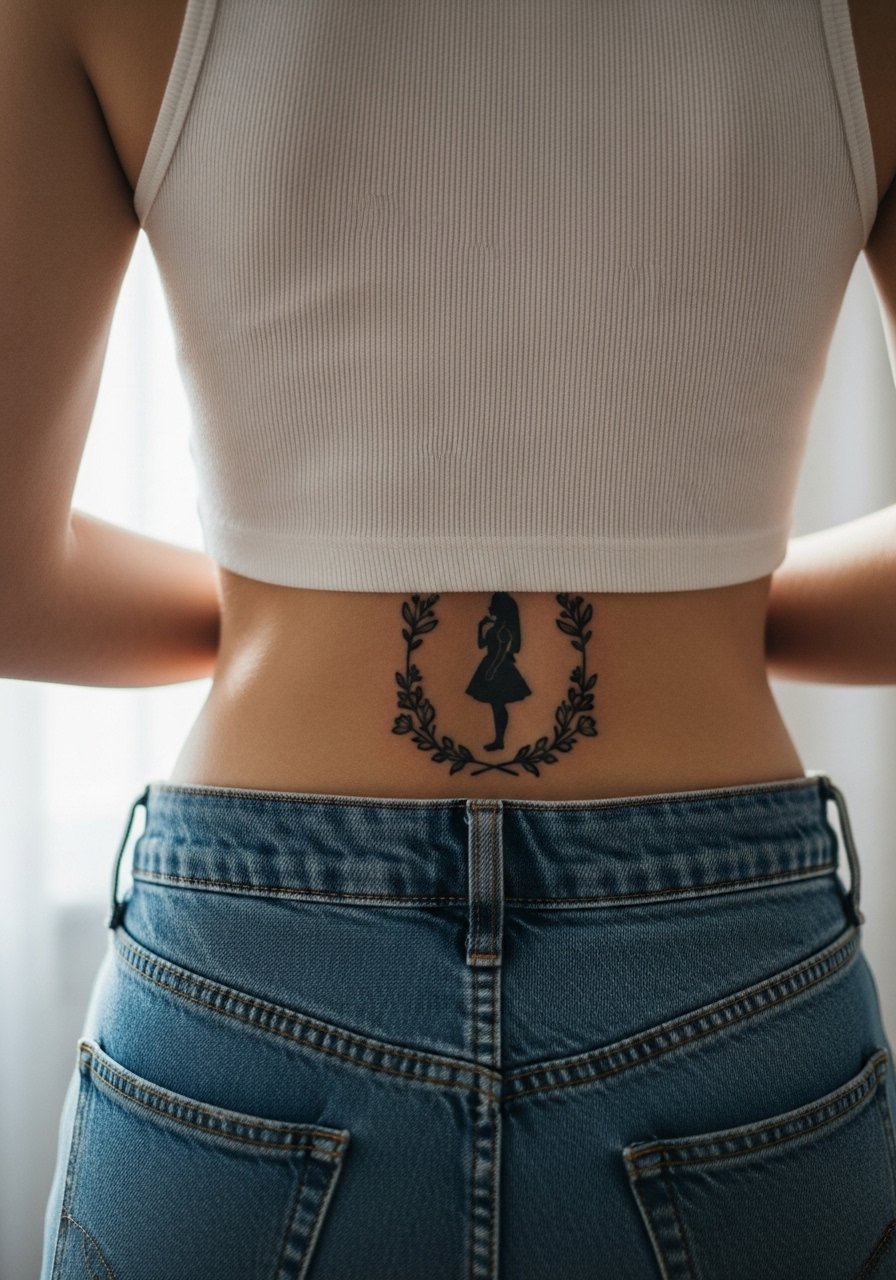
Lower back pieces can be hidden or revealed depending on clothing. The mistake is making the frame too intricate against skin that shifts with sitting. Ask for a solid outer contour and softer internal detail. Pain is moderate. Session time depends on frame size. For nights out choose low-rise waistlines that let the frame peek through.
23. Alice Reading on a Stack of Books, Forearm Panel
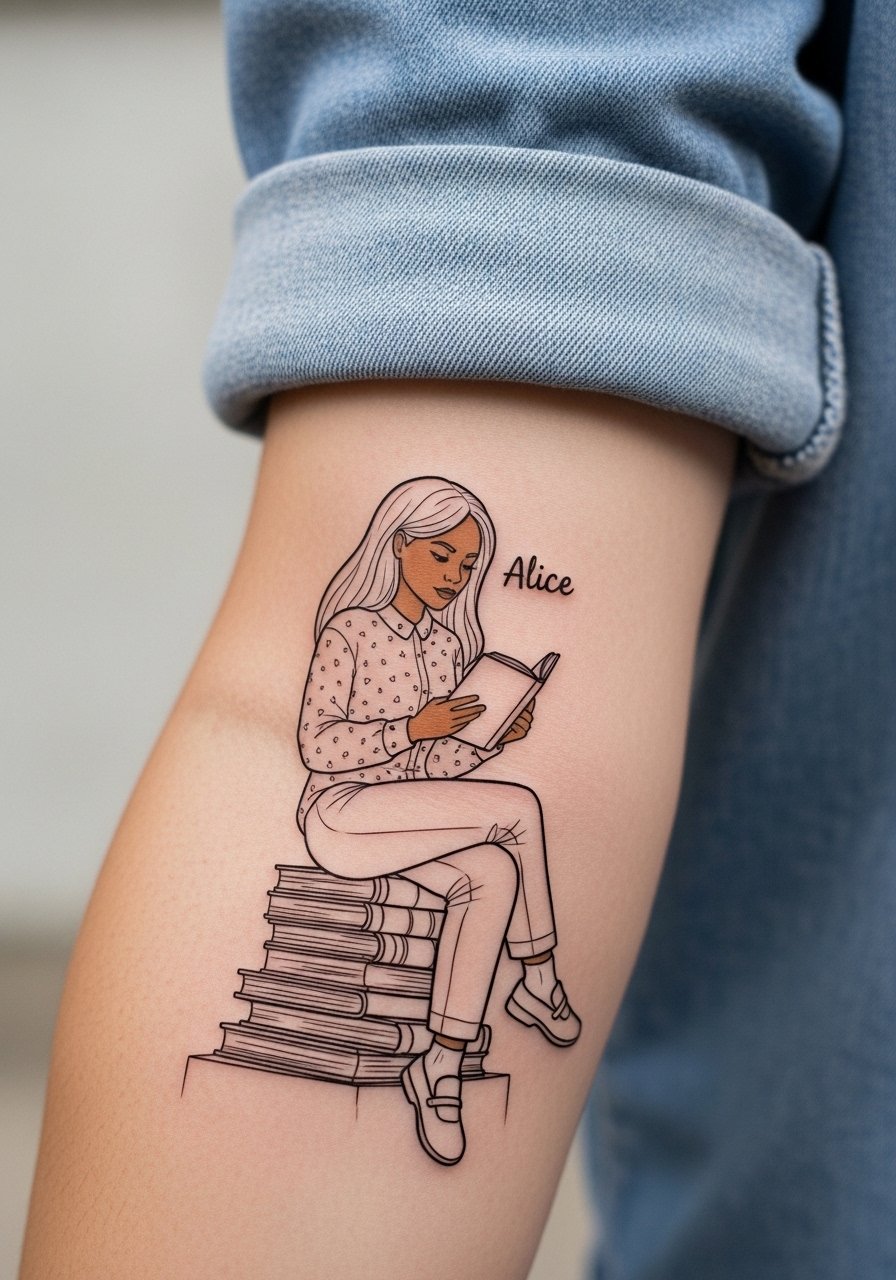
Consultation lead: book spines are ideal places for subtle lettering or dates if you want personalization. Ask for wider spacing between lines and avoid micro text on thin spines. Outer forearm is low pain. A common mistake is overcomplicating the spines. Pair with a rolled linen shirt to keep the panel visible.
24. Tiny Rose and Alice Foot Accent
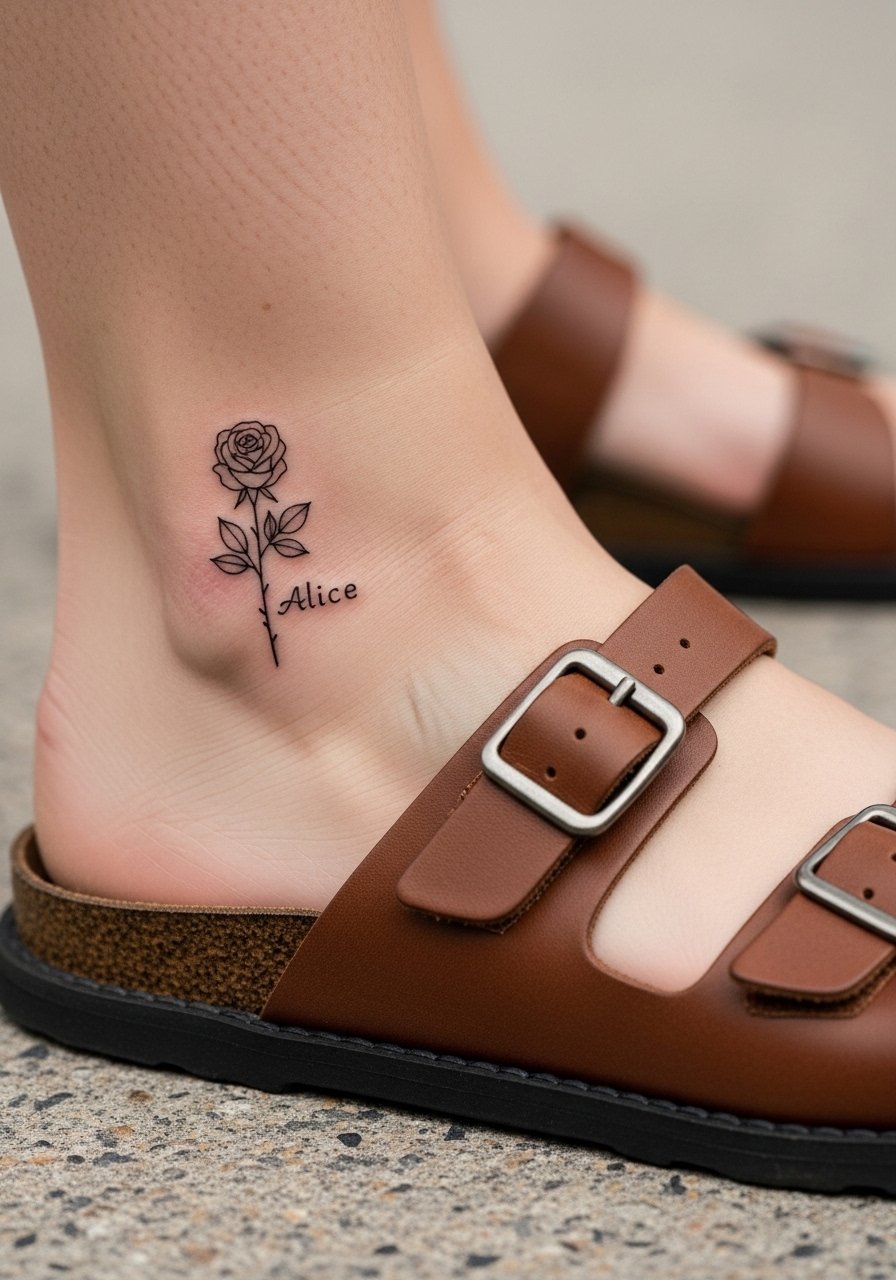
Foot tattoos live in a high-friction environment and fade faster than leg work. If you want longevity, increase size slightly and choose simpler linework. Pain is sharp because of thin skin on the top of the foot. Expect touch-ups within two years. For showing, wear open-toe sandals to avoid rubbing.
25. Alice and Clockwork Sleeve Connector, Inner Arm
Mistake lead: inner-arm sleeves suffer if connectors are too thin, which causes visual collapse as shading merges. Ask for bold connectors and stipple shading in transition areas. Pain is moderate. Session time is longer for sleeve connectors. During the session wear a loose tank for comfortable access.
26. Pocket Mirror Reflection, Behind the Ear Accent
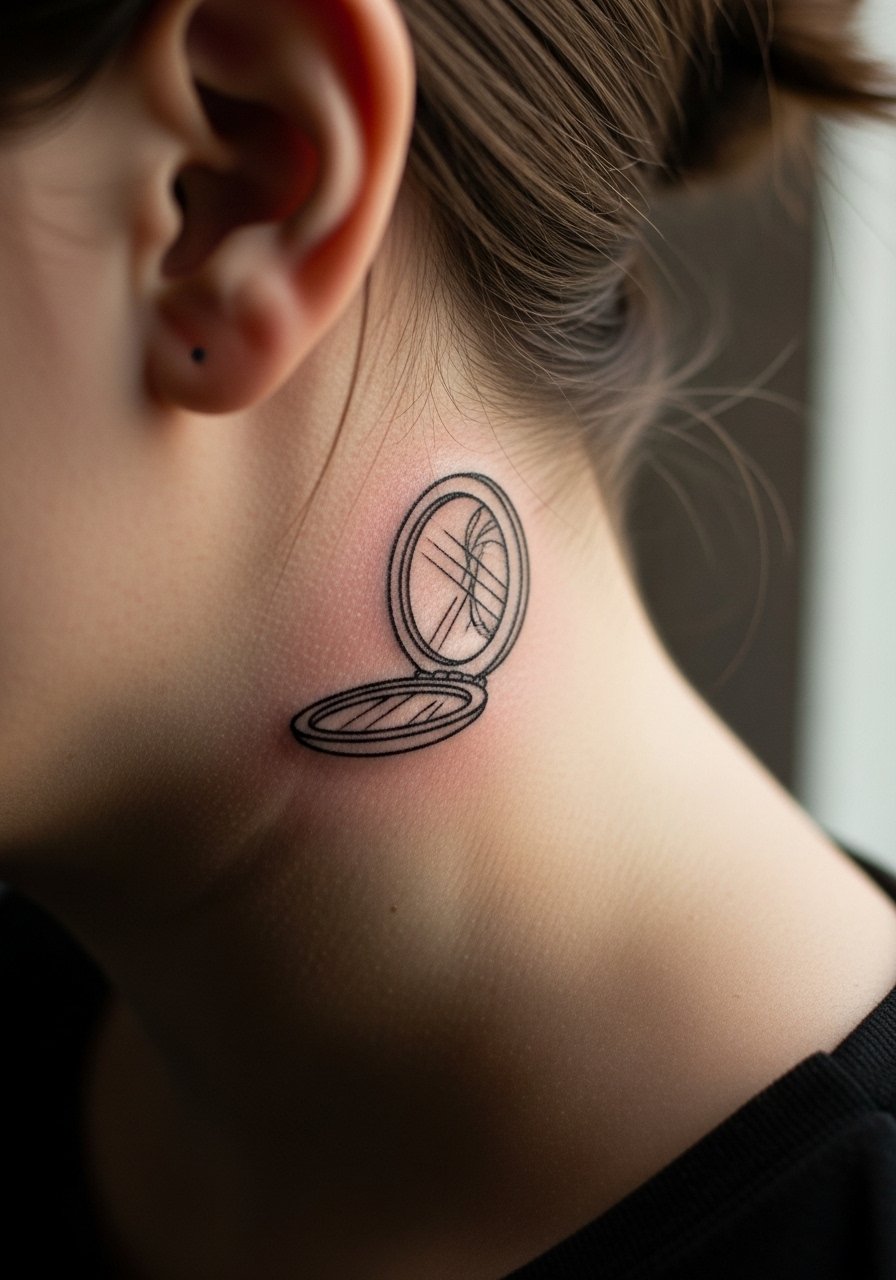
Behind-the-ear accents read like private details. Keep the reflection simple and slightly enlarged to prevent detail loss. Pain is lower than ribs but sensitive. The mistake is requesting dense engraving in a tiny mirror. For placement discovery try hashtag searches and local shop directories to find portfolios that show similar tiny neck work.
27. Alice Running Through Floral Garland, Full Thigh Panel
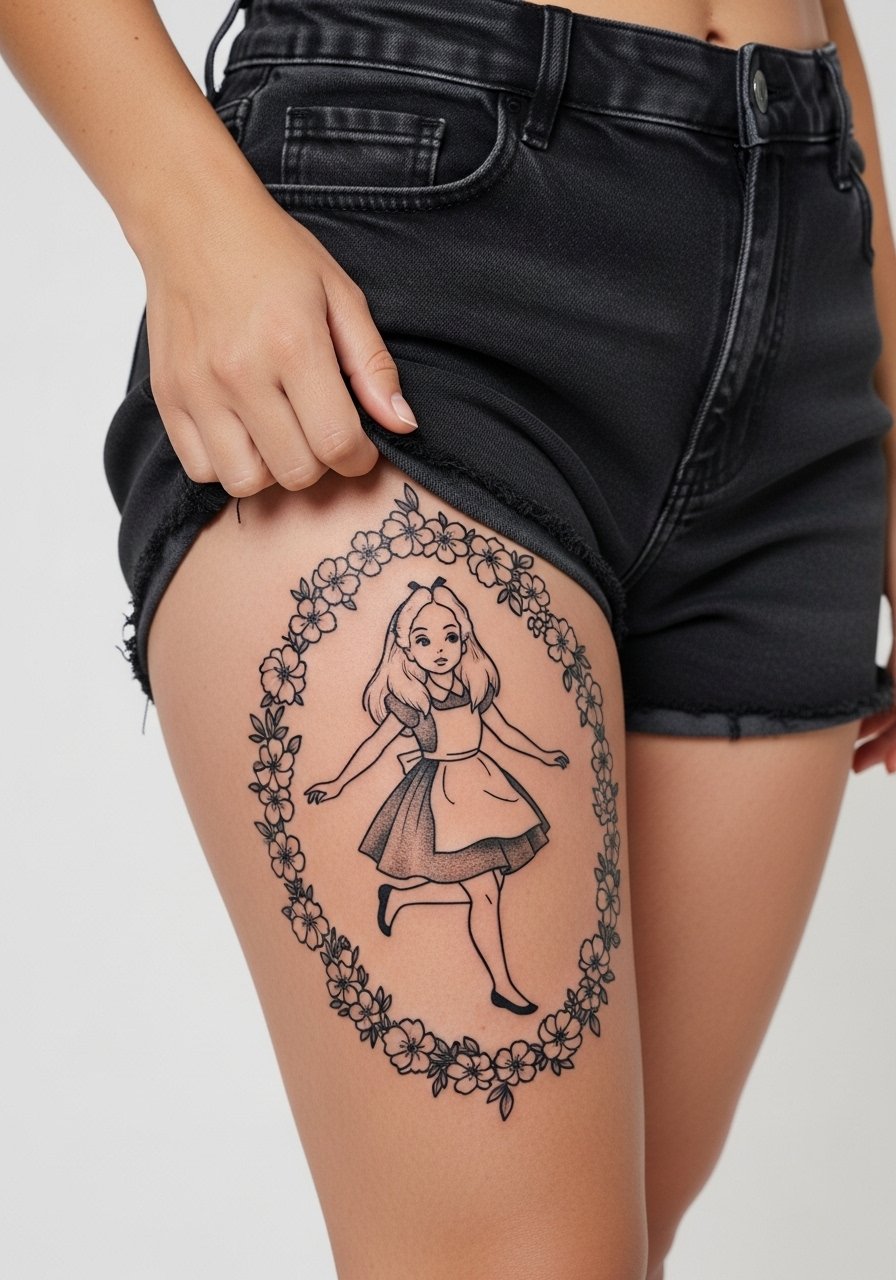
Visual impact lead: full thigh panels let you combine movement and negative space without crowding. Tell the artist you want the garland to breathe with gaps that age into soft frames rather than fill the figure. Pain is moderate. Session time is long and may be split into two sittings. A common error is trying to compress the garland into too small a patch. For the session wear high-waisted shorts you can lower comfortably and bring a longline bralette so the artist can access the area easily.
Frequently Asked Questions
Q: Will fine line Alice silhouettes blur if I wrap them into a sleeve?
A: It depends on spacing and the sleeve’s density. If you integrate silhouettes with heavier anchor lines and allow breathing room between motifs, they tend to hold better. Tell your artist you want deliberate spacing and plan for touch-ups in the first three years for tiny elements.
Q: Do watercolor accents for Alice designs need different placement than linework only pieces?
A: Yes. Watercolor-style pigments fade faster in high-friction zones and in direct sun. I suggest placing color on the calf, thigh, or upper arm and keeping anchor lines nearby so the color has context. Use sunscreen on exposed areas once healed.
Q: Is the collarbone a good spot for pocket watch script if I wear necklaces daily?
A: Not ideal if the script sits where a chain rests. Ask to place the script slightly above or below typical necklace lines. During consult show the artist the jewelry you wear so they can avoid constant friction.
Q: How often should I expect touch-ups for tiny finger and wrist Alice motifs?
A: From what I have seen, finger work often needs touch-ups within two years and wrist scripts may need one by year three. Frequency varies by hand washing, sun exposure, and how tight the original linework was.
Q: Are sternum and ribcage Alice pieces worth the pain for detail?
A: If you want a private piece with dramatic placement then yes, but the pain and movement mean you should size up details slightly. Many people accept a higher touch-up probability in exchange for the placement’s look.
Q: Where should I look to find portfolios that show Alice in Wonderland adaptations without naming specific artists?
A: Try hashtag searches, local tattoo studio directories, convention guest lists, and community forums dedicated to fine line or illustrative work. Those discovery pathways let you compare healed photos and ask targeted questions about sizing, spacing, and touch-up history.
