
The tattoos that still look crisp five years later are not usually the ones that got the most saves the day after they were posted. Bold blackwork and carefully spaced neo-traditional pieces age into readable forms. Meanwhile, tiny fine-line masks on wrists and rushed booking windows are where regret threads start. If you want abstract tokyo ghoul tattoo ideas that last, these picks balance style, placement, and the practical bits you should ask about in your consult.
1. Neo-traditional Kaneki Mask on the Forearm

I have seen this take on the zipped mask hold up better than tiny outlines because the bold linework resists blur. For a forearm piece say you want solid black outlines with two spots of saturated red in the eye or zipper area. Tell your artist you want 4-6 inch scale and a confident line weight so the teeth and zipper read at six months and beyond. Fair warning, the forearm is easy to show off, but avoid making the teeth too delicate or they will soften into speckled texture by year three. For the session wear a rolled sleeve black tee so the artist can roll your sleeve cleanly and you can style the healed piece with a slim leather cuff.
2. Black and Gray Half-Ghoul Portrait on Upper Arm
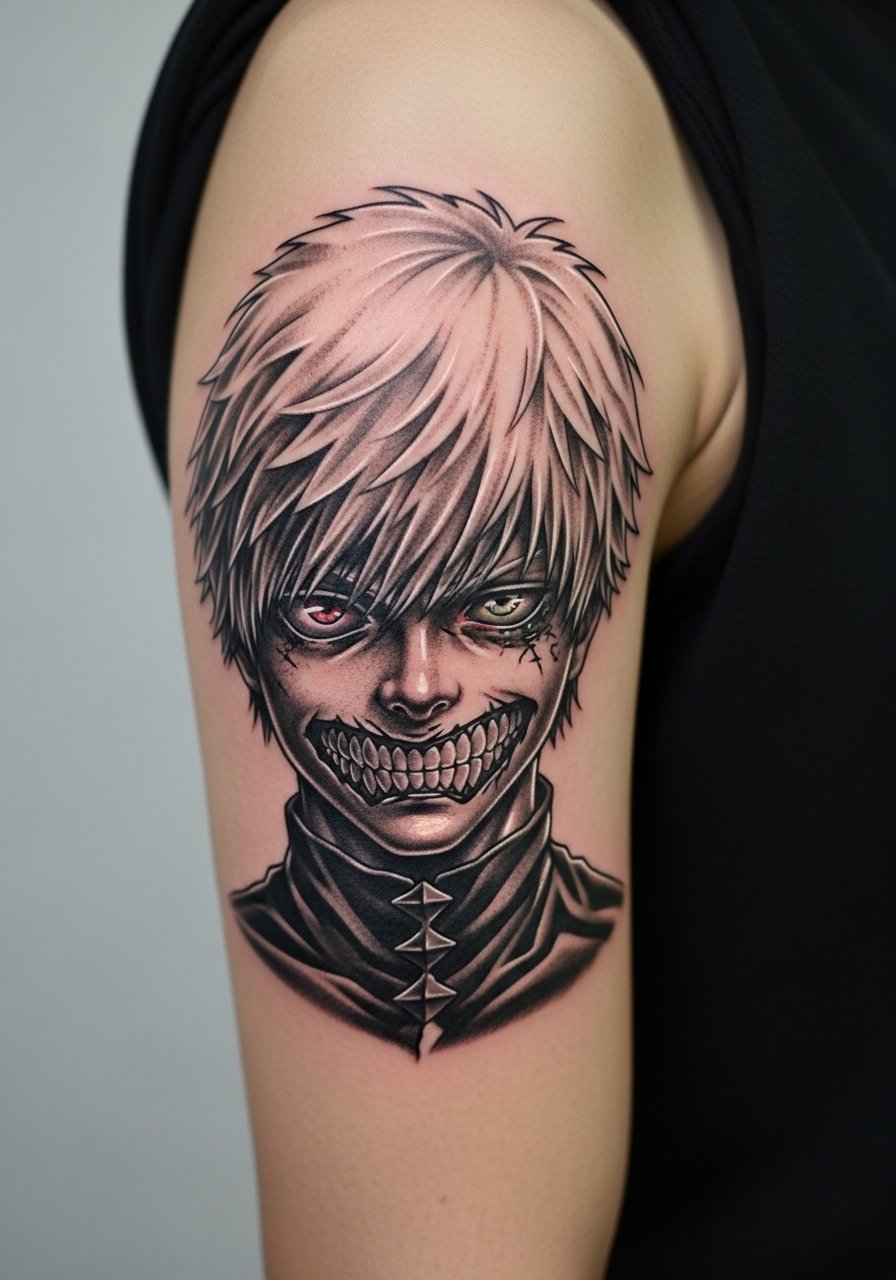
Most realism portraits require multiple sessions and patience. Expect a multi-session plan for a 5-8 inch piece and ask for a reference that shows exactly where color accents land. During consultation request tonal studies rather than a single flat stencil so the artist can map where the ghoul eye and hair contrast will sit. The upper arm has forgiving movement, so shading tends to age more predictably than on hands or wrists. A common mistake is crowding tiny facial details into a small canvas. If you want realism but have a smaller budget, scale down to a stylized half-face with strong saturation instead of micro-detail, and budget a touch-up at year two.
3. Minimalist Jagged Kaneki Mask on the Wrist
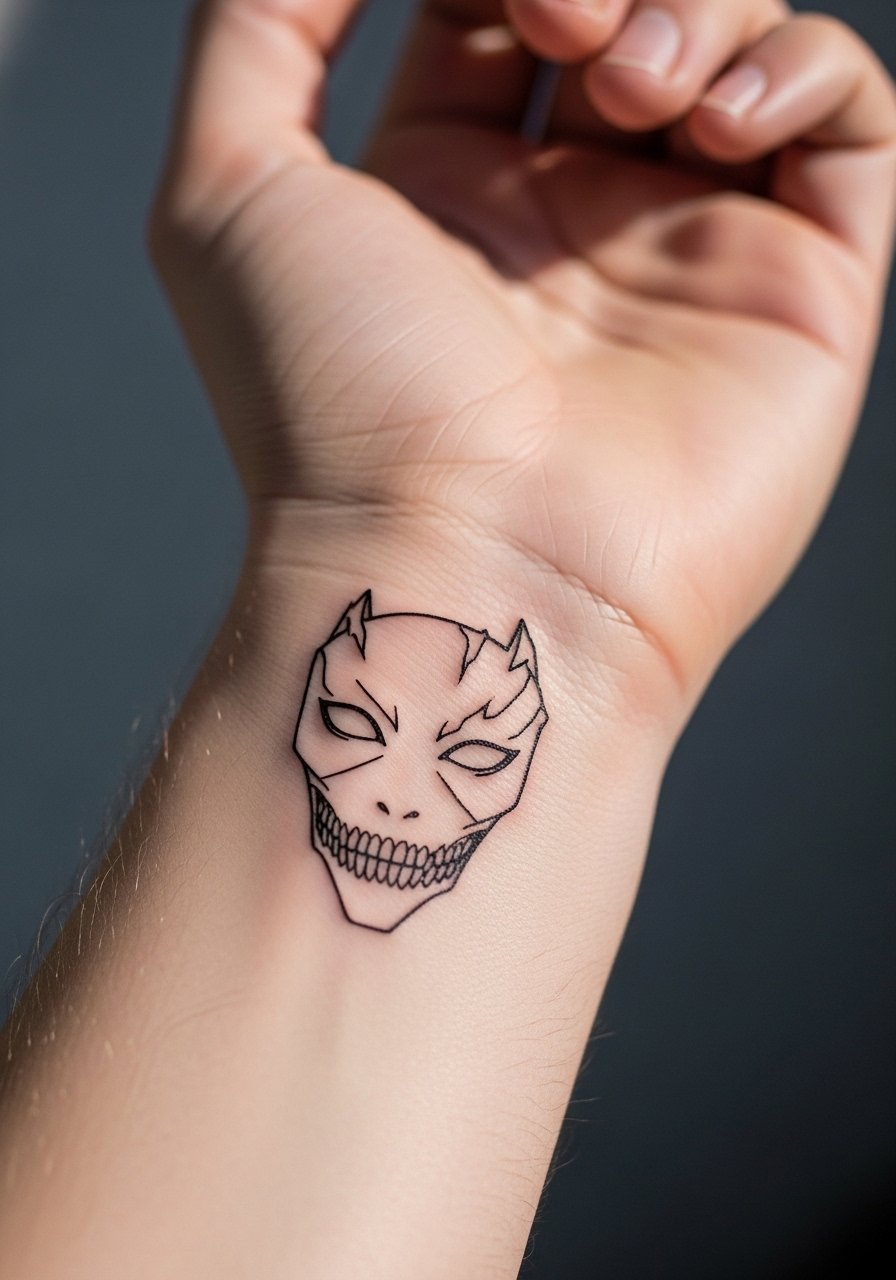
Controversy here splits artists into two camps. One camp says fine-line wrist work blurs fast and needs boldening. The other camp argues that with careful depth and spacing fine line can last on wrists. I say be explicit in the consult about your tolerance for touch-ups and ask the artist which camp they belong to. This placement is higher pain than the forearm but still doable in a single short session. People often make the mistake of asking for the thinnest possible lines to match a screen image. Ask instead for "scaled-up line weight" so the jagged teeth keep negative space at year two. For showing it off, pair the healed wrist with a thin silver chain bracelet on the opposite wrist and keep jewelry minimal during the session.
4. Watercolor Spider Lily with Ghoul Eye on the Shoulder

Watercolor pieces read beautiful fresh, but healing debates are loud. One camp favors protective film and modern bandaging to lock color in. The other camp prefers short-term air exposure arguing that too-long coverings trap moisture. For a color-infused spider lily keep the black base crisp and ask your artist how they balance wash techniques with saturation. Shoulders tolerate color well and are easy to protect from sun, which helps longevity. A typical mistake is using too many micro splashes close to busy linework. Request broader color masses and a solid black anchor so the flower reads into year three. For session wear bring an off shoulder black top or loose tank so the artist can work the shoulder without extra fabric fuss.
5. Neo-traditional Uta Mask on the Calf
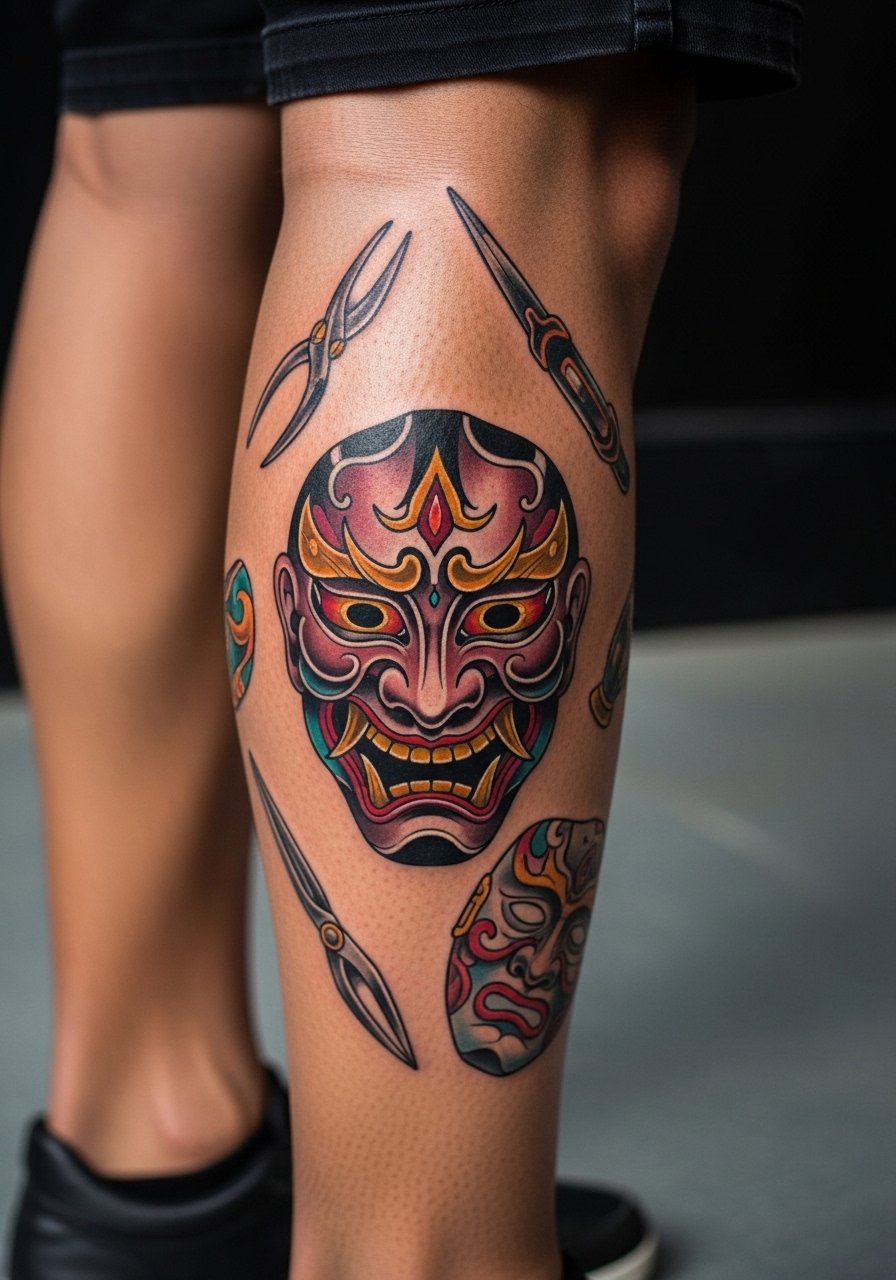
The calf is friendly for larger neo-traditional pieces that need bold shapes. I recommend 6-10 inch scale so the mask details and surrounding tools read while you move. Tell your artist during the consult that you want strong saturation and confident outlines, and ask about session pacing for comfortable sitting. Calf skin moves but holds bold work well, so opt for thicker outlines instead of delicate filigree. A common mistake is compressing tool details into too small a space. Expect two to four hours per session and a touch-up window around year two if you run a lot of outdoor time in shorts. For showing it off, cropped pants or slim charcoal joggers frame the calf without hiding the work.
Studio Day Picks
The forearm, wrist, shoulder, and calf pieces above each ask for different prep, so a few targeted items smooth the session and early healing.
- Stencil transfer paper kit. Lets you preview exact placement on skin, which is crucial for mask and face designs in ideas 1 and 2.
- Topical numbing cream. Helps take the edge off wrist or calf sensitivity when you cannot tolerate long sittings.
- Thin protective film roll. Useful for shoulder and calf pieces during the first few days to reduce friction from clothing.
- Fragrance-free gentle body wash. Cleanses without irritating color work, handy for color-infused spider lily aftercare.
- Aquaphor healing ointment. Thin layer in the first days helps keep fine-line and realism ink from scabbing excessively, especially on wrists and shoulders.
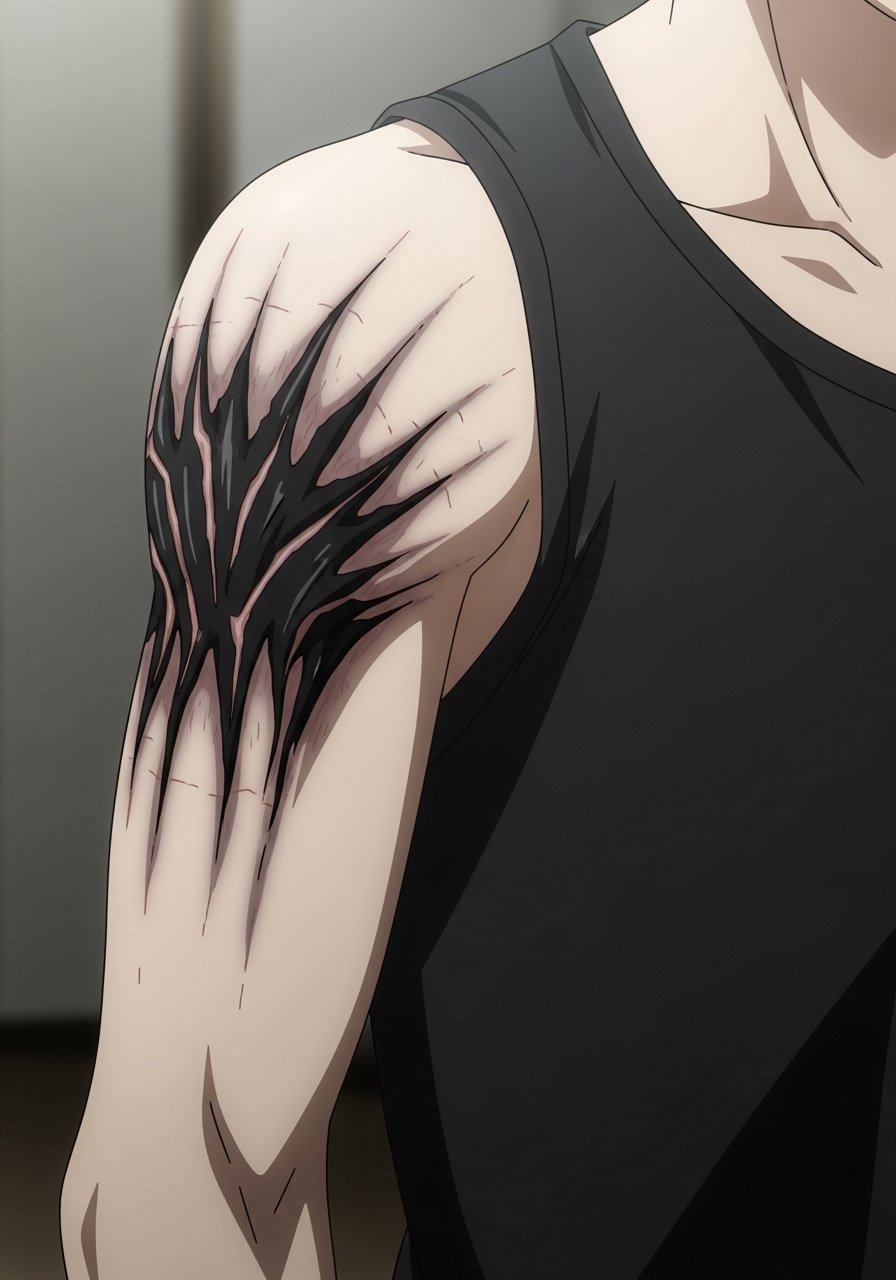
6. Blackwork Geometric Kagune Band on the Forearm

There is an appeal to making the kagune bold and architectural. For a 5-7 inch band use solid fills and geometric negative space so the silhouette reads from a distance. The forearm tolerates blackwork well, but watch for blowout where ink spreads under thin skin. Ask your artist to plan for heavy contrast and clear edges. A frequent mistake is over-detailing inside a tight band. That detail will blur into texture over time. If you want a high-contrast look ask for crisp negative space between tentacle shapes and plan for a single two-hour session with a possible follow-up touch-up at year two if edges soften.
7. Color-Infused Kaneki Transformation Sleeve Start
When you want dynamic storytelling, start the sleeve with a strong focal image that anchors the rest of the narrative. For this 8-12 inch upper-arm piece ask the artist to reserve small color accents around the eye and hair so the black and gray can carry the volume. Sleeve starts need session planning, so discuss a 3-5 session timeline and pain management options. A common error is cramming too many scenes in the first panel. Get a single transformation moment that reads at arm distance. For session day comfort and easy access wear a racerback tank so the artist can rotate your arm without fabric interference.
8. Dotwork Tokyo Ghoul Logo near the Collarbone
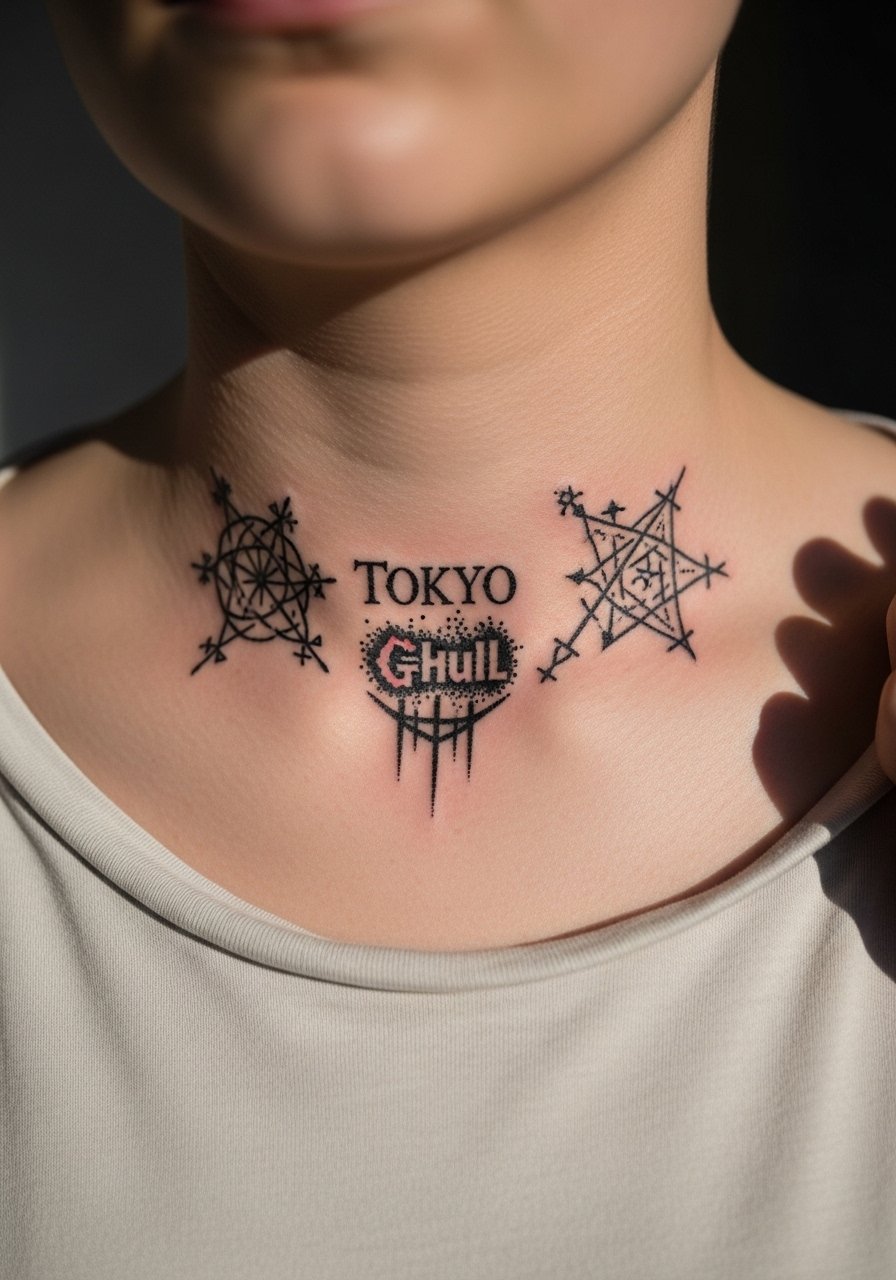
The collarbone is a visible spot where dotwork reads well if scaled to 3-5 inches. Ask your artist for a high-contrast dot density map so the logo maintains form without bleeding into tonal mush. People often underestimate how visible collarbone work is in day-to-day outfits, so consider placement relative to necklaces. A mistake is shrinking dotwork too small which causes merging after healing. Expect 1-2 sessions and possible touch-up at year three if you spend a lot of time in the sun. For a simple show-off pair this with a thin chain pendant necklace that sits above the piece without covering it.
9. Ignorant Style Ghoul Eyes on the Hand
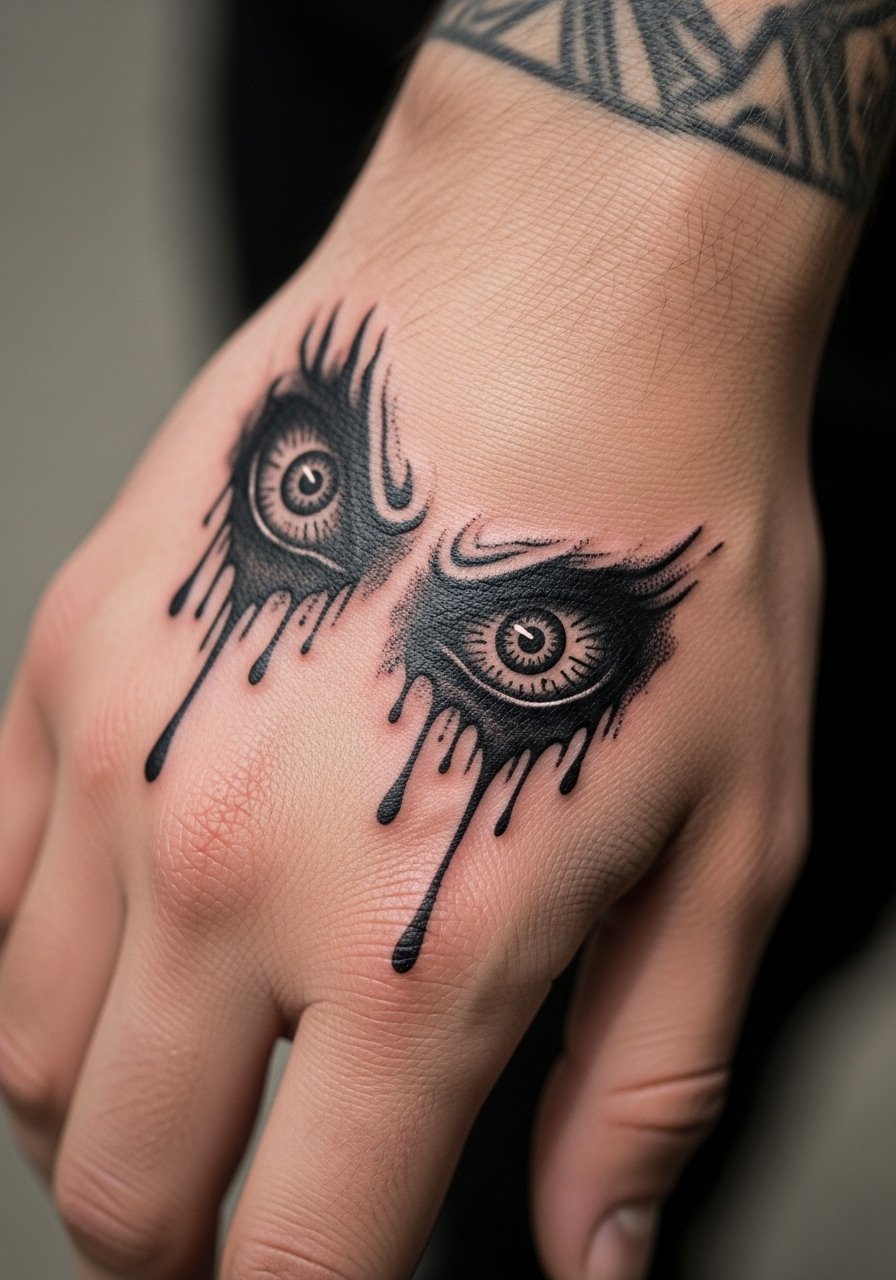
Hand pieces carry a higher risk of early fade and workplace visibility issues. The ignorant style textural approach suits hands because the rough edges and drips age into the aesthetic rather than losing definition. During consult, ask the artist about line saturation and expected touch-up windows; hand work often needs a refresh within two years. Watch for a common mistake of asking for too fine detail on fingers or knuckles, which the skin does not hold well. The session is short and sharp in pain. If your job is sensitive to visible ink think carefully before committing.
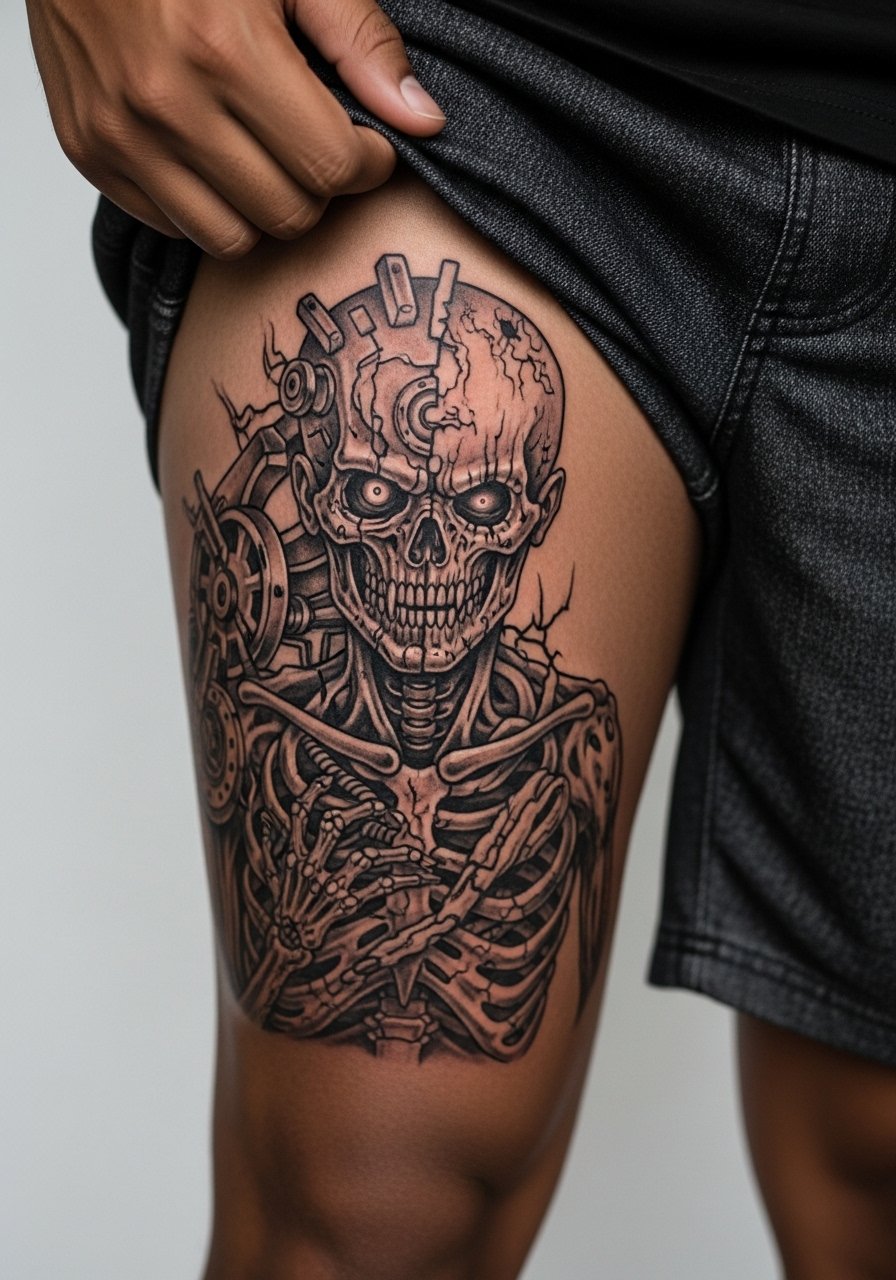
10. Japanese Irezumi-Inspired Kagune Wrap on the Thigh
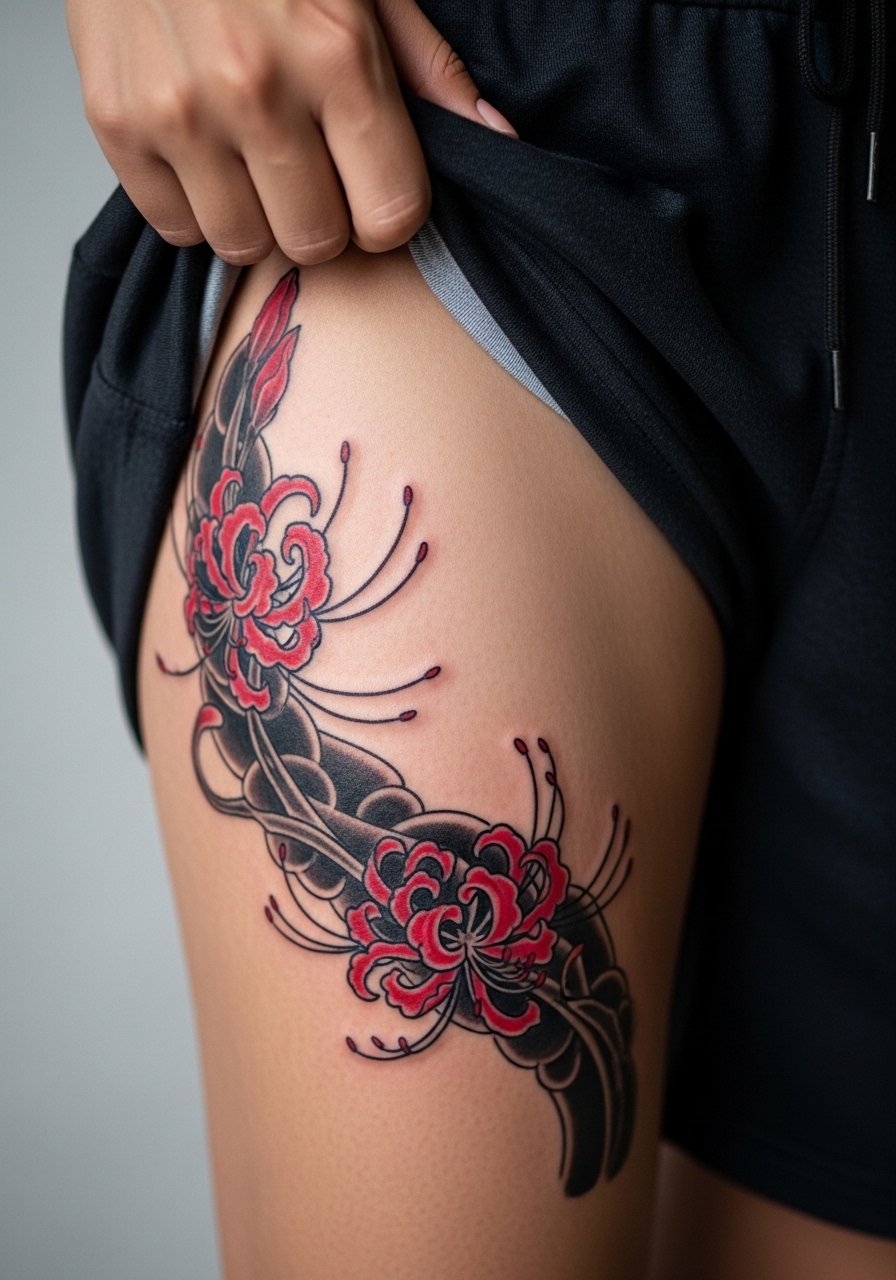
Thigh canvases allow large flowing compositions that pair Irezumi tradition with ghoul motifs. I recommend 10+ inch scale and multiple sessions to let the shading settle. Mention during consult that you want traditional visual flow around muscle curvature so the kagune wraps without distortion. Weight gain or body changes can stretch thigh work, so consider outer thigh placement if you expect fluctuations. A mistake here is packing too much small detail into the wrap; let the negative space breathe. Show-off picks for festivals include high-cut shorts or a thigh-slit skirt, so pack a pair of high cut athletic shorts for the session and staged reveals.
11. Micro-Realism Ghoul Eye Behind the Ear
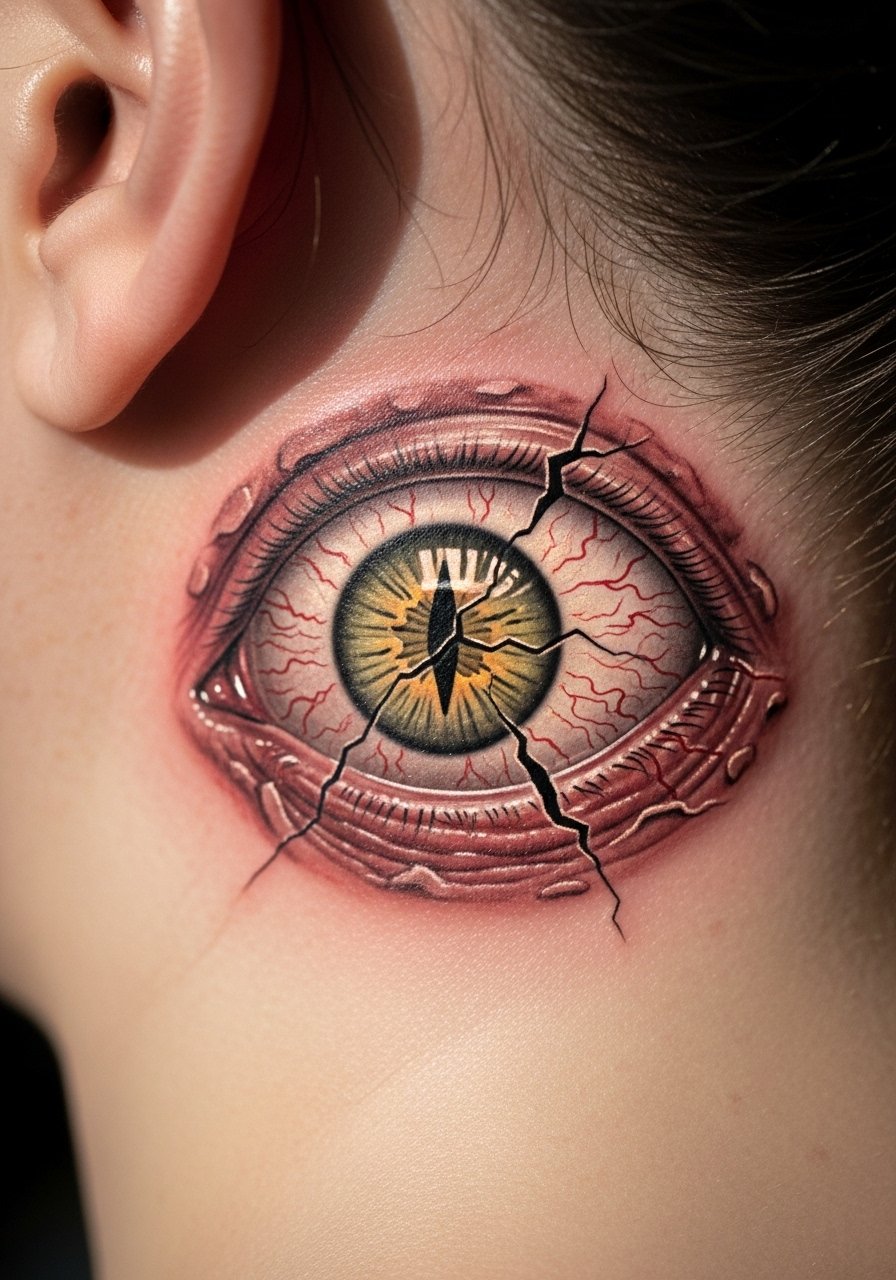
Behind-the-ear micro pieces are subtle and personal, perfect for a hyper-detailed single eye in 1-2 inches. Note that the image area is small and requires a steady hand for dot shading. During your consult ask to see healed micro-realism examples on similar skin tones. Because of the sensitive placement mention that the artist should plan for fine needle depth rather than fast sweeping passes. This zone is delicate and touch-ups are common, so expect to revisit in two to three years. For professional settings the piece remains discreet, but check long-term career considerations before booking.
12. Surreal Biomechanical Kagune on the Sternum

Sternum pieces read intimate and visceral. If you choose a 6-8 inch biomechanical kagune plan for two to three sessions and expect a higher sensitivity score. Artists split on numbing cream for this area. One camp treats numbing as a legitimate aid for client comfort. The other camp views it as altering the sensation and ritual of getting inked. Ask your artist where they stand on numbing and how that interacts with layered shading in surrealism. A common mistake is over-directing the anatomical detail; focus on the emotional merge of machine and vein rather than micro-anatomy. Session wear like a loose zip robe or sports bra helps access without awkward undressing.
13. Graffiti Kaneki Mask Tag on the Calf

Graffiti-style pieces translate well to the calf because the elongated surface mimics a wall. Ask for emphatic black outlines and controlled splash colors so the tag looks intentional rather than smeared. The biggest mistake is demanding spray-like gradients that do not translate with a tattoo needle. Calf movement favors bold lines, but avoid tiny drips that will soften. Session length is usually single long sitting. For show-off wear cropped pants or mid-calf boots, and consider styling with mid-calf combat boots to echo the urban vibe.
14. Cyber Sigilism Glitch Kagune on the Ribcage

This is one of the rarer abstract ideas that leans into digital-age symbolism. The ribcage is famously sensitive, often rated high on pain charts. If you want glitch textures keep the lines slightly bolder so the visual noise does not merge after healing. Ask for a preview of the stencil in motion on your torso to see how breathing and posture affect composition. A common practical issue is scheduling: rib sessions sometimes require rescheduling for tolerance or recovery. Planning a short numbing window and a realistic session length helps. Consider how this intimate placement sits with your wardrobe habits before booking.
15. Trash Polka Mask Fragments on the Calf

Trash polka works because it embraces chaos, so the calf is a natural choice for motion-friendly placement. Ask for crisp black blocks offset with red strokes rather than tiny detailed fragments. The usual mistake is packing too many elements into a narrow leg zone. Bold negative space will keep the composition readable at six months and two years. Touch-ups may be needed on the red accents depending on sun exposure. For session wear bring loose shorts so the artist can access the entire calf without fabric interference.
16. Biomechanical Ghoul-Human Hybrid on the Inner Thigh
Inner thigh pieces are intimate and require special positioning during sessions. Expect 1-3 sessions depending on scale and a higher sensitivity level when the needle approaches softer tissue. During consult request that the design account for curvature and sitting compression so lines do not warp when you stand. A frequent mistake is using too much fine detail that the inner thigh cannot hold over time. Plan for touch-ups after weight fluctuation or changes in body composition. Choose an outer-thigh buffer zone if you want less distortion over the years.
17. Blackletter Quote Neck Piece
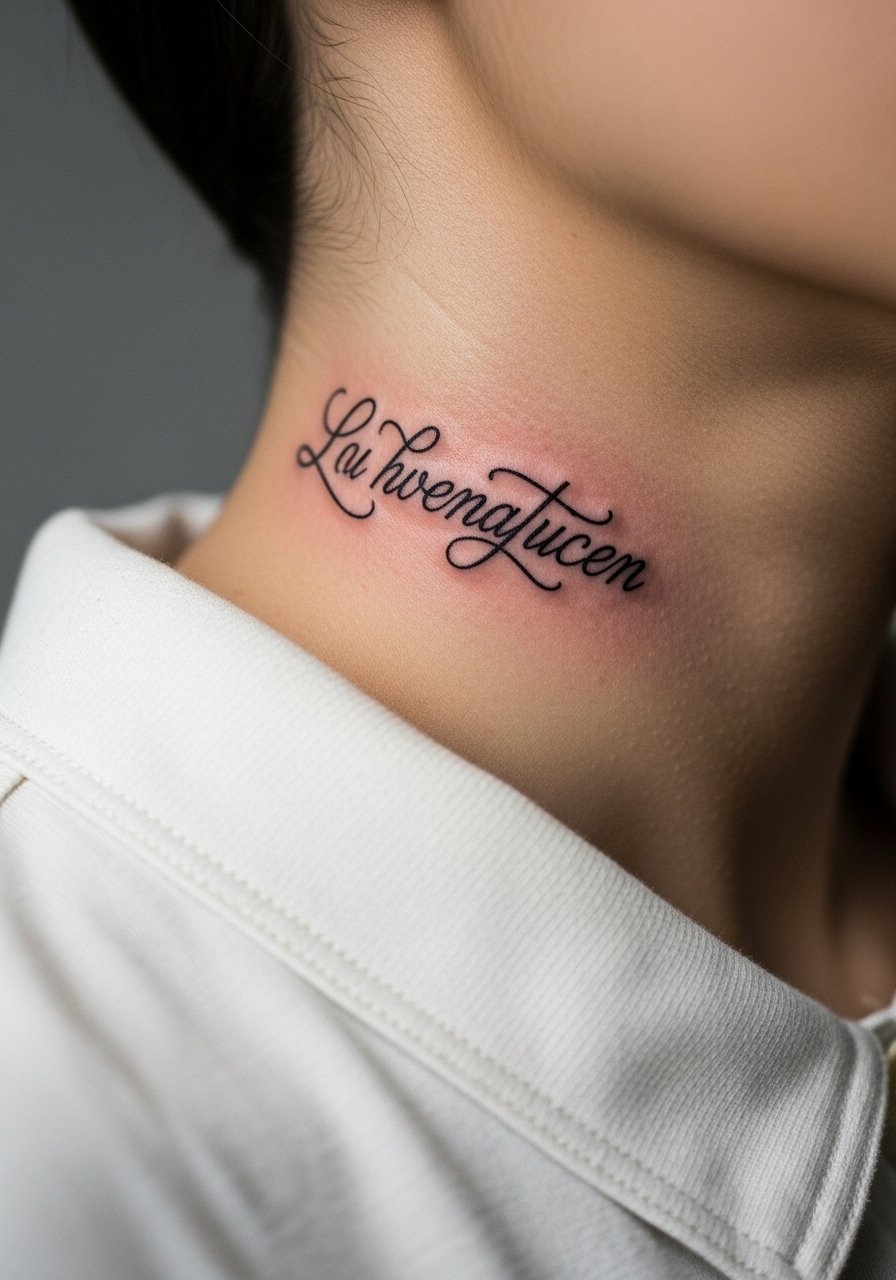
Text on the neck reads bold and personal. If you want blackletter for a Tokyo Ghoul quote request exact lettering mockups in large type so individual strokes have room. The neck is visible and often a career consideration for some people. A mistake is shrinking text too small; blackletter needs scale to keep serifs legible. Expect a single session and a likely touch-up in year two. For placement discovery use hashtag searches and conventions to see how other neck scripts sit on people with movement similar to yours.
18. Tiny Blackwork Kagune Ankle Accent
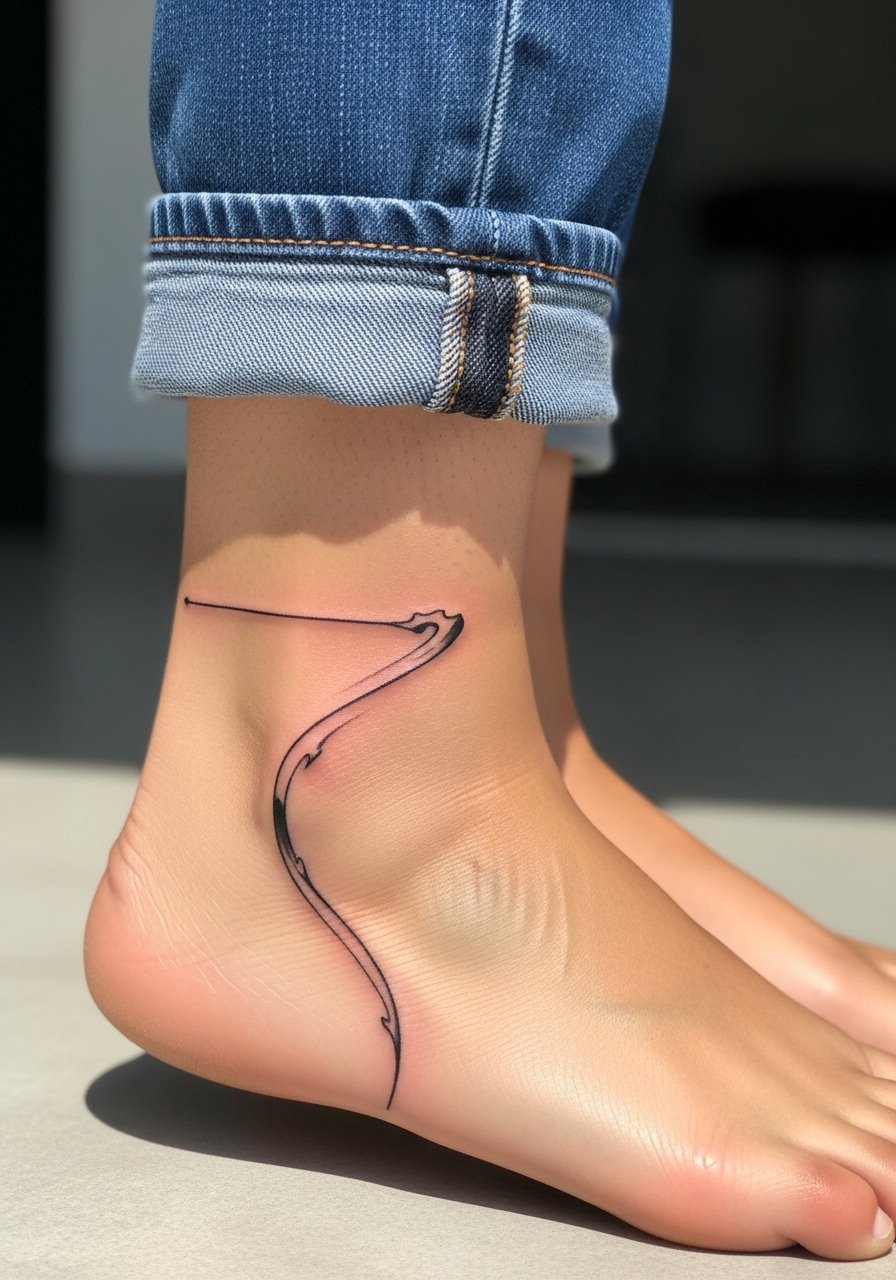
Ankle accents are ideal for first-timers who want a nod to the series without a full commitment. Keep the design at 2-4 inches and request bold silhouette shapes rather than filigree. The ankle faces friction from socks and shoes, so plan brief healing protection and avoid delicate lines. A common error is choosing intricate internal detail for a tiny canvas. For session wear pull up loose joggers or choose rolled denim so the artist has clean access. Styling the healed piece looks sharp with cropped pants or sandals, so plan wardrobe accordingly.
19. Stipple Occult Sigil on the Collarbone

Stipple work on the collarbone needs intentional spacing to keep dots from merging. Request a scale study and ask the artist about dot density for your skin tone. People often ask for ultra-dense stippling that reads heavy after a year. Opt for measured density and stronger negative shapes to keep the sigil legible. Expect a shorter session and a possible touch-up if you frequently expose the area to sun. A delicate necklace can frame the piece without crowding it.
20. Color-Infused Black and Gray Kaneki Portrait on the Shoulder Blade

Shoulder blade portraits age well when given room and contrast. Ask the artist for a strong black base with tiny color accents reserved for the eye or hair highlights. A mistake is expecting studio lighting images to match real-life scale; request a mock-up on your back to check proportions. Sessions are comfortable if you can lie prone and shift as needed. Expect two to three sessions for a detailed 6-8 inch portrait and plan for a sun-protection routine afterward. For showing off consider backless crop tops or racerback tanks when the piece is healed.
21. Tiny Minimalist Ghoul Eye on a Finger
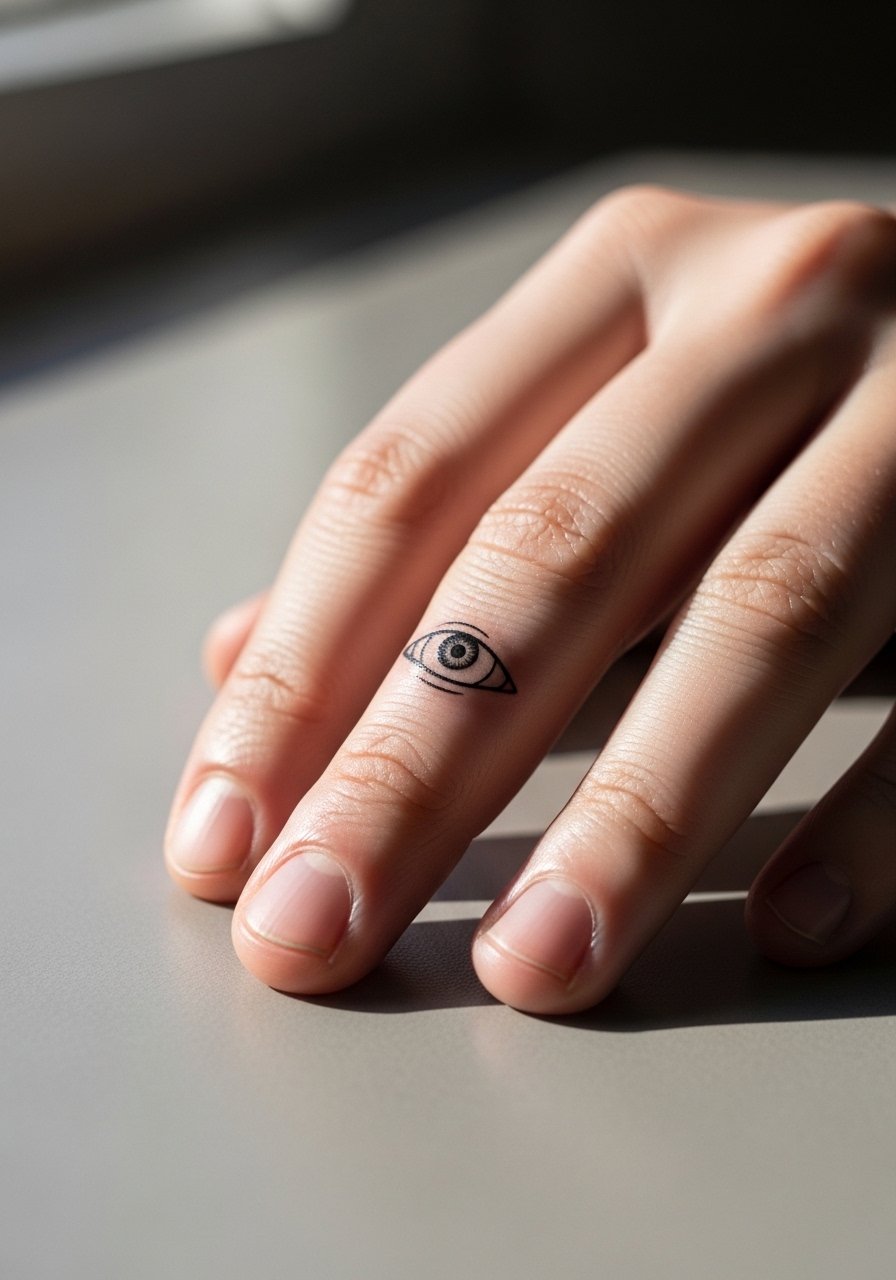
Finger tattoos are fashionable but they fade faster than other spots because of constant washing and friction. If you want a tiny eye on a finger ask for bolder contours rather than ultra-fine strokes so the symbol survives daily wear. A common mistake is picking a highly detailed eye that the finger cannot retain. Expect a single short session and a likely touch-up within 12-24 months. Think about how often the finger area is exposed and whether that aligns with your day-to-day needs.
Frequently Asked Questions
Q: Will fine-line minimalist Toky o Ghoul pieces fade faster on darker skin tones?
A: From what I have seen, very fine line work can lose contrast sooner on darker tones if the line weight is too thin. Choosing slightly heavier linework or blackwork versions helps retention and gives you options for color accents. Ask your artist for healed examples on similar tones during the consult.
Q: Do watercolor spider lily or color-infused portraits need different healing than blackwork?
A: Yes, color pieces often require more sun avoidance and careful moisture balance in the first two weeks. Some artists use protective film for color, while others prefer short open-air periods. Name both camps during your consult and ask how long the artist recommends coverings for the specific pigments they use.
Q: How do I find artists who do abstract Tokyo Ghoul styles without it looking cartoony?
A: Search hashtags like #TokyoGhoulTattoo and #AbstractGhoul on Instagram, filter by location, and check convention guest lists. Apps like Booksy or Tattoodo let you search portfolios with keywords and compare healed work across styles. Look for portfolios that show healed photos, not just fresh snaps.
Q: My ribcage idea sounds painful. Are numbing creams acceptable or frowned upon?
A: Artists are split. One group uses numbing creams to help clients sit through sensitive areas, the other group prefers natural sensation for consistency in shading. Ask your artist how numbing interacts with their technique and whether it alters ink saturation for that placement.
Q: What should I wear to a thigh or back session to make the artist's life easier?
A: For thigh pieces wear high cut athletic shorts or loose shorts you can shift easily. For back or shoulder sessions a front-open robe or loose button-down helps the artist access the area without you being fully undressed.
Q: How often should I expect touch-ups for small wrist, finger, or hand Toky o Ghoul tattoos?
A: Small placements that face friction usually need a touch-up within one to three years. Plan for realistic maintenance, and ask your artist to quote a touch-up window during the consult so you are not surprised later.
