
Fine line Harley Quinn elements look addictive on feeds, but what holds up is often different from what trends suggest. Popular mashups that flatten her chaos into tight detail can blur into a smudge over years. These 17 abstract takes keep the character's energy while spacing, saturation, and placement help the design stay readable for five years or longer. Start here for ideas you can actually live with.
1. Minimal Joker-Card Linework on Inner Forearm
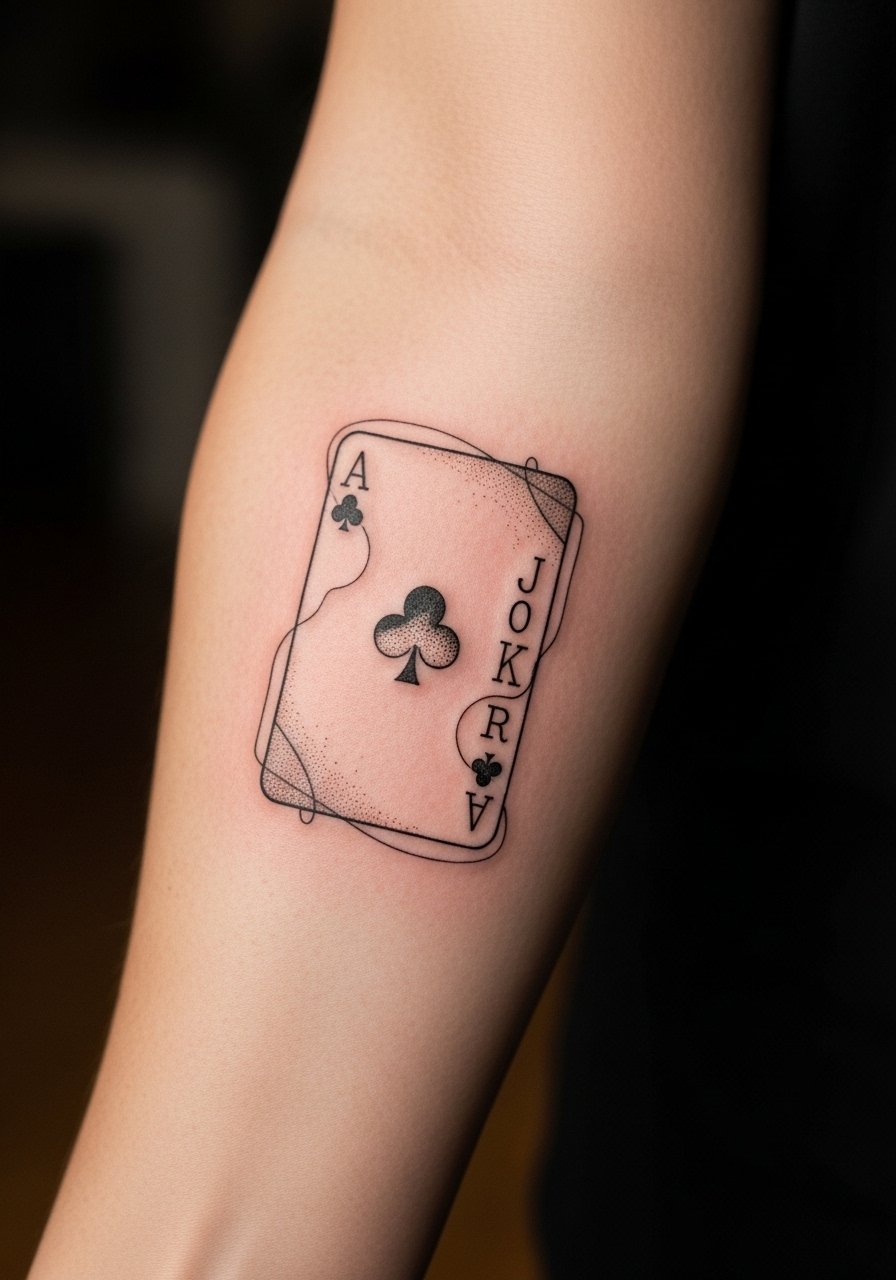
This tiny abstract card reads as Harley without full color, so it works if you want a subtle nod. Fair warning: the inner forearm holds ink well but shows every tiny wobble in linework, so ask your artist for slightly bolder line weight than the iPad photo suggests. Expect a 60 to 90 minute session and a possible touch-up at year two if you prefer very thin lines. A common mistake is requesting extreme micro-detail at small scale, which leads to early softening. For outfits, roll up sleeves and pair with a rolled-sleeve linen shirt to show the piece without crowding it under bracelets.
2. Abstract Diamond Cluster on the Wrist
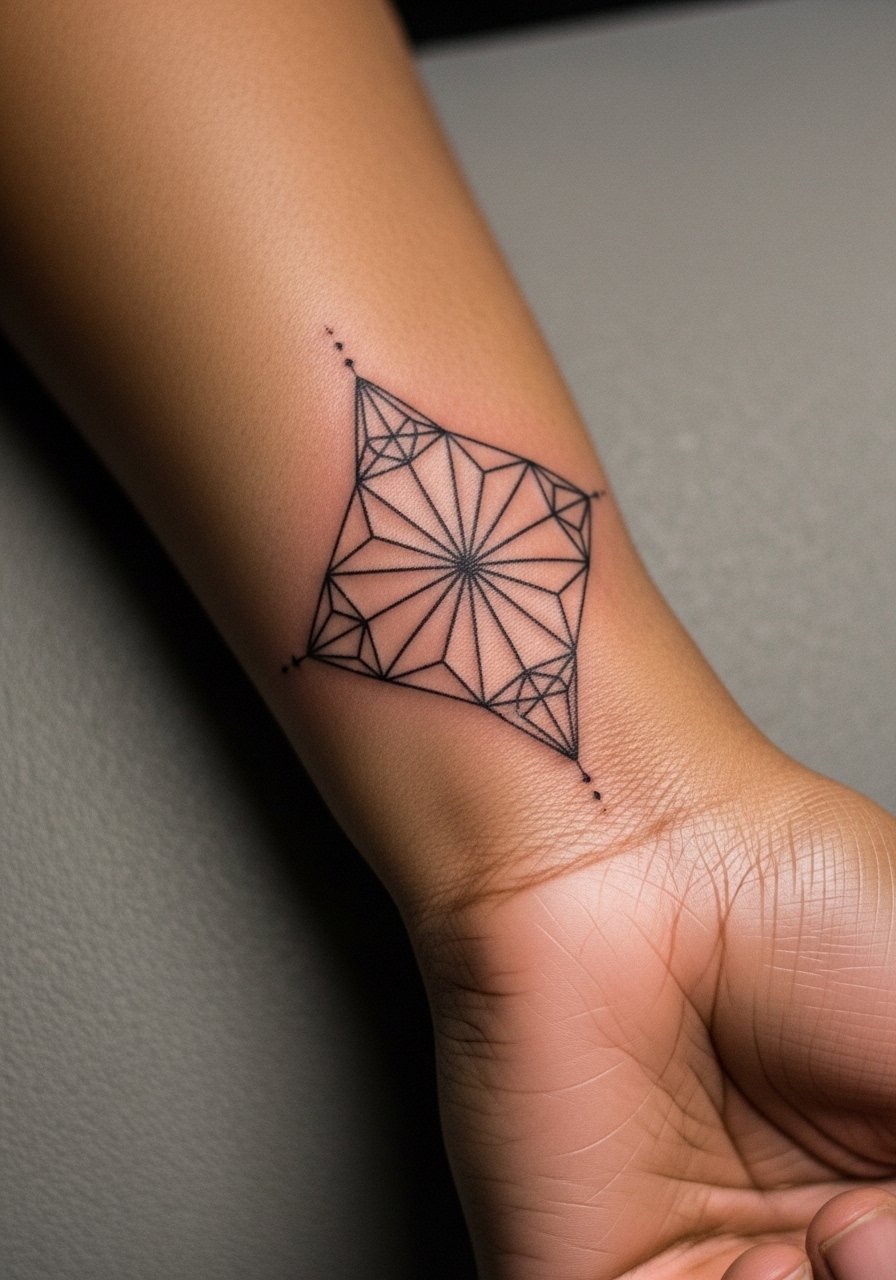
Wrist pieces photograph well but face a lot of fold and friction. I recommend spacing the diamonds slightly wider than you think so the negative space survives washing and bracelets. Tell your artist during consultation you want deliberate breathing room between elements and slightly stronger contrast in the central diamonds. Expect a 45 to 75 minute session and higher touch-up risk because the wrist gets sun and abrasion. The biggest mistake is packing too many small diamonds into a tiny wrist band. Keep it airy and plan for a touch-up around year two.
3. Watercolor-Splatter Harley Motif on Upper Arm

Watercolor elements read dramatic when large and placed on the outer arm. For longevity, pair splatter with a few bold black anchors so the design keeps shape as pigments fade. In consultation, ask for color saturation layered over solid black anchors and request UV-resistant inks if available. Sessions run two to three hours for color saturation and blending, and touch-ups are common at year three. Avoid requesting a full wash of thin color without black structure because that ages into a bruise. For showing it off, wear a sleeveless tank top so the color reads from across a room.
4. Fragmented Harlequin Mask on Collarbone

The collarbone gives graphic neck-adjacent placement that looks intentional with negative space. Expect a moderate pain level because bone is close to the surface, but the piece rewards you with striking placement. Tell your artist you want the mask fragments to sit just off the bone to avoid blowout risk and ask for thinner outer lines with thicker interior anchors. Most sessions are 60 to 120 minutes. A mistake is centering the darkest areas directly over the collarbone where healing can be spotty. Pair the design with an open-neck blouse for nights out and to let the mask read against skin.
5. Stipple Shaded Playing Card Stack on Side Ribcage

Ribcage work carries a reputation for being painful but visually rewarding. Stipple shading keeps contrast without heavy saturation, and that helps the piece age more gracefully than dense color. Pain here is high, so expect breaks and a longer single session or multiple shorter ones. Artists split on fine line in this area. One camp says the skin stretch blurs thin lines within two years. The other camp argues that with correct depth and spacing, fine line settles fine on ribs. Ask your artist where they land and plan for touch-up if you fall on the thinner-line side. During the session wear a sports bra so the artist can access the side without you being uncomfortable.
6. Negative Space Joker Smile on Back of Hand
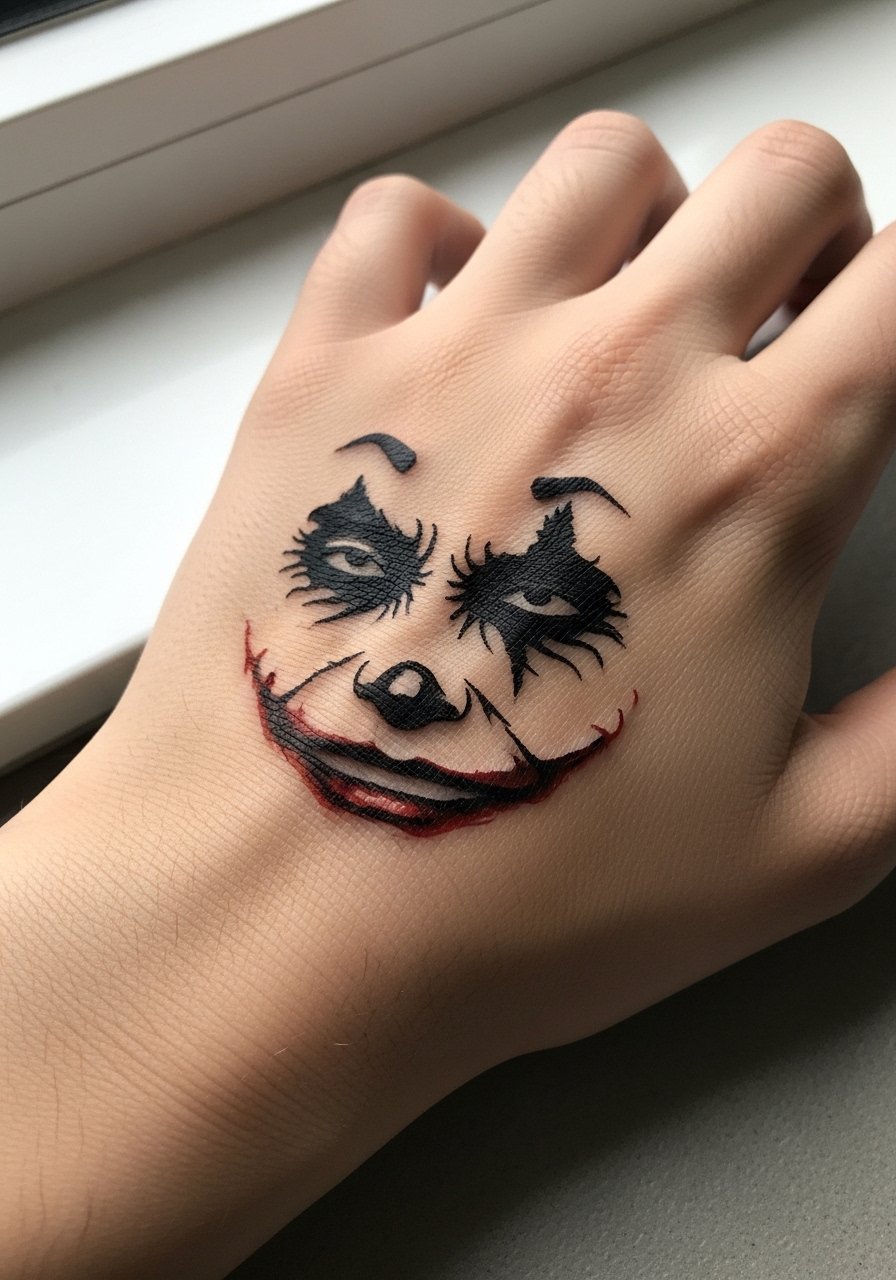
Hand tattoos have fast visual payoff with very high wear. The back of the hand fades and spreads faster because of constant washing and friction. I suggest using negative space and bold, slightly thickened outlines so the smile reads as it ages. Session time is usually 30 to 60 minutes but expect yearly touch-ups. A common mistake is insisting on ultra-fine detail for a high-wear zone. If you want to show it off, minimalist stacked bracelets will highlight the design without rubbing it constantly.
Pre-Session Essentials
The forearm, wrist, and hand pieces above need different prep than chest or ribcage work, so these five items smooth the session and the first week.
-
Stencil transfer paper kit. Lets you preview exact placement on skin so you can move the abstract elements before the needle starts, which is helpful for asymmetric pieces above.
-
Topical numbing cream. Applied per the product instructions 30 to 45 minutes before helps during wrist and rib sessions without affecting linework when used correctly.
-
Thin protective film roll. Keeps delicate wrist and hand work clean during the first days when friction from typing and clothing is highest.
-
Fragrance-free gentle body wash. Cleanses healing areas without stripping pigment or irritating sensitive linework zones like the inner forearm.
-
Aquaphor healing ointment. A thin initial layer can protect fine line areas and help scabbing remain pliable during the first three days.
7. Chaotic Script Curve Along the Spine
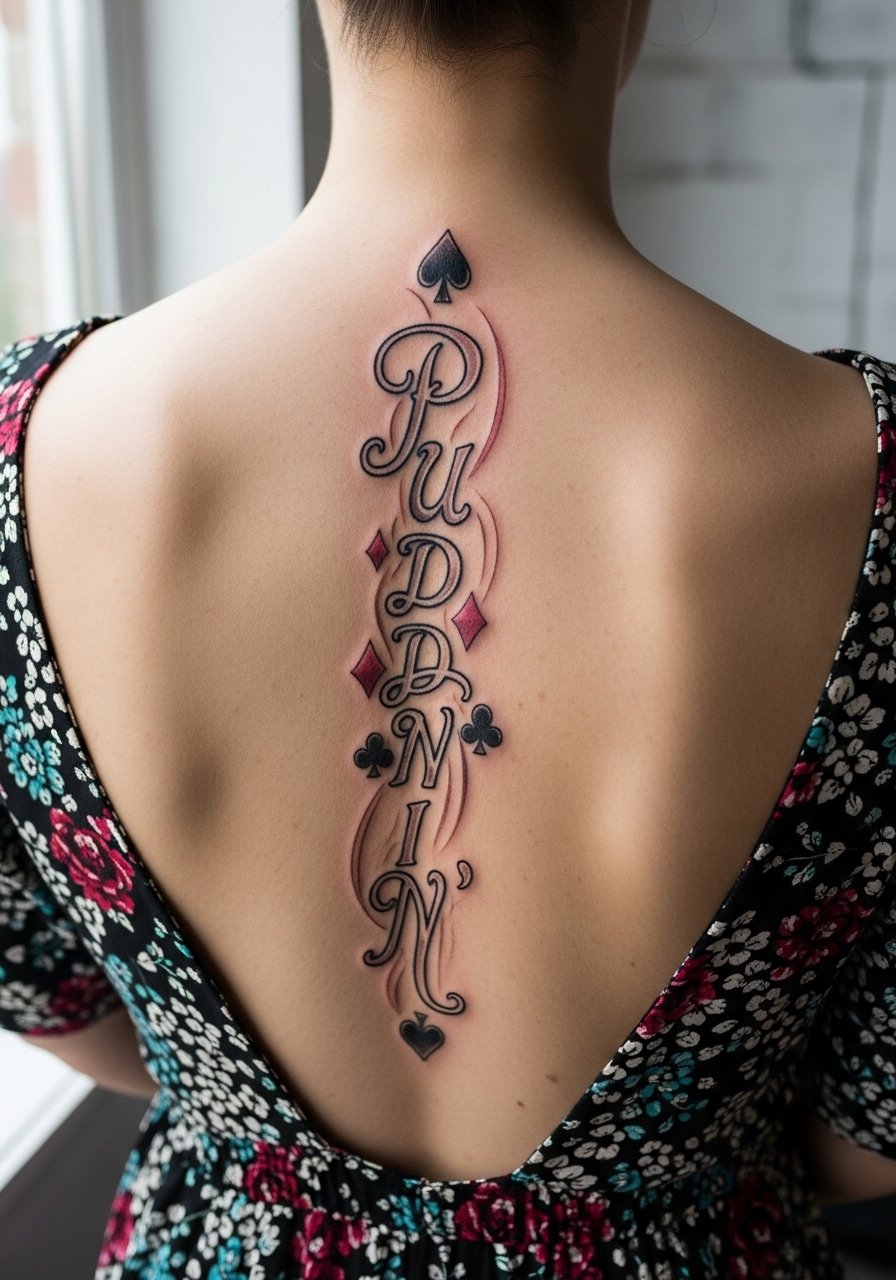
Spine pieces are dramatic and pair with open-back clothing. The curve reads best when the script and marks follow natural spinal anatomy rather than a straight line. Tell your artist you want the composition to flow with movement and not sit perfectly vertical. Sessions are usually split into two to three shorter blocks to manage discomfort. Blowout risk increases with very close parallel lines, so ask for subtle spacing adjustments. For nights out, an open-back midi dress frames the vertical rhythm without competing with the linework.
8. Splintered Color Blocks on the Outer Thigh

Outer thigh gives space for large abstract color without constant sun exposure. For saturated blocks, ask your artist to anchor colors with small areas of black for definition so fading on the leg looks intentional. Expect two to four hour sessions depending on size and a likely touch-up at year three for areas that experience more rubbing from pants. A common mistake is packing color close to the pant line where friction and tight seams accelerate fading. For session comfort, pull on a pair of high-waisted shorts you can move aside without removing clothing.
9. Fragmented Playing Cards on the Side Torso

Side torso pieces are intimate and respond to body shape. Because the area stretches with movement, avoid tight grids and choose staggered fragments so the composition stays readable. Session time and pain match ribcage work, and you should expect longer healing if the pieces extend under clothing seams. Controversy exists about fine line here. One camp contends fine line on the side torso blurs quickly due to skin movement and stretching. The other camp says careful placement and proper needle depth allow lines to settle and hold. Ask where your artist stands and book touch-up time into your plan if they favor thinner linework.
10. Collage-Style Lower Calf Flash

The lower calf tolerates medium detail and often looks better as a small collage than one long strip. I recommend mixing dot work and bold anchors so small motifs read even as they age. Tell your artist to prioritize saturation in anchor shapes and to keep delicate dot work in sections away from constant sock friction. Sessions run one to two hours. A mistake is extending delicate dot work to areas that rub inside shoes. For outings, cropped pants or sandals let the collage breathe.
11. Geometric Mask Fragment Above the Elbow

Above-elbow pieces sit in a transitional zone that sees moderate movement. The trick is to keep heavier lines toward the center and lighter geometry toward the edges so elbow flexion does not smear detail. Plan for a 60 to 120 minute session. The most common mistake is treating the area like the forearm and asking for micro-detail too close to the joint. When you consult, say you want a slightly heavier outline where the piece crosses the flex zone so the shape survives frequent bending.
12. Sternum Minimalist Harley Symbol

Sternum tattoos are high-sensation placements and require an artist experienced with chest anatomy. The debate mirrors other tight-line placements. One school warns that the sternum's movement and thin tissue cause fine lines to blur faster. The opposing school says that with correct spacing and slightly bolder primary strokes, the design can remain crisp. Plan for a longer appointment and potential minor touch-ups at year two to three. For the session, bring a strapless or sports bra so access is easy without exposing more than necessary.
13. Asymmetric Joker Heart on the Ankle
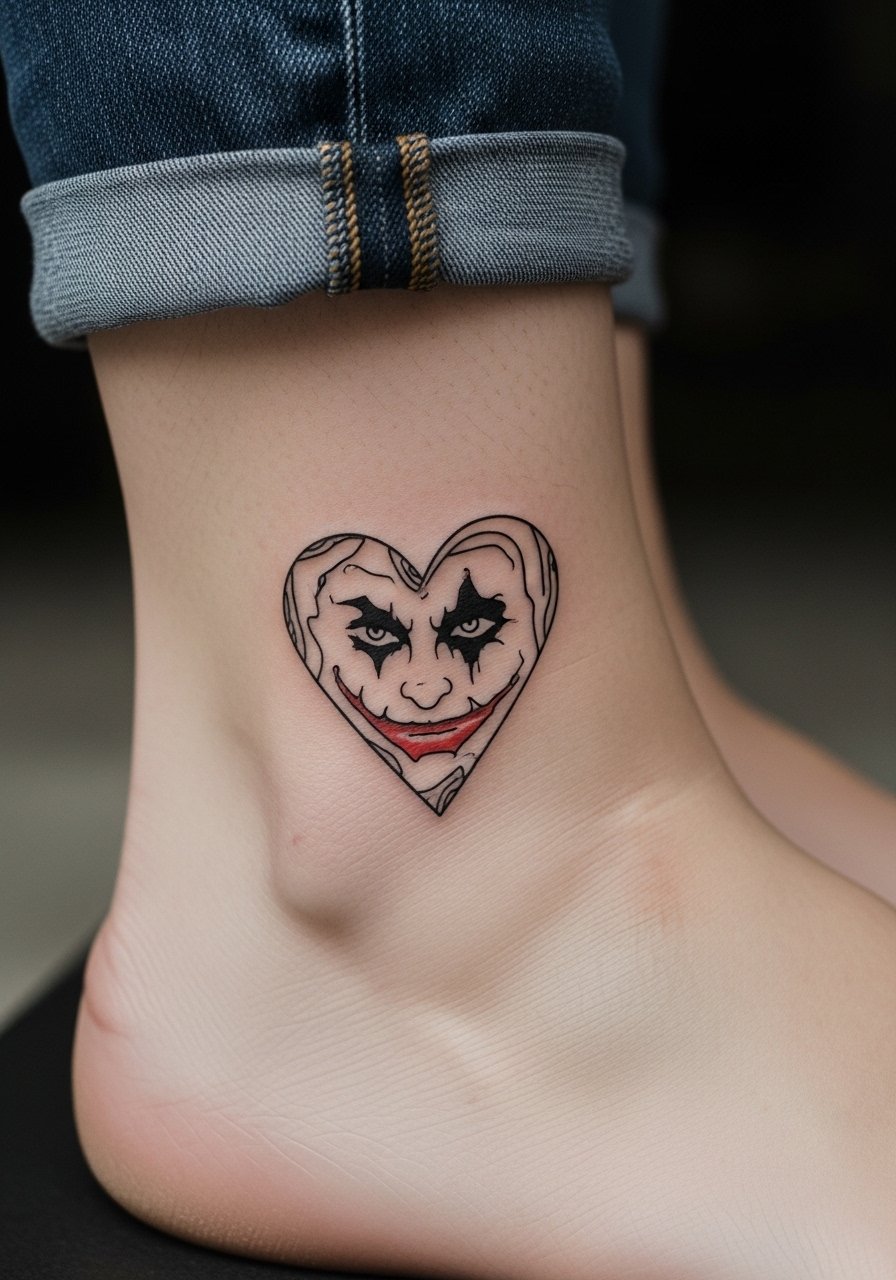
Ankle tattoos are compact and visible but battle constant footwear friction. An asymmetric heart with bold negative space lasts better than a fully filled tiny heart. Tell your artist to avoid tiny internal lines that will blur with shoes and socks rubbing. Sessions are short, 30 to 60 minutes, but expect touch-ups sooner than forearm pieces. A common mistake is cramming detail into a small ankle wrap. For showing it off, roll your jeans and wear low-rise sneakers or sandals.
14. Stylized Diamond Trail on the Shoulder Blade

Shoulder blade pieces age well if they respect muscular motion. A diamond trail that follows the shoulder blade curve looks deliberate in movement and while stationary. Mention to your artist that you want the diamonds to stagger with the muscle rather than sit on a straight axis. Sessions are comfortable and often done in a single two-hour block. Avoid super-fine crosshatching over the blade where movement will break up the pattern. For styling, a loose tank top frames the trail without hiding it.
15. Broken Puppet String Motif on the Inner Bicep
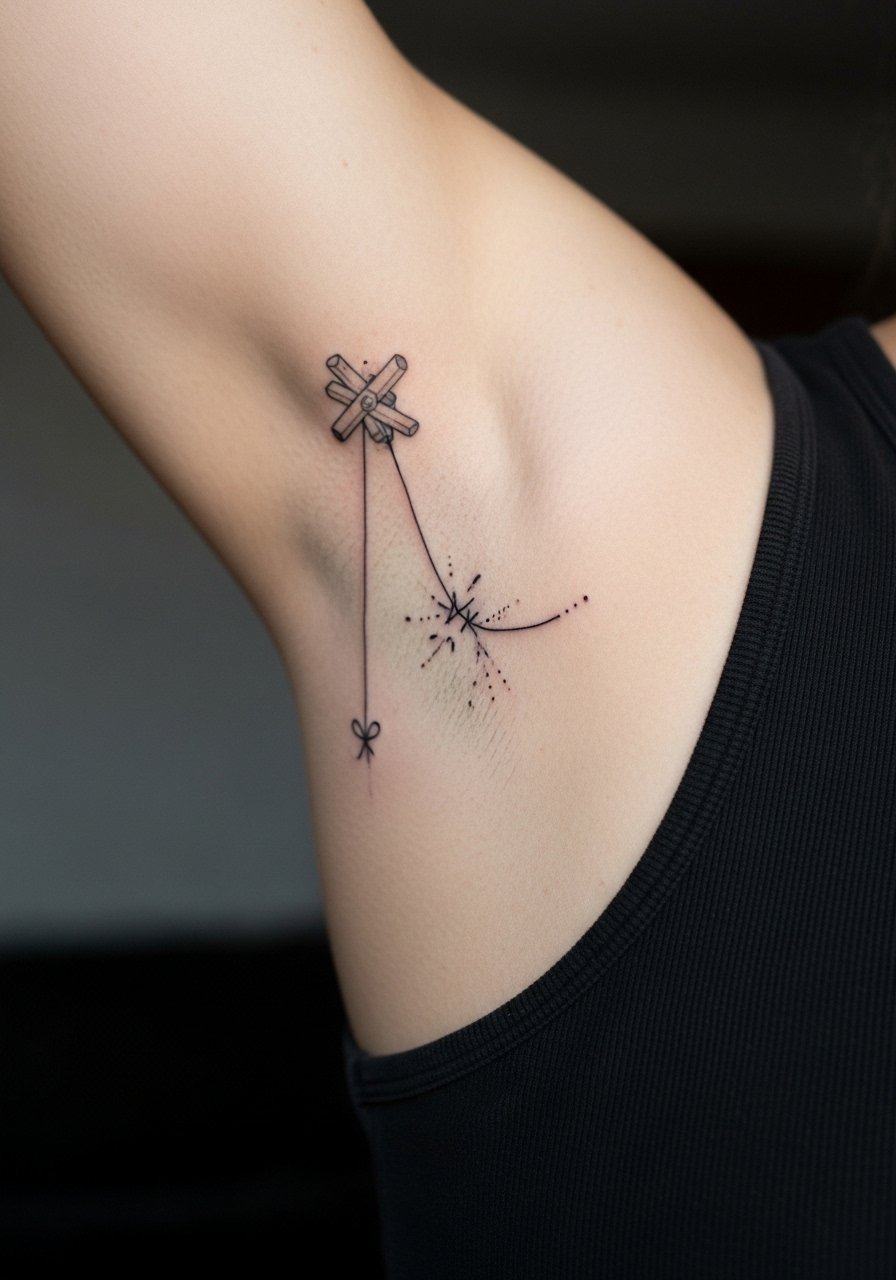
Inner bicep ink can be sheltered and intimate. The skin there takes ink differently and can soften faster if lines are too shallow. When you book, ask for slightly deeper passes on primary strokes and for dot work to stay away from the crease. Sessions are moderate in discomfort and often done in one long block. A common mistake is expecting micro-detail to survive heavy arm movement; spacing is the friend of longevity. For the appointment, wear a tank top that lets the artist reach the area easily.
16. Collapsed Mirror Faces on the Thigh

Upper-thigh pieces allow large-scale abstraction with layered faces that overlap. The skin here is forgiving for saturation and subtle gradients, so you can push color and shade more than on wrists or hands. Expect multiple hours for complex composition and occasional touch-ups depending on how much friction comes from clothing. A common mistake is placing heavy detail too low toward the pant line; keep the densest work higher on the thigh where it avoids constant rubbing.
17. Echoing Harlequin Eyes Behind the Ear and Neck

Behind-the-ear placements are discreet and read as deliberate when paired with a hint of hair tuck. These small motifs require an artist comfortable working in a tight area and with delicate needles. Sessions are brief but can sting because of thin skin. A common mistake is trying to mirror large facial detail in this tiny zone. Keep shapes simplified and staggered so movement does not collapse them. Also consider how visible you want the work at professional events before you book.
Frequently Asked Questions
Q: Will the fine line collarbone mask hold up if I want a crisp look in five years?
A: It depends on spacing and how close the lines sit to bone. Lines placed directly over the collarbone tend to soften faster because of thin tissue. Ask for slightly stronger primary strokes and negative space between fragments so the mask maintains shape without needing frequent touch-ups.
Q: Do ribcage stipple pieces require different aftercare than forearm work?
A: The practical difference is mostly about clothing friction and how often the area is disturbed. Ribcage pieces often need looser garments and extra vigilance for the first week. Use the protective film and fragrance-free wash from the product list above to minimize irritation while the stipple heals.
Q: Can I mix watercolor splatter with black anchors and expect good longevity on the upper arm?
A: Yes. The watercolor will fade more than black, but when it is anchored by solid black shapes the overall composition keeps its intent. Ask your artist to place black anchors where you want the composition to read for years, and plan for a color touch-up at year three if you want vibrancy restored.
Q: Are hand and wrist tattoos still risky for professional settings?
A: Hand and wrist tattoos are more visible and may affect perceptions in some workplaces. If that is a concern, consider placing the motif slightly higher on the forearm or using a smaller, more abstract mark that can be covered by long sleeves when needed. A rolled-sleeve shirt shows the piece without full exposure.
Q: How many sessions should I expect for a large thigh collage combining geometric and portrait elements?
A: Large mixed pieces often need two to three sessions depending on complexity and your pain tolerance. Artists commonly separate linework from color or shading to preserve crispness and manage healing. Plan sessions weeks apart so swelling fully subsides before the next pass.
