
Fine line smiley tattoos look gorgeous on a saved board, but the reality in the chair and the first years after is messier. Hand pieces fade fast from washing and sun, wrist lines can blur on medium skin tones, and small designs often cost more than people expect because of shop minimums. Read these 21 aesthetic takes and what to ask your artist to get a smiley that still looks like the design after a few years.
1. Melting Watercolor Smiley on the Lower Arm
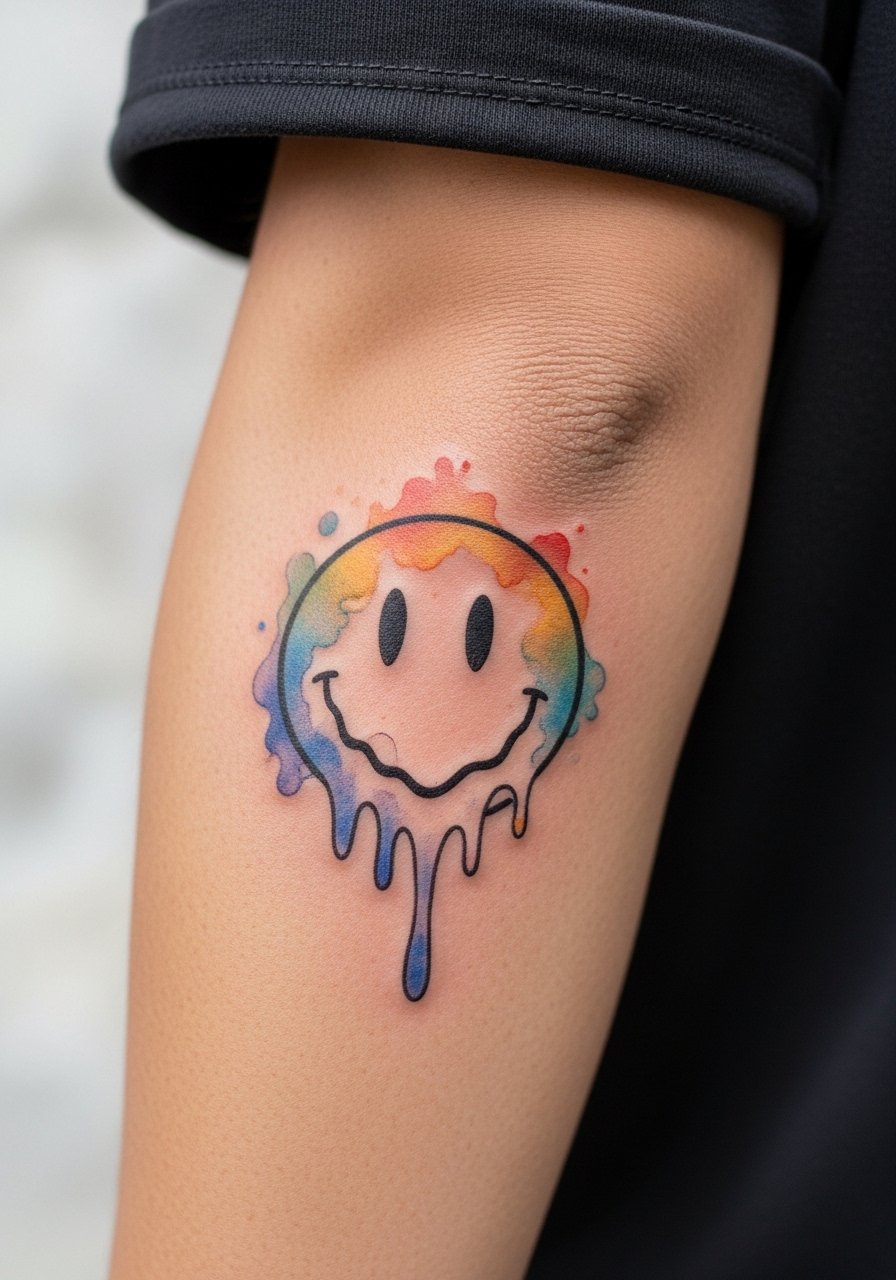
This is the dripping smiley that reads like emotion shown in paint. I recommend it for anyone who wants visible color without committing to a high-contrast hand piece. Tell your artist you want soft edges around the blue rim and a loose watercolor wash rather than packed saturation. Expect a one-session appointment of under two hours and plan a touch-up at year two if you want the blues to remain vivid. Common mistake is asking for too much tiny detail inside the melt, which blurs as the paint settles. For showing this off, roll a sleeve up and wear a rolled sleeve t-shirt so the dripping colors sit against clean fabric.
2. Outline-Free X-Eyes on the Shoulder
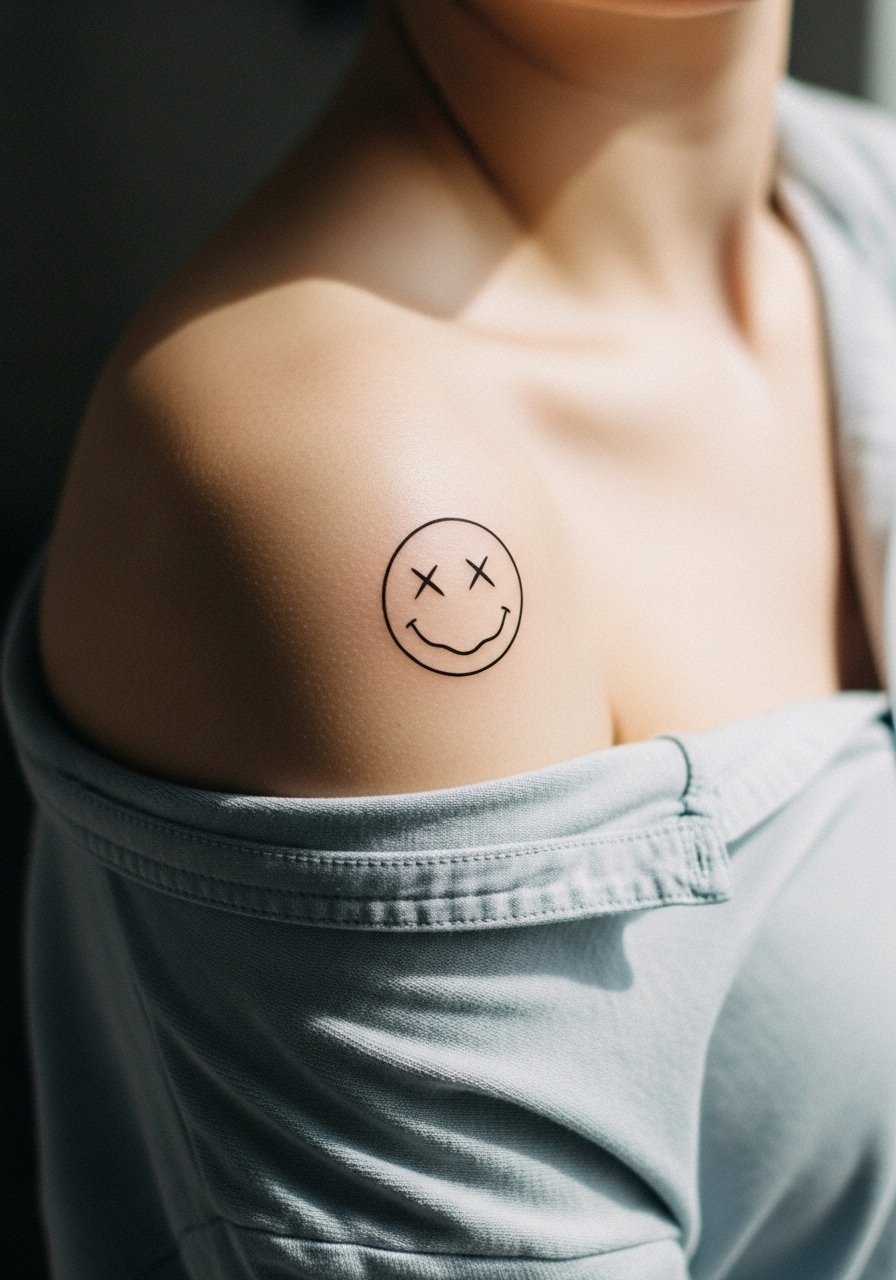
The outline-free approach uses negative space and soft shading so the smiley blends with skin. It works best on the shoulder where the area has enough natural curve to keep the face readable. During consultation ask for slightly thicker inner shading so the eyes read as crisp Xs after healing. This style ages differently than bold lines. At six months it looks like a gentle ghost on skin, by year two it softens further but still reads as the X-eye motif. A common error is requesting it too small. The shoulder needs a little room to breathe. For session wear, an off shoulder top or sleeveless shirt keeps access easy and photography flattering.
3. Bold Hand-Back Smiley That Sparks Talks
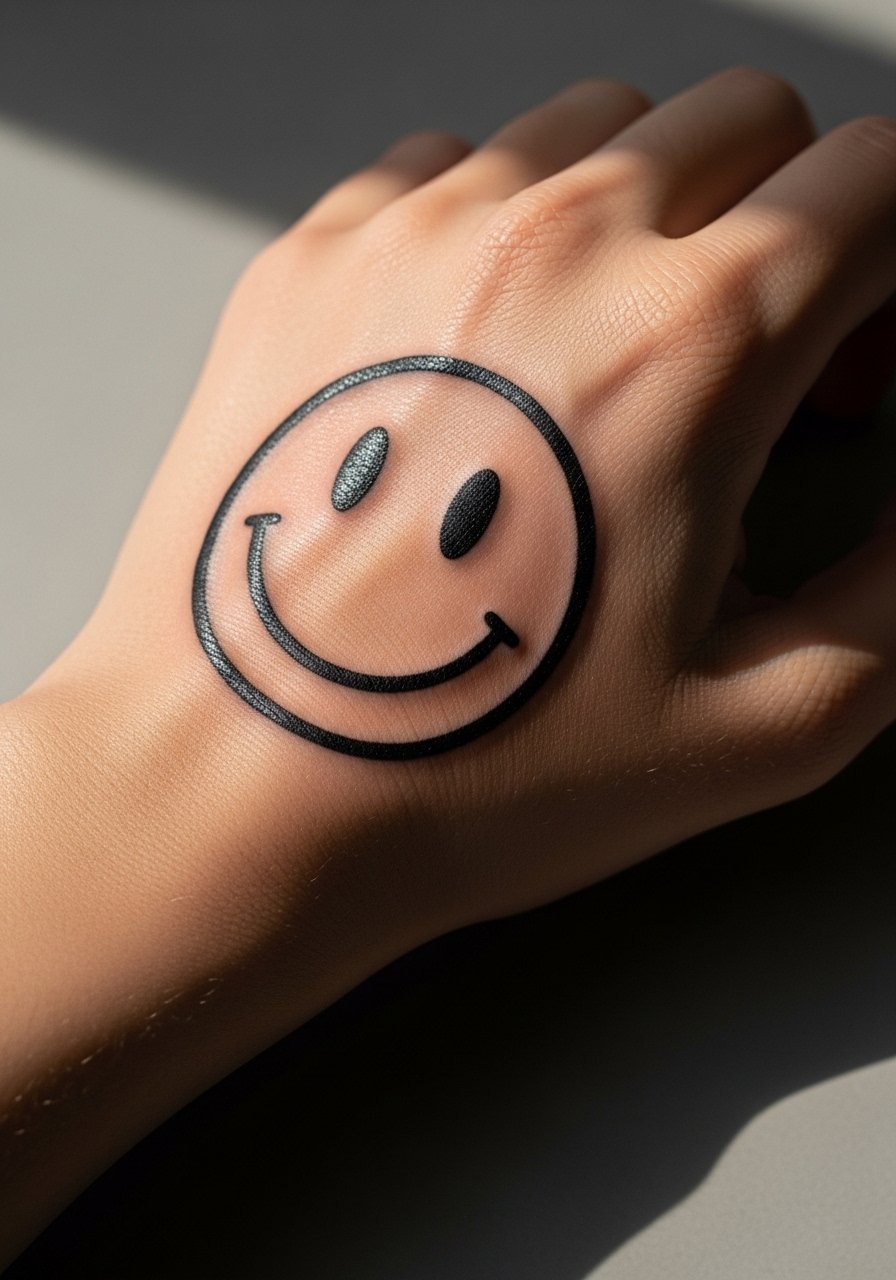
Hand-back smileys are social magnets. Expect visible interaction with strangers and faster fading from constant washing and sun. I recommend bold outlines rather than fine line here, because the thicker line holds up longer. During booking, ask about touch-up timelines and budget for a touch-up every one to two years. Pain is moderate because the hand has less padding. A common mistake is treating a hand piece like a micro wrist design. Also consider career implications before committing because visibility is immediate. Stack thin rings on other fingers or try fingerless gloves leather for colder days if you want to frame the tattoo without covering it.
4. Dainty Micro Smiley on the Wrist, Fine Line Debate Included
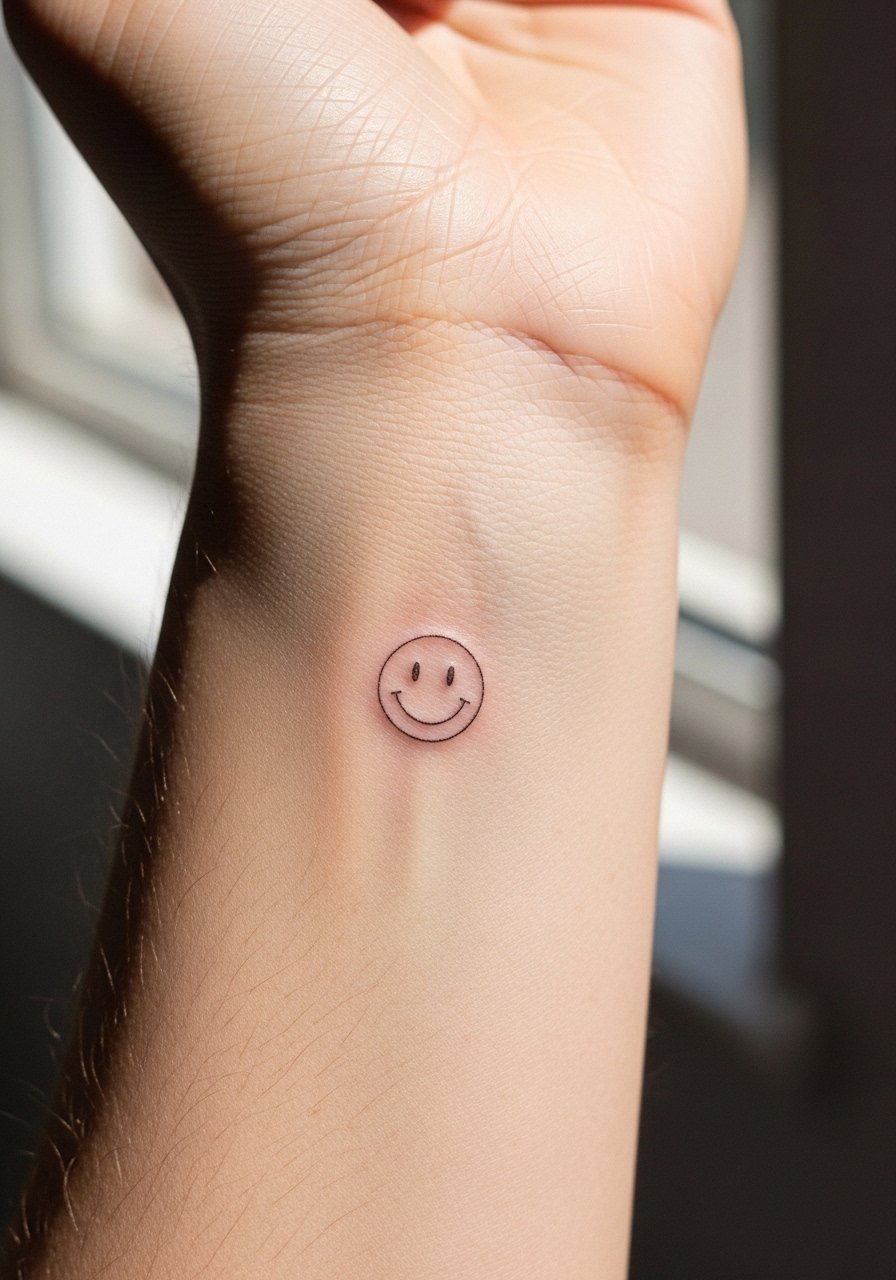
Wrist micro smileys look delicate but they spark debate in the community. One camp prefers fine line for the minimalist look and says it softens elegantly. The other camp argues crisp bold line lasts longer on high-wash areas like wrists. Ask your artist which side they fall on and why before booking. If you want the fine line look, size it slightly larger than your screen reference and accept touch-ups at year two or three. Expect low session time around 30 to 45 minutes and a sting near bone which most people rate as a 5 out of 10. For everyday styling, wear a dainty cuff bracelet on the opposite wrist to balance attention.
5. Blackwork Forearm Smiley for Longevity
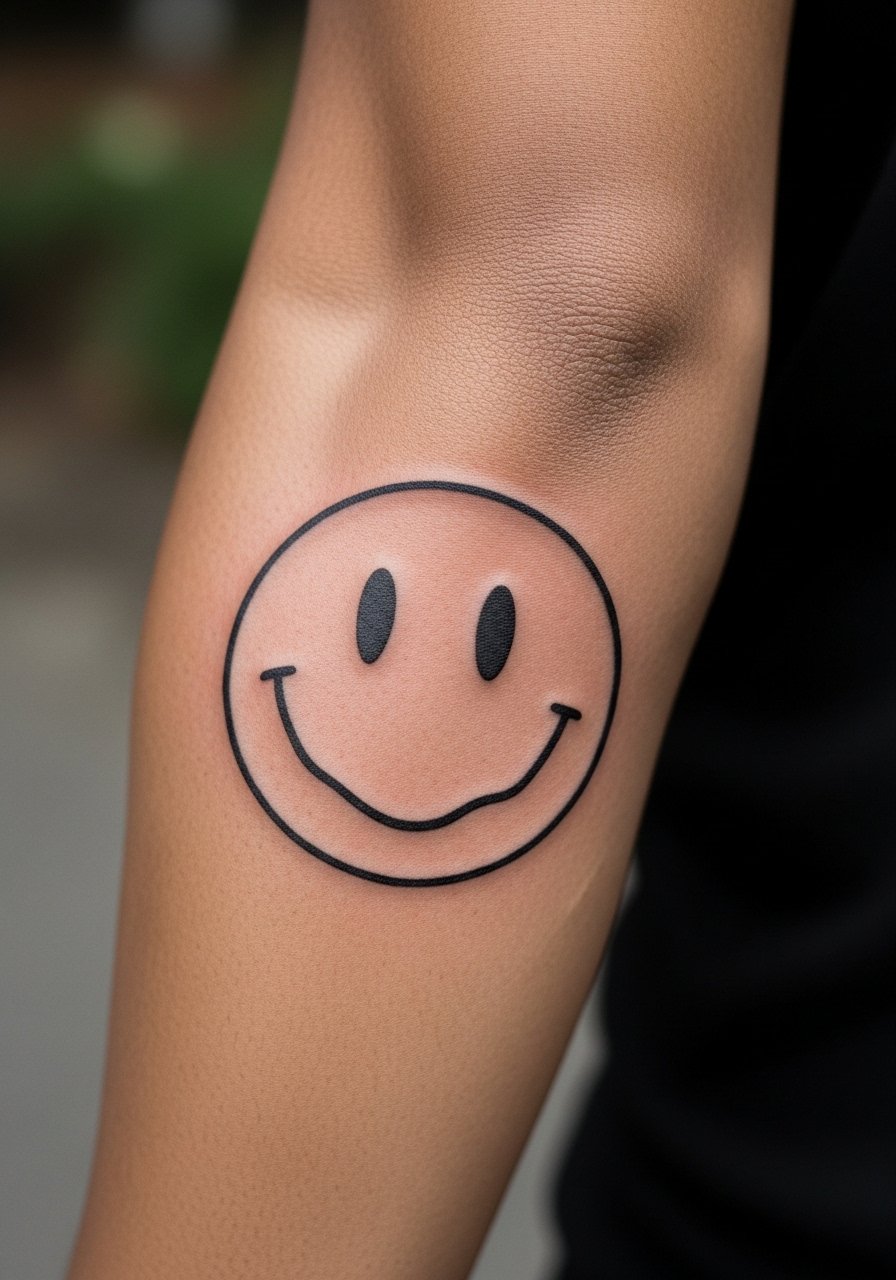
Blackwork gives the smiley clear presence and ages well because saturation holds. I suggest a medium size that fills the forearm without crowding it so you get longevity without a touch-up in the first three years. In consultation ask for a consistent lineweight and clear negative space around the mouth to avoid blurring. The session usually runs under an hour and pain is low to moderate depending on forearm sensitivity. One mistake people make is requesting an overly dense fill that traps ink and risks blowout near the elbow crease. Pair this with a rolled-up henley when you want to show it off, like a henley shirt rolled sleeve.
6. Heart-Eyed Micro Smiley on the Finger
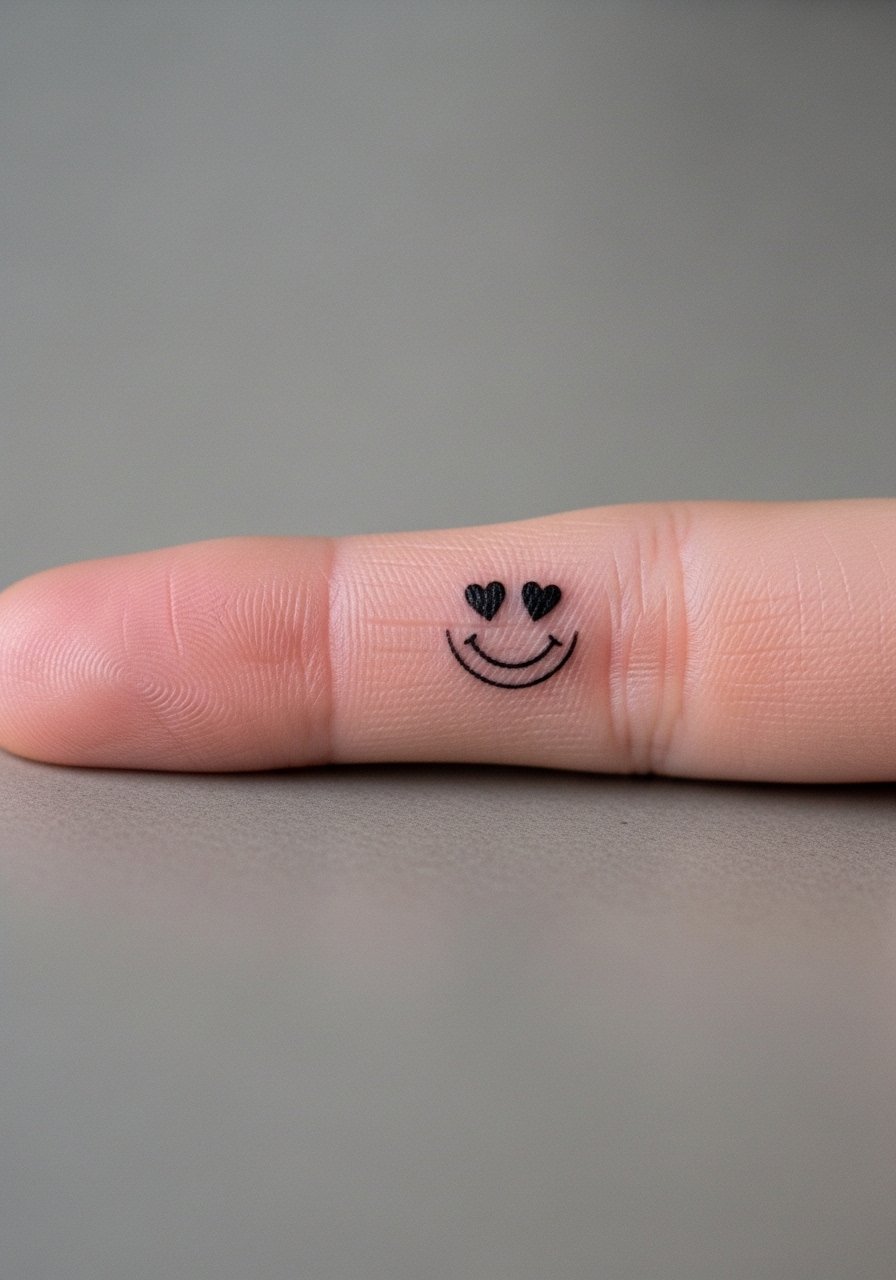
Finger smileys read intimate and playful, but fingers are wash-heavy and move constantly. I recommend a clean outline with minimal fill so touch-ups are straightforward. Tell your artist you want slightly shallower saturation to reduce the risk of blowout. Expect a quick session under 30 minutes and a higher touch-up probability, often within one year for crisp edges. A common error is placing too much fill which becomes muddy after regular hand use. For nights out, balance the design with thin stackable rings on other fingers so the tiny face still reads.
7. Neon Pop Smiley on the Thigh
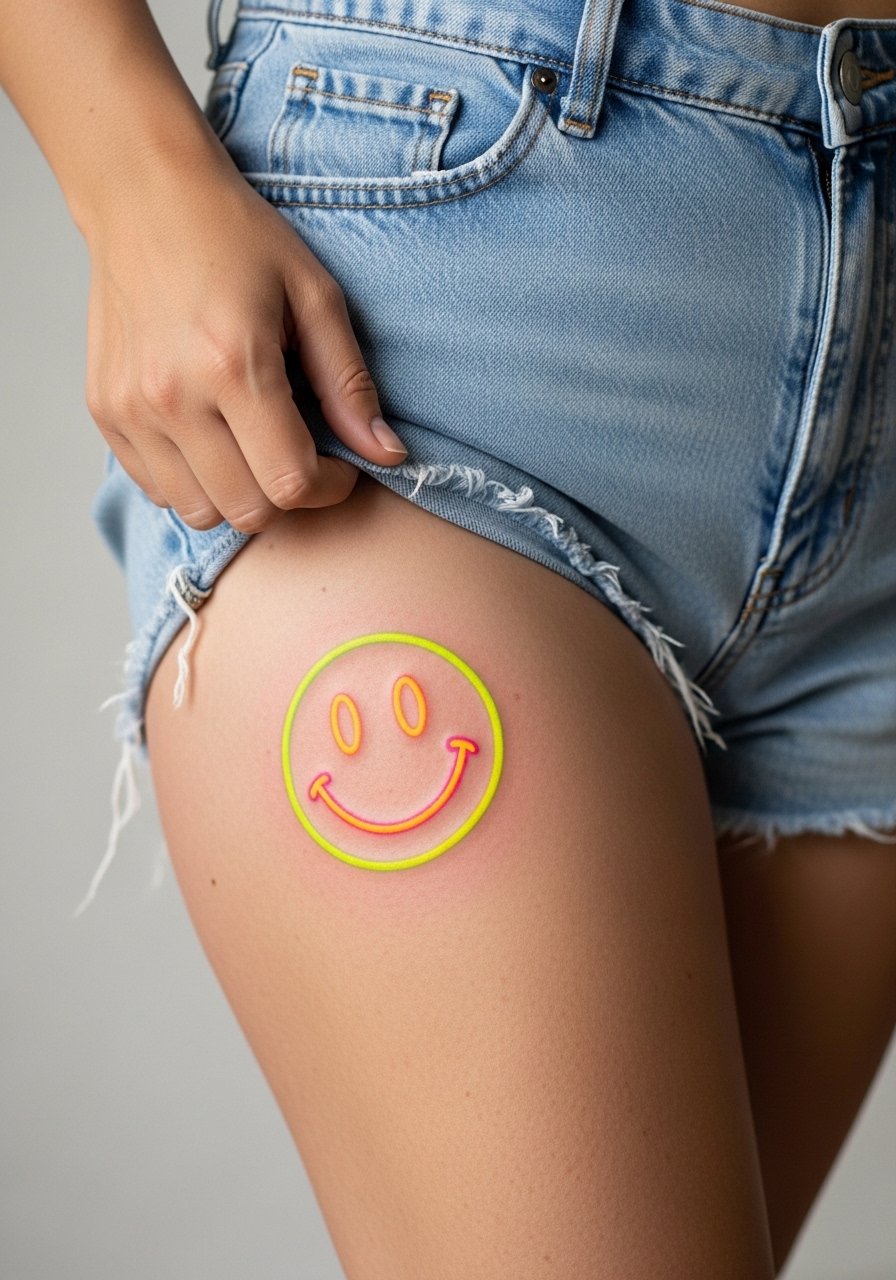
Neon color pops have a social media moment and read great on the thigh where there is room for saturation. The downside is neon pigments tend to fade faster, especially in warm climates and after repeated tanning. Ask your artist about color layering and whether they use pigments formulated for longevity. Expect one to two sessions depending on size and a modest amount of discomfort that most report as a 4 out of 10 on the thigh. A mistake is picking fluorescent yellow as the dominant fill without a contrast outline, because it can wash out. For the appointment, wear loose shorts or a wrap skirt so the artist can access the thigh comfortably.
8. Star-Eyed Smiley Near the Collarbone
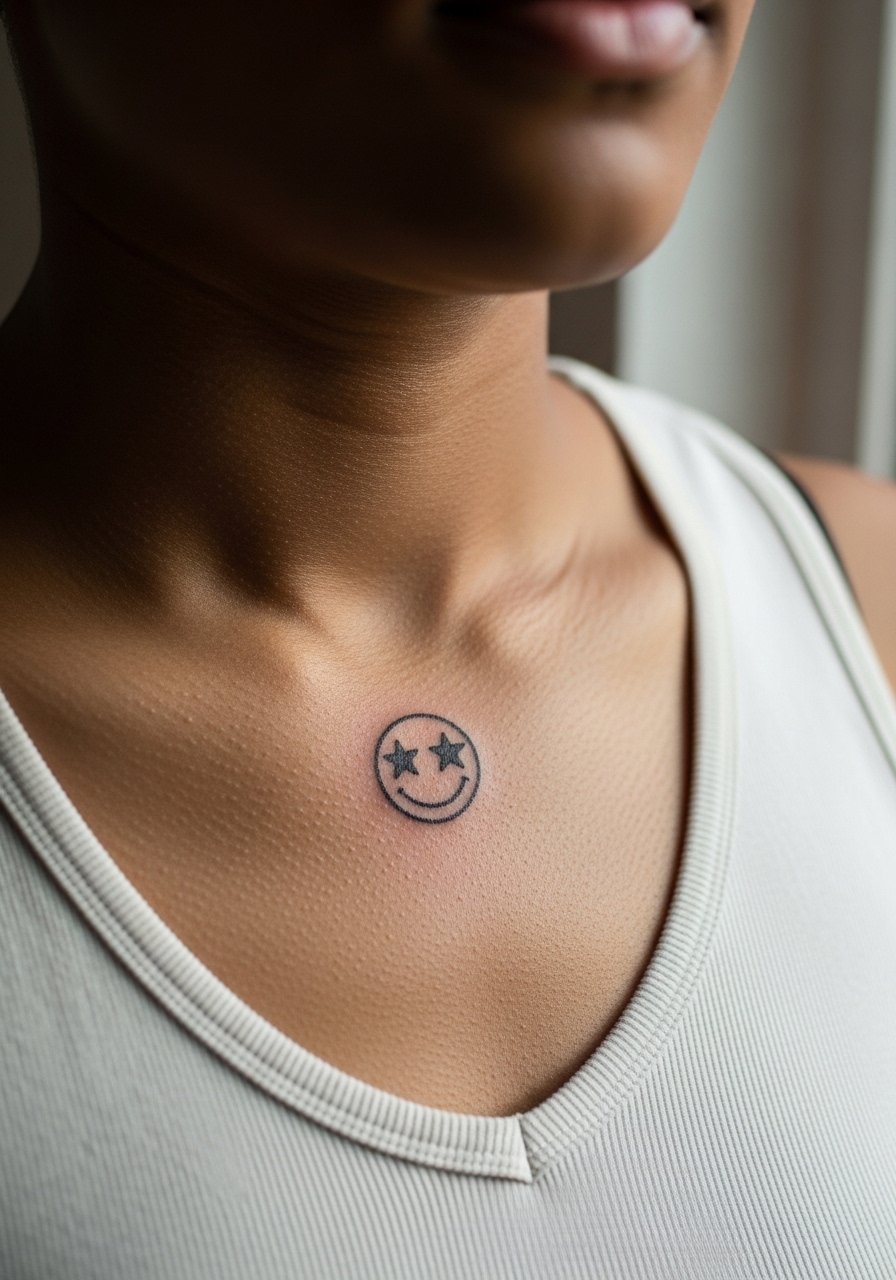
A collarbone smiley with star eyes feels ornamental and photographs well with layered necklaces. Size it small and center it just above the collarbone line so it reads in common clothing. In consultation, request a tiny spot of color in the stars to prevent them from blending with the skin after a year. Pain here is higher because the bone is close to the surface, often rated a 6 out of 10. A common mistake is trying to cram extra detail into a very small area. For evenings out, pair with a v-neck tank top so the tattoo sits in the visual V and does not compete with jewelry.
9. Floral-Surrounded Neo-Traditional Smiley on Upper Arm
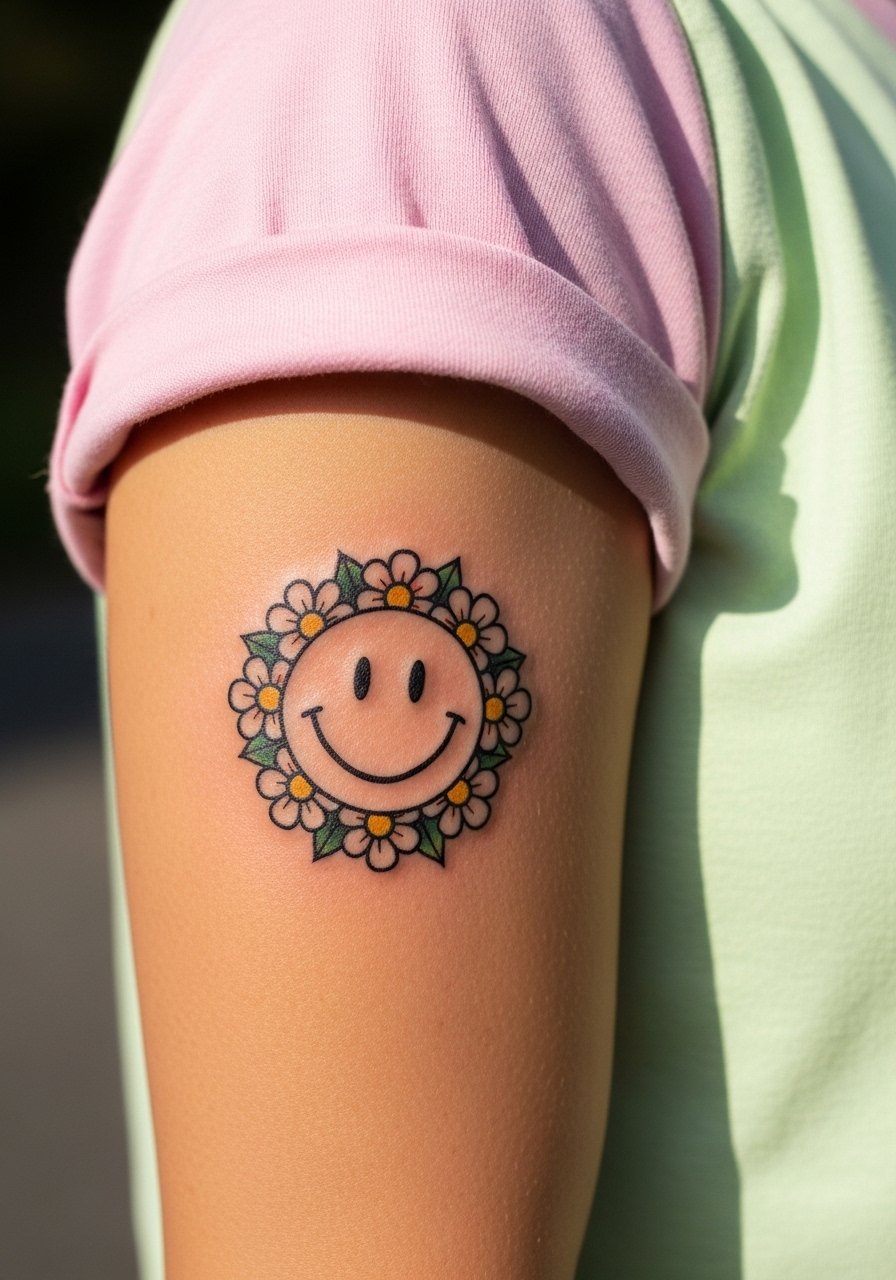
Surrounding a smiley with flowers adds personality and gives the face breathing room as it ages. This is a good choice if you want color that can be touched up in isolated zones rather than reworking an entire piece. Ask for medium petals and color accents that are spaced so they do not merge into the smiley over time. Sessions may take two sittings for layering and blending. A mistake is choosing too many tiny blossoms which can turn into indistinct patches after a few years. For showing it off, rolled sleeves and a pastel cotton tee keep the color next to neutral fabrics.
10. Organic, Outline-Free Smiley That Melts into Skin
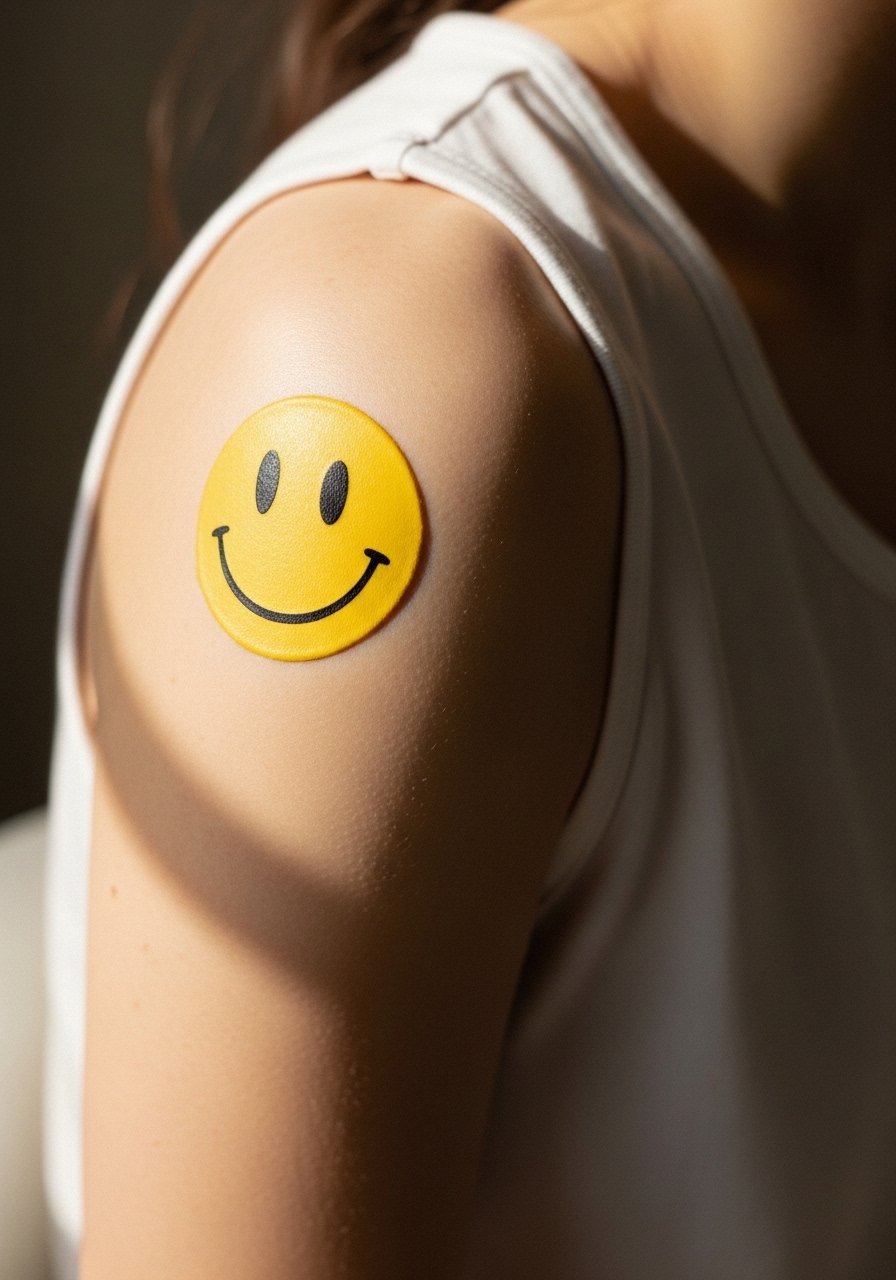
This variant removes the classic black ring for a skin-blending effect. It reads subtle on lighter clothing and ages into a soft presence instead of a graphic badge. I recommend it for people who want a quieter version but still want the smiley readable from arm distance. Tell the artist you prefer slightly denser inner shading so the face remains visible at year two. A common mistake is requesting it too small, which can make the no-outline approach vanish over time. For the session wear a sleeveless tank top so the artist can access the area without shifting fabric.
11. Sunburst Smiley on the Calf with Bold Lines
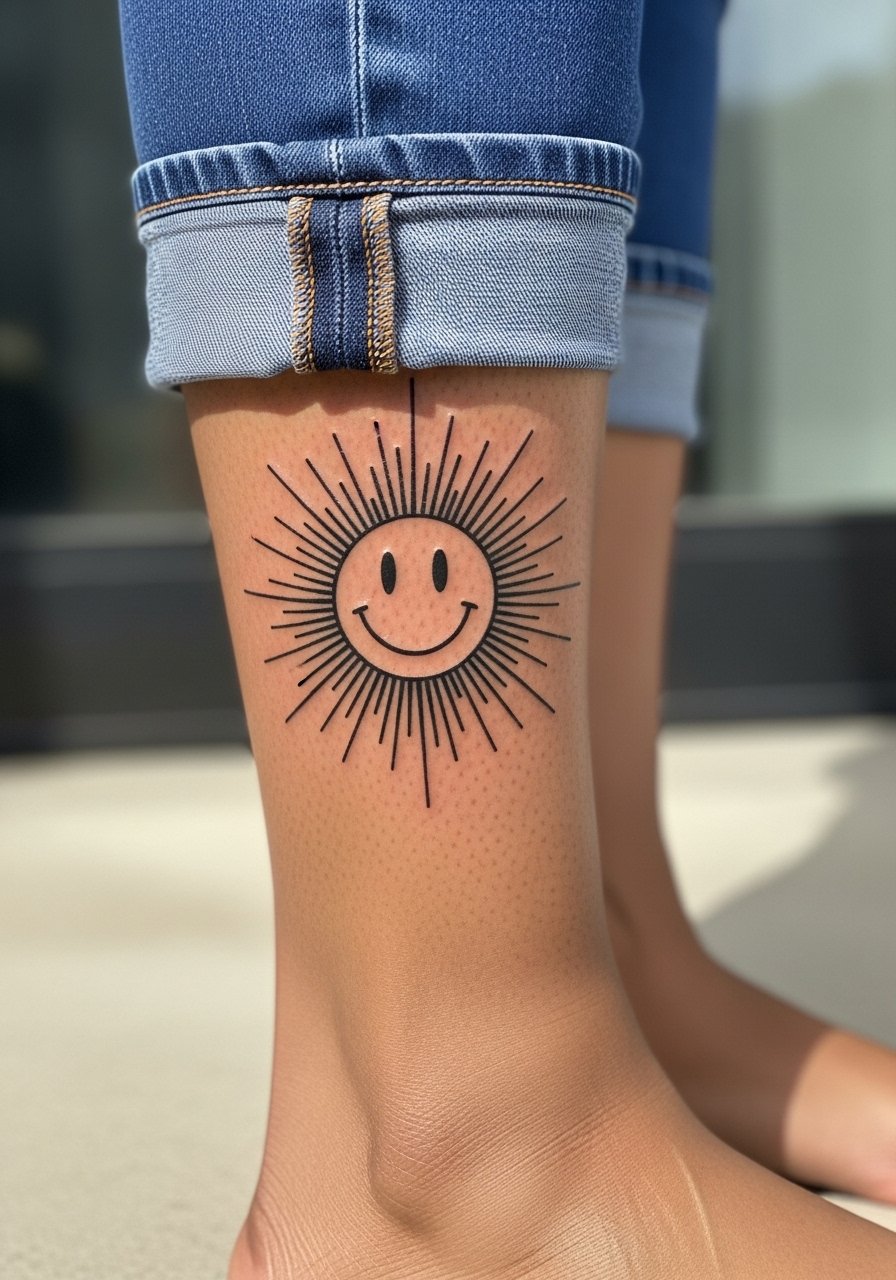
Calf pieces take impact well and are forgiving for larger bold linework. A sunburst variation frames the face and gives movement as you walk. I prefer medium saturation and clean breaks between rays so the design keeps shape during healing. Sessions often run under an hour and pain is low to moderate. A frequent mistake is packing too many rays which can fuse into an unreadable zone after a few years. For showing this off, roll up pant legs or wear shorts that reveal the calf. A neutral shoe keeps attention on the tattoo.
12. Smiley with Drip Commentary on Emotional Flux
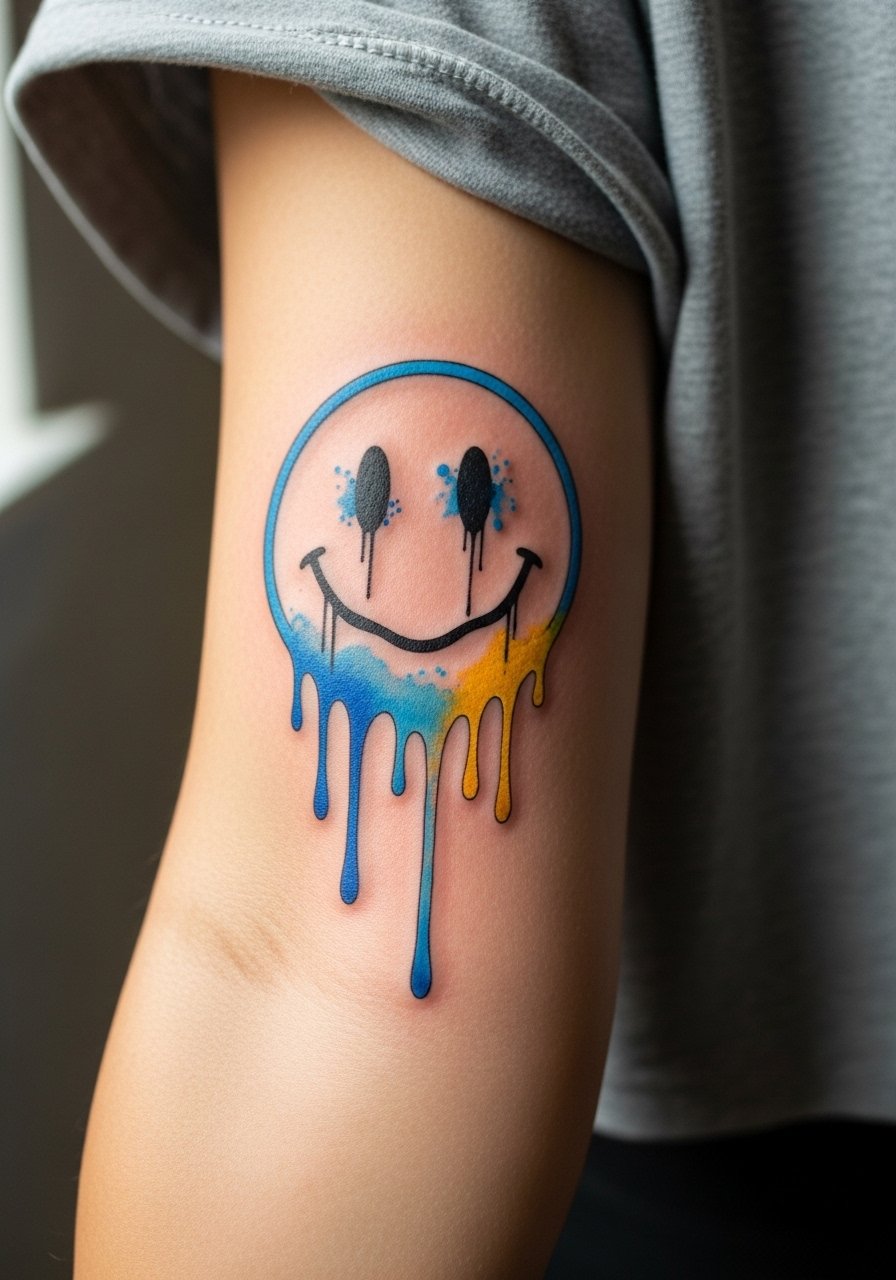
This design plays with mood through the drip motif. I recommend a slightly elongated melt so the drip reads even when your arm moves. In consult, ask the artist to keep the rim color separated from the yellow face to prevent muddying. Aging-wise, watercolor blurs faster than solid fills, so expect color softening by year two and plan a targeted touch-up. A common error is insisting on micro drips that vanish. For the session wear a short-sleeve loose tee so the artist can reach the inner forearm without constriction.
13. Black and Grey Chest Smiley with Vintage Vibe
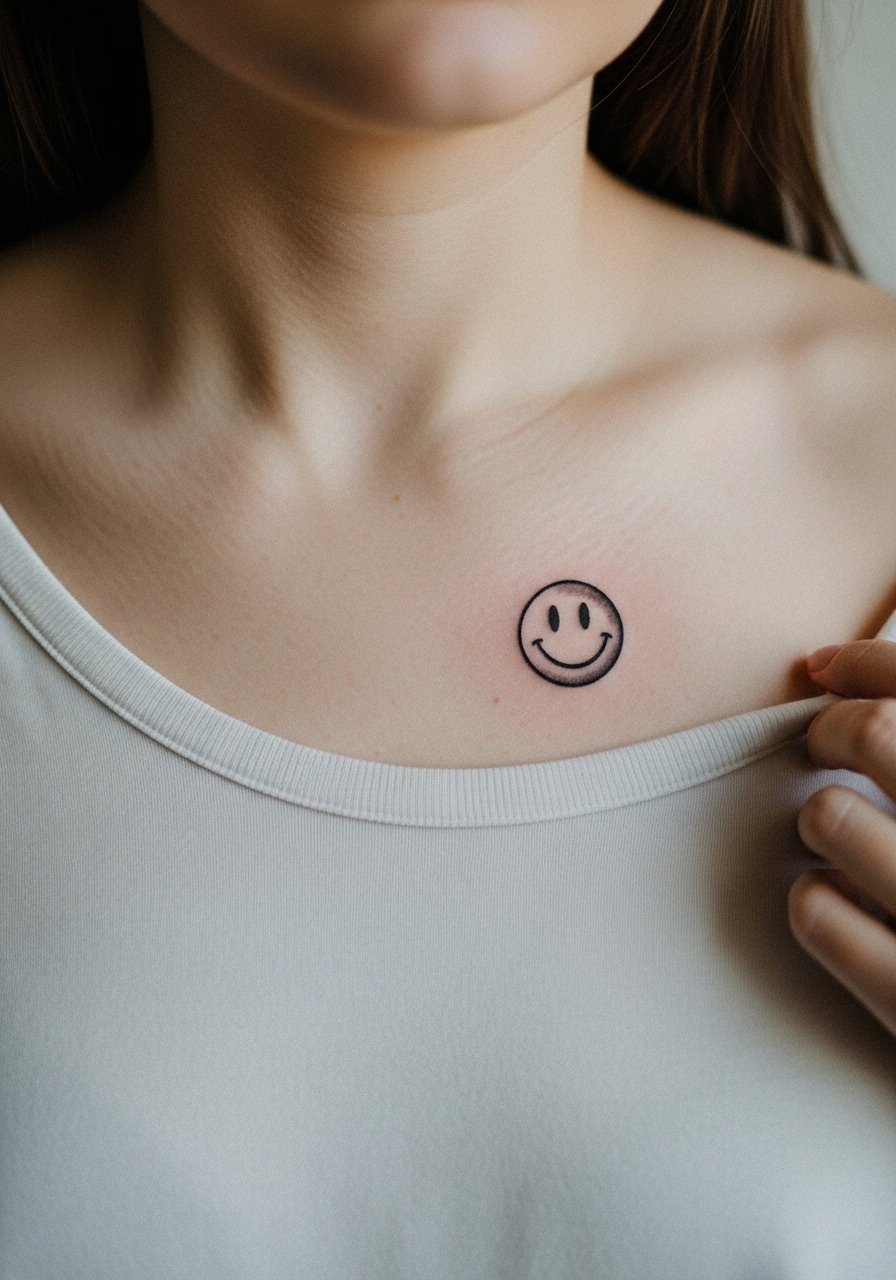
Black and grey brings a vintage feel to a chest placement and can sit near the sternum for a centered look. I advise medium shading and subtle stipple rather than heavy soft shading to preserve detail. Sessions may take one to two hours depending on shading. A downside is chest work can feel more painful and requires careful aftercare in the first week. A mistake is asking for dense grey fills close to the sternum where friction from clothing speeds fading. For the session, wear a wide-neck shirt you can pull aside so the artist has clean access.
14. Tiny Emoji-Style Smiley Behind the Ear, Hairline Framing
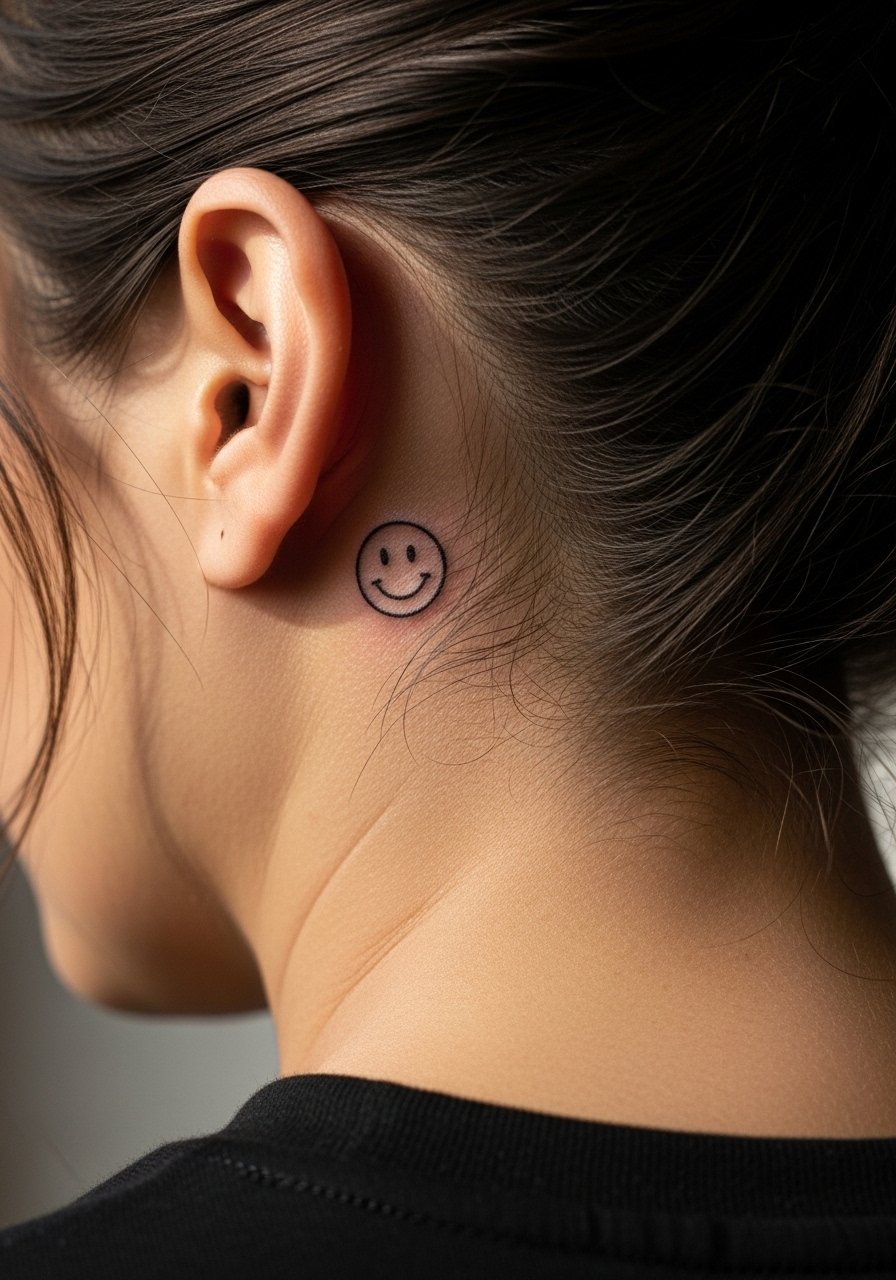
Behind-the-ear placements are discreet and ideal for micro ink. The area requires careful placement so the design sits below the hairline and does not touch the ear cartilage. Expect a quick session and low amounts of ink. A common mistake is going too detailed for such a small canvas. Also consider visibility with hairstyles and workplace norms. This placement requires a specialized approach because the skin is thin and movement affects healing. Book someone comfortable with micro placements and ask for a gentle transfer check before needles start.
15. Smiley with Custom Eye Tweaks on the Upper Back
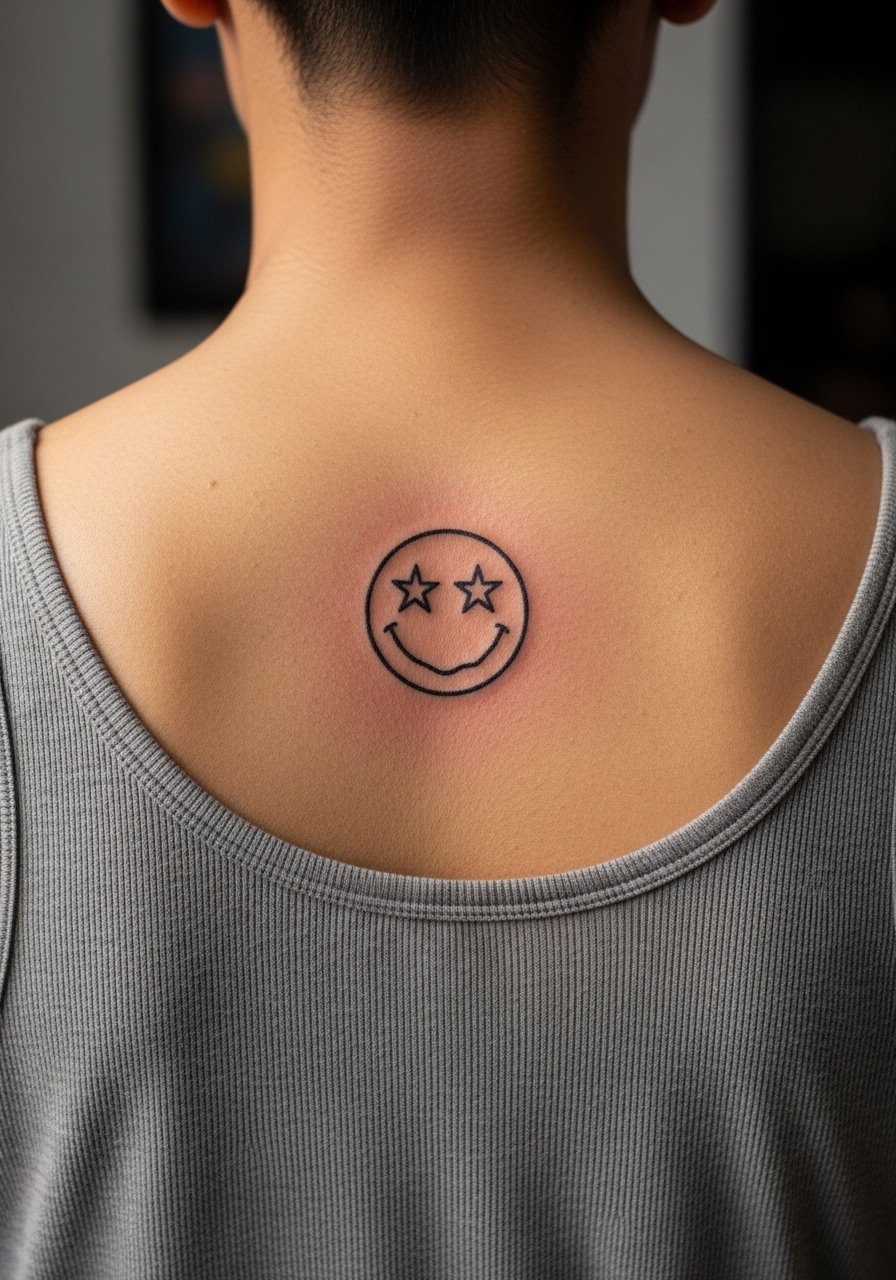
The upper back gives room for custom eye variations like stars or hearts without crowding. Request precise eye shapes in your reference so the artist can map them to your anatomy. Session time is usually under an hour and pain is low to moderate thanks to muscle padding. One mistake is asking for micro eye details too close together. For post-session photos, an open-back dress or a halter looks great, though session wear should be a tank top you can pull to the side for access.
16. Smiley with Stippling on the Calf or Thigh
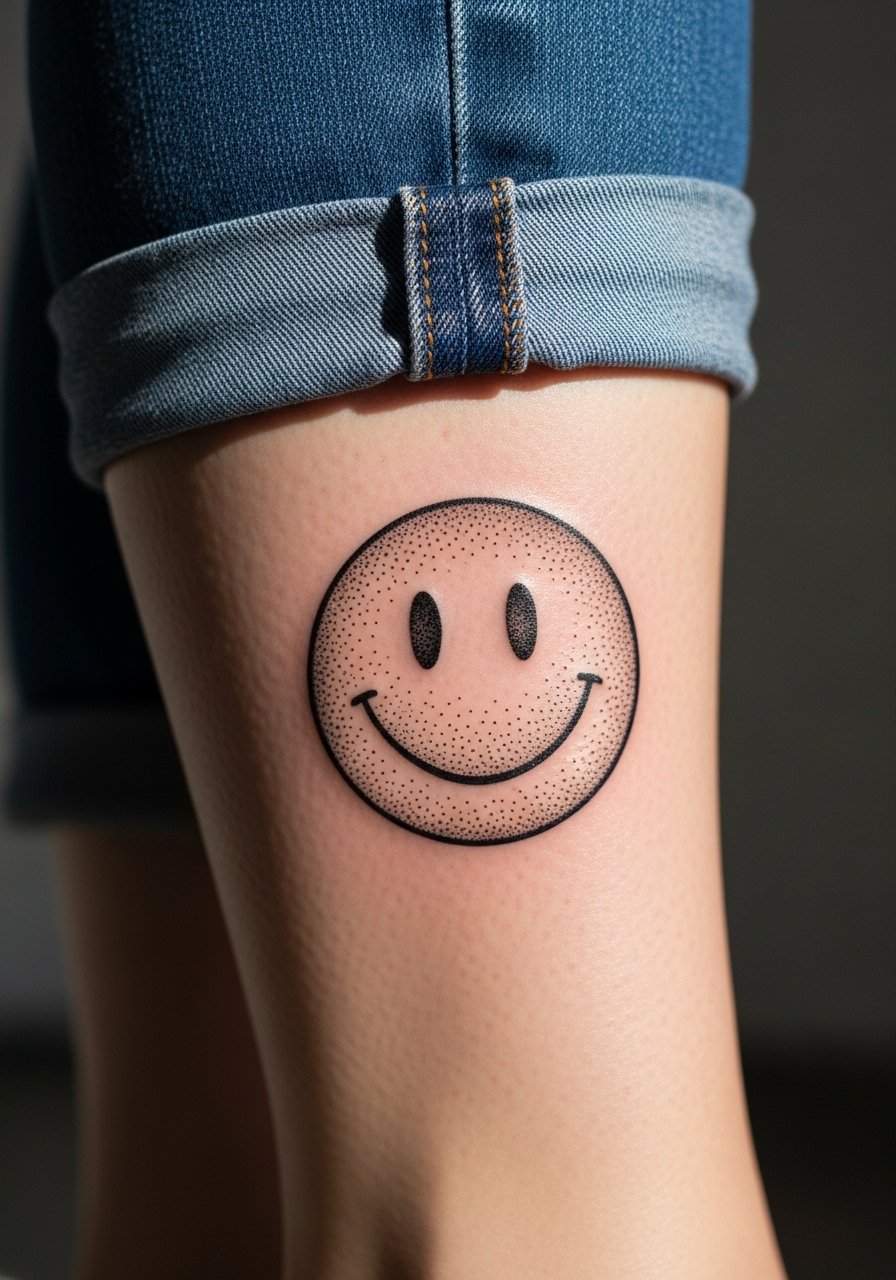
Stipple shading gives a tactile texture that holds up differently than smooth gradients. It is forgiving on larger canvases like calf or thigh because dots maintain density even as lines soften. Tell your artist you prefer visible dot spacing to avoid dense merging. Sessions can run longer if the stipple is extensive. Common error is overcompacting the dots which turns into patchy grey. The sensation is steady rhythmic buzzing that most people find tolerable. For this placement, loose pants that can roll up are ideal on session day.
17. Retro Harvey Ball Inspired Smiley on the Ankle
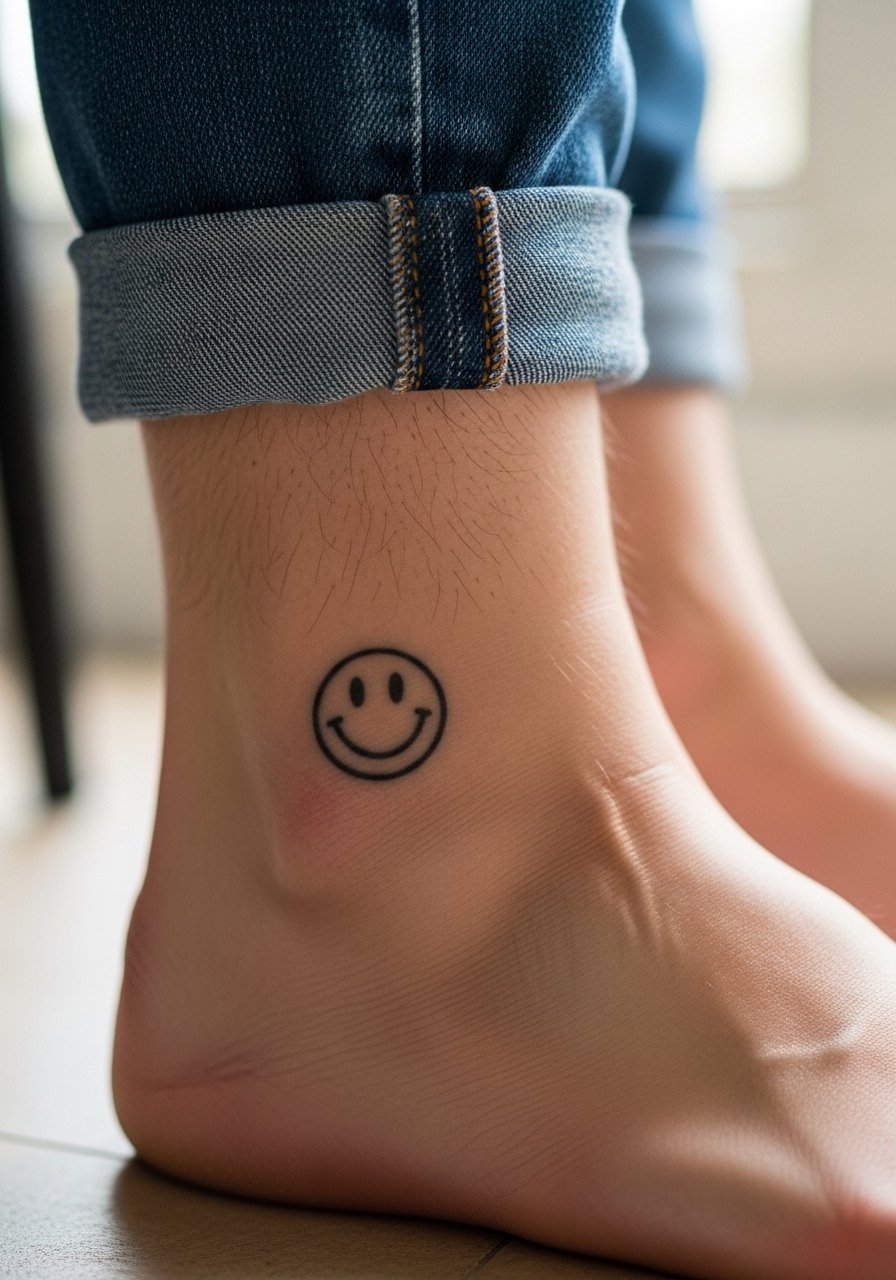
A nod to the 1963 Harvey Ball origin gives your smiley a vintage reference. Keep the face bold and the circle slightly thicker than modern micro examples so it remains legible as the ankle sees friction. Sessions are quick and pain is moderate because the ankle has less padding. A typical mistake is asking for the original tiny scale without considering future blurring. For show-off outfits, roll jeans or wear sandals that reveal the ankle area.
18. Neo-Illustrative Smiley with Tiny Script Underneath
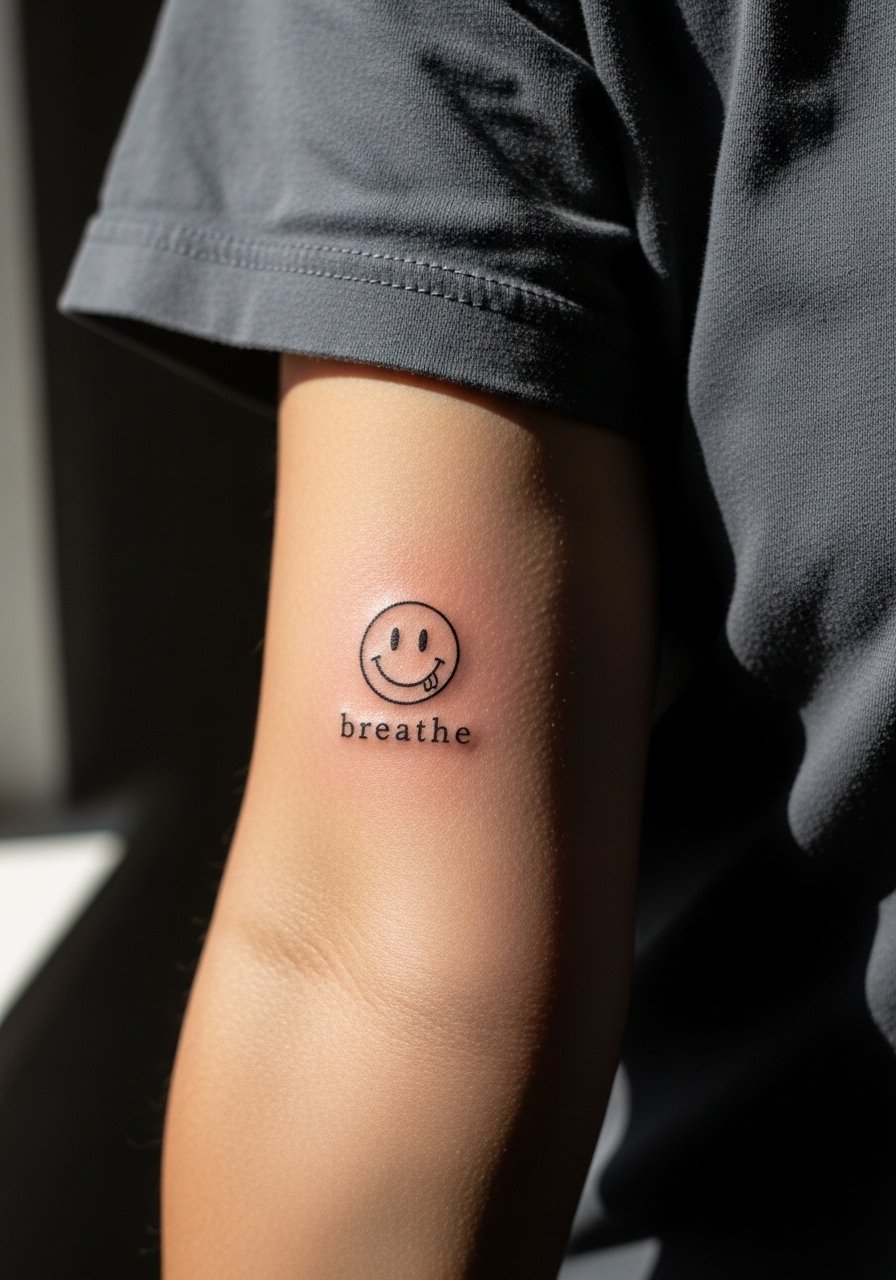
Pairing a smiley with a single-word script gives the design a subtle caption. When including text, specify the exact word and font you want so the stencil matches your intent. Discuss spacing carefully because text plus face in a tight area can become cramped. Expect a one-hour session for both elements and plan for a touch-up of the script at year two if you want crispness. A common error is choosing tiny serif fonts that blur. For the appointment, a short-sleeve loose tee gives the artist easy access.
19. Ornamental Filigree Smiley on the Collarbone Edge
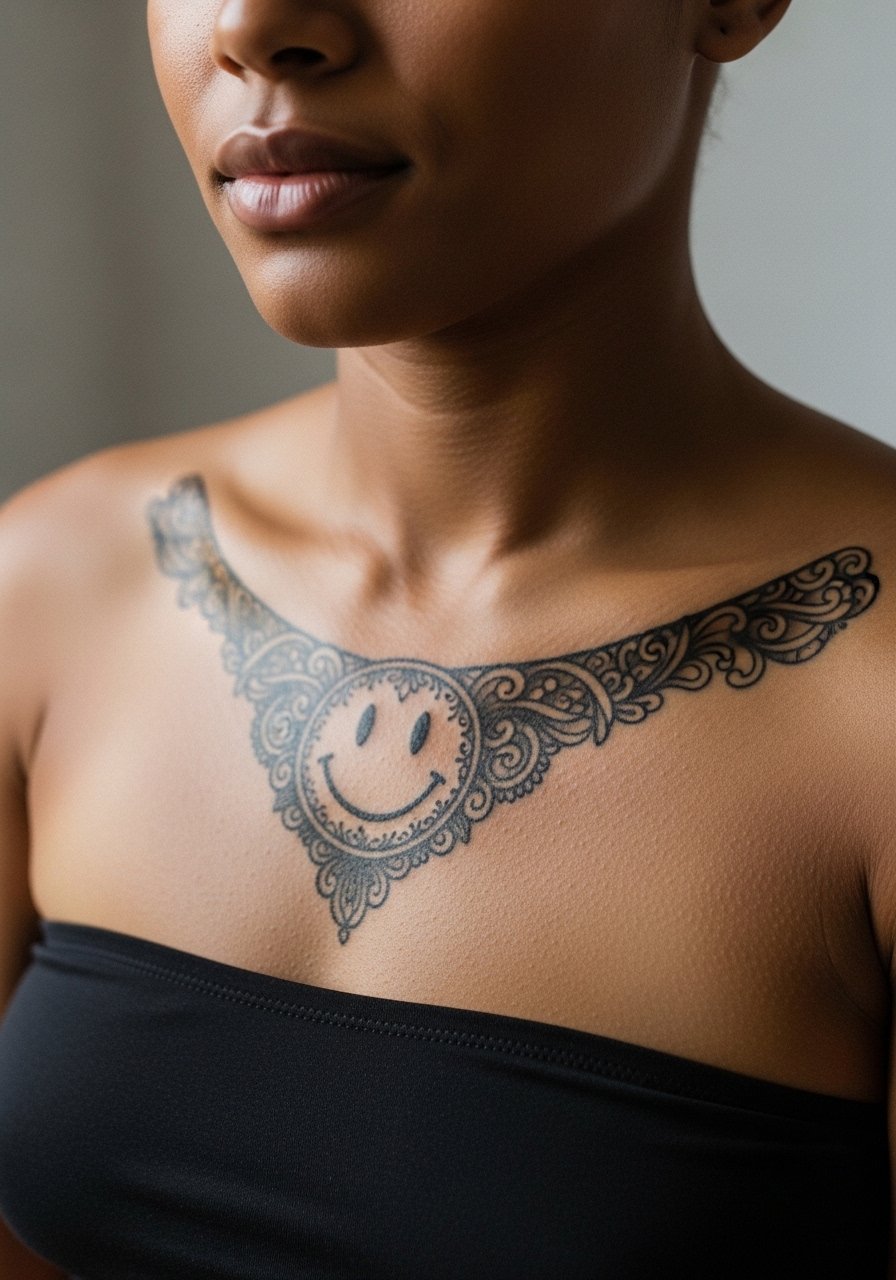
Filigree and ornamental details around a smiley make it feel like jewelry. Keep the filigree light and avoid tiny curls that will merge on thinner skin. This area is sensitive and sits close to bone so pain can be a 6 out of 10. The right approach spaces the ornament so it remains readable at year three. A mistake is overloading the filigree which competes with the face. For the session, a strapless bralette or a wide-neck top lets the artist work without fabric interference.
20. Small Neo-Traditional Smiley on the Upper Arm Inner Bicep
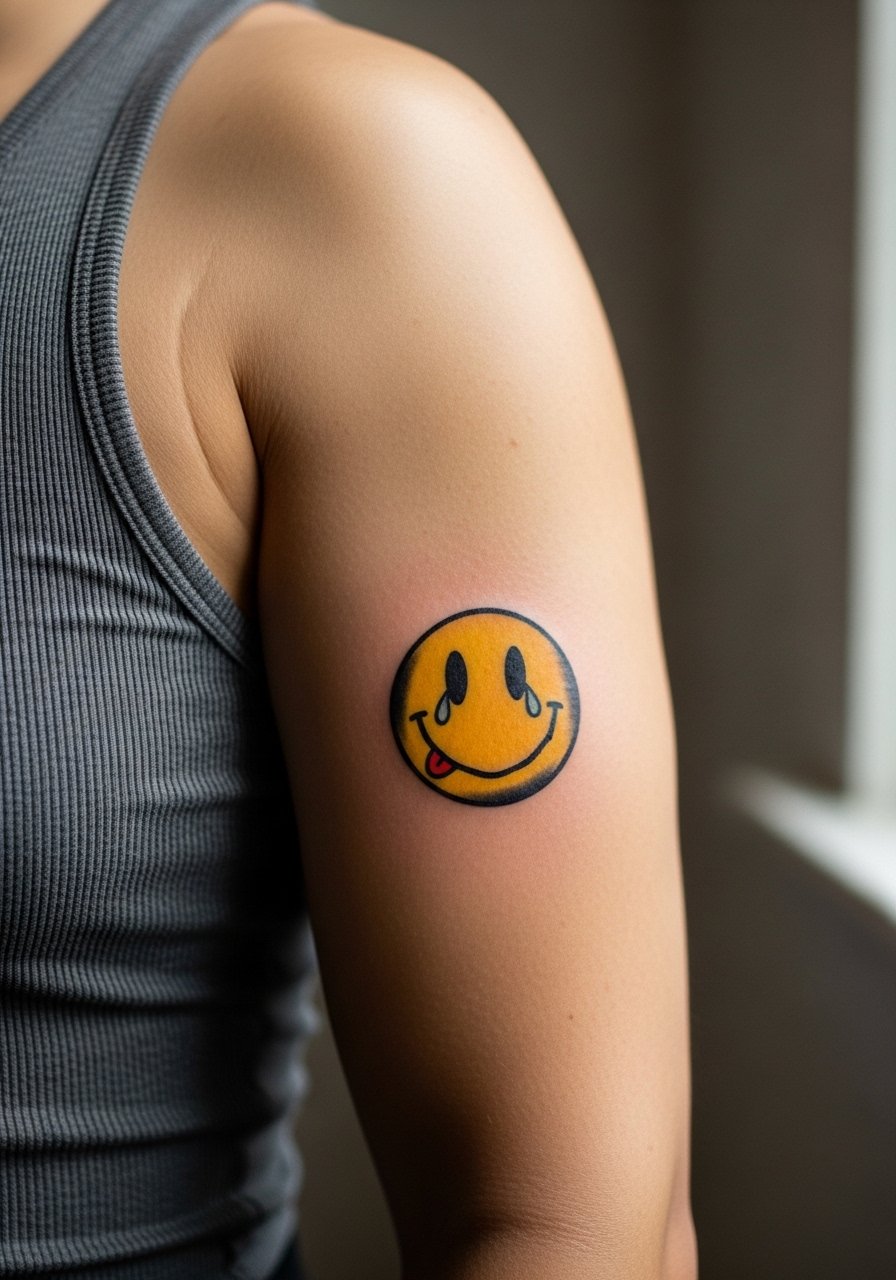
Inner bicep ink reads intimate and can be a good spot for slightly private motifs. This placement can be tender because of movement and sweat during healing. Ask for moderate spacing and medium lineweight so the design survives natural stretching. Sessions are moderate in length and the area needs a few days of careful movement limitation. A mistake is asking for extremely fine detail which the inner bicep may not hold. Wear a tank top you can lift to expose the area during the session.
21. Neo-Minimal Smiley Along the Collarbone Curve
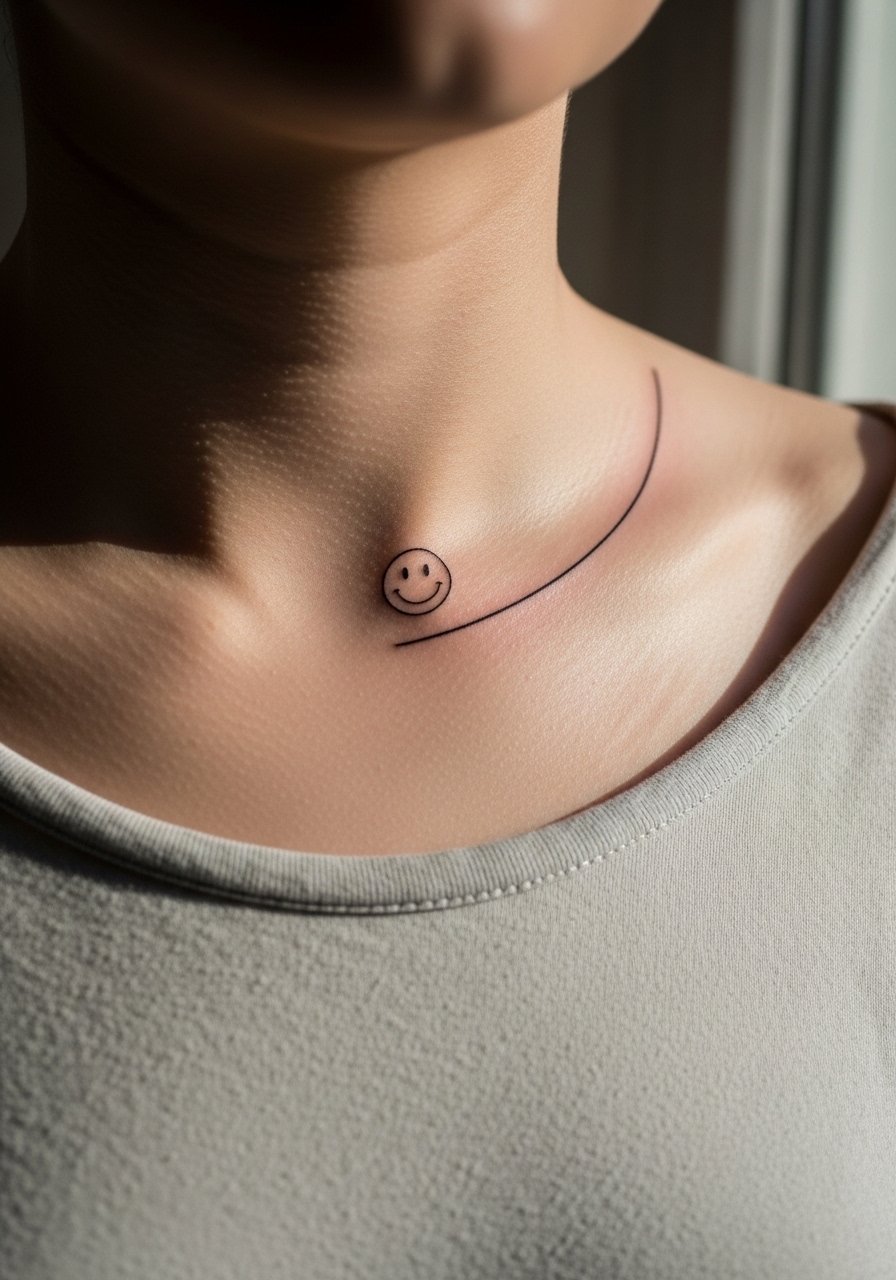
Curving a slim smiley along the collarbone makes it feel integrated with movement and clothing. Request the artist map the curve with a flexible stencil so the face sits level when you are standing. Pain is higher near the bone and healing requires light clothing to avoid friction. A common error is curving too tightly which distorts the face when the collarbone moves. For sessions, a wide-neck shirt that can be pulled aside simplifies access.
Studio Day Picks
The first six ideas above focus on wrists, hands, forearms and shoulders, so the products here help with transfer accuracy, pain management and early protection for high-friction areas.
-
Stencil transfer paper kit. Lets you test placement and line weight on skin before needles start, which is especially useful for delicate wrist and shoulder layouts.
-
Topical numbing cream. Applied the recommended 30 to 60 minutes beforehand it takes the edge off sensitive spots like the wrist and inner bicep without changing the artist's technique.
-
Thin protective film roll. A breathable film helps finger and hand pieces survive early washes and daily friction while keeping the area clean.
-
Fragrance free gentle body wash. Gentle cleansing during the first two weeks prevents irritation around fine line work and color washes.
-
Aquaphor healing ointment. A thin layer in the first few days keeps skin supple and supports ink settling on high-wash placements.
Frequently Asked Questions
Q: Will a small wrist smiley blur faster on medium skin tones?
A: It can, because fine line relies on visible contrast. On medium tones artists often use slightly heavier lineweights or blackwork fills to keep the face readable after a year. Ask the artist for a test transfer and for portfolio examples of healed work on similar skin tones.
Q: How often will hand and finger smileys need touch-ups?
A: Hands and fingers are high-friction areas. Expect at least one touch-up within one to two years for color and edge crispness. Choosing bold outlines reduces that timeline pressure but does not remove the need for maintenance.
Q: Do watercolor smileys require different aftercare than blackwork?
A: The basic steps match, but watercolor pieces often need gentler sun protection and occasional color top-ups. Keep them covered and use sunscreen on healed color after the initial healing window. For the first two weeks, follow the studio's bandaging and cleaning instructions closely.
Q: I want a tiny smiley on the collarbone. How painful is it and what should I wear to the studio?
A: Collarbone placement can feel sharper because of the bone proximity. Most people rate it a 6 out of 10. Wear a wide-neck shirt or a top you can pull slightly aside so the artist has clear access without you being uncomfortable.
Q: How do I choose between fine line and bold line for a hand or wrist piece?
A: Artists split into two camps. One group argues fine line looks softer and elegant at first but needs delicate touch-ups. The other insists bold line lasts longer on high-wear spots. Have a candid talk during consultation about their healed examples and ask for a recommended lineweight for your placement and skin type.
Q: Are there wardrobe tips for showing off a forearm or shoulder smiley?
A: Yes. For forearm pieces roll sleeves and try a fitted henley so the tattoo sits in natural sightlines. For shoulders use an off shoulder top for evenings. Those choices frame the design without covering the linework.
