
Fine line florals are everywhere online, and they look gorgeous in saved boards and fresh photos. The reality is that what trends today does not always hold up on skin for years, especially across different tones and placements. This list pulls together the floral sleeve directions that actually work, what to ask your artist, and how to avoid the common fade and spacing mistakes that show up after a year.
1. Fine Line Botanical Sleeve with Roses and Vines
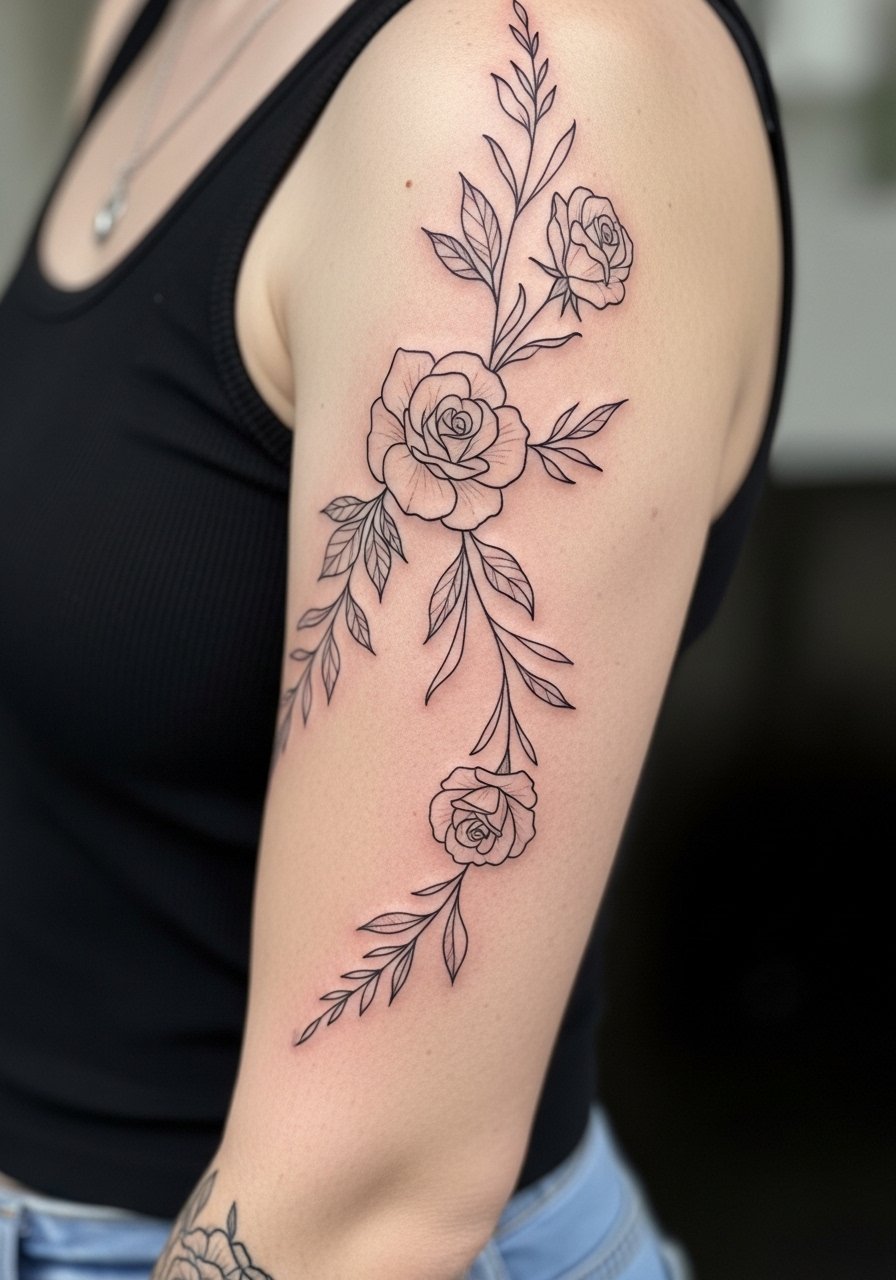
I recommend this when you want a softer visual that still reads as an arm piece rather than a cluster of small tattoos. Tell your artist you want slight hybridization of fine line with a faint, slightly thicker outline on primary stems so the roses keep contrast after two years. Expect 4 to 6 sessions and set realistic touch-up expectations at year two. Common mistakes are sketchy, overcrowded vines that merge over time. Pain is moderate on the outer arm, and for show-off outfits pair it with a rolled sleeve chambray shirt in ivory or sage while keeping a thin leather cuff on the opposite arm.
2. Neo-Traditional Peony Full Sleeve
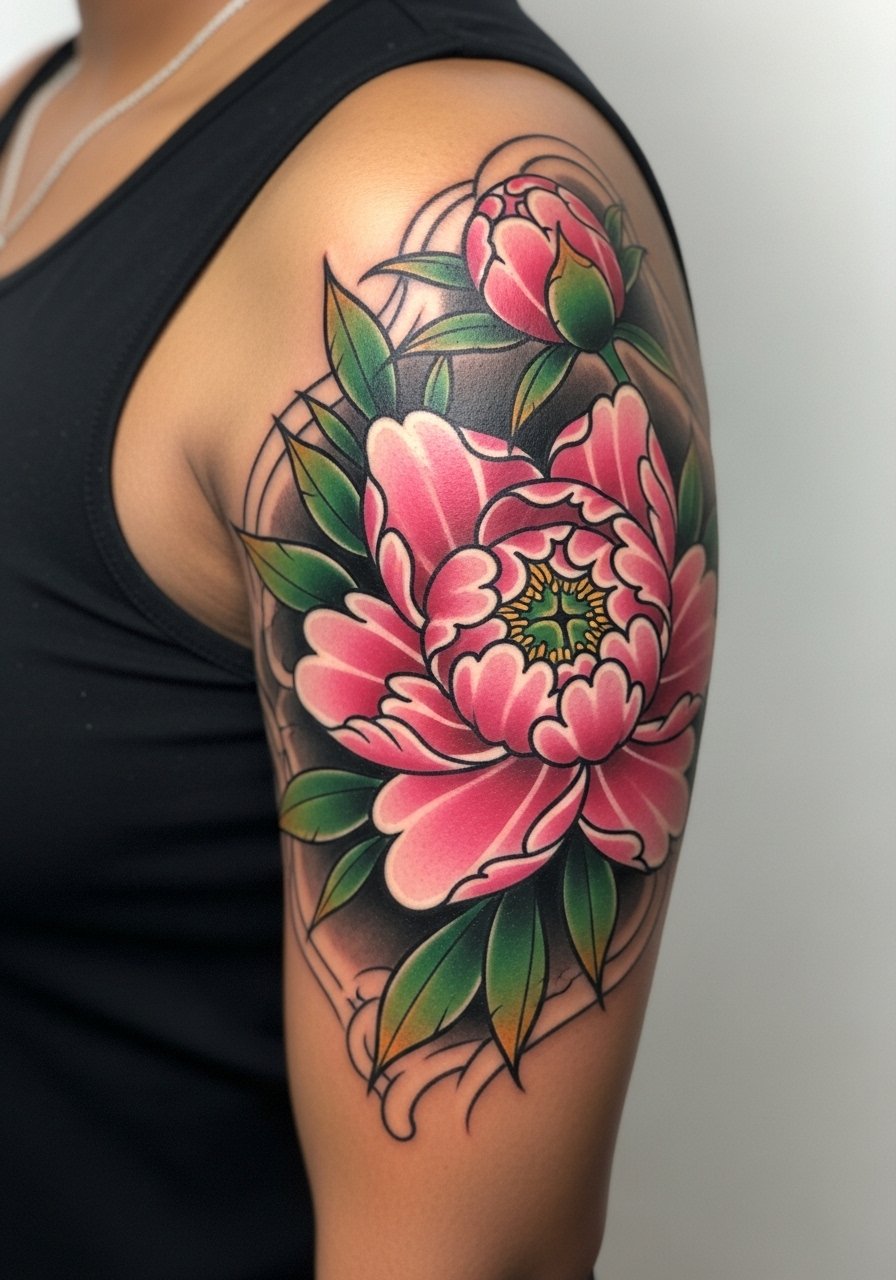
This style reads like a statement from across the room because of bold outlines and saturated fills. In consultations, bring color swatches and note where you want negative space to help the peonies breathe. The session count leans heavy, expect long sittings spread across weeks. One real mistake is asking for tiny peony heads, which lose petal definition as saturation softens. For showing it off, wear an off-shoulder blouse in deep crimson or navy so the color pops against fabric.
3. Blackwork Floral Mandala Sleeve
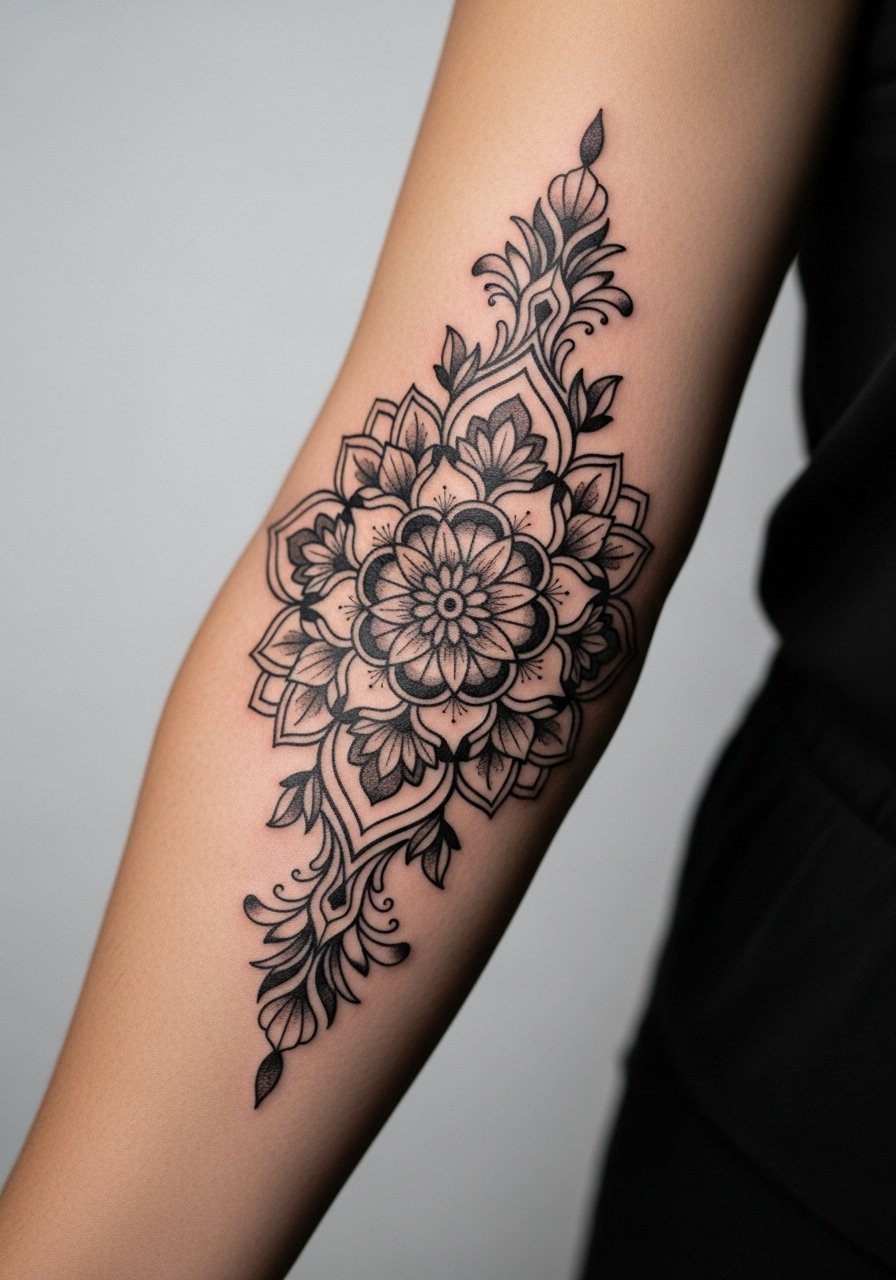
This is the safer pick for darker tones because solid black holds contrast longer than pale colors. Ask for clear spacing between dense motifs so the shading does not merge into one block after healing. Expect 3 to 5 sessions with heavy shading days that feel like sustained pressure rather than sharp stings. A common regret is asking for overly intricate filigree too small for the inner arm. For session wear, bring an open button-down shirt you can pull aside so the artist can work comfortably.
4. Watercolor Lotus Sleeve Patchwork
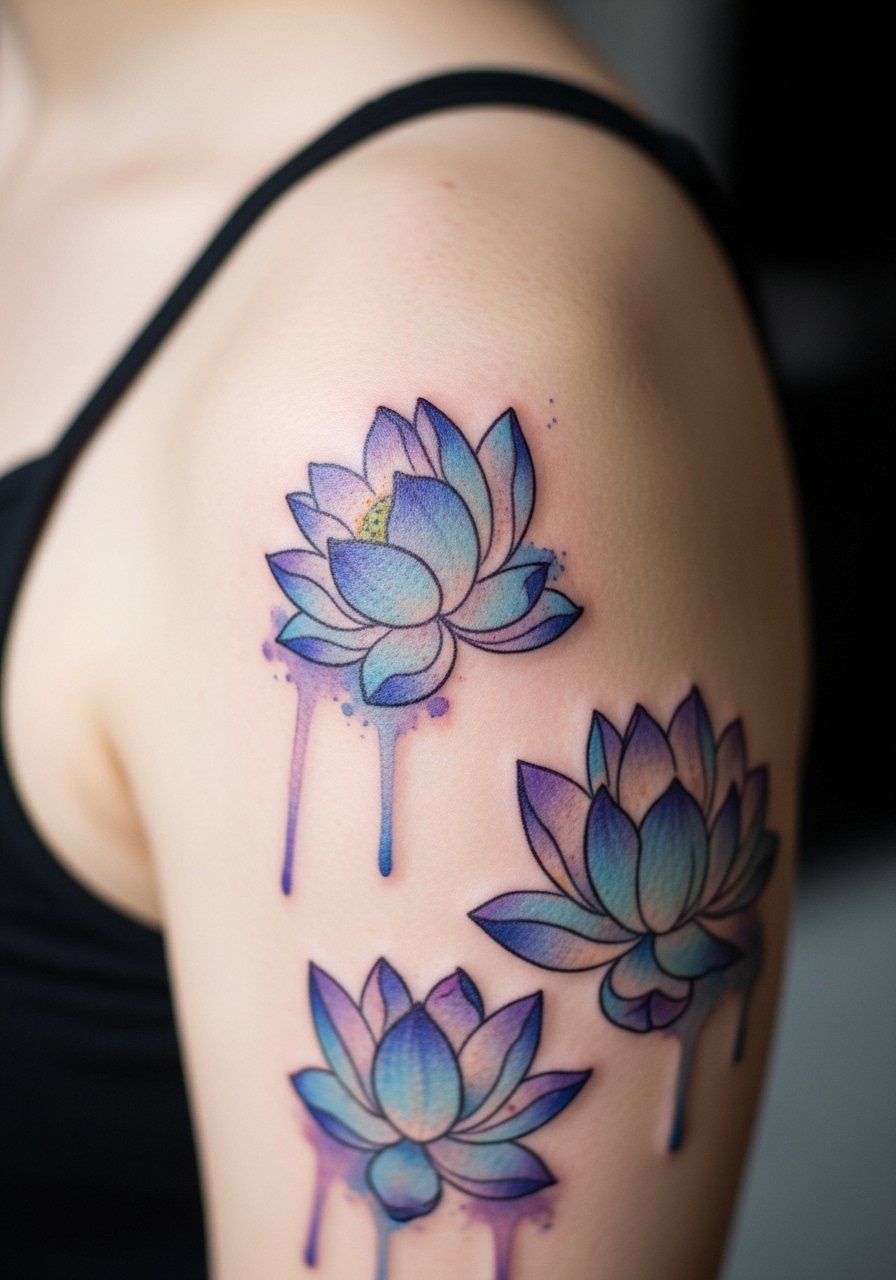
This patchwork approach lets you add blooms over time rather than commit to a continuous sleeve. When you consult, ask for defined edges around petals so the watercolor bleeds stay intentional and do not become an indistinct wash in a year. The downside of pure watercolor is color bleed and muddiness as it ages, so plan touch-ups and leave breathing room between patches. For sessions wear a strapless tank or loose sundress so the shoulder is fully accessible.
5. Micro-Realism Cherry Blossom Half-Sleeve
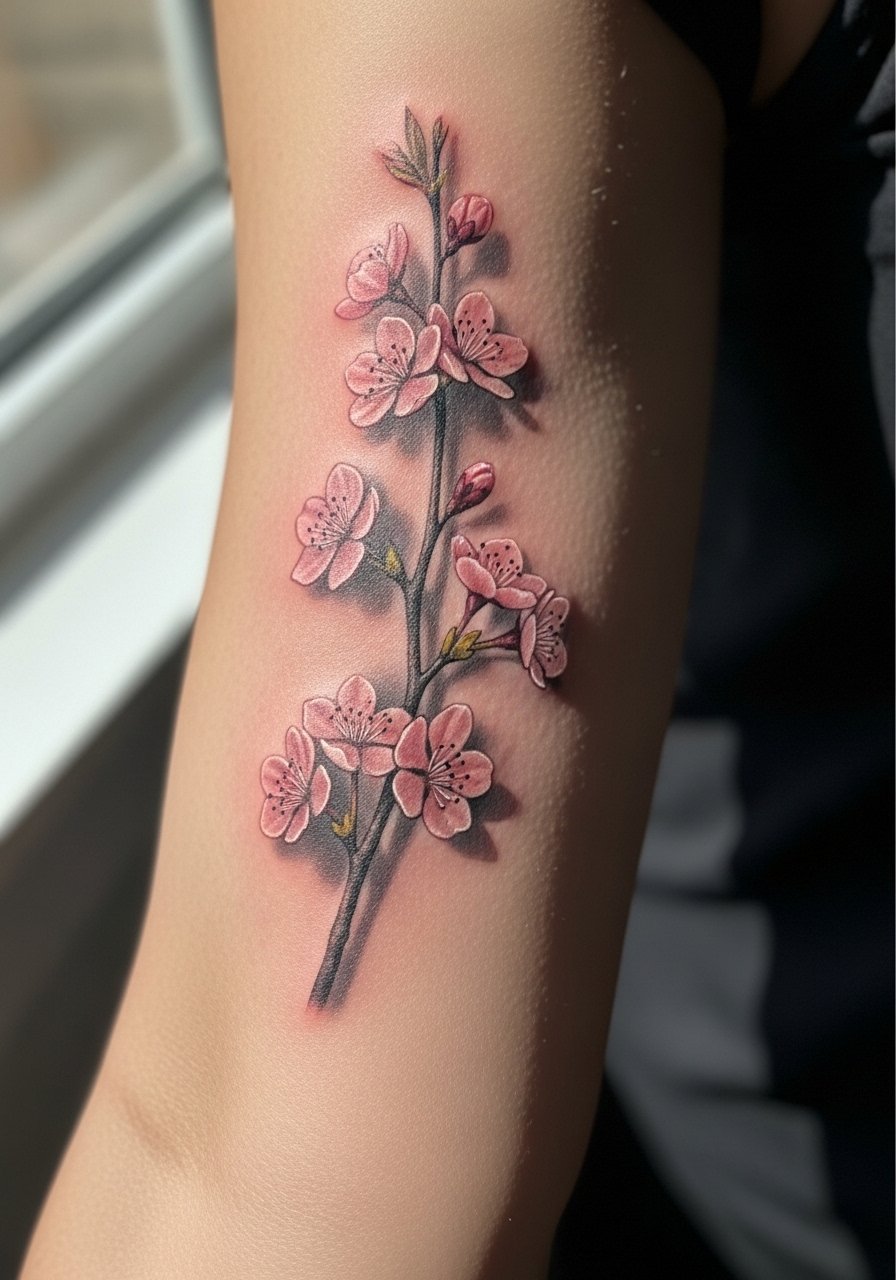
Micro-realism sells the transience of petals, and the inner bicep gives the detail a quiet place to age. Tell your artist you want high-contrast micro edges and slight stipple shading so highlights remain readable at 1 year and 3 years. Mistakes include overusing pastel pinks on tones where they fade into skin. Pain on the inner bicep runs lower for many people but expect sensitive moments during long fills. For session comfort wear a loose tank top with an easy arm opening.
6. Ignorant Style Wildflower Sleeve
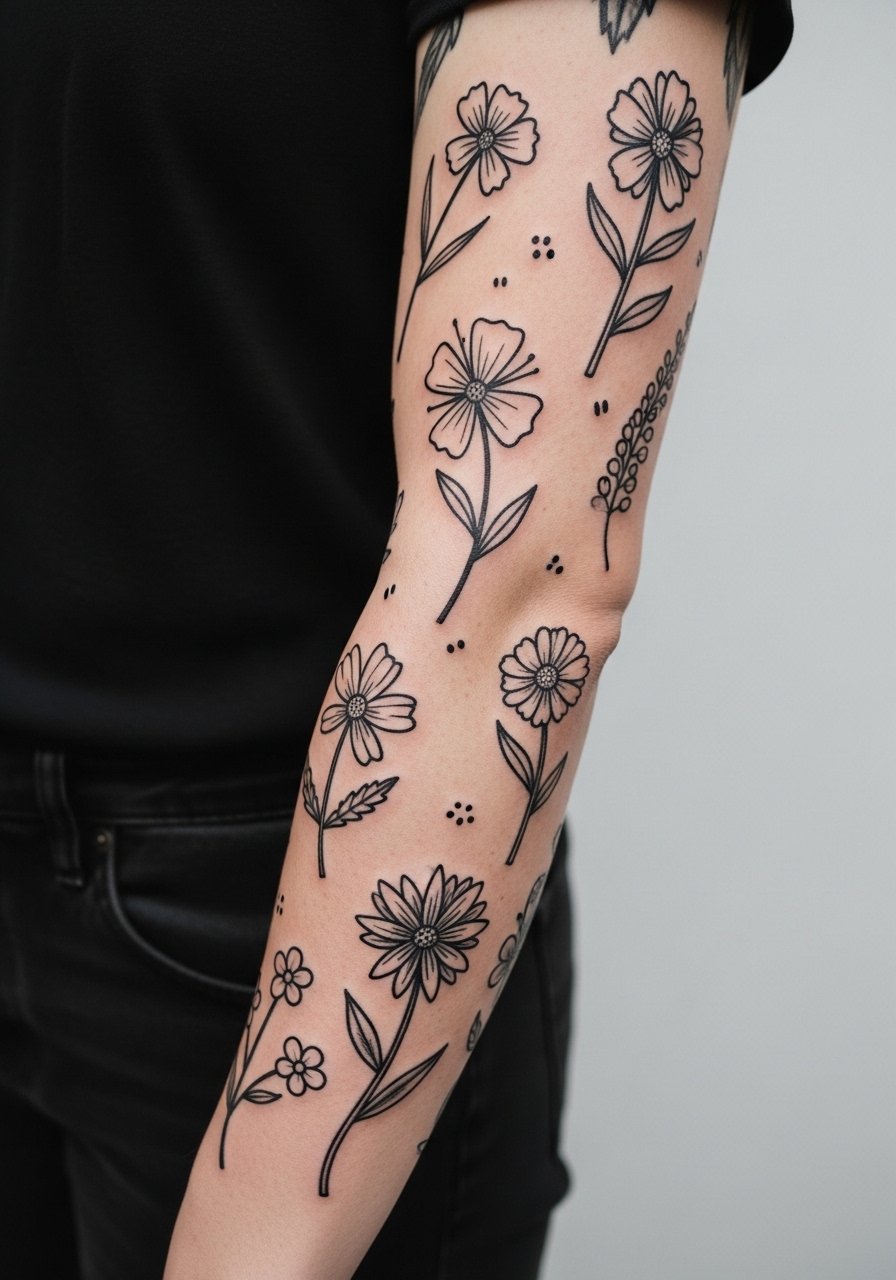
This intentionally raw aesthetic reads youthful and will age into its own, which is the appeal. When you ask for this style, be explicit about which elements you want rough and which need crisp placement so the design remains intentional rather than sloppily executed. Typical mistakes are asking for single-line scribbles that become indistinct after a year. Sessions tend to be quicker and less painful on the outer arm. For showing it off, push up a denim jacket sleeve and pair with leather boots for an effortless contrast.
Pre-Session Essentials
The first six ideas cover outer arms, inner biceps, and shoulder work that all benefit from similar prep and first-week support.
-
Frida Skin Balm. A non-greasy balm many people prefer over heavy petroleum products for itch control during the first week without the shiny residue.
-
Tattoo Goo. Offers a matte finish that absorbs faster on blackwork areas and keeps the arm feeling less slick under clothing.
-
Ink-Ich Banisher spray. No-touch spray format is handy for hard-to-reach outer arm spots and for avoiding unnecessary rubbing.
-
Australian Tea Tree Salve. Lightweight anti-inflammatory option some people use for irritated spots during healing.
-
Hustle Butter Deluxe. A common studio pick for keeping larger color sleeves supple without heavy pore-clogging residue.
7. Ornamental Vine and Daisy Full Sleeve

This pattern relies on repeating motifs and dotwork geometry to keep the sleeve cohesive. In consultation ask for map-like flow lines so vines wrap naturally around musculature instead of cutting awkward angles at joints. A common mistake is too many tiny daisies, which create visual noise as the arm moves. Forearm to wrist has moderate pain near the wrist and higher blowout risk if linework is too tight. For showing it off, choose wide-leg linen pants and roll sleeves so the wrapping reads cleanly.
8. Traditional American Rose Sleeve
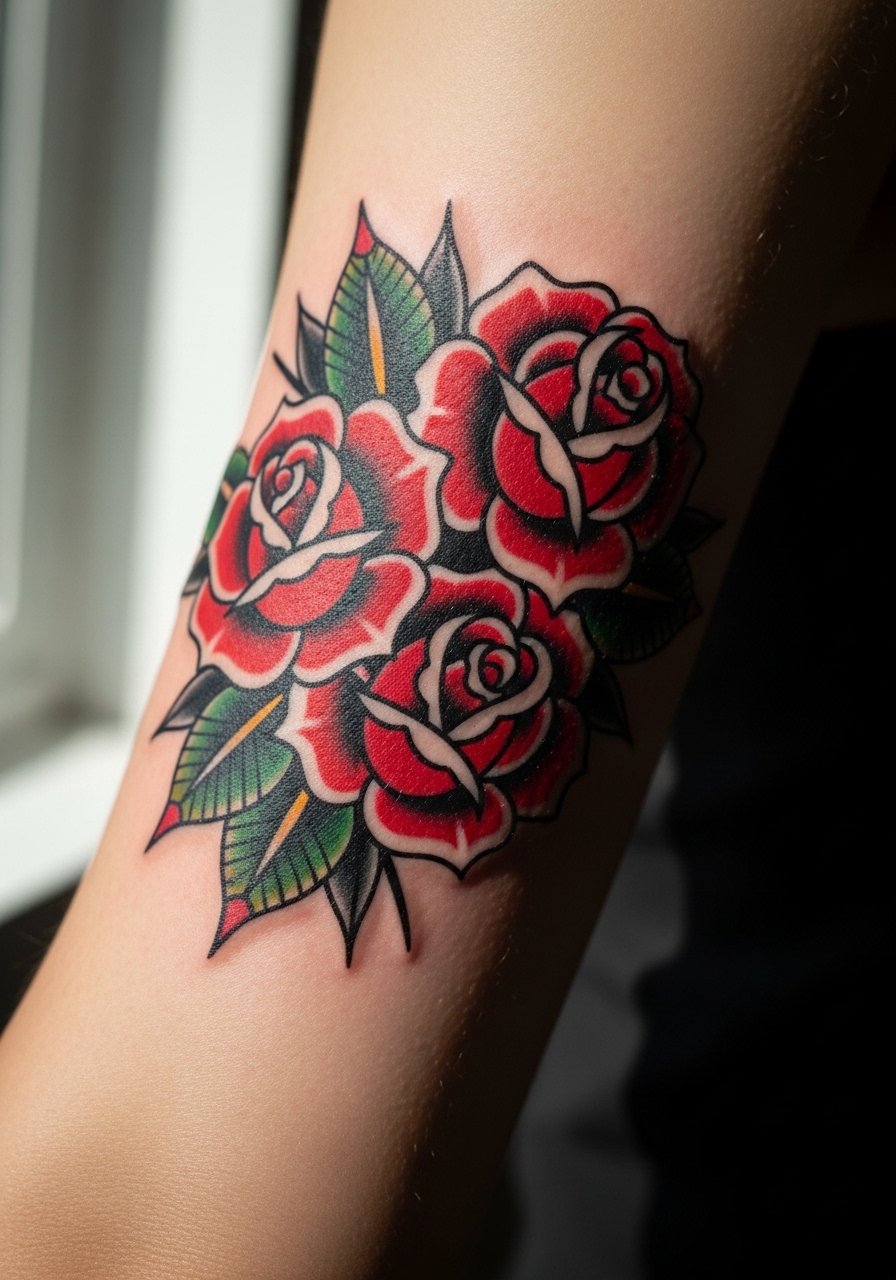
Bold outlines and saturated color are the reason this style keeps strong contrast over time. Tell the artist you want solid black anchors so reds sit against heavy linework that ages into depth rather than smear. The mistake to avoid is tiny, crowded roses with too many color blends. Sessions are lengthy and can feel like steady pressure rather than sharp stings. To show the upper arm, go with a sleeveless sundress in a complementary hue and a subtle arm cuff.
9. Minimalist Sunflower Outline Half-Sleeve
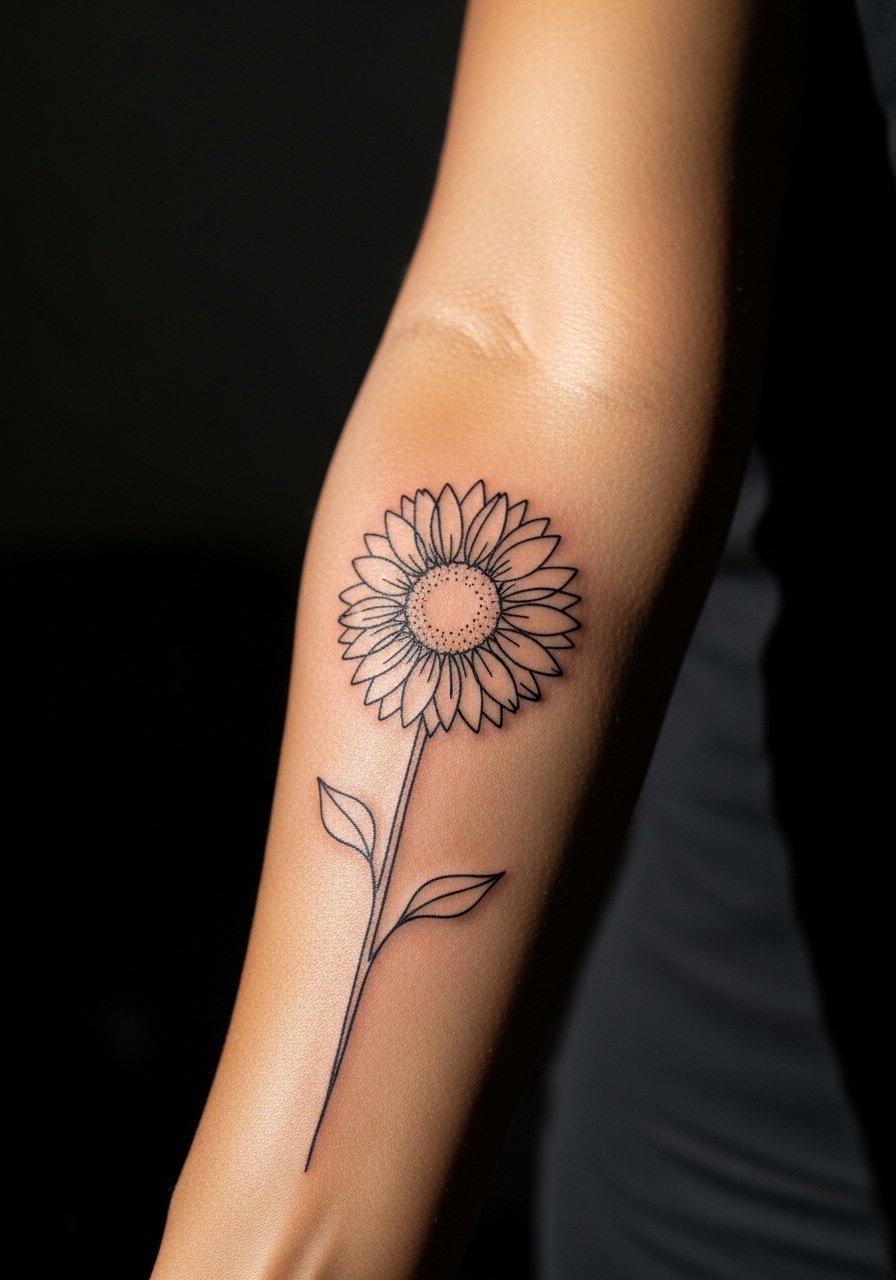
Sunflower outlines scale nicely and make a friendly first half-sleeve for beginners. Ask for slightly increased line weight on the petal tips so the silhouette does not lose definition in photos over time. A mistake is insisting on ultra-thin single lines across joints, which risk stretching. Pain varies but wrist-to-inner-forearm areas can sting more than outer forearm. For session day, wear rolled short sleeves and avoid wrist jewelry; try a rolled sleeve chambray shirt you can push up.
10. Dotwork Lily of the Valley Half-Sleeve

Dotwork excels where subtle gradients are needed without large color fills. Tell your artist you want varied dot sizes to create depth so the pattern reads at arm's length and in photos. The common error is over-dense dots that merge into gray patches as the skin settles. Shoulder cap sessions are tolerable and sit well with single-day blocks. For showing it off try an off-shoulder blouse so the stippled texture catches light.
11. Realism Magnolia Full Sleeve
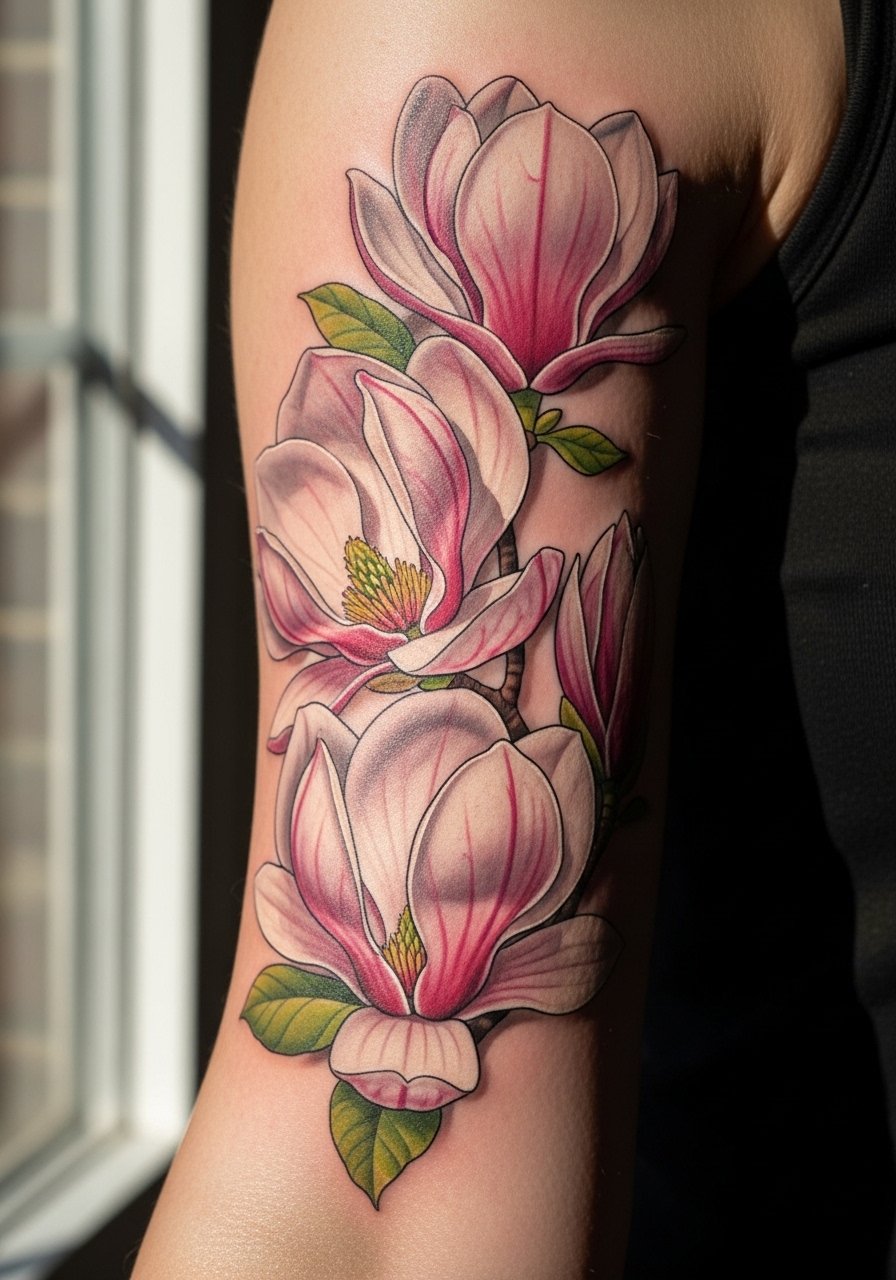
Photorealistic magnolias need careful reference photos and strategic negative space so petals do not visually merge. Ask for layered saturation where highlights are left as skin tone rather than pure white fill. A frequent regret is pushing for full saturation across the entire sleeve in one go rather than building depth across sessions. Outer arm realism takes multiple sessions and feels like long periods of shading. When you show it off, a denim jacket sleeve pushed up balances everyday wear with a refined floral silhouette.
12. Patchwork Fine Line Mixed Blooms Sleeve
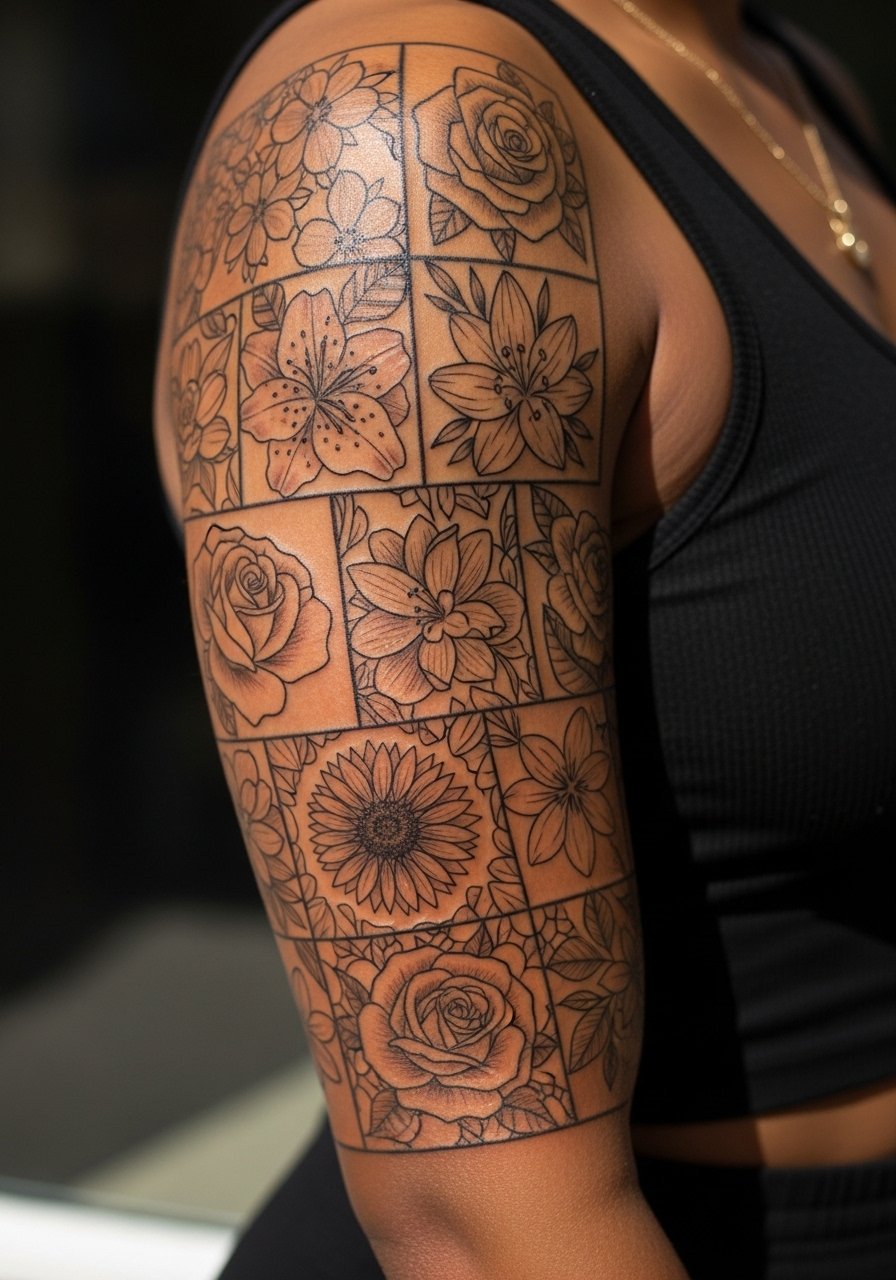
Patchwork is ideal if you want to build a sleeve over years and keep options open for new motifs. Tell your artist to leave deliberate negative spaces between clusters and to agree on a unifying line weight across pieces so future additions match. The common error is mismatched scales that make later fills look like afterthoughts. Expect multiple short sessions rather than marathon days. For an everyday outfit, push up a denim jacket sleeve and let the mixed blooms peek out over boots or ankle wear.
13. Neo-Japanese Floral Sleeve with Koi
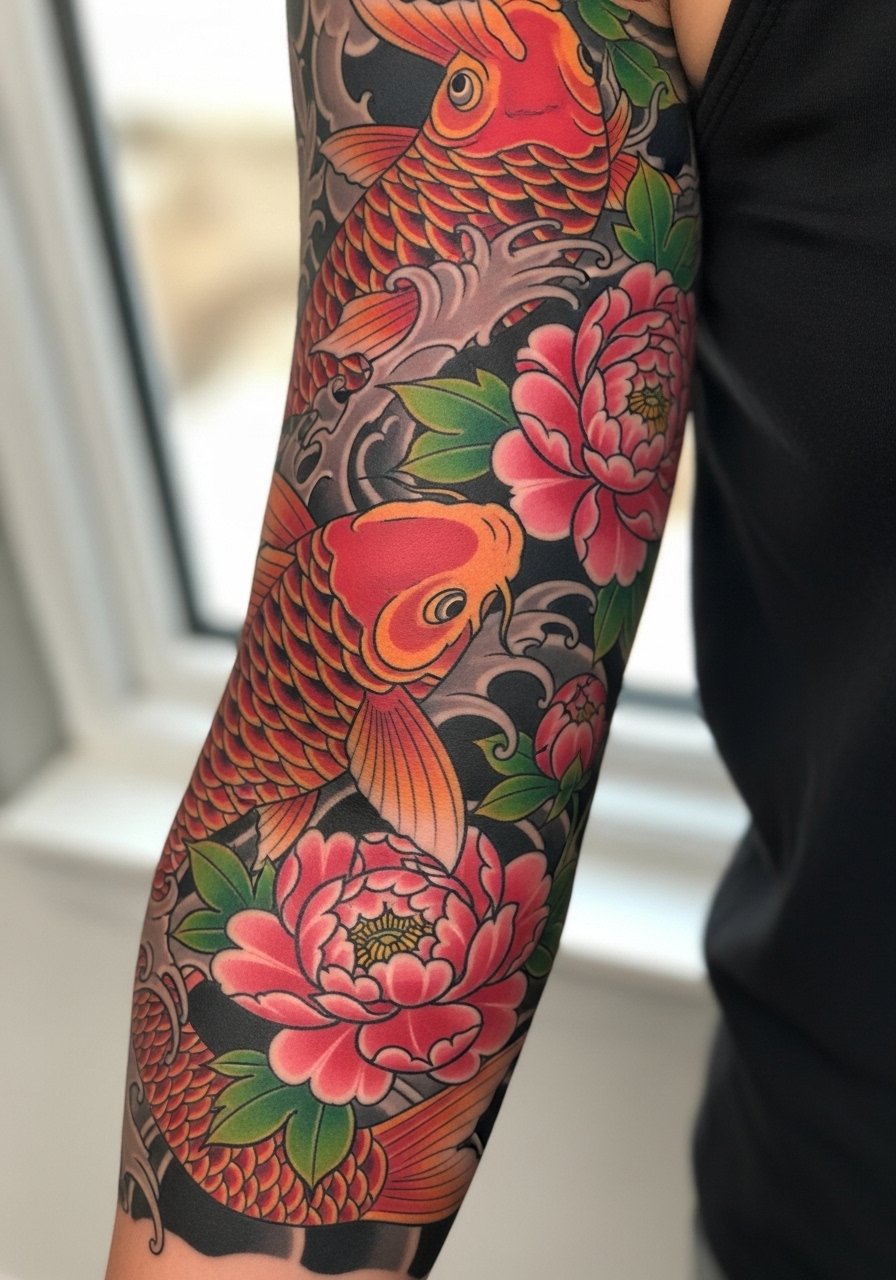
This hybrid brings narrative flow and movement to a sleeve, with koi adding dynamic lines that carry the eye. In the studio, map how the fish will travel around elbows and how peonies anchor each curve so nothing cuts off awkwardly at joints. A common mistake is packing too many elements on a narrow bicep, which thins the design. Sessions are long and require strong stamina. For evenings out, an off-shoulder blouse or a sleeveless dress complements the wrap without competing.
14. Black and Gray Lotus Stretch-Resilient Sleeve
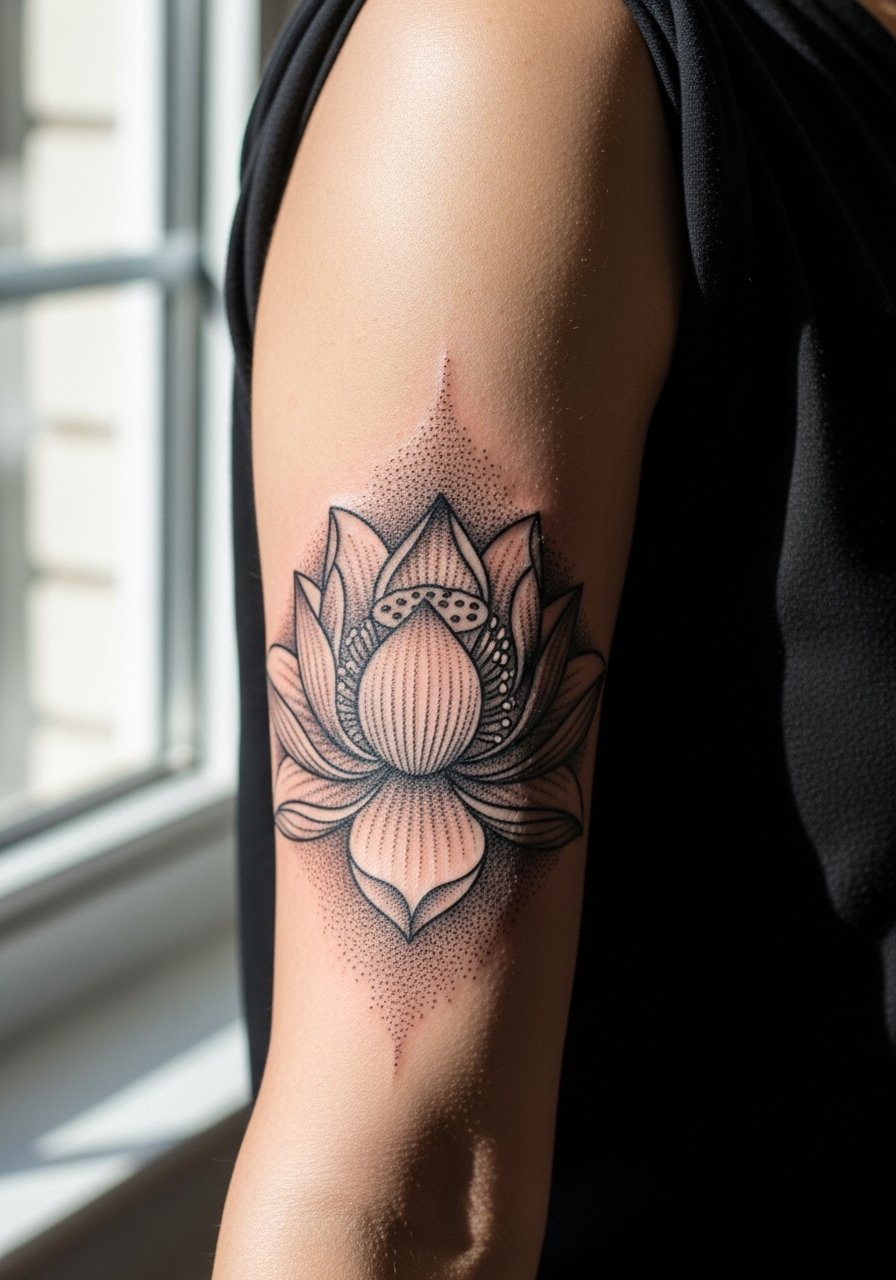
This takes the lotus motif and uses bold black anchors with softer gray transitions so the design handles mild body changes like weight fluctuation. Ask for expandable vine bases near joints and avoid ultra-fine stems across areas that stretch a lot. The debate around fine line here is real: one camp warns about stretch and blur, while the other says careful depth and spacing mitigate that. Sessions are steady and tolerable on most upper arms. Pair with a strapless tank for session access and later show-off.
15. Reverse Sleeve Starting at Wrist
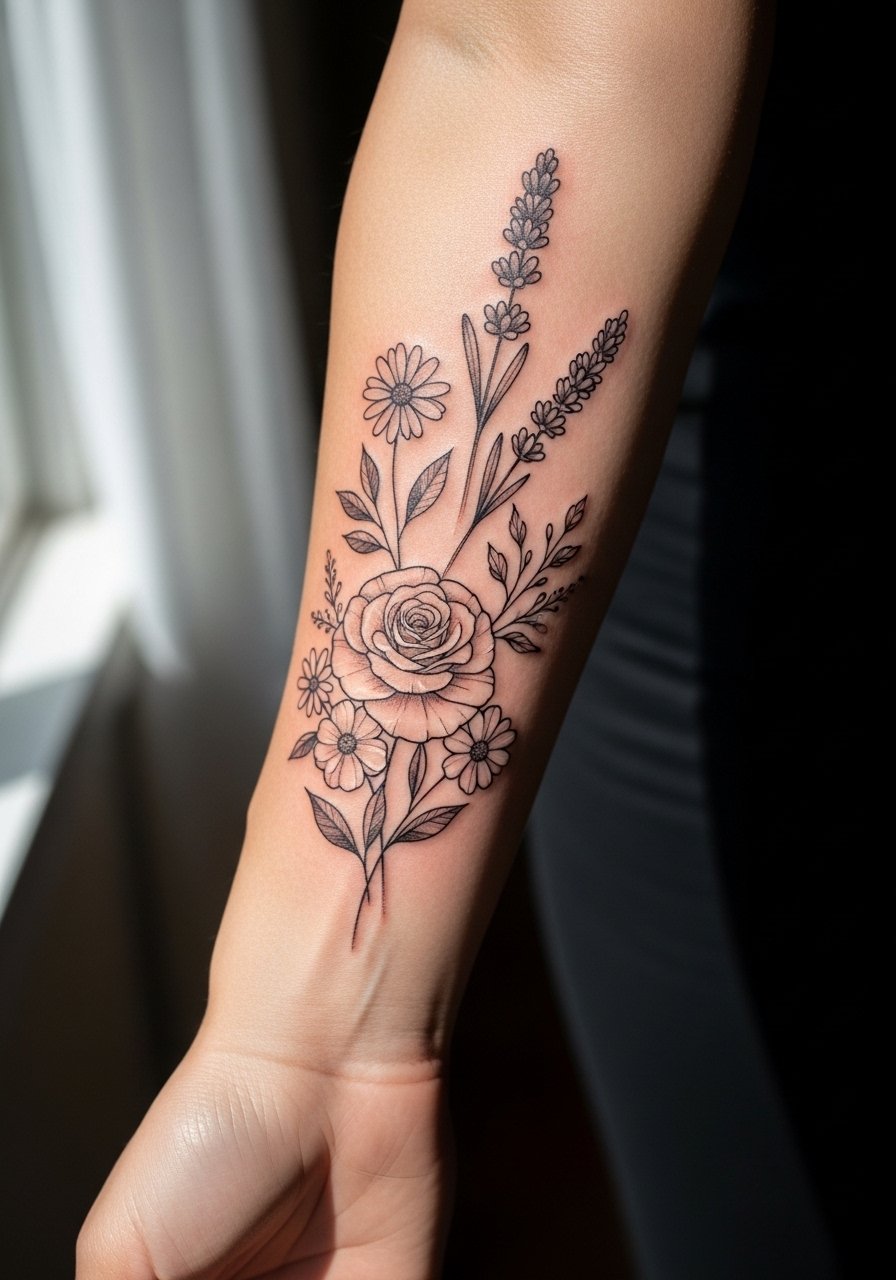
This orientation is practical if you sit at a desk and prefer visible art during daily activity. Tell your artist you want progressive scale so pieces read differently as they rise the arm. A mistake buyers make is treating the wrist section like a flash piece and the upper arm as custom, which can create visual dissonance. Wrist work is more painful and is exposed to friction every day. For the session wear avoid bracelets and try a rolled short sleeve shirt so the wrist is free.
16. Mixed Ignorant Scribbles with Realism Petals
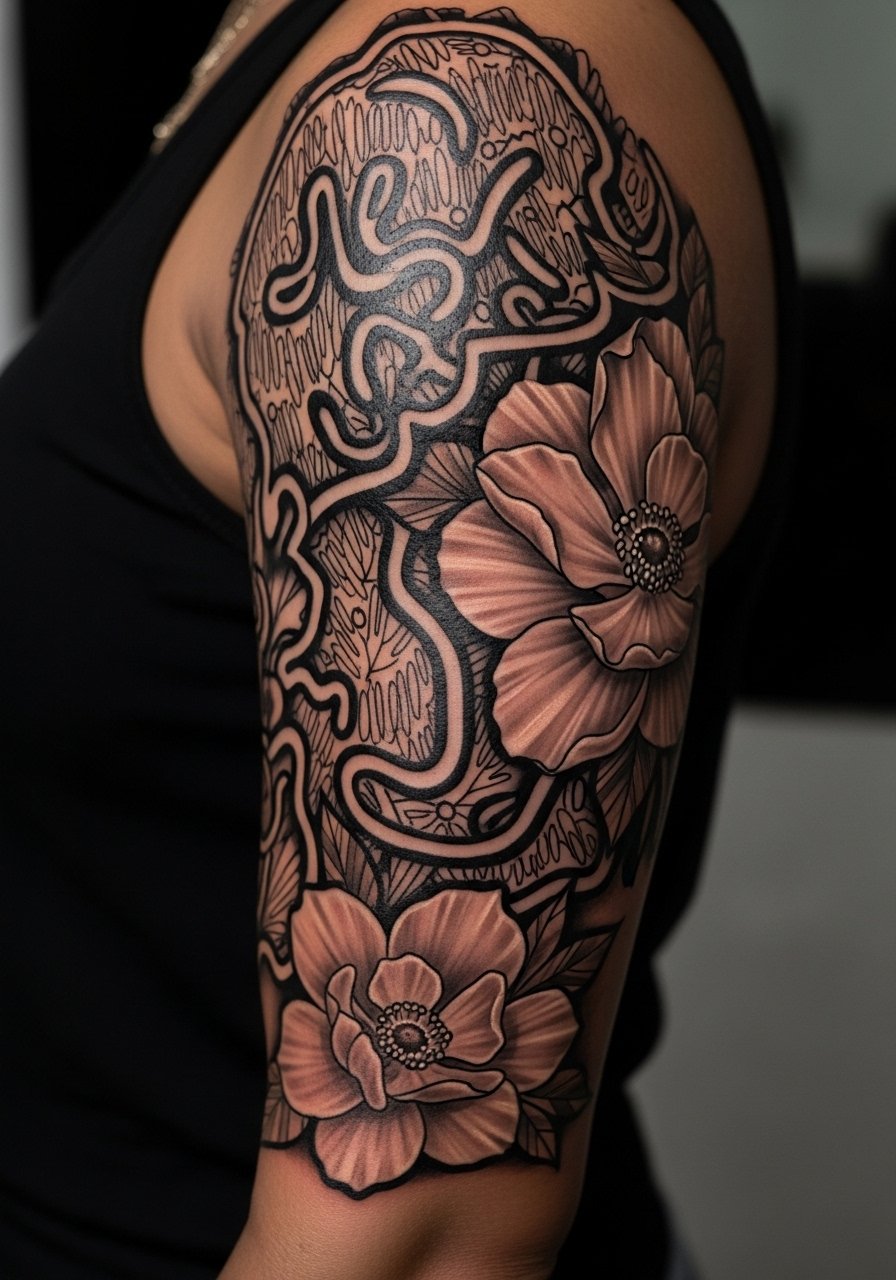
Mashing contrasty genres creates an "imperfect garden" effect that reads modern when balanced. During consultation be explicit about which elements carry realism and which stay sketchy so the two languages do not fight. The error is letting the scribbles overwhelm the realism, which can leave petals visually lost. Outer-arm sessions are manageable and fun. For showing it off, a loose tank top keeps attention on the collage without competing.
17. UV-Reactive Night-Glow Floral Sleeve
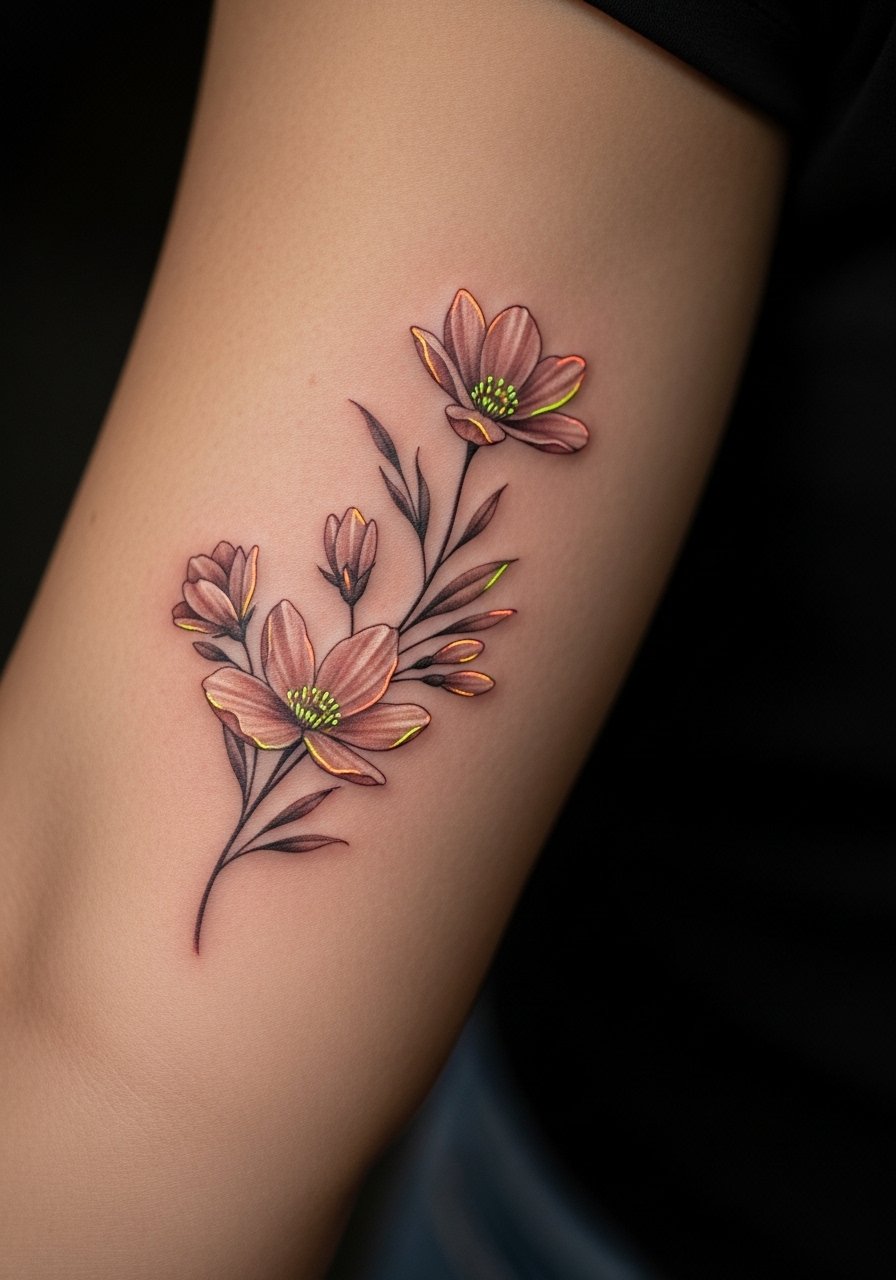
UV-reactive ink can add a secret glow that appears under blacklight and is mostly invisible in daylight, giving you two moods in one design. Ask your artist about placement of reactive highlights and test spots on your skin tone so the effect reads as intended. This specialty route has higher risk of variable fade depending on ink mix. Sessions can include testing patches and feel like multiple short steps. For daytime showing, try a sage green tank top that plays well with subtle color.
18. Spine of Blooms Down the Outer Arm
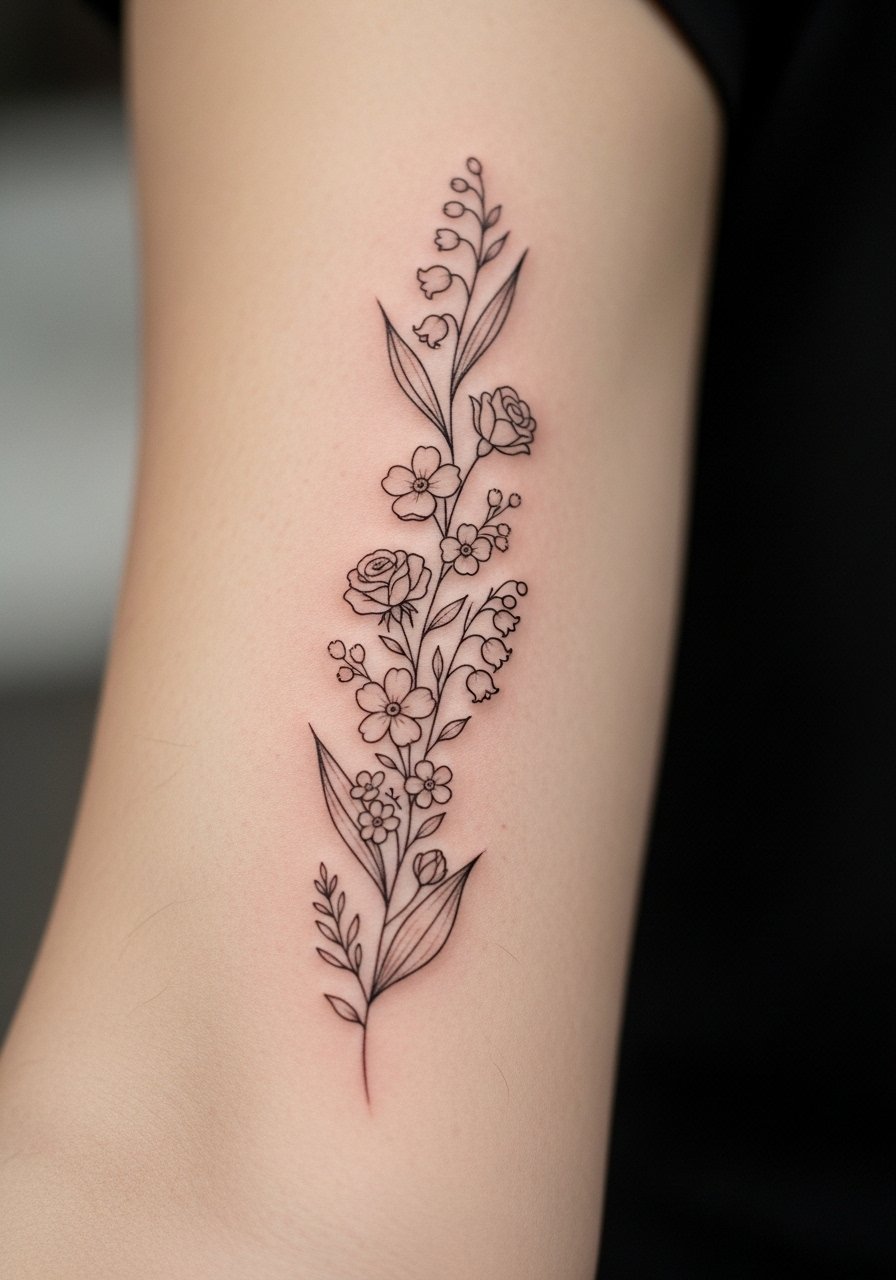
A linear spine gives a clean silhouette and reads well under rolled sleeves or cropped jackets. Tell the artist the axis should follow muscle lines so blooms do not warp when you move. Common mistakes are off-center placement or inconsistent spacing between flowers. Sessions are broken into reachable segments and the pain is moderate. For show-off looks pull sleeves up and pair with a thin leather cuff bracelet on the opposite wrist.
19. Ankle-to-Calf Floral Sleeve for Lower Leg

Lower leg sleeves behave differently because friction from shoes and socks matters during healing. Ask about placement of denser petals away from high-friction zones and plan wardrobe to reduce rubbing for the first month. A common oversight is ignoring footwear during the healing period. Sessions can be broken into shorter legs-friendly blocks. For showing it off, wear jeans rolled up or sandals so the ankle work reads cleanly.
20. Inner Bicep Petal Cluster with Hidden Meanings
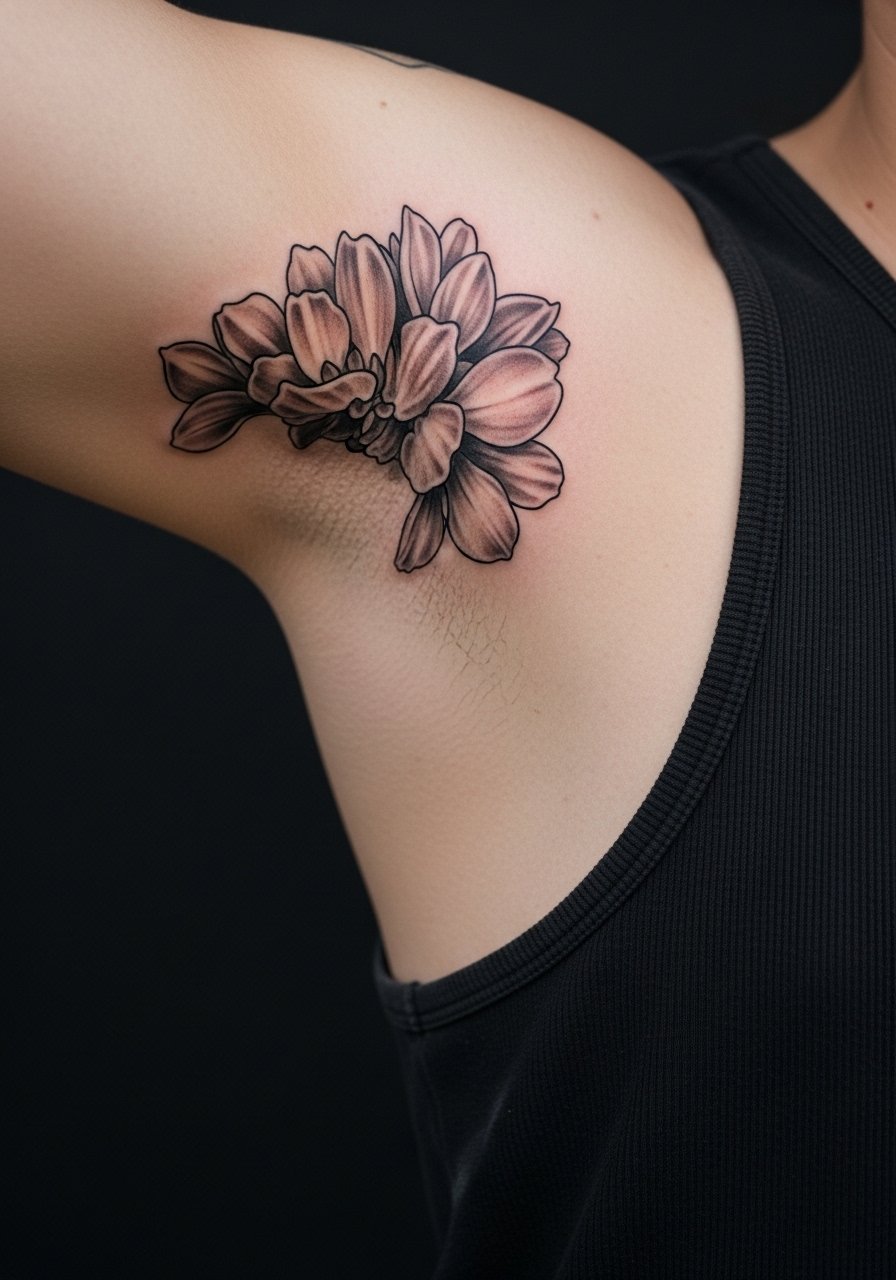
Inner bicep is a quieter placement that rewards intimate detail but tests how well micro lines last in a high-stretch area. When you consult, ask the artist to map how the piece looks with your arm both relaxed and flexed. The fine line controversy applies here in plain terms: some artists avoid ultra-fine work in this zone, others accept it with adjusted needle depth. Sessions feel easier for many because the area is softer, but expect sensitivity toward the armpit. For the session wear a tank top you can lift the arm in.
21. Birthstone Color Blooms for Subtle Personalization
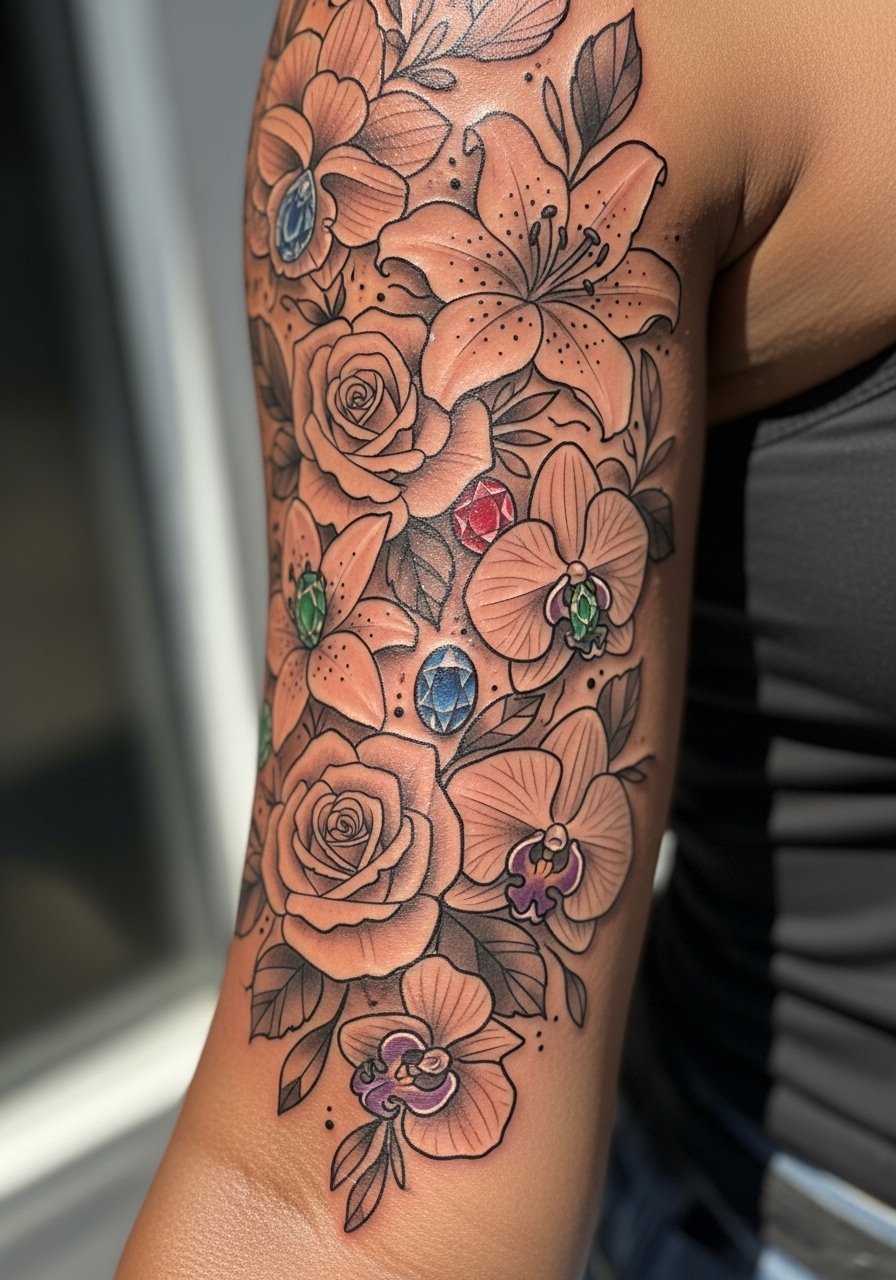
Swapping one or two petal fills for birthstone tones lets you personalize without changing overall composition. Tell the artist which areas should carry the accent and request muted saturation so the color reads like a whisper rather than a billboard. A mistake is over-emphasizing multiple stone tones, which can make the whole sleeve look patchy. These sessions are typically spread across color and line days. For showing it off, consider a sleeveless sundress pastel that complements the chosen hue.
Frequently Asked Questions
Q: Will fine line sleeves blur faster than bold blackwork, and what should I expect for touch-ups?
A: Fine line tends to soften sooner than heavy blackwork because thinner lines have less pigment density. Expect touch-ups sooner, commonly around year two to three for delicate vines, while bold blackwork often waits longer. If longevity matters, ask your artist about slightly thicker anchor lines on key motifs and schedule a realistic touch-up check at year two.
Q: For darker skin tones which floral sleeve styles hold up best visually?
A: Blackwork and high-contrast neo-traditional pieces generally read strongest on darker tones because they rely on saturation and outline rather than pastel tints. If you want color, prioritize deep pigments and clear separation between elements. Use studio lighting for healed photos to capture contrast accurately.
Q: How do I prep clothing and what should I wear to a shoulder-to-elbow session?
A: Wear a strapless tank or a loose tank top so the artist has full shoulder access without fabric pulling across the area. Bring a soft zip-up or button-down to slip on after the session if the area feels cool. A lightweight top that leaves the shoulder free reduces awkward shifts.
Q: Does Saniderm or dry healing work better for sleeve pieces in summer sweat?
A: Artists and collectors split on this. One camp prefers protective film because it limits scabbing and keeps sweat off fresh ink. The other camp argues dry methods reduce trapped moisture and lower infection risk in hot, sweaty bodies. Your choice should depend on how much you sweat and your artist's experience with either method.
Q: What are the real risks of getting too many tiny floral elements packed into a sleeve?
A: Overcrowding leads to merging as lines settle and pigments spread, creating muddy patches. Give space for breathing, aim for scale variation, and agree on negative space during the consult so future fills do not read like afterthoughts.
