
Bold black crows read like punctuation on skin, but behind the ear they feel like a secret line in someone else’s story. The spot is small and unforgiving, so choices about scale, line weight, and negative space matter more than they do on a sleeve. Below are 17 bold ways to place a crow behind the ear, what to ask your artist, how each approach ages, and clothing notes to help you show or hide the work with confidence.
1. Micro-Realism Crow Head on the Skin Behind the Ear, Below the Hairline on the Neck
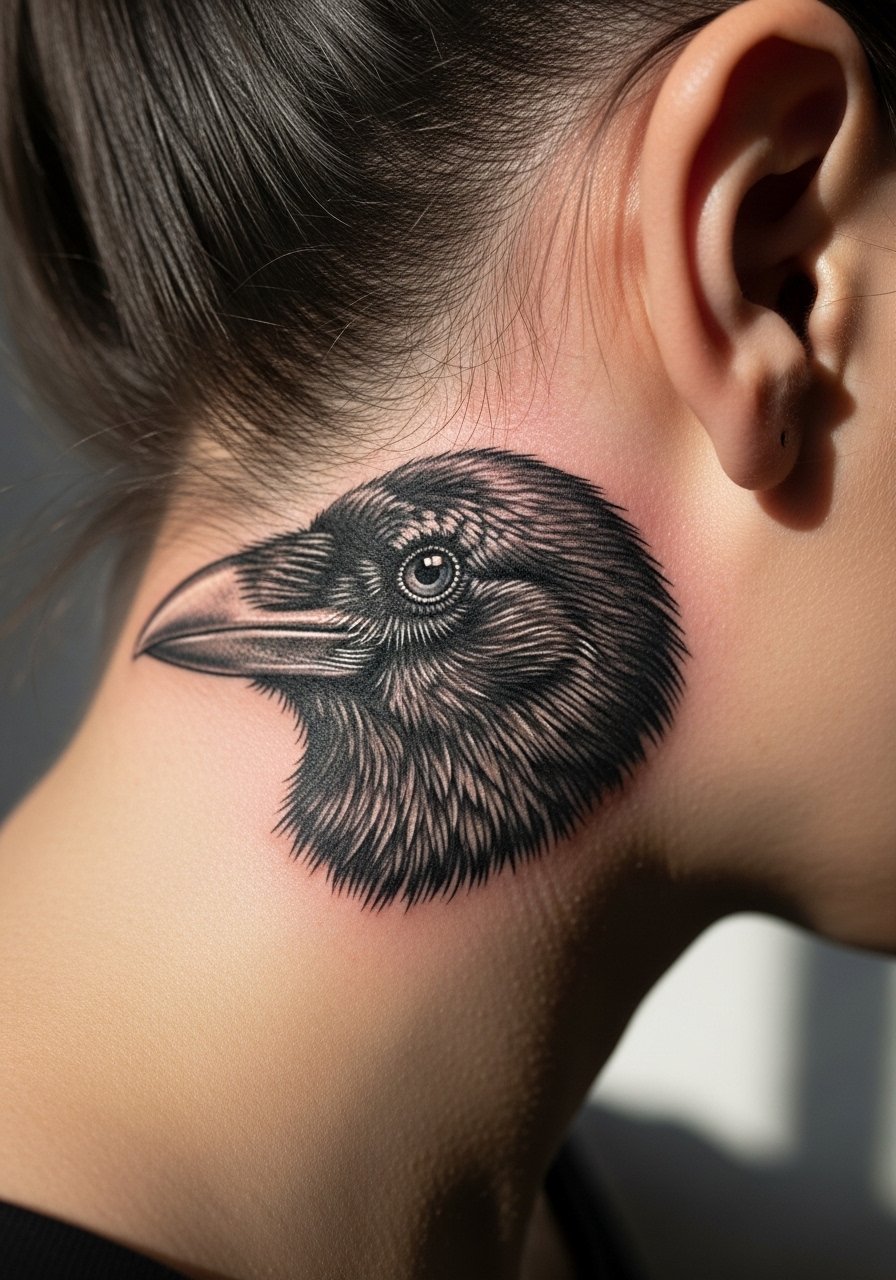
This tiny micro-realism head uses dense black and tiny gray wash to hint at texture without overcrowding the small canvas. Tell your artist you want a strong focal point and ask them to sketch the eye and beak slightly larger than reference images. A common mistake is shrinking the face until detail becomes a blur at year two. Expect a one-session ride of under an hour and a higher chance of touch-up around year two for the gray washes. For the appointment, wear a wide-neck shirt so hair and collar are easy to shift without tugging the area.
2. Bold Silhouette Perched Crow with Negative Space Feathers
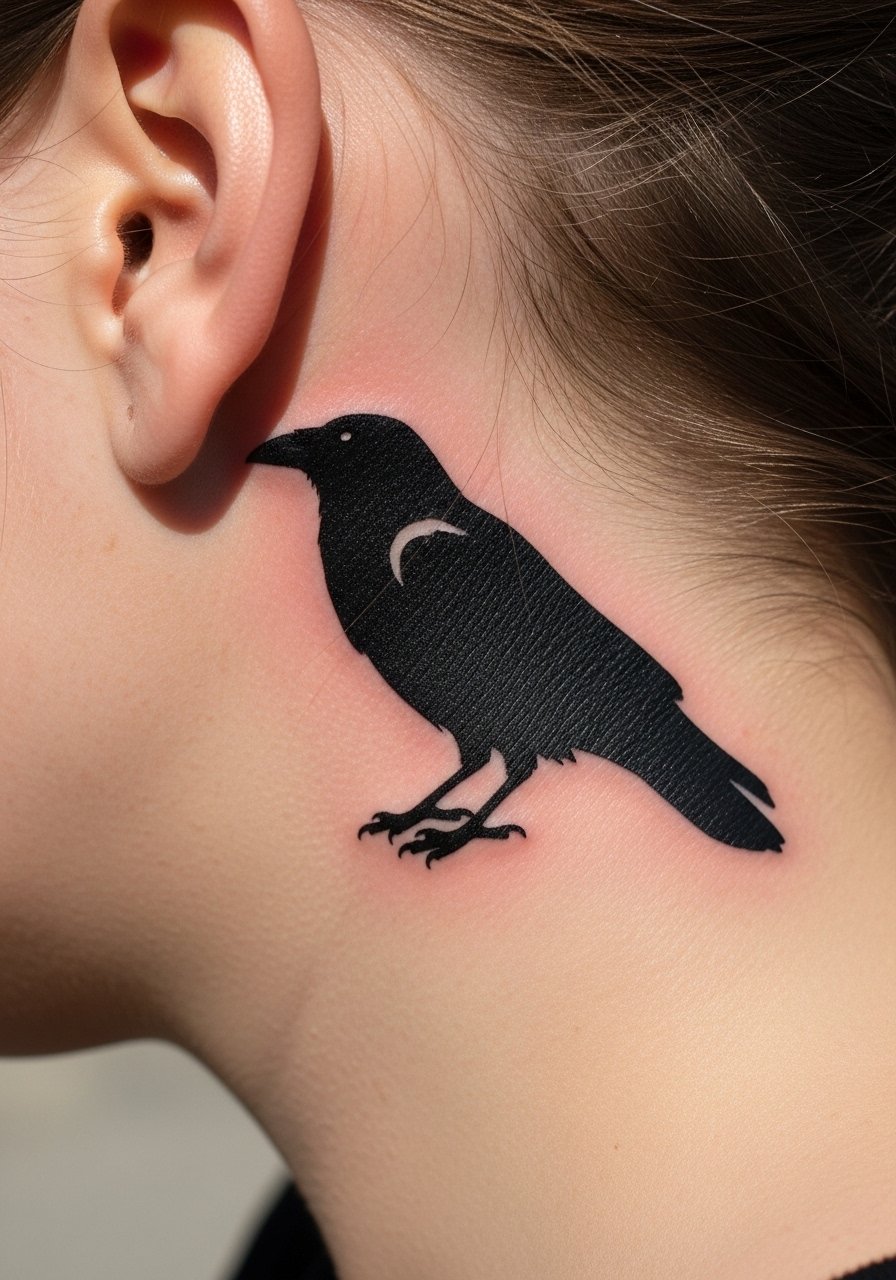
A solid silhouette reads clearly from a distance and ages into a confident shape rather than soft lines. The trick is to avoid tiny intrusions into the silhouette that will merge over time. In consultation, ask for generous negative space inside feathers to keep definition as the skin changes. Pain is low to moderate given the thin dermis there. Expect about 30 to 50 minutes in the chair. Pair with an everyday earring like a thin hoop to frame the area when you want it visible.
3. Crow in Flight with Stylized Wing Trail
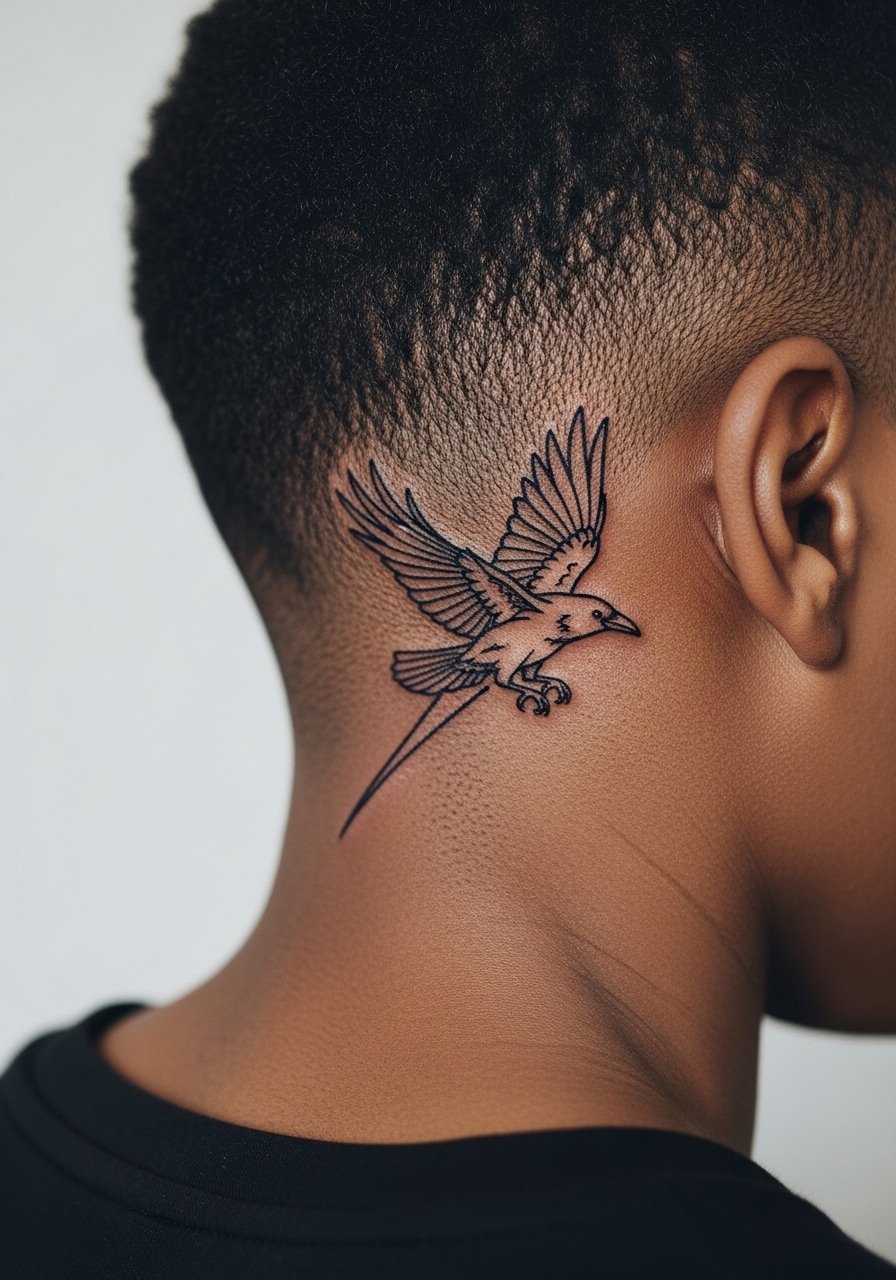
A crow mid-flight gives motion that can extend slightly down the neck to play with hair movement. Tell your artist you want tapered wing trails rather than dense feather clusters so the design keeps clarity as it ages. A common aging issue is crowding the neck extension, which can turn into a muddled patch by year three. Session time can stretch to under 90 minutes if the trailing lines extend onto the nape. For the appointment, secure hair with a large claw clip so the artist has a clean field and you do not nick freshly inked skin.
4. Neo-Traditional Crow with Tiny Floral Base
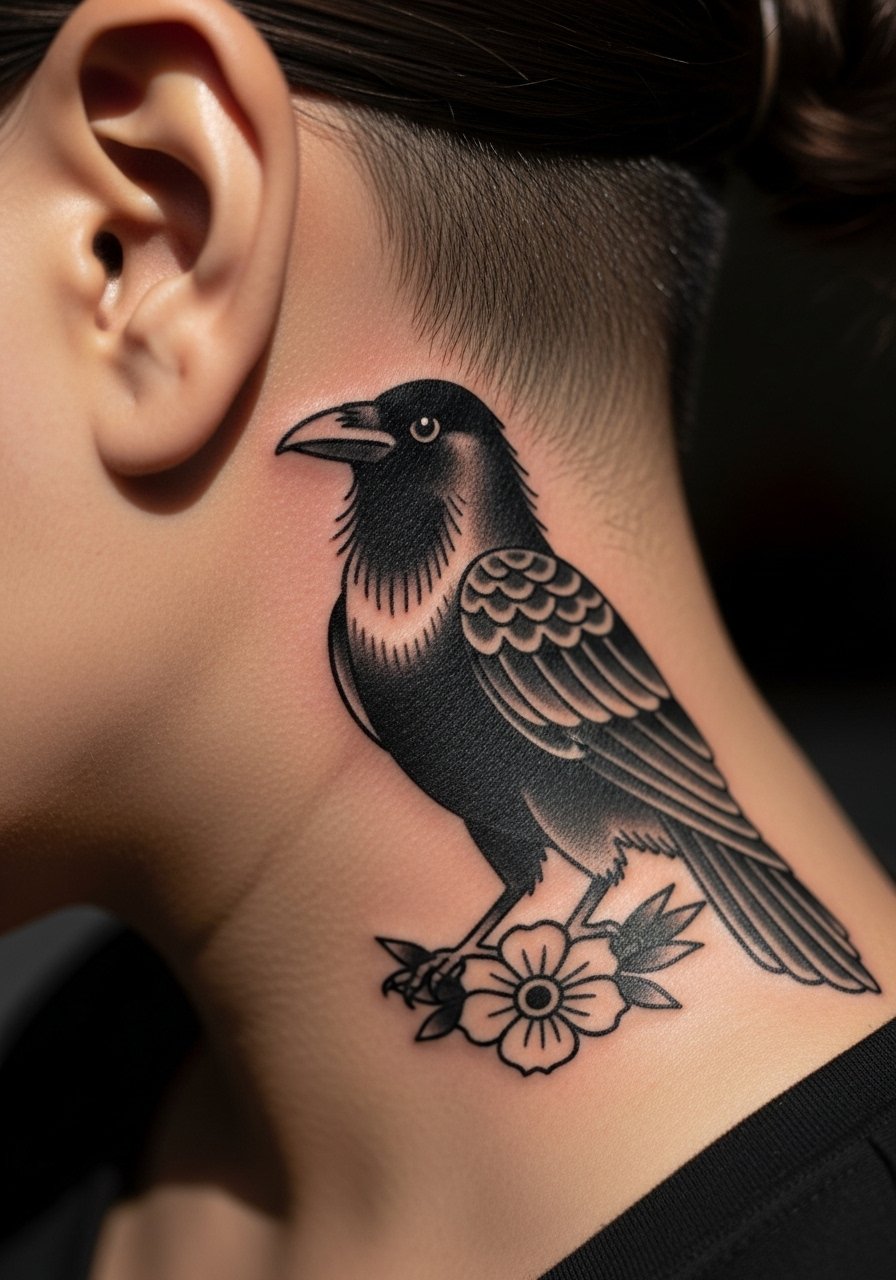
Neo-traditional gives the crow clear linework and saturated fills that age predictably. The floral base anchors the design and helps when you want a little color. The biggest mistake is asking for overly fine florals that will lose petal edges; ask for simplified blossoms with room between petals. Expect a 60-minute session with occasional breaks for neck discomfort. Pair this style with a delicate pendant necklace that sits above the collar so the crow stays the focal point.
5. Crescent Moon and Crow Silhouette Cluster

Combining a moon and a crow gives symbolism while keeping the composition compact. In consultation, specify that the moon should be a thin crescent with the crow overlapping slightly. A common version that fails is tiny crescents filled with stipple that clog over time. This design typically takes under 45 minutes and is forgiving for touch-ups. For showing it off at night, a simple racerback tank or pulled hair will make the silhouette pop.
6. Graphic Line Crow with Dot Work Halo
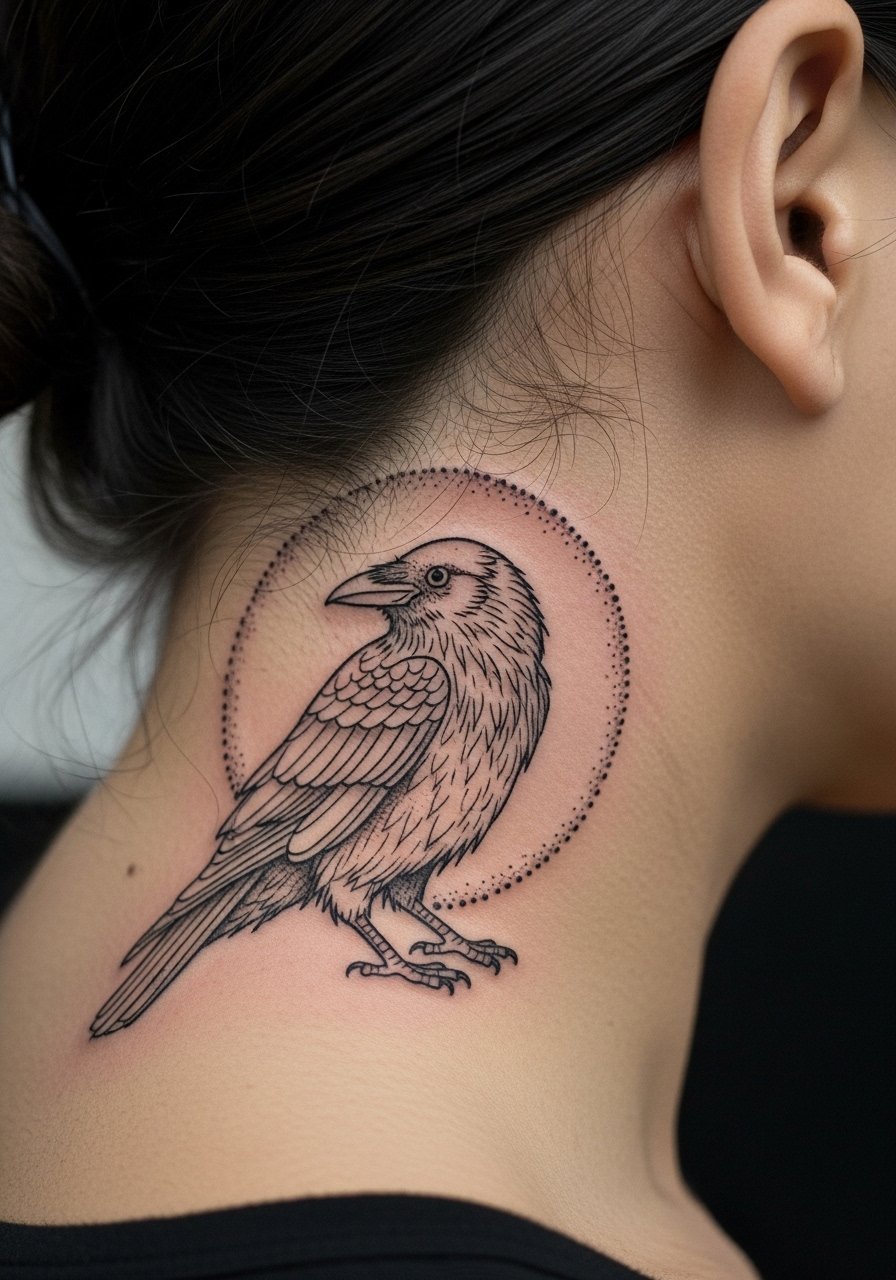
This version blends bold contour with stipple shading around it for texture. Tell your artist you want the halo stippling light and spaced so it does not read as a gray block later. Artists split on fine line around the ear. One camp says heavy stipple and tight dots will compact, making the halo look like a shadow within a few years. The other camp argues that skilled spacing and light hand keep stippling legible for years. Ask your artist where they land. Expect about 60 to 75 minutes and plan for a touch-up if dots soften at year three. For the session, wear a loose button-down shirt you can pull aside for access.
Studio Day Picks
These small neck pieces and the silhouettes above heal differently from larger arm work, so a few session-day items and healing aids smooth the experience and the first week.
-
Stencil transfer paper kit. Lets you preview exact placement and scale on skin before the needle touches, which matters for tiny behind-ear layouts.
-
Topical numbing cream. Applied per instructions before the session can reduce sensitivity in the thin skin behind the ear.
-
Thin protective film roll. A breathable thin film can protect the spot from hair and friction while you sleep in the first 48 hours.
-
Fragrance-free gentle body wash. Keeps the area clean without stripping oils that help small linework settle.
-
Aquaphor healing ointment. A thin layer for the initial days locks in moisture and helps crisp edges in fine blackwork.
7. Crow Skull Hybrid in Bold Blackwork
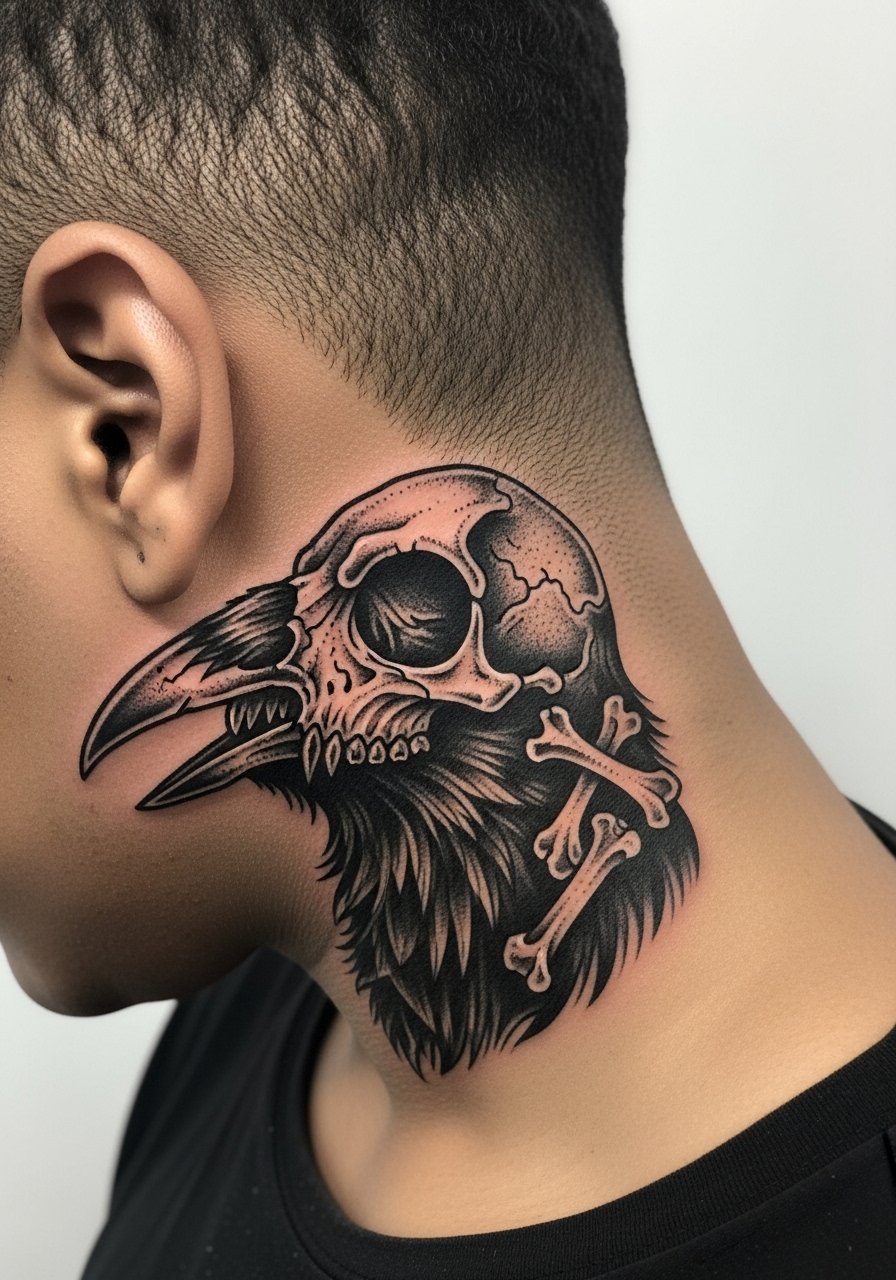
This dramatic motif uses solid black to form a skull within the crow silhouette. Ask for broad areas of pure black and clear negative shapes for bone elements so the composition reads as one image at both close and distance. The common mistake is over-detailing the skull, which will blur with skin movement. The session runs about an hour and a half if the artist layers black for saturation. Think about accessories like a studded mini hoop to echo the bold feel when you want the piece visible.
8. Tiny Minimal Crow Outline with Whisper Feathers
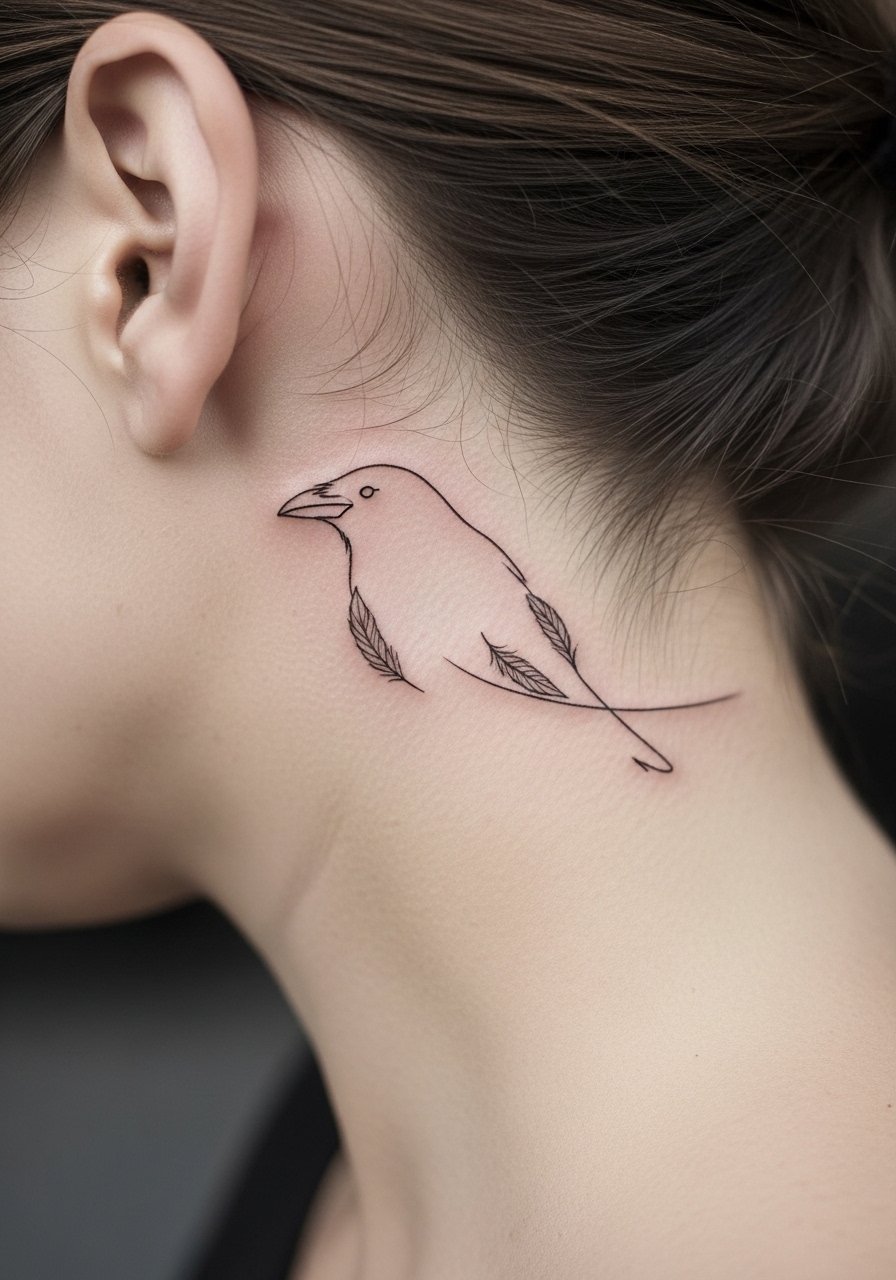
Minimal outlines can read elegantly but they are at the highest risk of blur. The single biggest mistake is asking for too-thin lines without spacing around them. In a consult, request slightly heavier single-line weight than your Pinterest picture. Expect a short session under 30 minutes but plan mentally for a touch-up around year two. For the session, wear a high ponytail hair tie pack so hair is out of the way without irritating fresh ink.
9. Crow with Tiny Script Date Along the Neck Curve
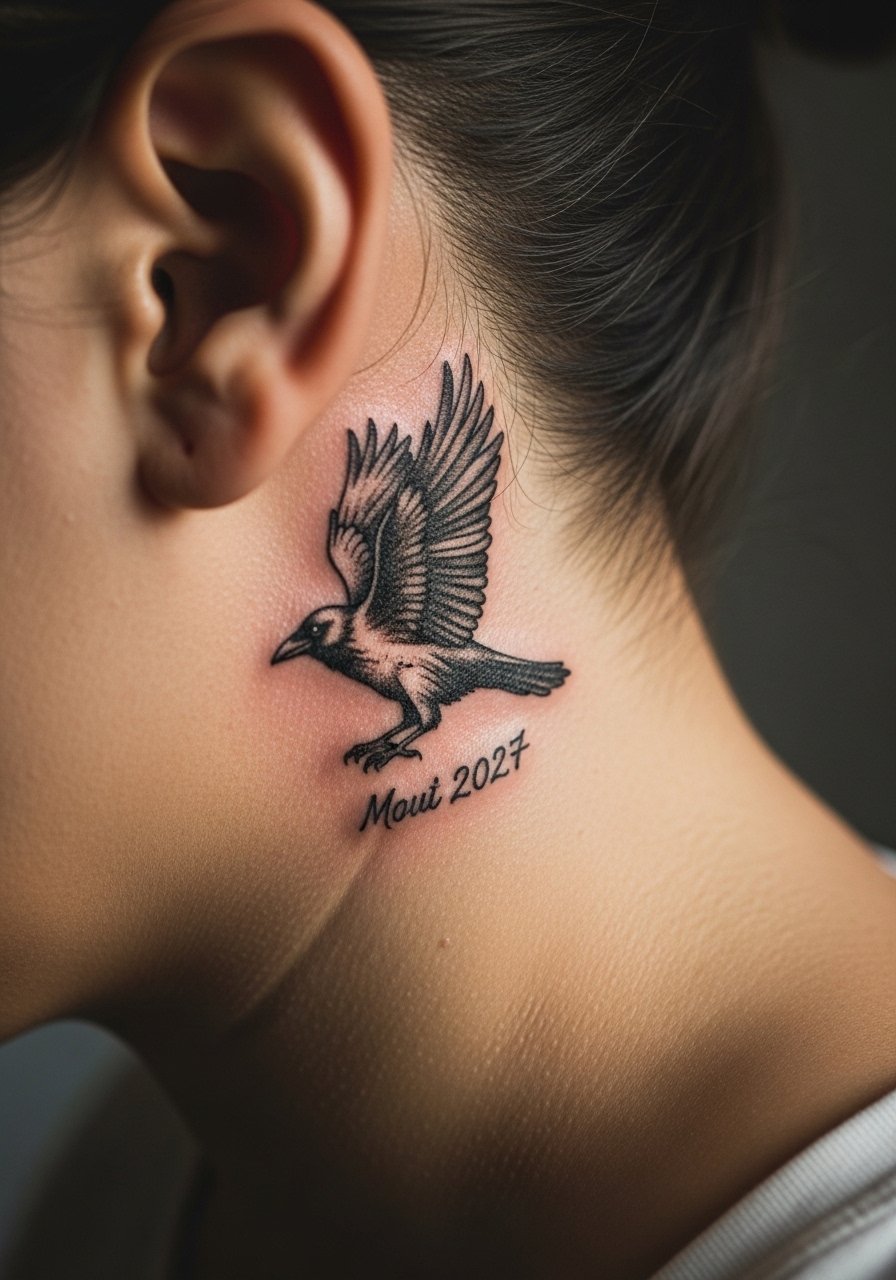
When text sits near a crow motif behind the ear, exact placement matters. Specify the exact text and font during consultation so the artist can test scale. Tiny script in that zone often softens; ask for slightly bolder script strokes to keep legibility. Expect 45 minutes including placement checks. For showing off, a thin chain pendant necklace sits above the ink without crowding the area.
10. Geometric Crow with Negative Space Triangles
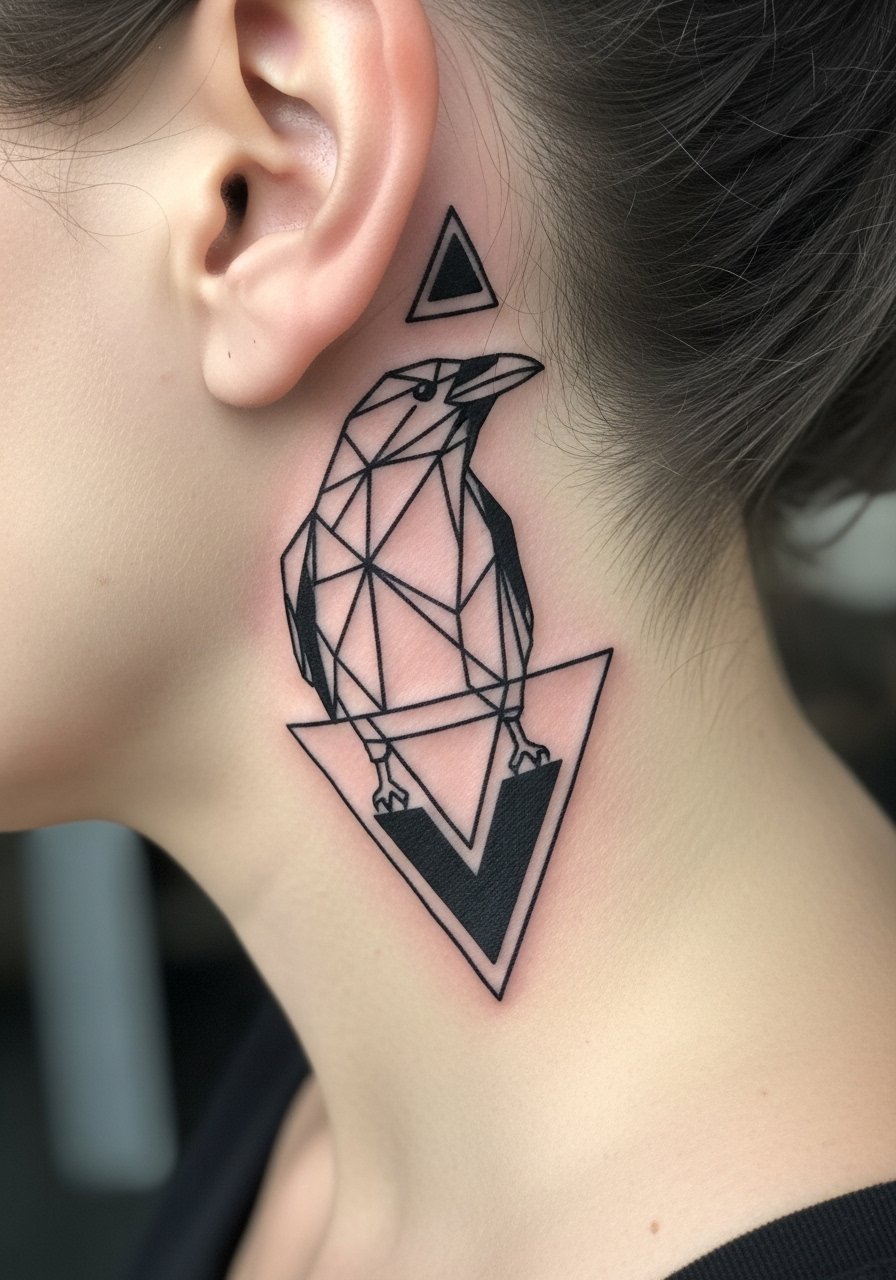
Geometric takes advantage of clean angles to read well at small scale. The common version that ages poorly packs triangles too tightly. Ask for breathing room between shapes and for line weights that read both up close and at a glance. Session time varies from 45 to 75 minutes depending on spacing. If you want to show it off, try a wide-neck sweater that pulls the collar enough to reveal the nape without tugging tattooed skin.
11. Single Feather Crow Accent Dripping Down the Hairline
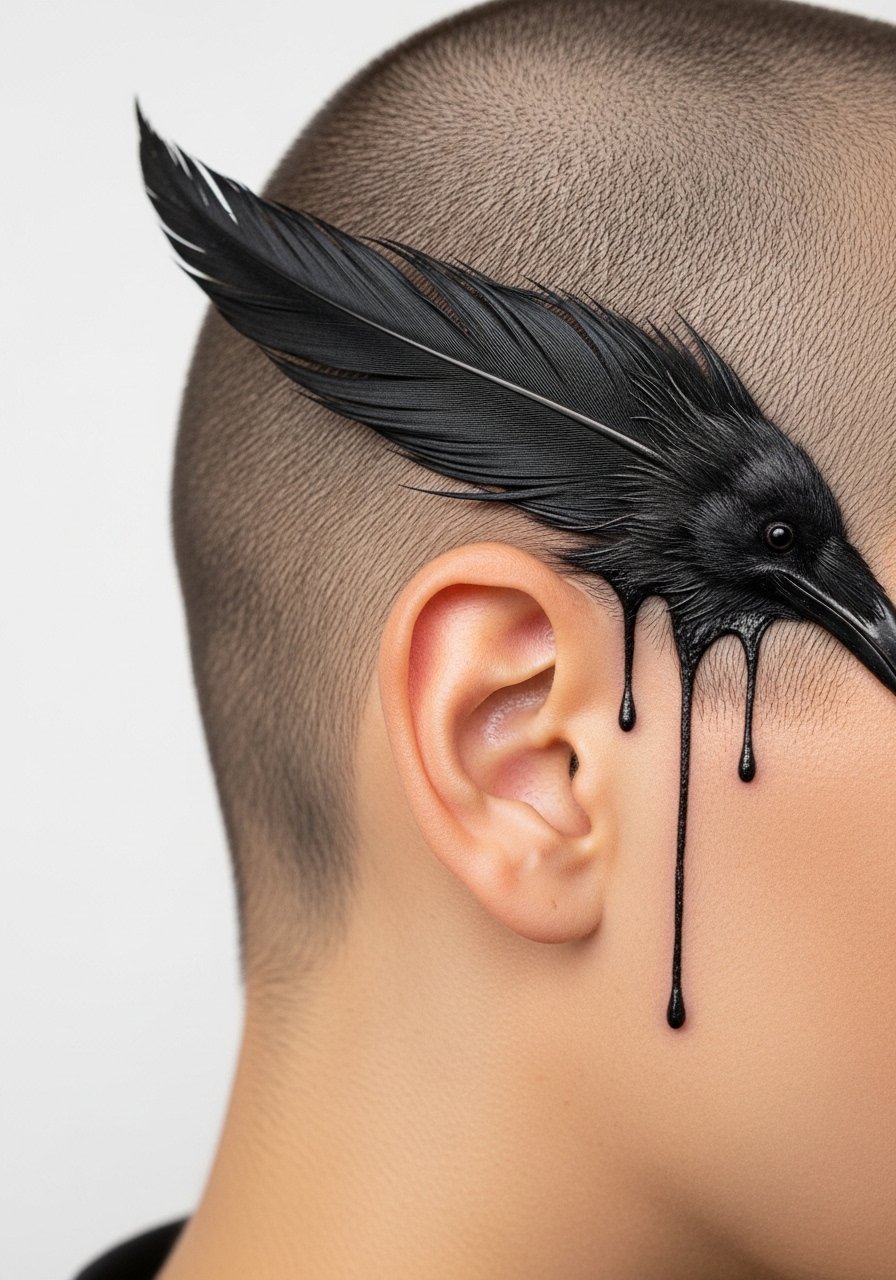
A trailing feather uses vertical flow to interact with hair, so placement should account for daily movement. The error is extending too far down where shirts and collars rub the feather. Ask for a 1 to 2 centimeter extension rather than a long tail. Expect a 45-minute session and low pain. This placement can be subtle with simple studs or visible with pulled hair. For the session, bring a silk scrunchie to keep hair up without rough elastics.
12. Blackwork Crow with a Red Eye Accent
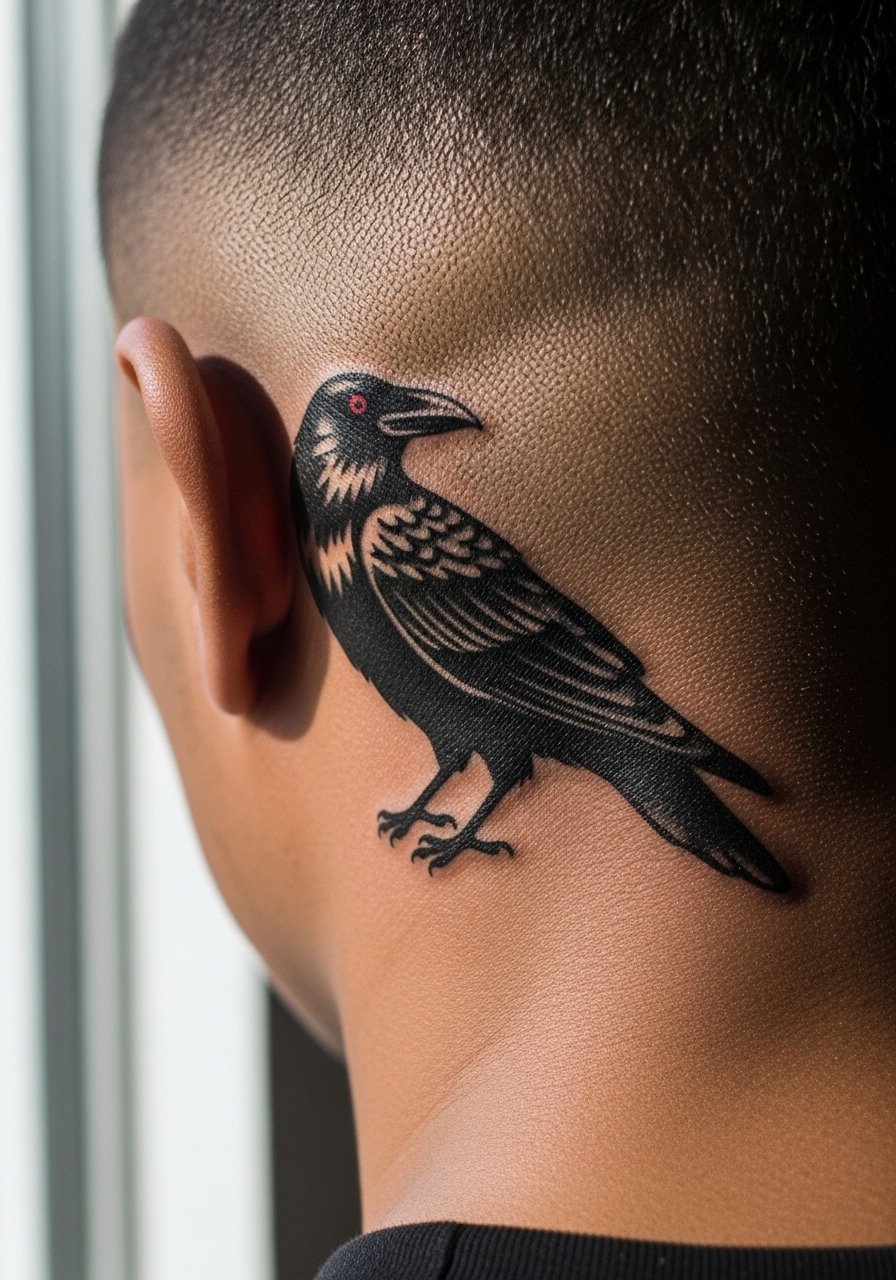
A single color accent gives the illusion of intent without complicating the piece. Tell your artist the red should be a pinpoint of pigment, not a wash. Color in that zone can fade faster due to hair oils and sun, so expect a touch-up recommendation at year two. The session is typically under an hour. When you want to show the accent, a thin hoop earring and tucked hair will draw attention to the colored eye.
13. Crow with Tiny Mandala Backdrop
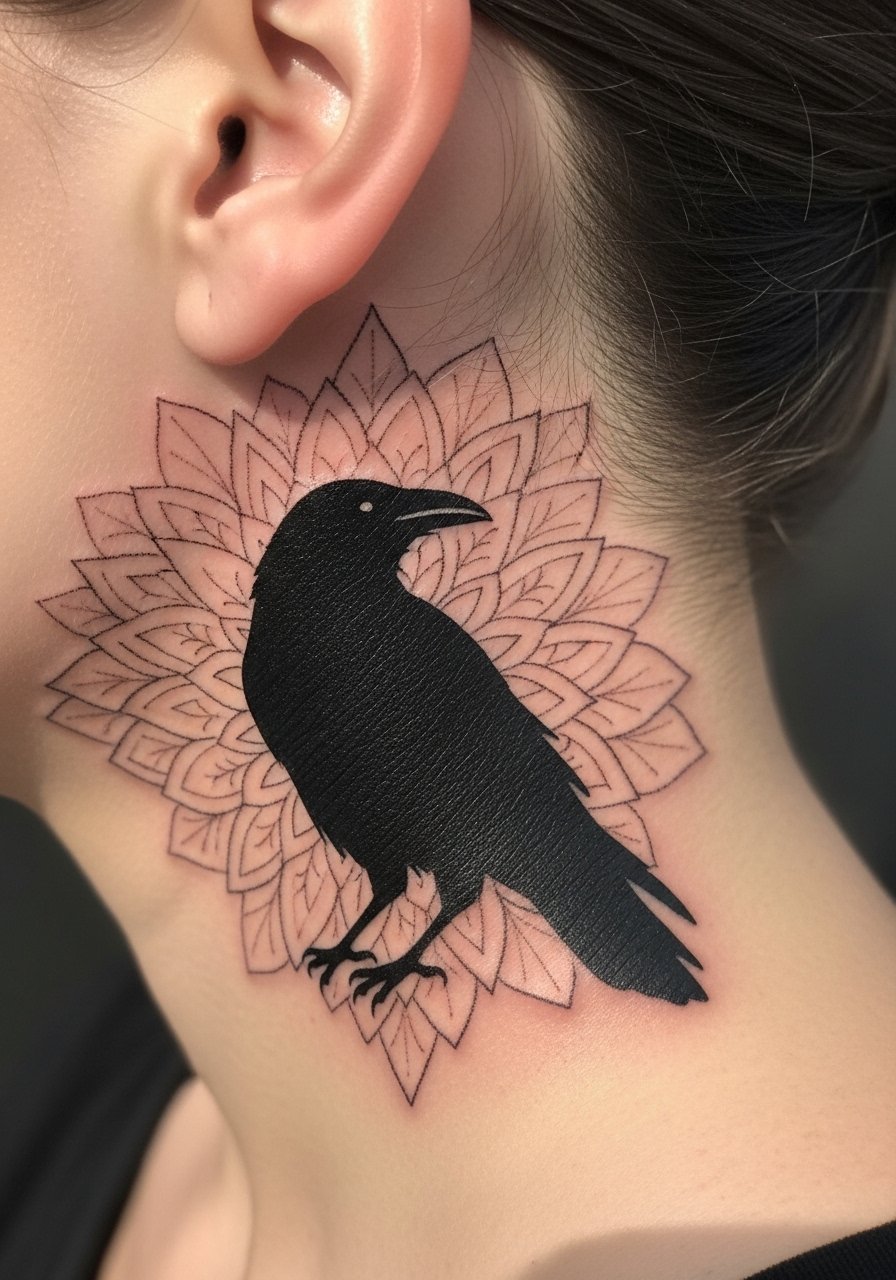
A mandala behind the crow adds texture but raises the risk of dense linework merging. Artists split on very fine mandalas in tight spaces. One group says the concentric lines will merge into a blur. The other group says careful spacing and larger negative zones keep patterns readable. Ask which approach your artist uses and request a test stencil. This piece takes up to 90 minutes if the mandala is detailed. For showing it off, pair with a button-down blouse worn slightly open to reveal the nape.
14. Minimalist Single-Line Crow Trace
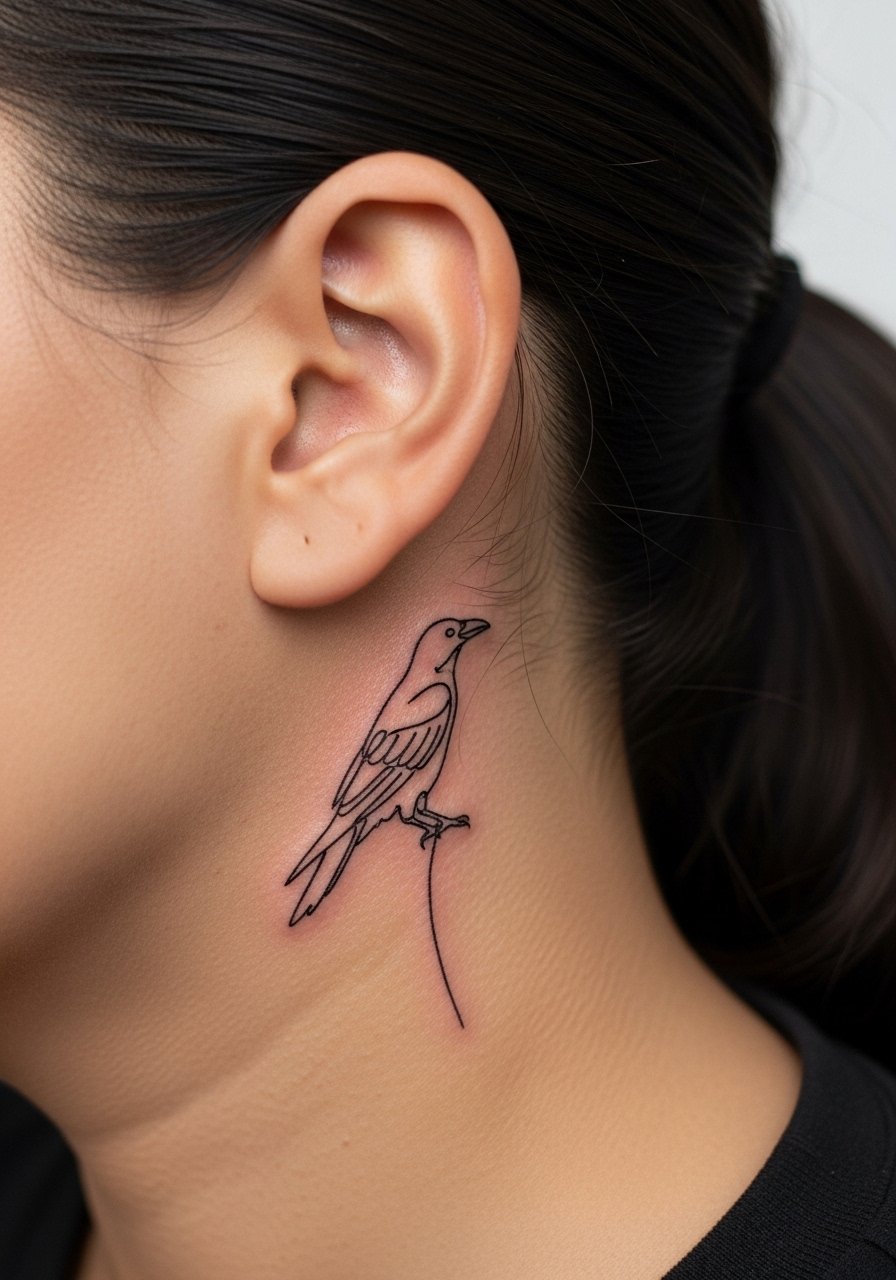
A continuous single-line design looks modern but requires consistent needle depth to avoid uneven thickness. The common mistake is asking for hairline-thin lines that do not maintain during healing. Ask for a steady single-line slightly heavier than the thinnest reference. Expect a short session under 40 minutes with low pain. For the appointment, wear a crew neck tee you can pull aside without stretching the neckline.
15. Crow with Tiny Star Constellation Accent
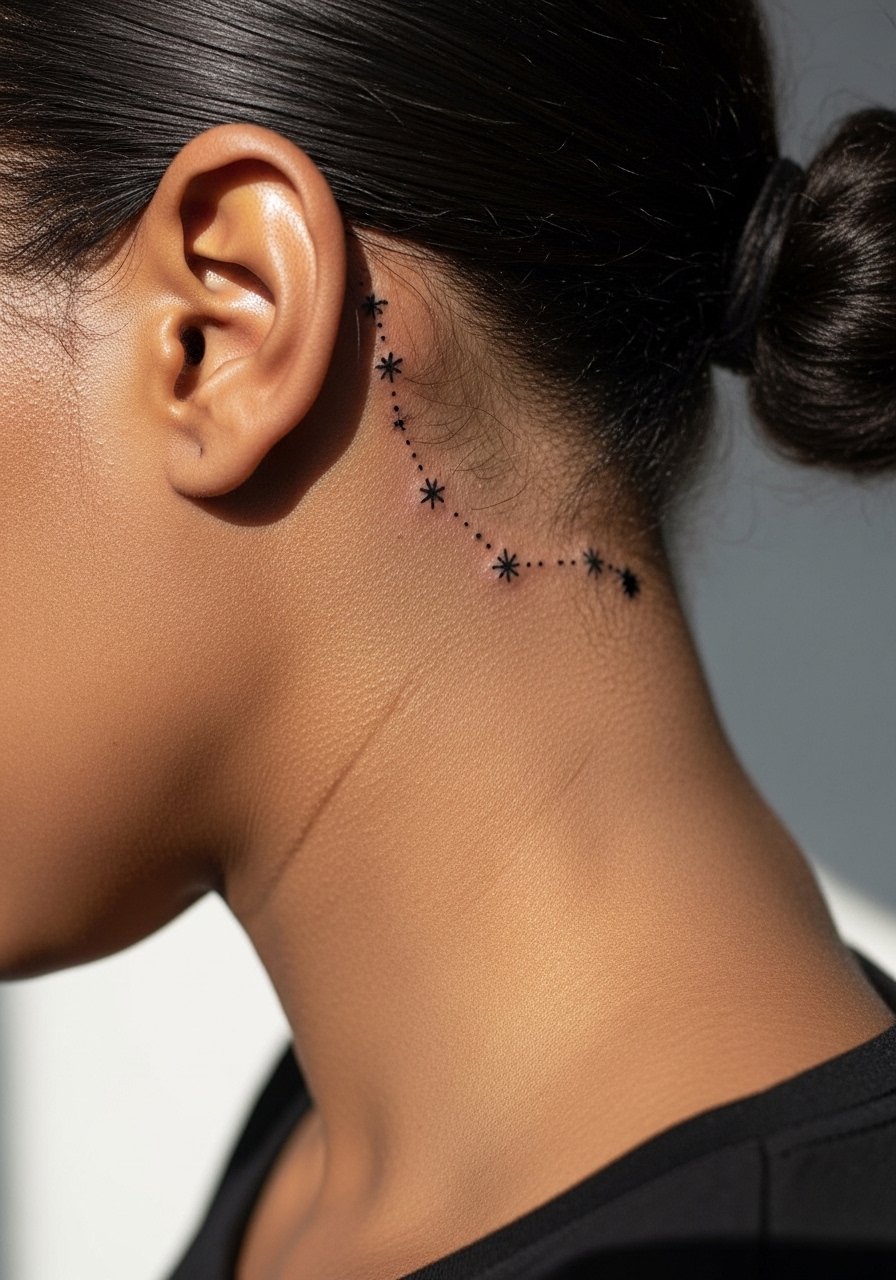
Star constellations are charming companions but scale is everything. Tiny dot clusters often blur into a smudge if placed too close to dense black. Ask for slightly larger stars with more spacing. The session lasts about 45 minutes. To show it off at night, tuck hair behind one ear and add a delicate ear climber to draw the eye upward.
16. Crow with Chain Charm Illusion Along the Neckline
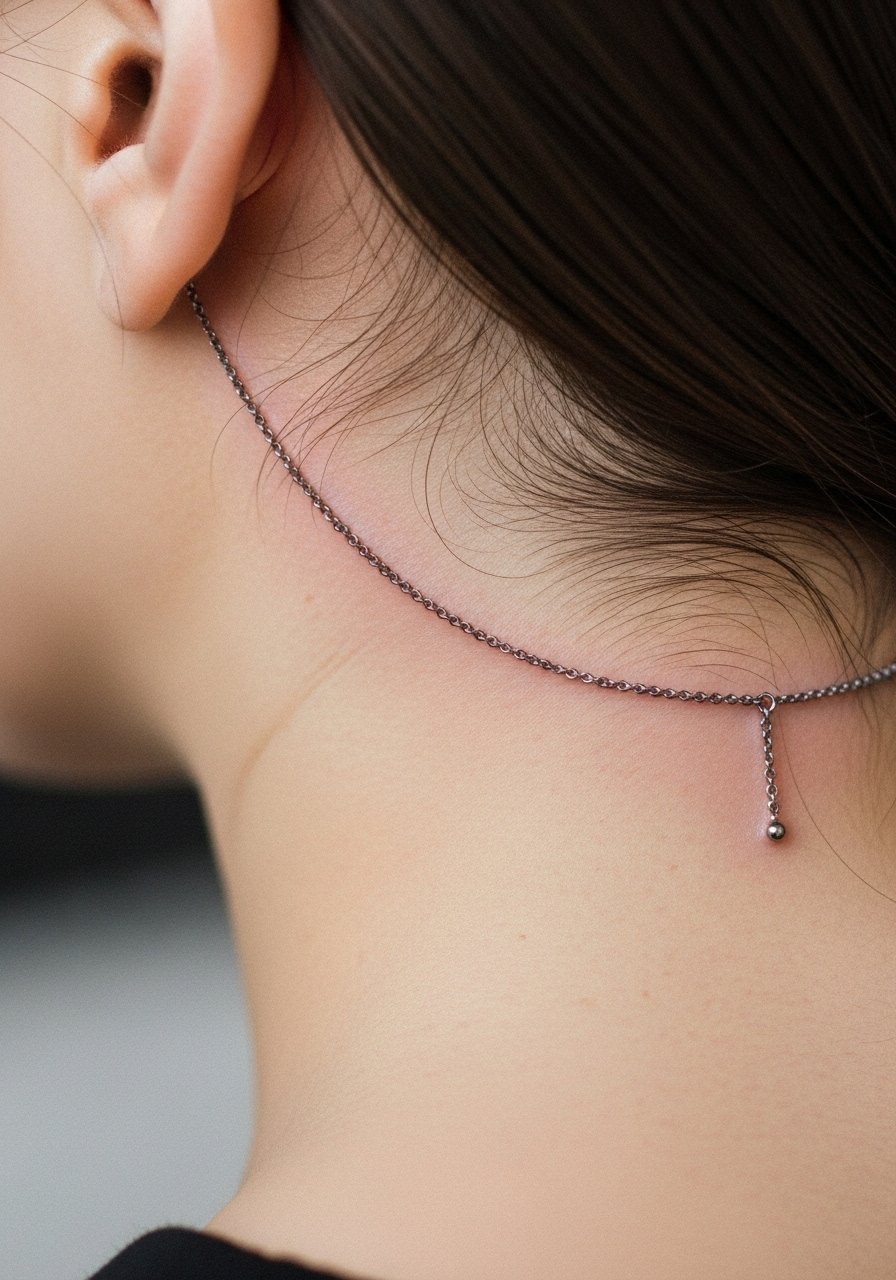
A faux chain printed under the crow creates the idea of jewelry without wearing it. The common mistake is making chain links too tight, which can become a gray blur. Ask for spaced links and a bold dot for the charm. This takes 45 to 60 minutes and touches of gray may need refreshing at year three. For a real-world match, layer a thin chain necklace above the design.
17. Bold Block Crow with Hairline Extension and Hidden Script
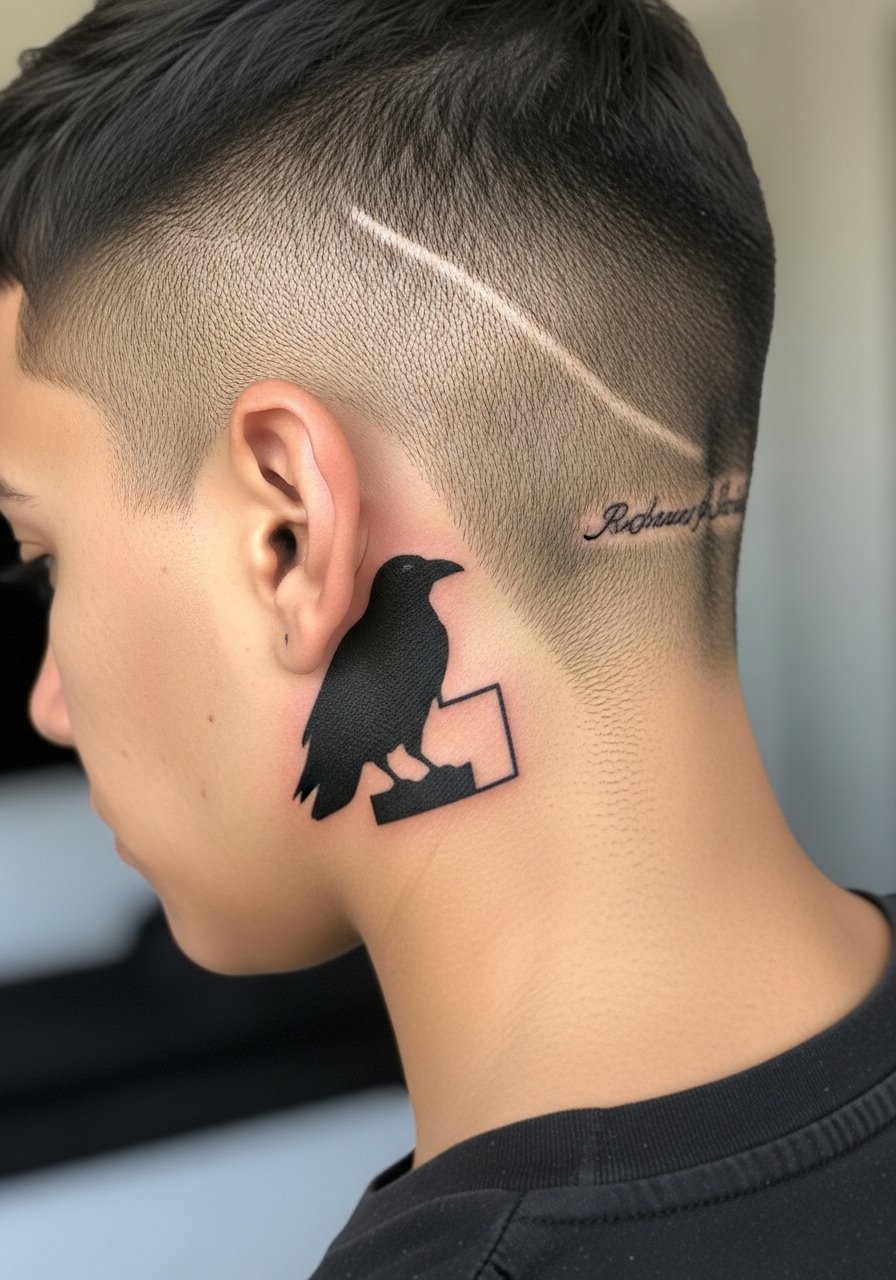
This high-contrast approach hides a micro script beneath the hairline for privacy while the block crow stays visible. Tell your artist the script must be placed where hair will naturally cover it most days. The controversy here is legibility versus privacy. One camp argues hidden script is impractical because touch-ups are harder. The other camp thinks privacy outweighs the maintenance trade-off. Expect about 75 minutes for careful placement and a touch-up plan. For the session, bring a soft headband so hair stays away without rubbing the ink.
Frequently Asked Questions
Q: Will a bold black crow behind the ear show through my hair as it grows out?
A: It can, especially with short hair or undercuts. Placement slightly below the hairline tends to peek through when hair is tied or in wind. If you want consistent concealment, ask for placement that sits just under typical hair coverage during your consultation.
Q: How often should I expect a touch-up for tiny dot work or stippling behind the ear?
A: Dot work and stippling in that zone often need touch-ups sooner than bold fills. From what I have seen, expect to revisit touch-ups around year two or three depending on sun exposure and hair oil contact. Discuss a realistic touch-up timeline with your artist during booking.
Q: Will colored accents like a red eye fade faster behind the ear than on an arm?
A: Yes. Color near hair and natural oils tends to fade faster. Small color accents often require a refresh sooner than blackwork. If you keep hair clean and minimize sun exposure, the color will last longer.
Q: Is the pain level much higher for behind-the-ear work compared with the forearm?
A: The skin is thinner behind the ear so sensitivity is higher than on fleshy areas like the forearm. Most people describe it as a sharp, short-lived discomfort. A topical numbing product applied per instructions can make the session more comfortable.
Q: What should I wear to the appointment to make the process easier for the artist?
A: Loose tops with wide necklines or shirts you can move aside work best. For behind-ear pieces, a wide-neck shirt or a button-down you can pull slightly is ideal. Also bring a simple hair tie so the artist does not have to contend with loose strands.
