
Fine line Stray Kids motifs are everywhere on fan boards, but what holds up and what becomes a soft blur depends much more on placement and spacing than on how intricate the stencil looks fresh. I have sat through consultations at five shops across Brooklyn and heard the same mistakes: go too small, pick the wrong spot, and you will be booking a touch-up. Below are 17 fan-friendly ideas with real-session notes and wardrobe tips to help the ink age well.
1. Minimal Script on the Inner Forearm
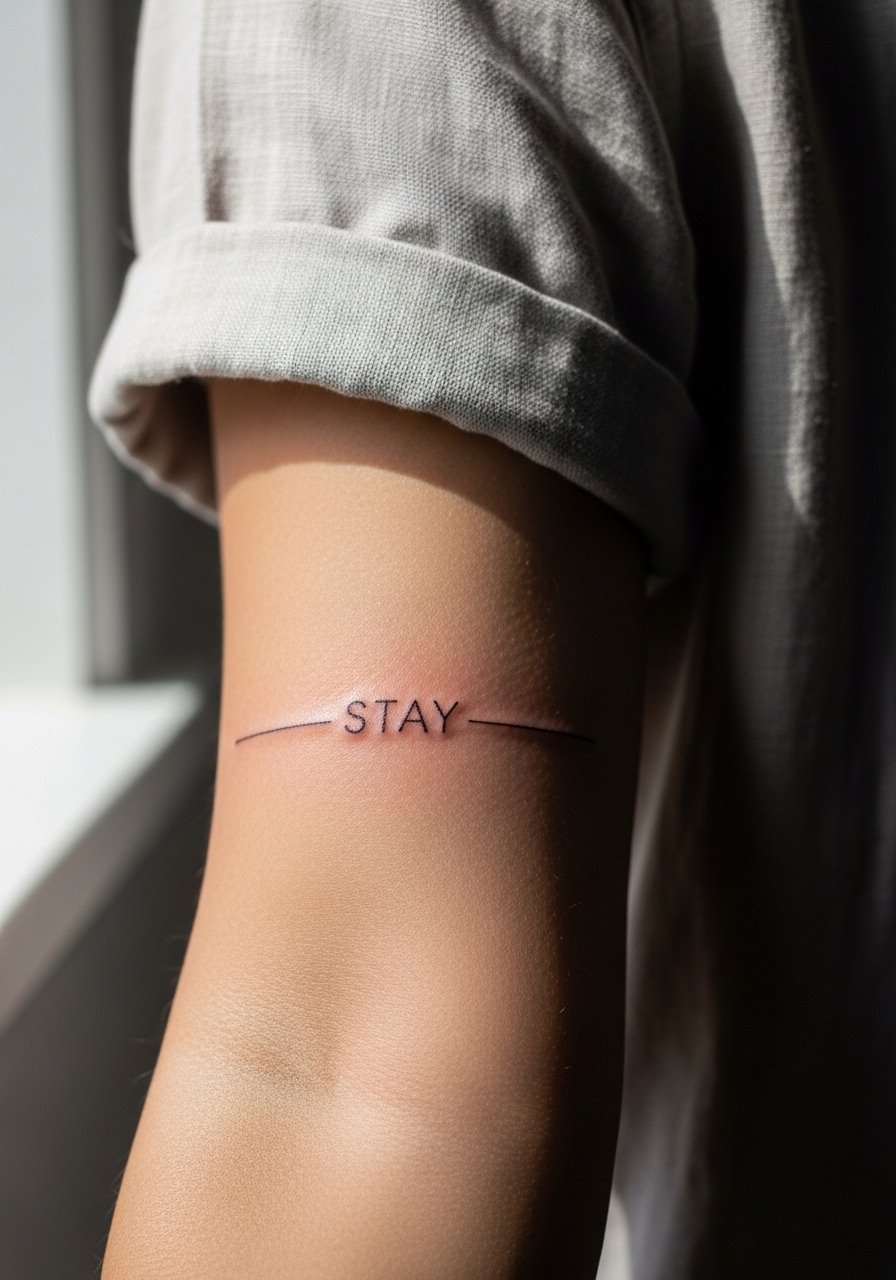
I recommend a narrow, single-word script for the inner forearm when you want subtle fan ink that is still visible up close. Fair warning, the biggest mistake is asking for the thinnest possible stroke and then placing it too close to wrist creases. When you consult, ask for slightly heavier linework and a little breathing room from the crease. Expect mild discomfort for about an hour on the inner forearm, and plan for a touch-up around year three if you go very fine. For showing it off, roll sleeves and try a rolled short-sleeve linen shirt to frame the placement.
2. Tiny Wolf Silhouette at the Nape
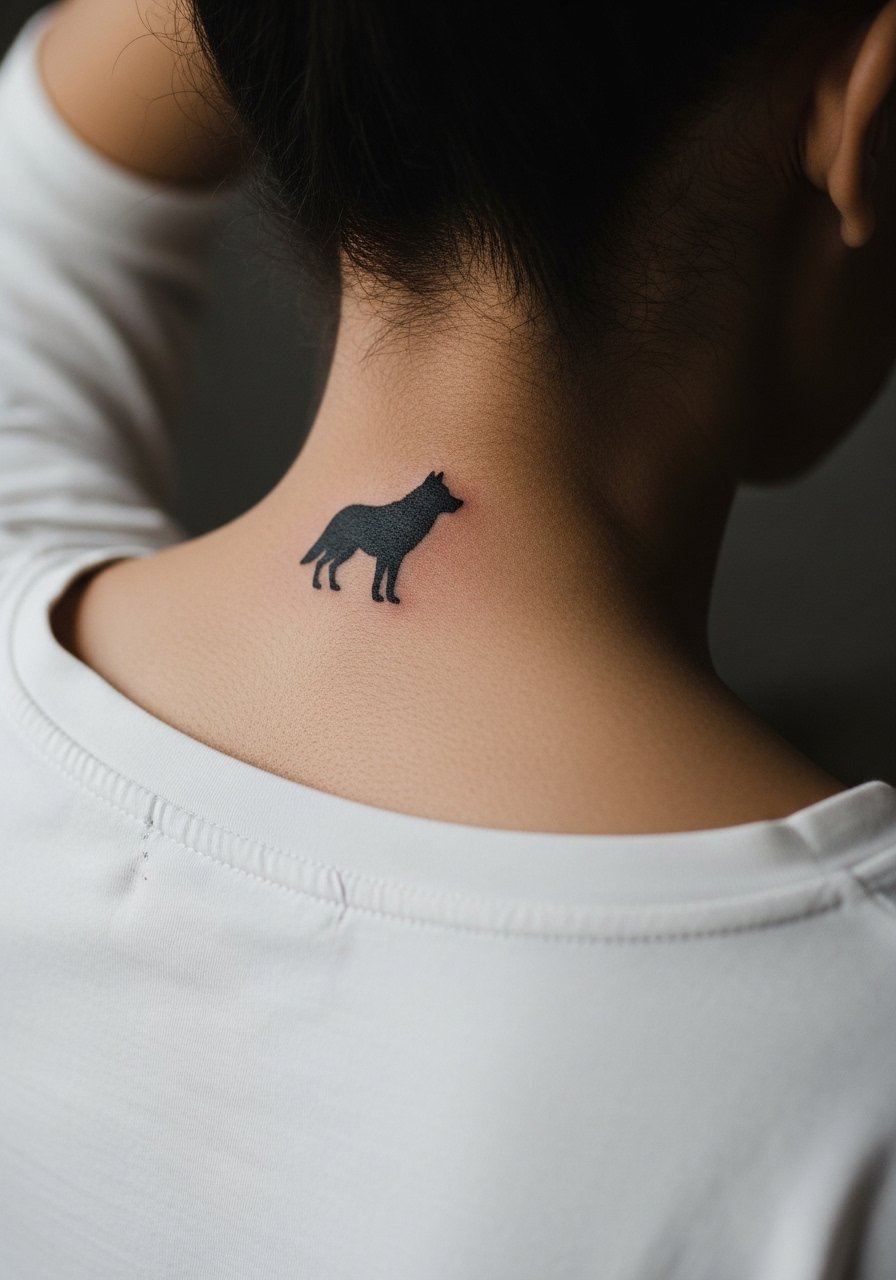
A tiny wolf silhouette suits fans who want a nod to Stray Kids motifs without overt imagery. The nape is a tricky spot for visibility because hair can hide it and sunlight can fade it faster. Pain is moderate. Ask your artist for a compact solid black fill rather than minute details, since small texture fades faster here. There is debate among artists about nape longevity. One camp says frequent friction from shirts and hair accelerates fading. The other camp says with solid saturation and positioning below the hairline it holds up well. For the session, wear a wide-neck top you can pull aside.
3. Micro-Realism Member Portrait on Upper Arm

Micro-realism portraits read best on the outer upper arm where the skin is stable and sessions are comfortable. A common mistake is shrinking a portrait down to a palm-size and still expecting crisp facial detail. When you sit with the artist, bring photos that match the angle you want. Expect a two to four hour session depending on size and a possible second visit for saturation. Over time the tiny highlights soften, so plan for a touch-up at year two to preserve contrast. For evenings out, pair an open-sleeve top so the arm shows naturally.
4. Tiny Finger Symbols in a Row
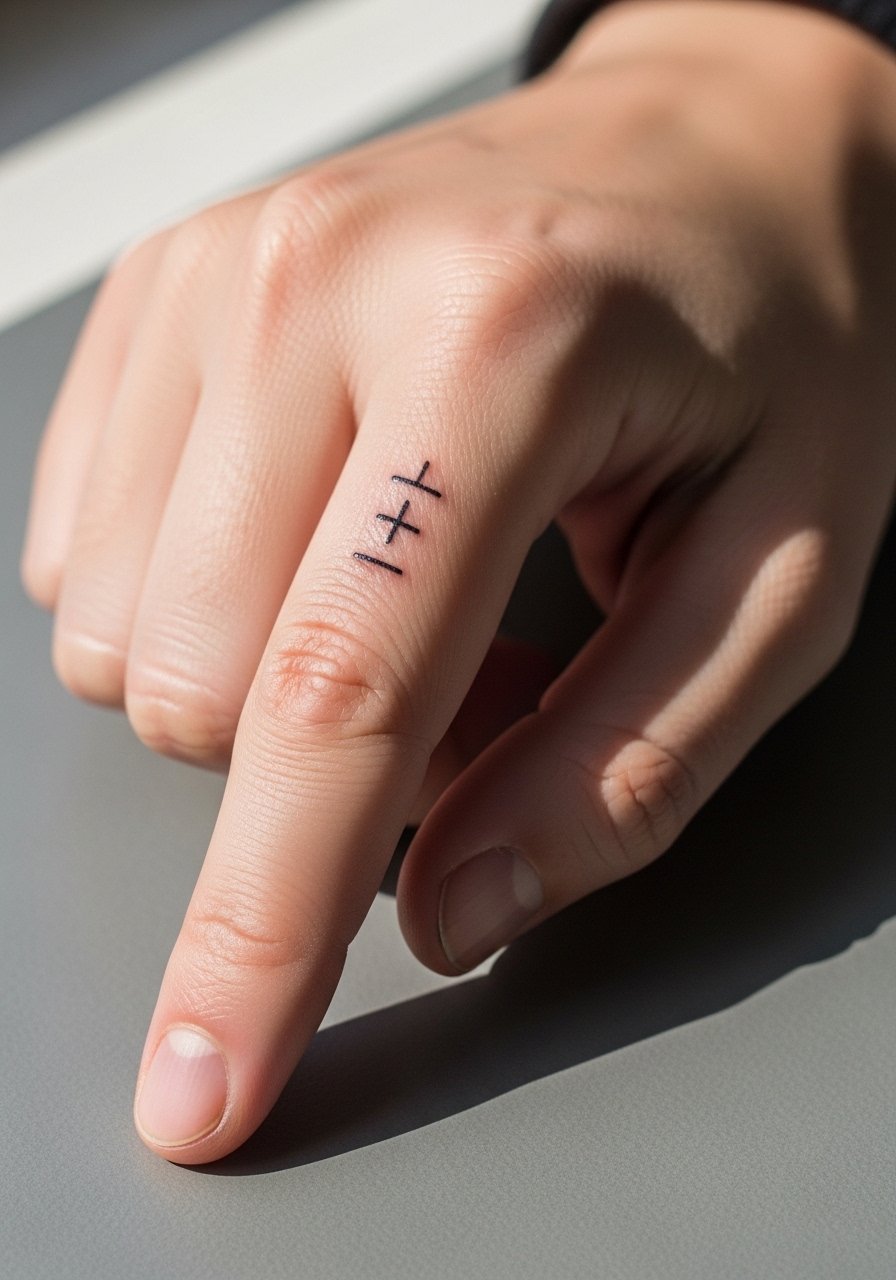
Finger tattoos are visually striking but demand honest expectations about fading. Fingers get a lot of washing and friction, which means touch-ups are often required sooner than elsewhere. The session feels quick and sharp, usually under 30 minutes per finger for tiny symbols. The real mistake is asking for ultra-fine lines across multiple fingers in a single visit. If you want them to last, ask for slightly bolder linework and plan for an annual touch-up. Hand visibility also affects some workplaces, so think about that in advance.
5. Constellation Cluster on the Collarbone
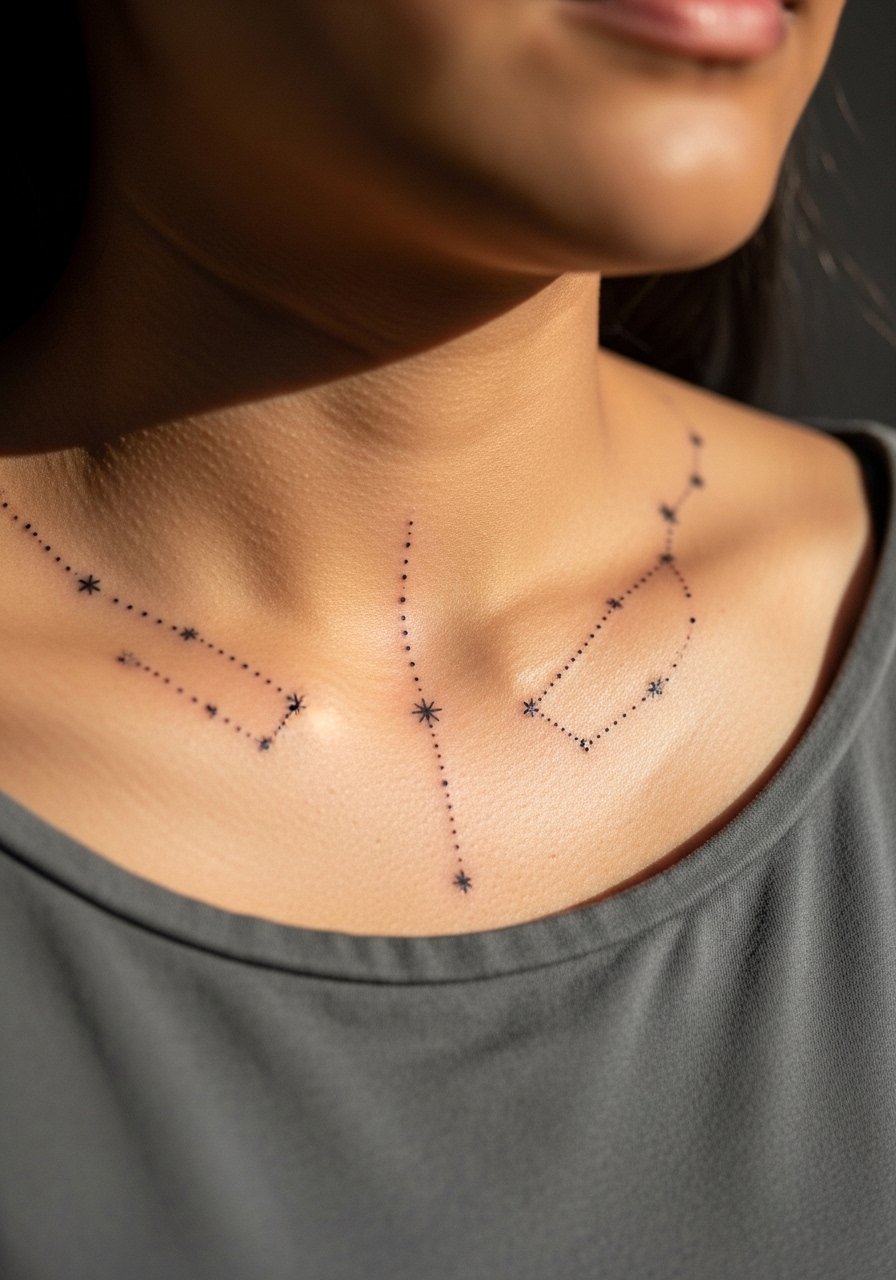
Constellation clusters look elegant on the collarbone because the area allows spacing and breath between dots. Most people under-request spacing and then find stipple shading blurs when dots are too close. During consultation, ask for deliberate negative space so the constellation keeps its distinct points as it heals. Pain is low to moderate and session time is usually under an hour. For styling, pair the piece with a thin chain pendant necklace that sits just above the ink to complement the placement.
6. Small Mandala Behind the Ear
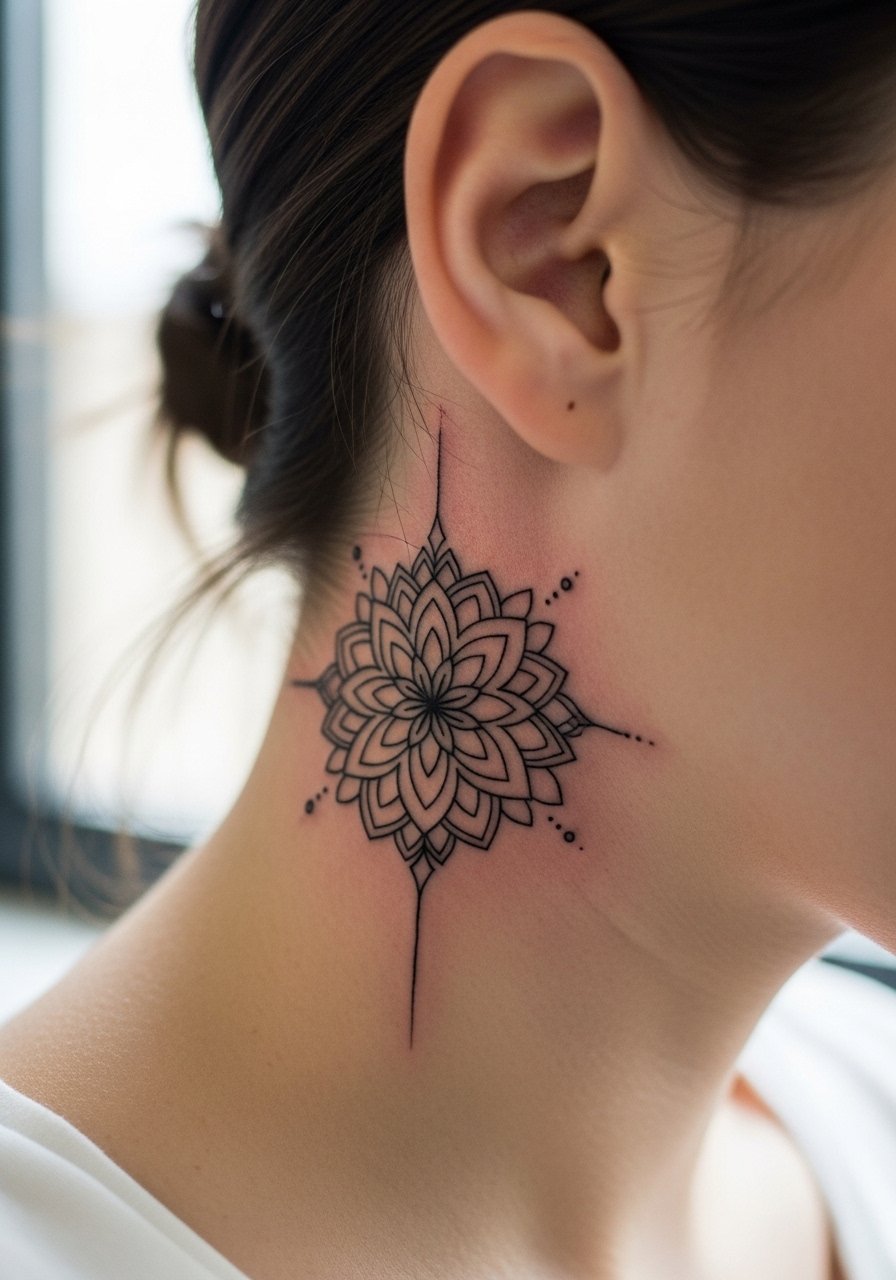
A behind-the-ear mandala gives a subtle fan nod while staying mostly private. For safety and modest exposure, have your hair tied or wear a collar that reveals the small area. The skin there is thin and session time is short but sensation is sharp. Artists split on whether dense fine line work holds here. One camp says the thin skin and movement blur tiny details quickly. The other camp says small, well-spaced geometry with slightly heavier lines will settle fine. If you want to show it off occasionally, tuck hair behind the ear.
Studio Day Picks
The first six ideas include several small, high-friction placements like fingers, collarbone, and behind-the-ear spots, so a few studio day items make the session and first week easier.
-
Stencil transfer paper kit. Lets you preview exact placement on skin before the needle, which matters when you want a tiny collarbone or finger symbol to sit precisely.
-
Topical numbing cream. Applied as directed about 45 minutes before can ease the sharp sting on thin zones like fingers and the nape.
-
Thin protective film roll. Small pieces of protective film keep fresh wrist and hand tattoos clean during the most active first 48 hours.
-
Fragrance-free gentle body wash. A mild wash reduces irritation when cleansing delicate collarbone and behind-the-ear areas.
-
Aquaphor healing ointment. A thin layer in the first days helps lock in moisture on small, fine-line pieces without clogging the surface.
7. Tiny Logo on the Wrist

An inner wrist logo is classic for fans who want daily visibility. The big error is asking for micro detail perpendicular to the wrist crease. Have your artist draw the logo aligned with the natural plane of the wrist. Pain is mild and sessions are short. Fine line on the wrist can blur over time with sun exposure and frequent washing. Ask for slightly stronger lineweight and consider a light touch-up around year two. For showing it off, pair the wrist piece with a minimalist watch that sits just above the tattoo and draws the eye without crowding the ink.
8. Tiny Script on a Rib Bone

A rib placement gives privacy and drama but is one of the higher pain zones. Fine script here can look incredible if the sizing is correct. There is a common debate among artists about fine line on ribs. One group argues the frequent stretching and breathing motion causes lines to blur quickly. The other group says with correct needle depth and spacing, fine line settles well. When you consult, ask the artist which side they land on and request proof of healed rib examples. Wear a cropped top or button shirt you can pull aside for the session.
9. Minimal Line Skull on the Calf

The calf is forgiving for small black line work because the skin is thick and sessions are comfortable. A common mistake is packing too much tiny shading into a small calf piece. Keep the skull design graphic and let negative space do the work. Expect moderate pain and a session under two hours for a palm-sized skull. Over the years the calf holds saturation well, so touch-ups are infrequent. For casual outfits, rolled jeans or a mid-calf boot and cropped hem show the placement.
10. Tiny Heart on the Ankle
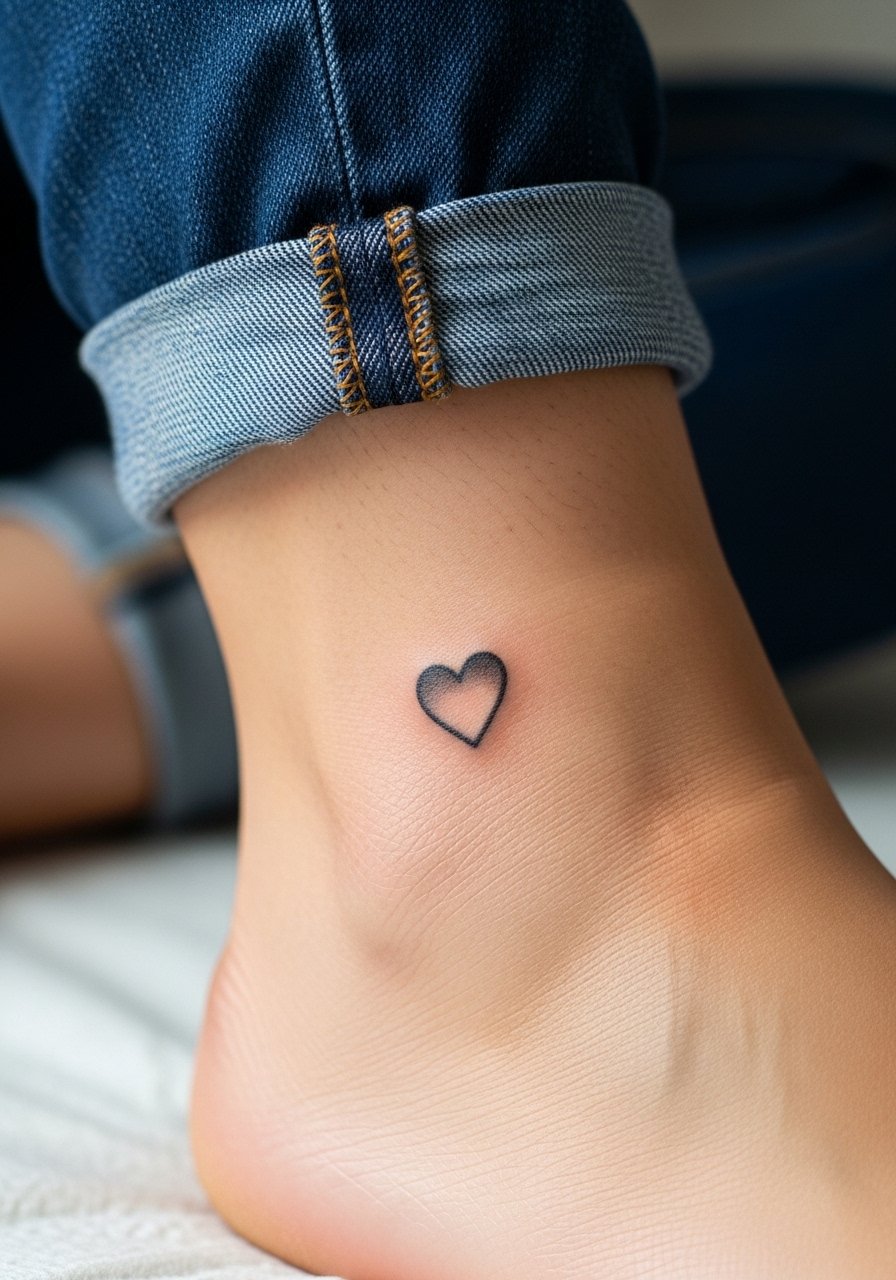
Ankle tattoos are low-visibility and high-friction because of shoes and socks. The biggest mistake is placing delicate dots where they will constantly rub. Ask for a slightly bolder outline and plan for a quick touch-up in the first year. Session discomfort is mild but the area can ache for 24 to 48 hours after. For the session wear slip-on shoes or sandals so you do not press on the fresh ink while leaving the studio. For showing it off, try cropped jeans and simple sandals.
11. Single-Needle Star on the Inner Bicep
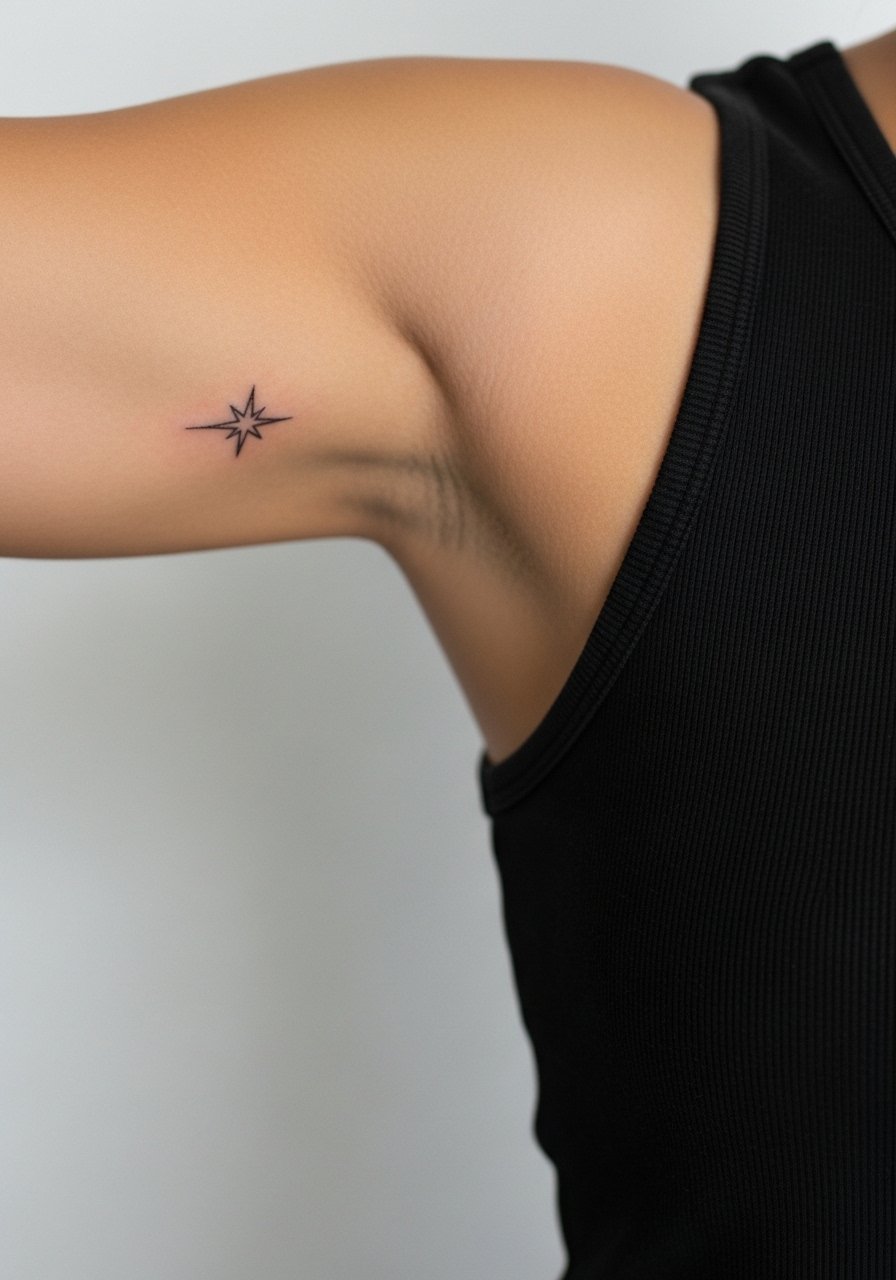
The inner bicep is a lovely canvas for single-needle details because the skin there is soft and less exposed. The session can feel awkward because the arm is raised and held still, and you may feel a deep vibrating pain for short bursts. The common error is requesting ultra-fine single-needle work without allowance for a slightly heavier line. Ask for a balance between delicacy and saturation. Healed, these pieces keep shape well. For session comfort, wear a loose tank top so the artist can access the area without you being cold.
12. Micro-Flash Icon on the Shoulder Blade
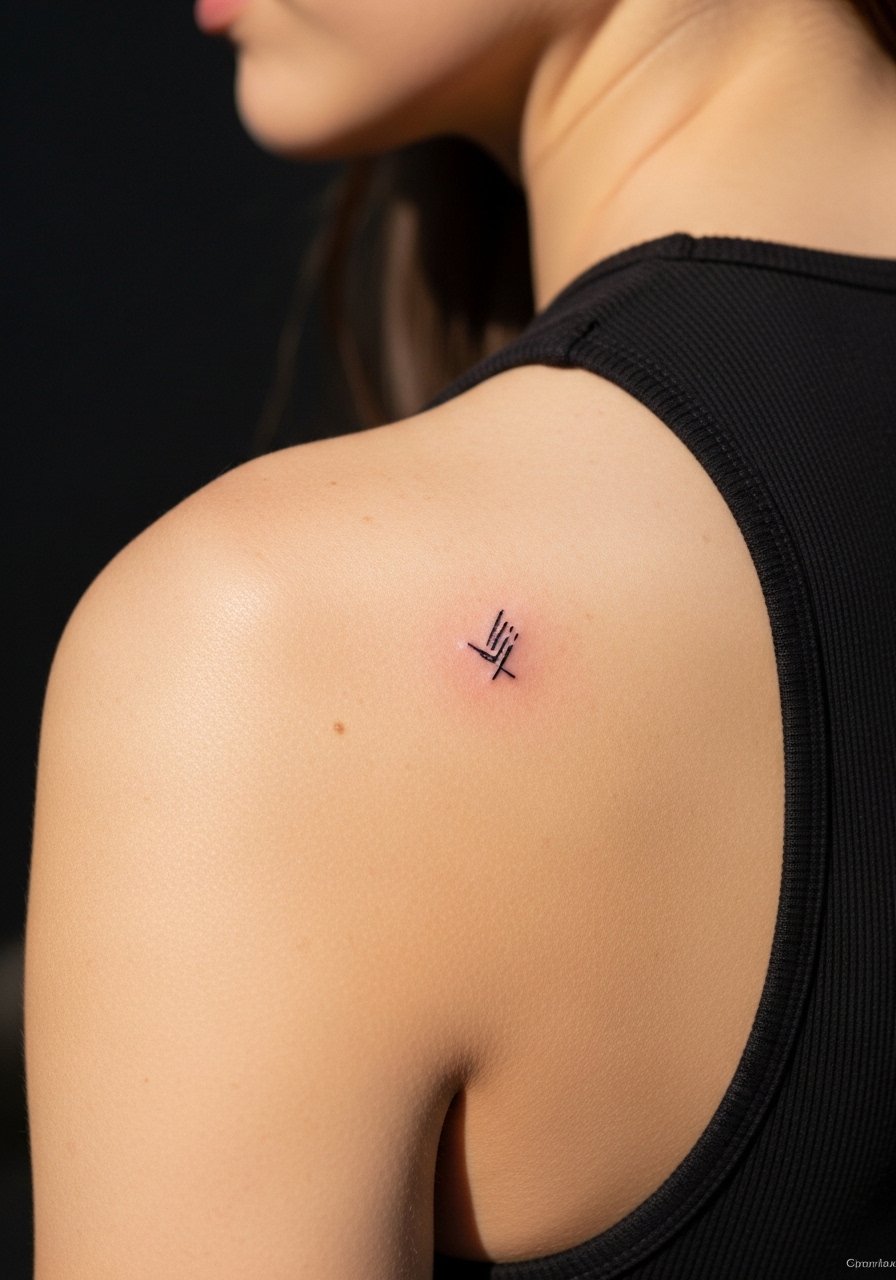
A shoulder blade micro-flash piece is ideal for a fan emblem you want to hide or reveal. The skin is stable there and sessions are pleasant. A mistake is crowding multiple tiny elements into a small shoulder blade patch. Space matters for long-term readability. Expect low to moderate pain and rare touch-ups. If you plan to show it for events, choose tops with an open back or high-backed straps so the area can be displayed elegantly.
13. Tiny Geometric Cluster on the Forearm
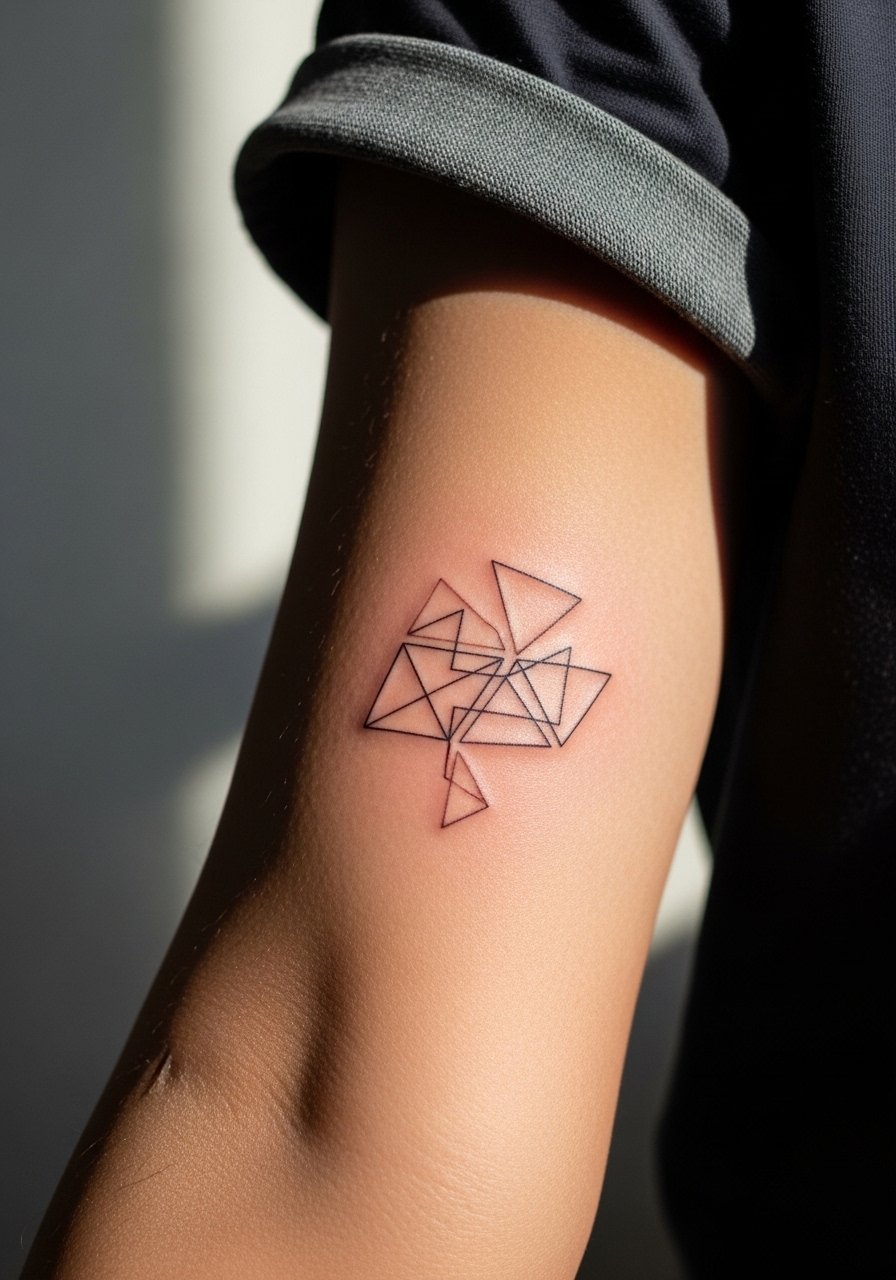
Geometric clusters work well on the forearm where flat skin keeps lines consistent. The usual mistake is shrinking dense geometry too small. Tell your artist you want intentional spacing so stipple and dot work remain distinct after healing. For pain, the forearm is friendly and sessions tend to be under an hour. For everyday wear, rolled sleeves and a minimal leather bracelet frame the design without covering it.
14. Small Arrow Along the Collarbone
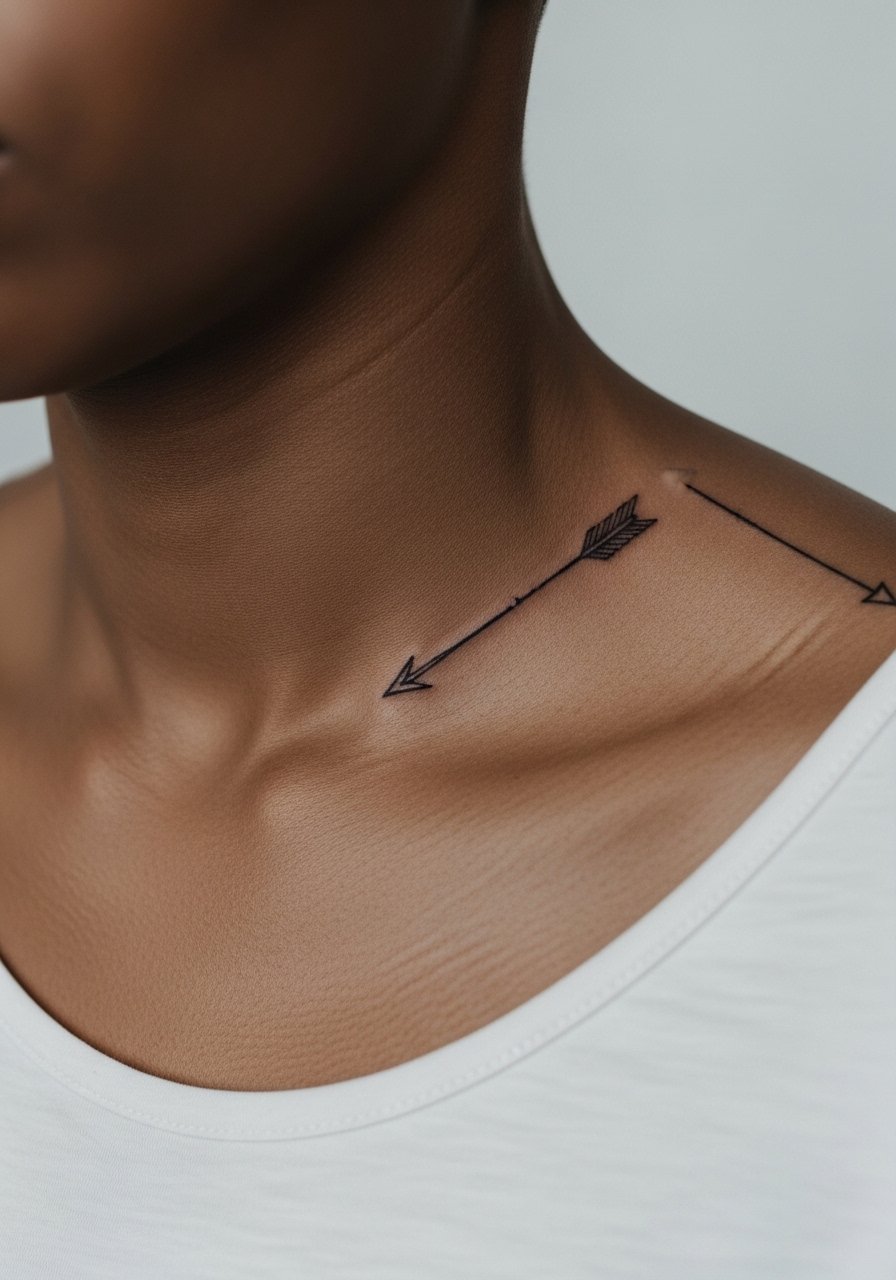
A small arrow along the collarbone reads crisp when oriented with natural lines of the body. The main error is placing it too close to the clavicle crease or making the shaft too thin. Ask for slightly bolder linework and a short, clean head so the arrow reads at a distance. Pain is low to moderate and sessions are short. For showing off, open-neck shirts and a delicate chain choker sit above the ink without competing.
15. Tiny Script Behind the Wrist Crease
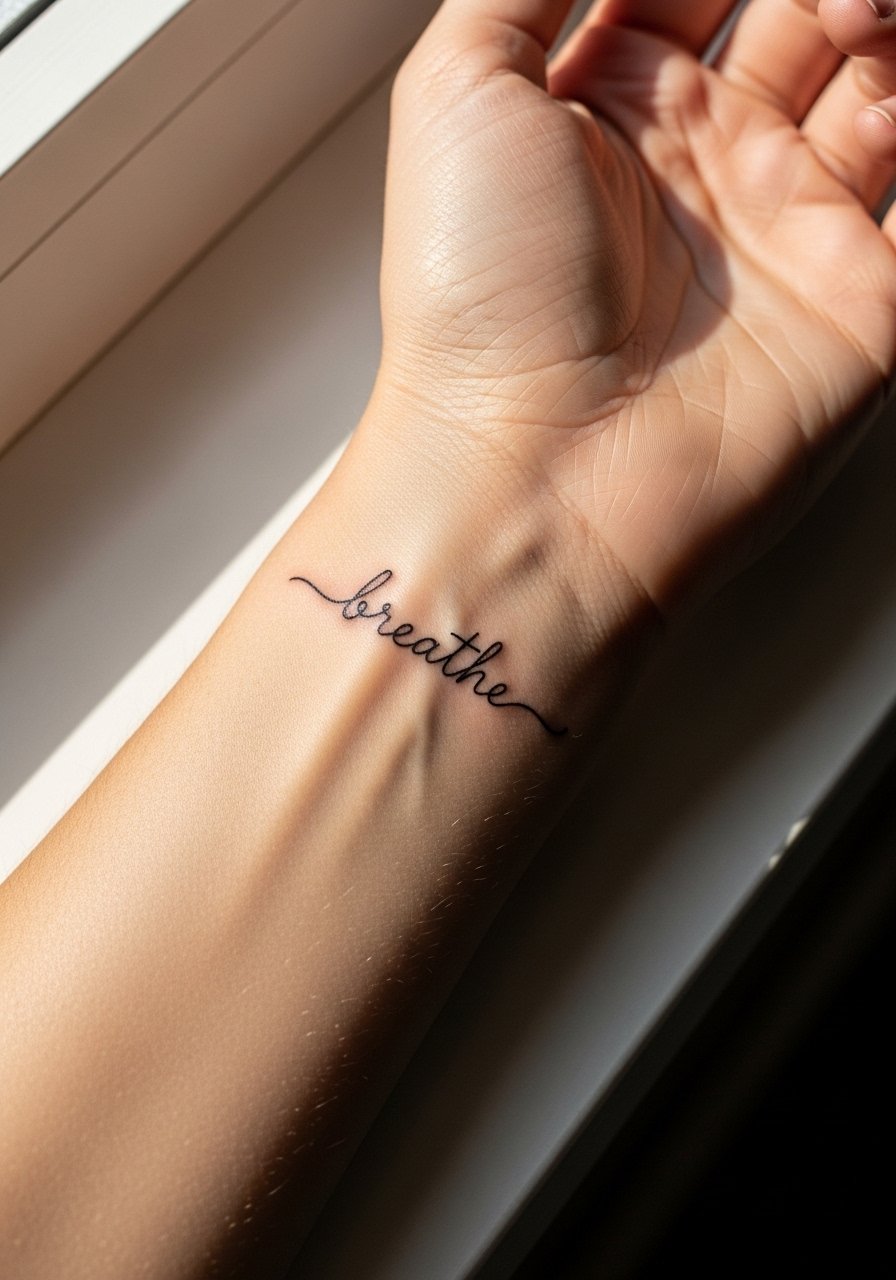
Text behind the wrist crease can be charming but needs extra room to avoid distortion from wrist movement. A common mistake is placing letters too close to the crease where bending quickly smudges clarity. Tell your artist to place the baseline slightly above the crease and to use modest lineweight. The session is brief and the area can feel tender for a day. Expect touch-ups earlier than for upper arm tattoos due to frequent washing.
16. Tiny Chain Link on the Ankle Side
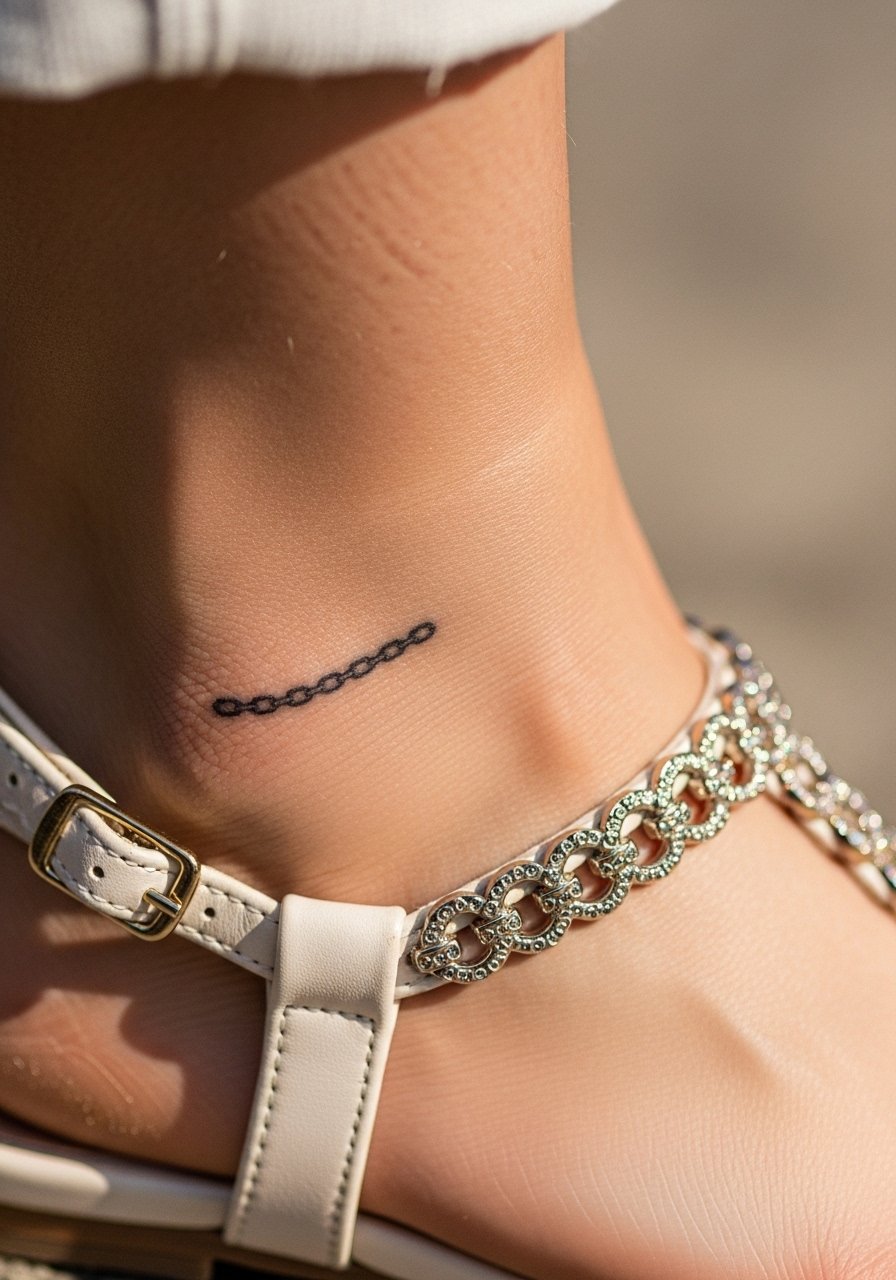
A chain link motif along the ankle looks modern and frames shoes nicely. The ankle experiences shoe friction, so the mistake is micro detail near sock lines. Ask for a slightly stronger outline and placement away from the high-friction edge. The session is short but the region can ache for a day or two. For footwear, wear open sandals to the appointment and afterwards to avoid rubbing the fresh ink. For outings, slip into low straps that let the chain show.
17. Micro-Constellation on the Side Rib
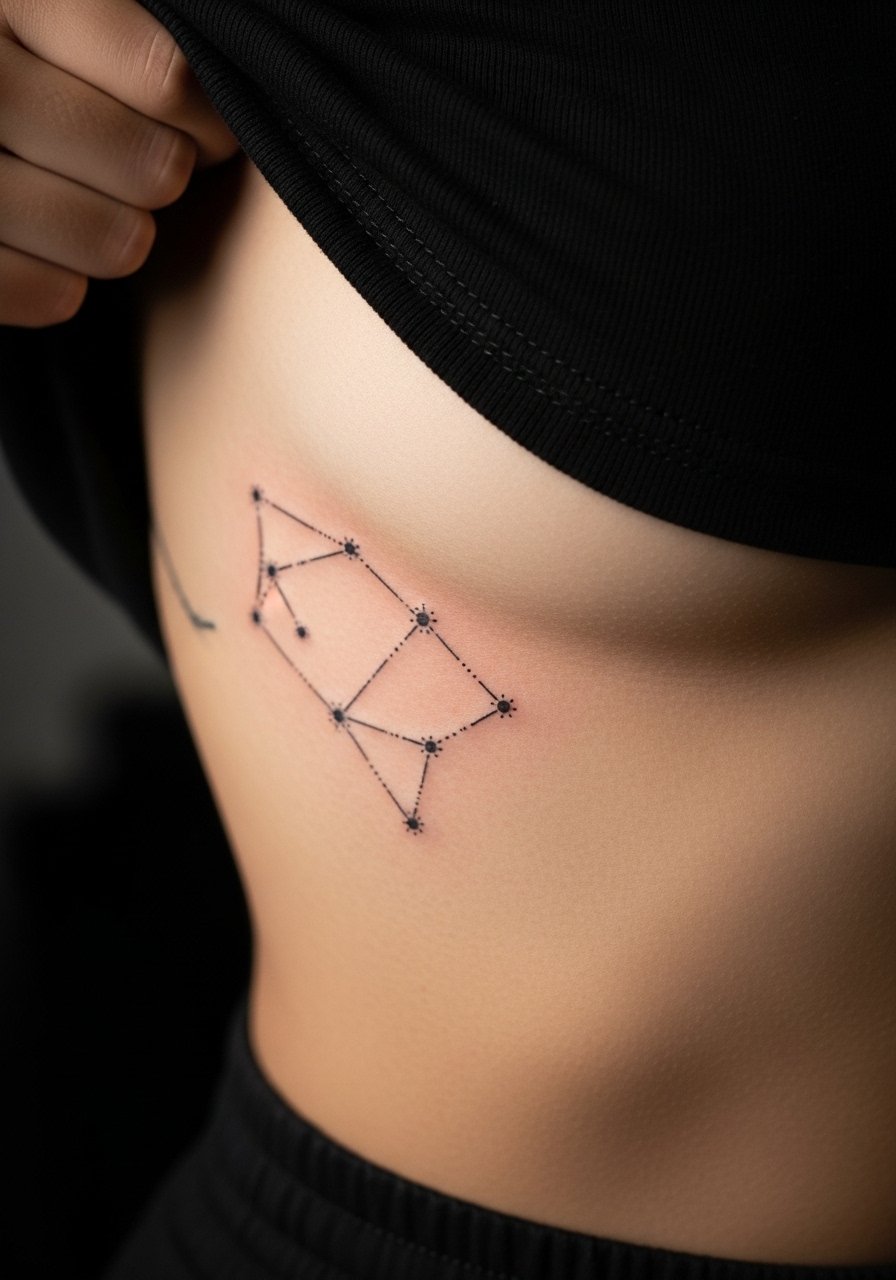
Rib placements give privacy and movement-based drama but are one of the more painful areas. A micro-constellation works if you allow spacing and avoid tiny stipple clusters that compress on breathing. The common mistake is requesting the same dot density used on forearms. Ask your artist to space dots for breathing motion. Controversy exists about fine line longevity on ribs. One side says the constant stretch causes blur. The other side says deliberate spacing and proper depth preserve detail. Wear a cropped top or sports bra for the session so the artist can access the side torso cleanly.
Frequently Asked Questions
Q: Will fine line wrist and finger tattoos need touch-ups more often than an upper arm piece?
A: Yes, in my experience wrist and finger ink typically need touch-ups sooner because those skin zones see more washing and friction. Expect a realistic touch-up window around year one to three depending on how bold the initial linework was.
Q: Can a tiny portrait on the upper arm look good five years later?
A: It can if the portrait was sized and shaded appropriately from the start. Palm-sized portraits that keep moderate contrast and avoid micro detailing tend to age better. Plan for a possible touch-up at year two to refresh highlights.
Q: Should I worry about workplace rules for visible collarbone or neck pieces?
A: It depends on your industry. Collarbone tattoos can be covered or hidden with higher necklines and wide shirts. Neck and hand pieces are more visible and may affect perception in conservative workplaces, so consider placement with that in mind.
Q: How should I dress to make a rib or sternum session easier?
A: Wear a cropped top or a fitted sports bra you can shift so only the area being tattooed is exposed. That keeps you comfortable and helps the artist maintain clean access.
Q: Are behind-the-ear tattoos risky aesthetically for dark skin tones?
A: They can work across skin tones when lineweight and spacing are adjusted. Heavier tiny lines and solid shapes translate better on darker skin. Ask to see healed examples of similar placements on comparable tones.
Q: Do geometric mandalas need larger scaling on ribs versus forearms?
A: Yes, denser geometry needs more room on ribs to avoid line convergence when the skin moves. If you want mandala detail, scale up for ribs or pick a less dense layout.
Q: What should I wear to keep an ankle tattoo from rubbing while it heals?
A: Slip-on sandals on the day of the session and low-friction shoes for the first week help. Avoid tight socks and ankle-hugging boots until the ink has formed a stable scab and started to heal.
