
Fine line smileys look adorable on a screen, but the parts that matter are how they sit on the body and how they age. I've seen trend boards flooded with tiny sketch smileys, and artists I talked to across five shops in Brooklyn warn that scale and placement make or break longevity. Read through these designs and notes so you can pick a version that still reads like a smile in three years.
1. Inner Forearm Sketch Smiley with Slight Imperfection
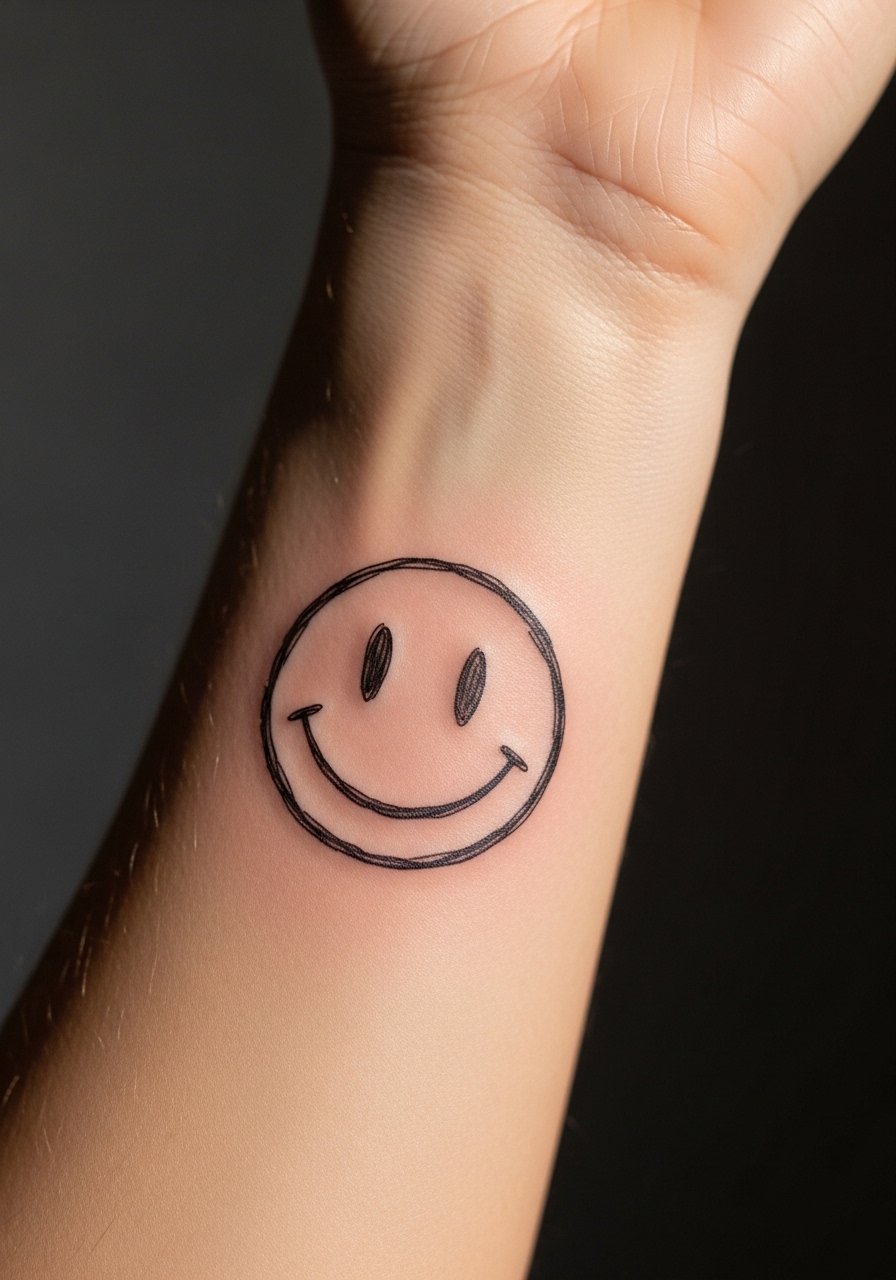
I recommend the inner forearm for a sketched smiley if you want visibility and lower blowout risk. Tell your artist to keep linework loose but with small gaps so the face reads as hand-drawn even after settling. Common mistake is asking for ultra-thin single-pass lines at a very small scale. That tends to fade and blur by year two. Expect a one to two hour session and a touch-up at year two if you want crisp edges. For showing it off, roll sleeves up and pair with a loose button-down shirt or stackable bracelets that leave the forearm visible.
2. Tiny Finger Sketch Smiley, Edge-of-Knuckle Placement
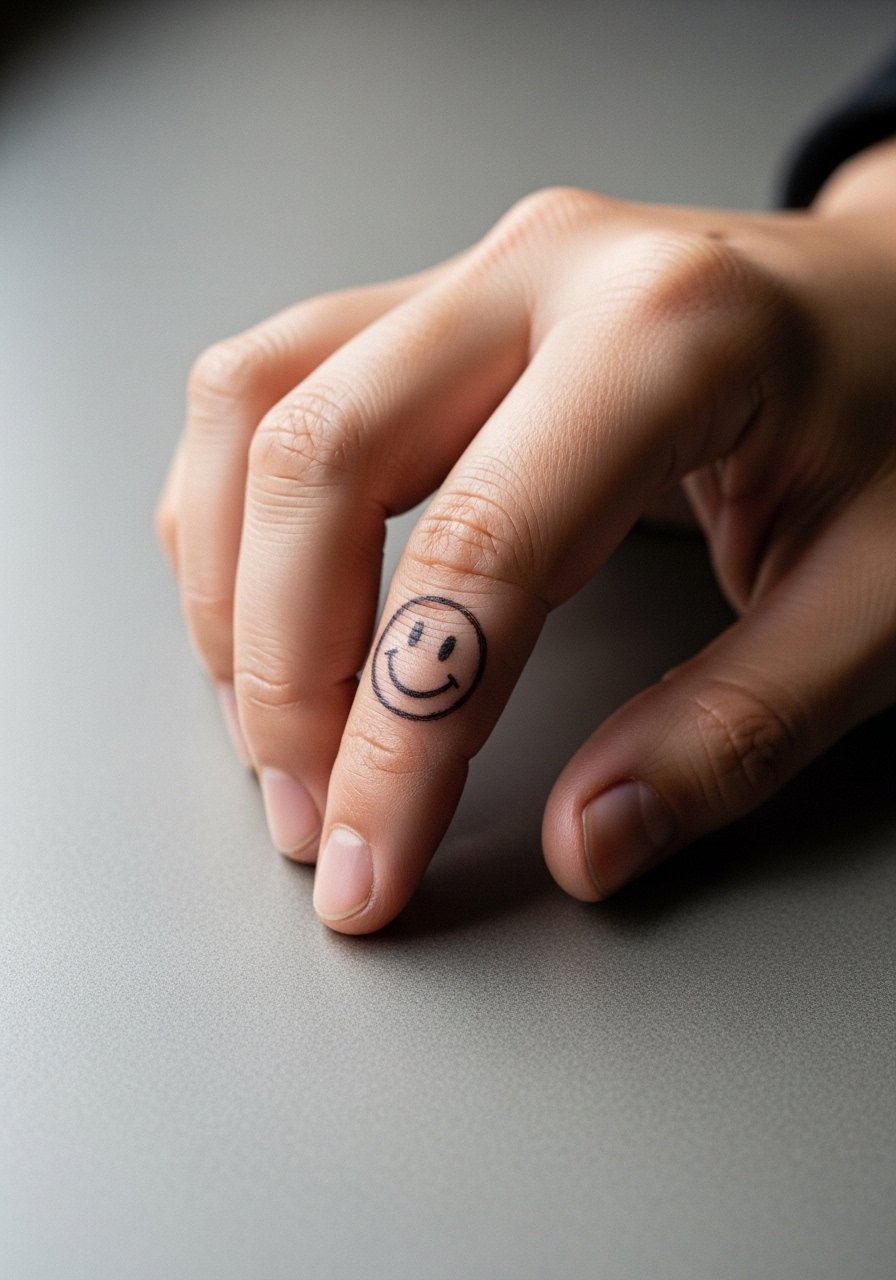
Finger tattoos age fast because of constant washing and friction. For this sketchy smiley, keep it slightly offset from the joint and ask for slightly thicker linework than your initial reference. A common mistake is requesting hairline strokes at knuckle level. Expect more frequent touch-ups, often around year one to two. The session is quick but stinging, and the touch-up timeline is shorter than for forearm work. Wear a minimalist gold watch or thin stacked rings to draw the eye without rubbing the tattoo.
3. Tiny Ankle Sketch Smiley Nested Above the Bone
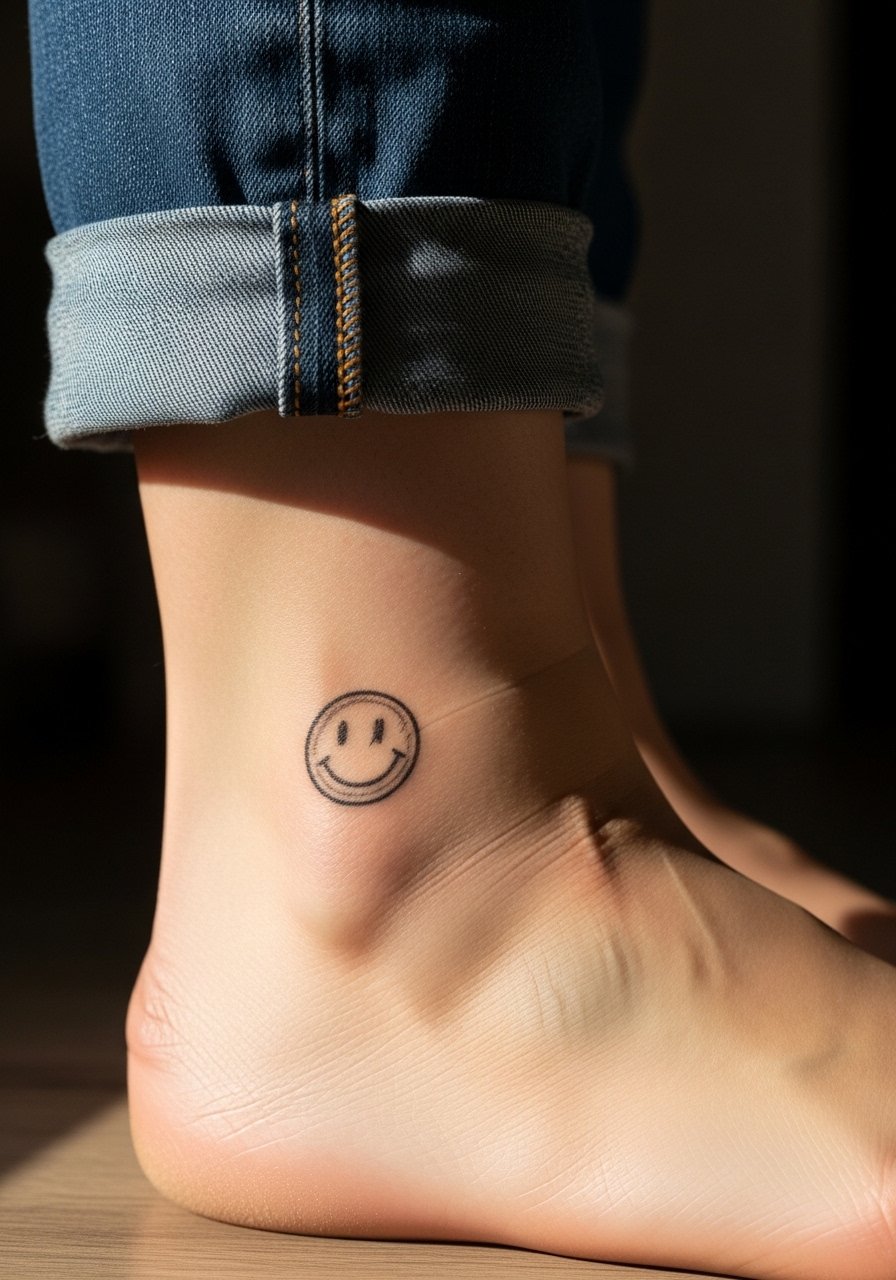
Ankle placement suits small sketch smileys that you want to keep subtle. Tell the artist the design should avoid overly dense shading near the bone to reduce blowout risk. People often make the mistake of placing it directly over the lateral malleolus where movement and rubbing from shoes speed fading. Expect a one-hour session and lighter pain than ribs but more than forearm. For showing it off, cuffed jeans or sandals highlight the placement without exposing too much skin.
4. Back of Arm Sketch Smiley with Stipple Shading

The back of the upper arm is forgiving for small sketch pieces because it sees less sun and abrasion. Ask for subtle stipple shading behind the smiley to give depth without heavy saturation. A common mistake is overfilling the background which turns sketch work into a patch of tone that can pool. The session is moderate on discomfort. Over five years this spot tends to keep shape well if protected from UV. For session day wear, pull on a loose tank top so the artist has clean access and you stay comfortable.
5. Collarbone Sketch Smiley Near the Neck
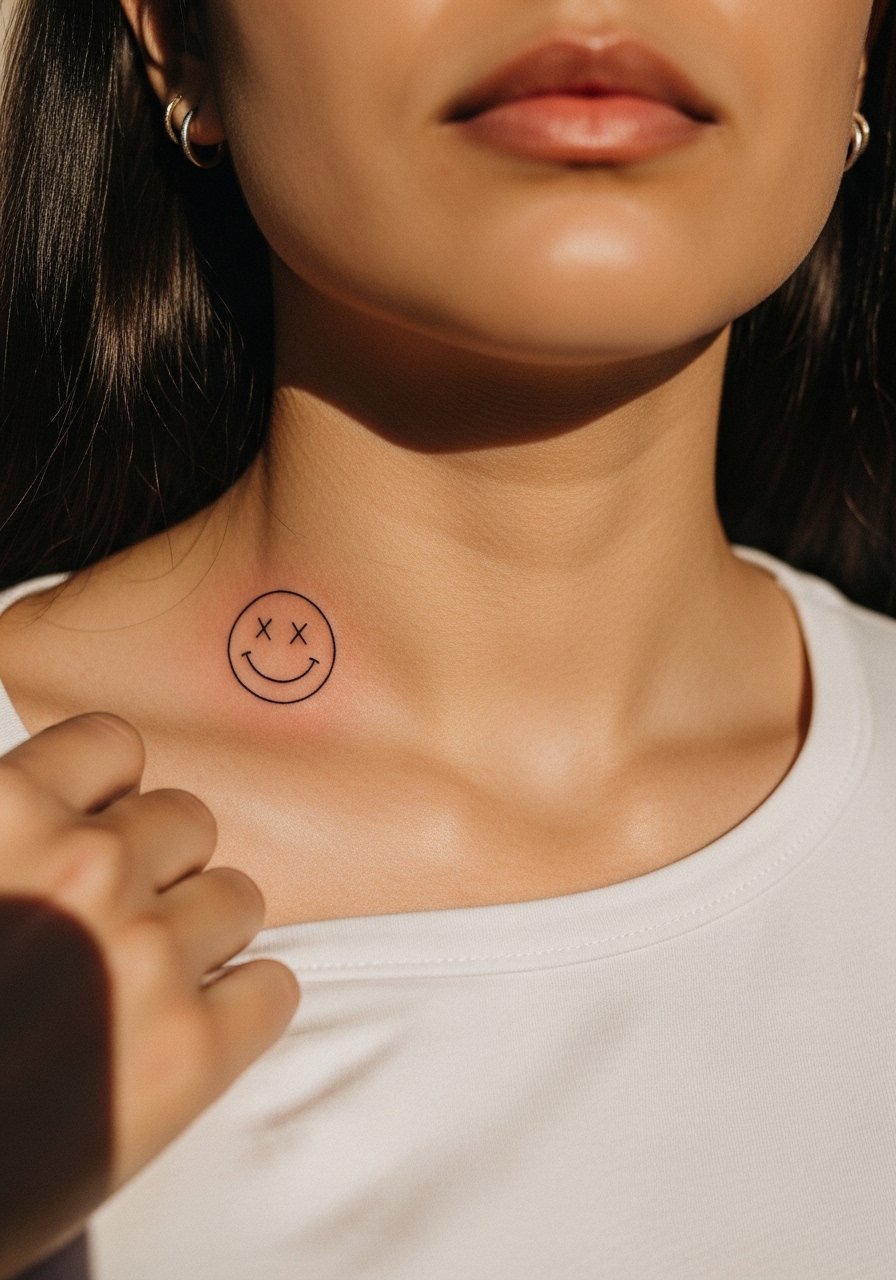
Collarbone smileys read delicate but require confident line depth. Bring references that show exact line weight you want and tell the artist you prefer slightly bolder initial passes for longevity. The biggest mistake is asking for ultra-fine script-level lines on this thin-skinned area. Expect a higher pain level than forearm and a one to two hour session depending on detailing. This placement pairs well with open-neck shirts and a thin chain pendant necklace that frames but does not cover the work.
6. Tiny Behind-the-Ear Sketch Smiley, Subtle Placement

Behind-the-ear sketch smileys are intimate and discreet. Make clear during consultation that the design sits on the skin below the hairline, not on the ear itself. The mistake most people make is underestimating how visible it becomes with short hair. This area needs a delicate touch and often a specialized hand. Pain is low to moderate but the skin is thin so expect a light session. For care and hiding during work, tuck hair back and wear a wide-neck shirt you can pull aside. Hand careers or client-facing roles influence placement choices.
Pre-Session Essentials
The collarbone, forearm, and behind-the-ear pieces above require different access and small items make the session smoother.
- Stencil transfer paper kit. Lets you preview the linework on skin before the needle hits, which is handy for the collarbone and forearm designs above.
- Topical numbing cream. Applied as directed before the session eases sensitivity for behind-the-ear and collarbone placements.
- Thin protective film roll. Helps keep ankle and finger pieces cleaner during the first few days when washing and friction are highest.
- Fragrance-free body wash. Gentle cleansing during showers protects delicate linework on forearm and collarbone pieces.
- Aquaphor healing ointment. A thin layer in the first days can keep fine line work moisturized without clogging the channels that let ink settle.
7. Minimalist Smile with Broken Line Effect on Outer Wrist
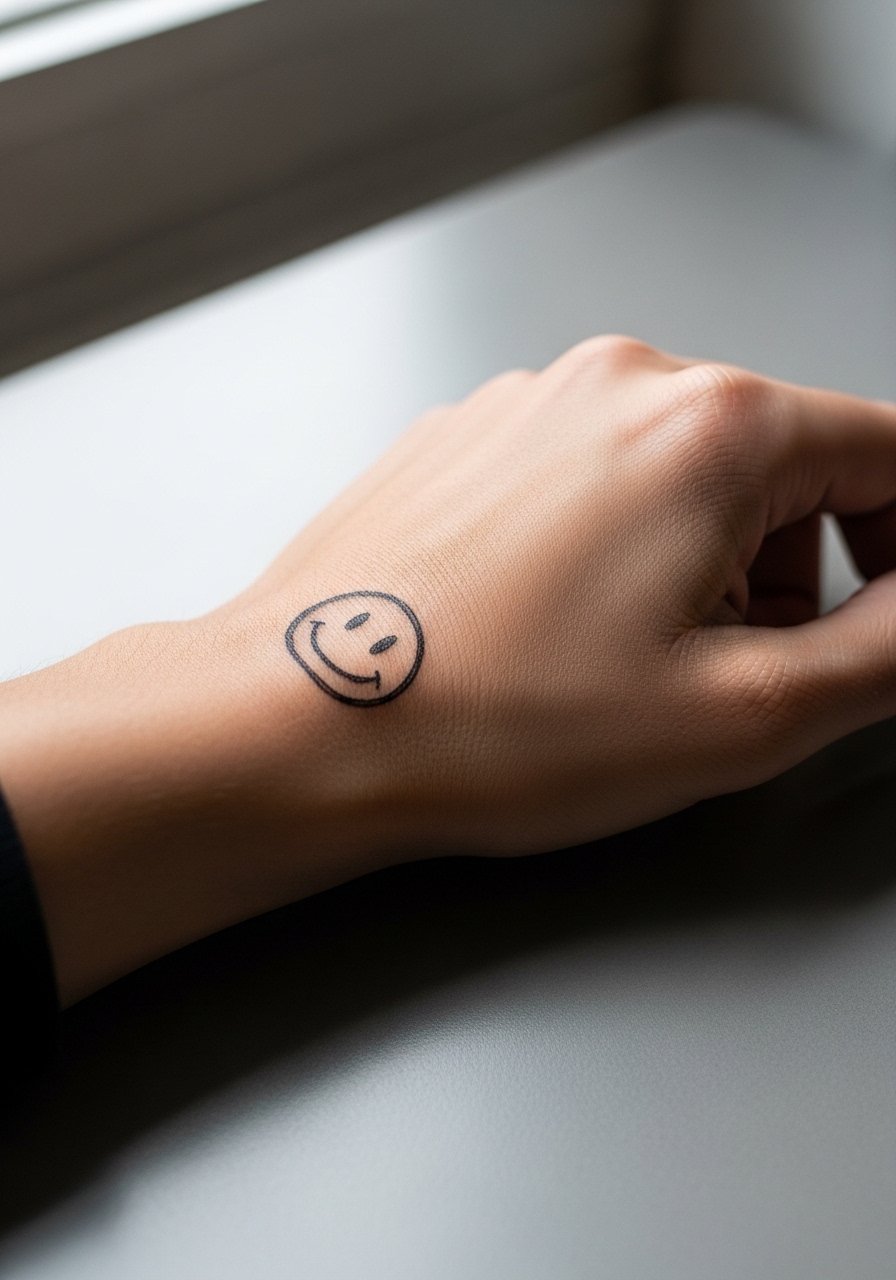
Outer wrist smileys show up well and photograph easily, but they are exposed to sunlight and washing. Ask for intentional gaps in the line to preserve the sketch look as the work softens. People often ask for hairline continuity which is a mistake because those lines merge with time. Expect about an hour session with mild discomfort. For showing the tattoo off, pair it with a thin chain bracelet or a minimalist watch, both keep attention where you want it and avoid rubbing the ink.
8. Micro-Realism Sketch Smiley with Dot Work Halo on the Shoulder
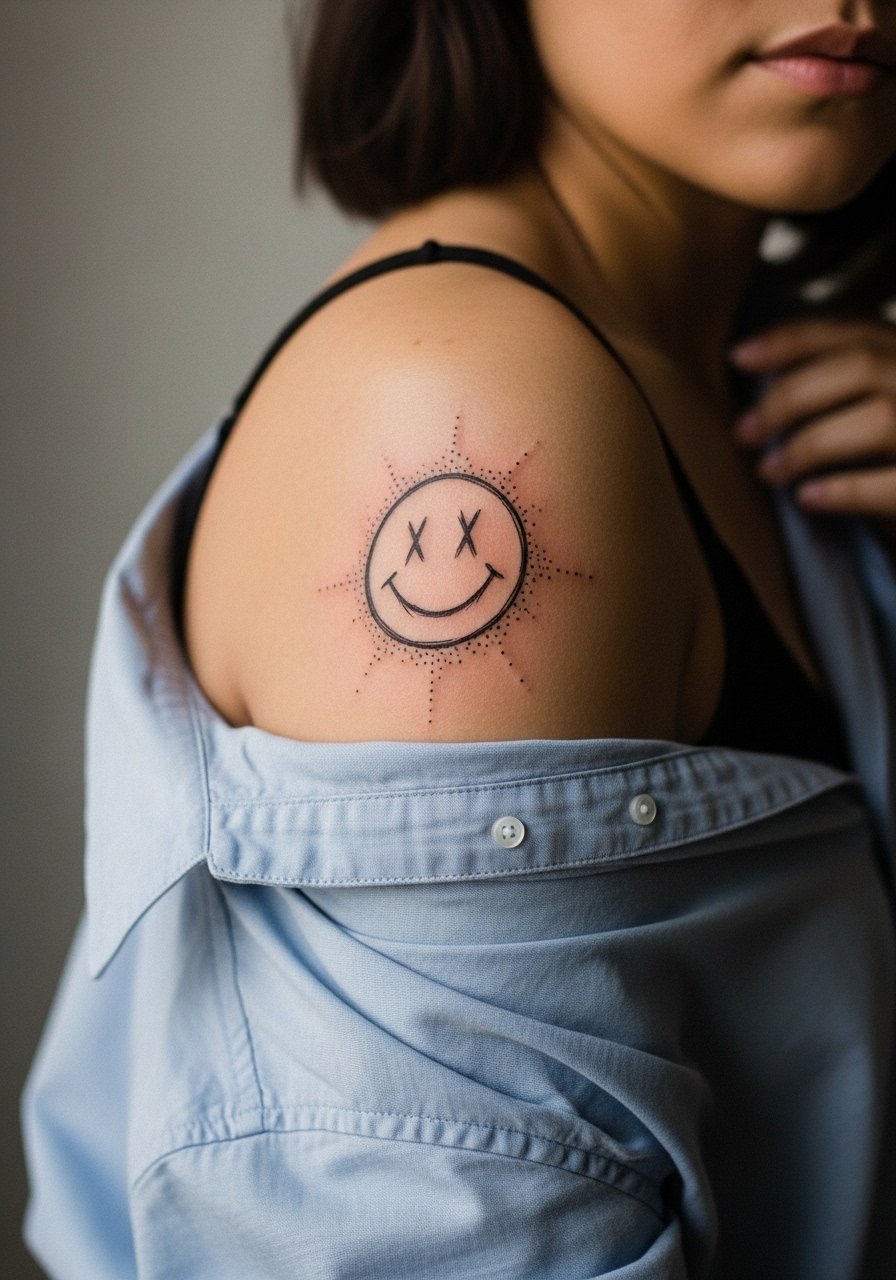
The shoulder takes sketchy smileys with a bit more room for stipple shading. During consultation, ask the artist to use stipple gradients that leave sparse areas so the halo reads airy, not solid. The common mistake is heavy dot packing that reads like a shadow blob later on. Pain is low and sessions run one to two hours. Over years this area keeps shape if you use sunscreen. For session wear, a loose button-down shirt is easy to pull aside and keeps the artist comfortable.
9. Ribcage Sketch Smiley with Light Whip Shading
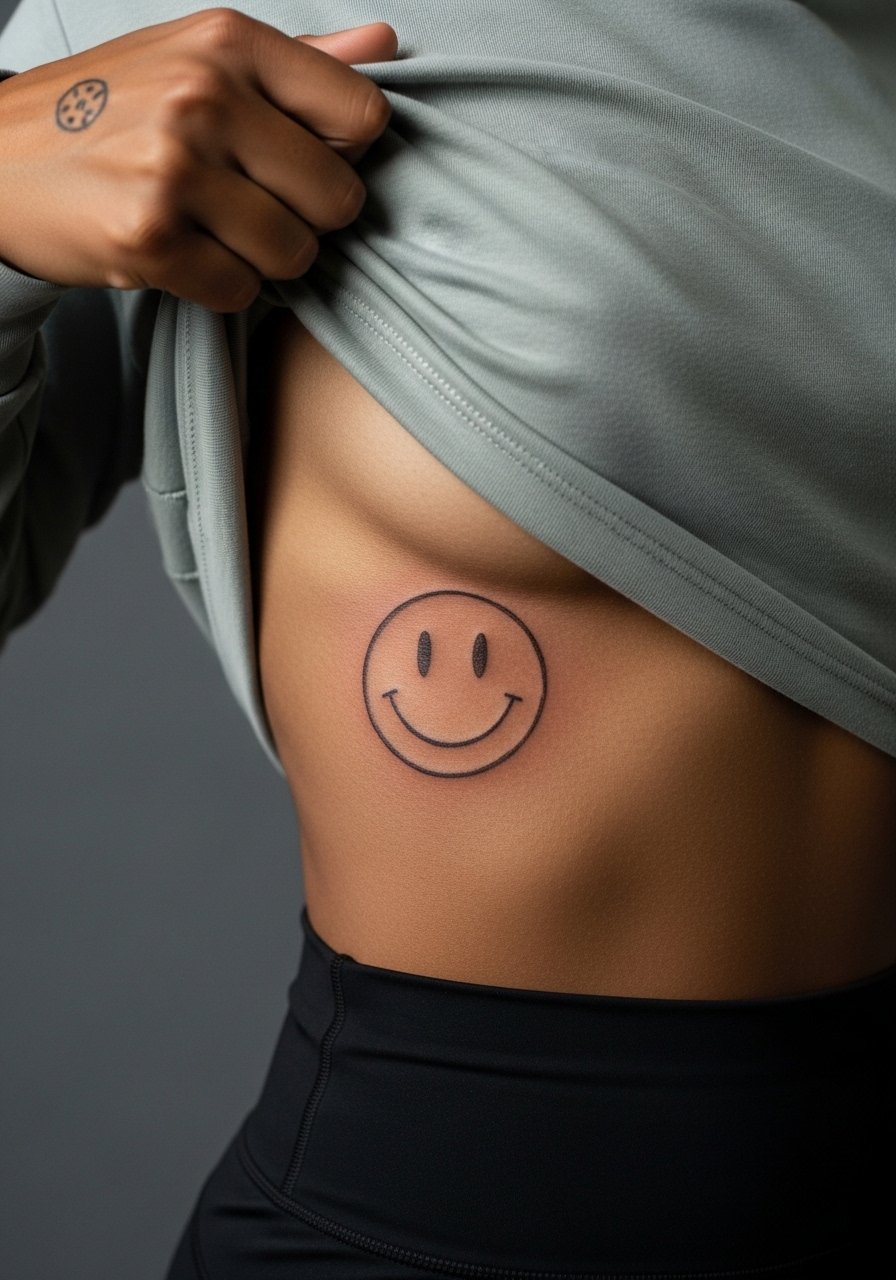
Fine line on the ribcage divides artists into two camps. One camp says the skin stretch and motion blur the lines within two years. The other camp argues that with precise depth and spacing, fine line settles well on ribs. Name both camps during consultation and ask how the artist manages depth for curved, moving skin. Expect notable pain and a longer session. The frequent mistake is making the design too small for the area. For the appointment, wear a cropped top or sports bra that gives access and keeps you comfortable.
10. Sternum Sketch Smiley with Thin Radiating Marks

Sternum pieces need careful spacing so the thin radiating marks do not merge as the skin moves. Tell the artist you want breathing room around the smiley and slightly stronger initial line weight. A common mistake is packing decorative rays too close to the center. Pain ranges high and the session can be split into shorter passes. For the session, a fitted sports bra makes access simple. Consider that this is an intimate spot and some artists specialize in it.
11. Tiny Smile on the Side of the Neck, Low Placement

Neck placement is bold and shows quickly. Ask for a low placement and for the artist to avoid heavy saturation near the edge of the design. The main mistake is asking for dense fill that reads harsh in photos and ages unevenly. Pain is moderate to high and the session is short. For showing it off, a wide-neck top or a simple chain works well. Keep in mind some workplaces are sensitive to visible neck tattoos.
12. Micro Smiley at the Base of the Thumb, Inside Hand
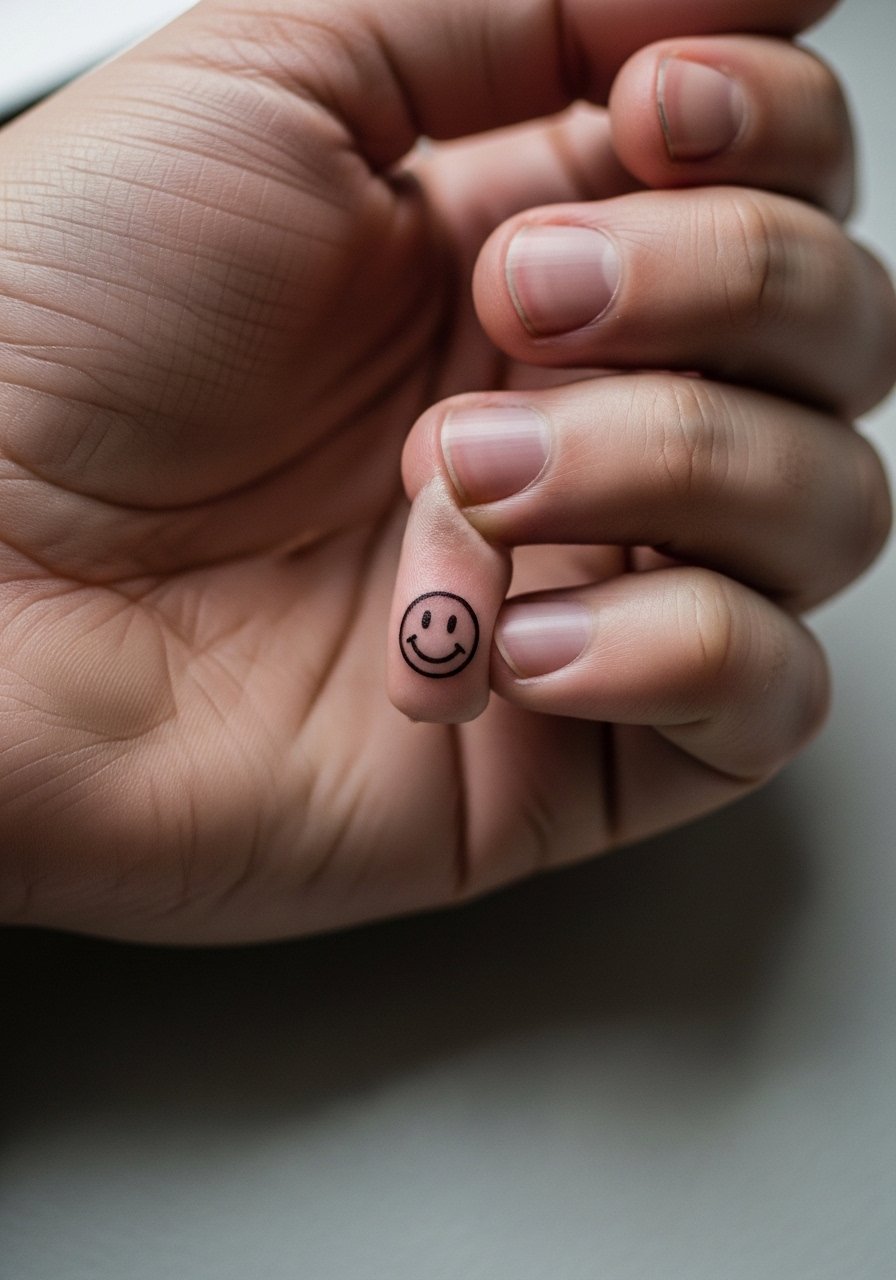
Inner hand and base of thumb tattoos face heavy abrasion and frequent washing. Ask for denser linework and realistic touch-up expectations during consultation. People often expect the same longevity as forearm pieces and that is a mistake. Sessions are quick but painful and touch-ups often come in the first year. For session comfort, wear a shirt with sleeves you can roll up and bring a soft bandaid for travel after the session.
13. Textured Sketch Smiley on the Calf with Light Motion Lines
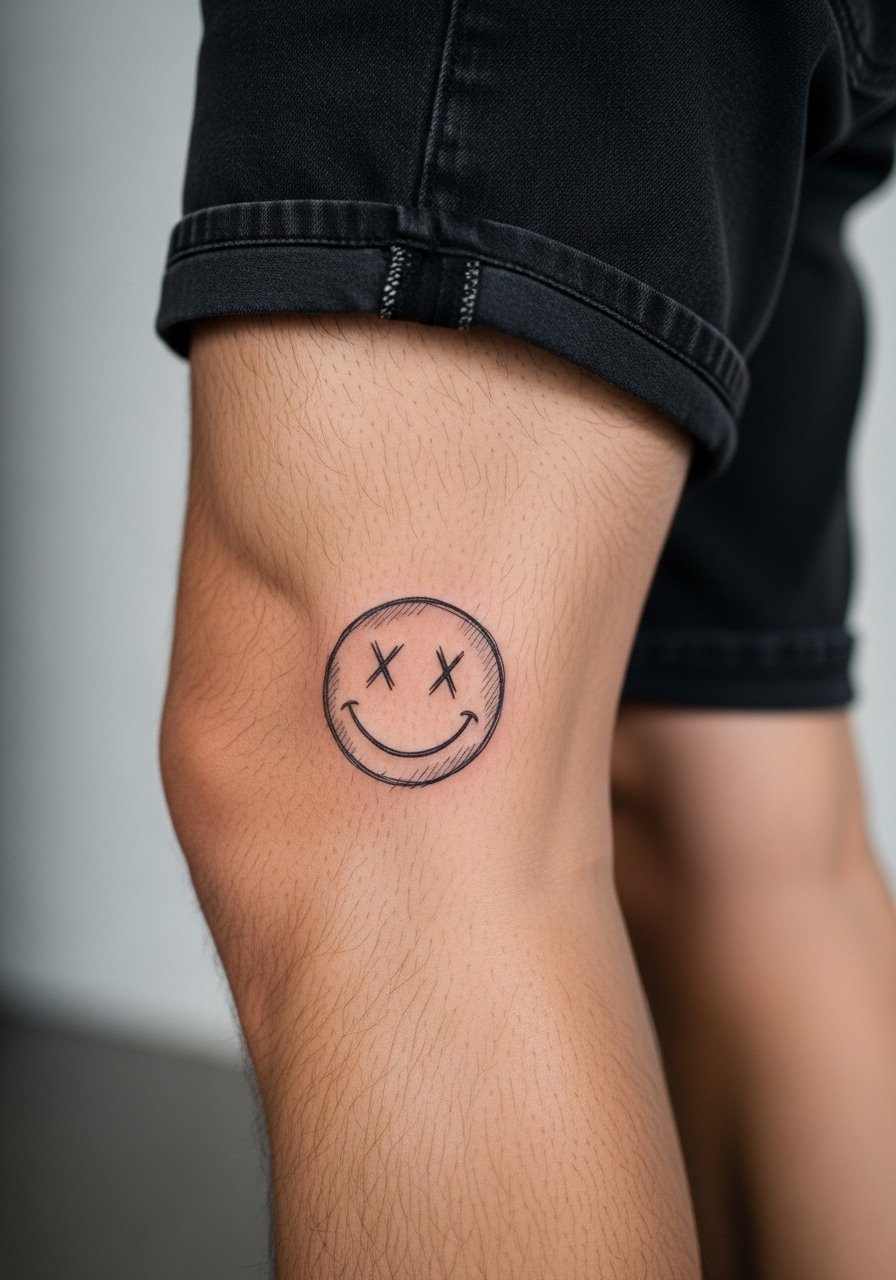
The calf accepts slightly larger sketch smileys and motion lines help the design feel hand-drawn. Ask your artist for motion marks that taper, not bold strokes. The mistake is heavy filling of motion lines that become blocks over time. Pain is low and sessions are comfortable for most people. Calf pieces age well if you wear sunscreen when exposed. During sessions, slip into loose drawstring shorts so the artist can access the area easily.
14. Smiley on the Upper Back Near the Nape for a Peekaboo Effect

Upper back smileys are discreet and age favorably because of limited sun exposure. Tell the artist you want the face slightly off-center to create a peekaboo effect under hair. A common mistake is centering it perfectly, which feels static. Sessions are moderate and you may need someone to help with aftercare if placement is high. For showing it off, back-revealing tops or a thin strap dress work nicely.
15. Tiny Smiley at the Hip with Delicate Vine Accent
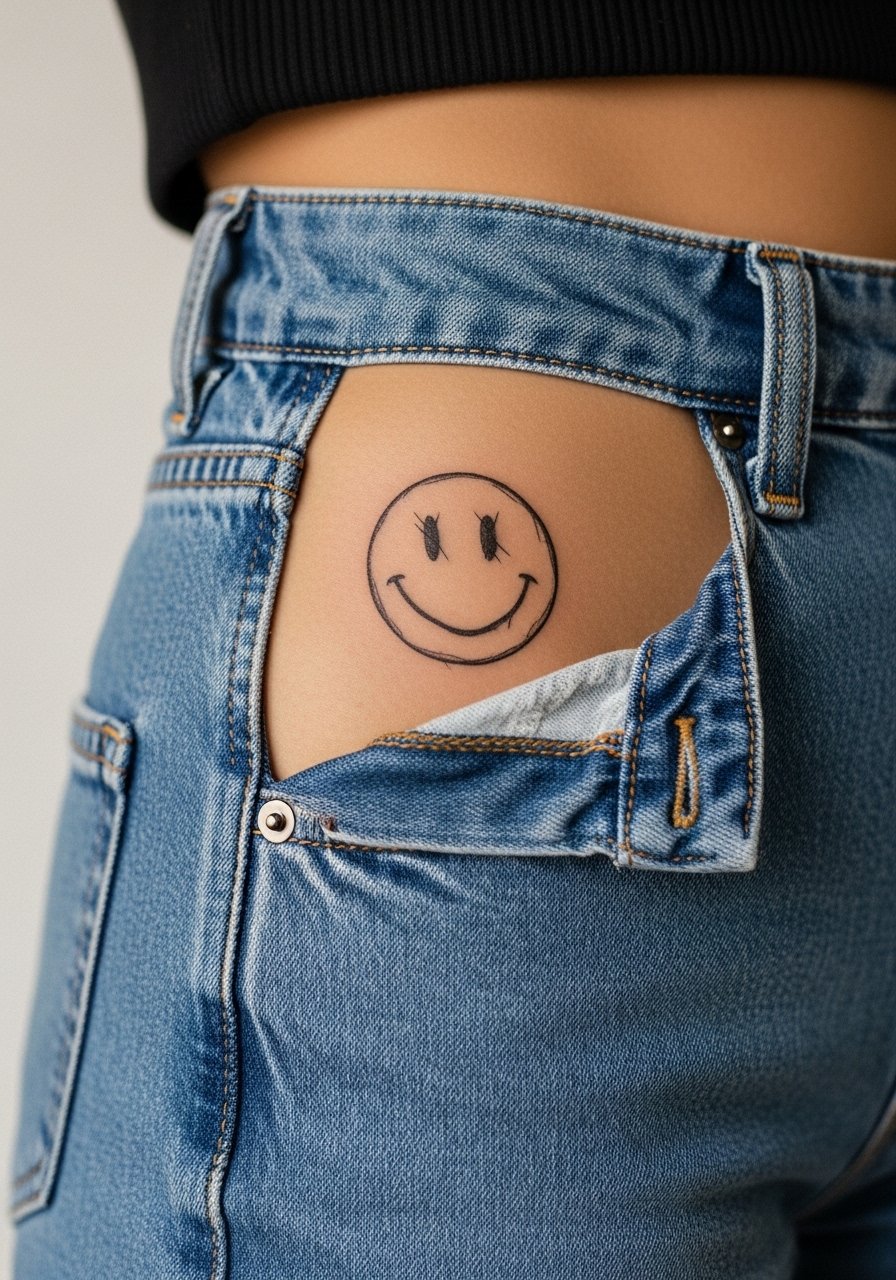
Hip placement lets you keep a design private or reveal it selectively. Ask for the vine accent to be airy and sparse so it does not bleed into a solid line later. Beginners sometimes request too many leaves and the design becomes crowded. Pain on the hip is moderate. For session wear, choose high-waisted bottoms or a skirt you can shift easily so the artist has clear access. Think about how clothing waistbands will sit during healing.
16. Sketch Smiley on the Inner Bicep with Curved Contour
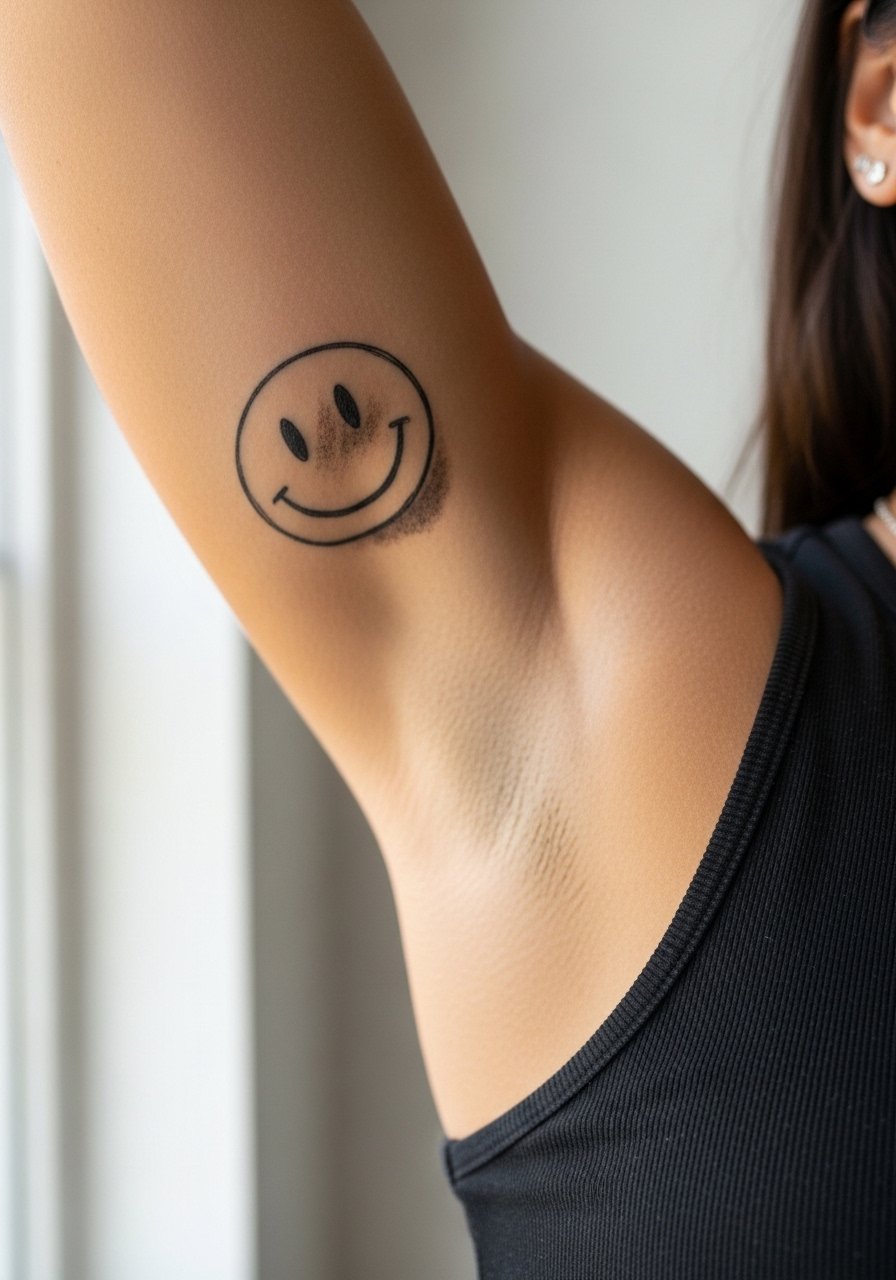
Inner bicep pieces feel private and often keep line crisp if spaced properly. Tell the artist to follow the arm's natural curve and to avoid overly thin lines near fold areas. People sometimes pick too small a scale here and the design loses clarity after healing. Pain can be higher because the skin is soft. For session comfort, wear a sleeveless top you can lift easily and consider that this spot might need a year one touch-up.
17. Classic Smiley with Slight Tilt on the Lower Forearm
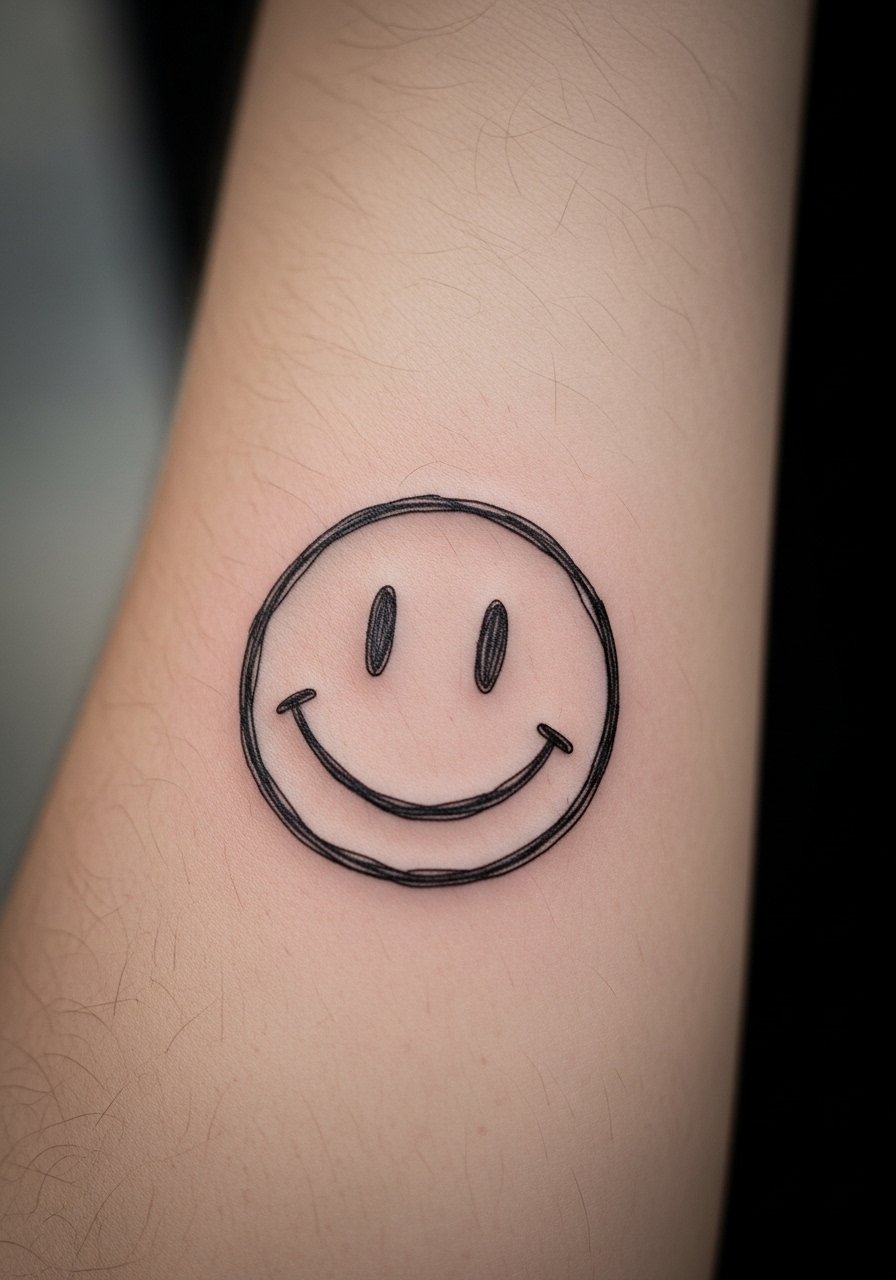
A tilted smiley gives movement and personality. Ask for a slight rotation and clearer spacing on the cheeks so dots do not merge. The common error is centering everything precisely which can feel stiff for sketch styles. Sessions are quick and pain is low. Over time, forearm work holds up well with sunscreen. For styling, roll up sleeves of a linen shirt to put the tattoo on display casually.
18. Smiley at the Top of the Foot with Minimal Lines

Top of foot tattoos endure heavy wear from shoes and socks. For longevity, request slightly bolder lines and set expectations for touch-ups. A frequent mistake is treating this area like a forearm and expecting the same longevity. Sessions sting and healing is sensitive. For showing it off, wear open footwear like leather slide sandals to minimize rubbing during the day.
19. Small Smiley with Asymmetric Eyes on the Thigh
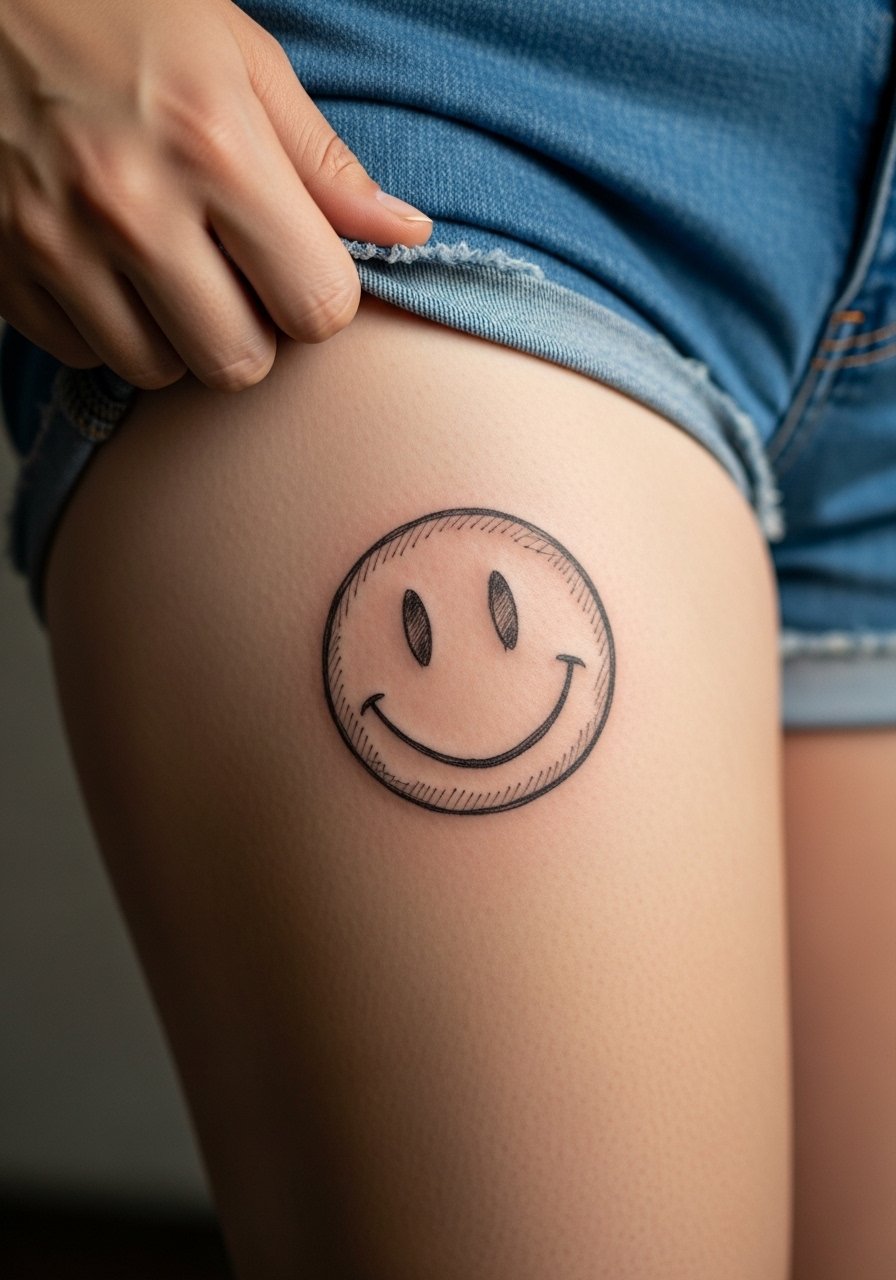
Upper thigh allows for larger playful details like asymmetric eyes while remaining private. Tell the artist you want intentional irregularity to keep the sketch vibe. Many people mistakenly compress too many elements for a small thigh piece, which can blur with movement. Pain is low to moderate and sessions are relaxed. For the appointment wear loose shorts or a wrap skirt that offers easy access and modesty.
20. Tiny Smiley on the Side of the Finger, Near the Nail Bed
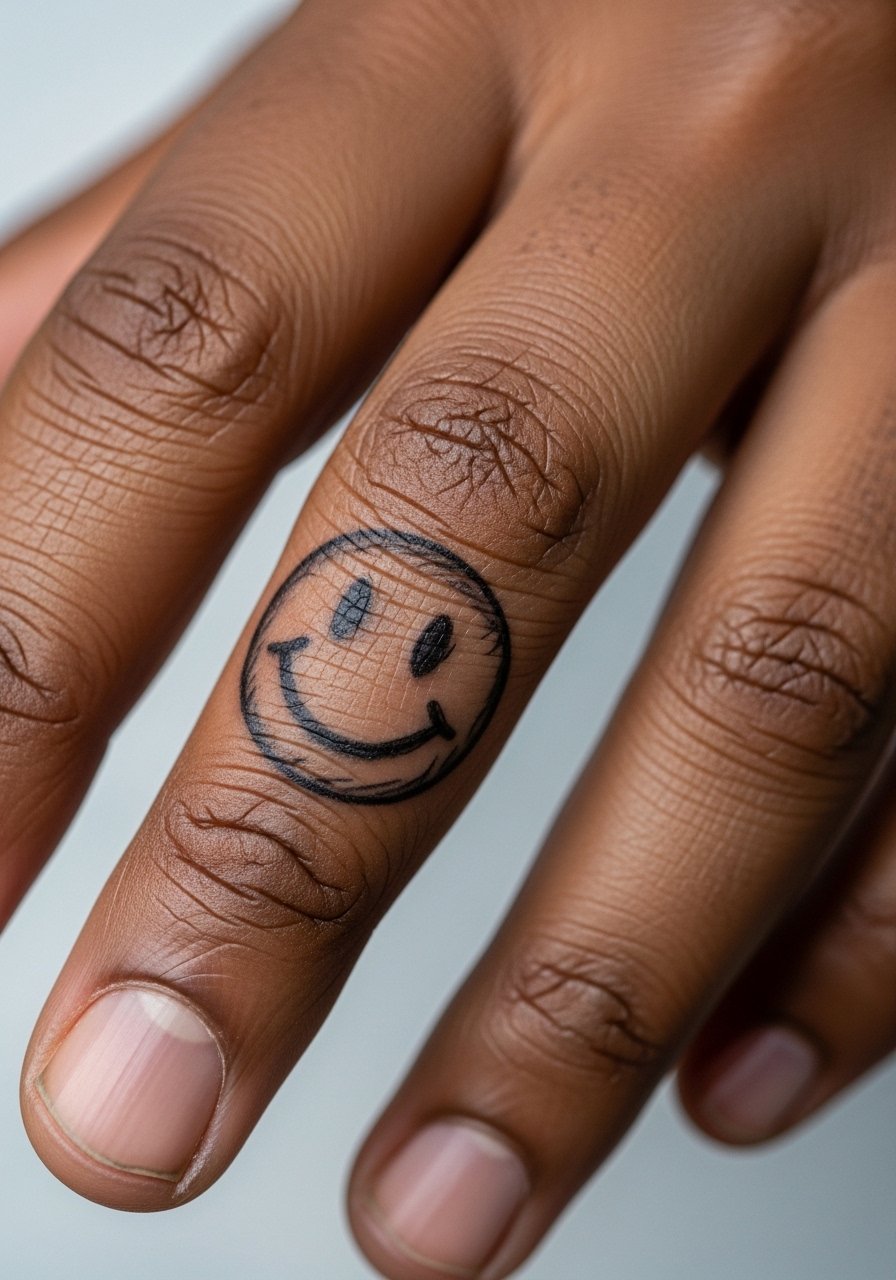
Side-of-finger placements are high maintenance. Ask the artist about expected fading and plan for a touch-up early. The common mistake is thinking small equals low commitment. This spot sees constant friction and frequent washing. Sessions are brief but uncomfortable. For showing it off, minimal jewelry like a thin band helps frame the area without pressuring the skin.
21. Smiley with Micro Script Underneath on the Inner Wrist
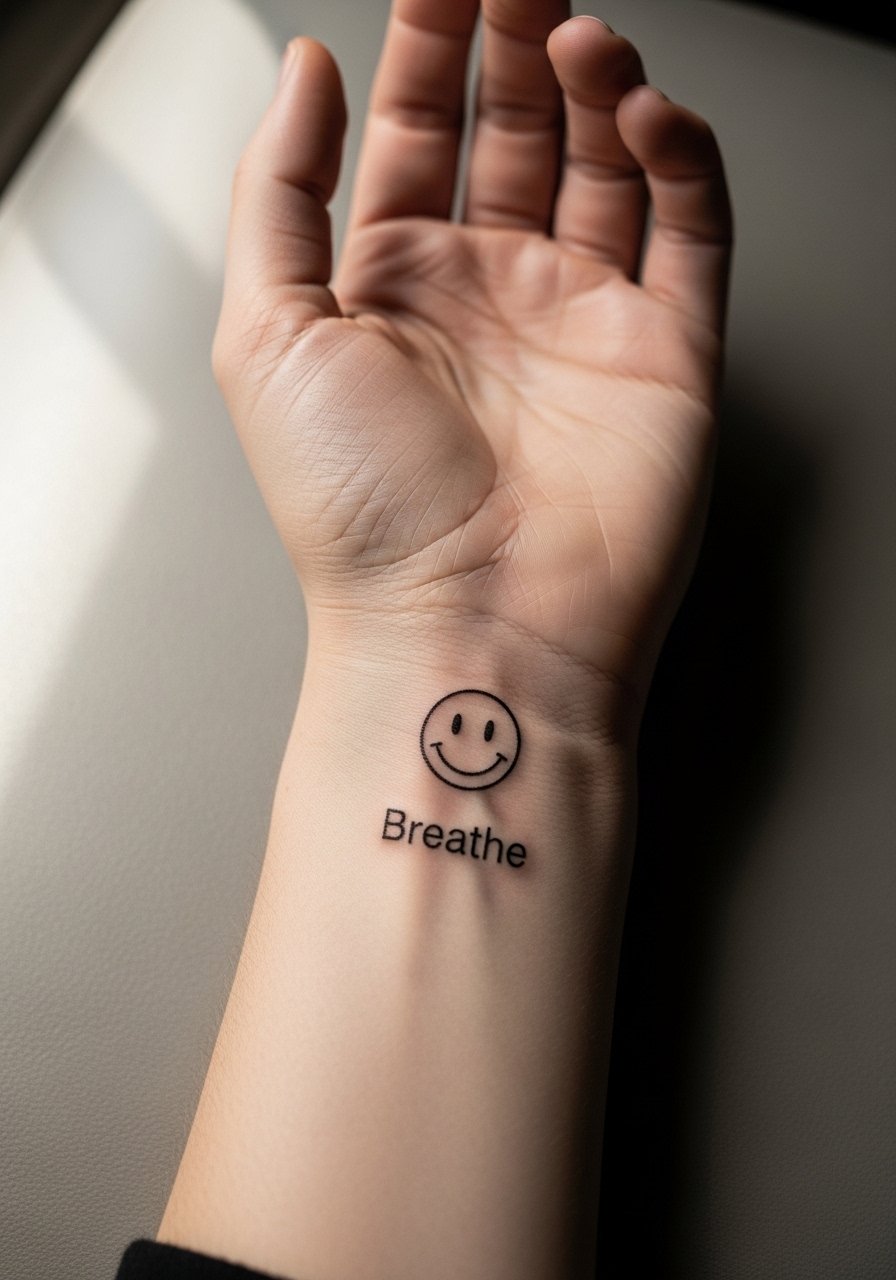
When adding script beneath a tiny smiley name the exact text during the consultation. The image prompt requires precise wording to avoid gibberish. Ask for slightly heavier script strokes to prevent the letters from blurring. A common mistake is choosing tiny cursive that fades into a line. The session is short and mildly uncomfortable. For showing it off, a racerback tank keeps wrist movement natural and frames the inner wrist.
22. Sketch Smiley with Broken Outline on the Palm Edge

Palm-edge and heel-of-palm placements are notoriously ephemeral because skin regenerates faster there. If you choose this, accept frequent touch-ups as part of the plan and ask the artist for a denser application. Many mistakenly expect long-term clarity from palm work. Sessions are painful and healing is tricky. For comfort during the session, wear a short-sleeve shirt so the artist can work without obstruction.
23. Smiley Nestled in a Tiny Floral Flash on the Shoulder Blade
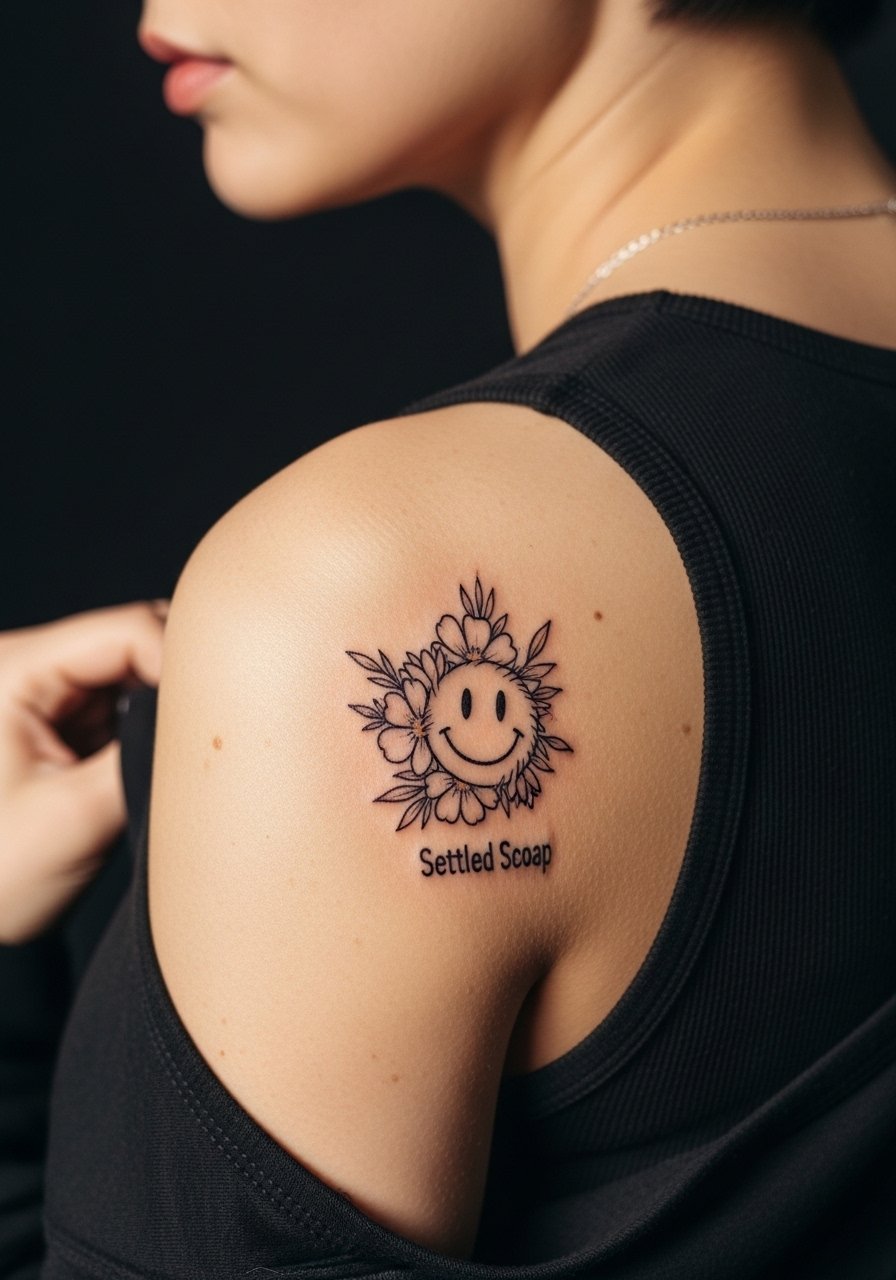
Combining a smiley with a small floral flash helps disguise the design in the long run if lines soften. Ask for light spacing between the floral petals and the smiley so the two elements do not merge. A frequent mistake is packing petals tightly around the face. Sessions are moderate and healing goes smoothly with minimal sun exposure. For showing it off, a back-revealing tank or a thin strap dress frames the area.
24. Tiny Smiley on the Lower Rib with Concentric Sketch Circles
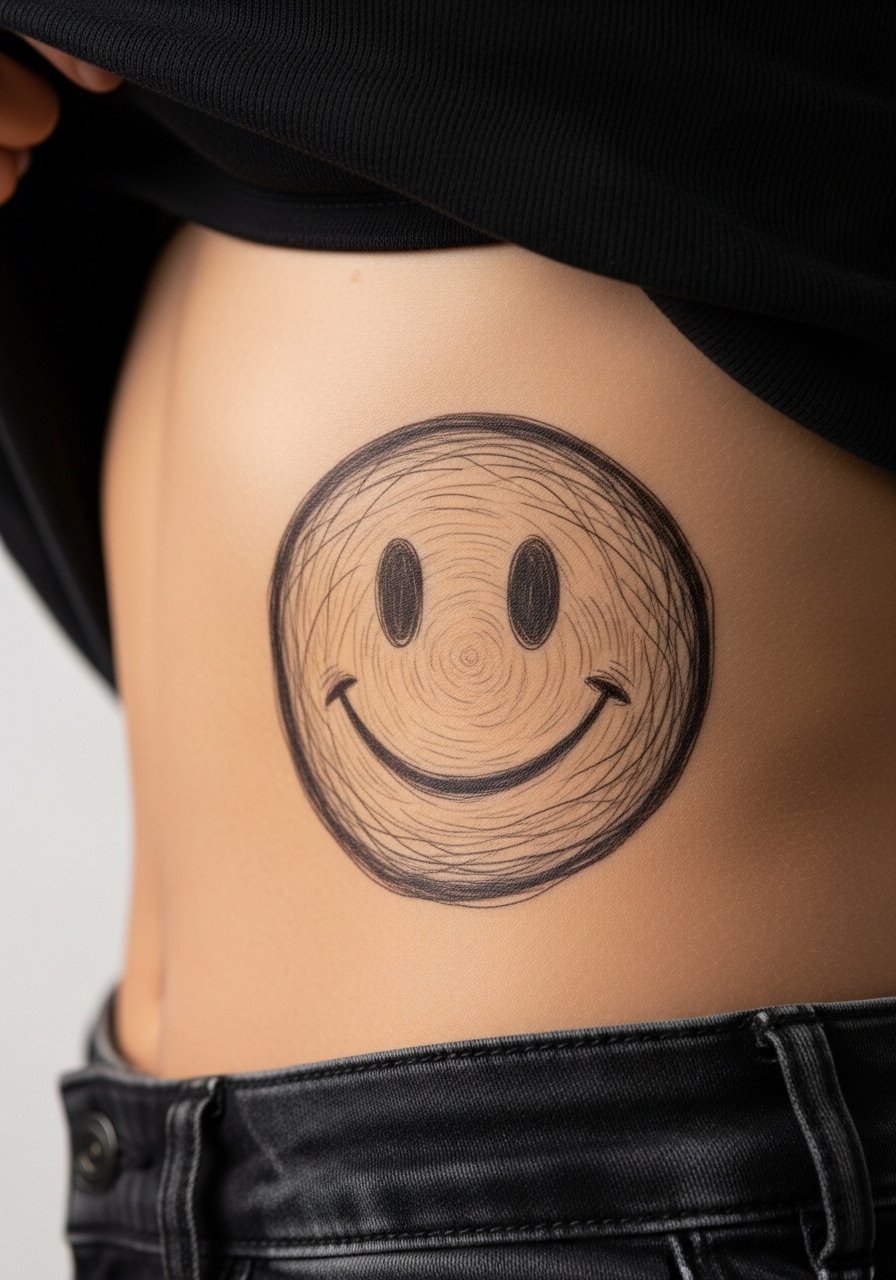
Lower ribs are a high-motion zone and the concentric sketch circles need spacing to avoid merging. Artists split into camps about fine line on ribs, with one side saying skin movement causes softening quickly and the other saying careful spacing solves it. Discuss both views in your consult and ask how the artist balances depth and spacing. Pain is high and sessions can be broken up. For the session, wear a cropped top or sports bra so the artist has clear access.
25. Smiley with Tiny Stars Around It on the Back of the Neck
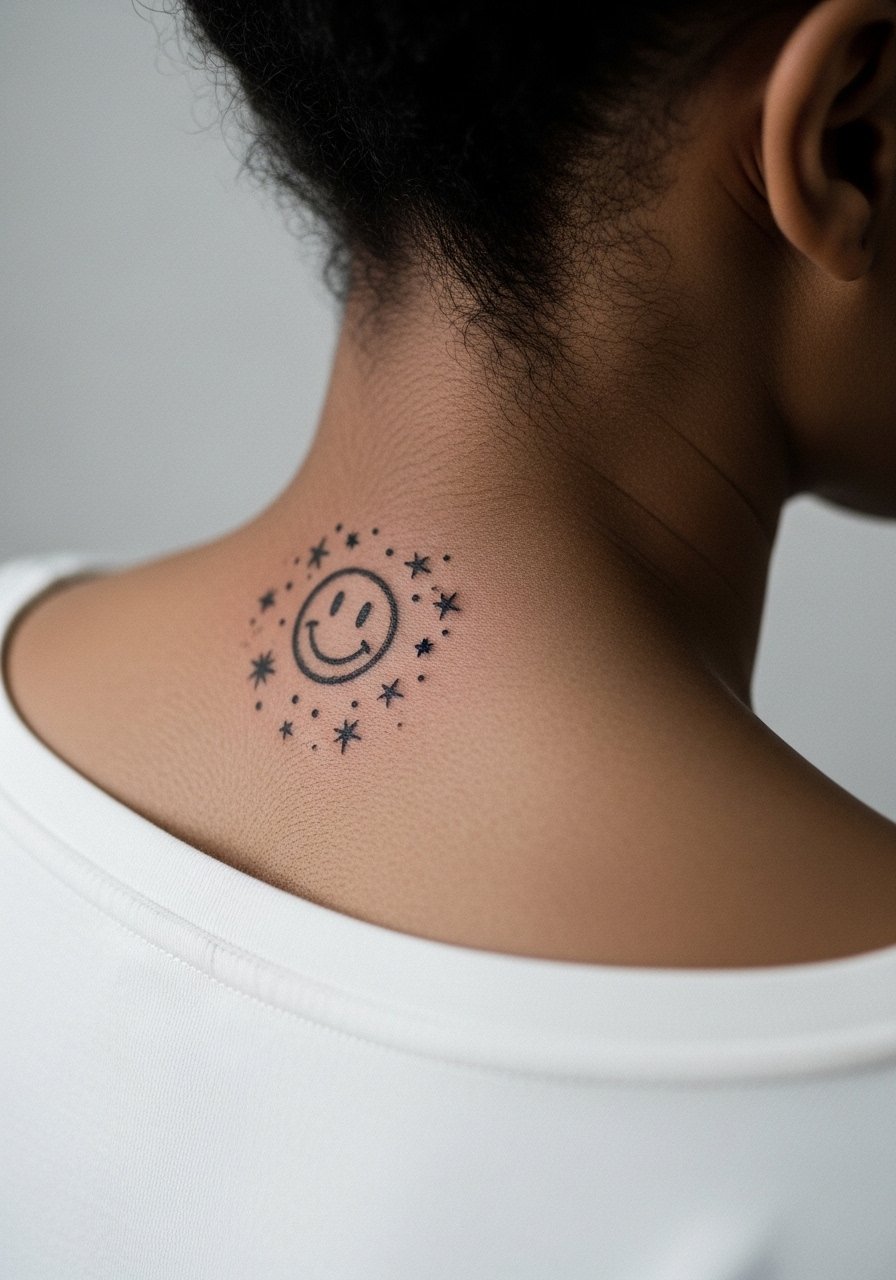
Back of neck tattoos age differently based on hairline and clothing rubbing. Ask the artist to place the design just below the hairline if you want it peekaboo, and request sparse stars so they read individually after healing. The mistake is overloading the area with dots that bleed together. Sessions are brief but the spot is sensitive. For showing it off, a wide-neck shirt or hair up style reveals the work without full exposure.
26. Micro Smiley Below the Clavicle with Off-Center Placement
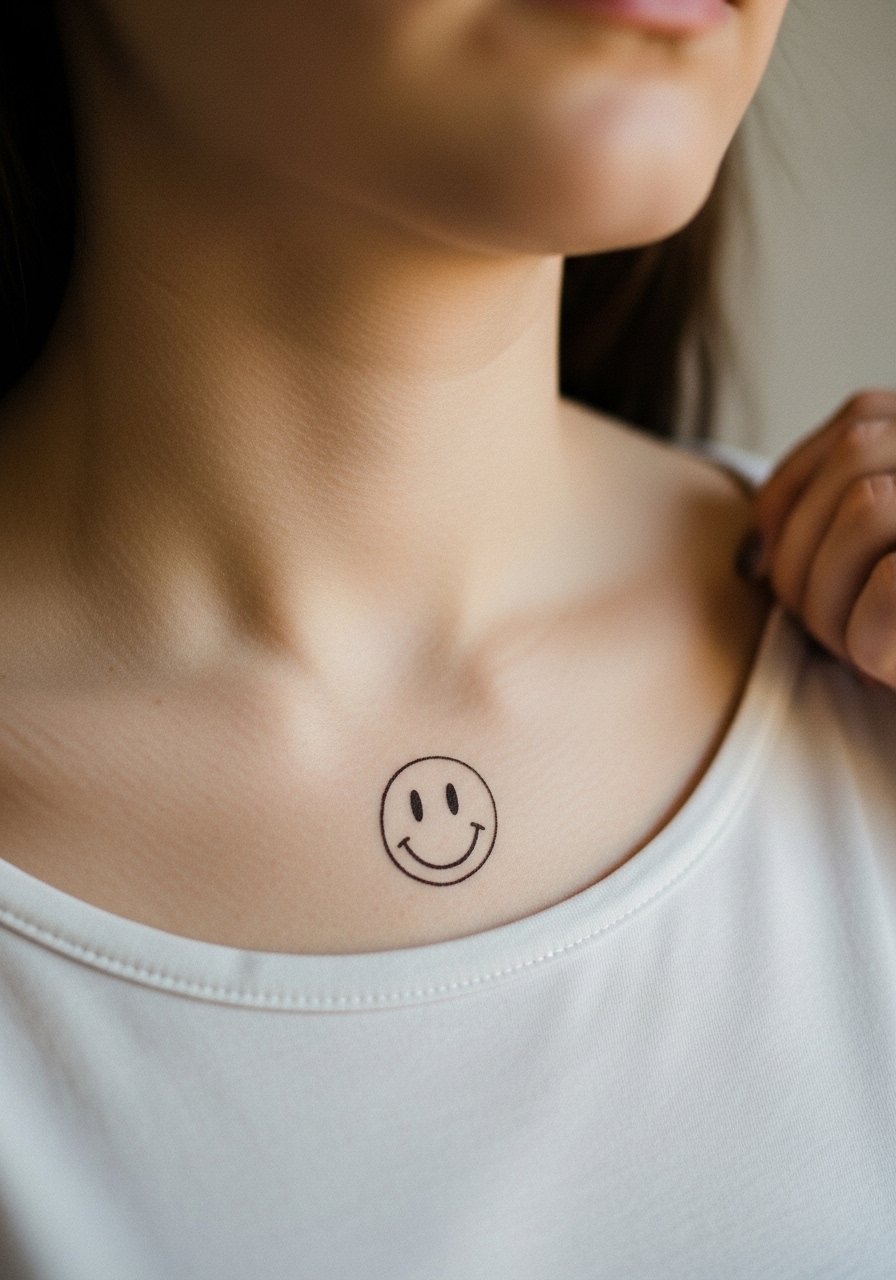
Clavicle placements require mindful spacing because the skin sits over bone. Ask for off-center placement so the design feels organic with the collarbone. The usual mistake is asking for perfectly centered symmetry which can look forced. Pain is moderate and sessions are short. For session access, wear a wide-neck top you can move aside easily. A thin chain necklace worn above the piece frames it without competing.
27. Tiny Sketch Smiley with Faint Crosshatch on the Lower Back
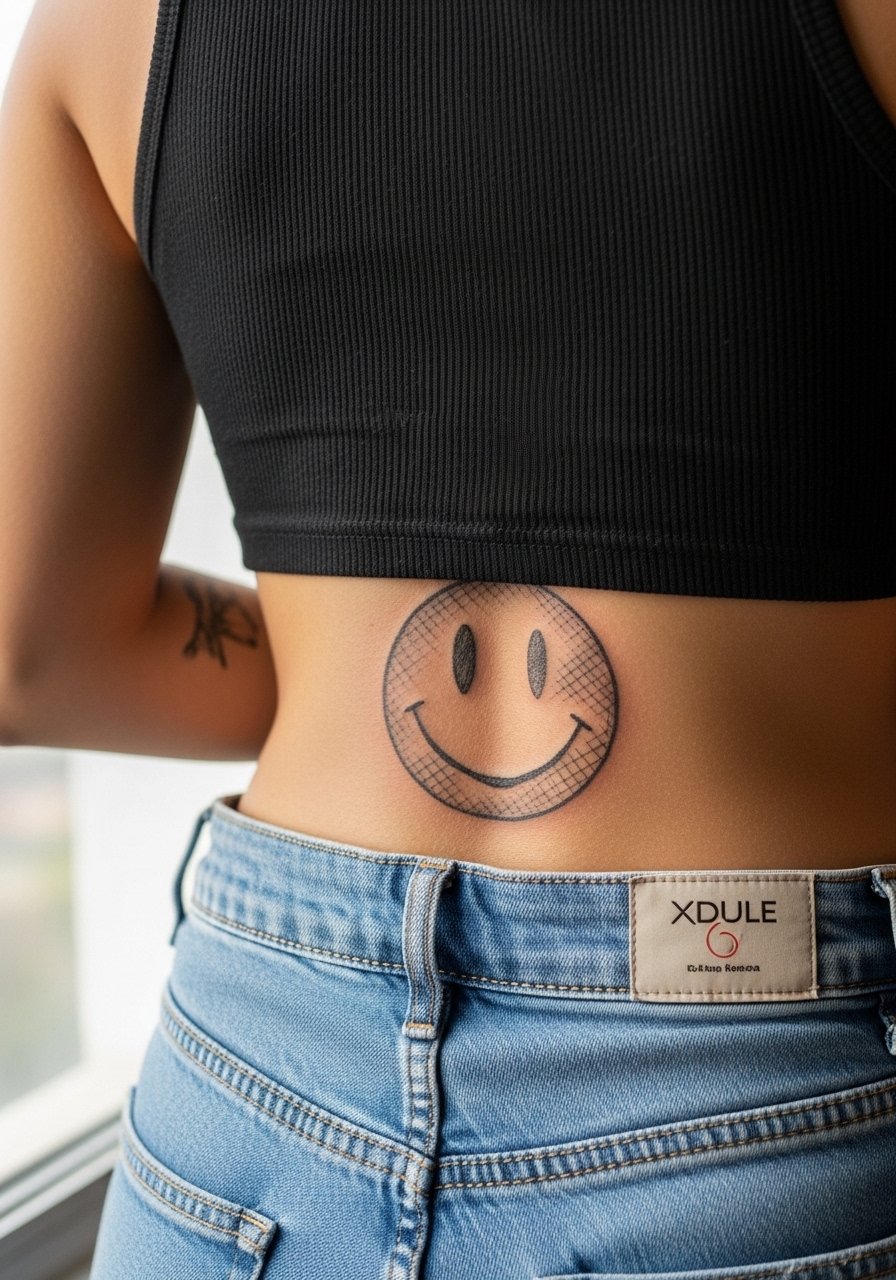
Lower back pieces can be playful and private. Request faint crosshatch that reads like pencil shading and avoids solid blocks which age badly. A common error is over-saturating the texture, which becomes a patch over time. Sessions are moderate and healing is straightforward if you avoid tight waistbands. For the appointment, wear a tank top and high-waisted jeans so you can lower a waistband slightly without exposing more than the tattooed area.
Frequently Asked Questions
Q: Will a tiny sketch smiley on a finger or palm last more than a year?
A: In my experience finger and palm placements fade faster than forearm or shoulder work because of constant washing and skin turnover. Expect touch-ups within the first year and plan accordingly. If longevity is critical, consider moving the design to the outer finger or near the wrist.
Q: How big should a sketch smiley be on the ribcage to age well?
A: Make it noticeably larger than what looks tiny on screen, and ask for spacing between decorative lines. On ribs, the safer approach is scale and room. Artists who favor fine line there will advise a slightly larger stencil to prevent lines from merging as the skin moves.
Q: Are there clothing choices that help during the tattoo session for chest and shoulder placements?
A: Yes. For shoulder and collarbone work wear a loose tank top or a wide-neck shirt so the artist has access and you stay comfortable. For sternum or ribs, a sports bra or cropped athletic top is easiest.
Q: Do sketch smileys need a different aftercare routine than traditional bold work?
A: The fundamentals are the same, but sketch and fine line pieces benefit from keeping the area lightly moisturized and protected from friction. Expect gentler handling because thin lines can scab differently than saturated work. Specific aftercare products are best chosen from the pre-session essentials list above.
Q: Should I expect different pain levels for collarbone versus calf placements?
A: Yes. Collarbone and ribs usually rate higher on pain scales than the calf or outer shoulder. That affects session length and scheduling. If you want less discomfort, plan for shorter sessions and discuss numbing options with your artist.
