
Bold blackwork reads from across a room and also hides the slow fade that catches many fine-line pieces. If you want a cat paw print that lasts, think about scale, spacing, and where friction will live over the years. Below are creative takes on the blackwork cat paw print that balance longevity, personality, and wardrobe so you can pick a version that still reads sharp after a few summers.
1. Micro Paw Cluster on Inner Forearm

I recommend this small cluster when you want a discreet motif that can expand into a sleeve later. Tell your artist you want slightly separated pads and bold negative space between prints so the blackwork does not merge as the years pass. Pain sits around a three on the inner forearm and sessions are short, often under an hour. The usual mistake is requesting tiny identical pads that compact at year two. For the session, wear a loose button-down shirt you can roll up cleanly so the artist has clear access.
2. Single Bold Paw on the Side of the Hand

Hand placement reads immediately but ages faster because of washing and friction. Expect touch-up conversations earlier than with arm work and plan for a thin, confident outline with solid fill that tolerates daily scrubbing. A common regret is asking for intricate dot shading on the hand; it blurs quicker than simple solid black. Session discomfort is moderate because the skin sits over bone. Hand tattoos still affect hiring in some industries, so consider your career path before committing.
3. Tiny Paw on a Finger Pad
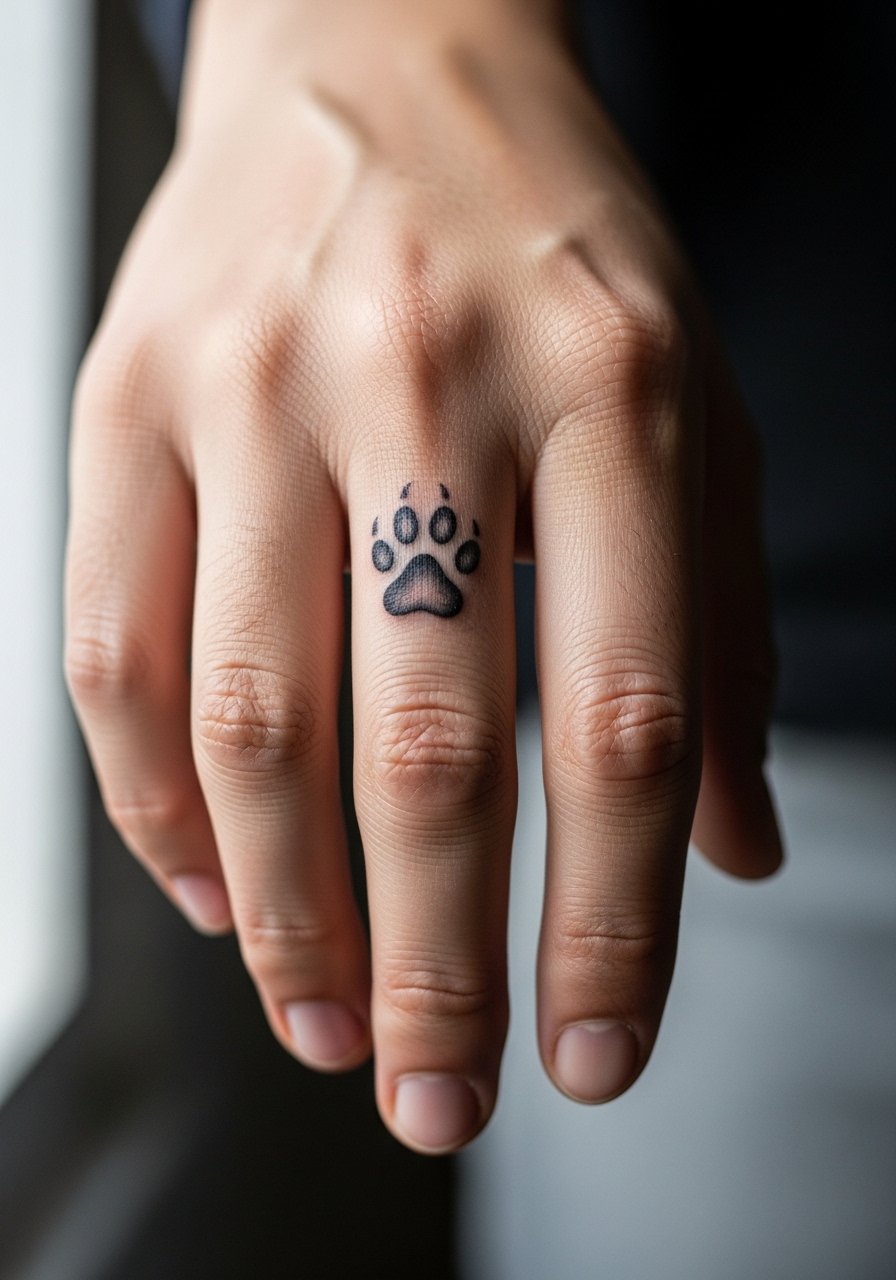
Finger pads are notorious for fast fading and frequent touch-ups. Artists split into two camps here. One camp avoids fingers for delicate work because the skin regenerates and ink drops out. The other camp will do it with denser blackwork and thicker line weight to compensate. If you try this, ask for heavier saturation and budget a touch-up at year one. The session is quick but expect more aftercare fuss from repeated hand use. A useful tip is to discuss how the design will be rescaled for future sharpening.
4. Paw Trail Along the Collarbone
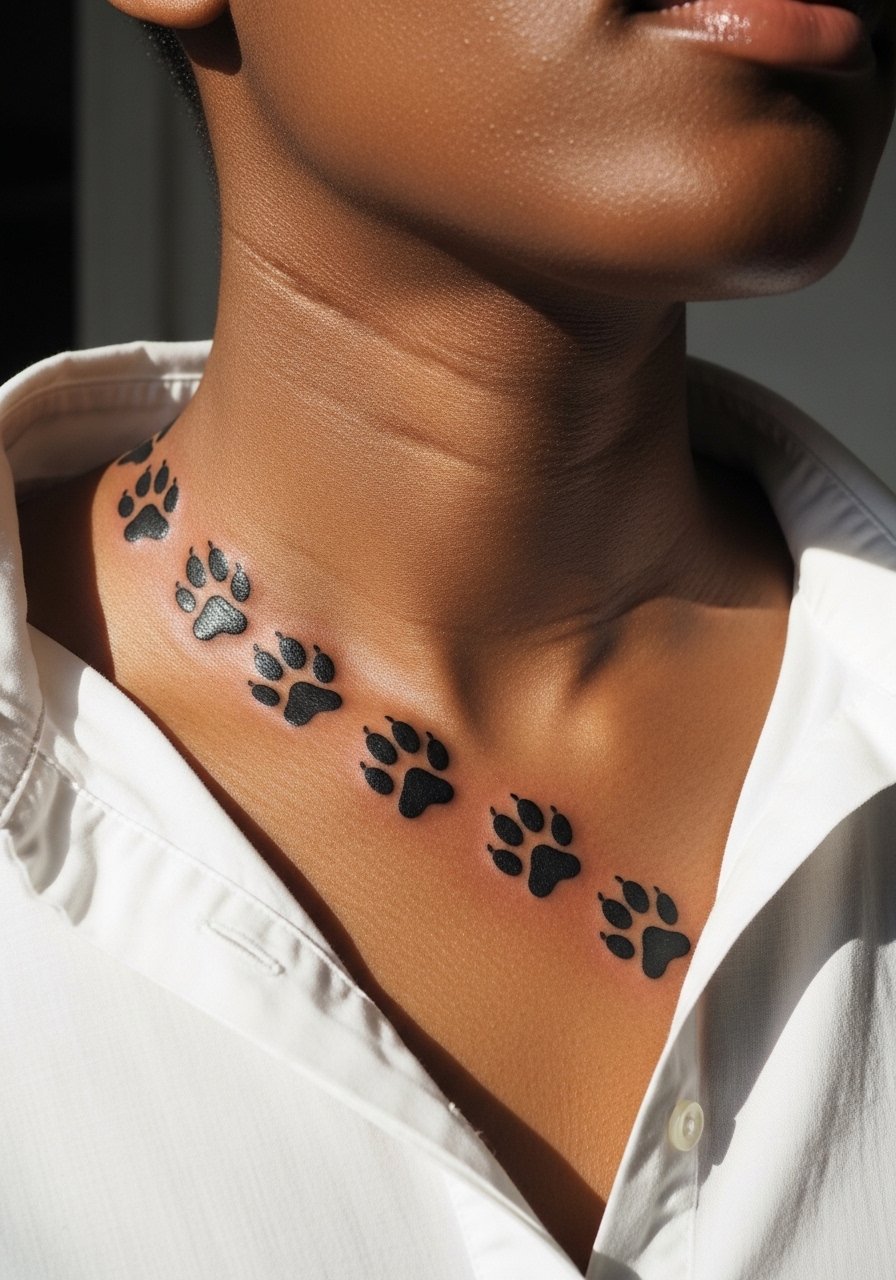
Collarbone placement gives movement to a paw trail and shows off with open-neck tops. Pain on the collarbone is higher than on fleshy areas, around a six for many people, but the result photographs well. Tell your artist you want slightly staggered spacing so the trail reads at a glance without merging into a blob. When showing it off, pair with an open-back midi dress or a wide-neck top for evening wear. Expect that the outer pads keep their shape longer than the smallest toe prints.
5. Solid Black Paw on the Outer Thigh
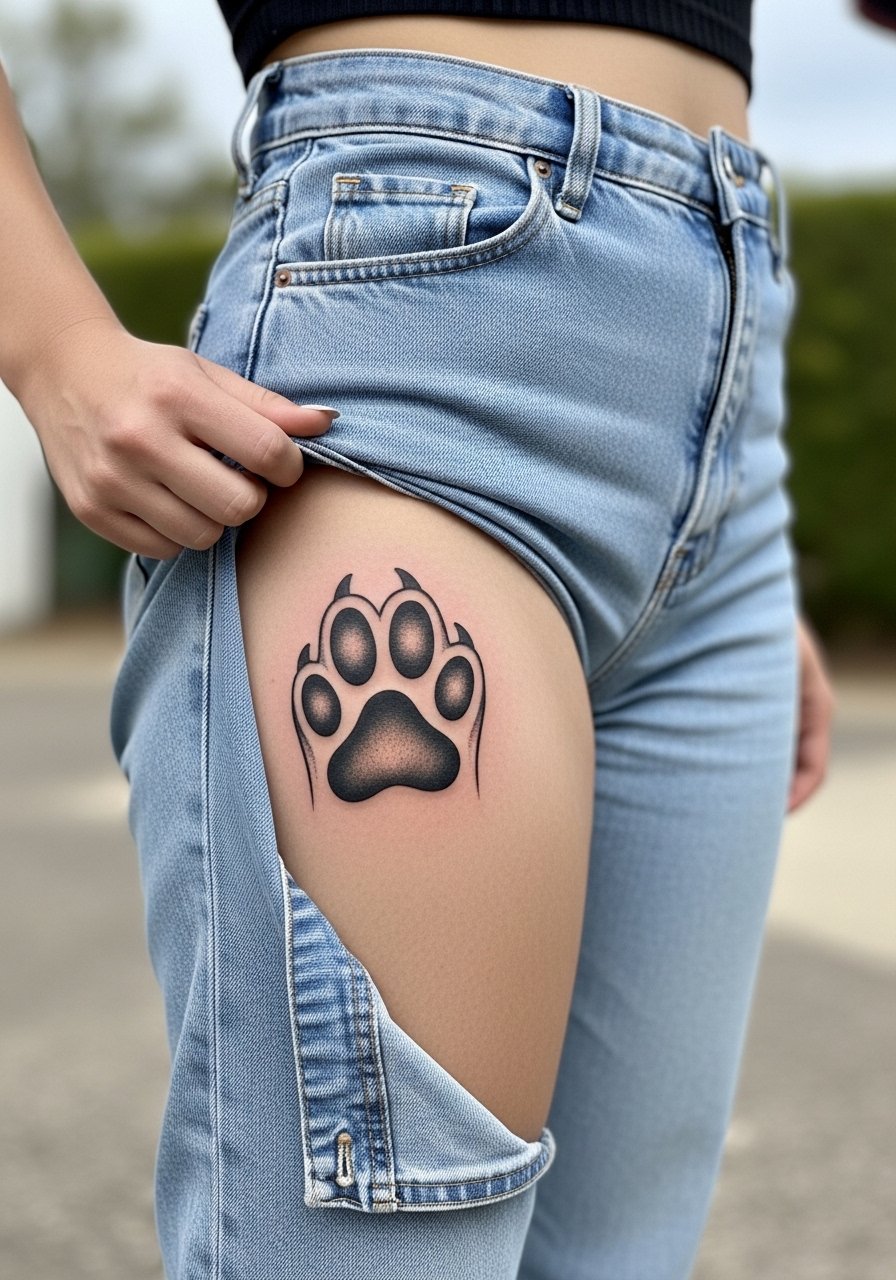
Outer thigh takes saturation well and ages kindly because it avoids constant sun and abrasion. This is a good spot for someone who wants a larger, graphic paw without daily visibility. Sessions run longer, often one to two hours for a saturated fill. A common mistake is placing the paw too low where jeans rub the area. For the appointment, wear loose drawstring shorts or high-rise bottoms that make access and healing easier.
6. Negative-Space Paw with Dot Work Halo on the Sternum
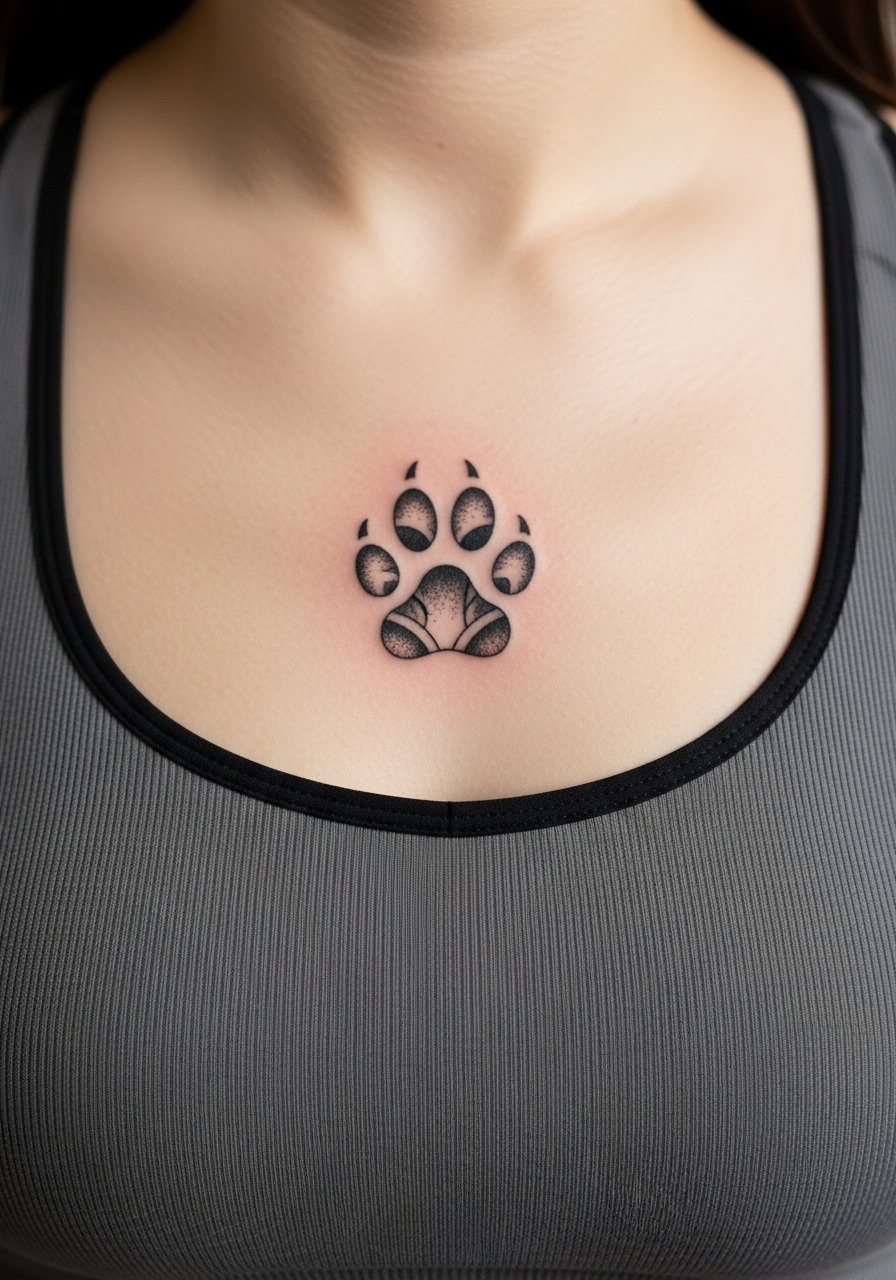
Sternum placements demand careful consultation and a specialized touch. The negative-space paw surrounded by stipple shading looks graphic while keeping the skin tone as the focal pad. The controversy here is about depth and movement. One camp warns that chest skin stretches and blurs dense dots. The opposing camp says stipple with spaced dots and shallow whip shading avoids merging. Expect moderate to high pain and a two-hour session for decent coverage. For the appointment, a fitted sports bra that you can lower briefly makes access easier.
Studio Day Picks
The ankle, thigh, and sternum pieces above need different prep than wrist work, so these products smooth the session and the first week.
-
Stencil transfer paper kit. Lets you preview exact placement on skin, which is useful for collarbone and sternum stencils where symmetry matters.
-
Topical numbing cream. Applied as directed before sessions that hit bone or thin skin helps the chair time feel more manageable.
-
Thin protective film roll. Keeps finger and hand tattoos clean during the first days of heavy use and repeated washing.
-
Fragrance-free body wash. Gentle cleansing matters for areas that face friction, like the ankle trail and thigh placement.
-
Aquaphor healing ointment. Thin layers in the early healing window lock in moisture for dense black fills without suffocating the skin.
7. Paw Print Lined Up the Spine
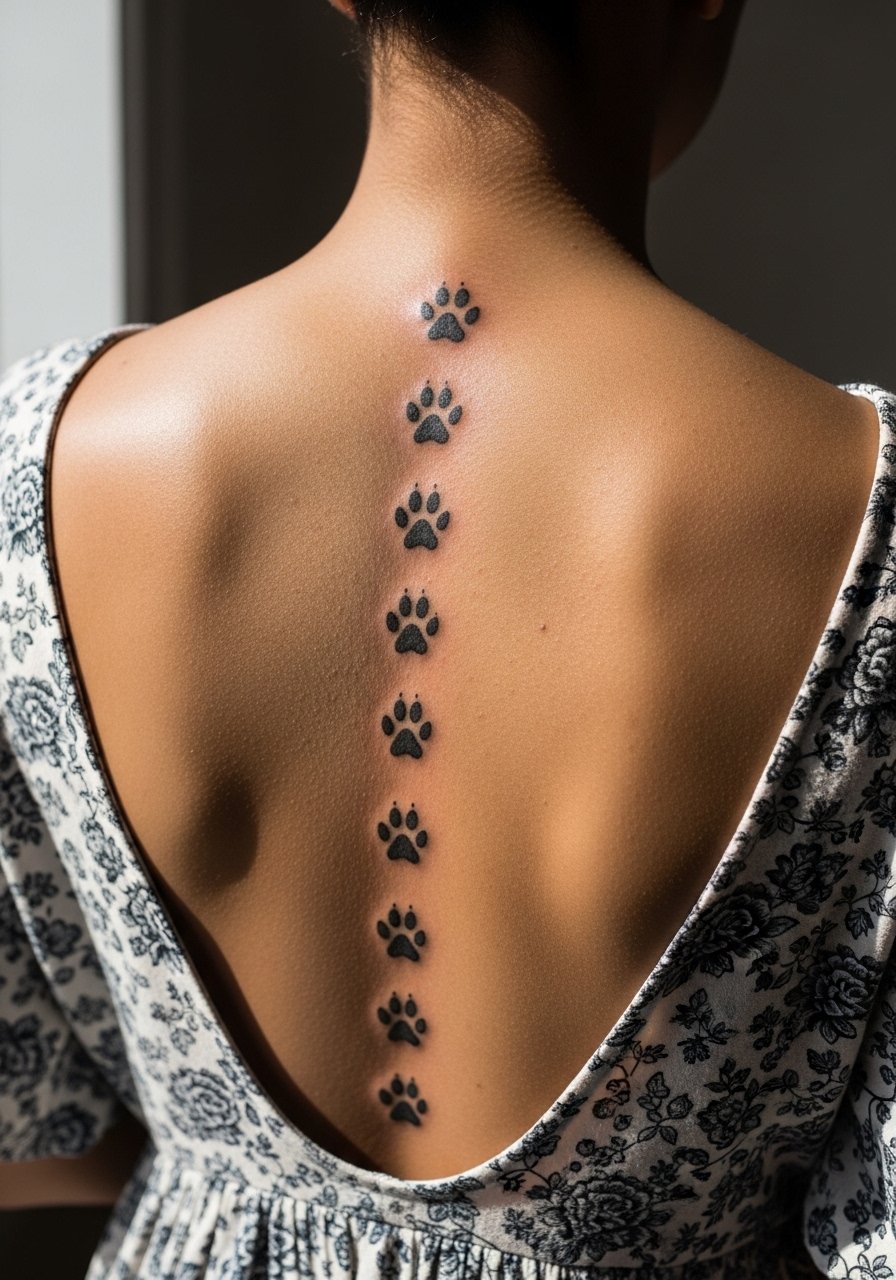
Spine placements read dramatically with a vertical motif. The bounce between pads should be even, and the artist needs clear references for spacing to avoid future merging. Sessions feel like a slow burn since the spine is sensitive. The biggest mistake is asking for tiny pads stacked too close. For outfits, open-back dresses or halter tops frame the line without competing for attention. Plan for touch-ups at year two to keep the linework crisp if you wear backpacks or tight straps frequently.
8. Little Paw Behind the Ear
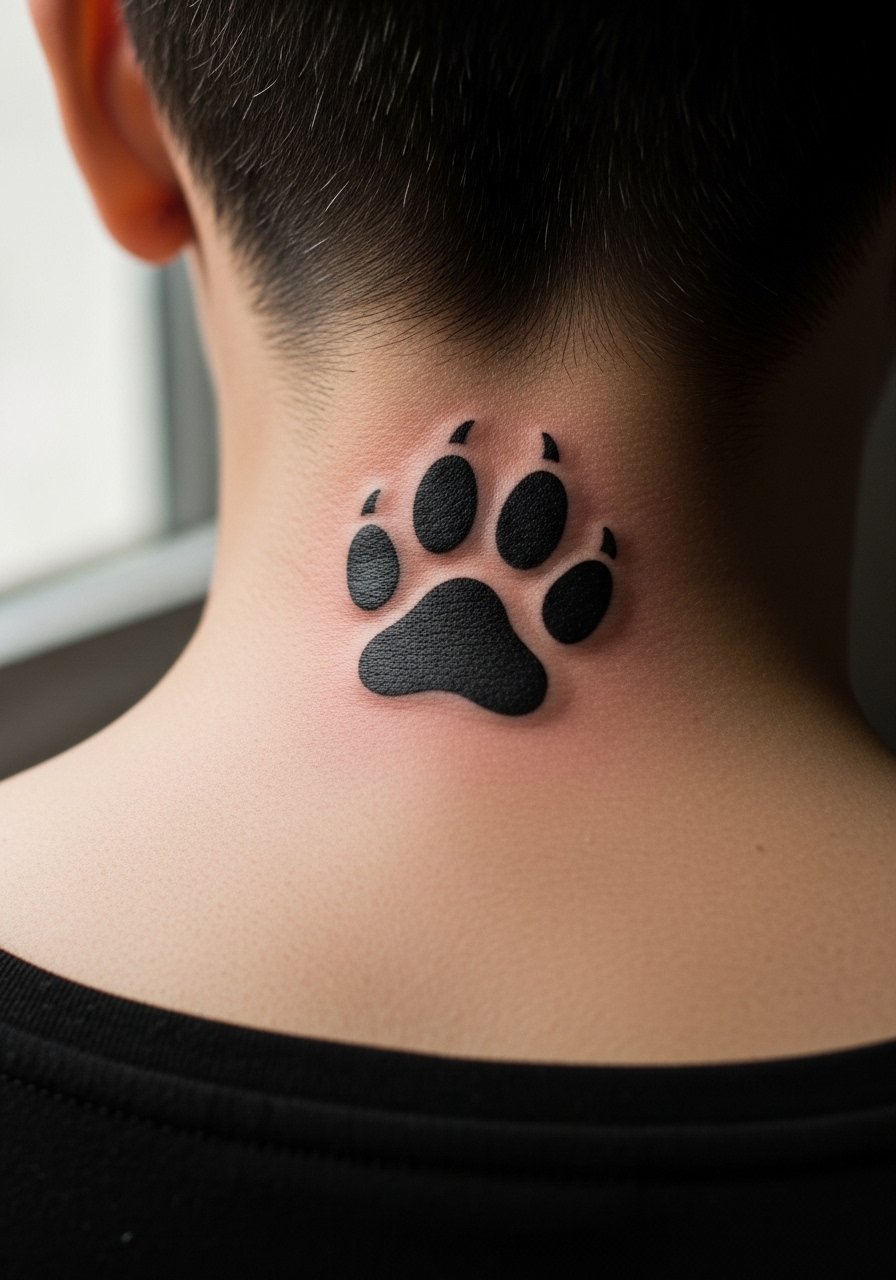
Behind-the-ear micro placements are subtle and personal. The area hides well under hair yet shows when you tuck a strand behind the ear. It is sensitive and a tricky stencil zone. The standard error is asking for too many details in a very small space. If you want it visible, consider a slightly larger pad and ask for clean solid blacks rather than delicate stippling. Access is easy for the artist if you wear hair up the day of the appointment.
9. Paw with Geometric Frame on the Outer Calf
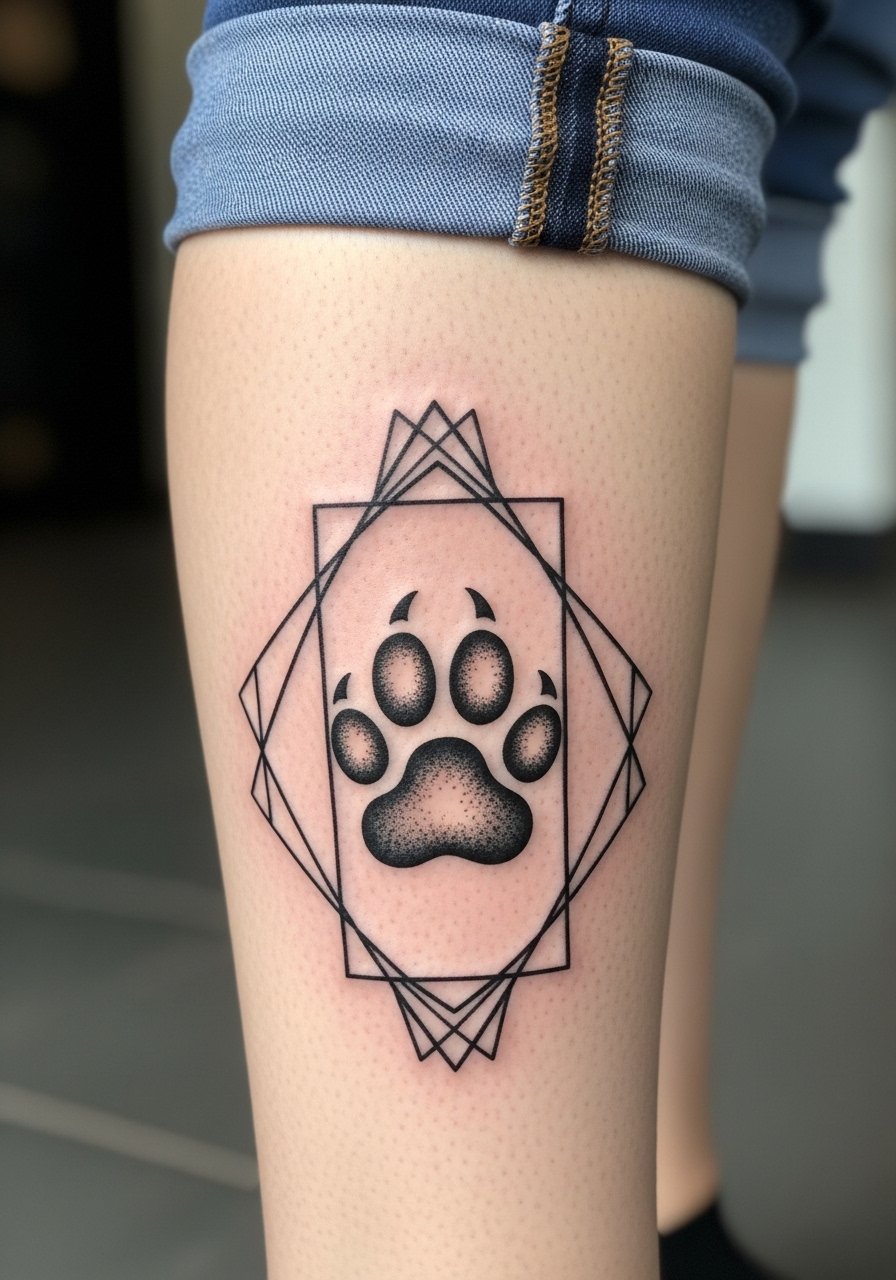
This is an outdoor-friendly placement that reads from a distance and handles saturated black well. Tell your artist you want clear spacing between the paw and the frame so the two elements don't fuse as the ink settles. Calf sessions are moderate on pain and often single-visit unless the fill area is large. For showing it off, cropped trousers or mid-calf boots make the motif visible without crowding. Avoid overly dense dot work near the ankle because that area sees more abrasion from socks.
10. Minimal Paw on the Ribcage
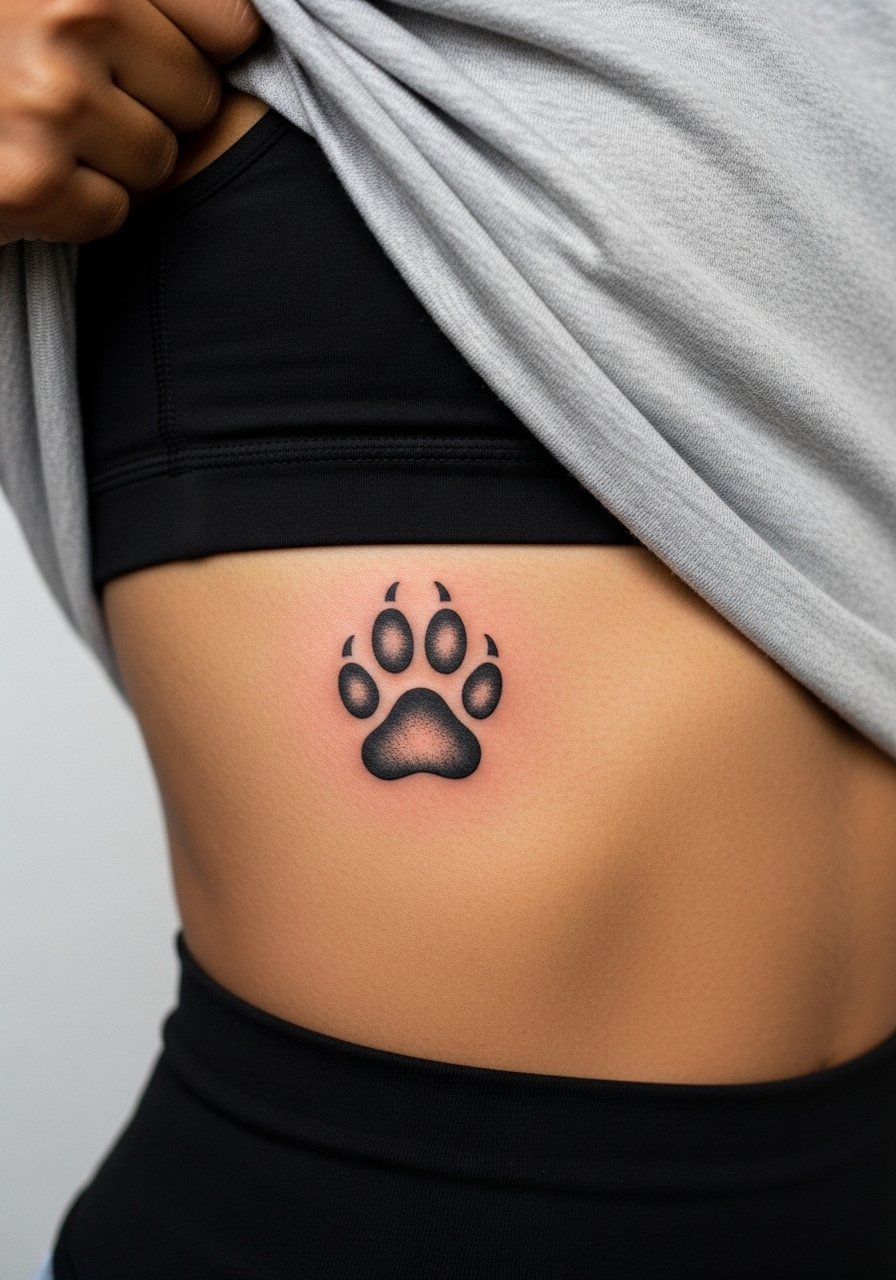
Ribcage tattoos are beautiful and painful, so planning matters. Fine detail on ribs tends to blur faster than bold blackwork because the skin moves with breathing. One camp argues tiny motifs on ribs will fade into fuzz. The other says proper spacing and depth allow small blackwork to stay readable. If you choose ribs, ask for slightly bolder pads and plan for a longer appointment. Wear a loose top that you can lift and avoid tight undergarments during healing.
11. Paw with Floral Blackwork Background on the Shoulder Blade
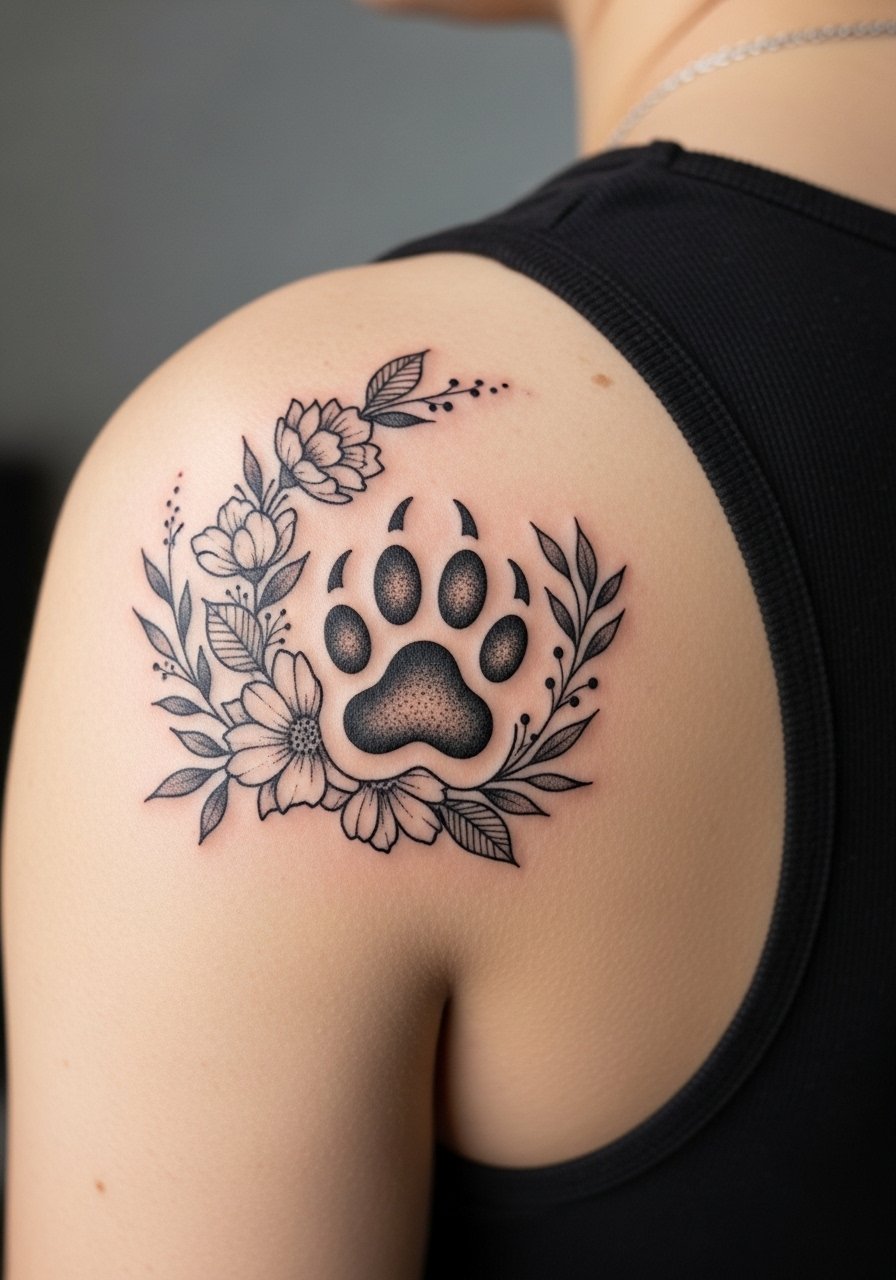
Shoulder blade silhouettes take heavy black well because they see less sun and friction. The floral blackwork behind a single paw gives scale without sacrificing clarity. A common mistake is layering too many background elements that compete with the paw. Tell the artist you want the paw to sit visually in front with negative space between the florals. Shoulder sessions are lower pain and good for multi-hour fills. For the session, a loose tank top is practical so the artist can access the area.
12. Stacked Tiny Paws Along the Wrist

Wrist work is visible and demands simple, strong shapes. The worst version is overly tiny pads that merge under skin movement. I advise scaling each pad to be slightly larger than you expect and spacing them with a little breathing room. Wrist tattoos are prone to sun exposure and washing, so expect a touch-up sooner than thigh work. Pair this look with a thin chain bracelet or minimalist watch to frame the wrist without obscuring the tattoos.
13. Paw with Negative-Space Claw Marks on the Upper Arm
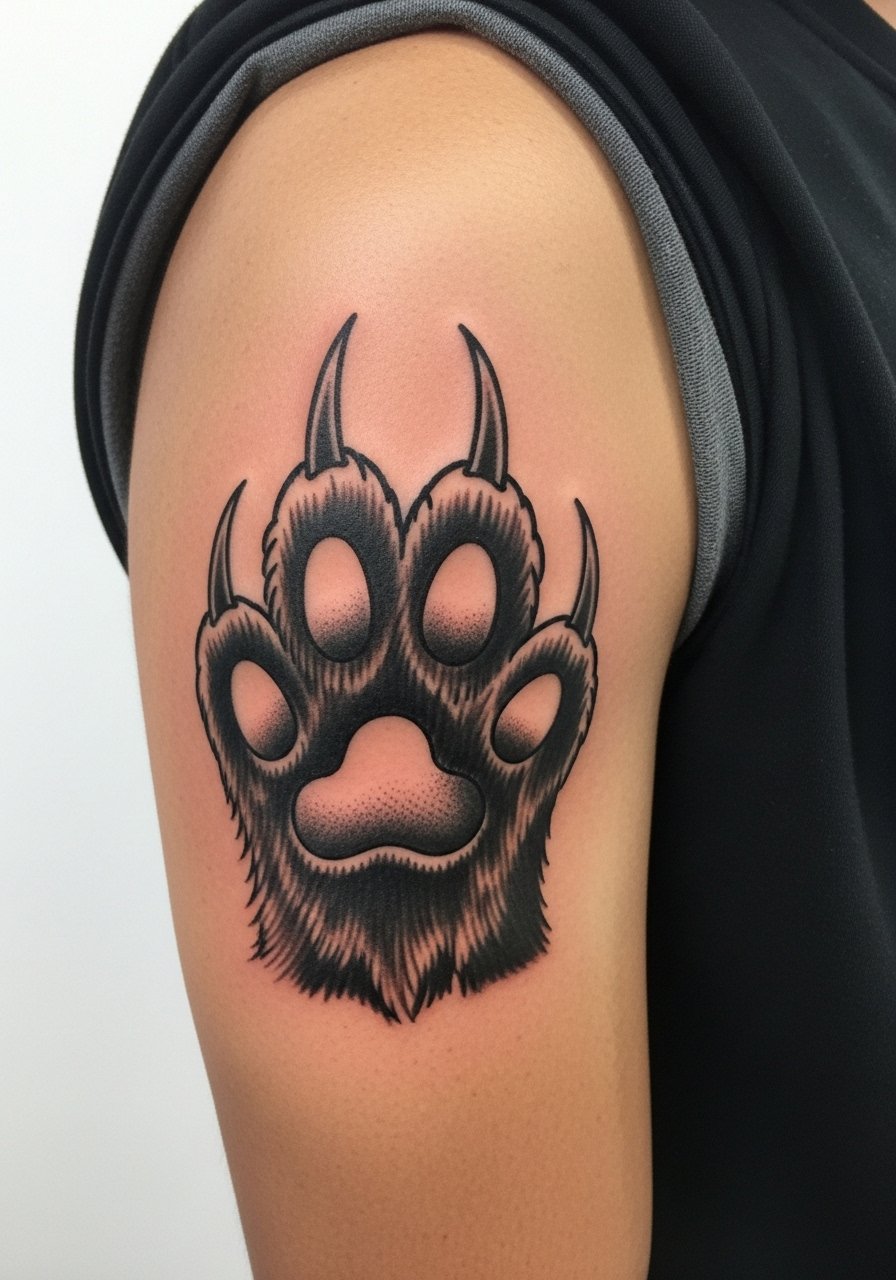
Upper arm is forgiving for bold blackwork and heals predictably. Negative-space claw slashes give motion without adding extra pigment. The typical error is placing the claws too close to the pads so they read as a single dark shape. Ask for intentional spacing and solid saturation for the pads. Sessions are low to moderate in pain and often fit into a single appointment. Upper arm pieces pair well with short-sleeve shirts that you can roll for a casual look.
14. Watermarked Paw on the Rib-to-Hip Curve
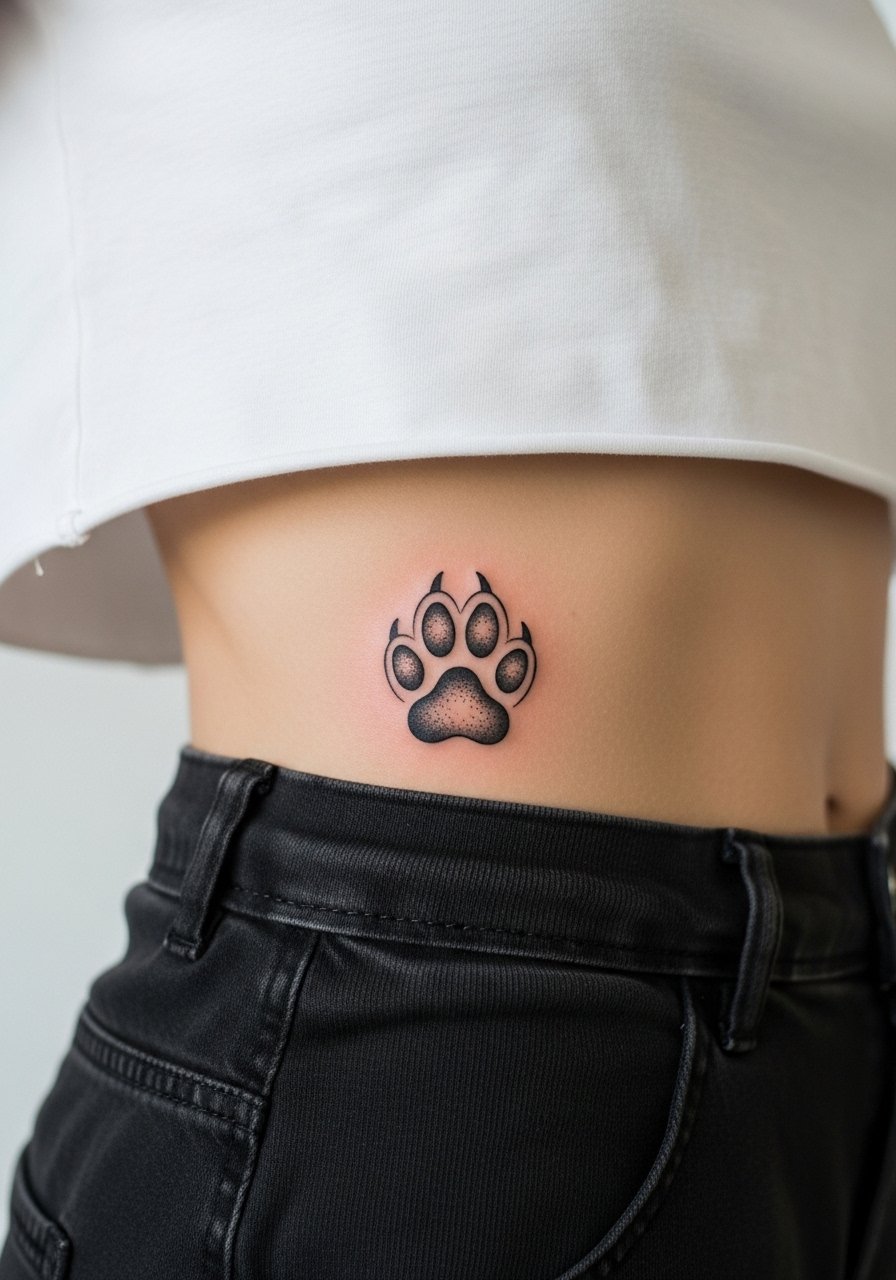
Placement across the rib-to-hip curve moves with the body, which can enhance the impression of a paw in motion. The aging issue here is rubbing from waistbands when the paw sits low. Request placement slightly higher if you wear low-rise bottoms often. The session can be more uncomfortable because of the thin skin and underlying bone. For the appointment, bring loose bottoms like high-waisted denim so you can shift clothing without pressure on the healing tattoo.
15. Paw on the Calf with Halftone Fill
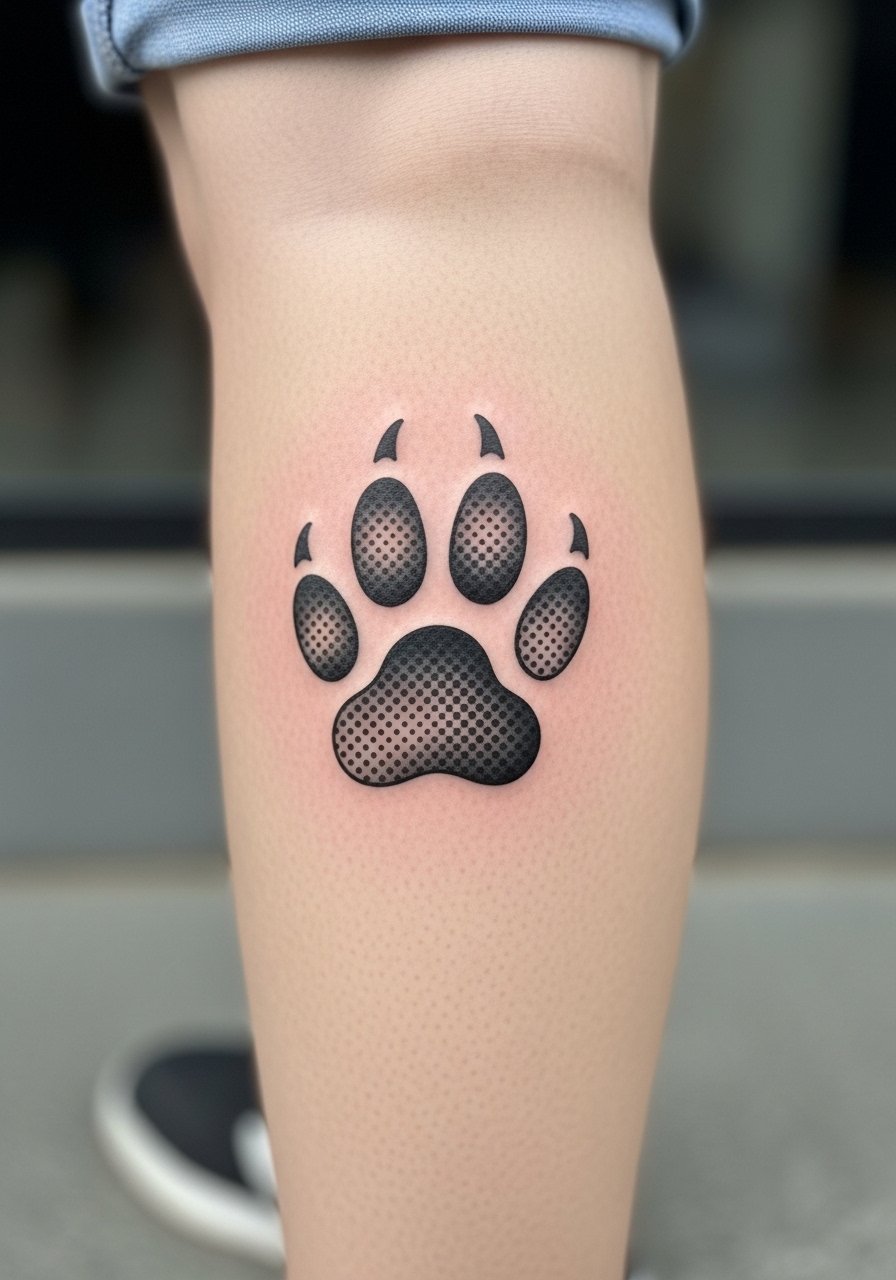
Halftone or stipple fills give texture while keeping bold outlines intact. Calf placement tolerates dot work well because it avoids constant abrasion. The error is overdoing dots inside very small pads; instead ask for larger dots spaced to maintain negative space. Pain is low and sessions are comfortable seated work. For evenings out, cropped pants or sandals highlight the calf motif without crowding the design.
16. Mini Paw on the Side of the Neck
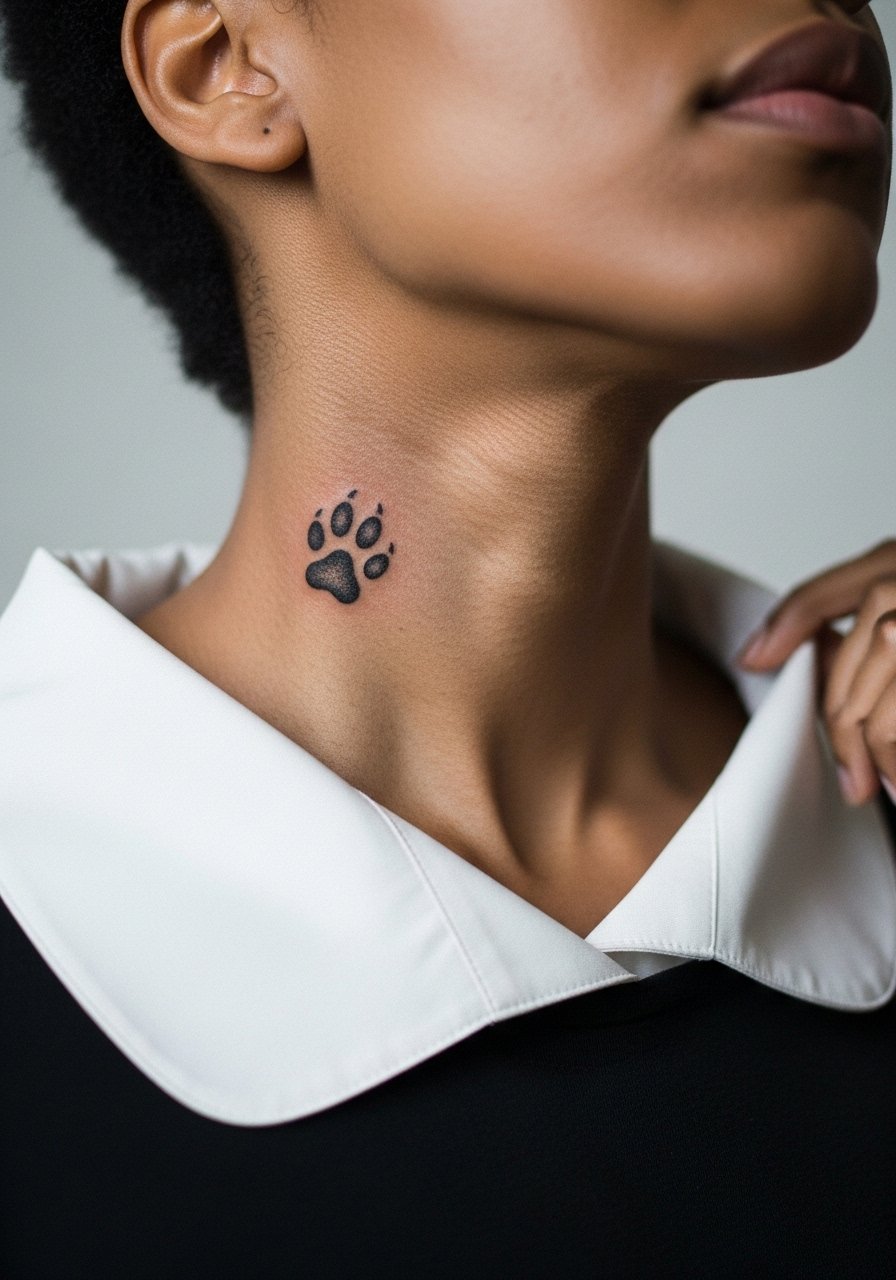
Neck pieces are bold statements and require career considerations. The skin here takes ink differently and often sits under more movement. A common mistake is asking for tiny detail that blurs; bigger pads and clean blackwork read longer. Pain is higher and healing needs care to avoid clothing abrasion. If you choose this spot, wear a wide-neck shirt to the appointment and plan your wardrobe during the first two weeks to avoid rubbing.
17. Paw with Script Date Hidden in the Pad
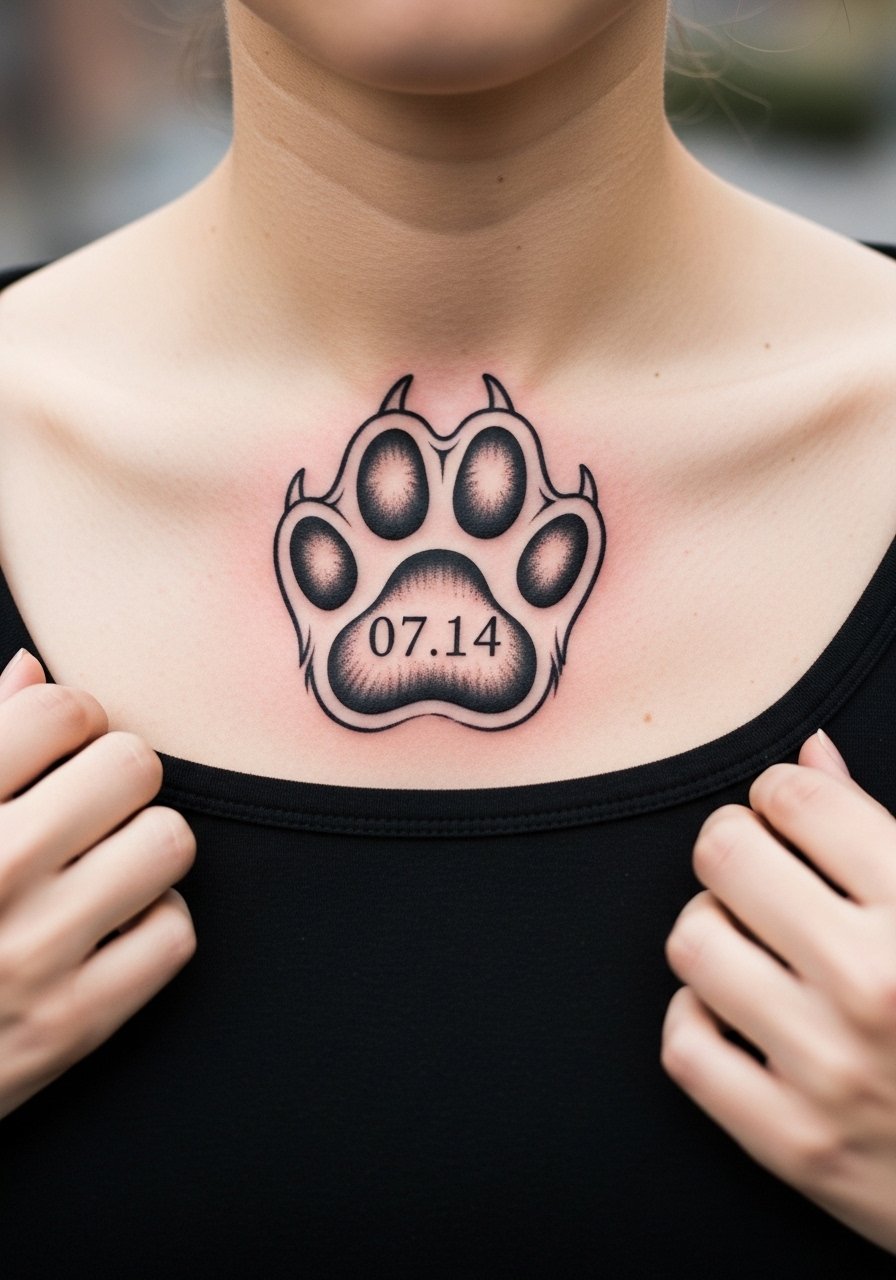
Embedding a small date or initials inside the pad gives personal meaning without changing the silhouette. When text is included, specify the exact characters and font you want so it prints clean in the stencil. Chest placements need a little extra discussion about how the pad scales with the text. The usual mistake is choosing a font that is too fine. Ask for slightly bolder type that reads when healed. For the session, a wide-neck shirt you can pull aside makes the artist's life easier.
Frequently Asked Questions
Q: How quickly does bold blackwork fade compared with fine line paw prints on places like the wrist or hand?
A: From what I've seen, bold saturated black tends to hold shape longer than fine line work on high-movement zones like wrists and hands. Fine line may need a touch-up at year one to three depending on sun exposure and daily abrasion. For wrist and hand pieces plan on earlier maintenance than thigh or shoulder work.
Q: Can a tiny paw on the finger be scaled up later if it fades or loses detail?
A: Yes, you can scale up a finger tattoo into a larger design or add a background to regain definition. The practical route is planning a slightly larger initial pad that leaves room for future touch-ups and avoiding ultra-fine detail that will vanish first.
Q: Are there placements I should avoid if I want the paw to last without frequent touch-ups?
A: High-friction areas like the sides of fingers, palms, and areas that rub against waistbands will need more maintenance. If longevity is the goal choose thigh, calf, outer arm, or shoulder blade for less early fade. Also think about sun protection habits for wrists and collarbones.
Q: What should I wear to the studio for a sternum or ribcage appointment?
A: Wear a fitted sports bra or a cropped top that you can lower briefly so the artist has clean access. A zip-up hoodie can work too because it avoids pulling fabric over your head and irritating the area during exit. If you want a product suggestion for session day clothing try a racerback tank that slips on and off easily.
Q: If I want to find an artist who specializes in blackwork paw prints without naming people, where should I look?
A: Search local directories and hashtag threads specific to blackwork and paw motifs, and check portfolios for healed photos rather than fresh shots. Community forums and show pages for regional conventions also help you find artists who routinely do saturated fills and bold outlines.
