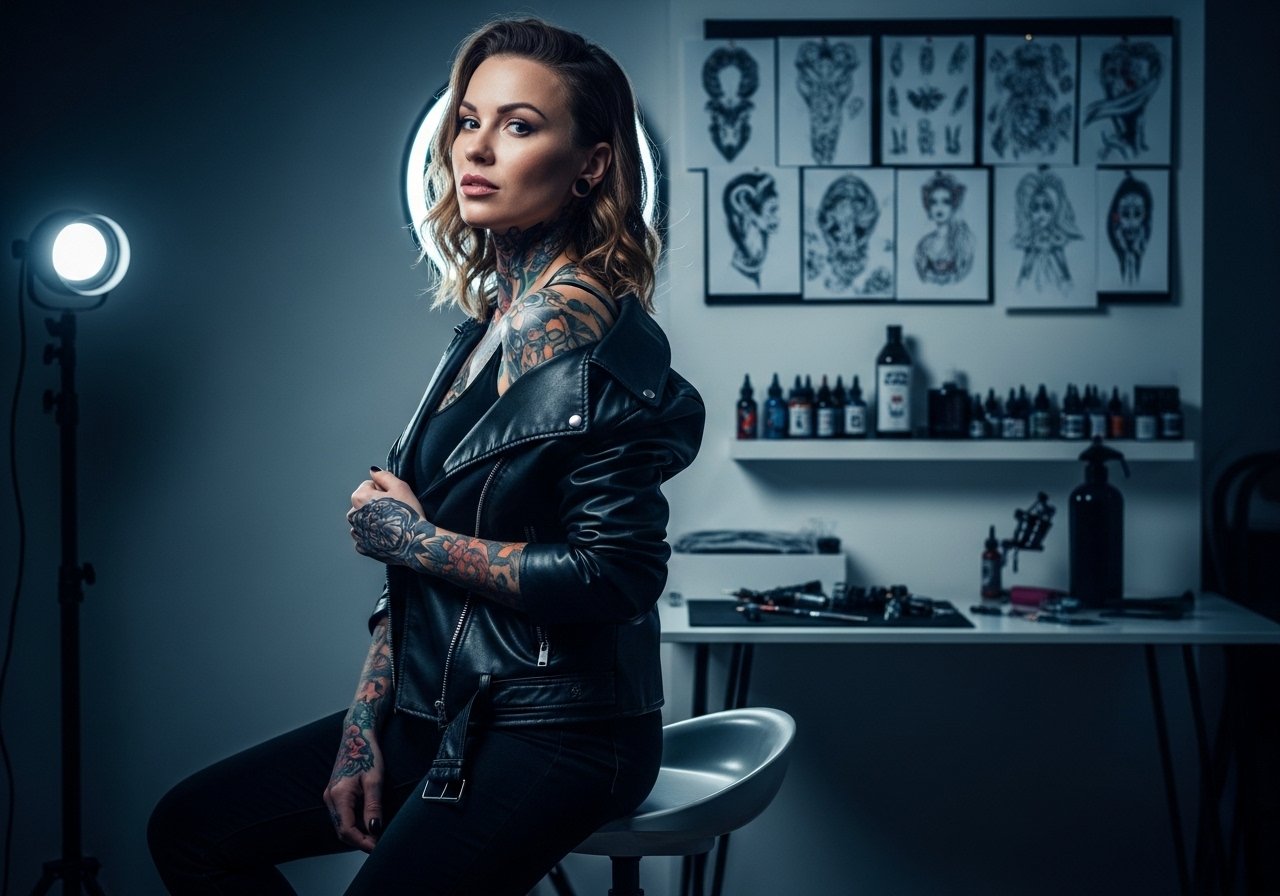
Fine line and loaded black outlines have both found a home in neo traditional horror work, but what holds up longest is not what trends hardest on feeds. The pieces that still read crisp a few years later are the ones balanced between saturated fills and breathing room around dense details. Read on for ideas that keep their edge while leaning into the dark, cinematic mood fans love.
1. Masked Cameo on the Inner Forearm
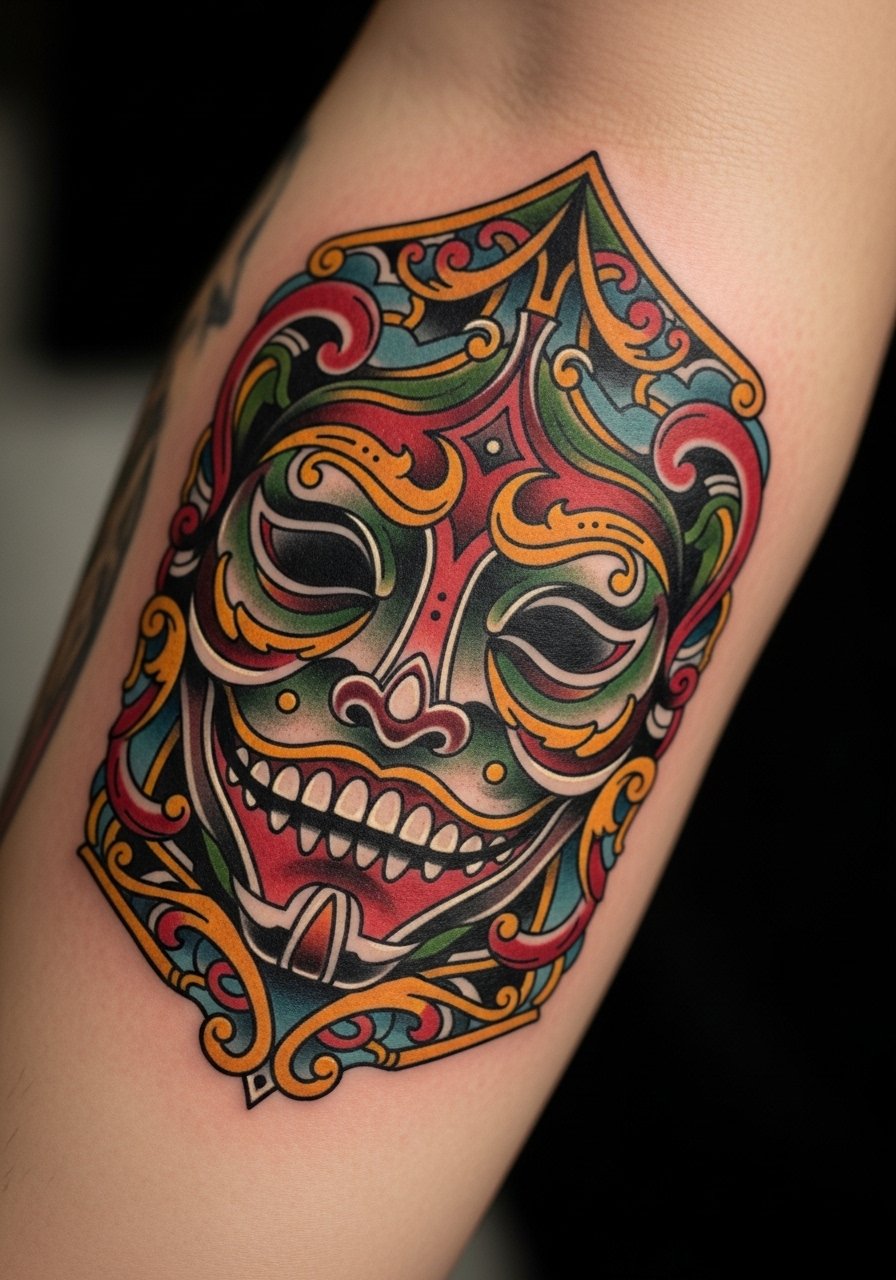
This inner-forearm cameo reads like a charm from across a room and keeps details readable if scaled properly. I tell people to ask for bolder outer linework with lighter internal stipple shading so the mask silhouette holds as saturation softens. Expect moderate pain and a one- to two-hour session for a palm-size piece. Common mistakes include crowding tiny facial details that merge after a year. For the session wear, roll up a sleeve or throw on a loose button-down shirt so the artist has clean access and you stay comfortable. Light touch-ups at year three are common with forearm placement.
2. Machete Crescent on the Outer Calf
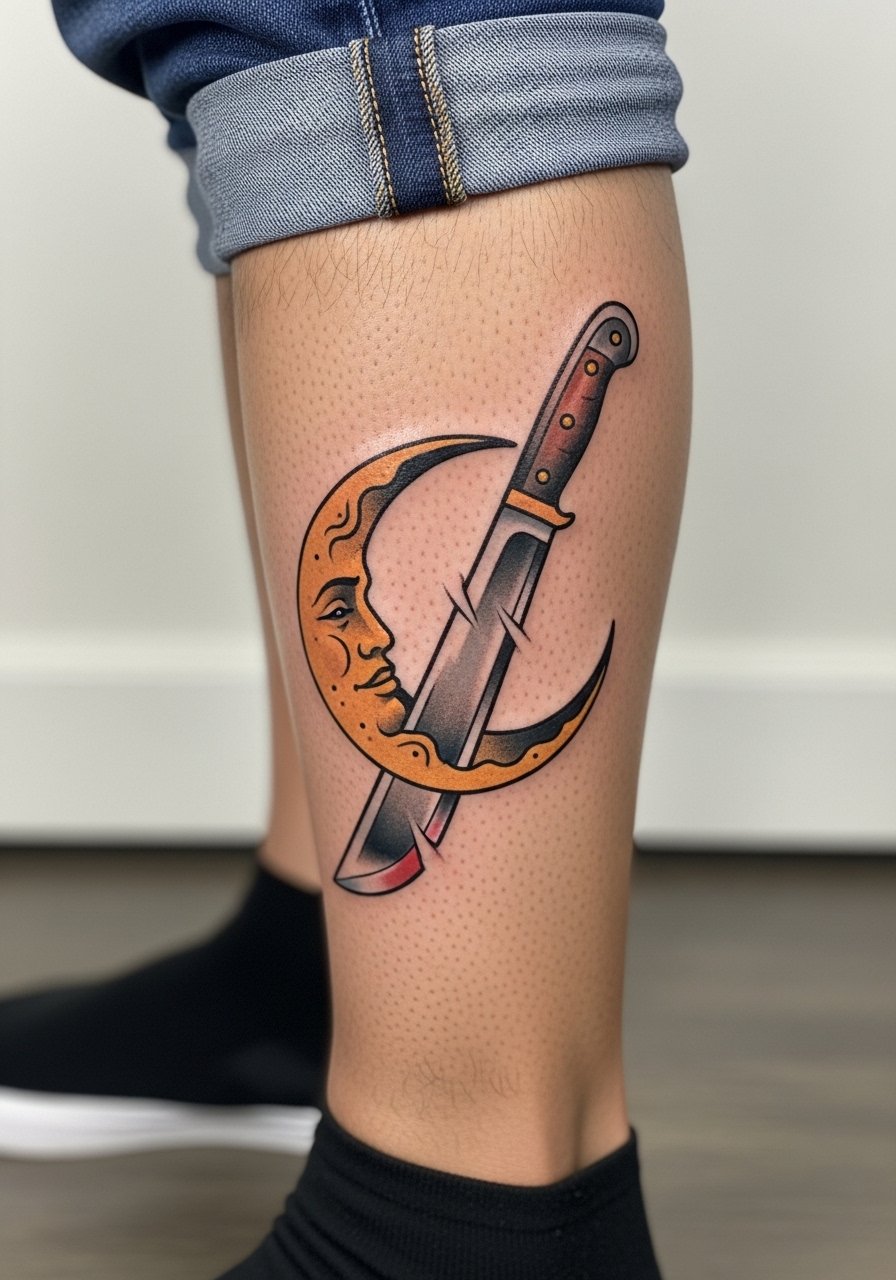
The outer calf tolerates saturated fills well, and this placement makes a bold vertical statement without frequent touch-ups. I recommend bringing references that show the exact blade angle and negative space you want so the artist can plan flows with the calf muscle. Pain is moderate. Sessions usually run one to three hours depending on color saturation. Avoid tiny cross-hatching inside the blade because dense micro detail will soften unevenly here. Pair it with ankle boots or rolled jeans for nights out. For session day wear, denim you can roll up keeps the area accessible and clean.
3. Hockey Mask Framed with Roses on the Upper Arm
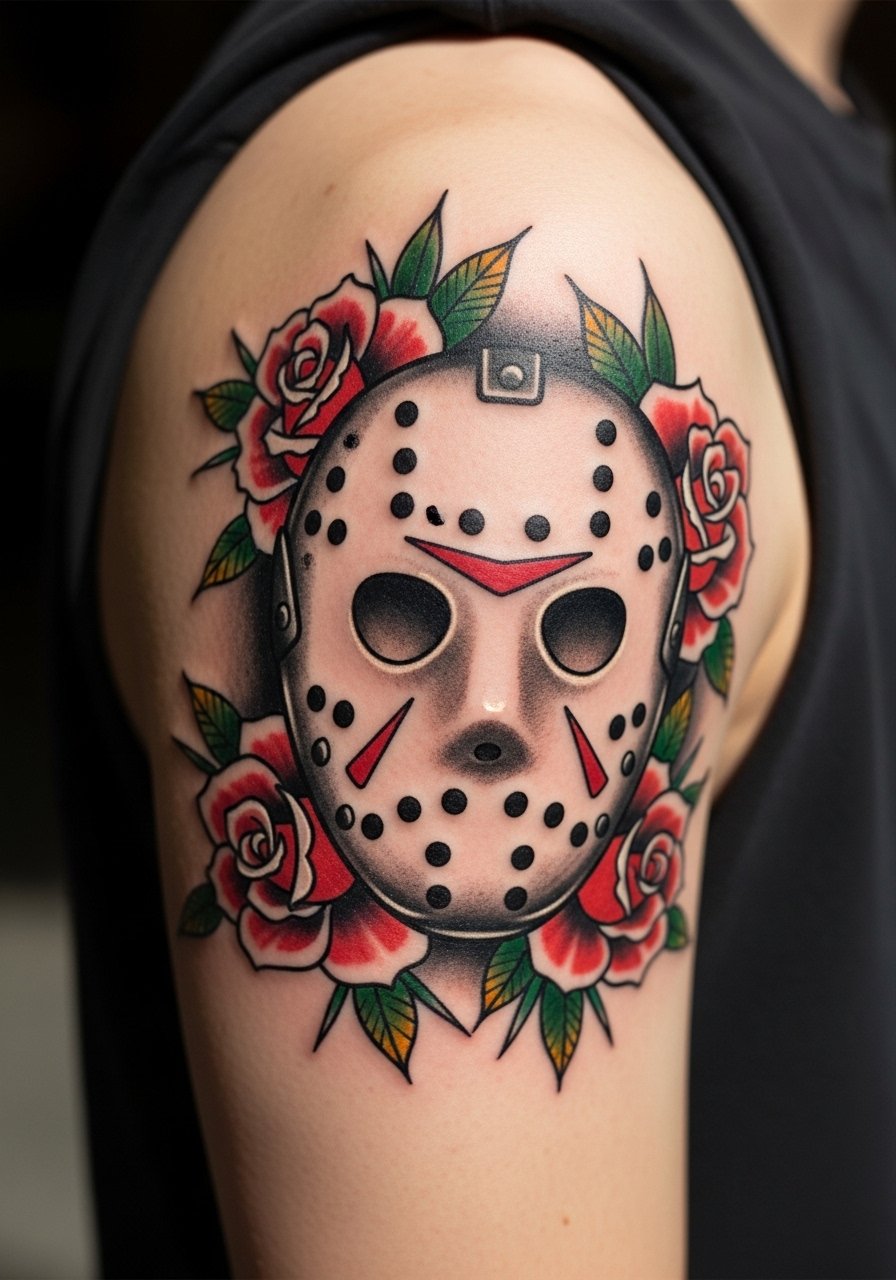
Upper-arm canvas is forgiving and great for the neo traditional mix of bold outlines and painterly fills. Ask your artist during consultation for heavier contour lines around the mask and layered petal shading for the roses. That approach keeps the iconography readable as the flesh ages. The biggest mistake is packing too many small petals close to the mask, which flattens into a single dark patch over time. Sessions run two to four hours depending on size. Style this with a sleeveless linen top to show it off without looking overdone.
4. Portrait of the Mother Figure on the Upper Chest
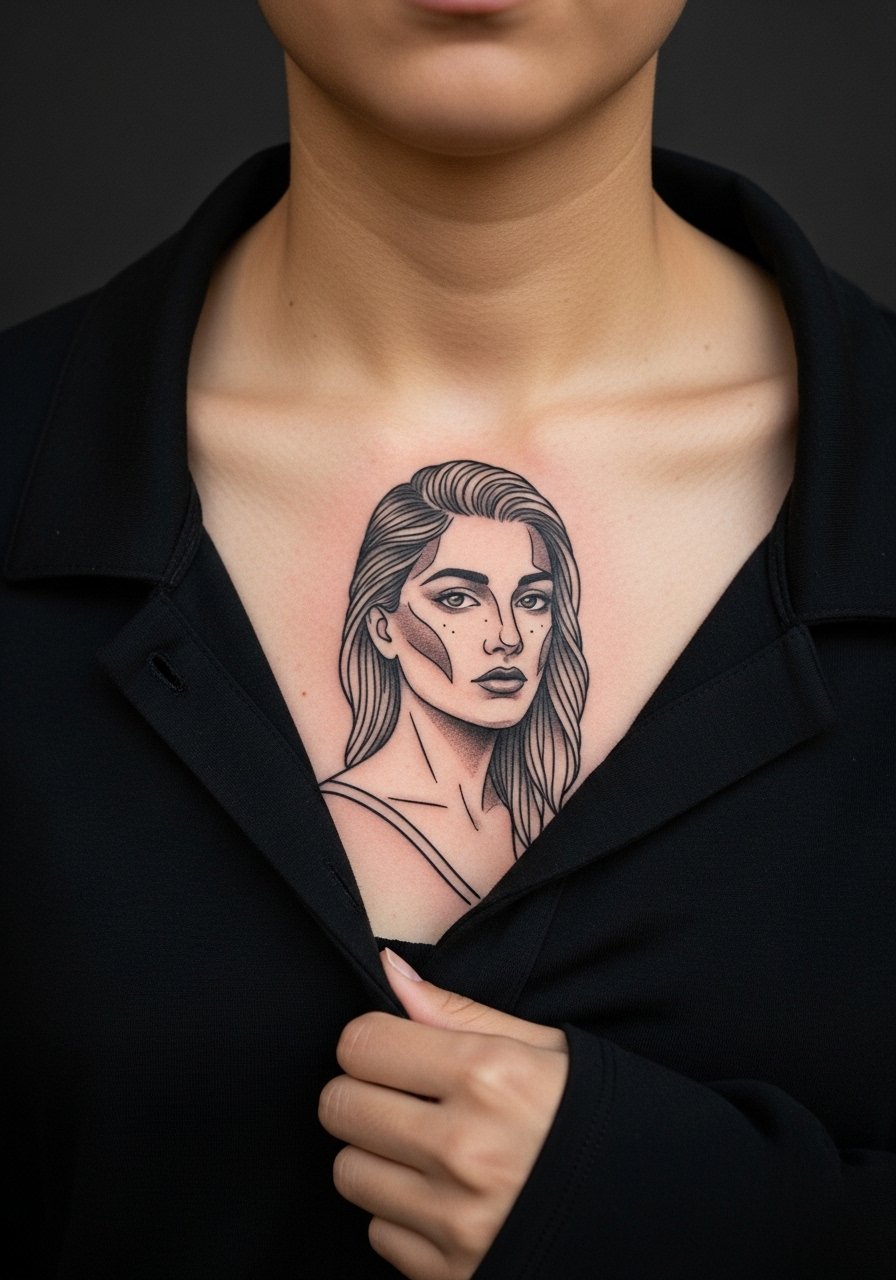
Chest placements carry body movement that affects how portraits age. One camp argues detailed faces on the chest blur too quickly. The other camp says with proper spacing and saturated planes it lasts beautifully. I advise requesting simplified facial planes and slightly larger linework to favor longevity. Expect higher pain near the sternum and a session that could stretch over multiple sittings for larger portraits. For the appointment, a wide-neck shirt you can pull aside makes access straightforward. If you work in a conservative environment think about visibility before booking.
5. Camp Sign on the Ribcage
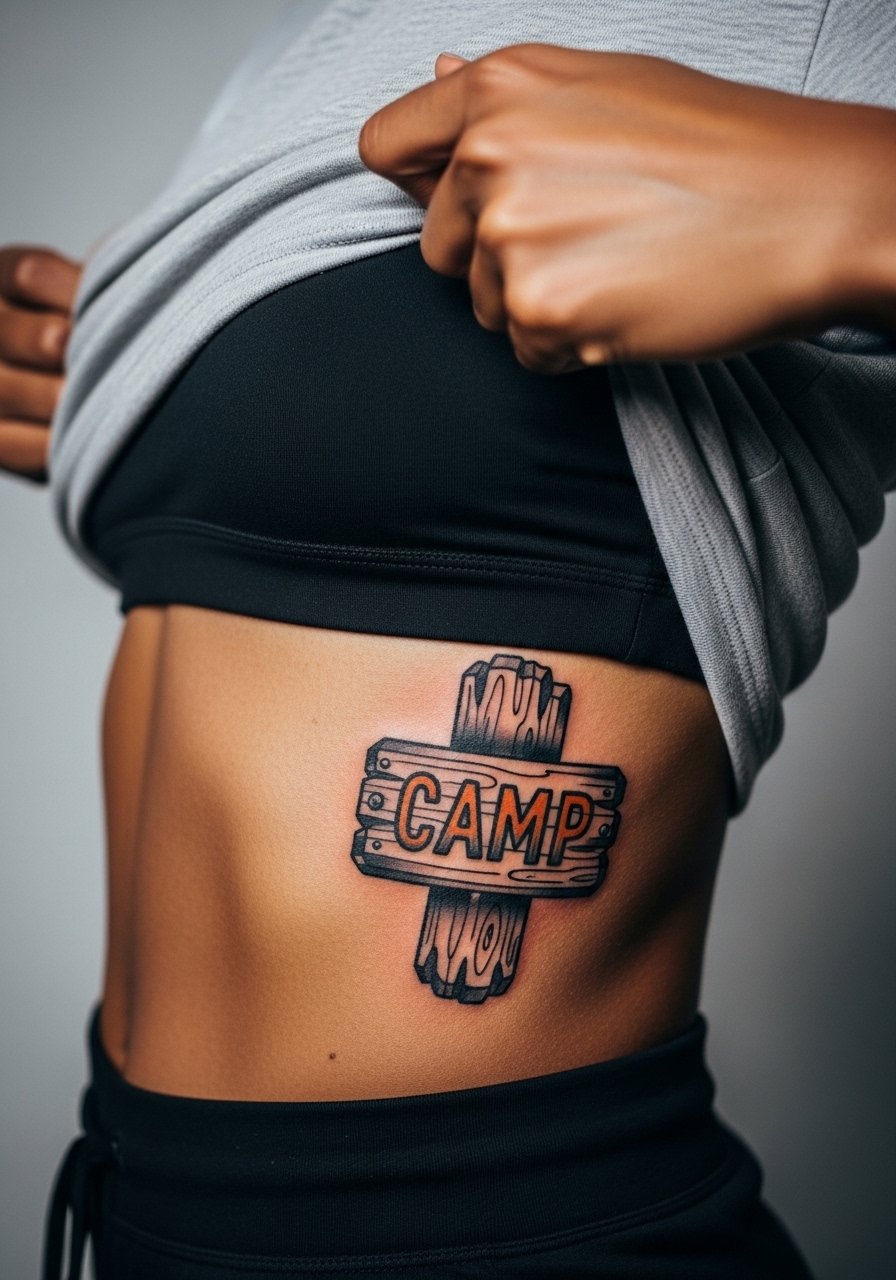
Ribcage detail looks dramatic but is one of the higher-risk placements for blurring. Pain is intense for many people and session times vary depending on how much background shading you want. The usual mistake is over-detailing the wood grain in a small area. Instead, opt for strong silhouette and suggestive grain lines that read at arm's length. Expect touch-ups around year two to restore crispness if you choose a lot of thin interior lines. For the session, wear a cropped top that the artist can lift and lower with minimal fuss.
6. Cracked VHS Tape Wrist Wrap
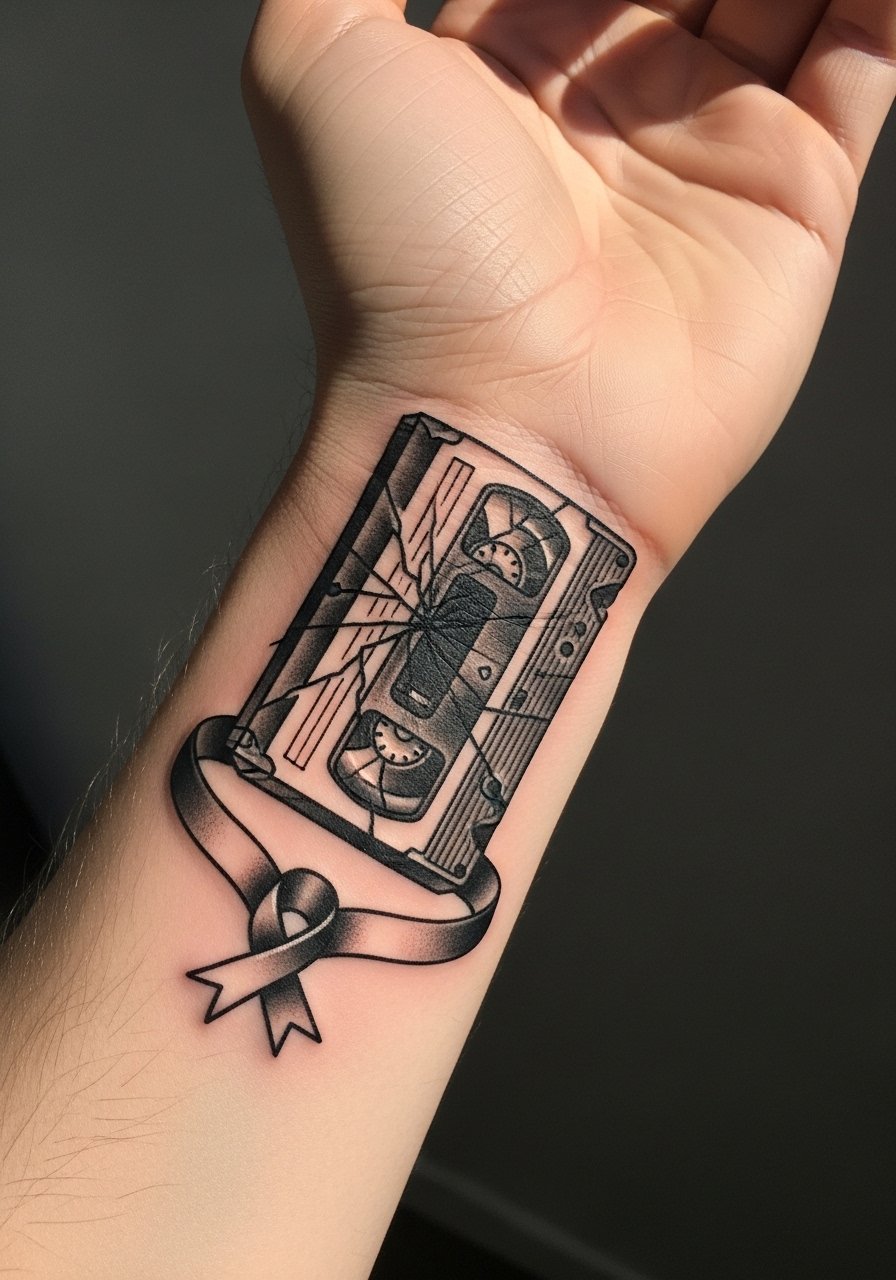
Wrist wraps are showy but subject to friction from watches and sleeves. I recommend a simplified band with strong outer linework and fewer internal cross-hatches so the ribbon reads instead of filling in. Sessions tend to be short, under two hours, but expect more frequent touch-ups on wrist work. A common mistake is requesting tiny text on the tape spine that becomes illegible within a year. Style it with a thin chain bracelet or a minimalist watch that does not sit directly over the ink to avoid constant rubbing.
Pre-Session Essentials
The wrist, forearm, and chest pieces above each present different prep needs, and a few targeted items make the session and the first week easier.
-
Stencil transfer paper kit. Lets you preview line placement on skin, which helps with the forearm cameo and wrist wrap so proportions read the way you expect.
-
Topical numbing cream. Applied before a ribcage or sternum session it can take the edge off sensitivity without interfering with the artist.
-
Thin protective film roll. Useful for wrist and hand pieces that face constant friction from daily activities during the first few days.
-
Fragrance-free body wash. Gentle cleansing for the first week keeps delicate linework from irritation after showering.
-
Aquaphor healing ointment. A thin layer in the immediate days after helps the fine line areas settle without clogging.
7. Cabin in the Pines Back Piece Fragment
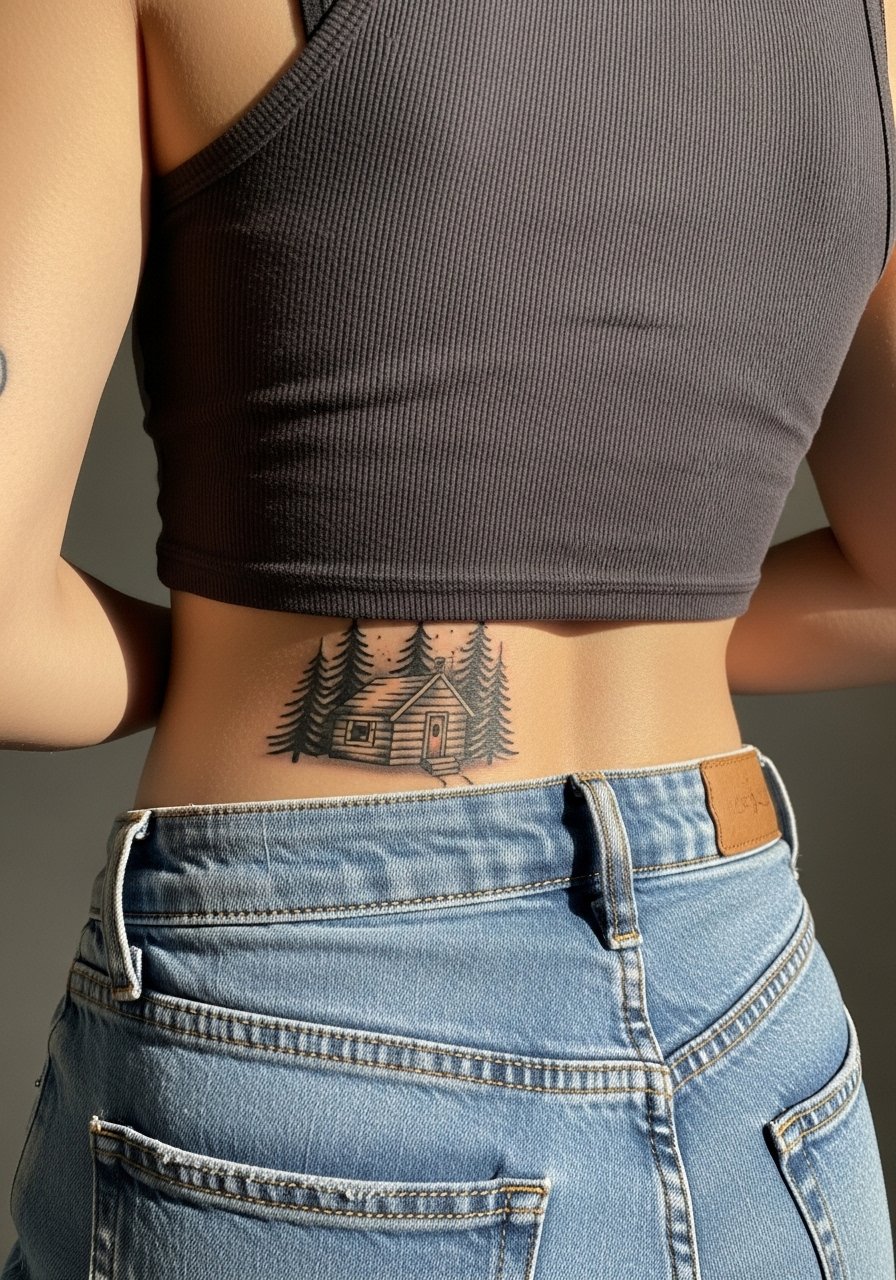
Lower-back fragments work as anchor pieces for later expansion and age well if you keep linework proportionate. This placement is less exposed to sun than arms, so saturation retains longer. Sessions can be short for a small fragment or multiple sittings if you expand to a scene. A frequent error is overcomplicating horizon lines that become muddy when viewed from a distance. Choose broader tree shapes and fewer tiny needles. For showing it off wear mid-rise bottoms and a cropped top to frame the piece without seeming gratuitous.
8. Split Skull with Mask Overlay on the Shoulder Blade
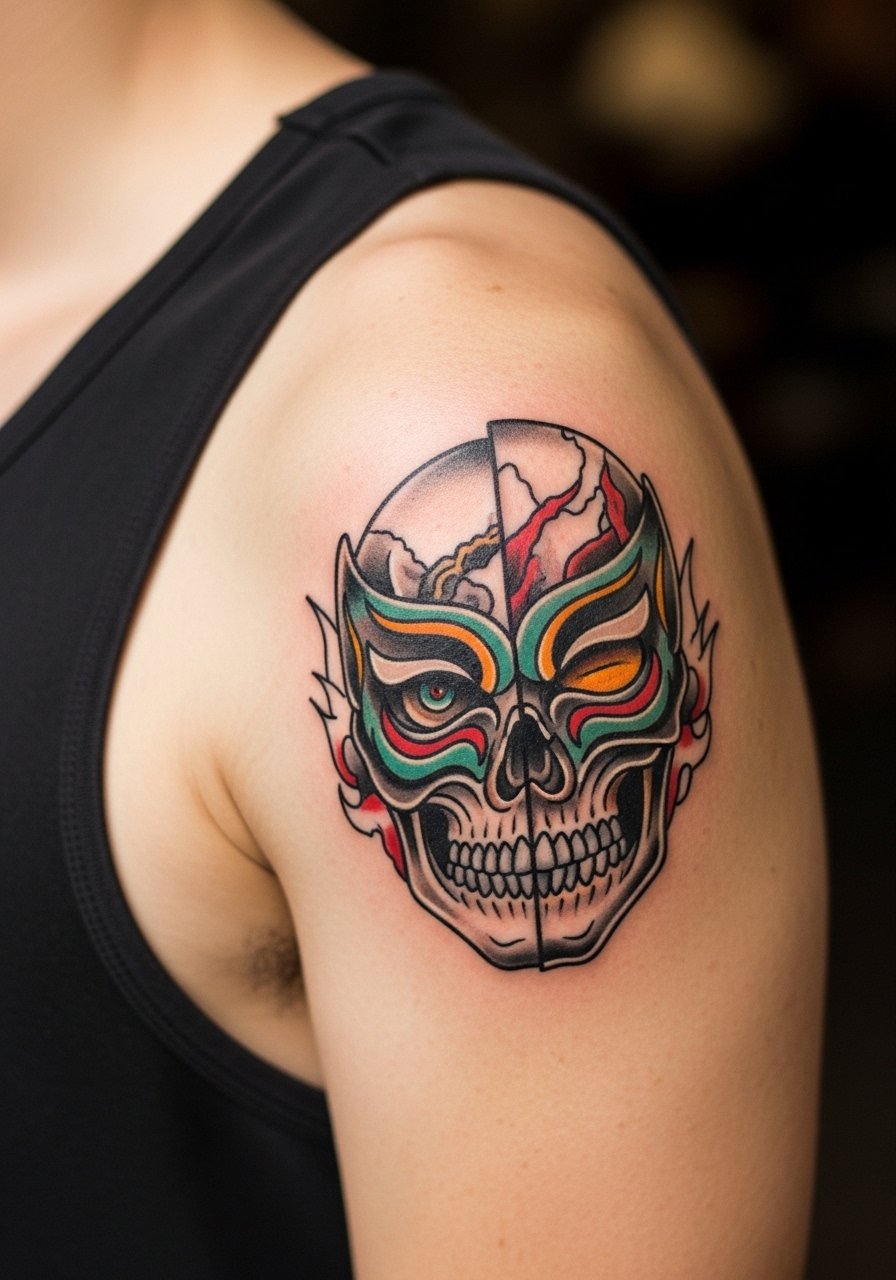
Shoulder blade pieces sit nicely under clothing and allow larger compositions. I tell clients to prioritize strong negative space around the skull to avoid dense patches that age into flat color. The typical mistake is cramming too many small symbols into the background. Sessions are usually one to three hours with manageable pain. For the appointment, a loose tank top that you can slip off on one side keeps things simple for both you and the artist. Plan for a touch-up at year two if you like heavy color fills.
9. Bloody Rose and Machete on the Ankle
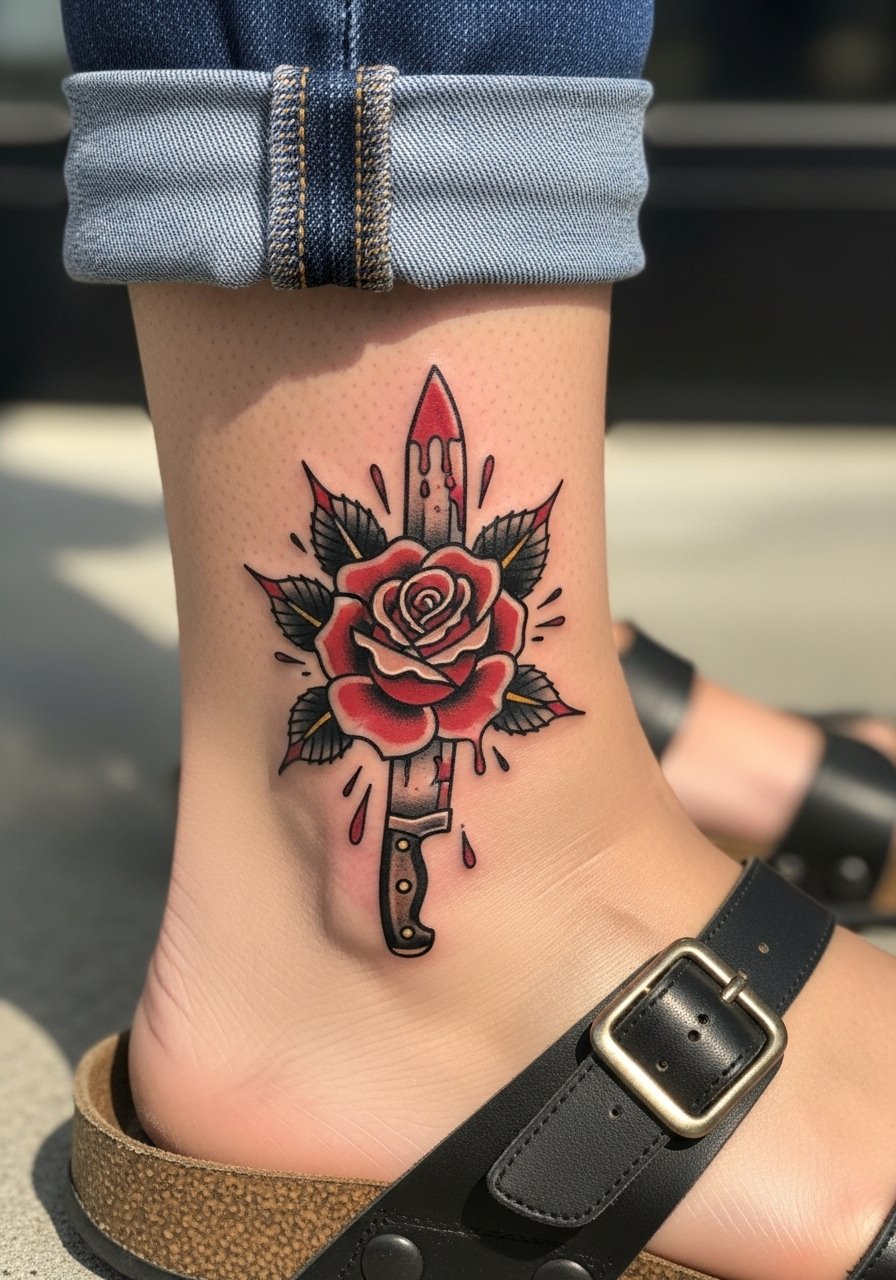
Ankle work sees a lot of rubbing from shoes and socks which affects healing. I recommend avoiding super fine stipple inside petals and instead using blocky color with soft edge shading to resist scuffing. Sessions are short but post-session care must account for footwear friction. A frequent mistake is placing the blade edge toward the shear line of a boot where repeated contact dulls the detail. Show it off with cropped pants or sandals and consider a thin anklet that sits above the tattoo so attention stays on the art.
10. Minimal Cabin Key on the Side of the Hand
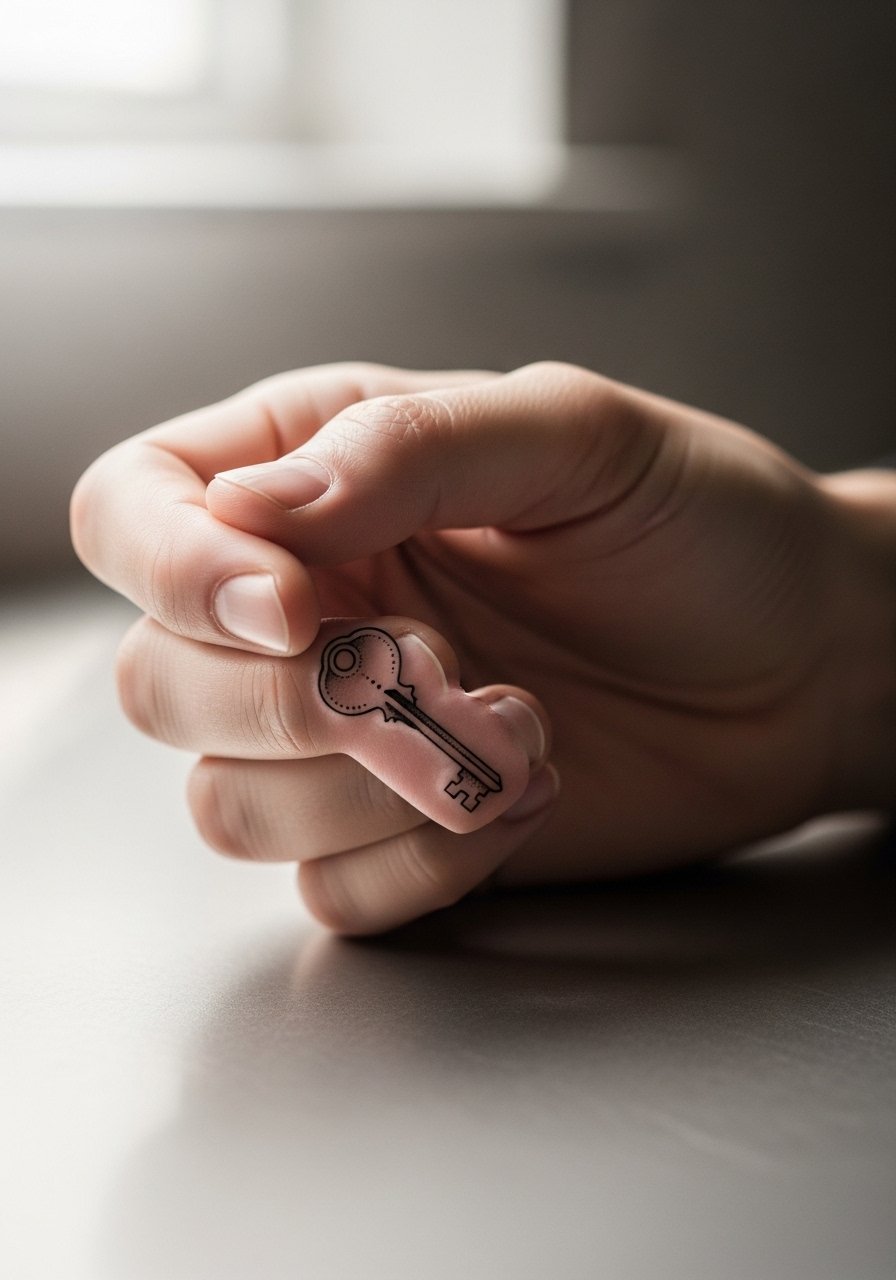
Hand tattoos remain contentious. One camp says visible hand ink hurts career prospects. The other argues visibility is part of the point and they make strong personal statements. If you choose a hand piece, ask for bold external lines and simplified interior detail because hands blur faster than most spots. Pain is higher and touch-ups are more frequent. A common misstep is requesting tiny decorative flourishes that do not survive daily washing and contact. Consider placement closer to the thumb web for less wear or be ready for maintenance if it sits on high-motion areas.
11. Split-Panel Comic Sleeve Starter
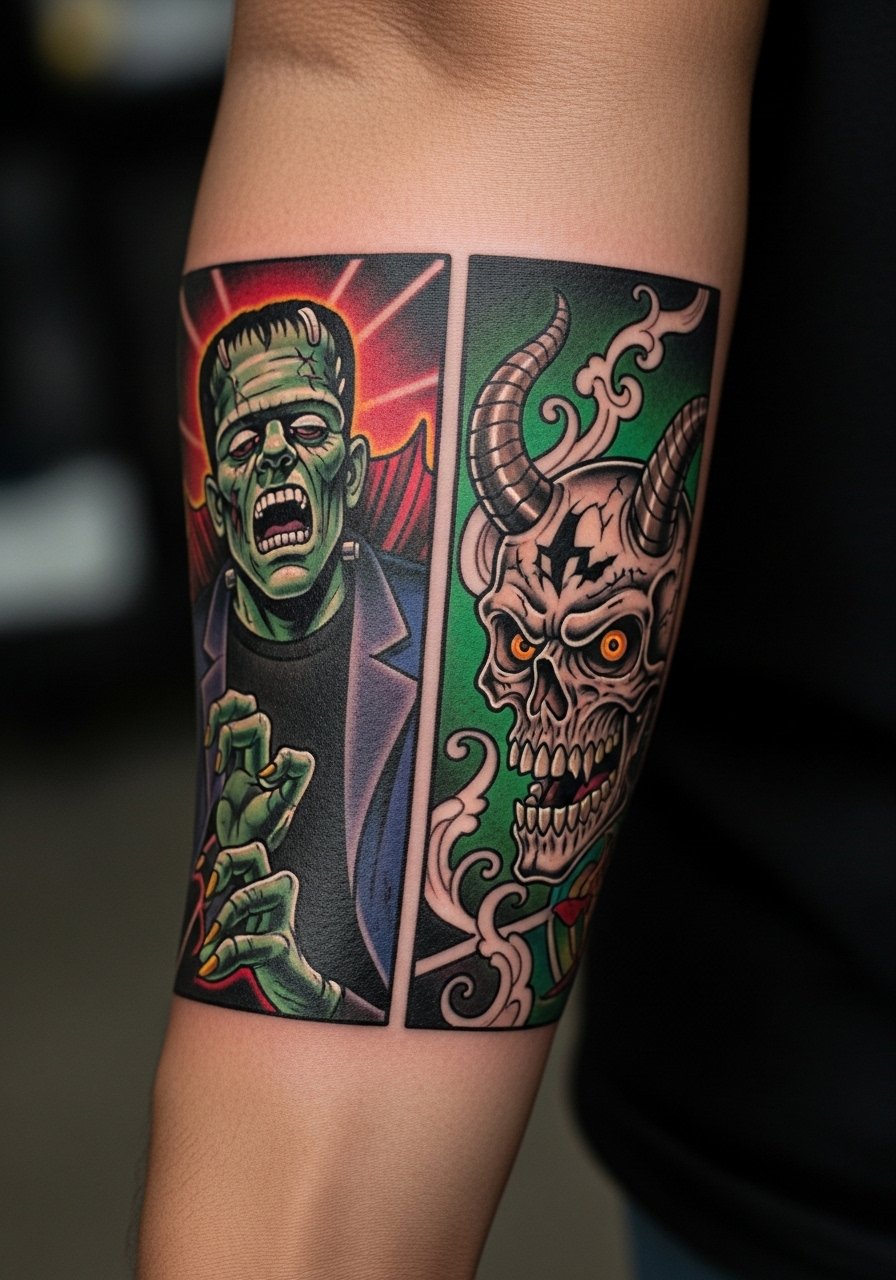
A sleeve built from panels gives you storytelling room and helps staging so details do not clash. I tell people to plan the panel sizes with the artist so faces and masks get room to breathe. Forearm motion helps the art read when you gesture. Sessions are modular and can be spaced across multiple visits. The common error is packing panels too tightly which forces smaller interior details that merge over time. Wear a rolled sleeve linen shirt when showing the work to frame panels without hiding them.
12. Shattered Mirror Fragment on the Collarbone
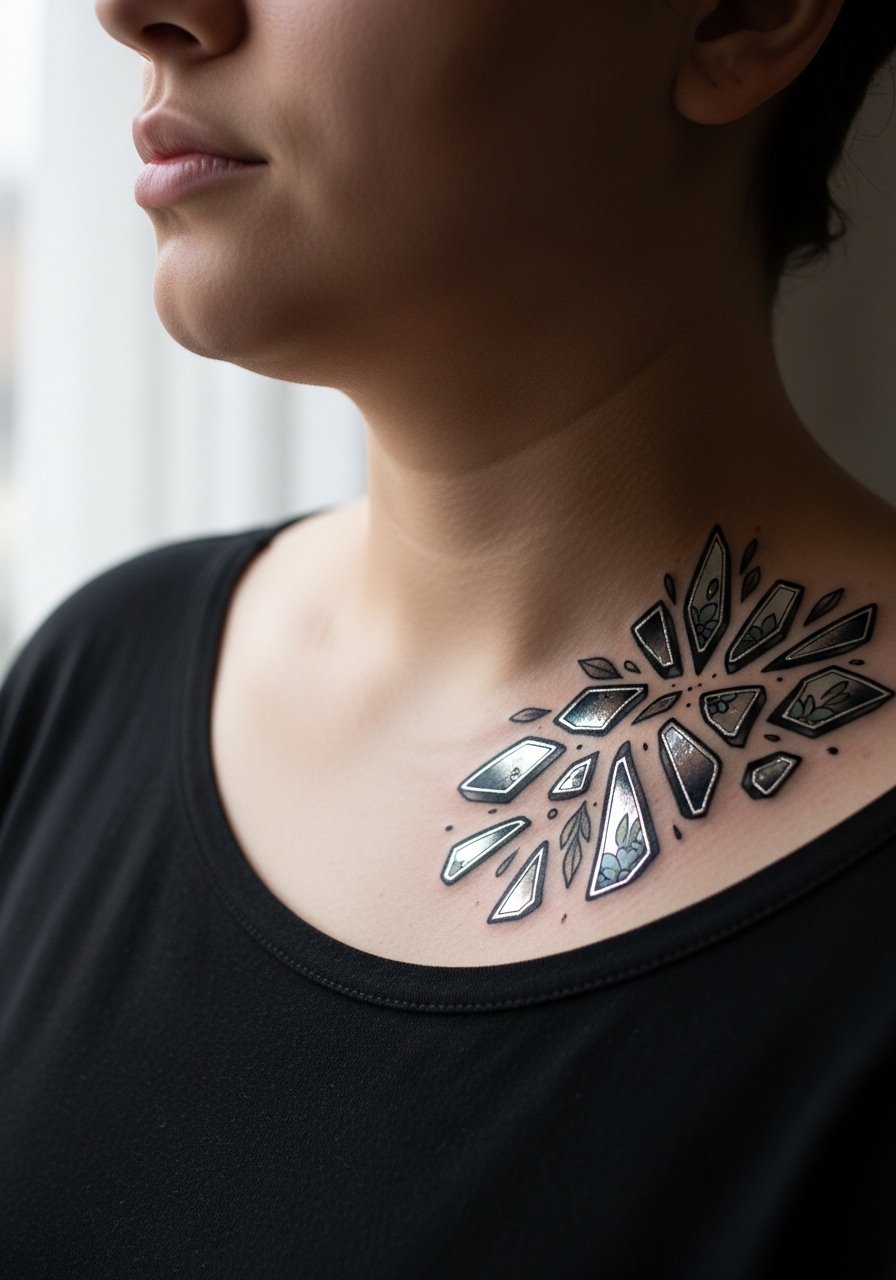
Collarbone sits at an angle that can either flatter or distort detailed geometry. I recommend larger reflecting facets with strong outlines rather than tiny shards that read as clutter. Pain is moderate and the area heals fairly predictably. A mistake I see is asking for heavy stipple inside tiny shards which softens into gray patches. For showing off, pair it with an open-back midi dress or wide-neck tops that reveal just enough without overexposure.
13. Number 13 Roman Numeral Band on the Bicep
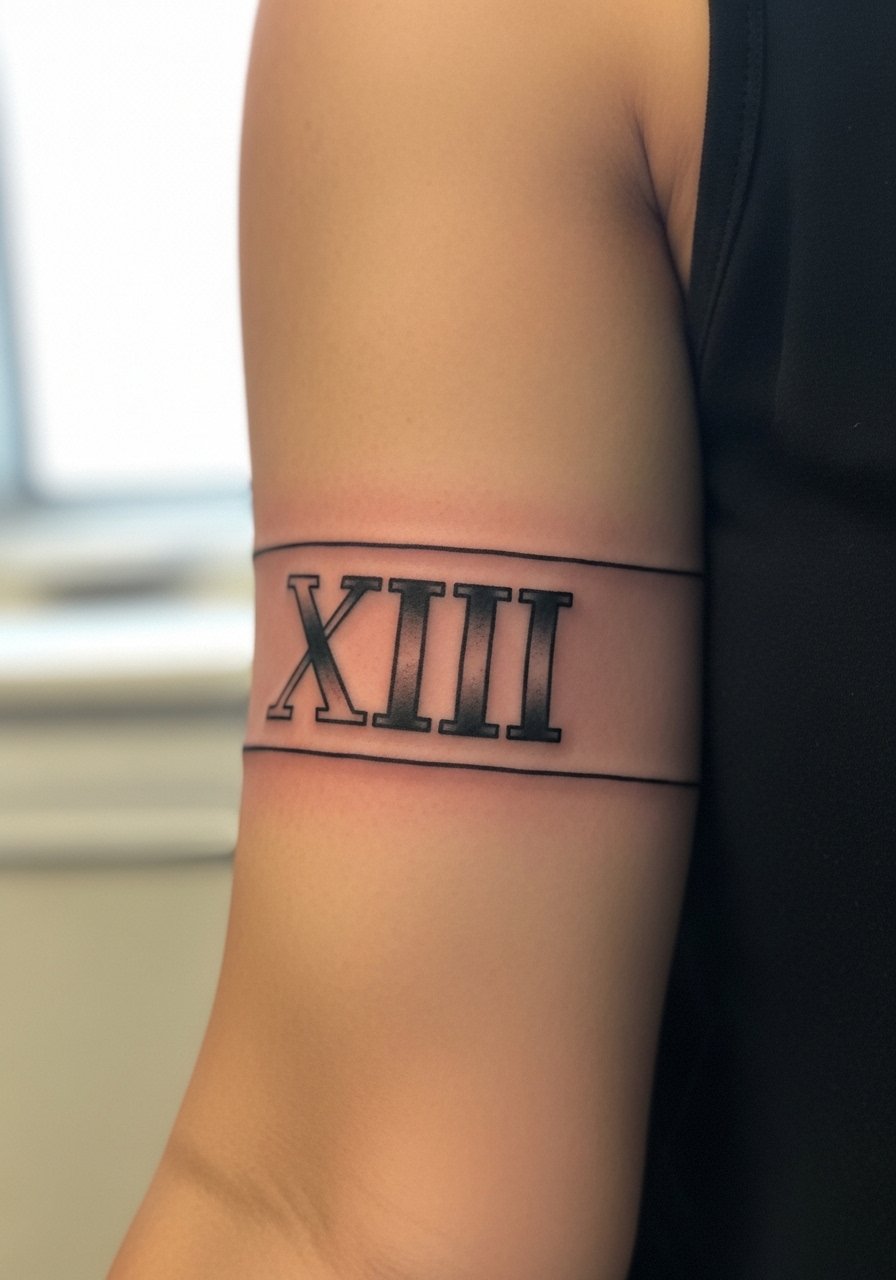
A simple numeral band can be timeless when done with careful spacing. I suggest slightly heavier linework for numerals and a clean negative gap between numbers so the band does not read as one dark stripe over time. Sessions are quick and pain is mild. Common mistakes are using tiny serif details that fill in. On the bicep you can show it with rolled sleeves or short-sleeve shirts. Ask your artist about touch-up cadence for dark bands after two to three years to keep edges sharp.
14. Lantern and Fog Thigh Panel
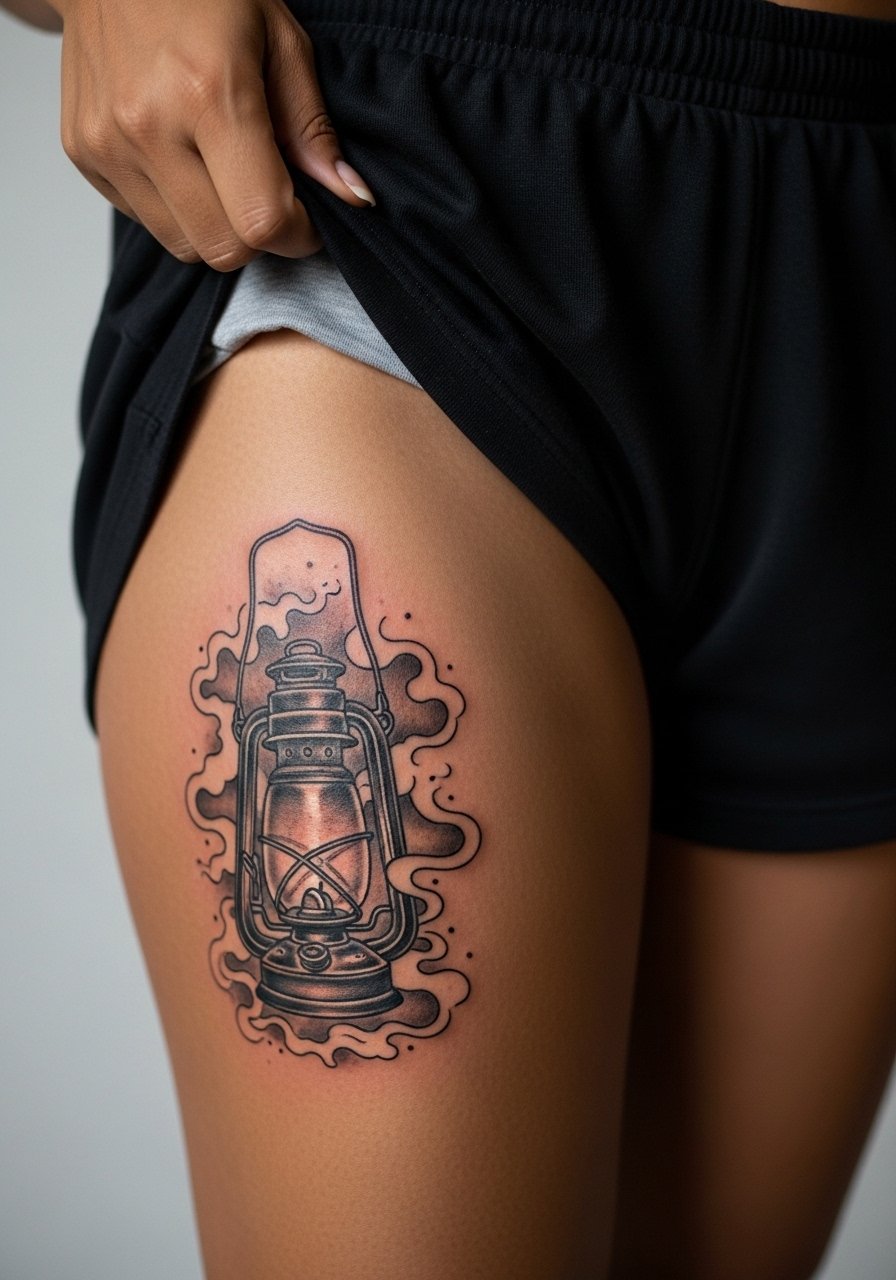
Upper-thigh panels tolerate heavy saturation and larger compositions because they see less daily abrasion. Pain is moderate and sessions can be long for full scenes. A common mistake is over-detailing tiny fog texture in tight areas which becomes muddy across healing. For the session, wear loose shorts or a wrap so the artist can work without skin pulling. This placement is discreet and ages slowly if you avoid sun exposure during the first year.
15. Split-Mask Neck Accent
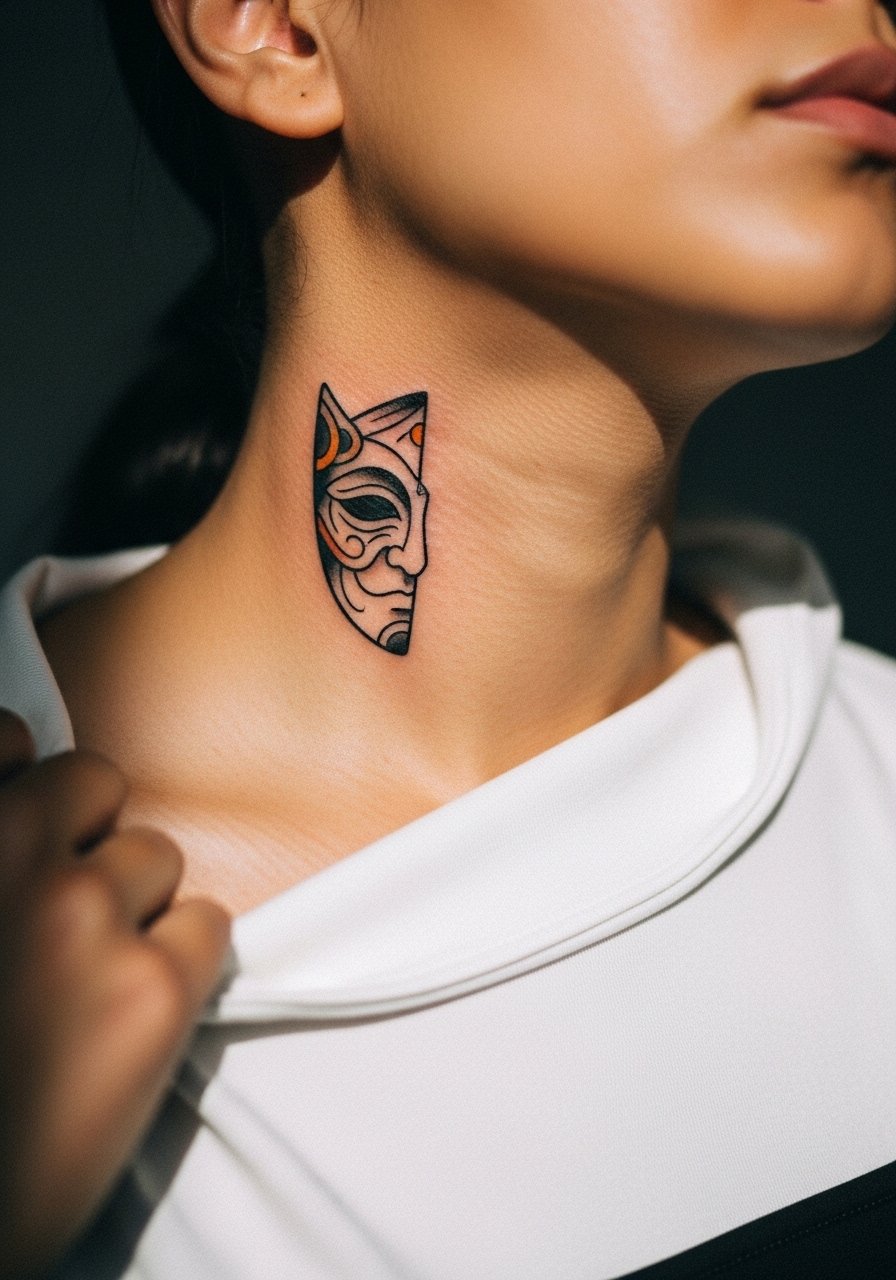
Neck work is high-visibility and some artists won't do it for beginners. Pain is sharp and healing requires cautious aftercare. One camp worries about social consequences of visible neck ink. The other camp sees neck pieces as powerful personal statements. If you go for it, ask for a simplified motif with bold outlines and minimal interior detail to avoid blurring. Sessions are short but expect frequent touch-ups. For showing off, pair with a thin chain pendant necklace that sits above the piece without crowding it.
16. Gloved Hand Holding a Flower on the Inner Bicep
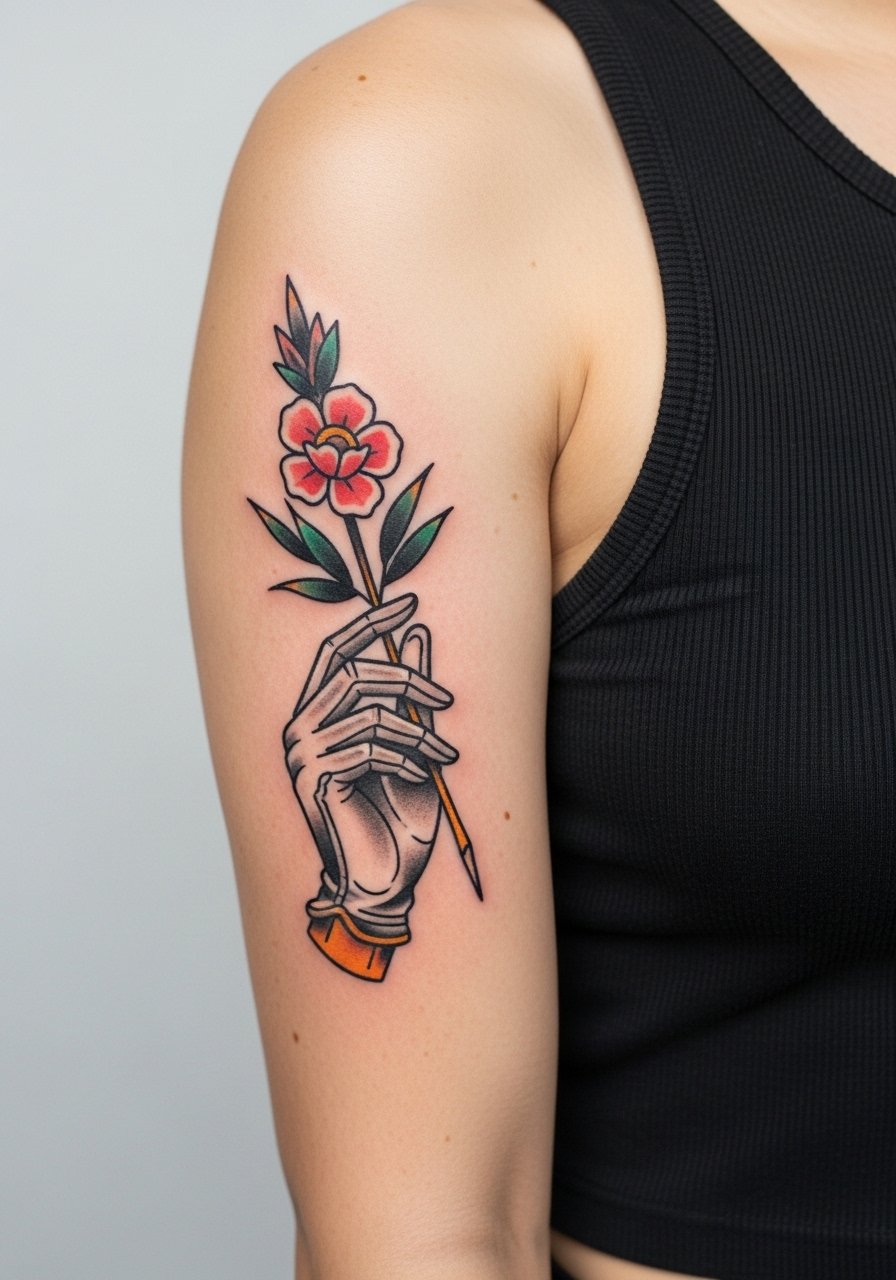
The inner bicep is soft skin that can cause blowout if the machine depth is inconsistent. I recommend asking your artist about needle depth and touch-up plans. The area feels tender and sessions may be interrupted more often for comfort. Popular mistakes are insisting on ultra-fine cross-hatch filling which migrates into a gray block. Plan for a touch-up at year two and expect the image to soften slightly. For the appointment, wear a sleeveless top you can lift without straining.
17. VHS Ribbon Tombstone on the Calf Wrap
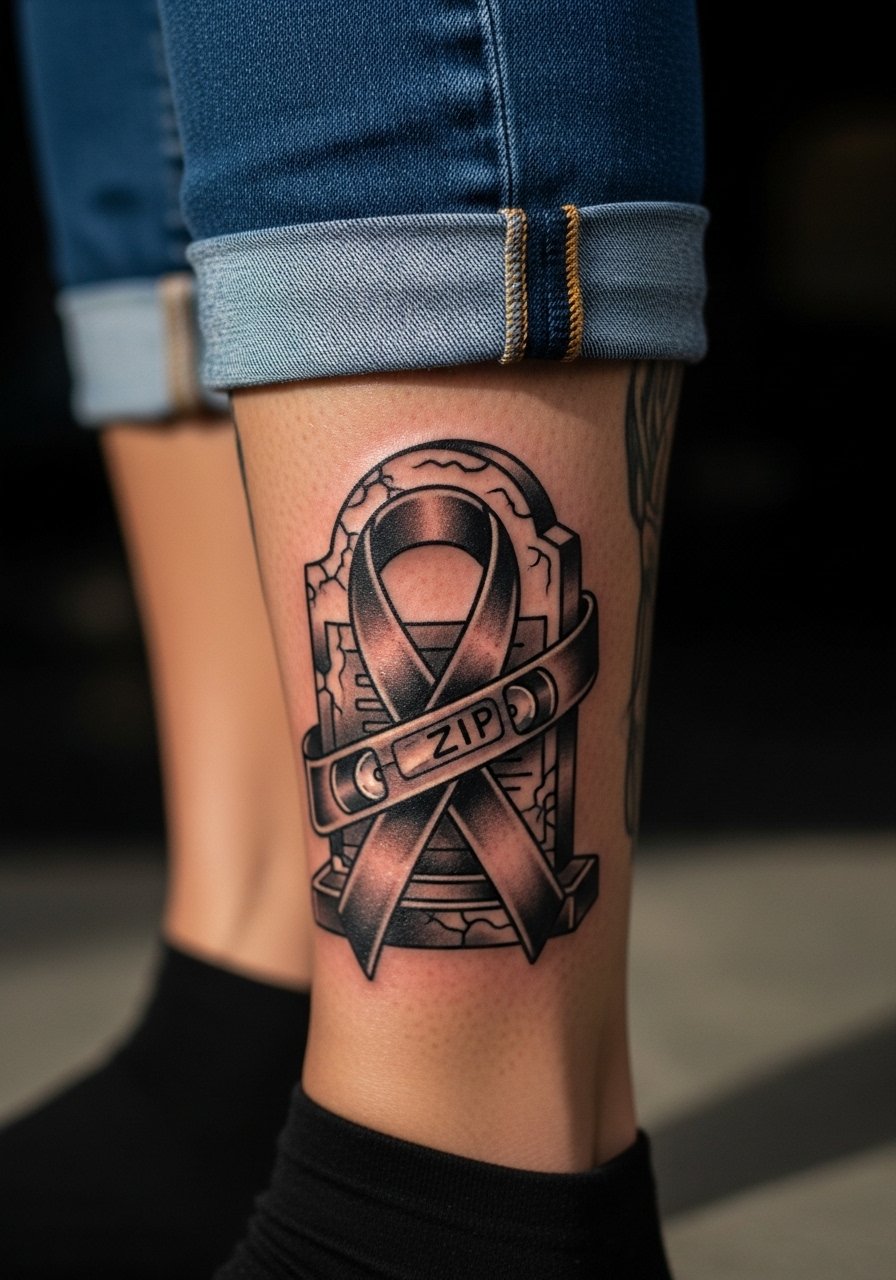
Calf wraps let you play with motion and negative space and they age well away from constant sun. Ask for clear spacing between ribbon turns and avoid tiny text on the ribbon that will blur. Sessions can be segmented to avoid long continuous sittings. A common error is too many small decorative marks in the wrap; keep the main silhouette dominant. Pair this with cropped trousers or boots to show the wrap on rotation.
Frequently Asked Questions
Q: How long will bold neo traditional color hold up on the calf and upper arm?
A: From what I have seen, saturated color on the calf and upper arm tends to keep depth longer than hands or wrists. Expect five to ten years of strong saturation before major fading if you limit sun exposure and use sunscreen. Touch-ups are normal at year two to three for high-contrast edges.
Q: Are chest and ribcage portraits riskier than arm portraits for longevity?
A: Yes, chest and ribs move with breathing and skin stretch so fine facial detail needs larger scale and stronger outlines to last. One camp says detailed chest portraits blur faster. The other camp argues careful spacing and saturation solve that. Ask your artist how they handle placement-specific spacing during consultation.
Q: Will hand and wrist tattoos affect job prospects?
A: Hand and wrist tattoos are visible and some workplaces still react conservatively. If career flexibility matters, consider placements that are easy to cover with sleeves. If visibility is part of your identity, choose bold, simplified motifs that survive frequent washing and contact.
Q: How often do neo traditional pieces need touch-ups compared with traditional blackwork?
A: Neo traditional pieces with color generally need touch-ups more often than dense blackwork because pigments fade differently. Black outlines can hold shape longer while fills soften. Plan for a potential color refresh every few years depending on placement and sun exposure.
Q: What should I wear to a sternum or ribs session to make the appointment smoother?
A: Wear a fitted sports bra or a wide-neck shirt you can pull aside easily so the artist only exposes the tattoo zone. That makes setup faster and keeps you comfortable. A zip-up hoodie you can remove comfortably is another practical option if you prefer more coverage between passes.