
Fine line hand tattoos look fragile and precise in photos, but the reality at year two is different for many people. Fingers and the back of the hand take constant wash, sun, and friction, and that combination eats into micro realism faster than most expect. Pain, touch-up needs, and visible fading are the three practical trade-offs to plan for before you book. Read on for hand-specific micro realism ideas and how to make each one hold up.
1. Tiny Micro Portrait on Side of Finger
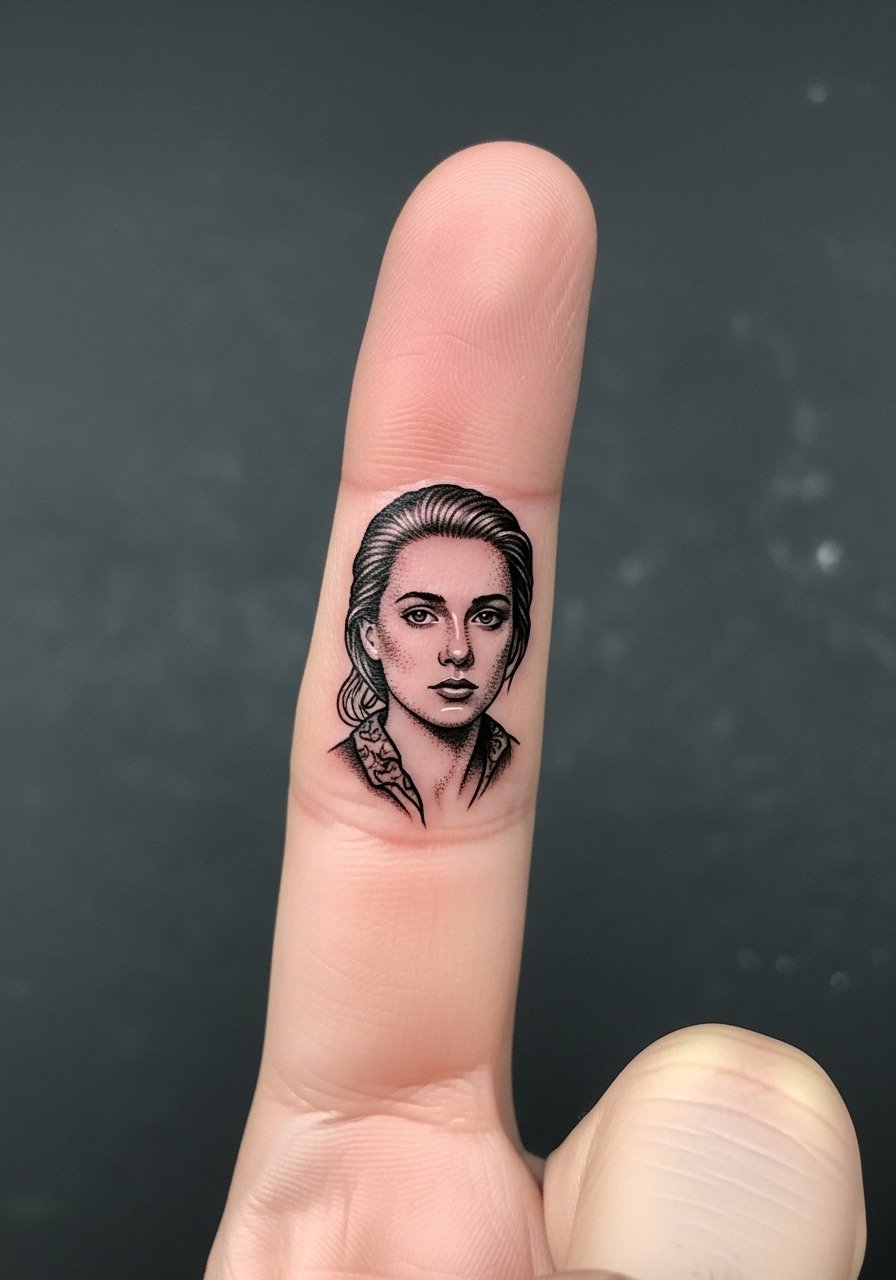
A tiny portrait on the side of a finger reads like a private charm. Fair warning, fingers rank high on the sensitivity scale and the needle sits close to bone, so expect a short but sharp session. Bring clear reference photos that show contrast and high-resolution facial detail so the artist can simplify values without crowding the composition. The common mistake is asking for too much detail in too small a space. That creates early blurring and forces a touch-up sooner than you want. I usually tell clients to plan a touch-up around year two for finger micro realism. For the appointment wear a racerback tank you can roll up easily so the artist has clear access.
2. Micro Realism Botanical on the Back of Hand
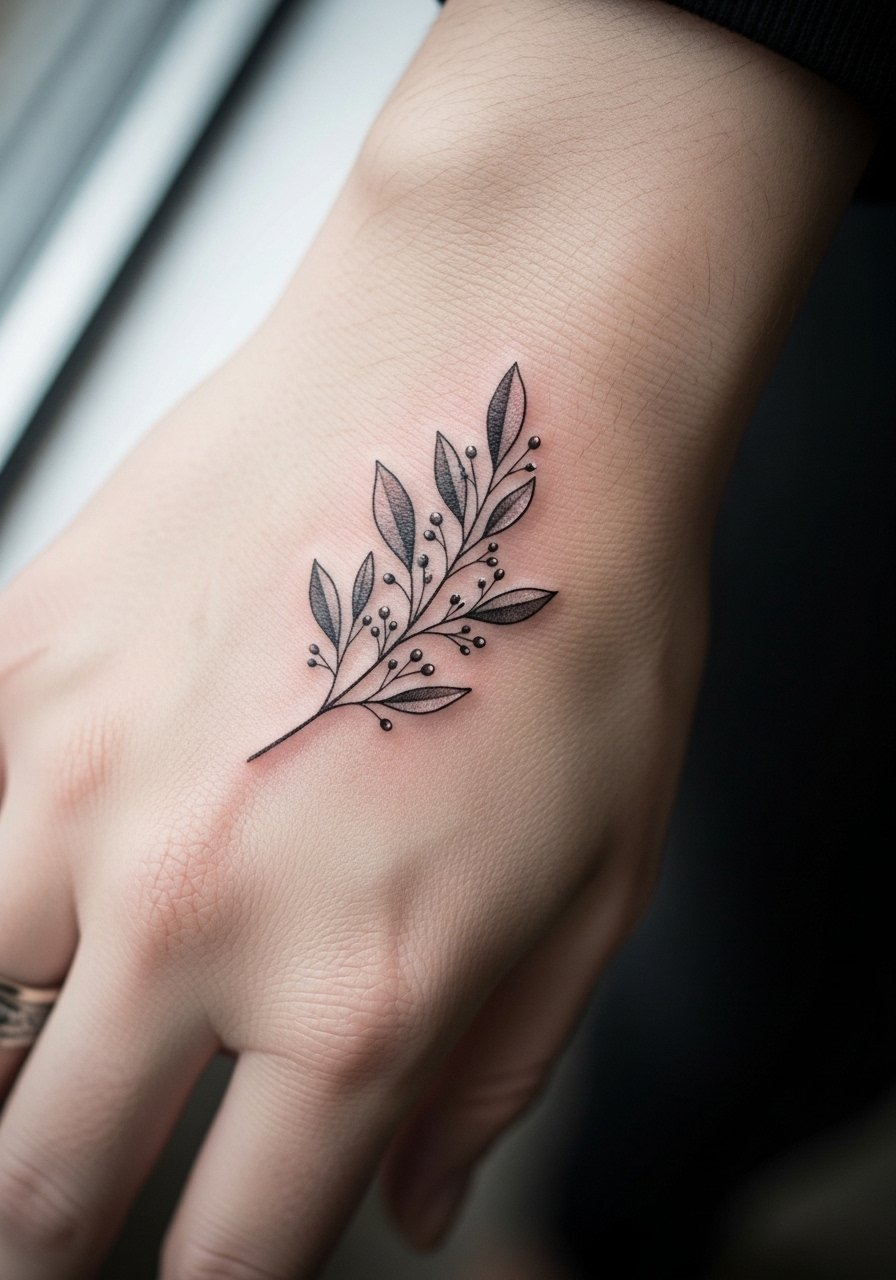
The back of the hand is a bold spot for micro realism because it is visible every day. Pain is moderate and the skin there is thin with lots of movement, so the risk of blowout and early fade is real. Ask your artist to use slightly bolder spacing between critical lines and to focus on contrast rather than tiny midtone detail. A common aging pattern is the midtones softening into a gray haze by year three. For showing it off, stacked dainty bracelets work well. Try pairing with stacked dainty bracelets and a low-profile minimalist watch so the tattoo keeps the attention without getting crowded.
3. Micro Realism Palm-Side Script Accent
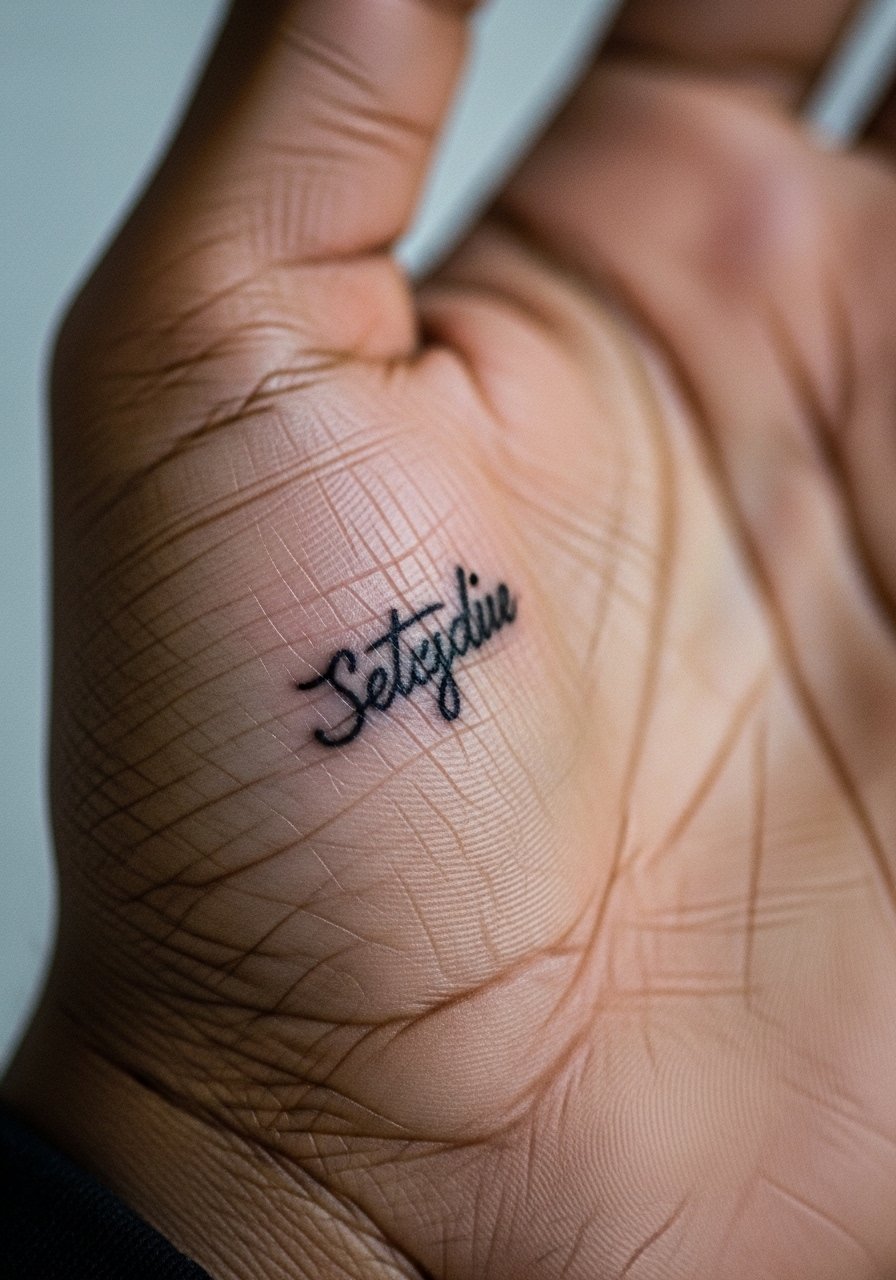
Palm-side micro realism is rare because the palm skin regenerates rapidly and ink loses saturation quickly. If you choose this, expect frequent touch-ups and a higher chance of patchy healing. The practical angle is using the palm accent as a temporary, personal piece rather than a lifetime mainstay. During consultation, ask the artist about multi-pass sessions and realistic longevity expectations. A common mistake is insisting on tiny script that becomes unreadable after a few months. For session wear, bring a shirt you can easily wash if the area needs extra care. Also remember that palm work can affect day-to-day tasks during the first week.
4. Webbing Dot Work Micro Realism Between Thumb and Index
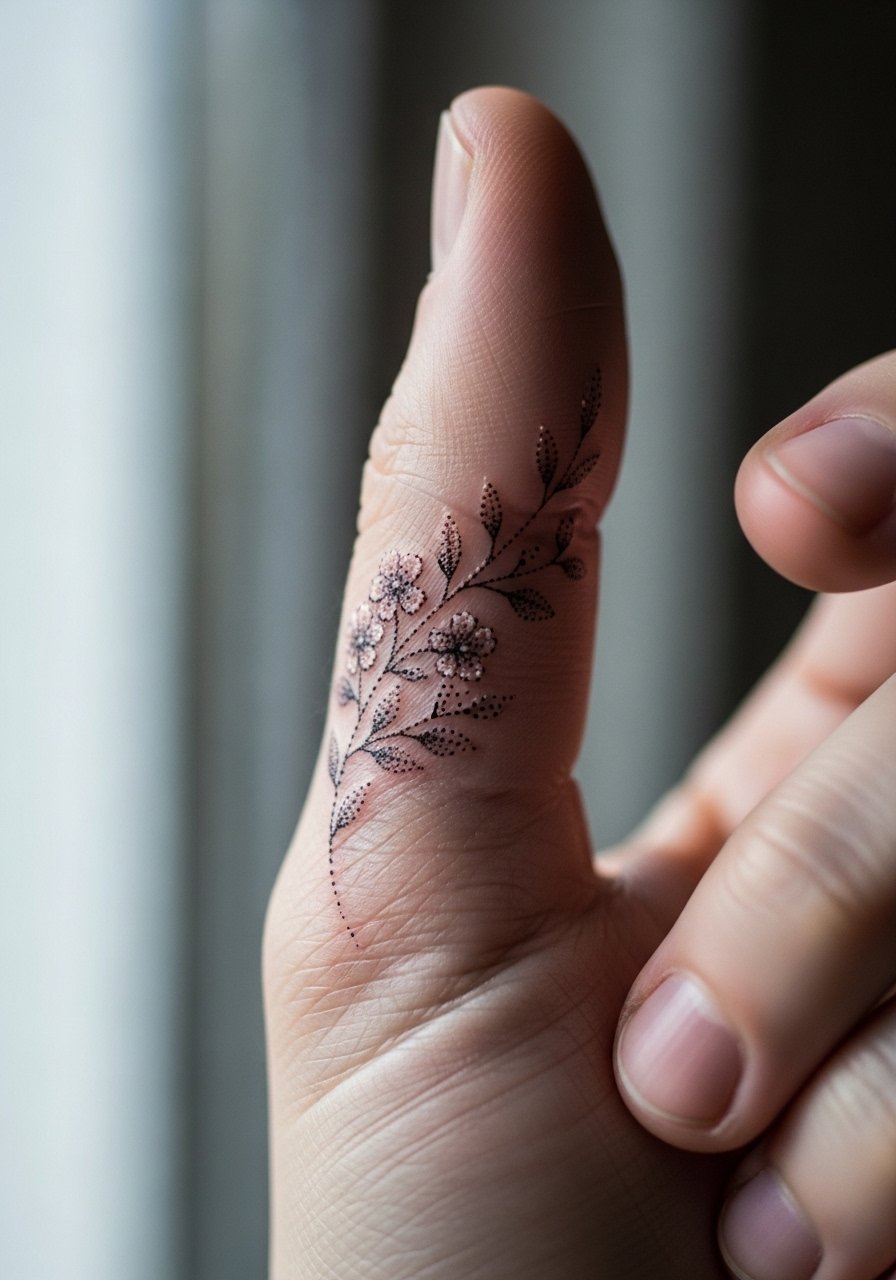
The webbing between thumb and index is a small canvas that holds micro realism surprisingly well when the design breathes. Pain is high because of thin skin and constant movement makes the first week challenging. Tell your artist to prioritize negative space and stipple shading instead of dense midtone fills. Look for a piece that reads as texture rather than a miniature painting. A real mistake is compressing too many values into a two-centimeter area. For the session, wear a loose button-down shirt you can pull aside to keep the arm stable and accessible.
5. Micro Skull on Knuckle Row
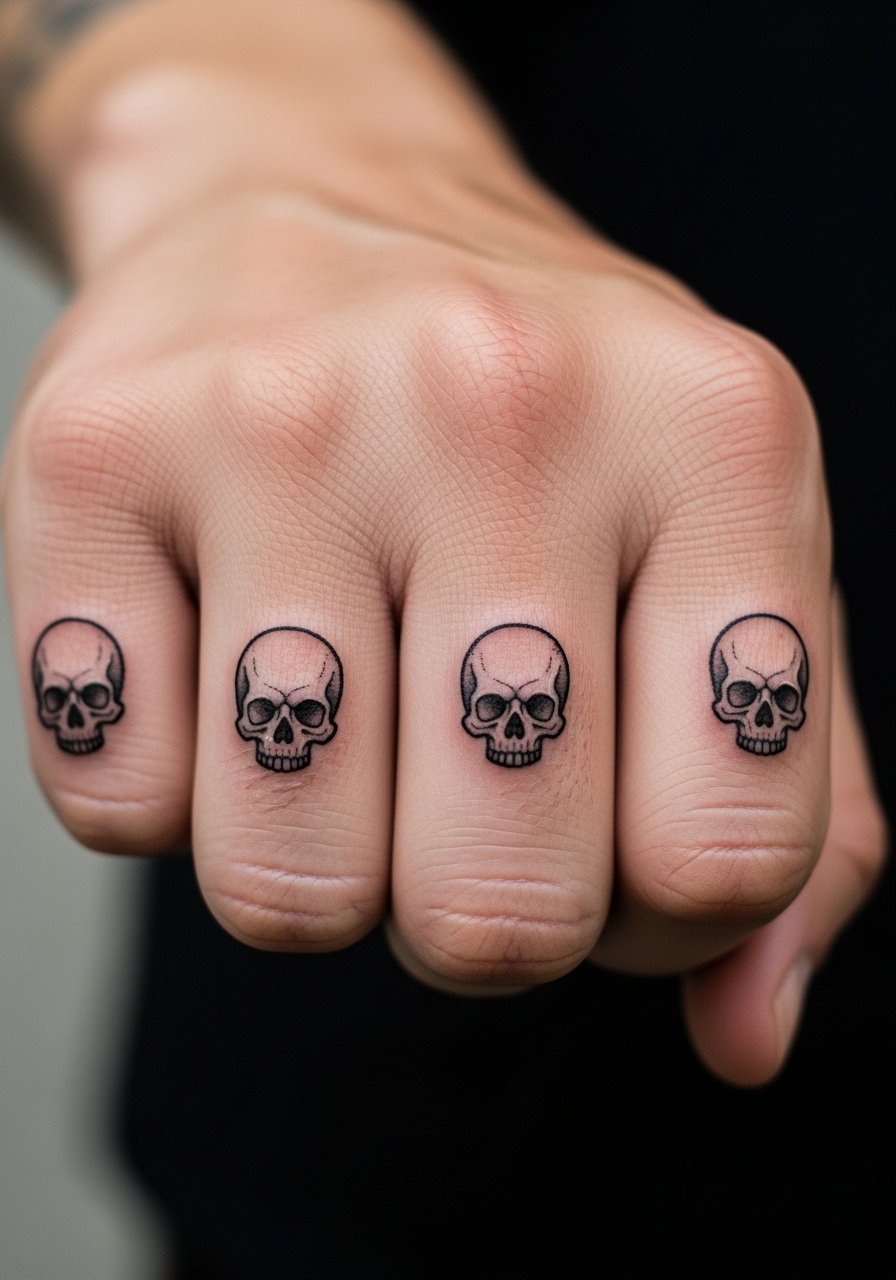
Knuckle micro realism looks tough but ages aggressively because knuckles move, stretch, and get regular friction from gloves and pockets. The biggest mistake is stacking too many tiny elements across the knuckle line so they blur into a band. I advise clients to space each knuckle motif with room to breathe and to accept annual touch-ups as normal. During the session you will feel sharper needle work with short breaks between knuckles. Career considerations matter for some people because knuckle tattoos are highly visible, so think about that before committing.
6. Micro Realism Mini Landscape on Thumb Side
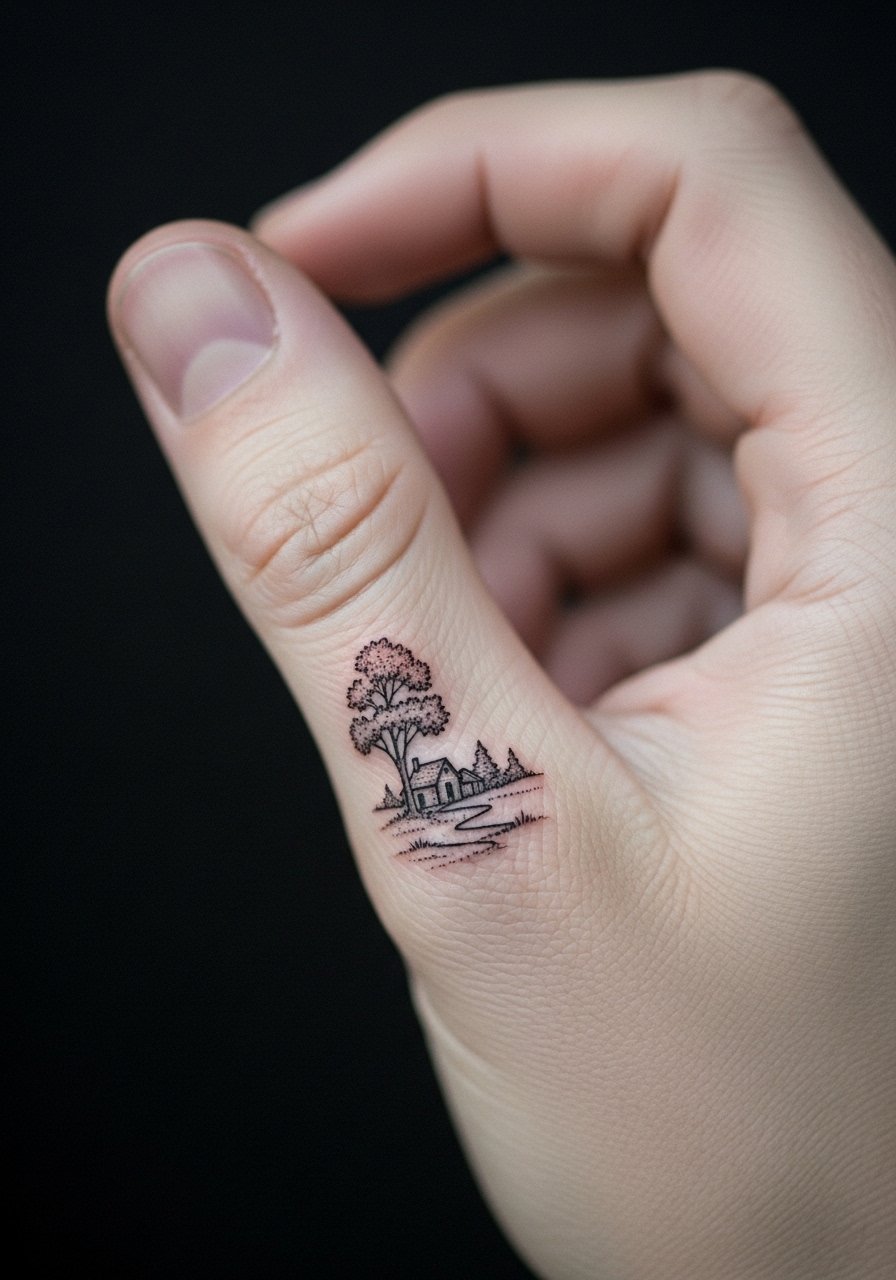
A tiny landscape near the thumb gives a narrative spot that still reads as subtle. The thumb area is mobile and tends to rub against surfaces a lot, which speeds fading. In consultation ask for simplified horizon lines and high-contrast focal points so the main shapes remain clear over time. Expect a 30 to 45 minute session for a well-composed micro landscape and plan for a touch-up in the second year. For showing it off, wear a low-profile minimalist ring set that frames the thumb without covering the art.
Before You Book
The finger and back-of-hand pieces above face constant friction and sun, so a few small items smooth the session and the crucial first week of healing.
-
Stencil transfer paper kit. Lets you preview exact placement on fingers and the back of the hand, which is helpful when small shifts change the composition.
-
Topical numbing cream. Applied according to the product directions takes the edge off sensitive webbing and knuckle sessions without interfering with linework.
-
Thin protective film roll. Helps shield thumb-side and palm-adjacent tattoos from excess friction during the first few days.
-
Fragrance-free gentle body wash. Cleans the healing hand area without stripping inks that fine micro realism depends on.
-
Aquaphor healing ointment. Thin application in the first 48 hours helps keep fine line channels moist without suffocating the skin.
7. Micro Realism Tiny Inset on the Side of Palm
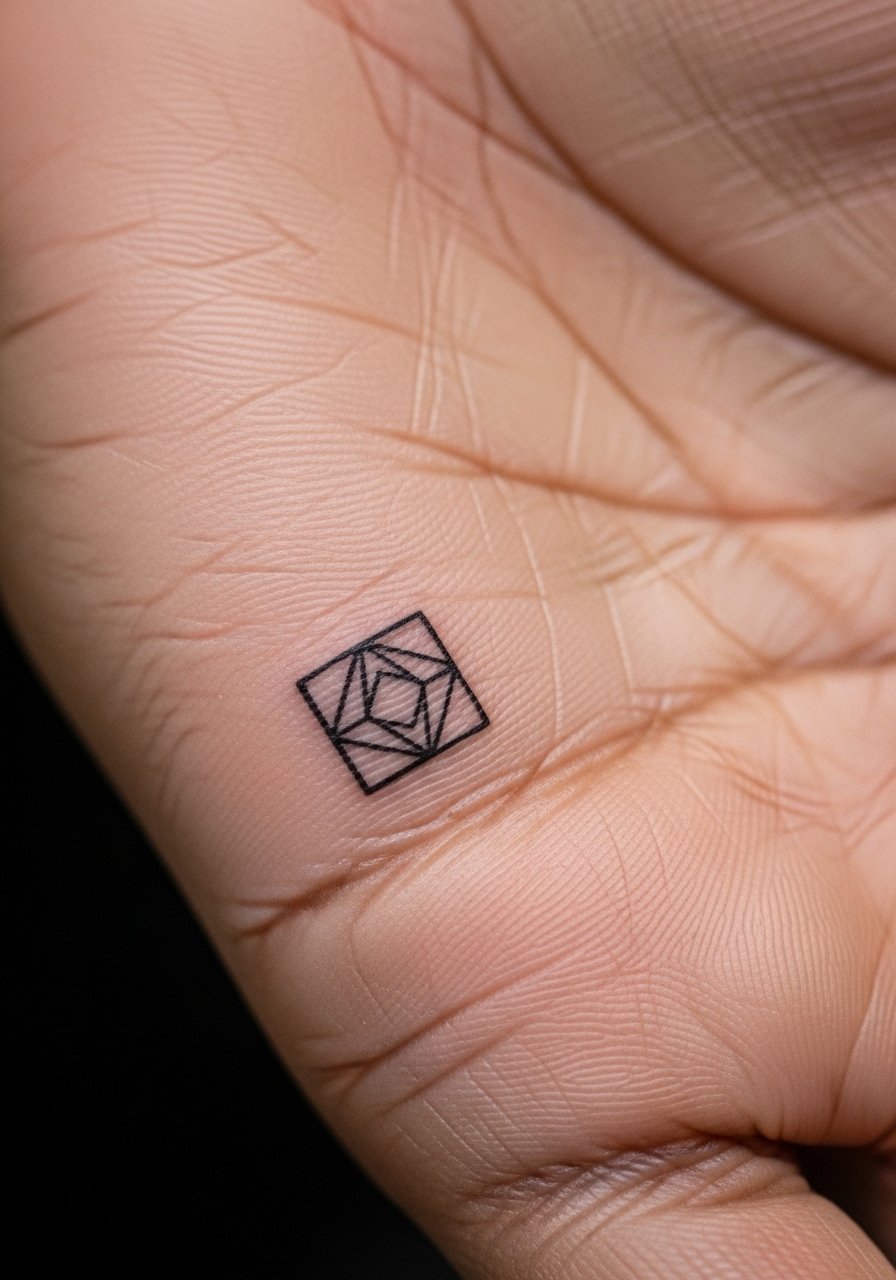
A tiny inset on the palm side near the base of the little finger feels private and deliberate. Healing here can be uneven because the skin flexes and meets surfaces throughout the day. During consultation ask your artist how they handle touch-ups for friction zones so you can plan follow-ups without surprises. A common aging pattern is partial loss of fine details within a year. For the session, wear clothing you can easily launder since the hand area may need extra cleaning. Pair the finished piece with a thin chain bracelet that complements rather than competes with the tiny design.
8. Micro Realism Single-Finger Line Portrait
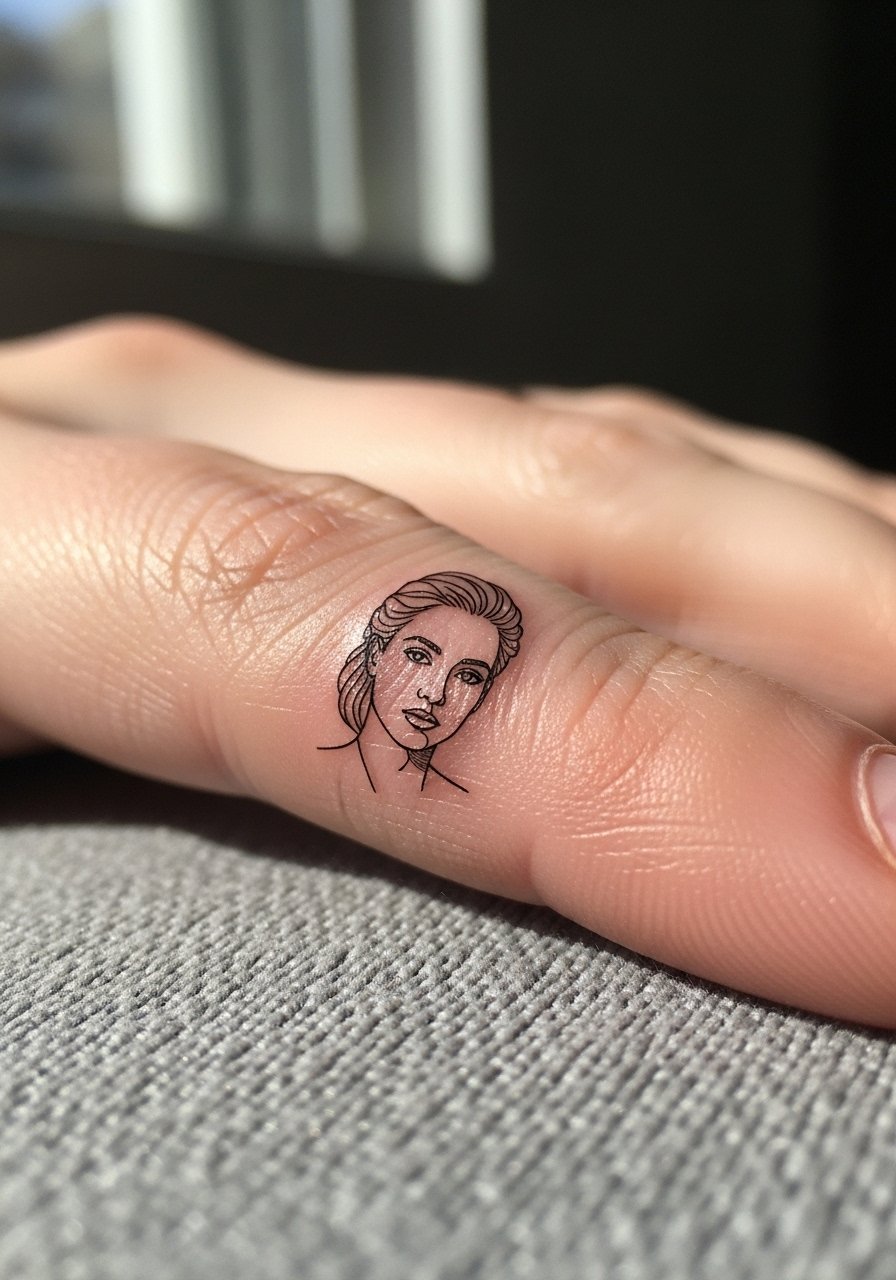
A single-finger line portrait reads as a crisp personal mark when the artist embraces simplicity. The key consultation note is to ask for bold primary contours and limited midtones so the portrait holds as the skin moves. Overworking the midrange is the fastest path to loss of definition. The session will be quick but focused on steady hand placement to avoid blowout. I tell clients to expect initial clarity followed by a softening phase at around 18 months, when a short touch-up brings the contours back.
9. Micro Realism Chain-Link Bracelet Motif Around Wrist
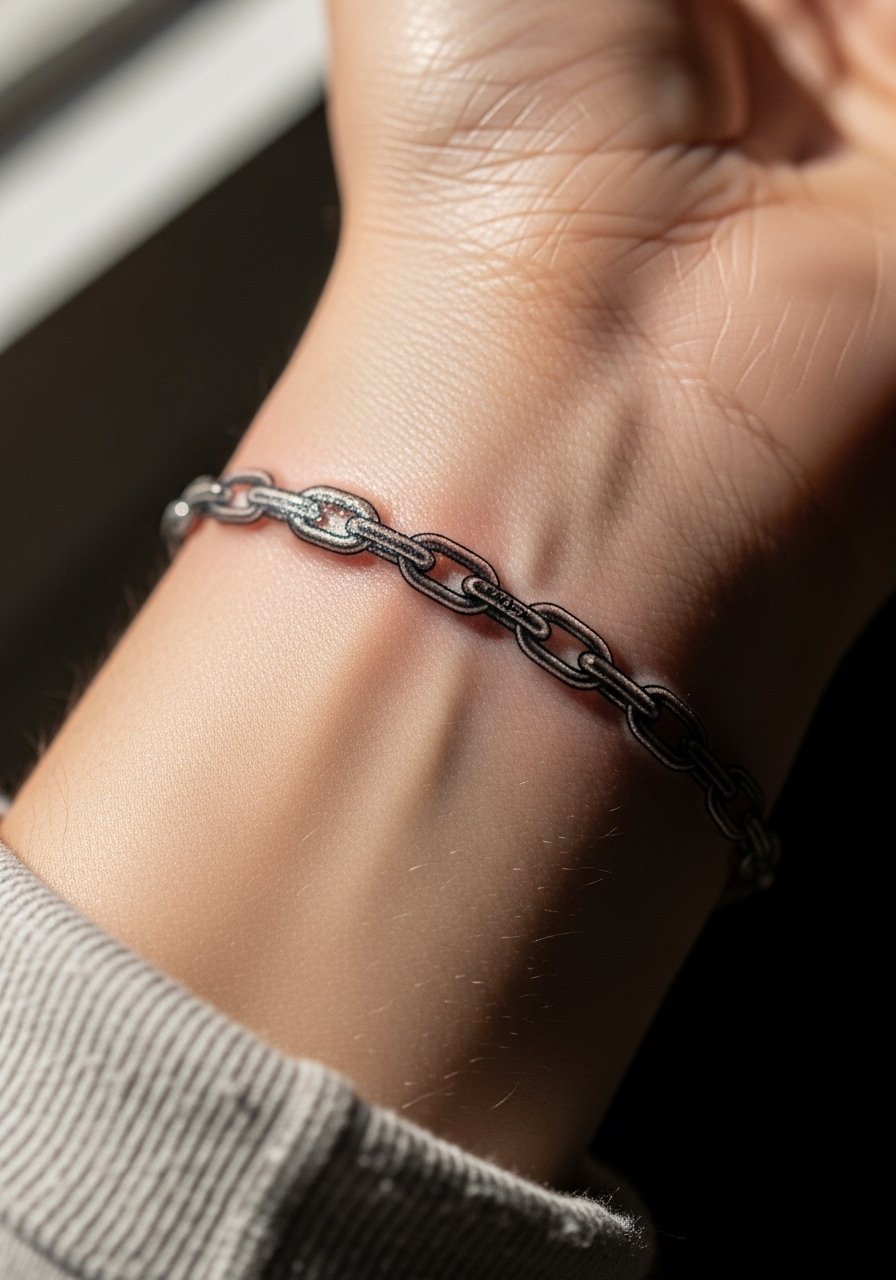
A chain-link bracelet tattoo wraps nicely on the wrist and plays with jewelry habits. Because wrists are exposed to sun and constant motion, the trick is to design slightly thicker connectors and emphasize contrast over fine cross-hatching. Tell your artist you want the design to read from a few feet away, not only up close. That protects the piece as it softens. For wearing, try an open-back midi dress or a rolled-sleeve shirt so the wrist is visible without tight bracelets rubbing the fresh ink.
10. Micro Realism Mini Animal Paw on Thumb Knuckle
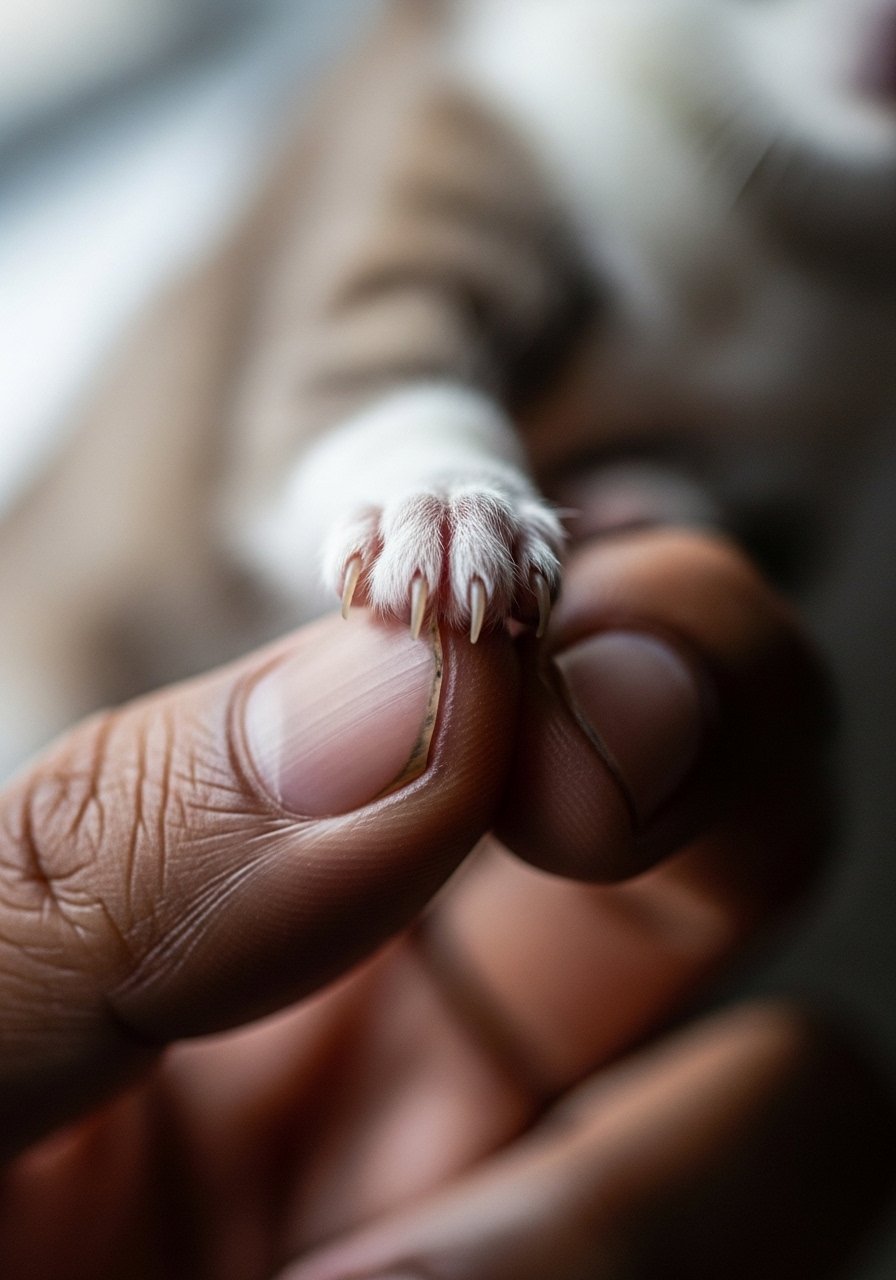
Knuckle placements demand clarity and spacing. A small animal paw on the thumb knuckle can stay readable if the pads are simplified and heavy outlines avoided. Pain is brief but sharp and the knuckle will scab differently than flat skin. A common mistake is packing too many tiny dots inside the paw, which blur into a single shape after healing. For longevity, accept that annual touch-ups are part of the plan and schedule with your artist in advance.
11. Micro Realism Locket Outline on Upper Hand
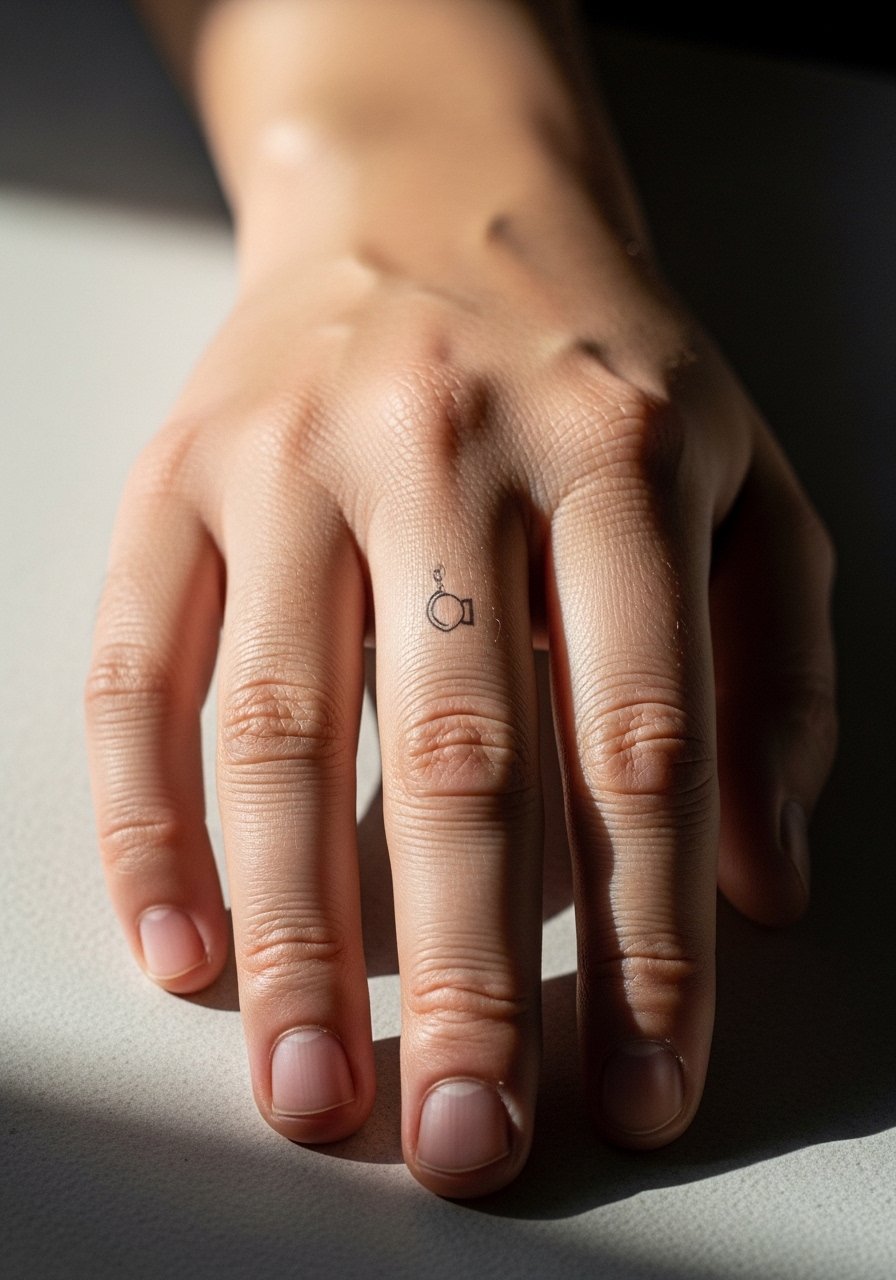
A locket outline on the upper hand reads like an heirloom placement. The upper hand experiences sun exposure and frequent contact, so ask for a design that relies on a clear silhouette and bold value breaks. In consultation show the artist thumbnail-sized photos of the placement so they can adjust spacing. Misplaced tiny highlights often disappear during healing, so ask for strategic high-contrast focal points. Pair with a low-profile minimalist ring so hand jewelry supports the piece without obscuring it.
12. Micro Realism Tiny Botanical on Side of Index Finger
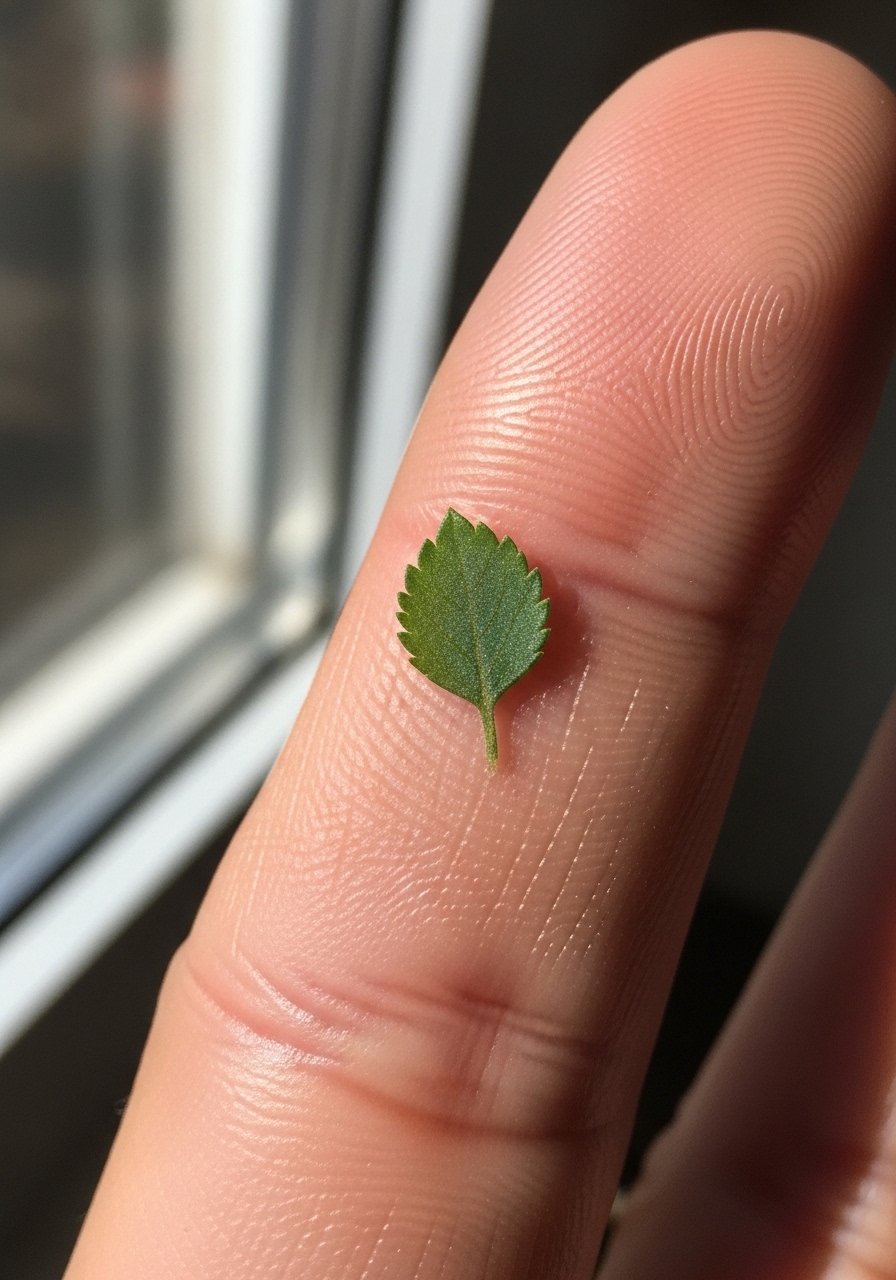
Side-of-index micro botanicals feel elegant but need breathing room to age well. The biggest mistake is cramming too many veins and tiny stipple shadows into a single centimeter. Ask your artist to prioritize a strong silhouette and one or two simple interior values. Expect the piece to look freshest at six months and then show gradual softening by year two. If you type a lot or use your hands for manual work, plan for earlier touch-ups because friction accelerates fading.
13. Micro Realism Mini Script Underneath Base of Hand
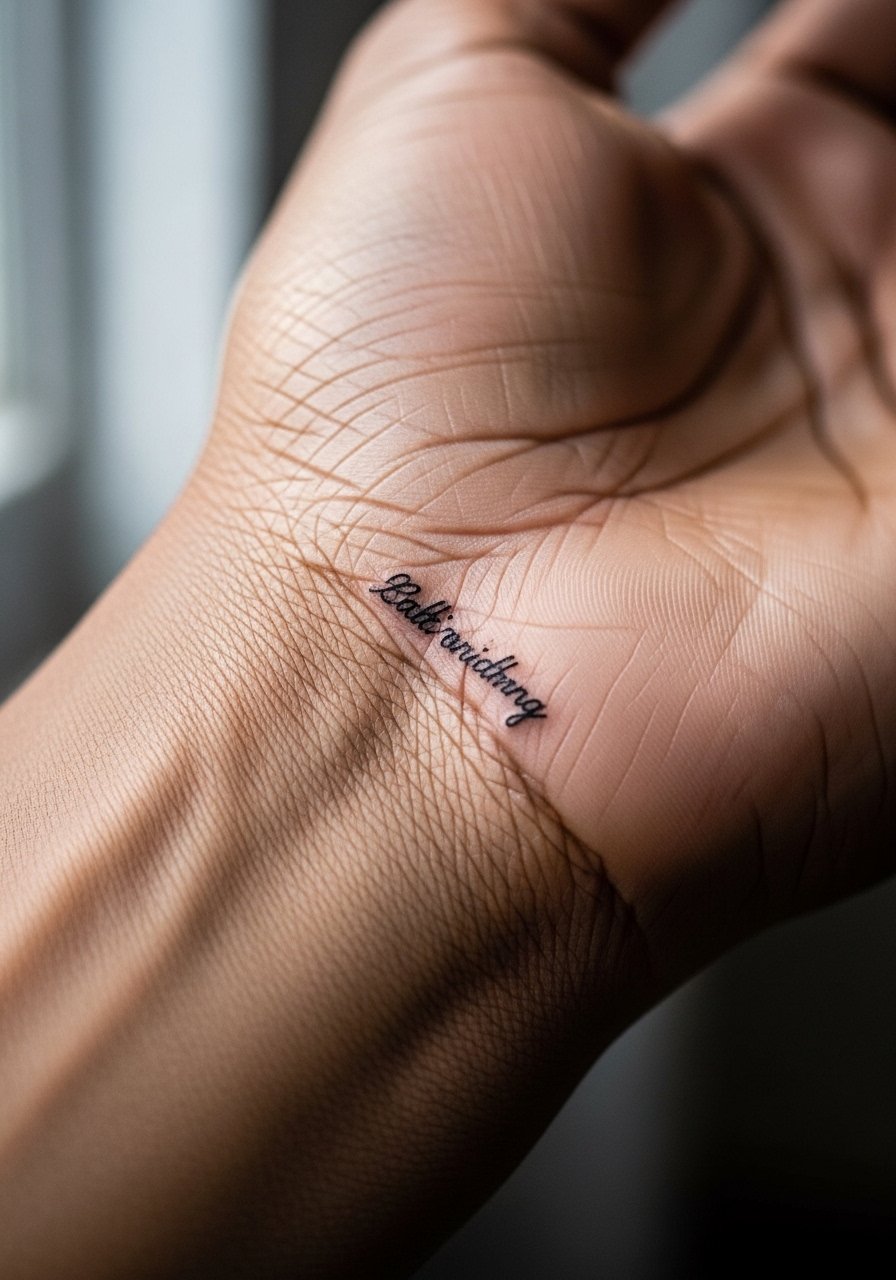
Script on the base of the hand reads intimate but demands realistic expectations. The controversy here splits artists into two camps. One camp argues that hand scripts blur fast and that the area is best left to bold, simple lettering. The other camp says with shallow needle depth and clean spacing, script can settle fine. I advise asking your artist which approach they favor and why. The typical mistake is choosing a delicate script that loses legibility in months. For showing off, a thin chain pendant necklace sits above the script without competing.
14. Micro Realism Tiny Botanical Cluster on Thumb Web
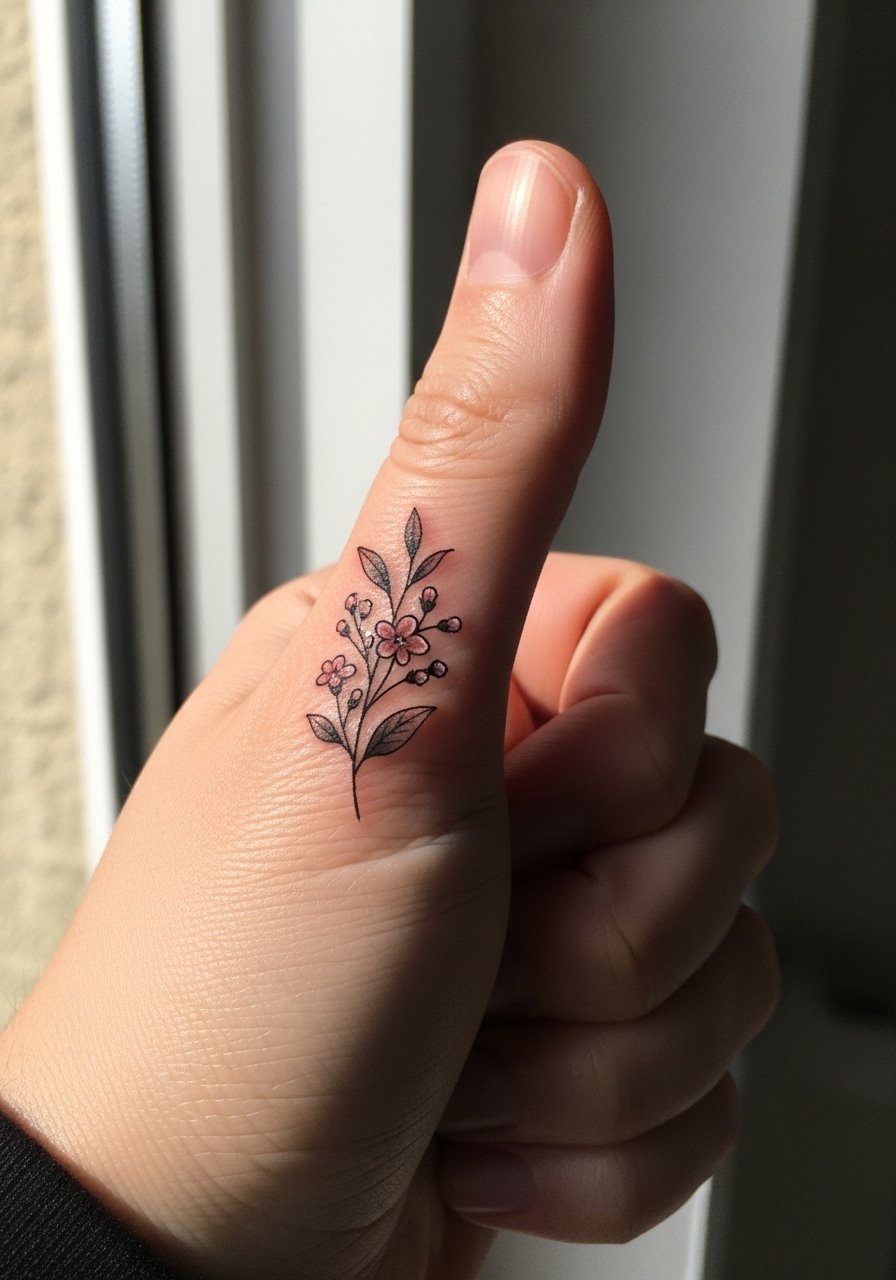
The thumb web is a small flexible field that can handle dot work and stipple shading well if the artist respects negative space. Pain is sharp when the needle hits the joint area. The session feel is quick but taxing because you will need to keep your hand still while the artist stabilizes the skin. A common mistake is dense midtone fills that turn patchy once the skin stretches. Tell the artist you want airy stipple with clear focal points so the cluster ages as texture rather than a blurred patch.
15. Micro Realism Mini Eye on Back of Hand

An eye on the back of the hand is a graphic choice that reads well from a distance if the pupil and lashes are bold enough. The back of the hand is prone to chafing and sun, so the design must rely on contrast rather than tiny lash detail. Misjudging the scale is the common error. During the session you will notice sharper sensation near the knuckles. For modeling the look, wear a rolled-up linen shirt in warm neutrals so the hand remains the focus.
16. Micro Realism Tiny Constellation Across Finger Sides
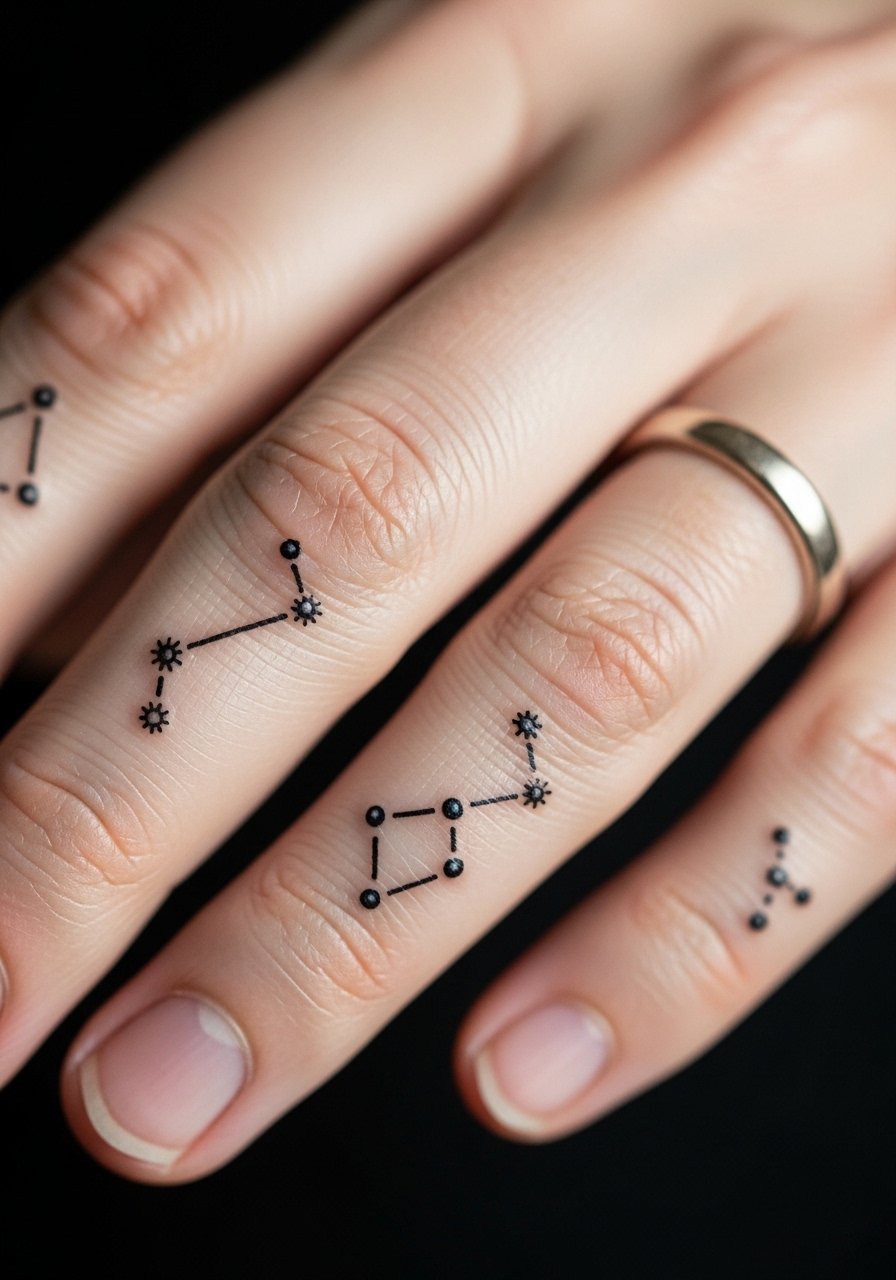
Constellation micro realism on finger sides reads subtle and deliberate when the stars are spaced with care. The practical issue is daily washing and soap friction that dulls tiny dots. Ask for slightly bolder dot sizes so the pattern keeps its rhythm after healing. A mistake I see often is dot sizes that are too small to survive regular wear. Session time is short but expect care instructions and possible touch-ups at one year. For the appointment, wear a loose drawstring linen pant if you're traveling from a longer appointment so you stay comfortable and calm.
17. Micro Realism Tiny Feather on Thumb Side
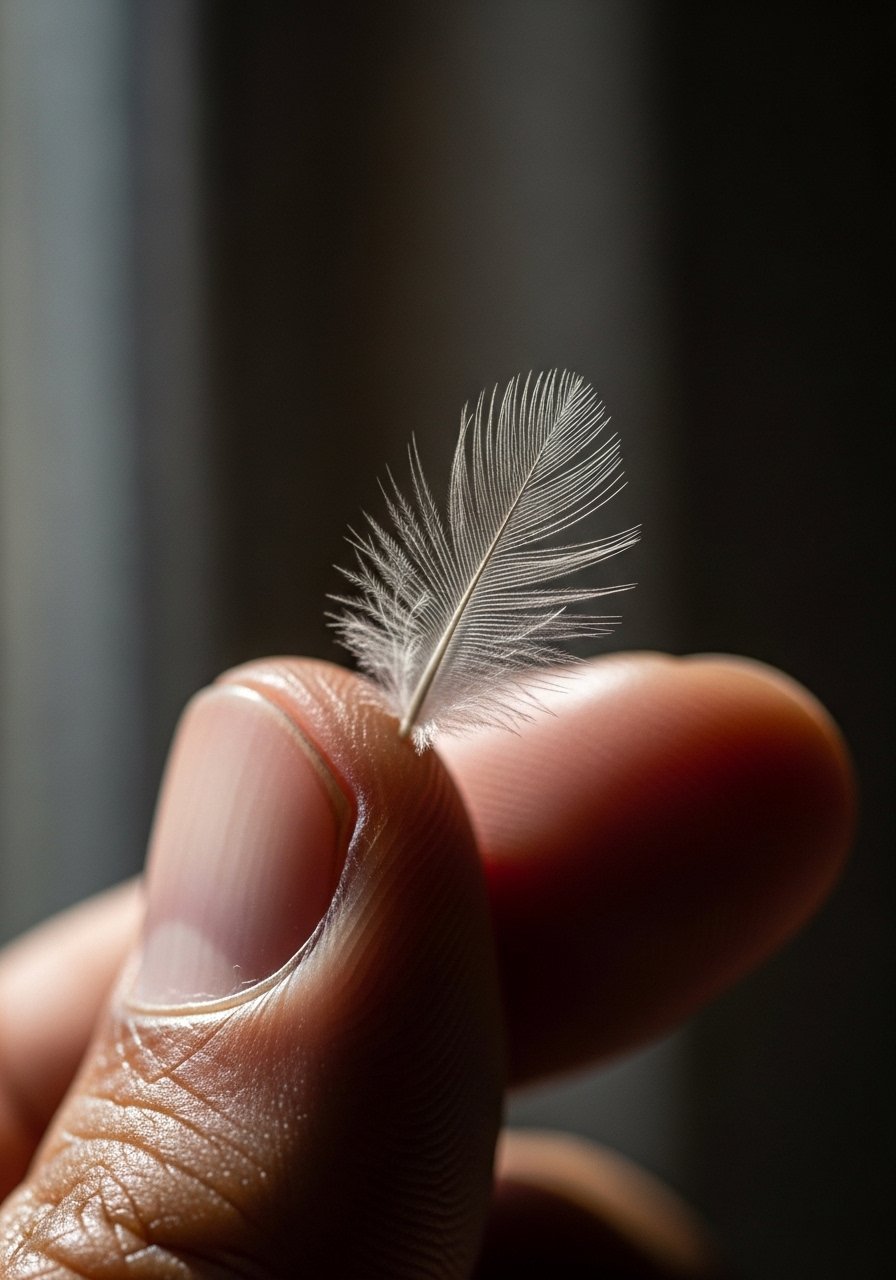
A feather near the nail base is delicate and shows motion when you move your hand. The controversy with feathers and fine detail on hands splits artists into two camps. One camp warns feather barbs merge into a soft line quickly because of constant motion. The opposing camp says careful needle depth and strategic spacing preserve feather texture. I suggest discussing touch-up cadence up front. A real mistake is insisting on ultra-fine barbs that cannot be maintained on hand skin. Expect a short session and a possible top-up in the second year.
18. Micro Realism Mini Compass on Side of Wrist
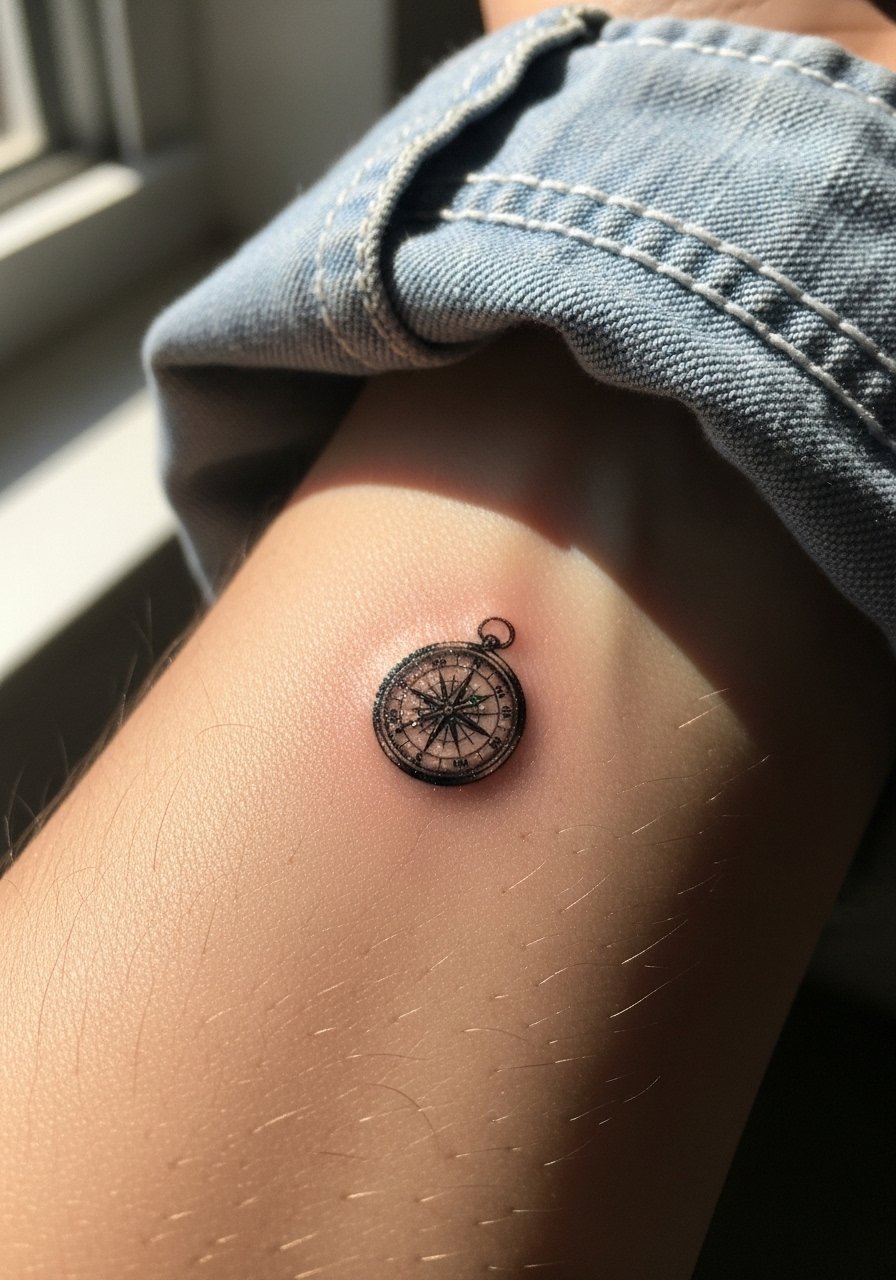
A wrist-side compass reads like a tiny navigation mark and pairs naturally with watches and bracelets. Because the wrist sees lots of sun and movement, ask for a design that emphasizes a clear north point and simple internal shapes instead of ornate engraving. A common mistake is over-detailing the internal compass face which softens into illegibility. For showing it off, a low-profile minimalist watch keeps the focus on the compass without rubbing the area too much.
19. Micro Realism Tiny Rosebud on the Base of Thumb
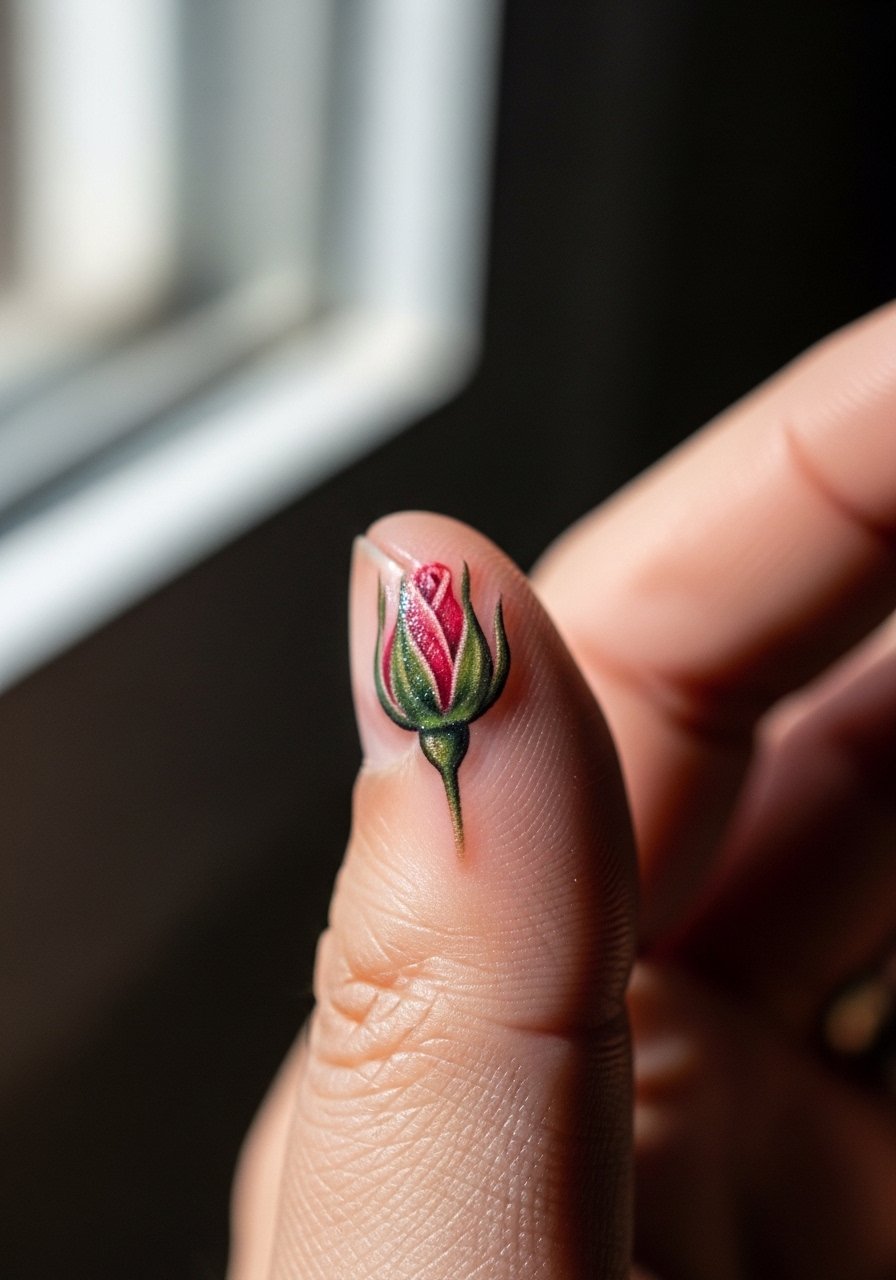
A rosebud at the thumb base is compact and symbolic. The thumb base is durable, but it still sees contact with surfaces that dull midtones. Tell your artist to simplify petals into a few high-contrast planes so the silhouette remains readable as the piece heals. The session is short and usually low on discomfort. A common mistake is asking for lots of tiny dot shading inside each petal. That detail tends to fade and requires extra sessions to restore.
20. Micro Realism Tiny Anchor on Outer Hand Edge
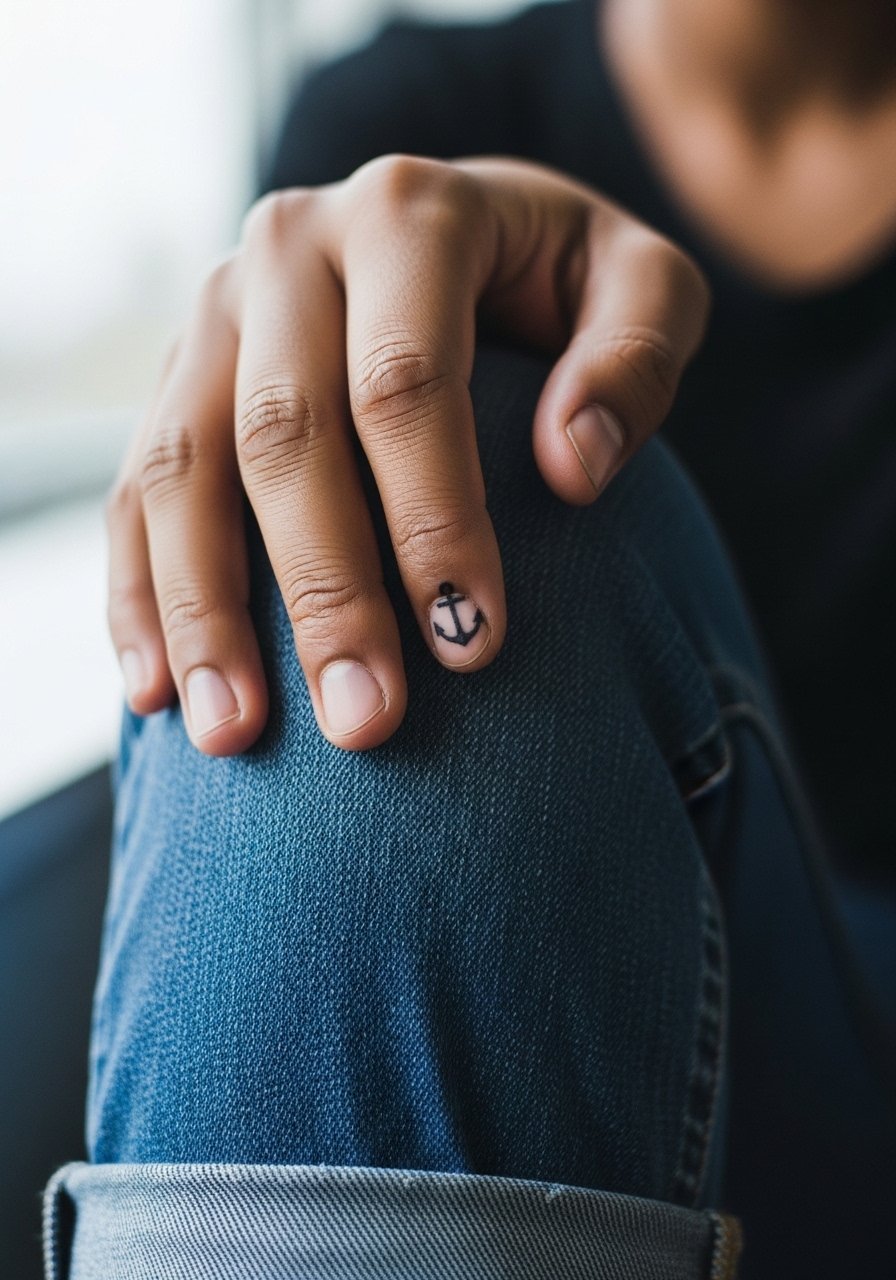
An anchor on the outer hand edge is nautical and minimal, and it survives best when the artist leans into bold contours instead of tiny inner engraving. That edge of the hand rubs when you hold objects so expect some softening sooner than on flat areas. The session feels quick but keep realistic expectations about touch-ups. For showing it off casually, a pair of rolled jeans and a relaxed knit puts the hand forward without heavy jewelry that could scuff fresh ink.
21. Micro Realism Tiny Arrow Along Finger Bone
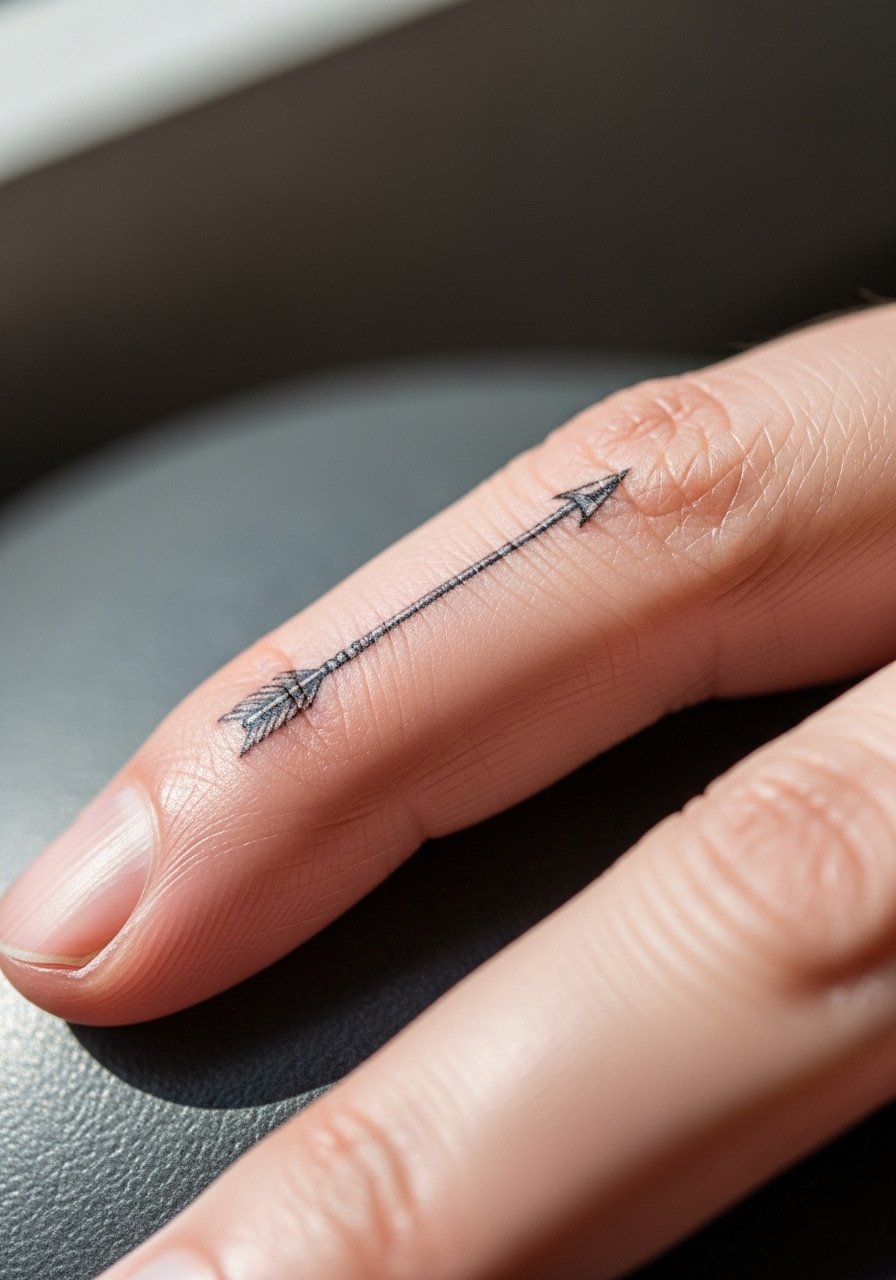
A finger-aligned arrow is a classic micro realism move because the line follows existing anatomy. The key is scale and depth control. Lines that are too thin will blur and lines that are too heavy can look clumsy. Ask your artist to aim for a balanced line weight that complements the finger bone and to leave more negative space than you think you need. Typical session time is short and a touch-up at year two is common for this placement.
Frequently Asked Questions
Q: How long do micro realism hand tattoos typically stay crisp before needing touch-ups?
A: It depends on placement and daily habits. Fingers and knuckles often need touch-ups around year one to year two, while the back of the hand can hold contrast a bit longer if sun exposure is limited. Plan for realistic follow-ups instead of assuming one session is forever.
Q: Can micro realism work on darker skin tones on the hand?
A: Yes, when the artist adjusts contrast and uses bolder value breaks rather than tiny midtones. Ask to see healed examples on similar skin tones and favor simplified focal points. Discovery pathways like local directories and community forums help find artists who show that range.
Q: Are hand micro realism pieces worth the extra touch-ups and care?
A: That depends on your priorities. If you value visibility and daily presence, many people accept periodic touch-ups. If low maintenance is essential, choose less visible placements or designs that rely on bold silhouettes.
Q: What should I wear to the appointment for a hand micro realism session?
A: Wear comfortable clothing that allows the artist easy access to your arm and hand. A loose button-down or a racerback tank is practical and helps the artist stabilize your arm during fine work.
Q: How do artists and clients disagree about fine line on hands?
A: Opinions split into two camps. One group says hand skin and constant motion blur fine lines quickly so the design should be bold. The other group maintains that with precise depth and spacing, fine line can settle well. Ask artists which camp they belong to during consultation and request healed examples.
Q: How soon can I use my hands normally after a hand micro realism session?
A: Normal light use is possible within a day or two, but avoid heavy soaking, rough manual tasks, and tight gloves for the first week. Follow the specific aftercare steps your artist gives and book touch-ups proactively if you rely on your hands daily.
