
Fine line brown-ink sketching looks effortless on a fresh photo. The reality is different. Sketch style brown ink tends to read softer than black, which hides small flaws at first and reveals them later as lines spread or fade. Expect trade-offs around placement, touch-ups, and sun exposure. Below are 21 practical sketch-style ideas that account for aging, session feel, and what to wear so the design actually holds up.
1. Single Stem Botanical on Inner Forearm

I recommend this one when you want an everyday piece that ages into something soft and subtle. Tell your artist to use slightly heavier linework at the base so the silhouette holds as the fine tips blur a little at year two. The inner forearm is mid-low on the pain scale and usually takes a single short session. Common mistakes are going too small or using ultra-thin lines across the whole stem, which can disappear into a blur. For showing it off, pair with a rolled linen shirt or a simple bracelet stack that frames the linework without covering it.
2. Tiny Script Behind the Ear
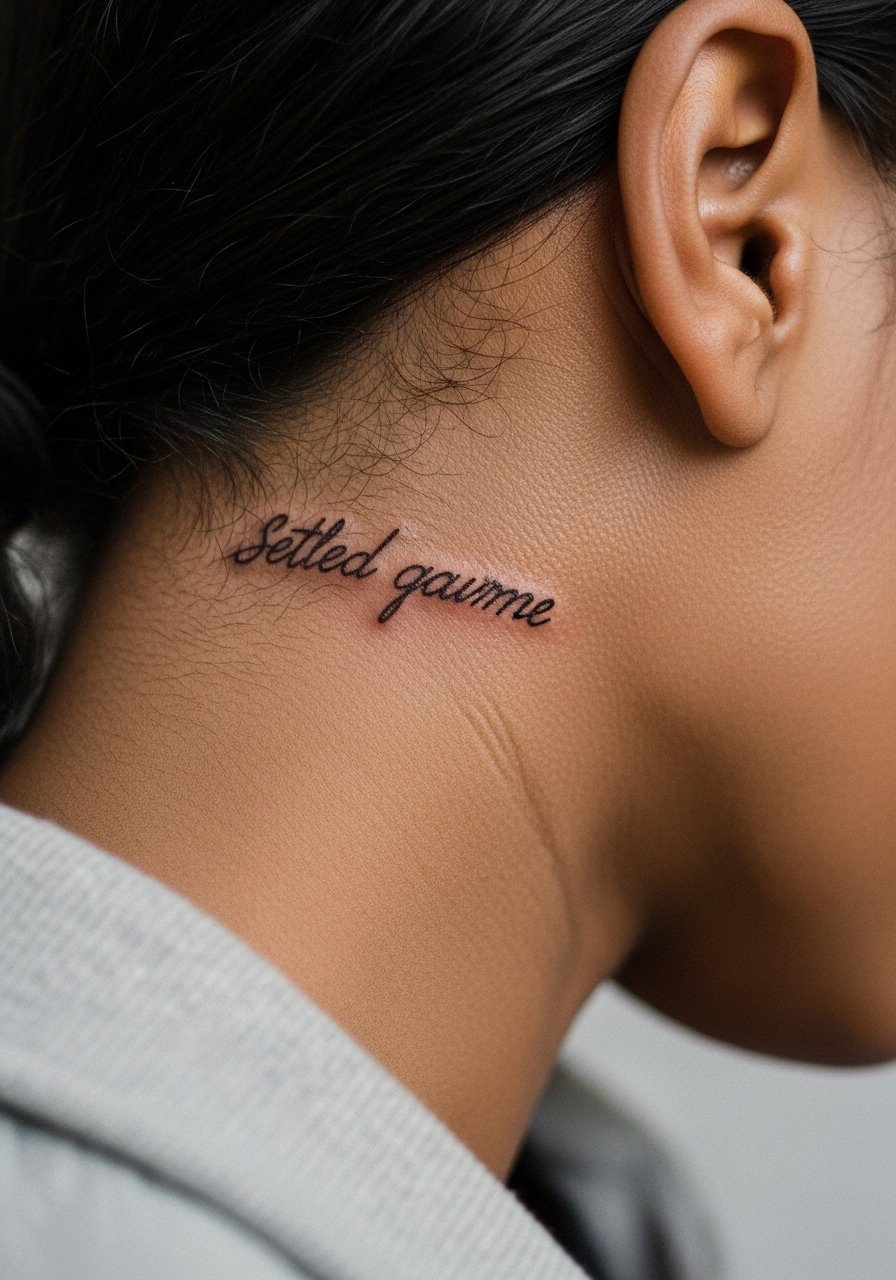
This placement reads intimate and private. The session feels quick but fiddly because the area is small and the skin is thin. For script, specify exact text and font weight so the artist can scale accordingly. Hand placement risk is low but touch-ups are common at year three if the letters are too fine. Behind-the-ear pieces need a specialist and a steady hand. Wear your hair up on session day so the artist can access the patch easily.
3. Woven Bracelet Motif Around Wrist

Wrist tattoos live in a high-friction zone. Expect more fading from constant washing and bracelets rubbing. Ask for slightly bolder linework on the inner curve and avoid insanely tight repeats that will merge. Pain is manageable but the area is sensitive for short bursts. For the session wear a loose button-down shirt you can roll up, and to show the piece off try a thin chain watch that complements without crowding the tattoo.
4. Micro-Illustrative Ankle Constellation
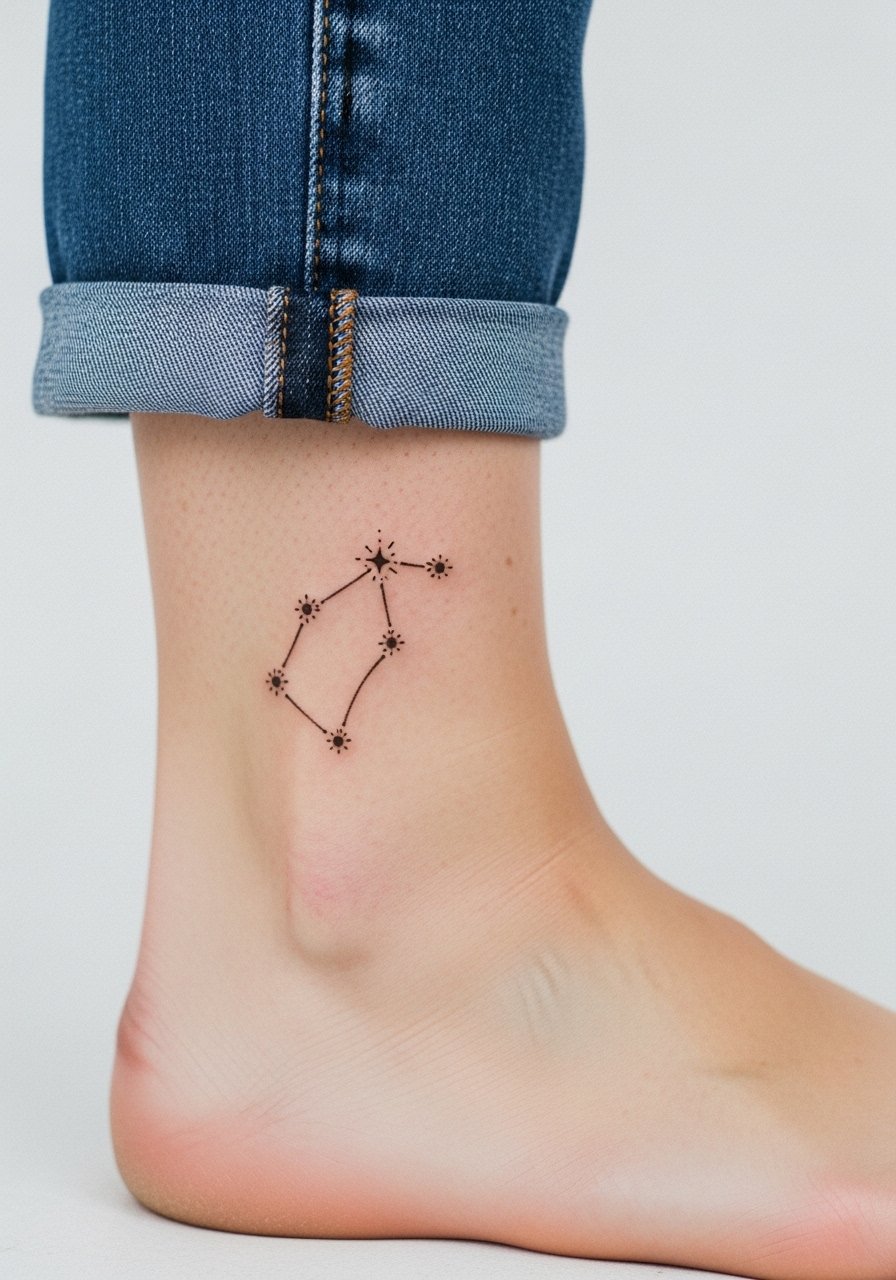
Ankle sketch pieces look very delicate at first. The main aging problem is distance from touch-up attention and everyday friction from shoes. When you want longevity, ask the artist to leave micro spacing between stars and to avoid filling tiny gaps with stipple shading. The session is short but can feel scratchy because of bone proximity. For the appointment wear shoes that are easy to remove and a pair of rolled jeans that make access simple.
5. Collarbone Sketch Fleur
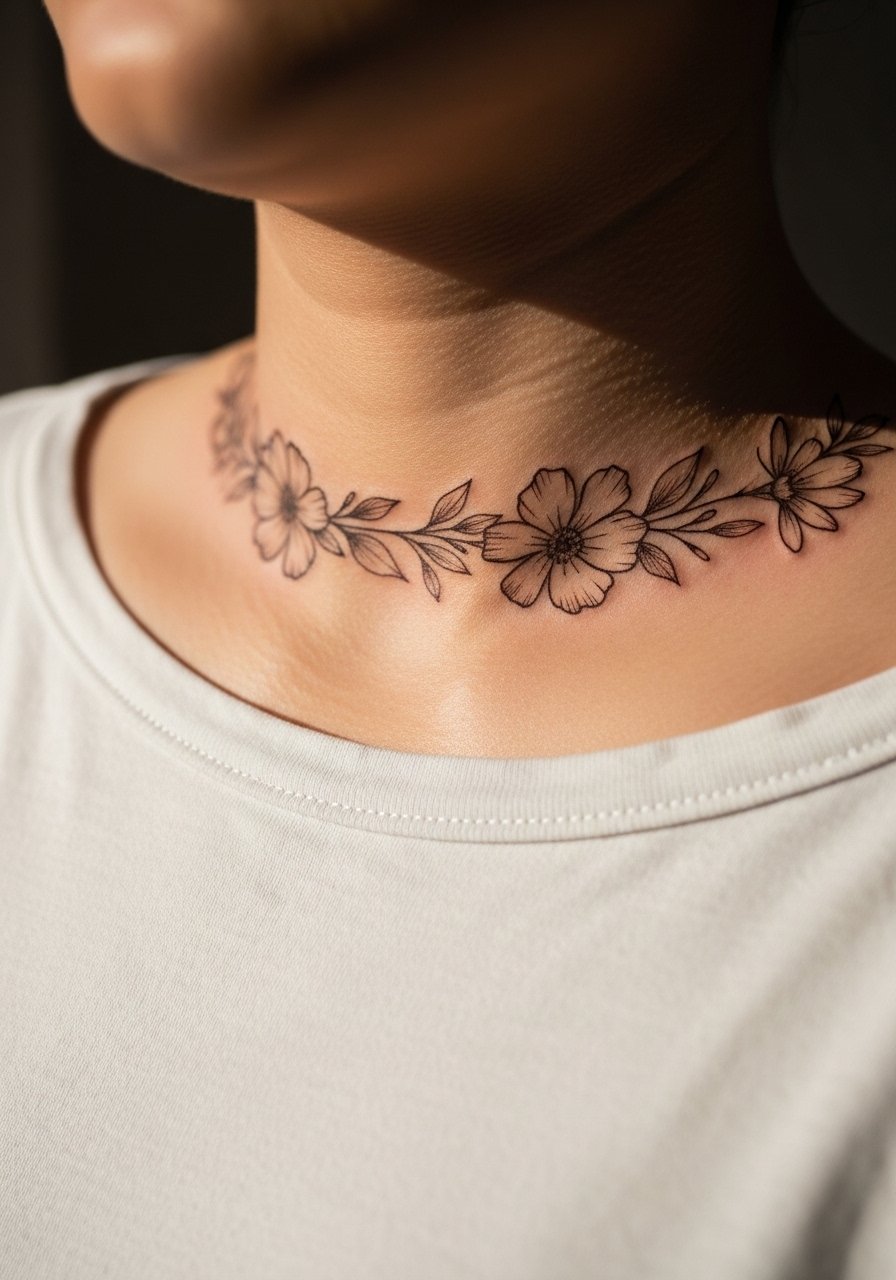
Collarbone work is visibly rewarding but sits where clothing can rub. Ask for slightly stronger anchoring strokes near the stem so the shape reads as it softens. The pain can be higher near the bone but sessions are short. Common mistake is cramming dense detail too close to the bone, which accelerates blurring. For showing off, a wide-neck blouse or a thin chain necklace keeps focus on the florals.
6. Ribcage Loose Sketch Bouquet
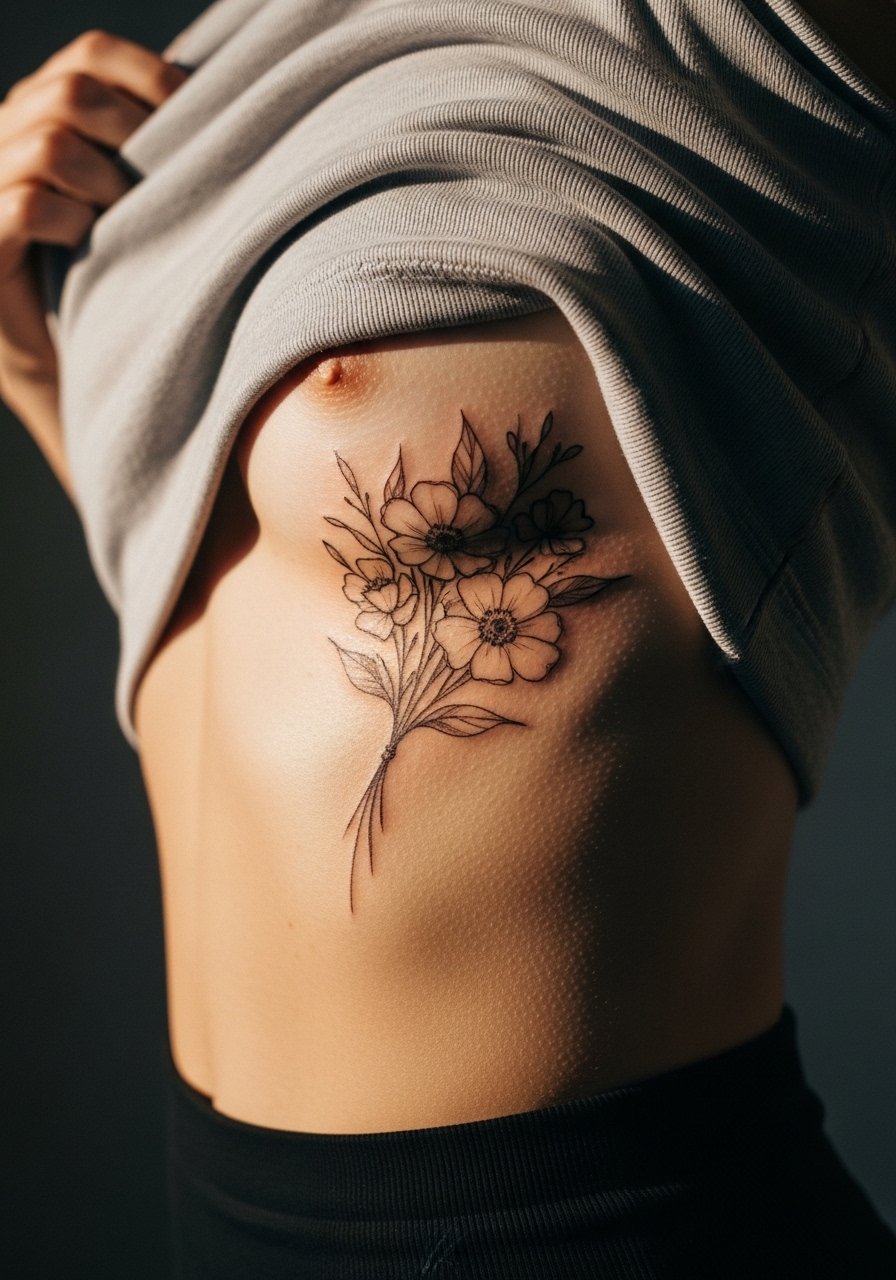
Fine line ribs are controversial. One camp says the skin stretch and movement blur fine linework within two years. The other camp argues that with measured depth and spacing, fine line settles fine on ribs. I advise treating ribs as a medium-term commitment and plan for a touch-up at year two to three. The session is painful for most people and often split across visits. Avoid asking for hyper-dense detail in a single sitting. For the appointment wear an easy-to-shift top like a cropped athletic tank so the artist can expose the area without fuss.
Studio Day Picks
The pieces above from the forearm to the ribcage demand different prep, and a few targeted items smooth the session and the first week.
-
Stencil transfer paper kit. Lets you preview exact placement on skin, especially helpful for the bracelet and script pieces above.
-
Topical numbing cream. Applied before the session eases the bite on sensitive zones like ribs and the inner wrist.
-
Thin protective film roll. Useful for high-friction spots such as ankles and wrists during the first days.
-
Fragrance-free gentle body wash. Cleanses healing skin without stripping the delicate ink channels of sketch-style work.
-
Aquaphor healing ointment. Thin layer early on locks in moisture, which helps fine brown lines settle.
7. Minimalist Spine Sketch Column

A spine column reads dramatic when framed by open-back clothing. Pain is moderate to high depending on proximity to bone. Ask for consistent spacing so the vertical rhythm remains readable as the lines soften. The main session reality is that long vertical pieces often need two sittings to avoid excessive trauma. For showing it off, open-back dresses or a strappy tank make the piece sing without exposing too much.
8. Single-Line Face Profile on Upper Arm
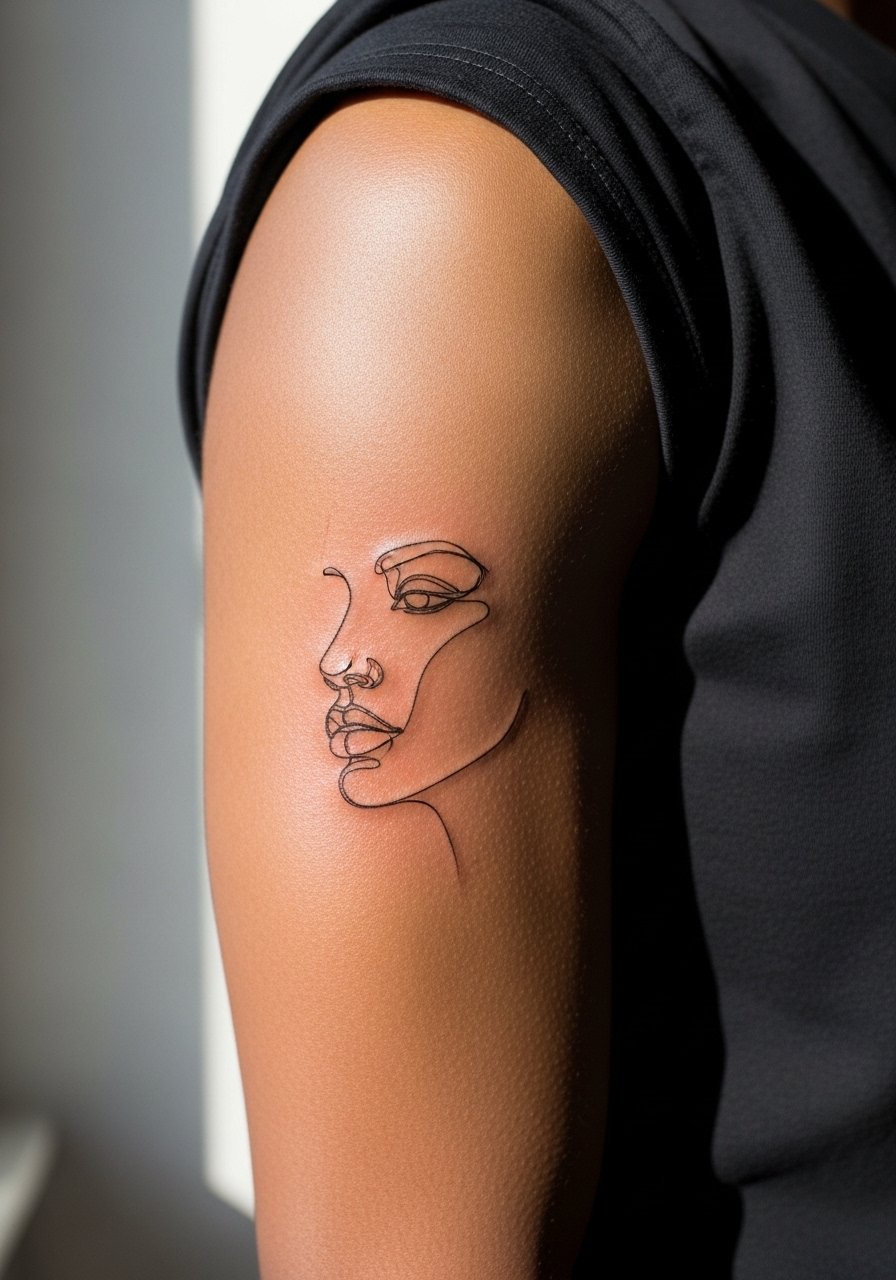
Outer upper arm is forgiving for sketchy single-line portraits. It heals with good saturation if the artist anchors key points, so ask for slightly altered line weights to protect facial features over time. The session is low to moderate pain and tends to finish in one sitting. A common mistake is requesting ultra-thin continuous lines that lack enough contrast to hold at year three. During the session wear a short-sleeve tee you can roll up easily.
9. Petite Geometric Mandala on Back of Neck
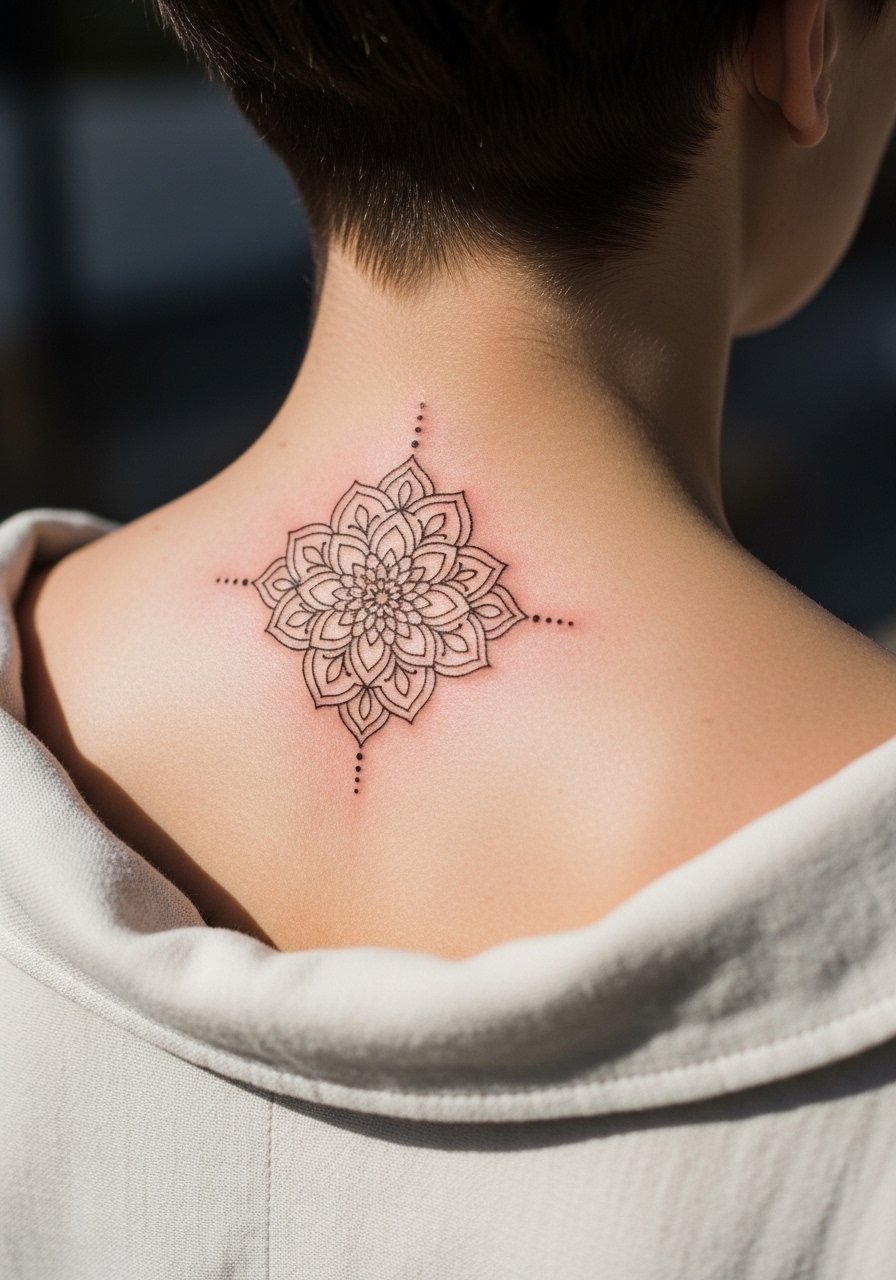
Neck pieces sit at a visibility crossroads. The back of the neck usually handles linework better than the sides, but expect faster fading from sun exposure. Ask your artist to space the mandala arms a little wider so the pattern does not turn into a blur as it softens. The session is quick but can be ticklish for some. For the appointment a wide-neck shirt that pulls easily gives clean access.
10. Loose Animal Sketch on Calf
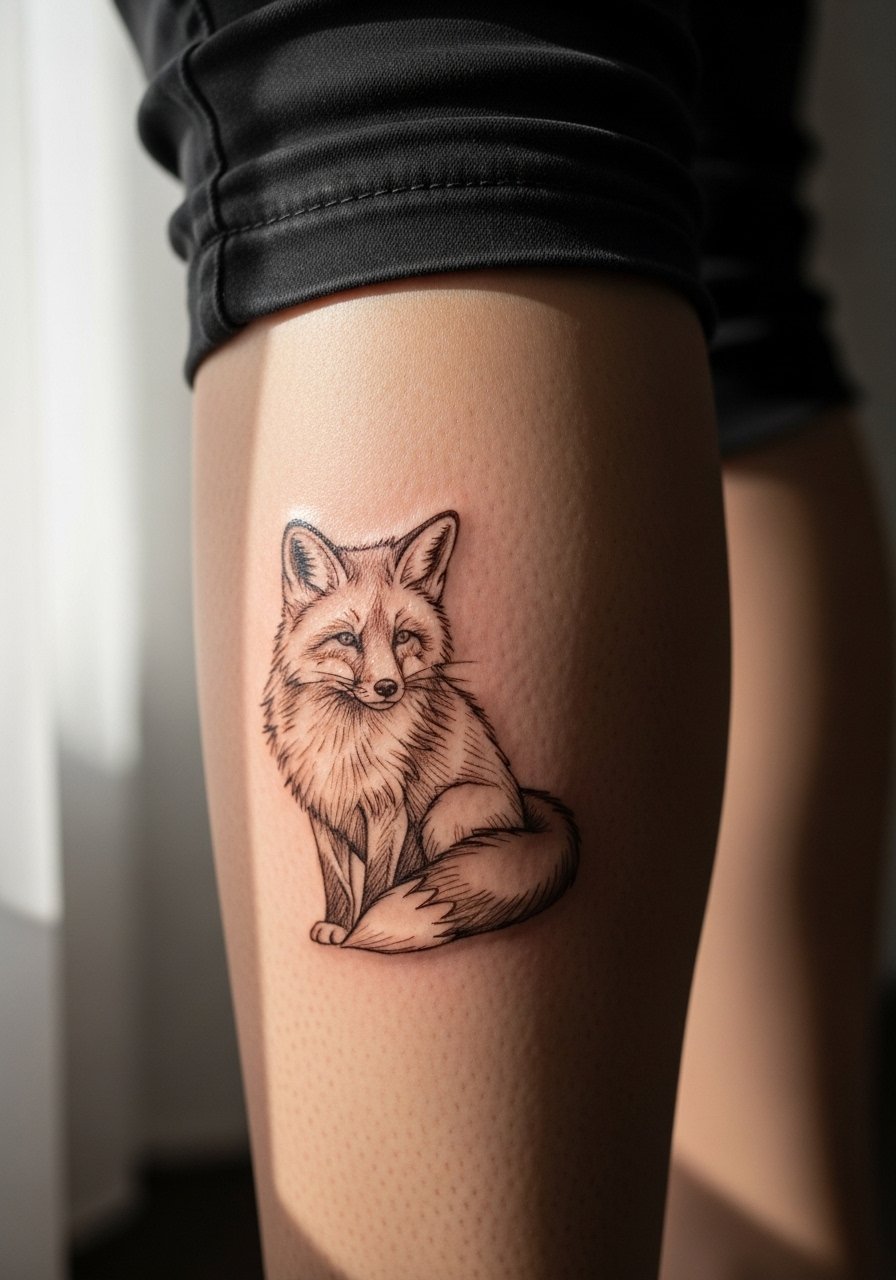
Calf pieces tolerate a range of line weights and often age well because the skin there is thicker. Tell your artist which part of the animal you want to retain most detail in and they will prioritize those strokes. Sessions are comfortable for most people because you can sit or lie as needed. Touch-up timelines tend to be longer than wrists, often pushing to year four or five for small adjustments. Wear loose pants you can roll up easily like cropped pants on session day.
11. Abstract Line Landscape on Thigh

The outer thigh is a forgiving canvas and is ideal for larger sketch compositions that benefit from breathing room. Pain is low and several hours are tolerable in one session. A real mistake is compressing too much tiny detail into a narrow band. For the consultation bring reference images that show scale so your artist can plan the sweep. Wear high-waisted shorts you can shift to expose only the work area during the session.
12. Sternum Single-Element Sketch

Sternum sketch work sparks debate. One camp says the skin movement and sensitivity make fine line there unreliable beyond a couple of years. The other camp points to careful depth control and spacing that can make sternum pieces stable. My advice is to plan for a touch-up and pick a design with clear negative space so the central element remains legible. The session is painful for many people and often moved across two sittings. For access, a fitted sports bra or bandeau works best.
13. Dainty Finger Symbols
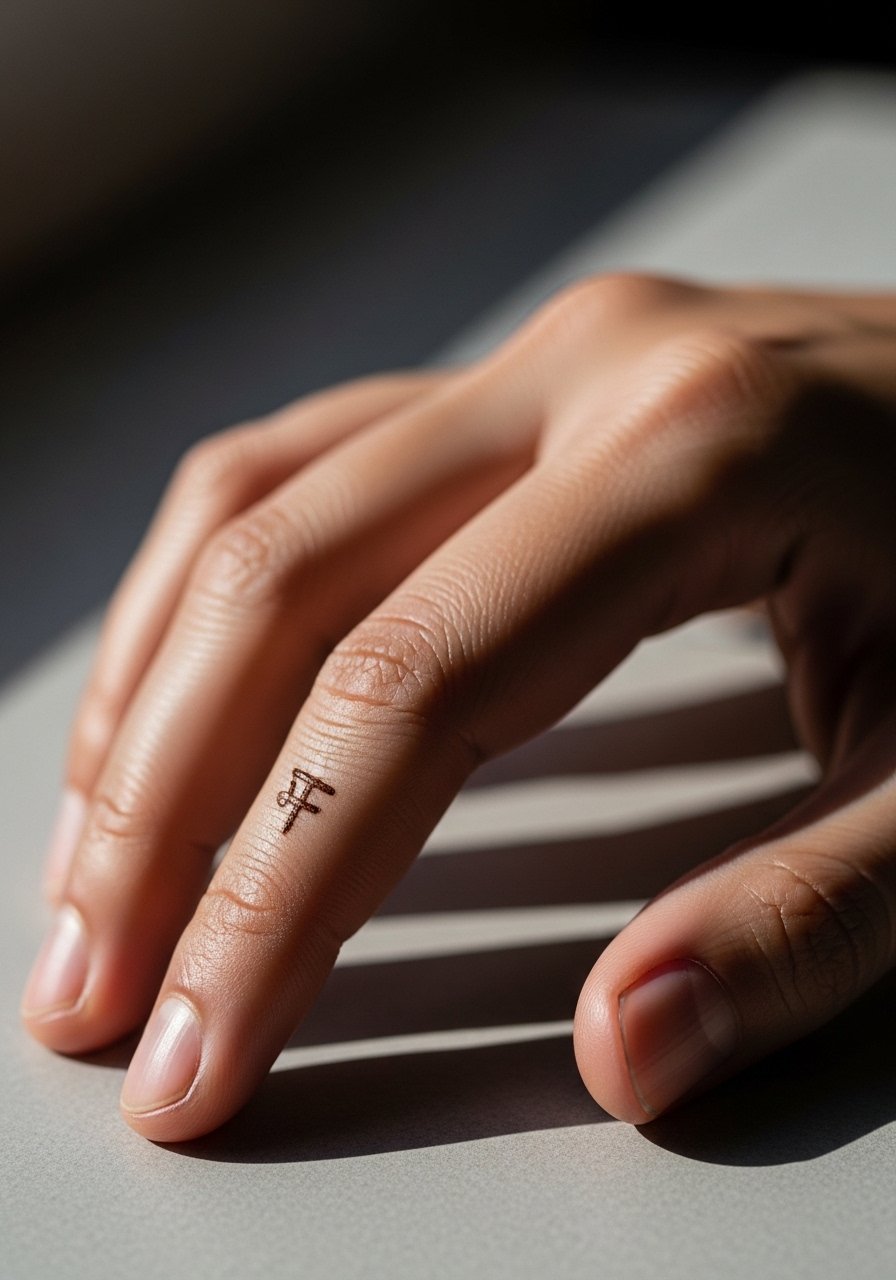
Finger tattoos are high maintenance. Expect faster fading and possible blurring because of constant use and skin turnover. Ask the artist for slightly bolder anchors and accept that yearly touch-ups are common. Also think about career considerations before committing, since some workplaces still react to hand tattoos. The session is short but sharp. For the appointment keep your hands clean and avoid heavy lotion before the artist arrives.
14. Inner Bicep Mini Portrait

Inner bicep skin is softer and can be tricky for micro-detail. If you want facial cues to survive, ask the artist to prioritize contrast in eyes and jaw so those features read as lines soften. Sessions feel more intimate and can be painful when the arm is compressed. Touch-ups may be needed at year three to restore facial clarity. For comfort, wear a loose tank top that allows arm movement.
15. Script Wrist Cuff
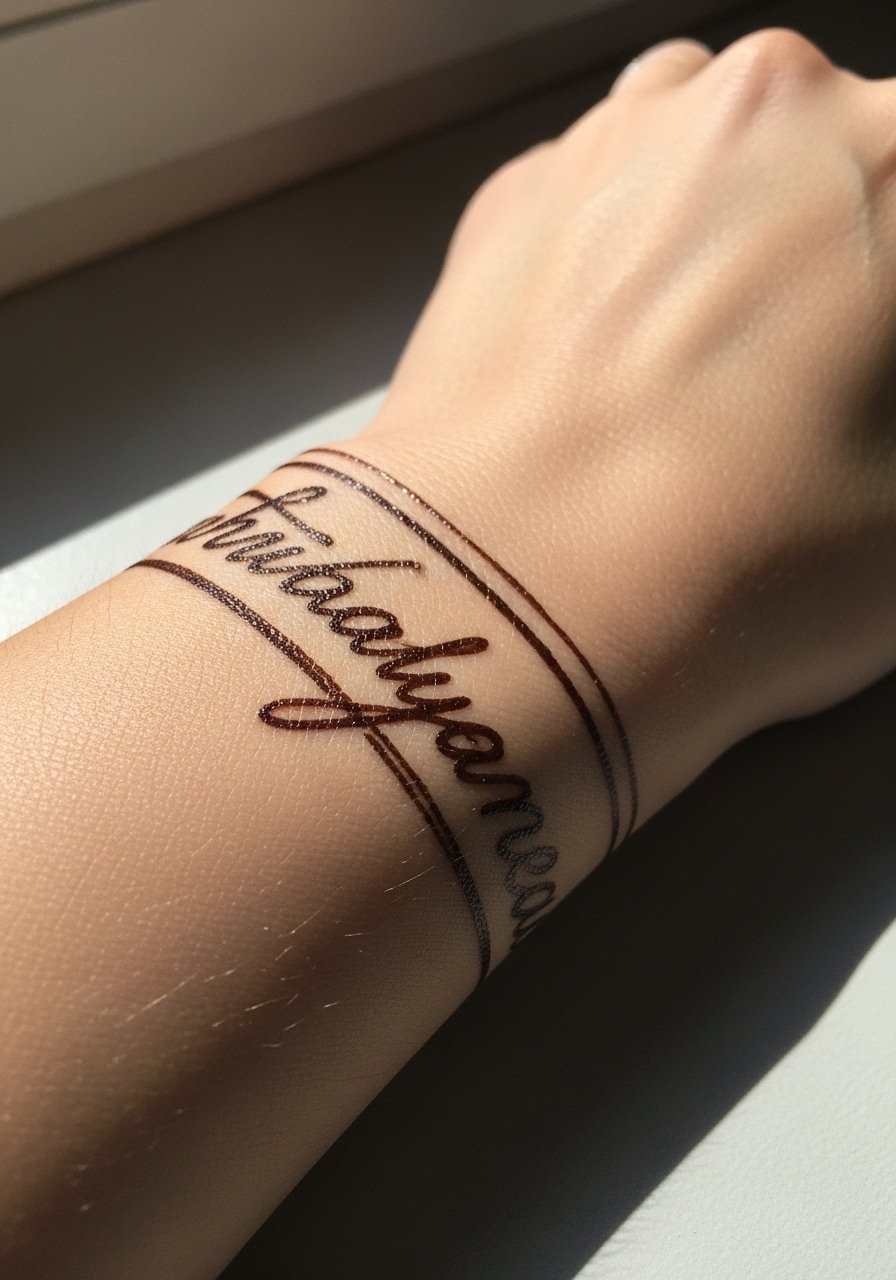
Wraparound script is easy to show and easy to rub. The critical consultation item is scale. Have your artist write the text at full size on the skin to check spacing. The wrist takes frequent showers and soaps, which accelerate fading. Expect touch-ups sooner than calf work. For showing it off, a minimalist chain bracelet complements the cuff without obscuring the lettering.
16. Pocket-Sized Botanical on Hip
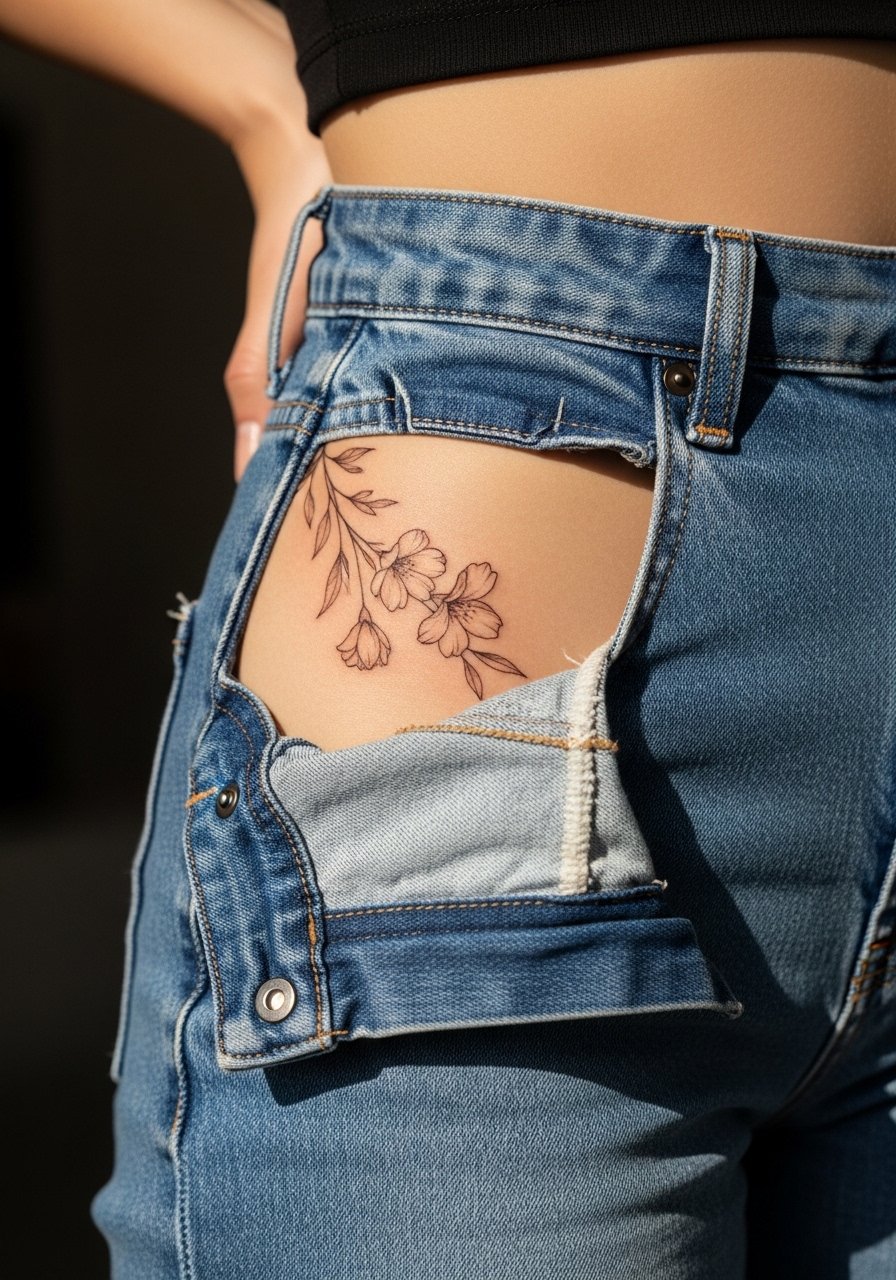
Hip tattoos sit under clothing frequently which can protect them but also rub them. The main error is placing tiny details where waistbands will press. Ask for the focal line to sit where fabric will not directly rub and plan a touch-up at year three for the finer parts. The session is moderate pain depending on body fat. Wear pants that you can slightly lower for access without getting fully undressed.
17. Small Botanical Behind the Knee
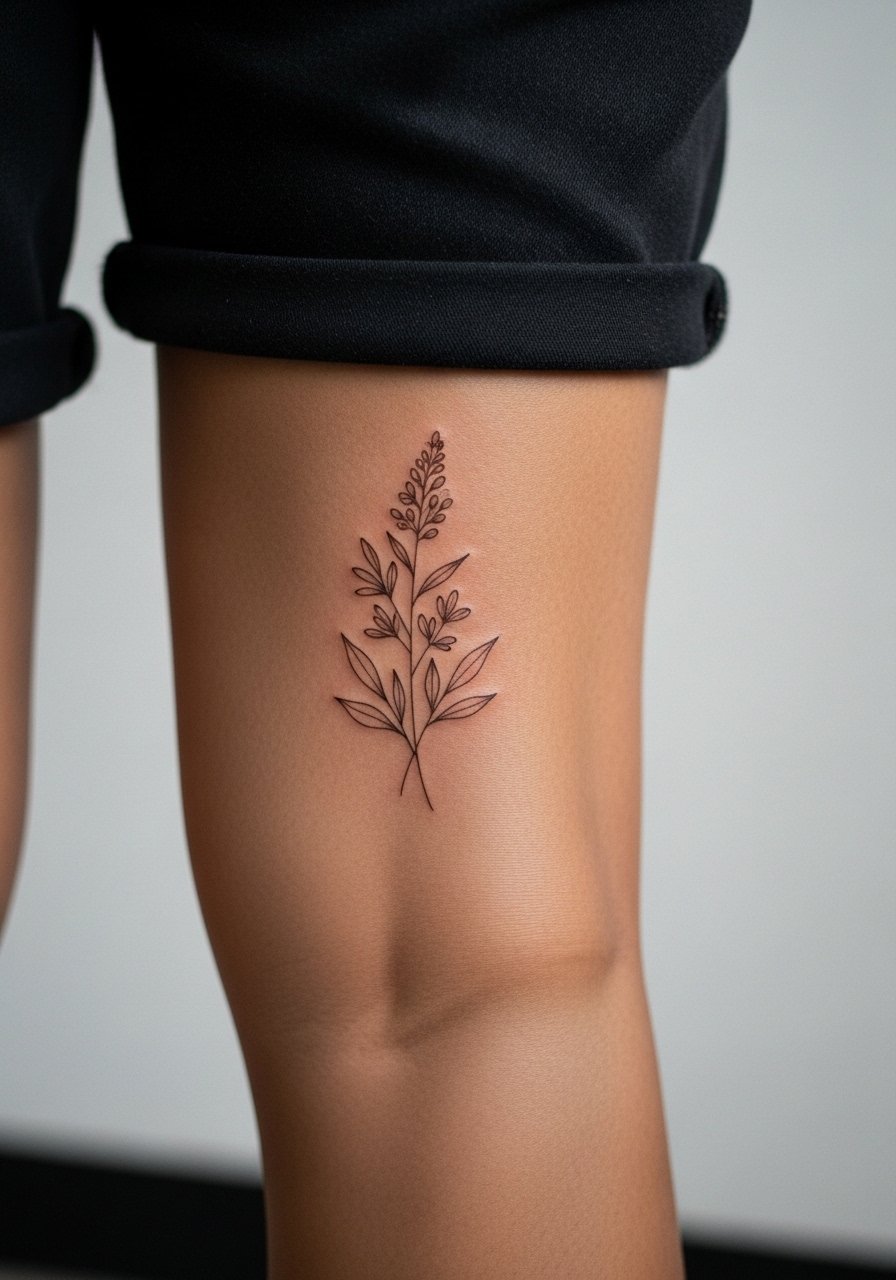
Behind-the-knee work ages unpredictably because of constant movement and folding. The skin's elasticity can blur delicate strokes. I suggest slightly heavier anchor lines and open spacing so the composition survives the folding. Sessions here are awkward to position but not unbearable. For the appointment wear shorts you can sit comfortably in.
18. Single-Line Horse on Shoulder Blade
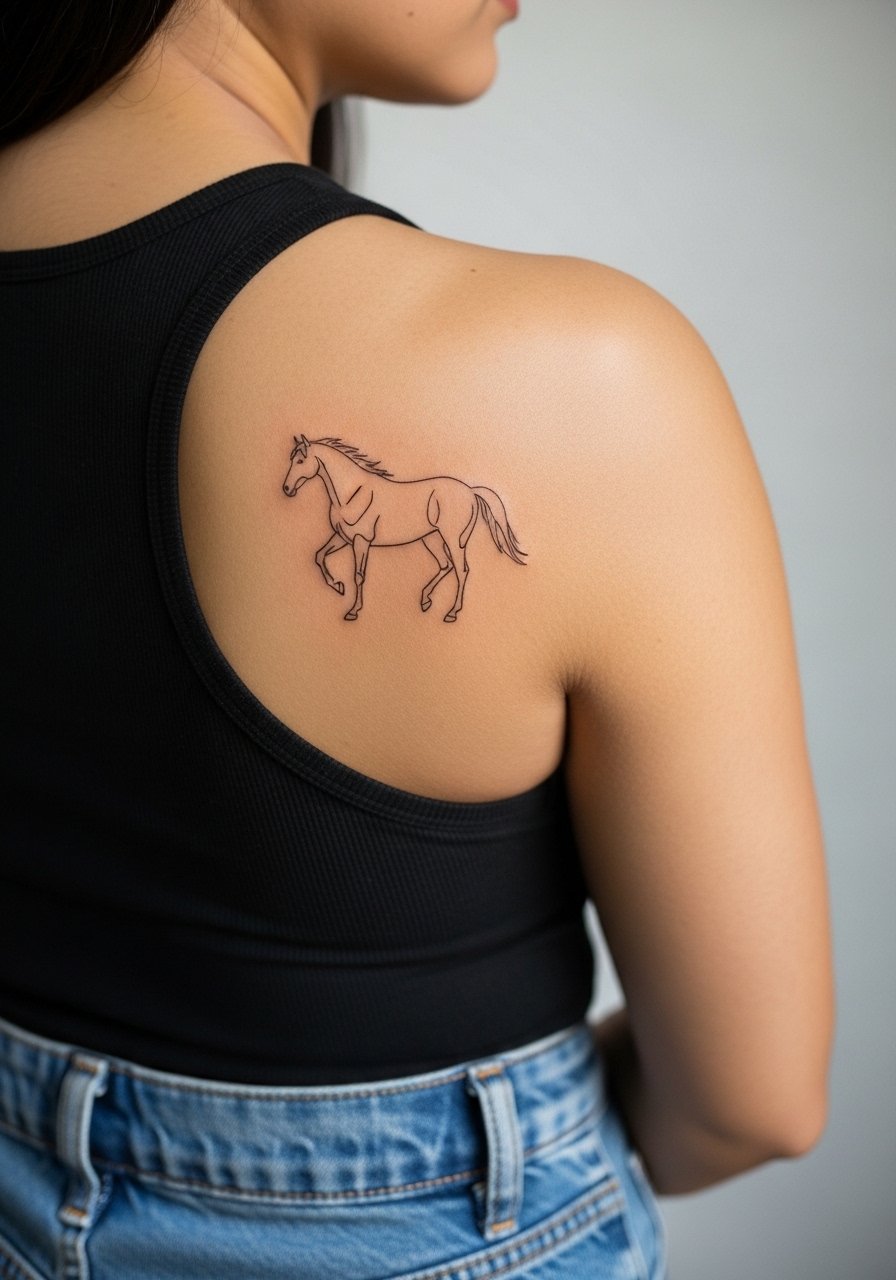
Shoulder blade pieces are low-friction and tolerate fine line well if spaced. Ask the artist to map the muscle movement so the horse's main lines sit where skin stretches least. Sessions are comfortable and often finish in one sitting. Over-detailing in a small area is the usual mistake. For the session wear a tank top you can shift to expose the upper back.
19. Tiny Geometric Navel Accent
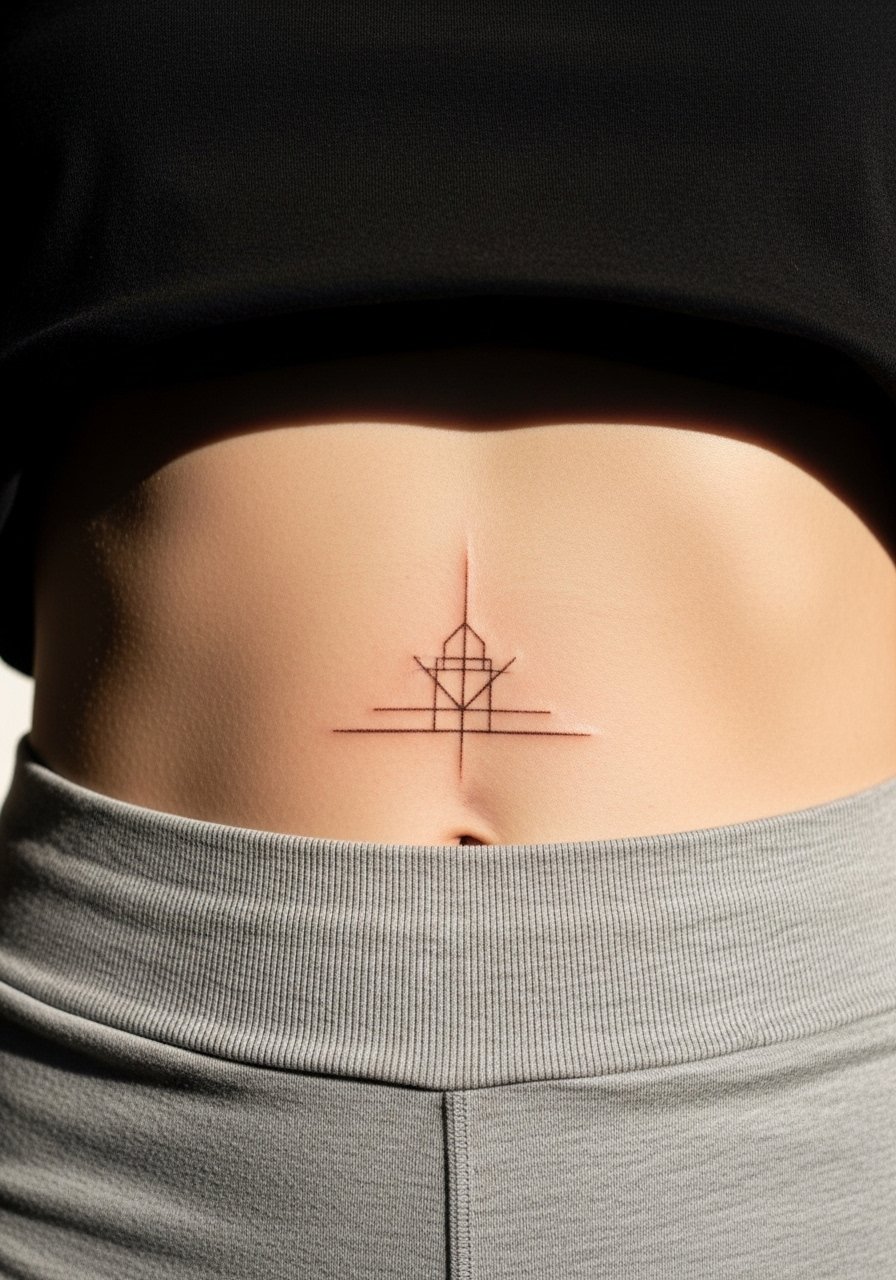
Stomach skin shifts with weight changes so tiny geometrics above the navel can distort over years. If you want the pattern to remain crisp, plan slightly larger elements and clear spacing. Sessions here are moderate and you may prefer short sittings. Avoid designs that depend on absolute symmetry in a tiny area. Wear a cropped tee and high-waisted bottoms on the day so only a narrow strip needs exposure.
20. Small Musical Notation on Ankle
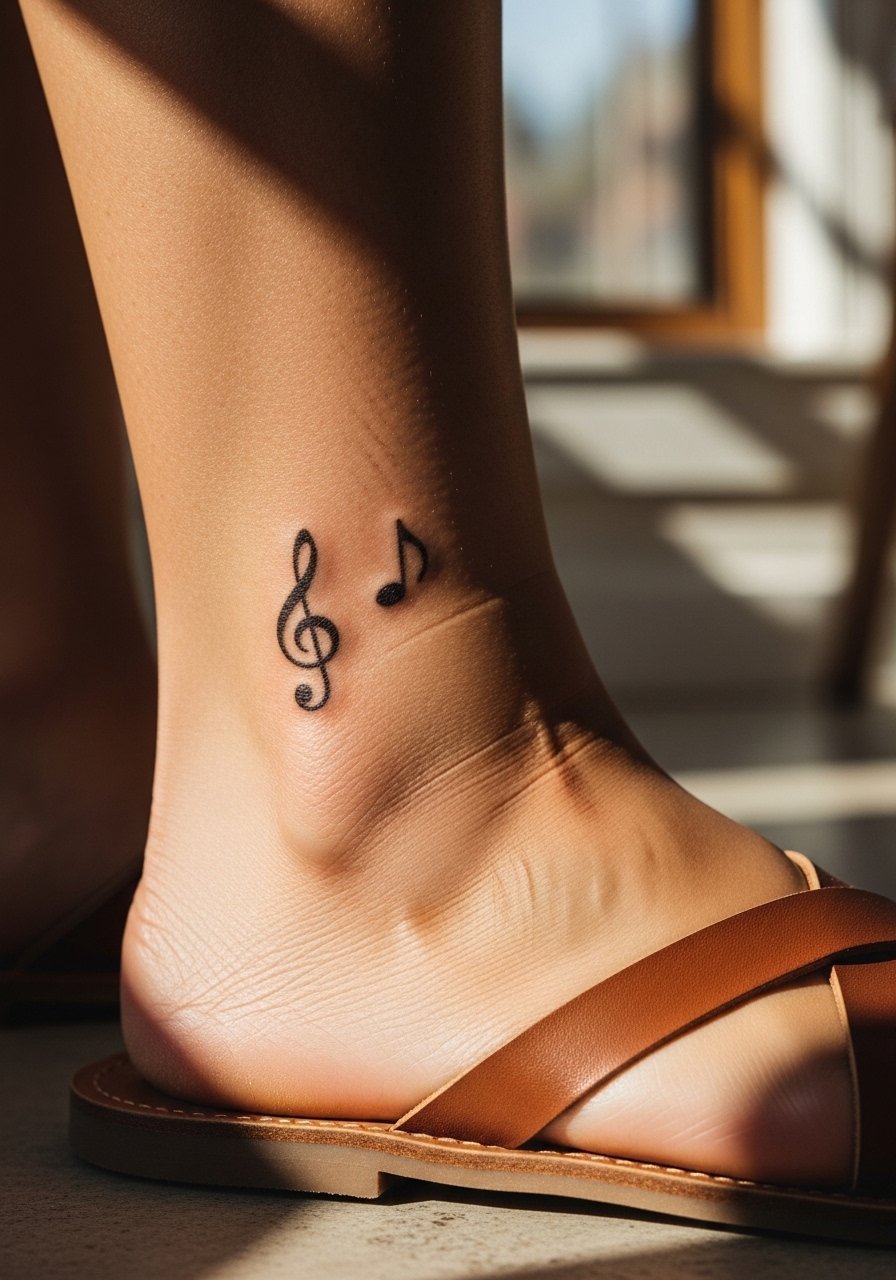
Ankle symbols are sweet and visible but live in a high-wear spot. The common mistake is doing incredibly thin tails on notes which disappear after repeated shoe rubbing. Ask for slightly bolder anchors and expect a touch-up at year two to three. The session is quick. For showing off, pair with low-cut sandals or a delicate anklet that draws attention without rubbing the tattoo.
21. Chain-Link Sketch Along the Side of the Hand

Side-of-hand pieces are high-visibility and high-maintenance. Expect faster fading and the possibility of ink migrating in two to three years. If you still want it, ask for bold anchor points and accept that yearly touch-ups may be part of the plan. Hand skin and frequent washing make aftercare crucial. The session is quick but sharp. Consider career implications before booking.
Frequently Asked Questions
Q: How long do sketch-style brown ink tattoos typically last before a touch-up is needed?
A: It depends on placement and lifestyle. High-friction areas like hands, wrists, and ankles often need touch-ups at year two to three. Thicker-skin zones like calves and outer arms often stretch to year four or five. Plan for touch-ups as a normal part of owning fine sketch work.
Q: Are brown inks less likely to cause blowout than black ink?
A: Blowout risk is more about needle depth and skin type than color. Brown ink can look softer and may hide minor blowout early on, but that does not mean the risk is lower. Talk to your artist about proper depth and ask for healed photos of similar placements from their portfolio.
Q: What should I wear to a ribcage or sternum session to stay comfortable and give the artist access?
A: For ribs or sternum wear a fitted sports bra, bandeau, or a cropped top you can pull aside. These pieces keep coverage while letting the artist work. A simple option is a fitted sports bra that you can adjust without getting fully undressed.
Q: Will sketch-style brown ink hold up on darker skin tones?
A: Yes, but the approach changes slightly. Artists may use deeper saturation and bolder anchors for contrast. Fine details can still read well if spaced and prioritized. Look for healed photos on darker skin when vetting an artist to set realistic expectations.
Q: How do I find an artist who understands sketch-style brown ink without naming specific accounts?
A: Use discovery pathways like local shop directories, convention listings, tag searches on social platforms, community forums, and portfolio filters that show healed work. Ask studios for healed pictures of similar placements and for a short consult to discuss spacing and touch-up timelines.
