
Sitting in the chair with the stencil centered down your spine is when most guys realize they skipped key questions. The back plays with scale under studio lights, pain around the vertebrae reads sharper than expected, and clothing choices change how pieces show off. These 17 geometric back tattoos focus on what holds up, what needs spacing, and what to ask before the needle hits skin.
1. Full-Back Mandala With Radiating Geometry
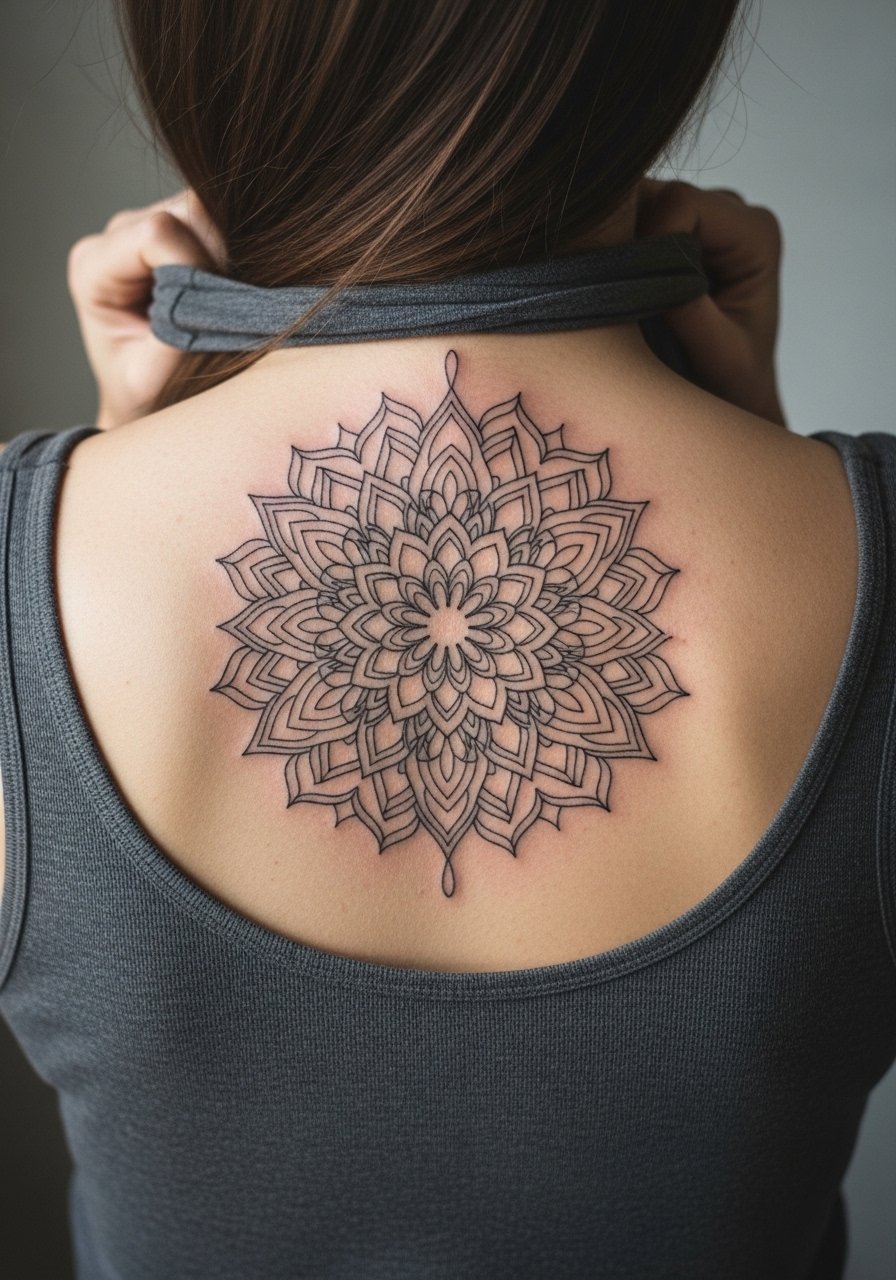
Most full-back mandalas read like a blueprint from the doorway. I usually recommend scaling the central motifs larger and spacing the spokes wider so dense linework does not merge by year three. In consultation, ask for reference shots at actual life-size on a person, not just the Instagram crop, and tell your artist you want breathing room between repeat elements. Expect a multi-session project that ranges from moderate to high pain around the spine. A common mistake is insisting on extra-fine detail without allowance for movement. This pattern traces to meditative traditions, so many clients choose slight variations rather than direct replicas out of respect for the origin.
2. Upper-Back Polygonal Wolf Emblem

I've seen geometric animal emblems read best when they follow musculature. For a wolf centered between the shoulder blades, tell your artist to contour the facets along the traps so the piece moves with the body. Pain is moderate because the area sits on muscle not bone, and a single long session often works for medium-sized emblems. The mistake is placing too many tiny facets in the snout; those collapse faster than large planes. For showing it off, an open-back shirt for men pairs cleanly with the triangular angles and keeps the silhouette visible on warm nights.
3. Vertical Spine Column of Interlocking Shapes

Fair warning: spinal placements are among the more sensitive back zones. The vertical column reads stronger when shapes are slightly larger and fewer, which reduces the risk of blowout along the midline. During consultation, ask for needle depth and spacing notes so the artist can advise on touch-up likelihood near vertebrae. Expect the session to include frequent short breaks. Overly tight tessellation is a common mistake. When healed, these columns keep graphic clarity if you plan touch-ups around year three, especially if you spend time in the sun.
4. Shoulder Blade Hex Grid That Wraps Toward the Arm

There is something about repeated hexes that looks mechanical and modern. I usually recommend starting the grid larger at the center and letting it fragment toward the edge so the pattern breathes with skin motion. Pain is low to moderate because the shoulder blade sits on muscle, and most pieces finish in a single extended session. A common error is wanting perfectly identical hexes across curved anatomy. For the session, wear a loose button-down shirt you can pull aside so the artist has clean access without tugging at fabric.
5. Asymmetric Geo-Shield Over the Upper Left Back

When a design favors one side, asymmetry can read intentional rather than lopsided. The shield design benefits from thick outlines and solid fills in some panels to create contrast that ages well. Tell your artist you want a mix of dense black planes and negative space so the dark areas hold through time. Expect a one-to-two hour session with low to moderate pain. The mistake is copying a symmetric reference exactly onto a shoulder with uneven muscle mass. For evenings out, a loose open-back tee frames the piece without covering the silhouette.
6. Geometric Ribbed Lower-Back Panel With Negative Space

This lower-back panel needs distance between parallel lines to avoid merging with time. When you sit with your artist, request mockups at life-size and ask about how the piece will look when you bend. The ribs and lower back flex a lot, so expect higher pain near the spine and a longer session overall. A common mistake is compressing too many ribbed lines into a narrow band. For the session, bring a pair of high-waisted jeans you can pull slightly low without exposing other areas.
Studio Day Picks
The upper and lower back pieces above demand different prep than shoulder blade work, so a few key items make the session smoother and the first week of healing less fussy.
-
Stencil transfer paper kit. Lets you preview how the mandala and column will sit on real skin before committing to scale.
-
Topical numbing cream. Applied per directions before longer spine or lower-back sessions to reduce discomfort without affecting saturation.
-
Thin protective film roll. Useful for lower-back and shoulder blade pieces that rub against waistbands during the first few days.
-
Fragrance-free body wash. Gentle cleansing helps maintain crisp linework on detailed geometric panels while the skin is healing.
-
Aquaphor healing ointment. A thin application in the first 48 hours keeps moisture in without clogging the needle channels for dense blackwork.
7. Scapular Compass With Fine Dot Work
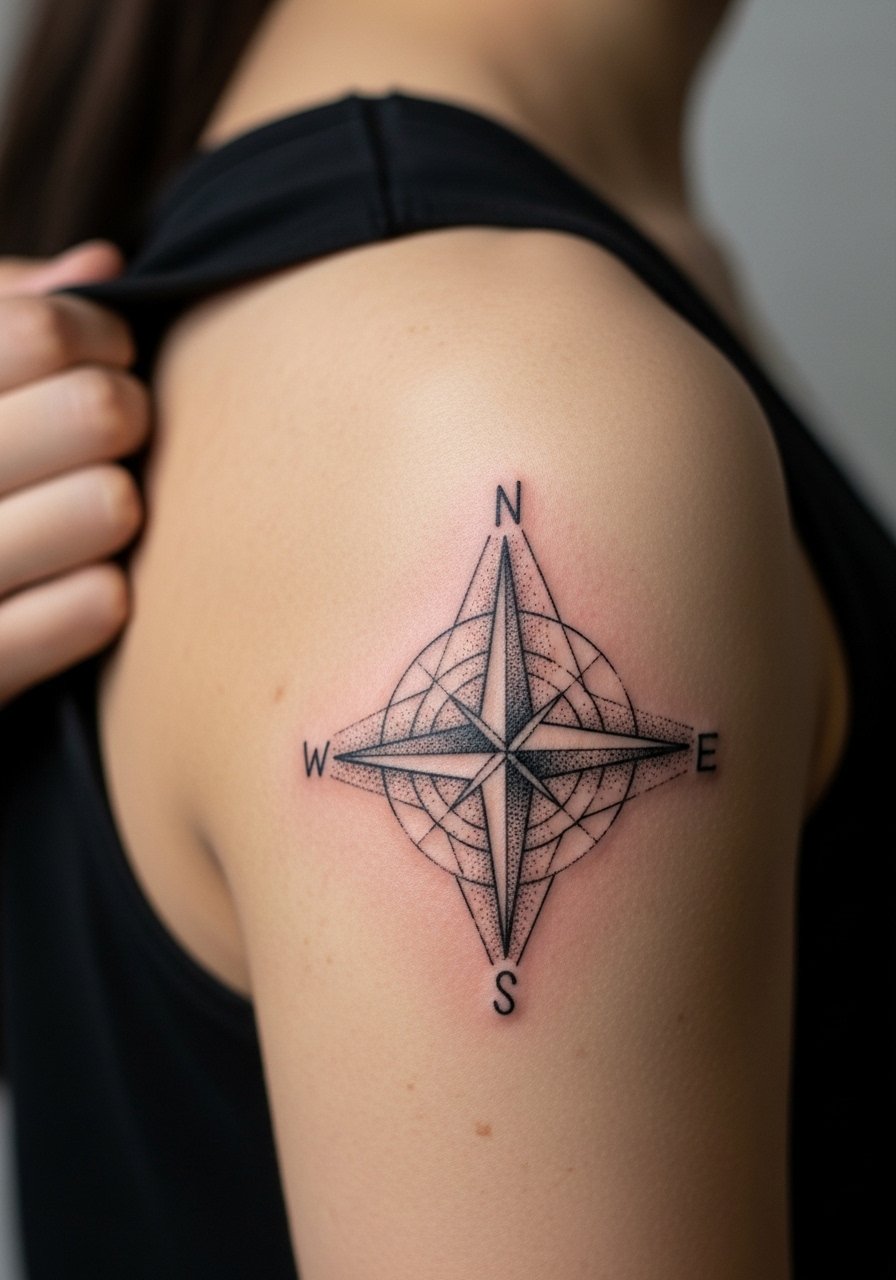
When you want precision without a full-back commitment, a scapular compass gives sharp direction. I advise stipple shading rather than dense gray fill in tight areas to keep texture visible as the piece ages. During consultation, ask the artist to show healed examples of stipple on similar skin tones. Pain is moderate and sessions are typically under three hours. A typical mistake is overloading the compass with line detail near the needle entry points. For showing off, a racerback tank keeps the edge of the compass visible and frames the shoulder blade.
8. Connected Triangle Mesh That Fades Into Negative Space
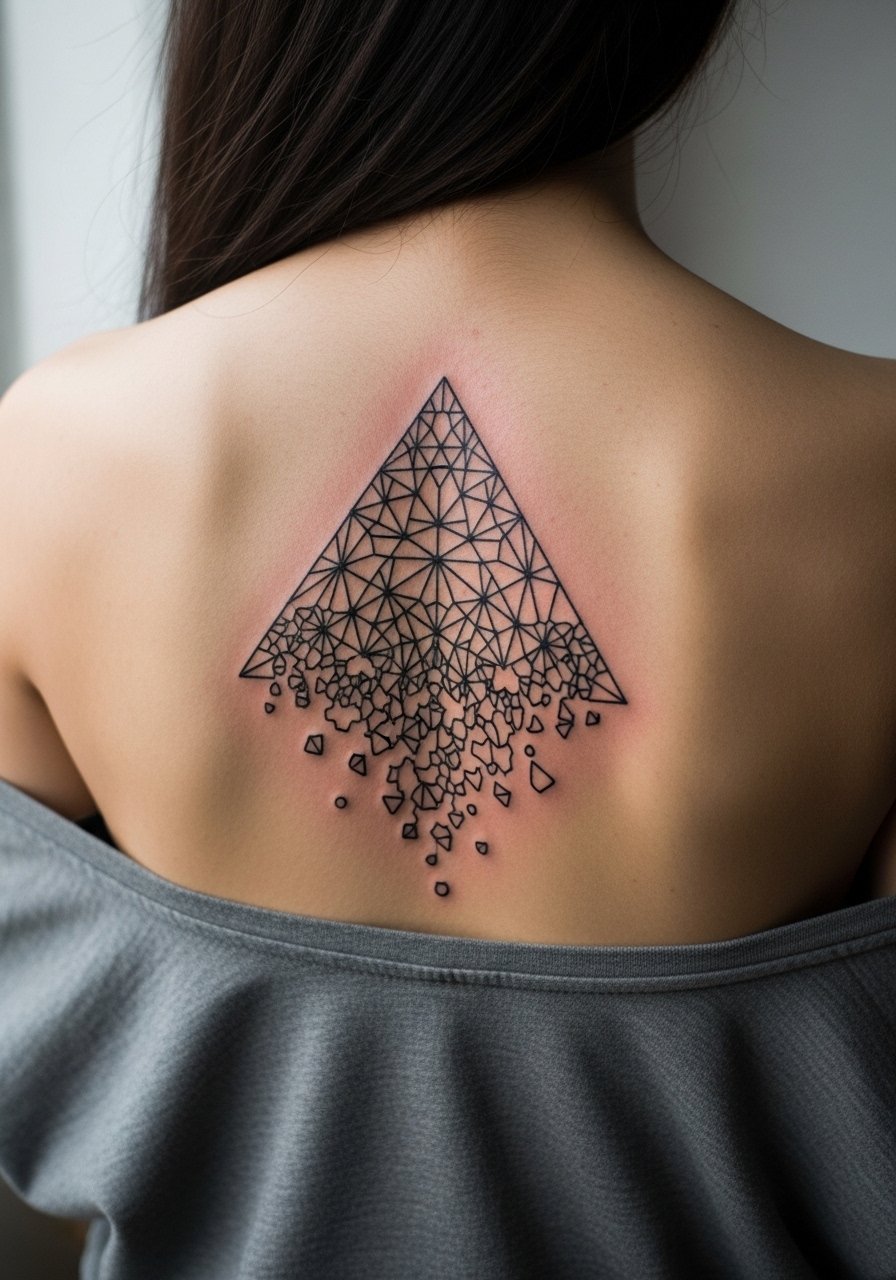
Most mesh work benefits from intentional decay. I usually advise a gradation where triangles are dense near the center and increase in spacing outward so the piece softens with time rather than smudging. For the session ask how the artist plans to vary line weight across the mesh to prevent uniform blurring. Pain is low to moderate and one session often suffices. Common error is insisting on identical lines across curved surfaces. This design pairs well with a loose linen shirt with sleeves rolled to show the upper back on warm days.
9. Mirrored Geometric Wings Across the Upper Back

There is a debate among artists about mirrored symmetry across the back. One camp argues exact symmetry preserves the visual punch. The other camp says perfect mirroring fights natural body asymmetry and looks off as muscles change. I tell clients to choose a design that allows slight intentional differences so the wings read balanced on real bodies. Pain is low to moderate and sessions are typically multi-hour. A mistake is insisting on pixel-level symmetry from a flat reference without accounting for posture. For evenings out, an open-back jacket frames the wings without covering their span.
10. Geometric Koi Scale Panel on the Lower Back

There is a freshness to geometric renditions of organic forms. For koi-inspired scale panels, ask your artist to stylize rather than copy traditional koi imagery, which keeps the piece modern and avoids cultural appropriation. Pain near the lower back can spike around the spine. Session time depends on coverage but expect multiple sittings for full panels. A common mistake is requesting hyper-detailed scales in a narrow band. For the session, a pair of loose drawstring shorts keeps the waistband from pressing on the healing area.
11. Angular Sunburst Centered on the Thoracic Spine
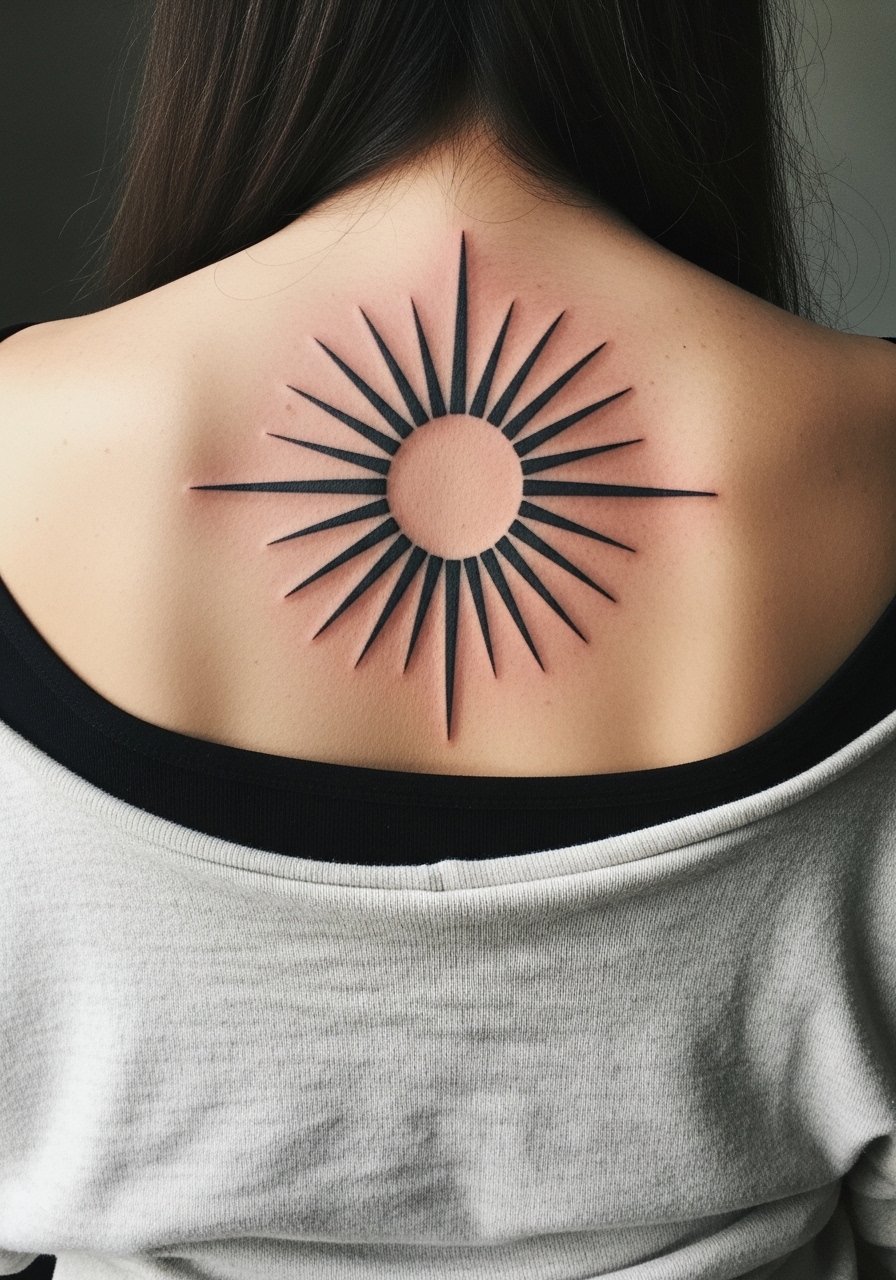
Visual impact lead works here because the sunburst reads from across a room. For a thoracic center, increase the gap between radial bars so the burst retains separation as it heals. Tell your artist during consultation that you prefer negative space in the inner rays to prevent merge over time. Expect higher sensitivity on the midline and plan for short breaks. The error I see is asking for thin rays too close to the spine. Pair this with an open-back tank when you want the burst visible without exposing the whole back.
12. Low-Back Chevron Band That Mirrors Waistline
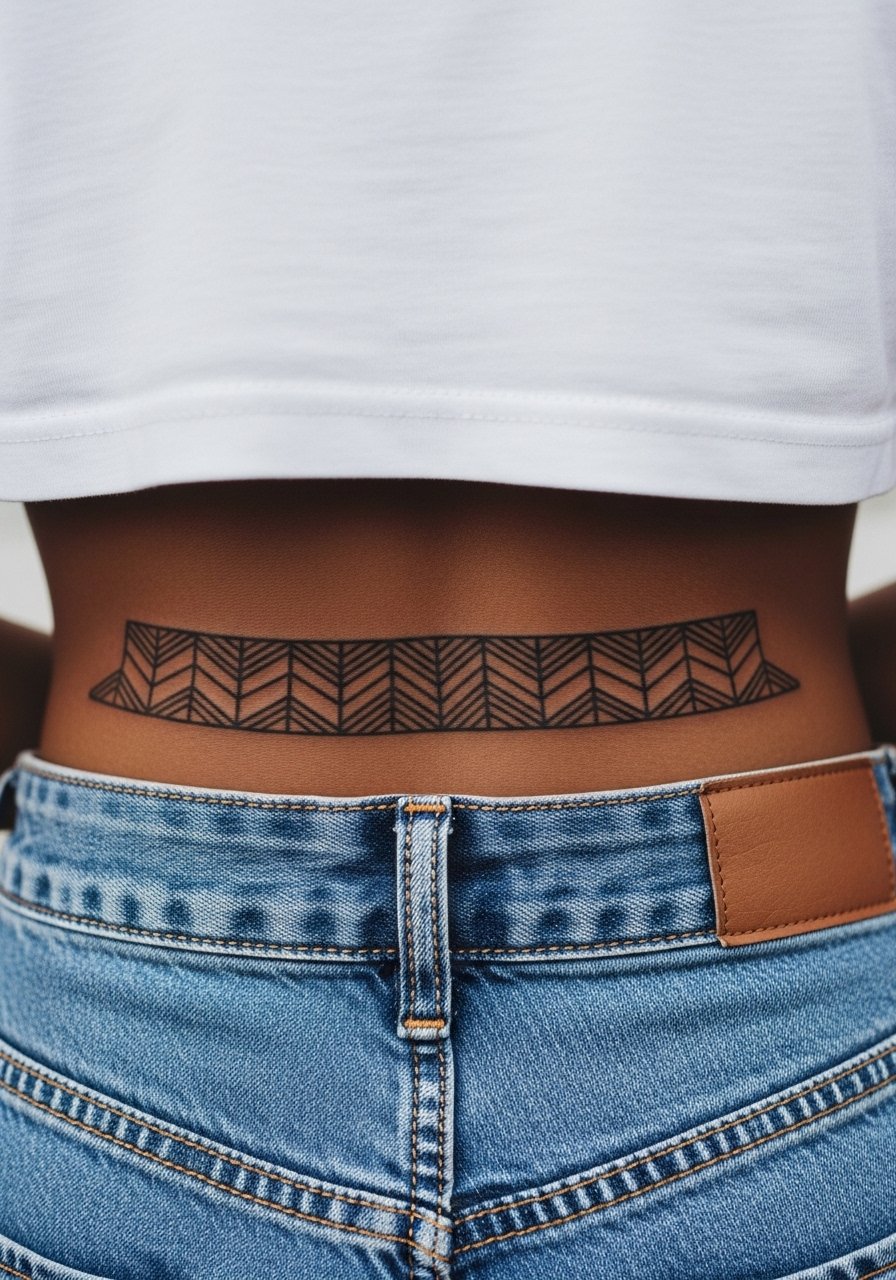
Most clients underestimate how clothing rubs against lower-back bands in the first week. For a chevron band, design the apexes so they point away from high-friction zones and keep spacing wide to reduce scabbing. Pain is moderate and midday sessions around clothing may be harder because of bending. The typical mistake is placing a tight band where waistbands will constantly bite. Wear high-rise pants that sit lower on the hips for the session to avoid pressure on the fresh work.
13. Interlaced Cubes Across the Mid-Back
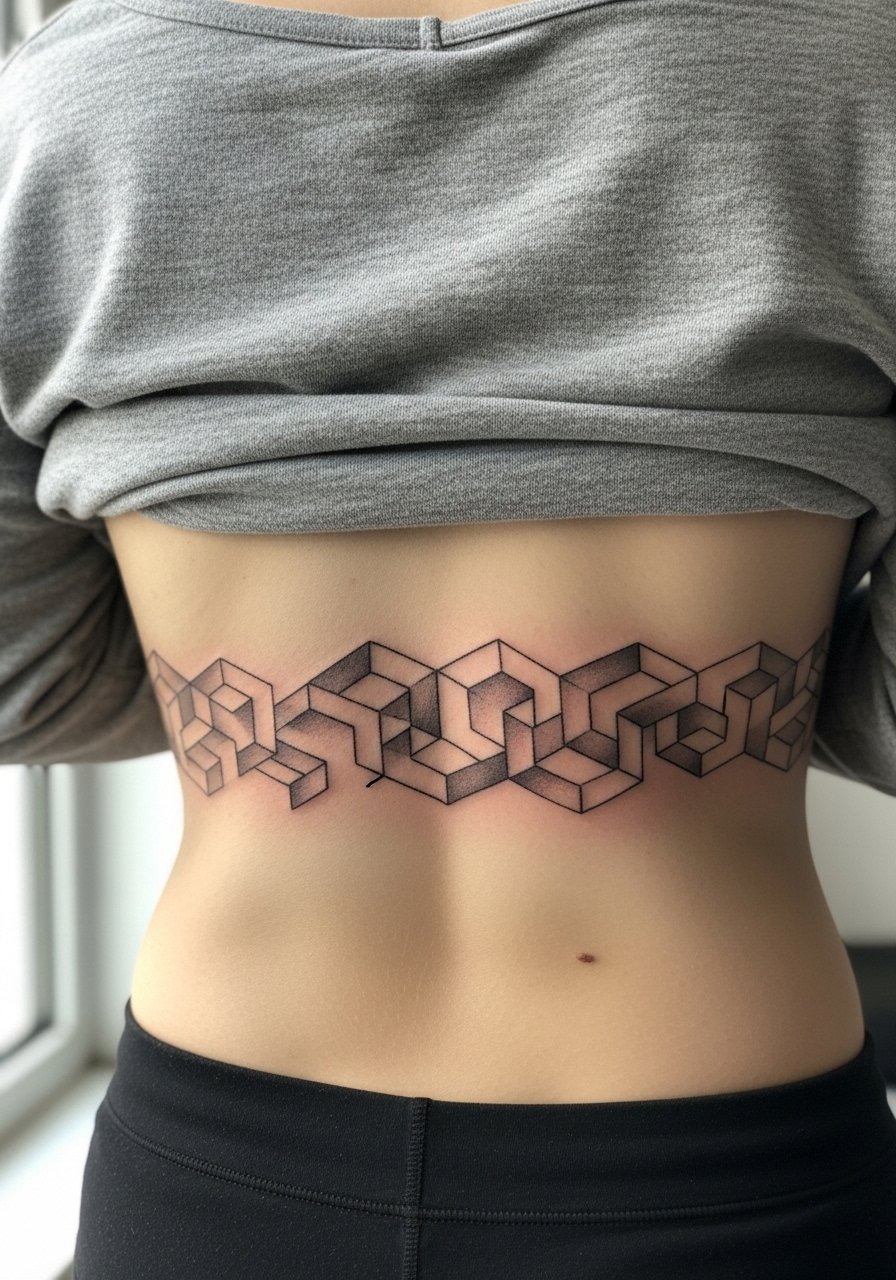
When cubes get too small they lose their three-dimensional read. I usually suggest larger faces with lighter whip shading inside to keep edges crisp over time. Discuss how shading will age and whether you want contrast panels to hold as the skin settles. Pain is moderate across the muscle layer and session time varies with coverage. The mistaken brief is requesting micro-cubes for full-back coverage. For casual show-off, layer with a button-up cardigan left open at the back to let the cubes peek through.
14. Minimal Geometric Script Along the Upper Spine
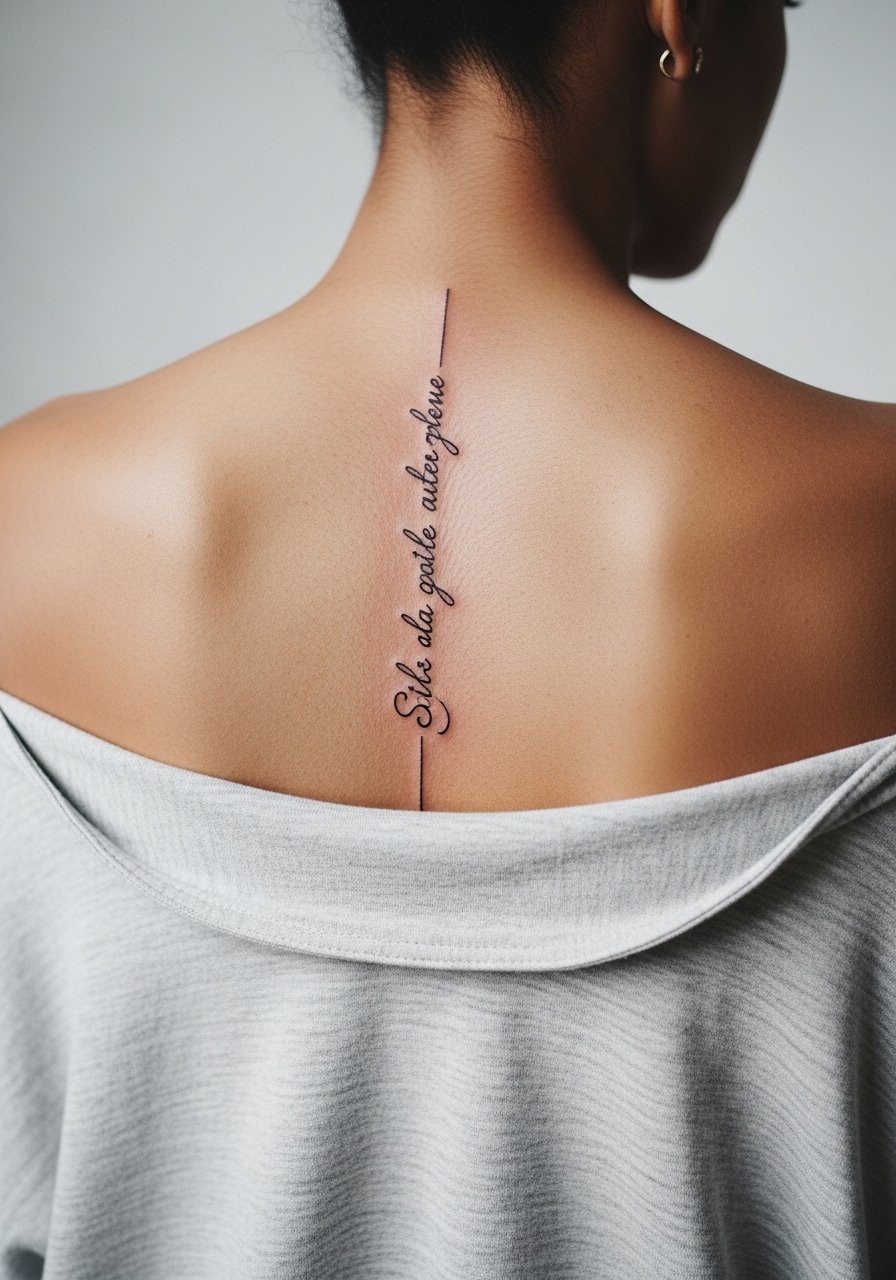
Consultation lead: when placing geometric script on the spine, ask the artist to stencil the exact life-size lettering across the curved surface. Tiny script on the midline can blur within a couple of years if the letters are too narrow. Pain is higher near the vertebrae and session breaks are common. The controversy here involves fine line script along the spine. One side warns that thin script always blurs there. The other side argues that with deeper needles and careful spacing it can hold. Ask your artist which approach they use. For showing off, a thin chain pendant necklace sits above the script without crowding it.
15. Angular Rib-to-Back Transition Panel

Aging and healing lead: pieces that cross from rib to back age differently on each surface. On the ribs the skin stretches more and lines can soften. I recommend larger shapes near the rib margin and tighter geometry on the back so the visual read remains consistent. Pain spikes on the ribs so expect breaks and a longer session plan. A common mistake is trying to keep line weight uniform across two very different canvases. For the session, wear a bandeau or fitted sports top so the artist can access the rib without you being fully undressed.
16. Optical Illusion Grid Across the Lower Shoulder Blades
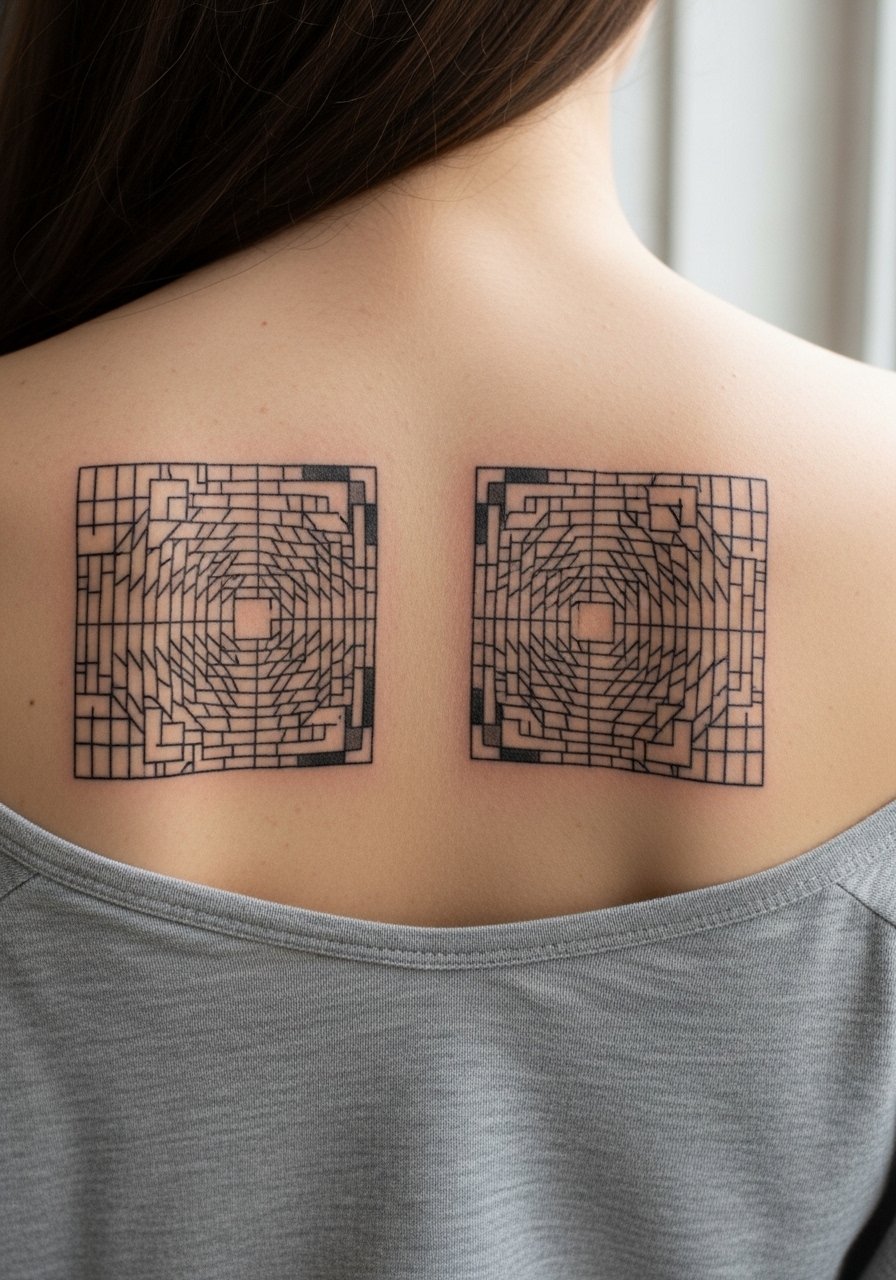
Visual impact lead: illusion grids need precise alignment to read properly. I recommend multiple small stencils and checking alignment on posture, not just when standing straight. Pain is low to moderate, but the alignment process can add time to the session. A mistake is trusting a single stencil placement without testing movement. For nights out, a loose drawstring linen pant and an open back tee keep the illusion visible while staying comfortable.
17. Geometric Horizon Bar With Fading Fragments

Mistake lead: the biggest error with horizon bands is making the fragments too fine. For longevity, ask your artist to create progressive fragmentation where the edges dissolve into larger shards rather than hairline dots. Pain is moderate and most of these finish in a single session under three hours. Expect touch-ups around year three if you spend a lot of time outdoors. For casual exposure, an open-back knit top gives the band presence without full exposure.
Frequently Asked Questions
Q: Will fine-line geometric details on the spine blur faster than bold blackwork?
A: In my experience, yes. Fine-line details along the spine tend to merge sooner because the area flexes and has thinner skin. Bold blackwork will usually hold its graphic edge longer. If you want fine detail, plan for touch-ups around year three and ask your artist to space lines generously.
Q: How should I dress for a full-back session that might last multiple hours?
A: Wear loose, easy-to-remove layers and pants with an adjustable waistband so you can lower or lift without shifting other clothing. For comfort, a breathable button-down or a loose button-down shirt is helpful because it gives the artist access while keeping you covered between breaks.
Q: Do geometric patterns on the lower back need special placement notes to avoid rubbing from pants?
A: Yes. Place bands or panels slightly above where waistbands sit or plan to wear high-waisted bottoms for the first week. Mention friction zones in your consultation so your artist can advise on positioning and spacing.
Q: Are mirrored shoulder-blade designs risky if my posture is uneven?
A: They can be. One camp favors perfect symmetry for the visual punch. The other camp prefers intentional asymmetry that reads balanced on real bodies. If your shoulders sit uneven, tell the artist so they can adapt the stencil to your posture rather than forcing mirror symmetry.
Q: How often will geometric back tattoos need touch-ups?
A: It depends on size, contrast, and sun exposure. High-contrast black panels often last longer between touch-ups. Fine-line and dense stipple zones may need touch-ups around year three. Expect touch-up timelines to vary with how much direct sun the area sees and how often clothing rubs the area.
Q: Can I get a geometric mandala inspired by sacred designs without crossing a cultural line?
A: You can, but many people choose stylistic variations rather than exact sacred symbols. Mention your intent to the artist and ask for slight adaptations that acknowledge the origin without copying a specific religious motif exactly.
