
The behind-ear spot is one of those small canvases that rewards restraint. Tattooing there reads intimate in a crowd and stays easy to hide for work, but it also has quirks: hair brushes, friction from collars, and a curved surface that can turn thin kanji into a blur if scaled wrong. Read on for 27 refined Japanese ideas that account for aging, session wear, and how to show each piece off without sacrificing longevity.
1. Kanji "Yuuga" (Elegance) behind right ear
This small single-character kanji reads clean when scaled to about 1 to 1.5 inches on the curve behind the ear. Tell your artist you want slightly bolder strokes than a typical fine-line kanji so the verticals do not thin out as it heals. A common mistake is asking for ultra-fine lines that vanish into the hairline within a year. Expect a quick session under 30 minutes and a touch-up around year two if you prefer crisp edges. For showing it off, a high ponytail works well. Try wearing a high ponytail holder on days you want the kanji visible.
2. Protective right-ear crest with shadowed gray
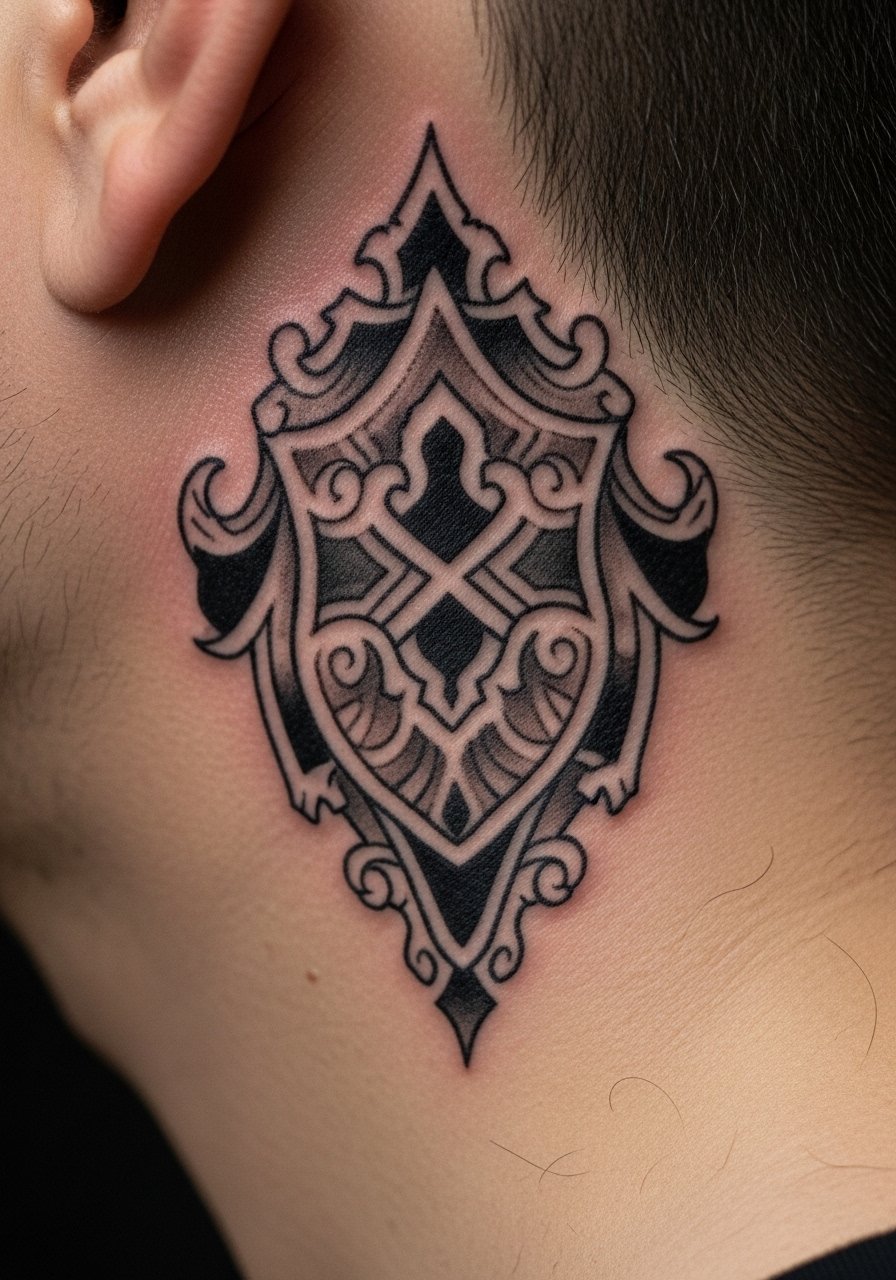
Choose a compact crest or simplified family crest motif that reads as protection rather than a complex scene. Ask for micro shading that keeps negative space around the symbol so it does not fill into a blob on the curve. This placement favors a slightly denser application than ultra-fine linework. Pain sits low, maybe a 3 out of 10, and sessions typically run 30 to 45 minutes. For a polished look when you want it visible, pair with a crewneck sweater women and a side-part bob that reveals the area.
3. Left-ear "Adventure" kanji script
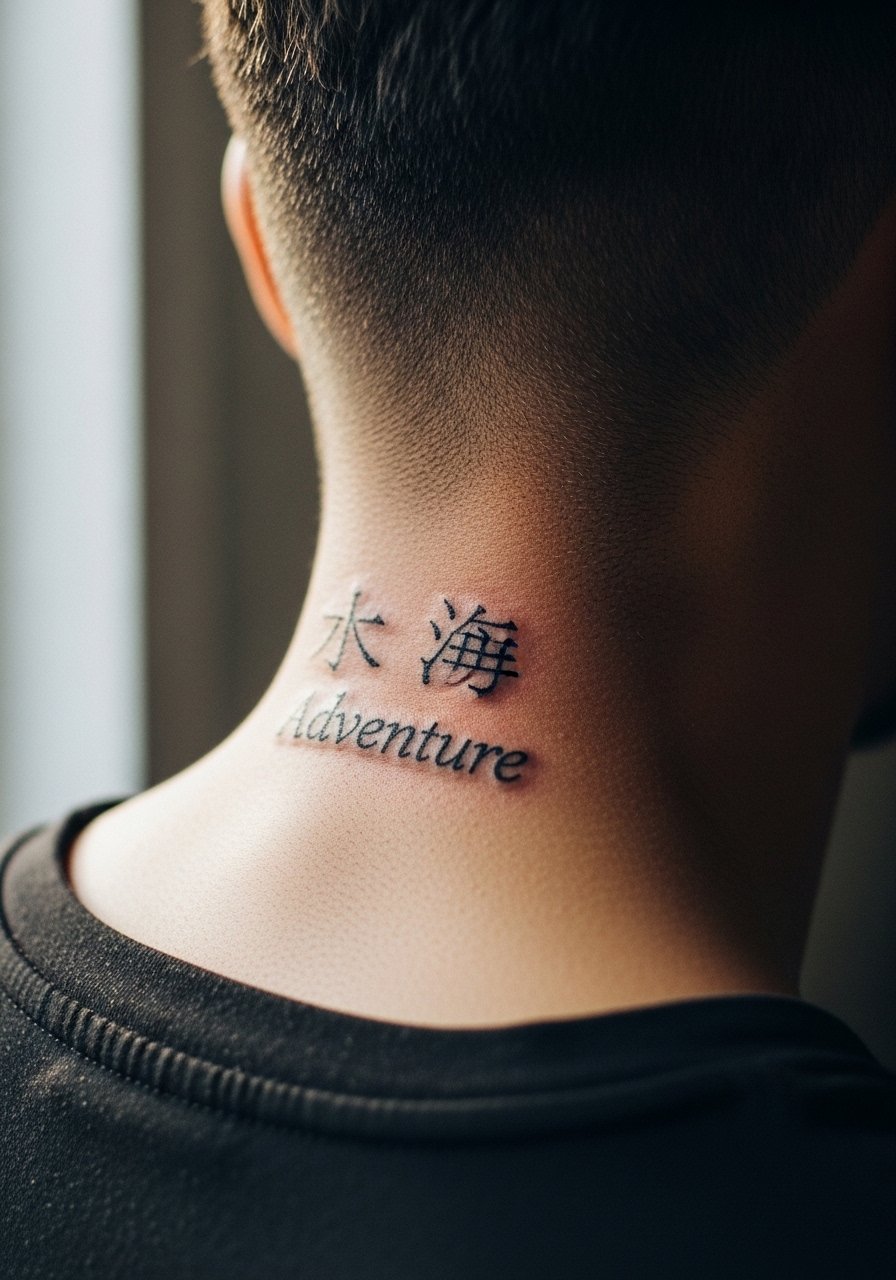
Left-ear placements often get chosen for travel or intuition motifs. If you want the character to hold on darker skin tones, ask for slightly heavier line weight and test a small flash patch if possible. The common mistake is requesting the same line weight used for inner-wrist scripts without accounting for ear curvature. Session time is usually under 30 minutes, and expect a touch-up sooner if the lines are too thin. For the appointment, a loose V-neck cotton tee keeps hair and collar interference minimal.
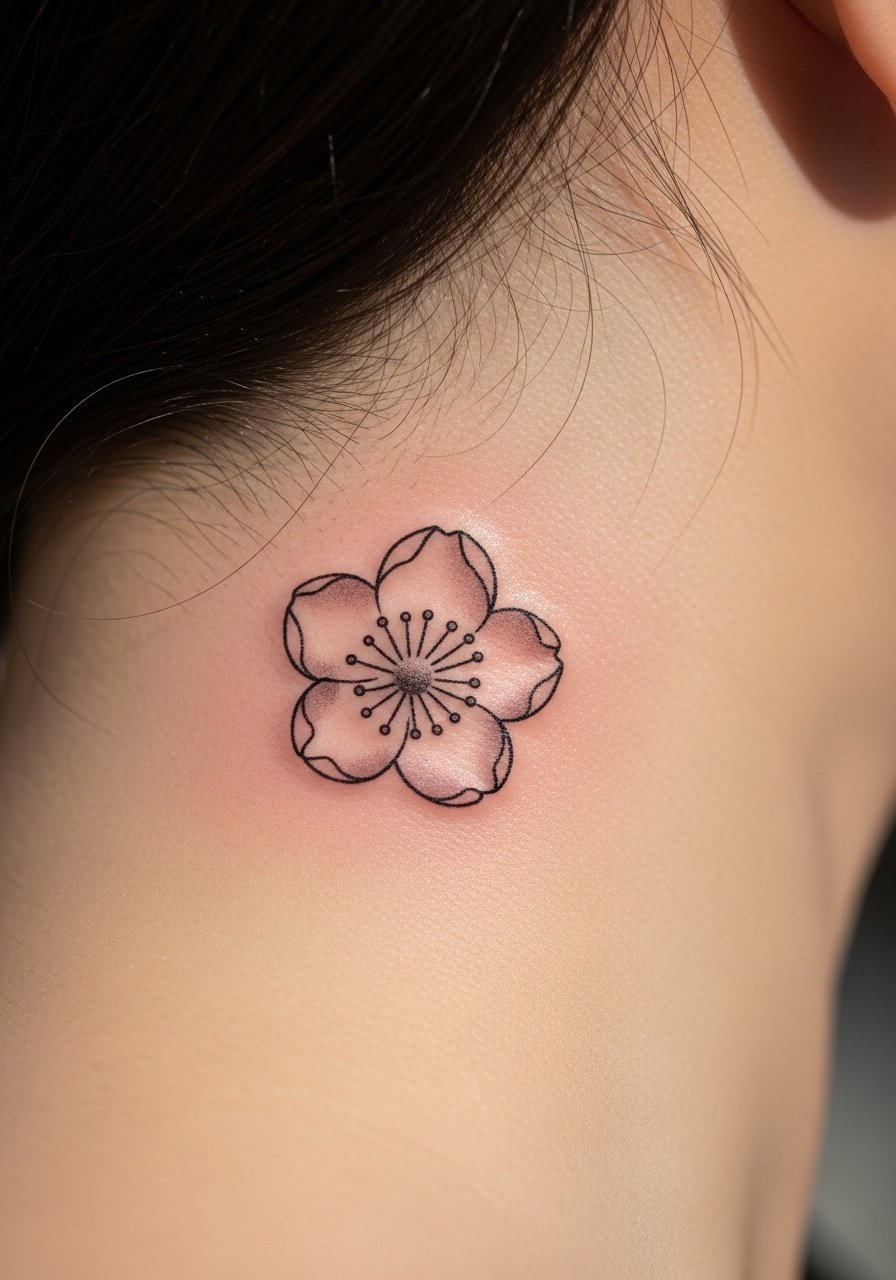
4. Micro cherry blossom outline cluster
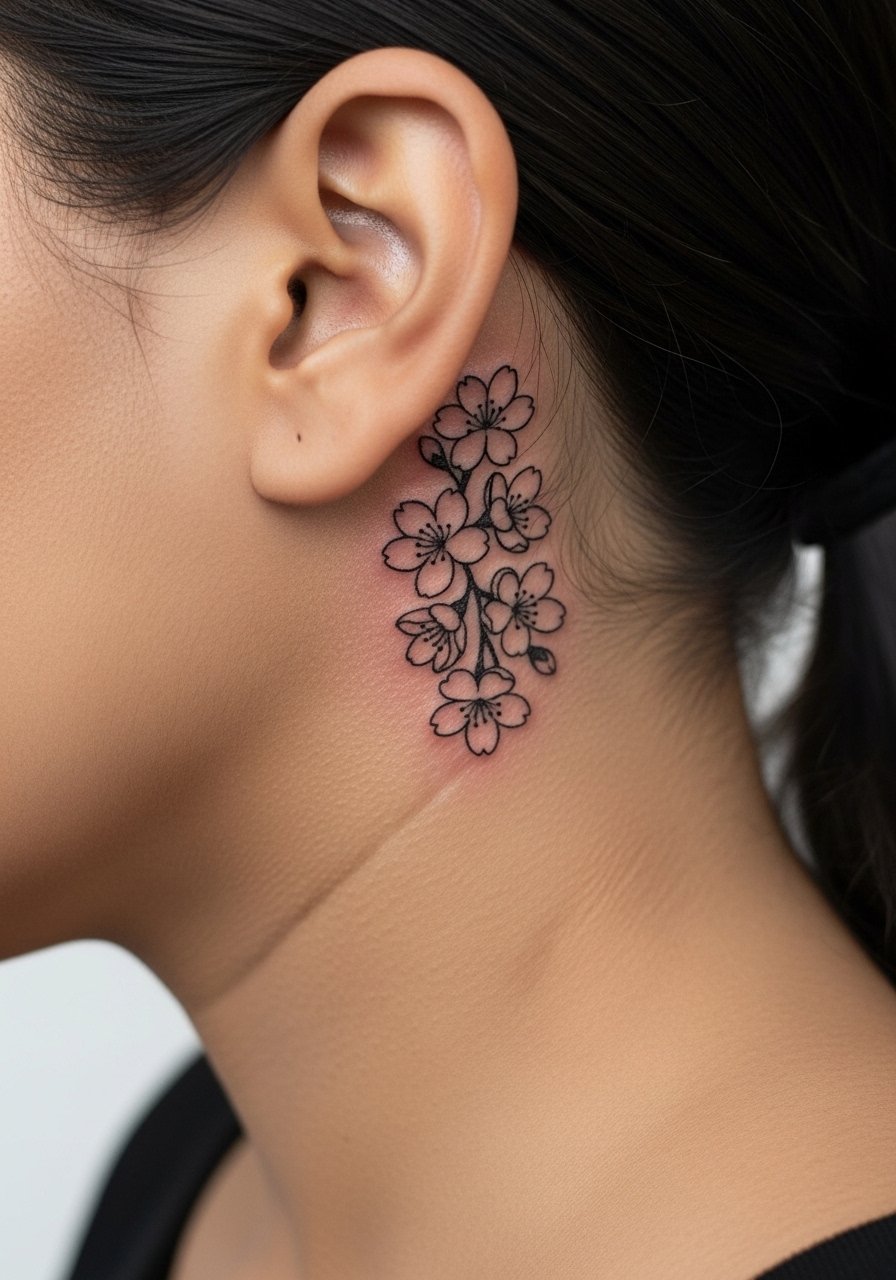
Tiny sakura blossoms suit this curved spot because they can float along the hairline. Recommend single-needle outlines with intentional spacing so petals do not merge after healing. A mistake is packing multiple petals too close together, which looks great fresh and then softens into a single patch. At six months you should still see individual petals, at two years lines may soften and need a light touch-up. For show-off pairing try a loose silk loose blouse when you want a subtle peek.
5. Koi fish silhouette tucked by the helix
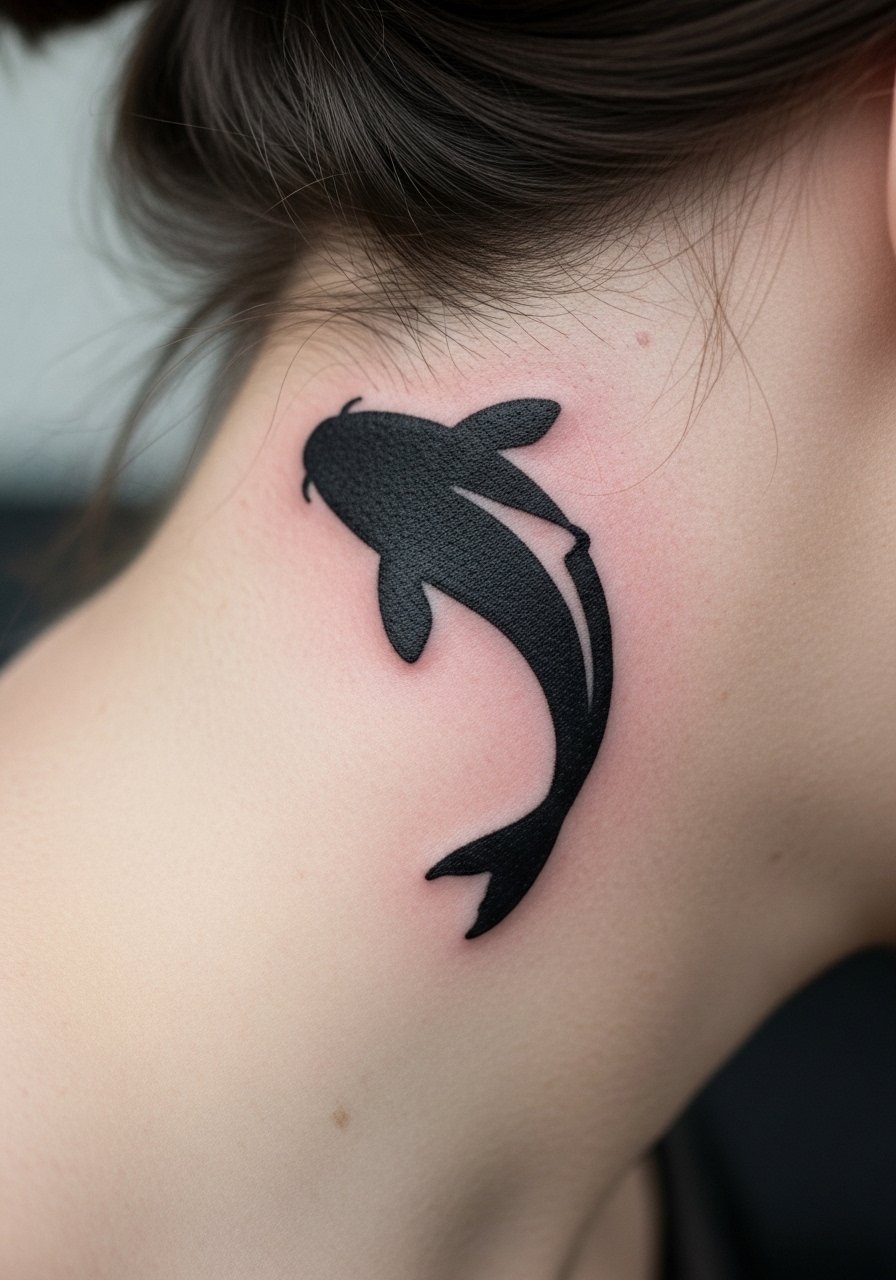
A tiny koi silhouette reads as perseverance in a compact blackwork style. Request a solid silhouette rather than tiny scales so the fish remains a readable icon for years. The main mistake is over-detailing fish anatomy at this scale. Expect a 30 to 45 minute session and a touch-up possible by year three if you prefer razor-sharp edges. This placement can rub with headphones, so scale placement slightly toward the upper neck to avoid constant compression.
6. Minimal wave crest with dot work accent
A simplified wave motif uses linework and stipple shading to say more with less. Ask the artist for stipple rather than continuous gray wash so the texture settles cleaner on a small curve. Artists disagree on dry healing versus protective film for tiny stipple work. One camp prefers dry healing for saturation, the other prefers a short protective film application to reduce scabbing. State your preference and follow your artist's protocol. For session-day ease, wear a loose button-down shirt you can pull aside.
Pack Smart
The first six behind-ear ideas focus on small symbols and micro blackwork, and a few of them sit near the headset and collar zones. These items smooth the chair day and the first week of healing for that type of work.
- Japanese rice bran balm. A breathable balm alternative some artists prefer in humid climates, useful for small behind-ear pieces that are prone to trapped moisture.
- Silk hair ties pack. Keeps hair pulled back without snagging the fresh area during the first week.
- Unscented cornstarch baby powder. Helps reduce itch from hair rubbing without adding oils that can clump on small behind-ear tattoos.
- Talc powder alternative for healing. Useful if sweat is an issue under collars and hairline friction.
- Aquaphor healing ointment. Thin layer for the initial days can protect fine line work near the hairline when used sparingly.
7. Tiny crane silhouette tucked behind the ear
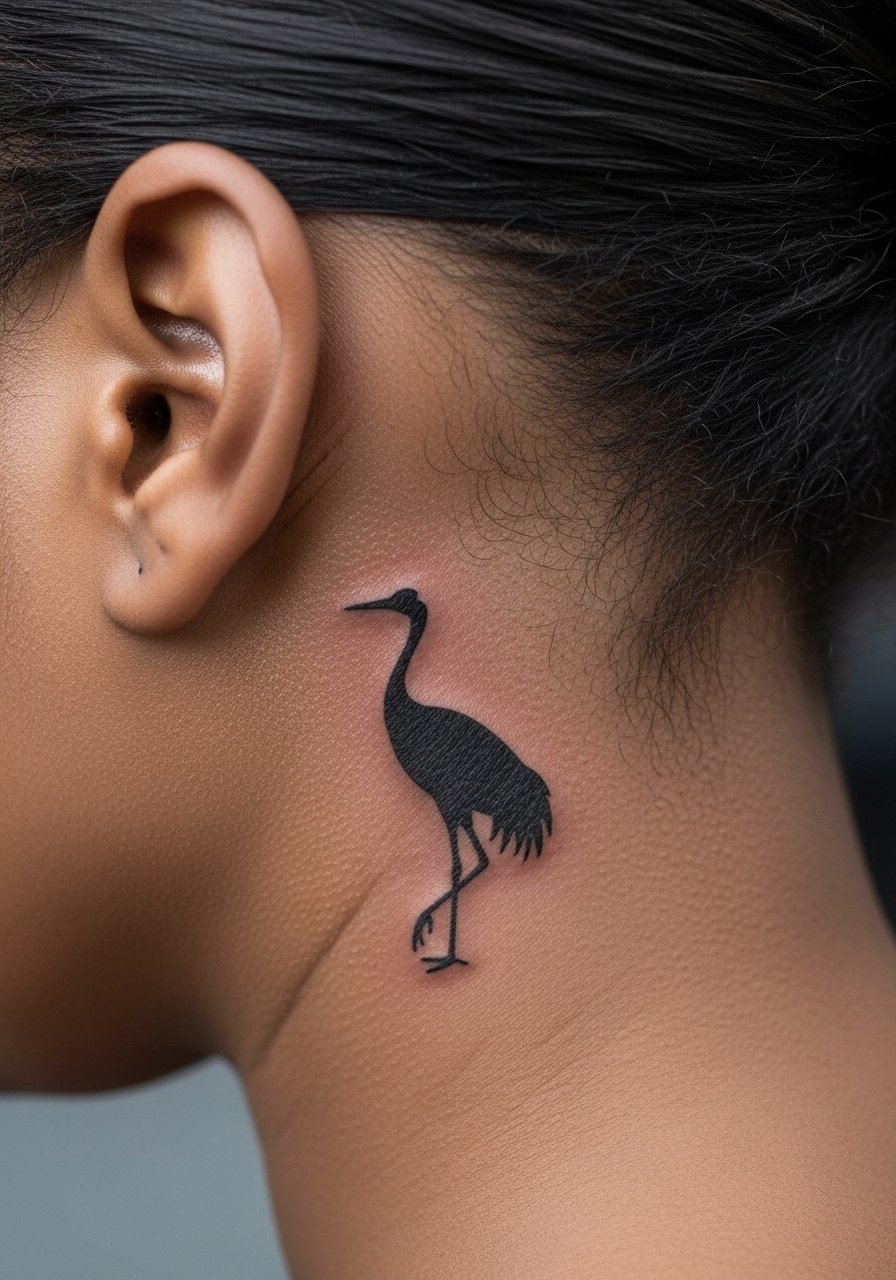
A folded crane in silhouette is classic and fits the behind-ear scale. Ask for a slightly thicker outer line so the shape keeps clarity against hairline shadows. A common mistake is crowding feather detail into a sub-inch space. Expect minimal pain and a short session. Over time the silhouette reads softer than detailed feathers, which is exactly why it works for this placement. Wear a side part hair clip if you want the crane to peek from under your hair.
8. Micro torii gate outline
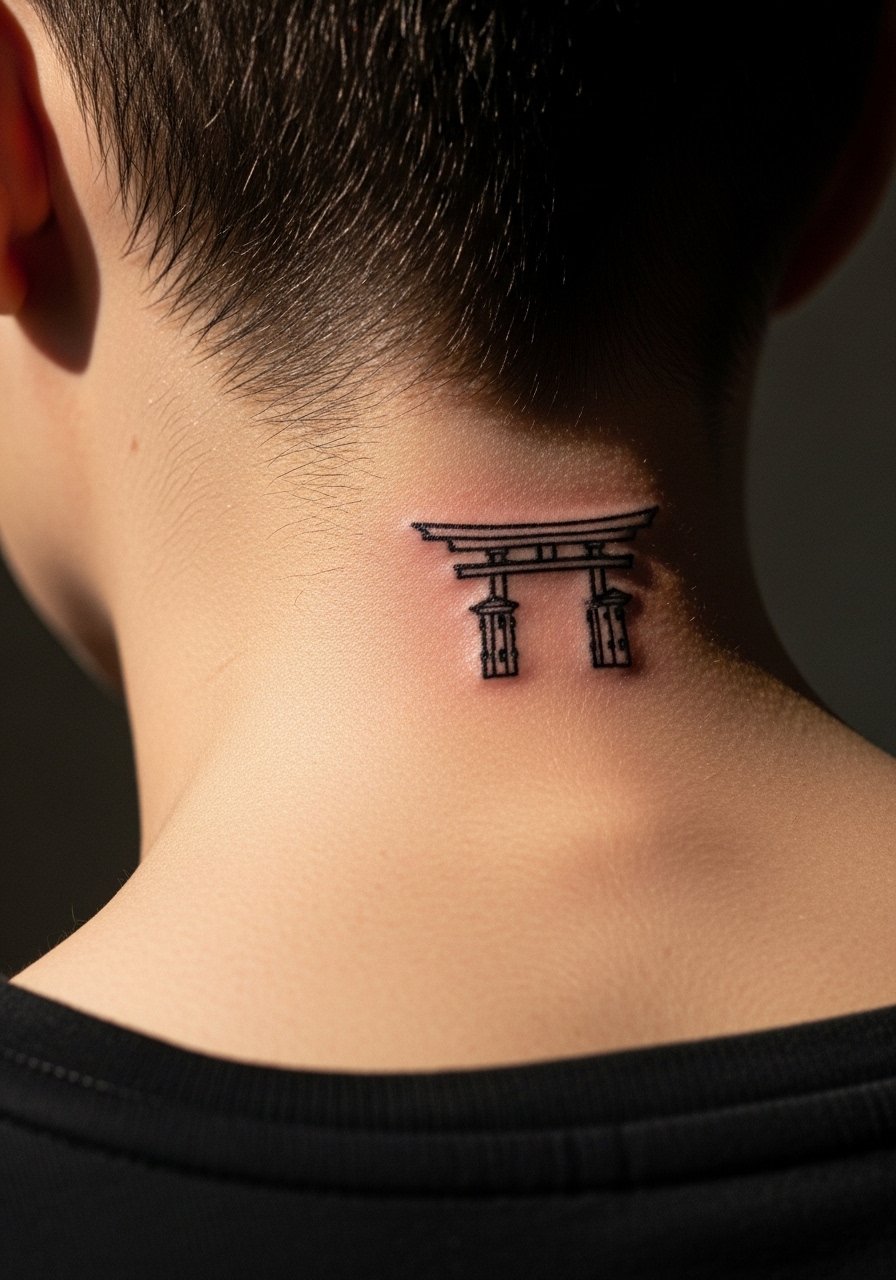
A torii gate works as a compact symbol of transition. When asking for this, specify that the cross beam should be slightly thicker than the pillars so the shape reads at small sizes. The main error is equal thinness across elements which blurs after healing. This design heals predictably and rarely needs touch-ups if done with conservative spacing. Pair with a thin chain pendant necklace on the opposite side so the neck area balances visually.
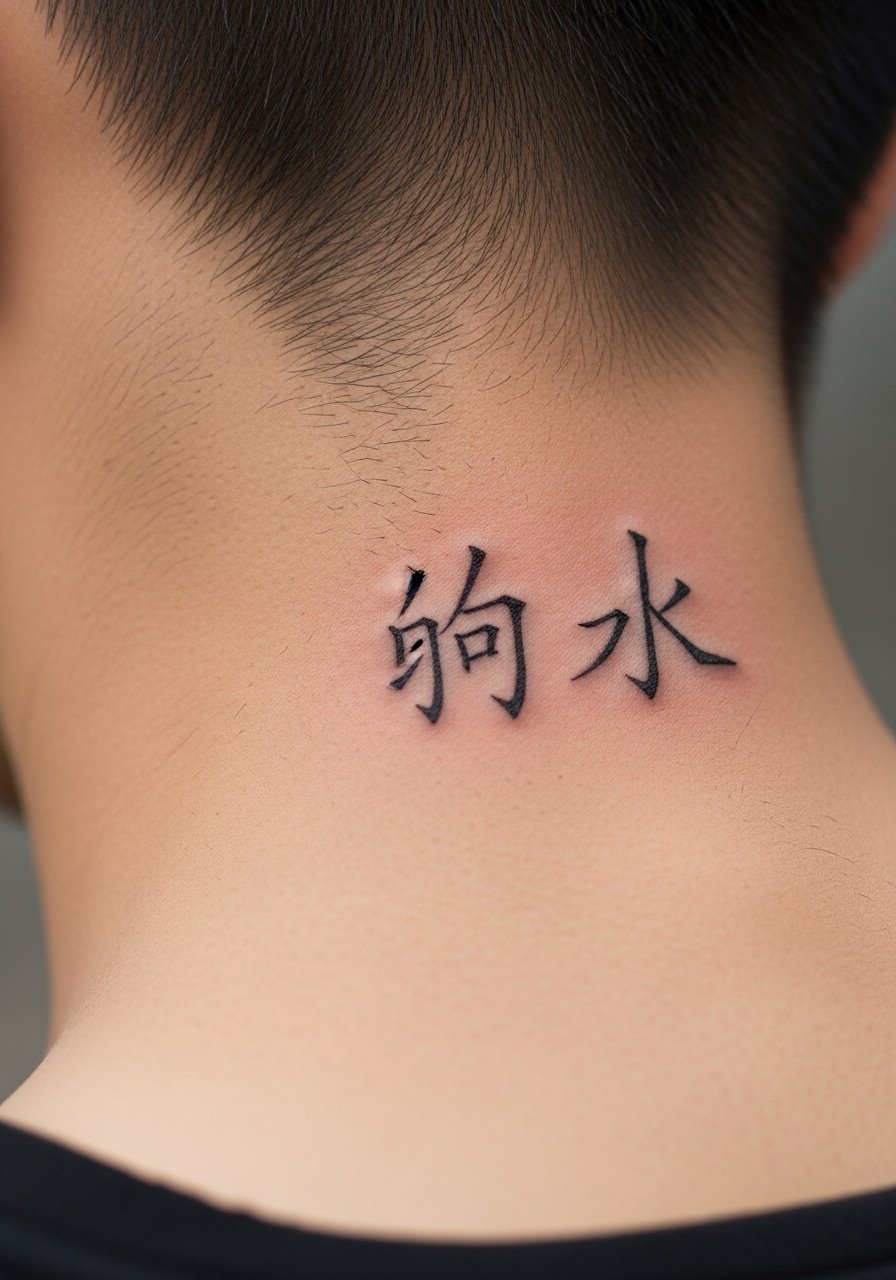
9. Tiny kanji row, stacked vertically
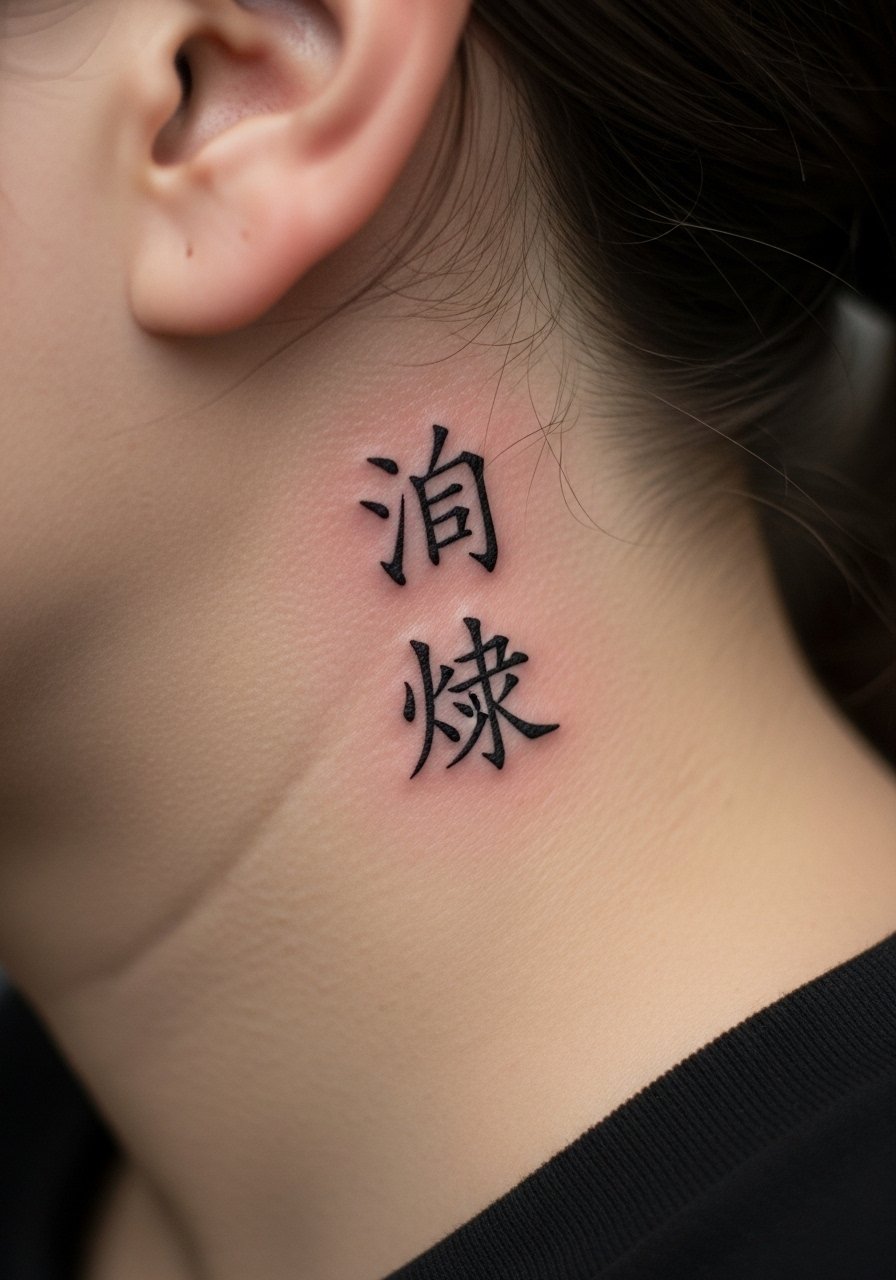
Stacked kanji can tell a short phrase in under two inches. Ask your artist to space the characters with room for slight settling so that vertical strokes do not touch as the skin moves. A common mistake is compressing characters to "fit" a concept, which accelerates legibility loss. At six months the characters should still be separate, but expect softening over years. For the appointment, a V-neck cotton tee works well to avoid collar friction.
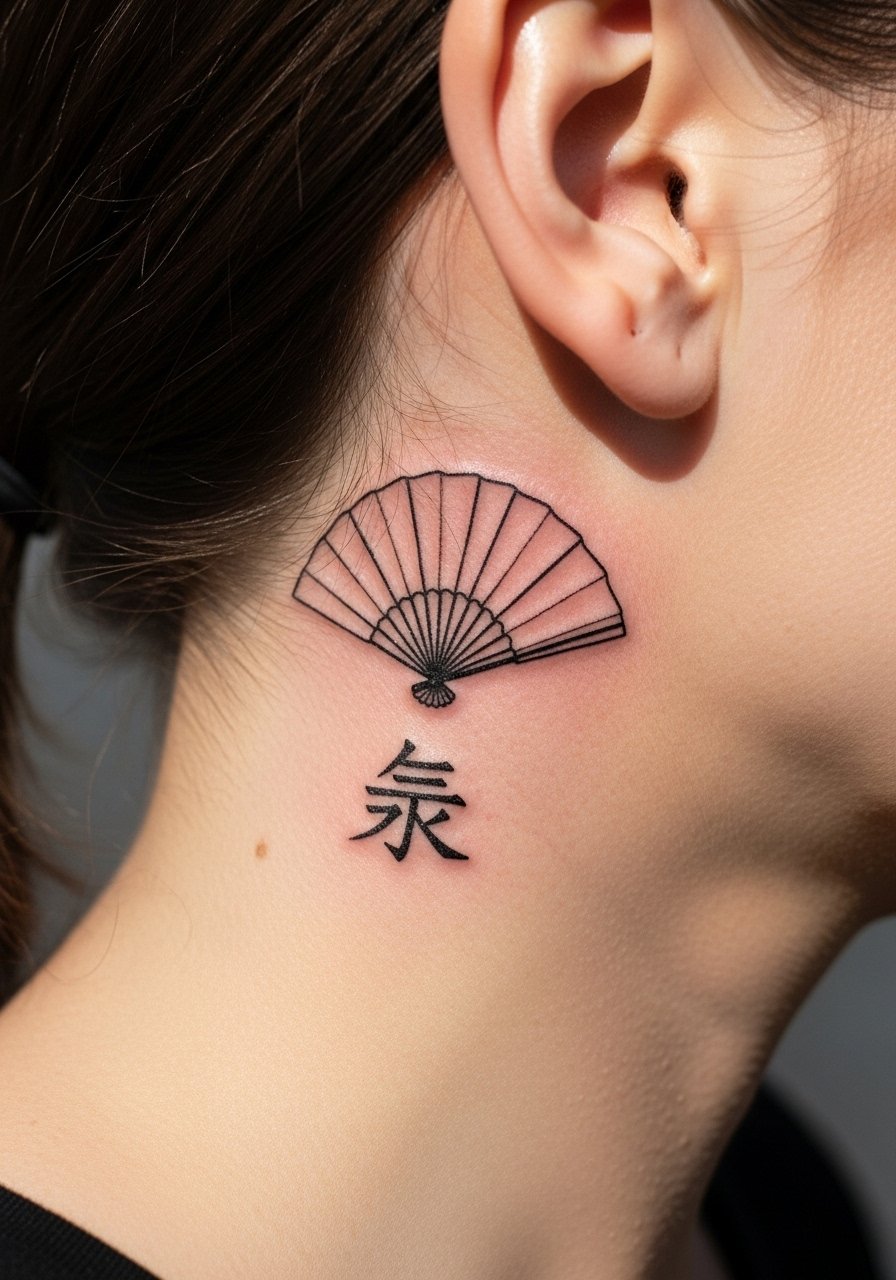
10. Micro fan motif with dot shading
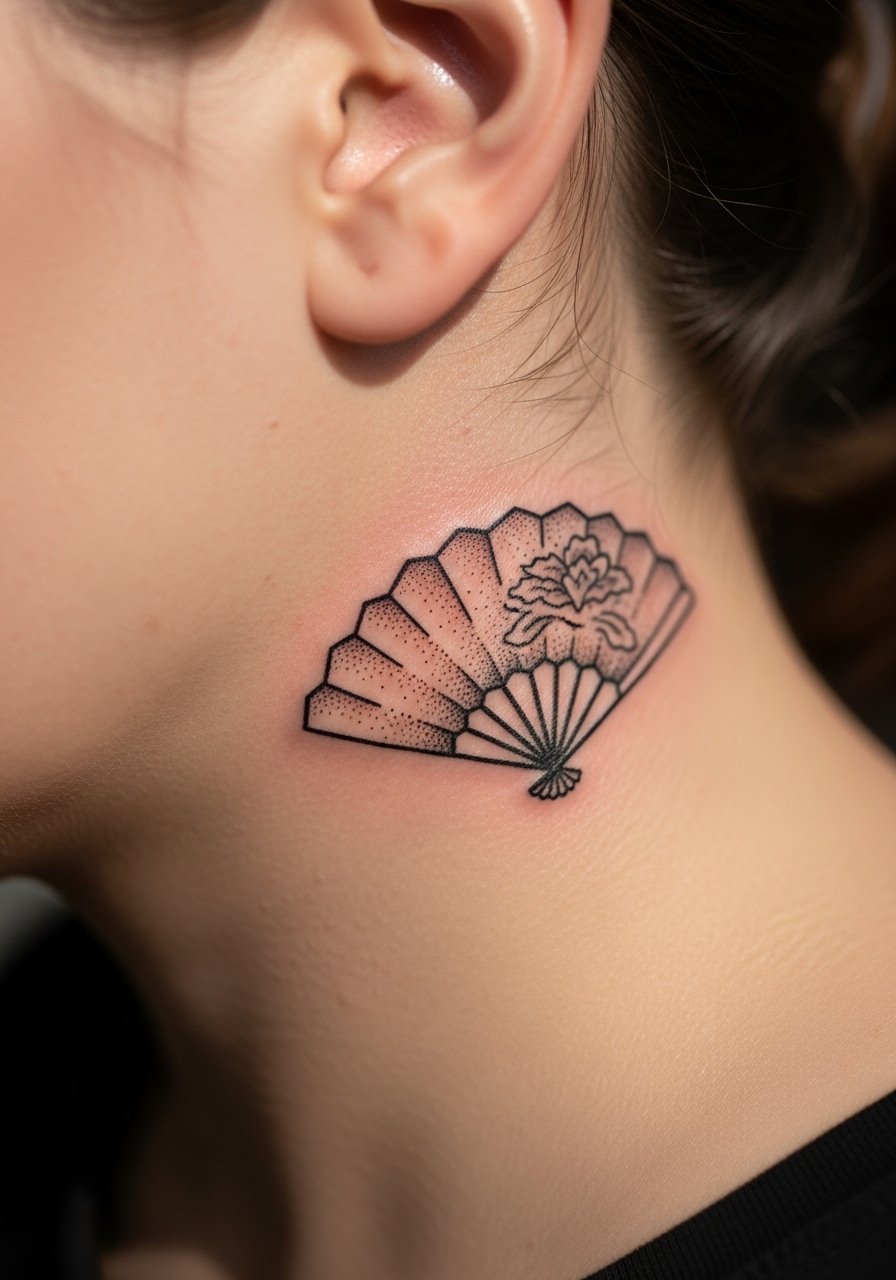
A folding fan uses negative space to remain legible in tiny formats. Ask for stipple shading inside the fan to retain texture without heavy saturation. The error to avoid is full gray wash in a tiny shape, which can flatten into a splotch. This design is gentle on healing and low-risk for blowout if the artist spaces dots properly. To display the fan subtly, wear a wide-neck shirt pulled slightly aside for photos.
11. Tiny lotus bud outline
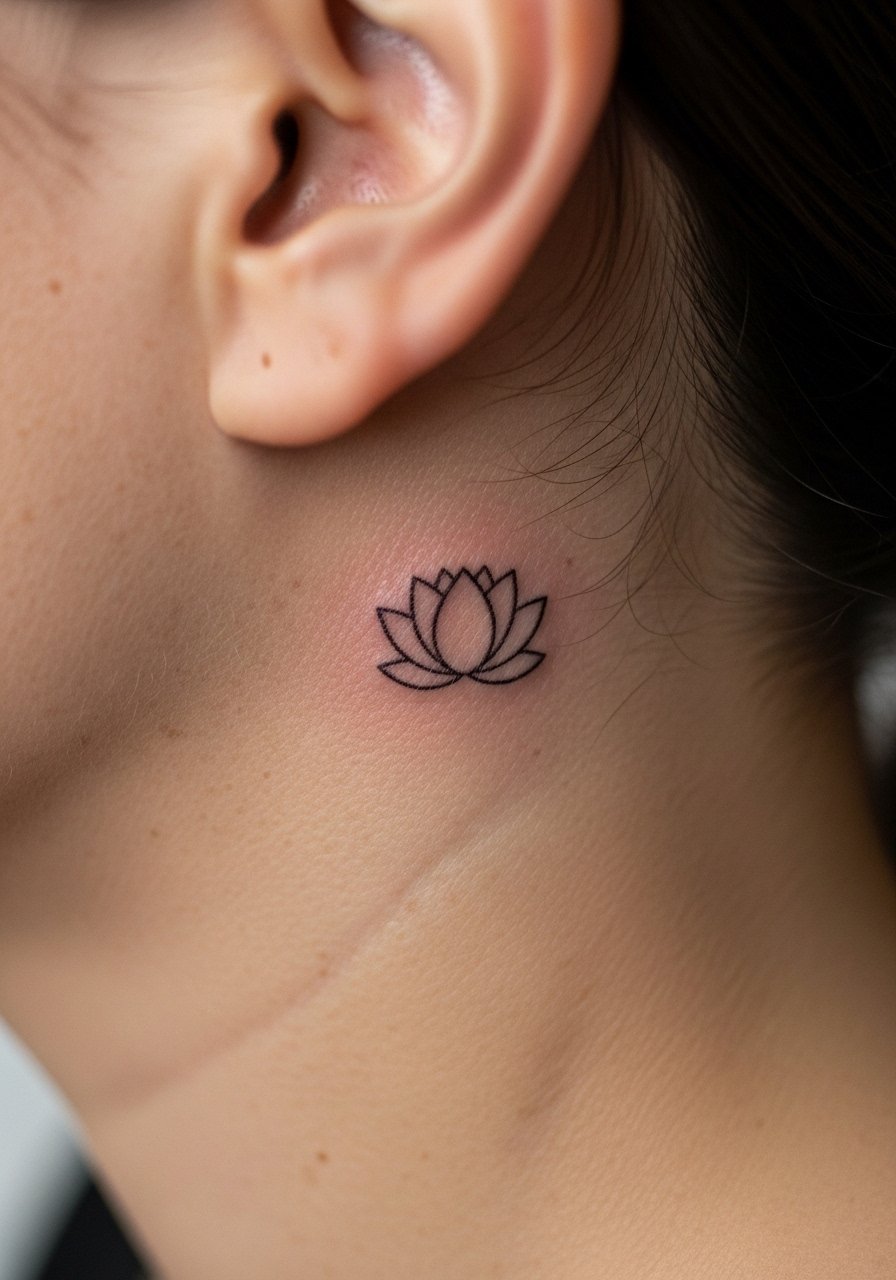
A single lotus bud reads as growth without heavy detail. Tell the artist you want open petal negative space and a supportive thicker base line for longevity. The common mistake is adding tiny inner lines that disappear as the piece heals. This placement is forgiving for beginners and often finishes in under 30 minutes. For easy session access, wear hair tied back with a silk hair tie so the artist has a clear field.
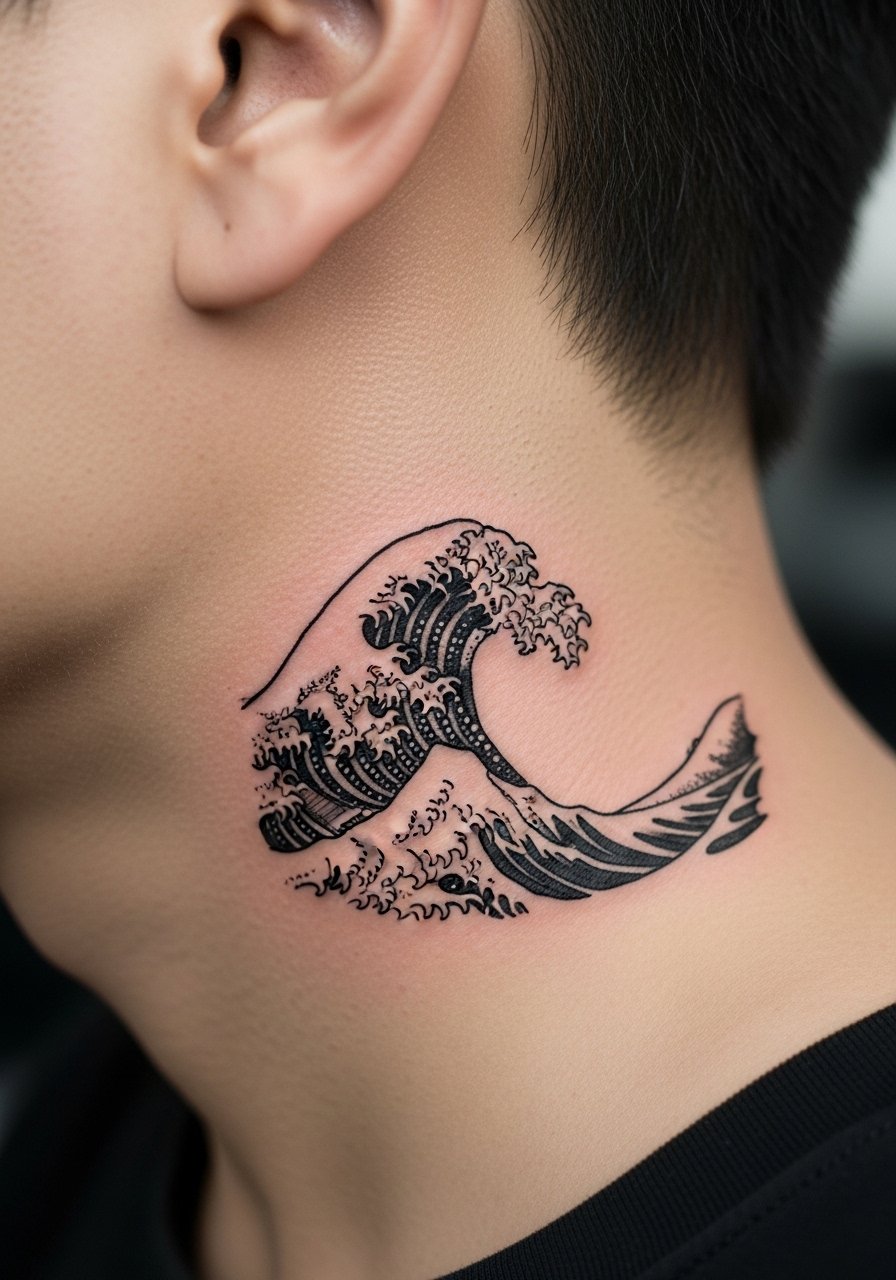
12. Mini wave crest in bold blackwork
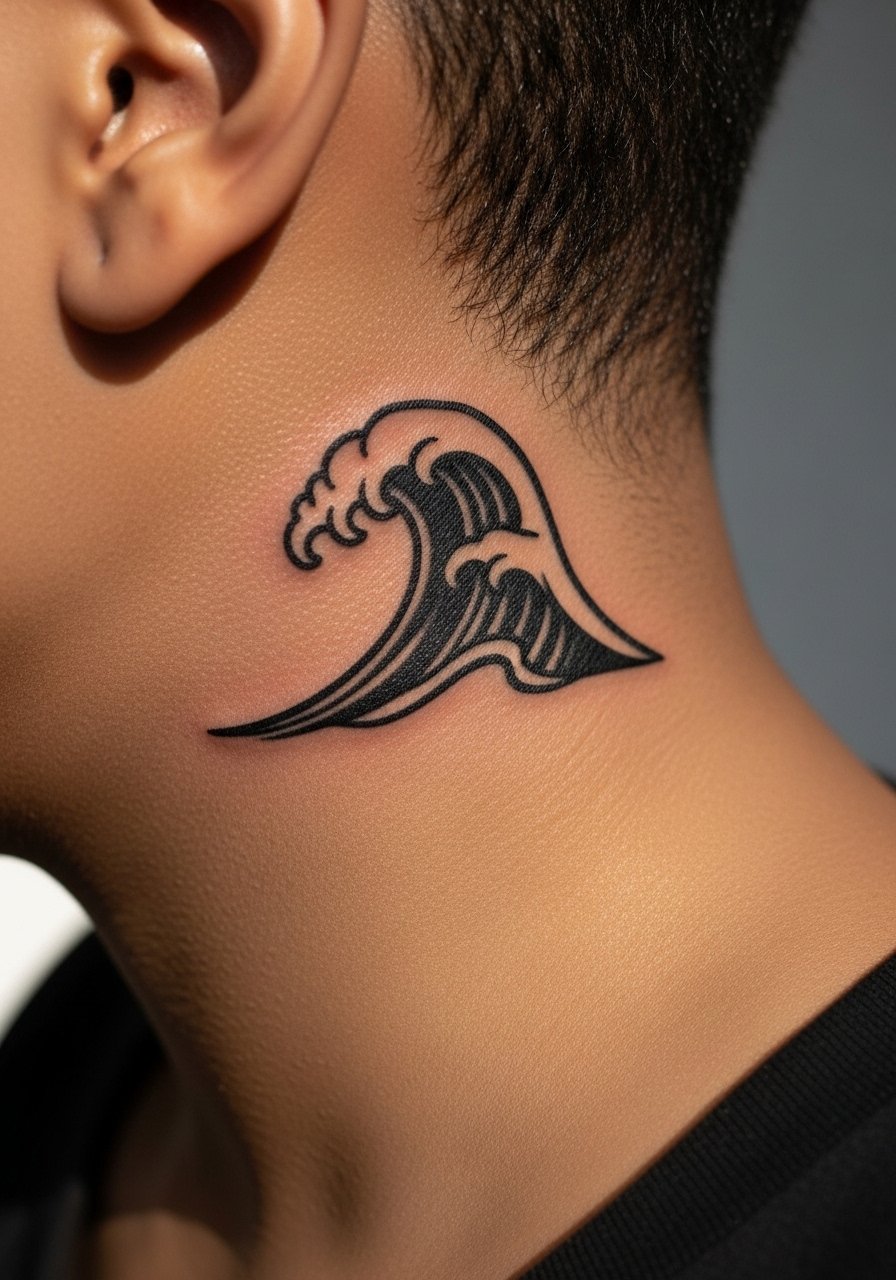
Switching to bold blackwork for a wave gives you a silhouette that stays readable longer than a fine-line version. Ask for saturated fills and crisp negative space around the crest. The controversy here is about saturation and scabbing. One camp favors bold saturation for longevity, the other worries about heavier scabbing on small curves. Discuss depth and aftercare with the artist so you both agree on a method. Bold fills usually mean a slightly longer session but fewer touch-ups over time.
13. Micro ume blossom with single shaded center
Ume blossoms are compact and suit this spot when executed as an outlined bloom with a single shaded center. Tell the artist to avoid extra petal veins at this scale. The mistake is overworking the center with heavy gray, which softens into a muddy patch over months. Six months in you want defined petals, and a light touch-up at two years keeps the bloom crisp. When you want to make it visible, style with an off shoulder blouse and an updo.
14. Tiny fan of maple leaves
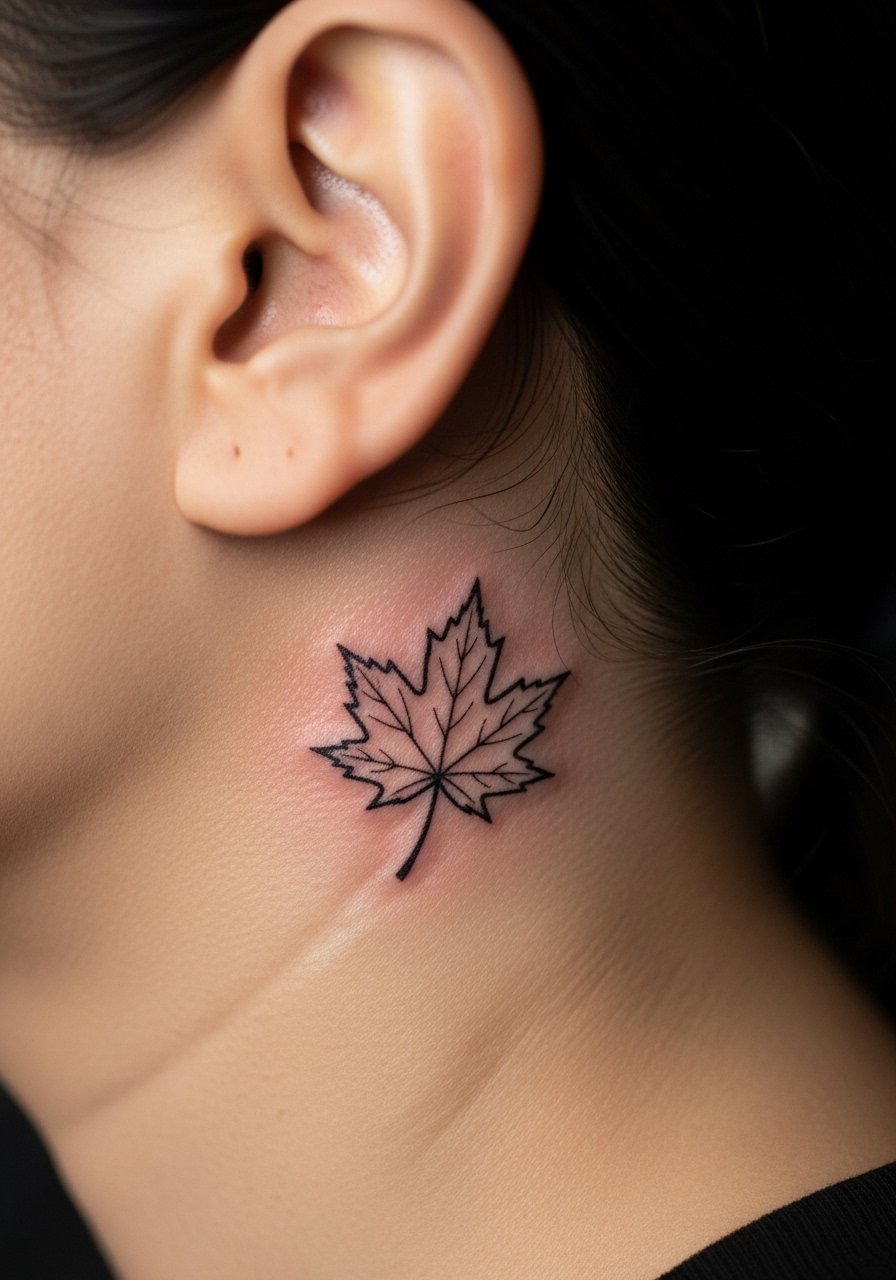
A small cluster of maple leaves can arc along the neck curve and age well if each leaf is spaced. Avoid cramming more than three leaves in the area. The common error is attempting tiny serrated edges that blur into texture. Expect a short session and predictable healing. For casual exposure, a sleeveless tank top and hair in a loose bun will let the leaves peek out.
15. Micro cranes in flight row
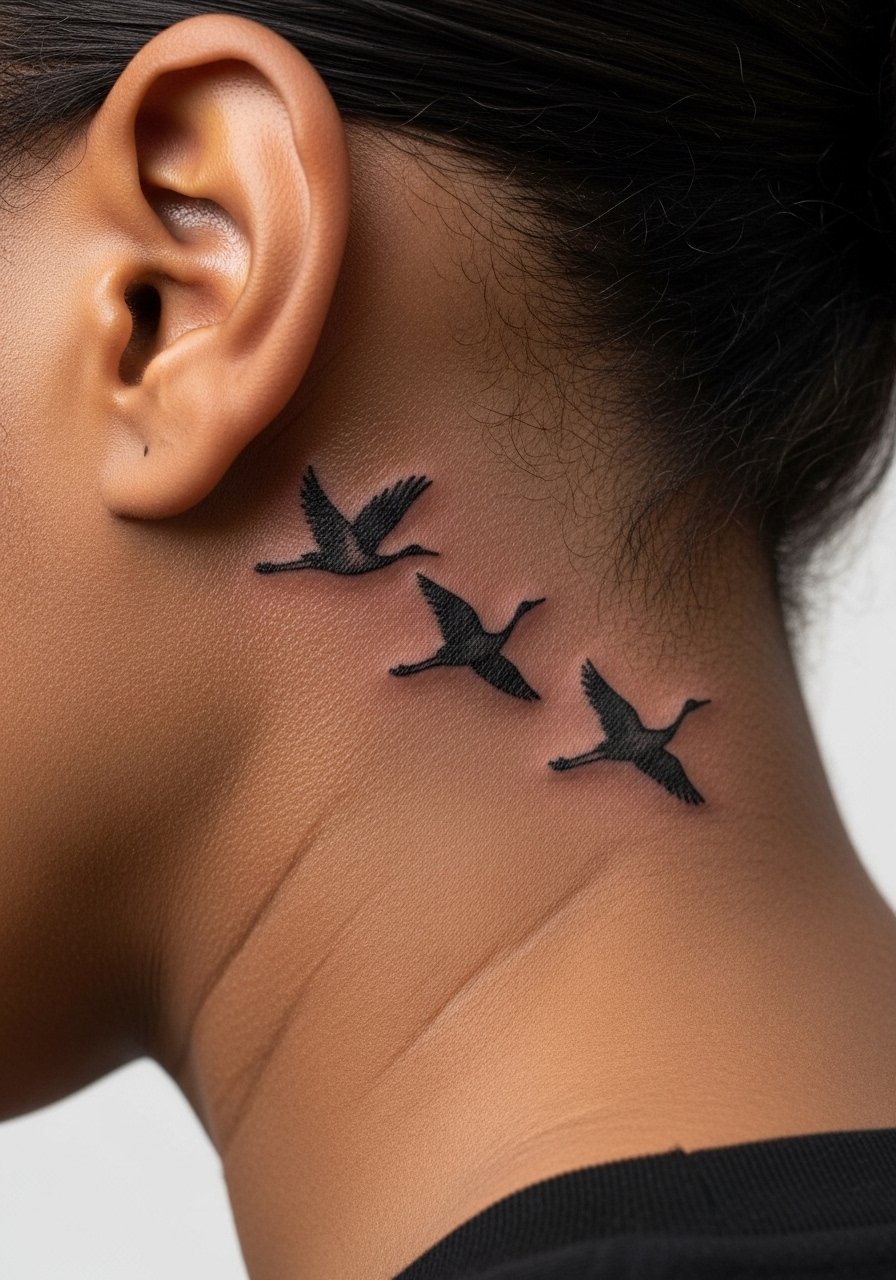
Multiple small cranes create motion along the hairline when spaced well. Tell your artist you want distinct gaps between birds so each silhouette reads separately. A frequent mistake is lining up birds too tight which results in a single dark streak over time. These micro silhouettes heal cleanly if not overworked. To show them off, sweep hair into a partial updo and add a thin chain pendant necklace on the other side for balance.
16. Tiny bamboo stalk with node accents

A vertical bamboo stalk fits the ear curve naturally. Ask for slightly heavier node marks so the bamboo character remains after settling. The main mistake is rendering nodes as tiny dots which sometimes vanish on darker or very oily skin. Expect a quick session under 30 minutes and minimal pain. For the appointment wear a loose button-down shirt so collars do not press the area.
17. Mini paper lantern outline with tiny flame dot

A small lantern can feel festive and reads well with a tiny flame dot to anchor it. Request that the lantern frame be slightly bolder than the interior ribs so the shape keeps contrast. A mistake is trying to capture rib detail at sub-inch scale. The result is seasonally versatile and low-maintenance. For evenings out, pair with an open-back midi dress so the lantern flashes when you turn your head.
18. Micro herbal sprig with stipple
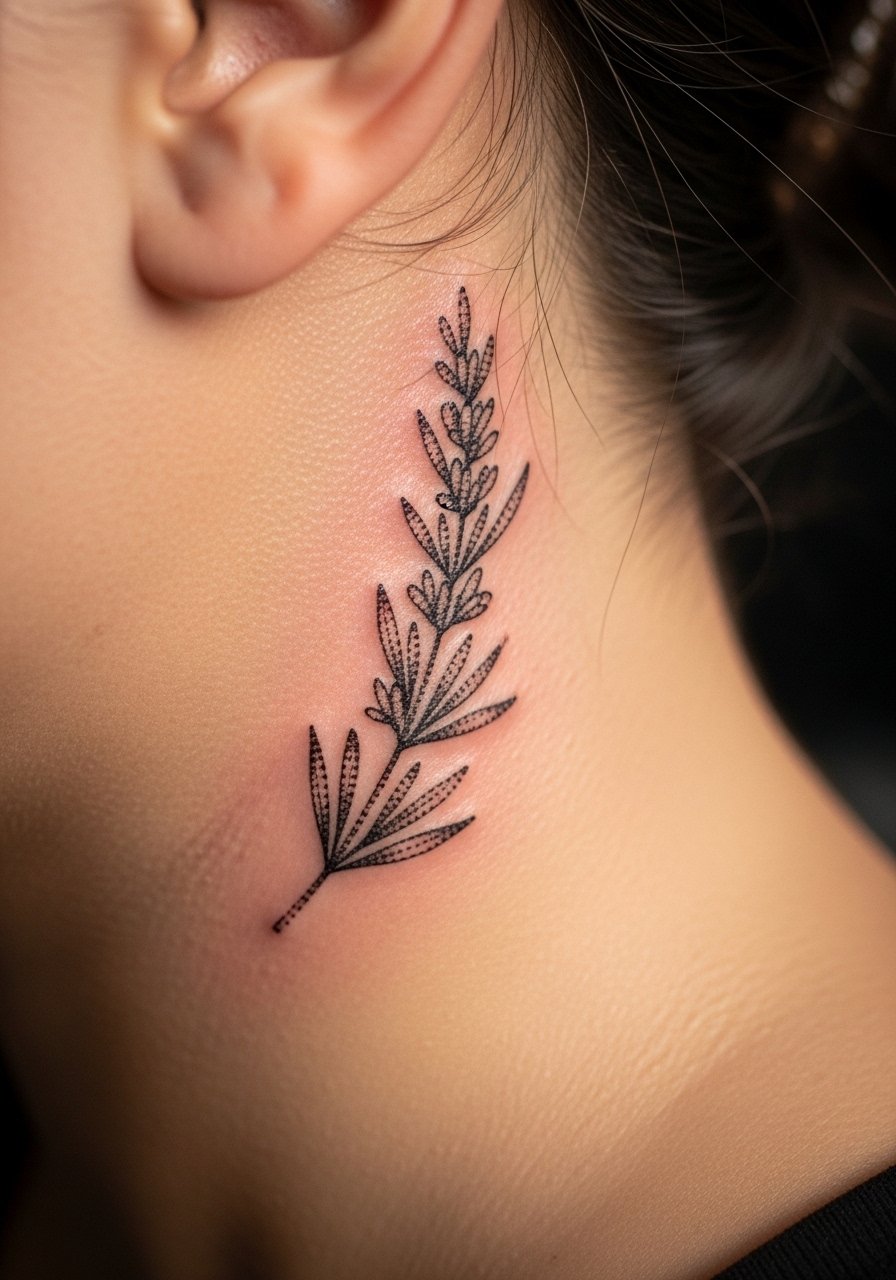
A sprig with dot shading gives texture without heavy fills. Tell your artist you prefer stipple for longevity in tight curves. The common error is requesting gradient gray that becomes muddy. Stipple holds its shape longer and can be retouched cleanly. For the session, a sleeveless tank top keeps access easy and reduces collar rub.
19. Mini moon with crescent kanji

A crescent moon with a single kanji tucked inside uses the curve to your advantage. Ask the artist to scale the kanji slightly larger than you think you need so it remains legible after settling. A common mistake is matching the kanji size to the smallest visible space on the stencil. Expect a short session and quick healing. When you want to reveal it, a high ponytail holder helps.
20. Micro geometric crest with negative space
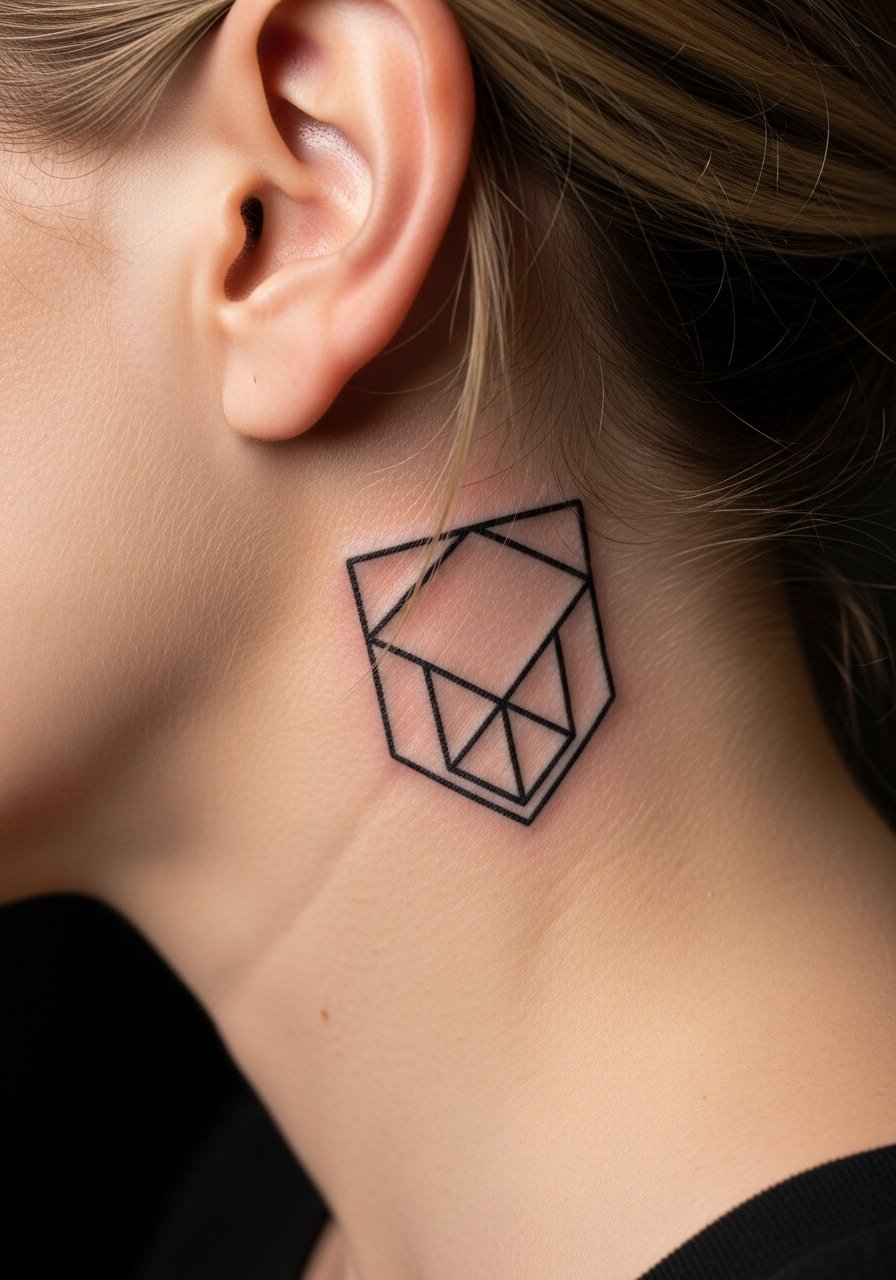
Geometry works here if you allow margins. Tell your artist you want clear negative space borders so shapes do not merge. The mistake is packing lines too close in a curved small zone which causes merging. Over time geometry with breathing room ages far better than dense mini-grids. For session comfort, wear a loose V-neck cotton tee.
21. Micro sakura branch that follows the hairline
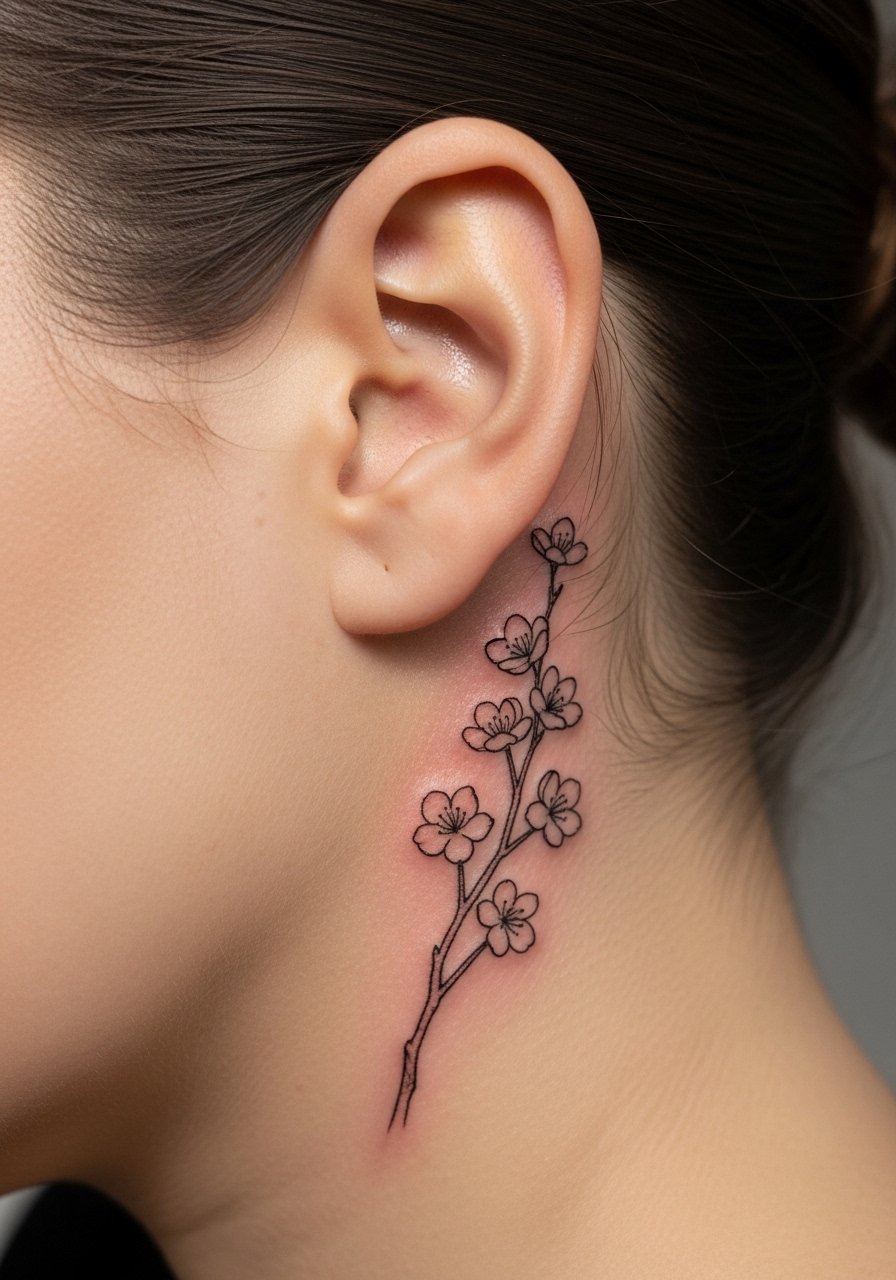
A branch that traces the hairline breathes with movement. Ask the artist to map the branch along your natural hairline so it feels integrated rather than pasted on. The common error is forcing a straight motif on a curved surface. Healed results at two years retain flow if spaced correctly. To show it when you want, style hair half-up and wear a silk loose blouse.
22. Mini Tengu mask outline as an accent

A simplified Tengu motif offers a bold cultural reference in miniature. Request a stylized outline that avoids tiny facial detail so the mask remains a graphic icon. The mistake is over-rendering facial lines that blur into an indistinct patch. Expect a 30 to 45 minute session and a potential touch-up if you want the mask edges pin-sharp. This piece pairs well with a crewneck sweater women and a clean haircut.
23. Micro rising sun dotwork halo

A small sun rendered in dotwork can glow without heavy fills. Ask for a compact center with radiating stipple that fades into negative space. The error is trying to ink micro rays as solid lines which often merge. Dotwork ages predictably and is forgiving for small touch-ups. For the session, pull hair back with a silk hair tie so the artist has unobstructed access.
24. Mini chrysanthemum petal fragment
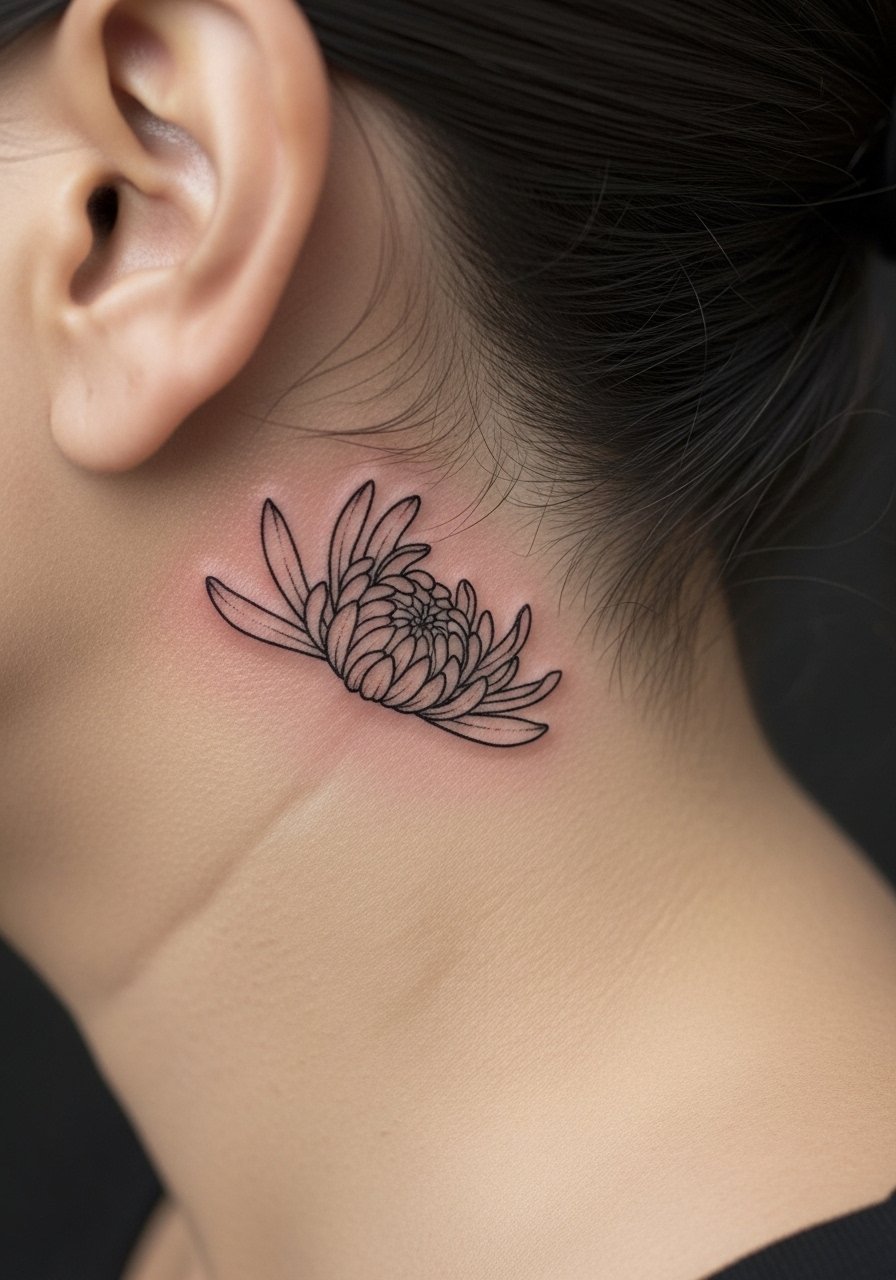
A single petal suggests the whole bloom without heavy ink. Tell the artist you want an open contour and avoid inner detailing. The common mistake is trying to render an entire chrysanthemum at tiny scale which turns into a gray splotch. This fragment looks refined and usually needs only occasional touch-ups. To make it peek during the day, wear an off shoulder blouse and an updo.
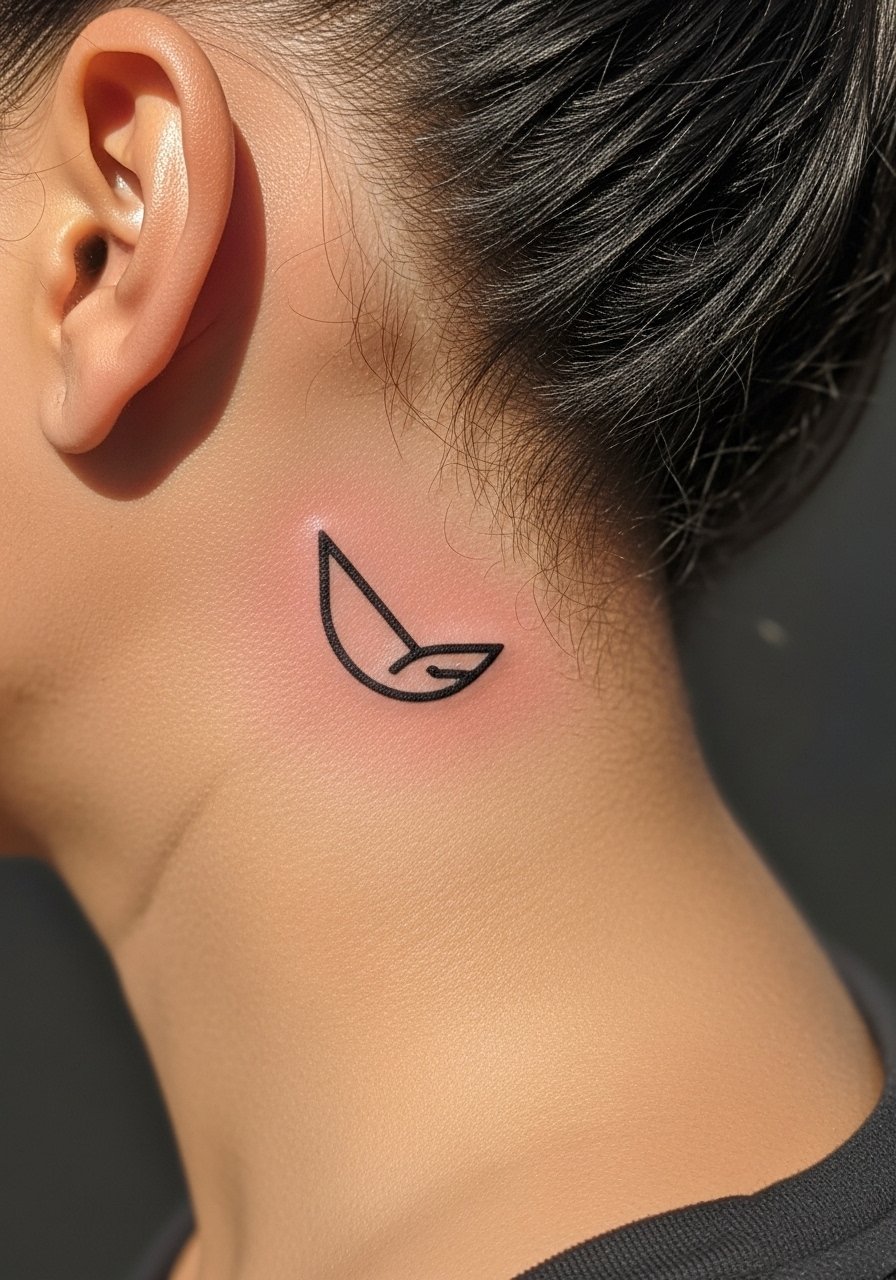
25. Micro swallow silhouette near the hairline
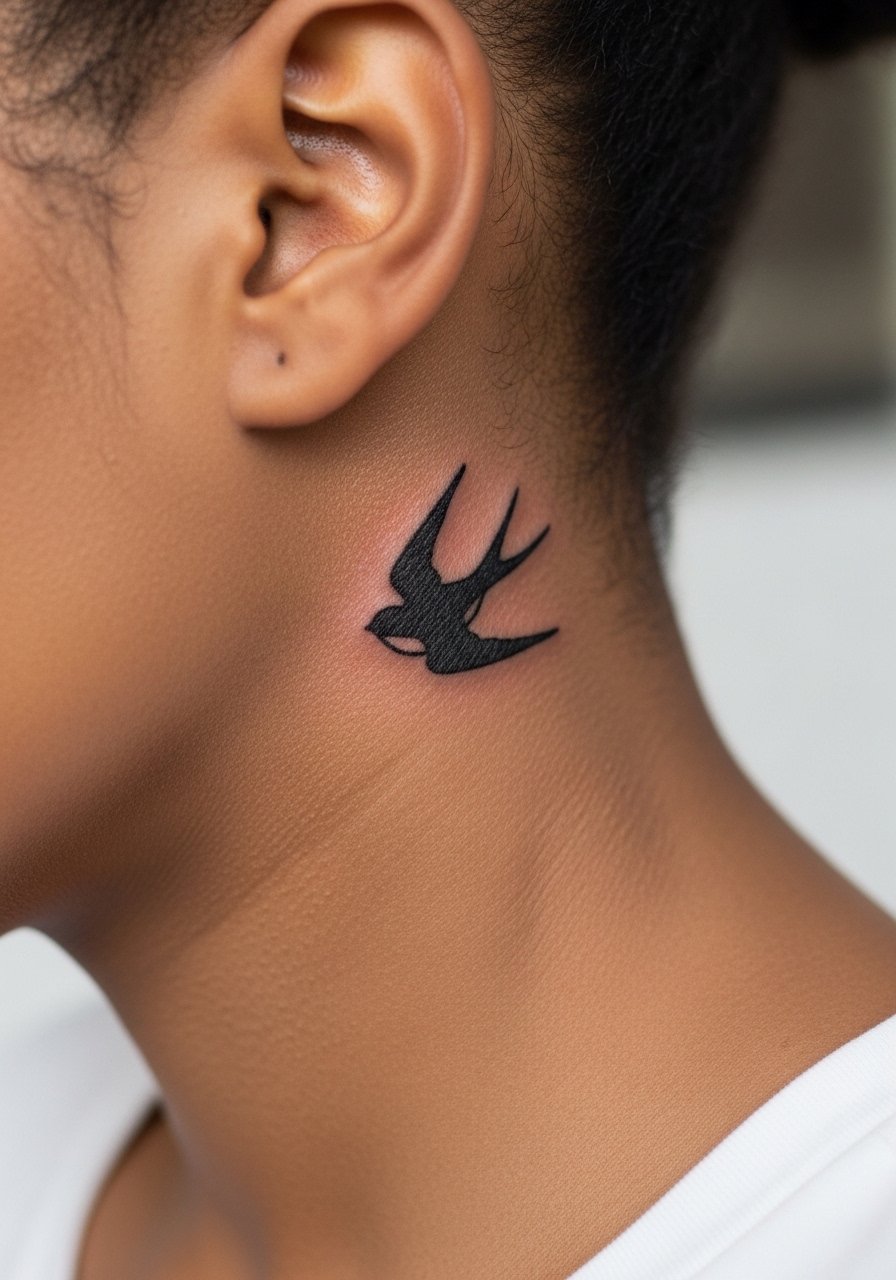
Swallows read as motion and freedom in a tiny black silhouette. Ask for a modest wing span so the bird does not encroach on the helix. Mistakes include excessive feather detail that blurs into texture. Expect a short session and easy healing. Pair the swallow with a neat side part hair clip when you want it visible.
26. Mini folding fan with kanji accent
A fan plus a single character balances detail and readability. In consultation, state which character and ask to scale it slightly larger than the fan ribs. The mistake is shrinking the kanji into illegibility. This combo tends to need a light touch-up earlier than plain silhouette work if you want exact crispness. For session ease, wear a loose button-down shirt.
27. Tiny headphone-friendly emblem for frequent travelers
If you wear headphones often, request the artist place the emblem slightly lower or further forward so the cushion avoids constant pressure. A common mistake is placing a micro design directly under typical headphone cups. This small, travel-minded emblem can be a practical solution and usually heals well without interference. For showing it off while traveling, a V-neck cotton tee helps keep collars from rubbing the area.
Frequently Asked Questions
Q: Will fine line kanji behind the ear blur faster than bold kanji, and what should I ask my artist?
A: Fine line kanji tends to soften sooner, especially on a curved surface and under hairline friction. Ask your artist about slightly heavier stroke weight and space around verticals. Mention your skin type and whether you wear headphones often so placement can be adjusted. If you prefer the aesthetic of thin lines, be prepared for a touch-up around year two to maintain crispness.
Q: How should I dress for a behind-ear session to avoid irritation during healing?
A: Wear clothing that keeps hair and collars out of the area, like a loose button-down shirt or a V-neck tee. Pull hair back with a silk tie for minimal snagging. Avoid hats or tight collars for the first week to limit friction and sweat against the fresh tattoo.
Q: Artists disagree on Saniderm versus dry healing for small behind-ear work. Which is better?
A: Both camps name real advantages. The Saniderm camp points to fewer scabs and quicker return to work. The dry-healing camp argues natural scabbing can lock ink better in tiny lines. Your best move is to ask the artist which method they use for small kanji and follow their protocol. If you have a history of heavy sweating or sensitive skin, mention that in the consult.
Q: My skin tone is darker. How can I keep kanji crisp behind the ear?
A: On darker tones ask for bolder line weight and contrast rather than ultra-fine needles. Request healed photos from the artist showing similar tones so you can see realistic outcomes. A slight increase in stroke thickness often preserves legibility without changing the design vibe.
Q: How will headphone use affect a behind-ear tattoo and how can I prevent fading?
A: Headphone cups can press and rub against tattoos during the crucial early days of healing. Ask to move the placement slightly or pick a tiny emblem positioned away from where the cushion sits. When traveling, alternate ear positions for headphones and avoid tight over-ear models in the first two weeks.
Q: Are there quick ways to discover artists who do good behind-ear Japanese work?
A: Search hashtags like #JapaneseKanjiTattoo and #BehindEarTattoo on social platforms, and use local directories with "behind ear Japanese tattoo [city]" queries on appointment apps. Spending time in r/tattooadvice or tagging along to conventions in your area will also surface artists with small-scale Japanese portfolios.
