
Fine line smileys dominate saved boards right now, and the trend looks gorgeous in photos. The reality is that tiny tattoos age differently depending on placement and ink choice. If you want a micro smiley face tattoo that still reads clean after a few years, placement, line weight, and a clear brief matter more than the flash image you bring. Below are 21 micro smiley face tattoo ideas with notes on how to book them, wear them, and keep them looking their best.
1. Micro Smiley Face on Finger

Finger placements move a lot so expect extra fading. I recommend slightly bolder linework than ultra-fine dot work for fingers so the shape holds up through washing and typing. Tell your artist you want a clean, single-pass outline with minimal interior negative space. Common mistakes are asking for a half-millimeter face that loses its eyes over a year. Plan for a touch-up around year one to two rather than assuming it will look the same forever. For the session wear a loose short-sleeve top so the artist can work without constriction. Expect a stinging, quick session and a thin protective film for the first day.
2. Simple Yellow Smiley on Wrist
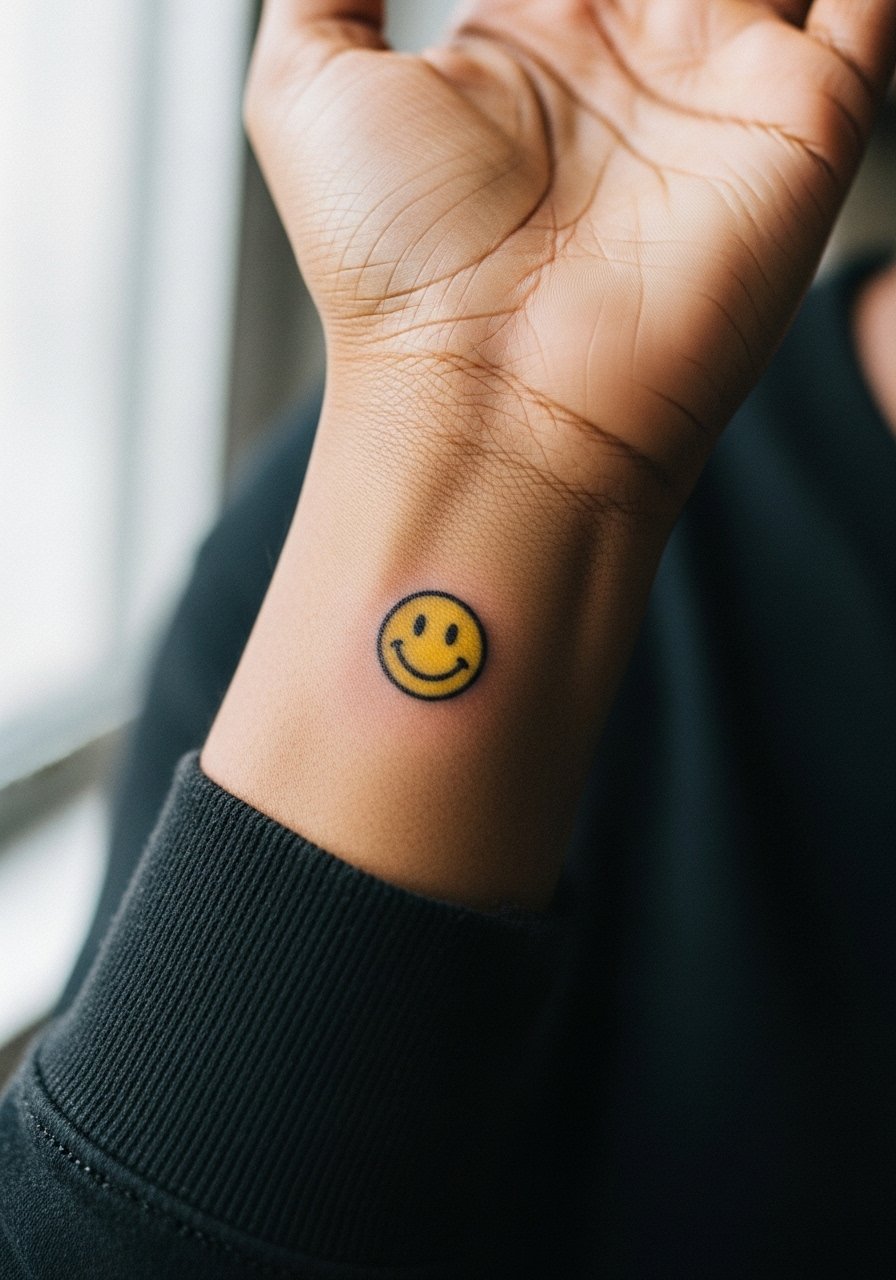
Wrist smileys look earnestly cheerful and read easily from across the table. If you want color, ask for a saturated yellow with a thin black outline so the yellow does not wash out on darker skin tones. Artists disagree on color longevity. One camp says yellow fades faster and needs heavier saturation. The other camp prefers monochrome for longer-term visibility. I suggest a compromise: keep the outline bold and the fill slightly dense, then budget for a touch-up at around year two. For showing this off pair it with a thin chain bracelet on the opposite wrist. Wrist sessions are quick and the healing period needs careful soap choice to avoid smearing.
3. Melting Smiley Face on Lower Arm
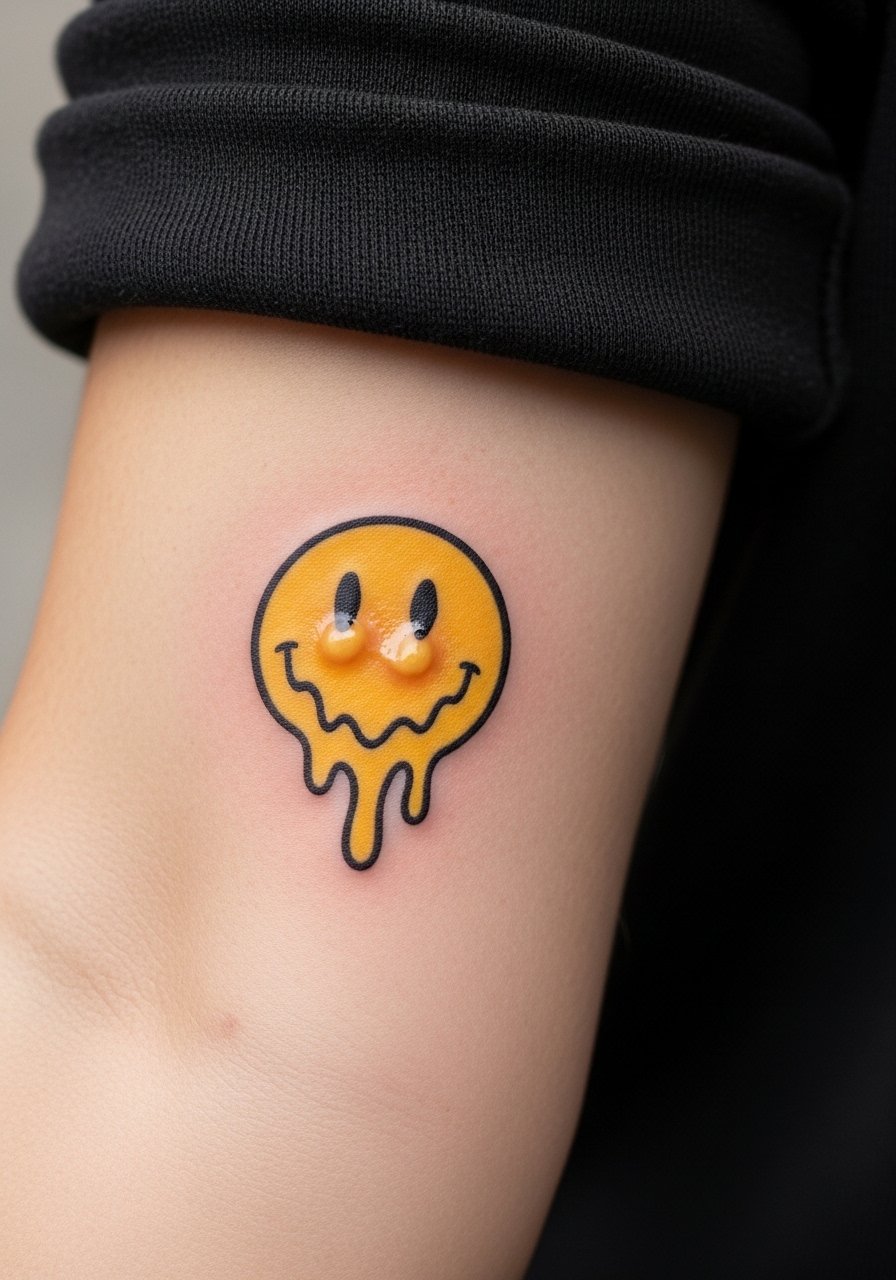
Melting or dripping smileys read like micro-realism in a compact form. I’ve seen these on forearms where the blue rim and gray shading add depth without crowding the face. When booking, bring front and side references so the artist maps where the drip will fall with arm movement. A common mistake is packing too much tiny shade into a two-inch area which turns muddy after a year. Tell the artist you want separated stipple shading and a clear contrast edge. Pair this with a rolled chambray shirt for casual shows. Expect a longer single session than a flat line piece and a likely touch-up by year two for the color pop.
4. Classic Yellow Smiley with Black Features
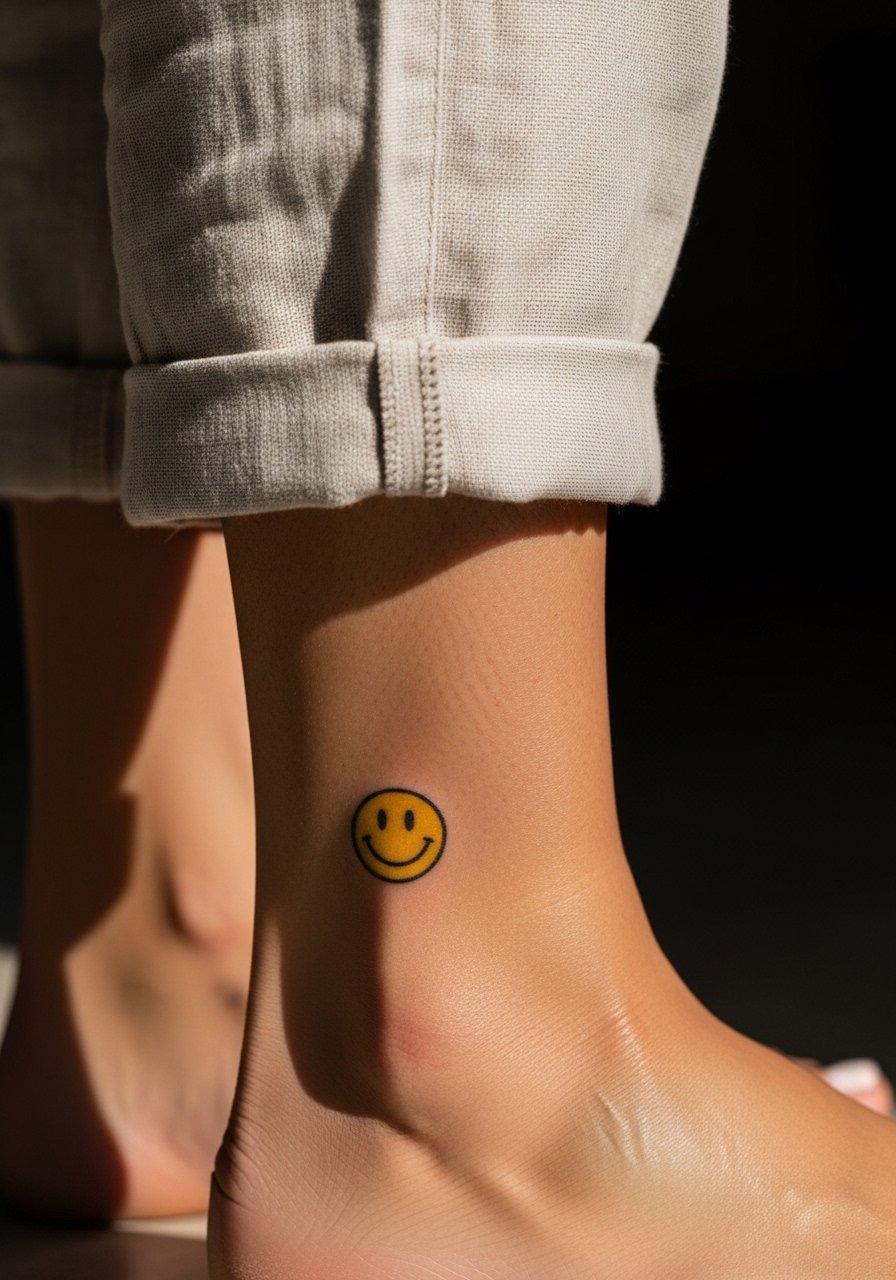
The original 60s vibe works well on ankles and shoulders where it can be seasonal. For ankles ask for a clean circular outline and slightly denser yellow fill so it does not disappear into footwear friction. There is a debate about yellow versus monochrome. One camp prefers the retro yellow for immediate impact, while the other favors blackwork for aging. If you choose yellow, plan wardrobe that limits rubbing in the first few weeks and consider an ankle bracelet like a dainty ankle bracelet to frame the spot. Ankle sessions are quick and the area tolerates touch-ups well.
5. Floral Smiley Face Integration on Collarbone
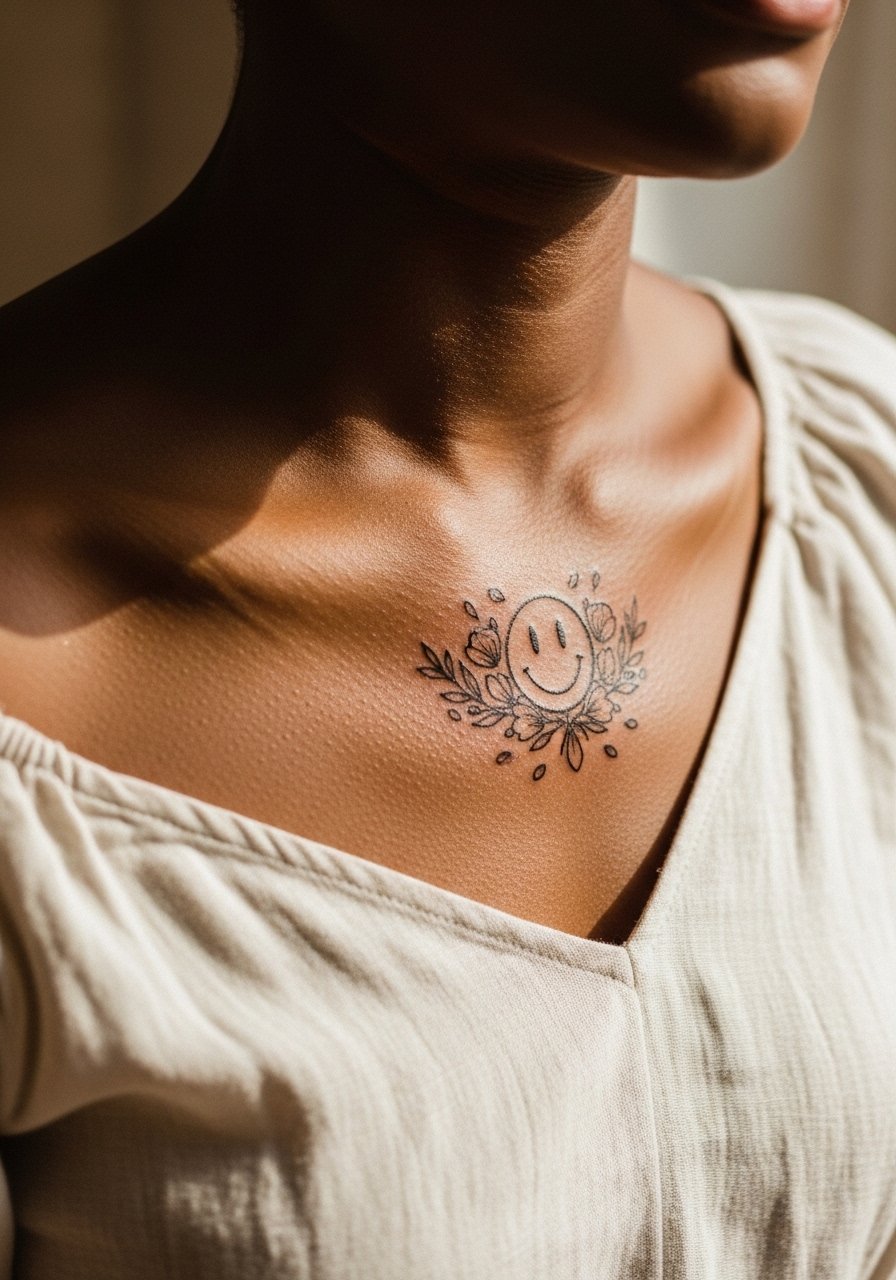
This merges botanical motifs with a micro smiley for a softer, more ornamental piece. I like recommending this when someone wants the symbol but also seeks a feminine framing. Ask the artist to use single-needle fine line for the flowers and a slightly thicker outline for the smiley itself so the face keeps its form. A frequent error is making the floral detail as fine as the smiley outline which causes the face to recede. For session comfort wear an off-shoulder linen top so the artist can access the collarbone without exposing more skin than necessary. The collarbone holds linework well but expect color to mellow over time.
6. Winking Expressive Smiley on Hand or Neck

An expressive wink adds personality in a micro package and fits cheeky placements like the back of the hand or the side of the neck. Hands and necks both have higher visibility and faster wear. Artists split on whether fine line is worth it there. One side favors bold for longevity and the other argues fine line reads softer and more personal. Name your camp during the consult and show the artist exactly how thick you want the eye and curve. For hand visibility style with a minimalist ring set and neutral manicure. Hand sessions sting more than wrist work and touch-ups are common at year one.
Pre-Session Essentials
The small placements above heal under different stresses than larger pieces, so a few specific items smooth the session and the first week.
-
Stencil transfer paper kit. Lets you preview how the tiny smiley sits on curved areas like fingers and the collarbone before the needle hits skin.
-
Topical numbing cream. Applied per the product directions before the session eases wrist and ankle sensitivity for quick micro pieces.
-
Thin protective film roll. Useful for finger and wrist placements that face constant washing and friction during the first few days.
-
Fragrance free gentle body wash. Cleanses healing areas without added fragrances that can irritate delicate linework on the hand and wrist.
-
Aquaphor Healing Ointment. A thin layer helps retain moisture in very fine work without clogging the channels that the ink sits in.
7. Minimalist Dots-and-Smile on the Inner Wrist
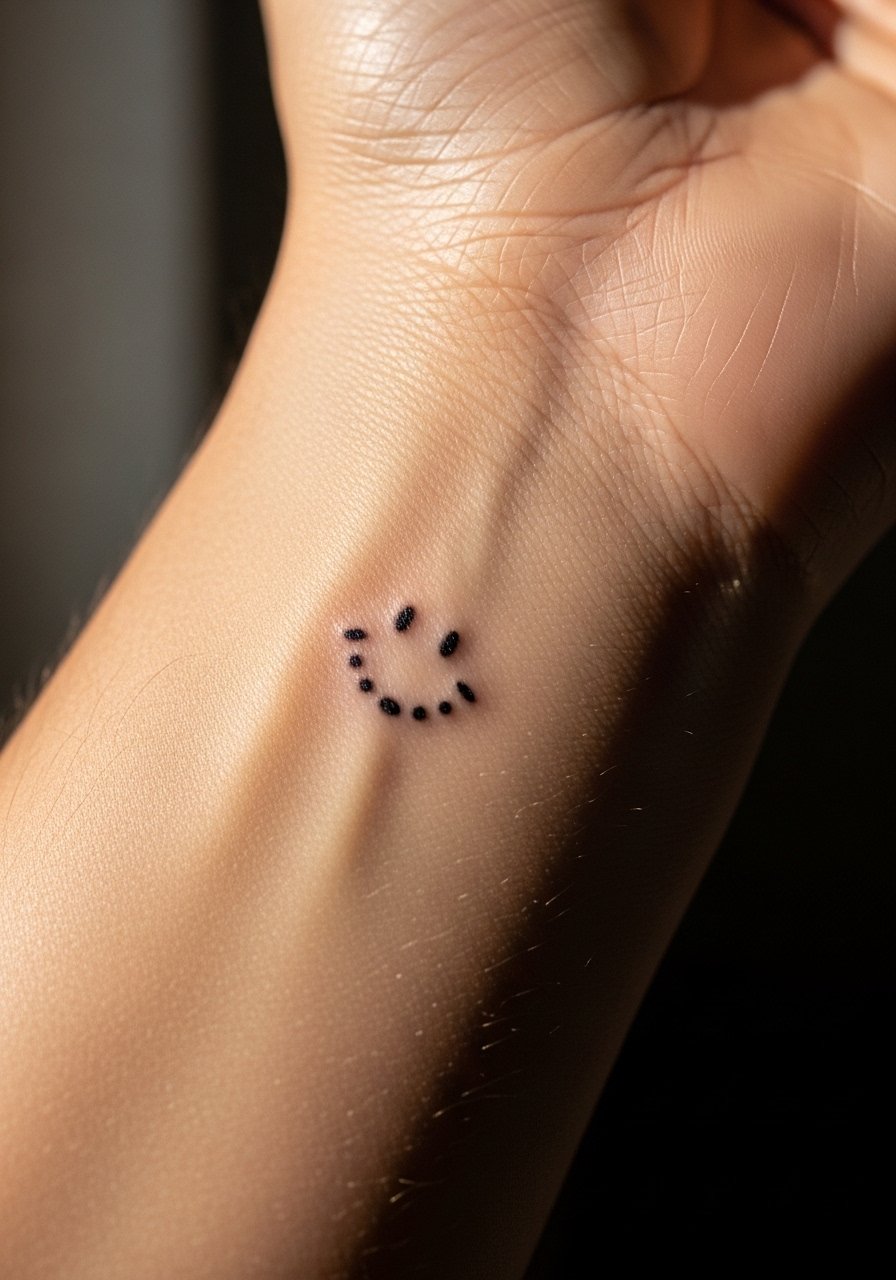
This ultra-minimal design uses two dots and a small arc to suggest a smiley without a full circle. It is a strong pick if you want micro impact without color. Tell your artist the exact dot size you want so the eyes stay proportional. The aging risk is that dots can blur into tiny smudges if packed too close. Ask for micro-spacing and slightly larger dots than you think. Pair it with a minimalist wrist stack on the opposite arm for evening wear. Inner wrist sessions are quick but the skin there is thin so expect momentary sharp sensations and a likely touch-up by year two.
8. Micro Smiley on Back of Hand
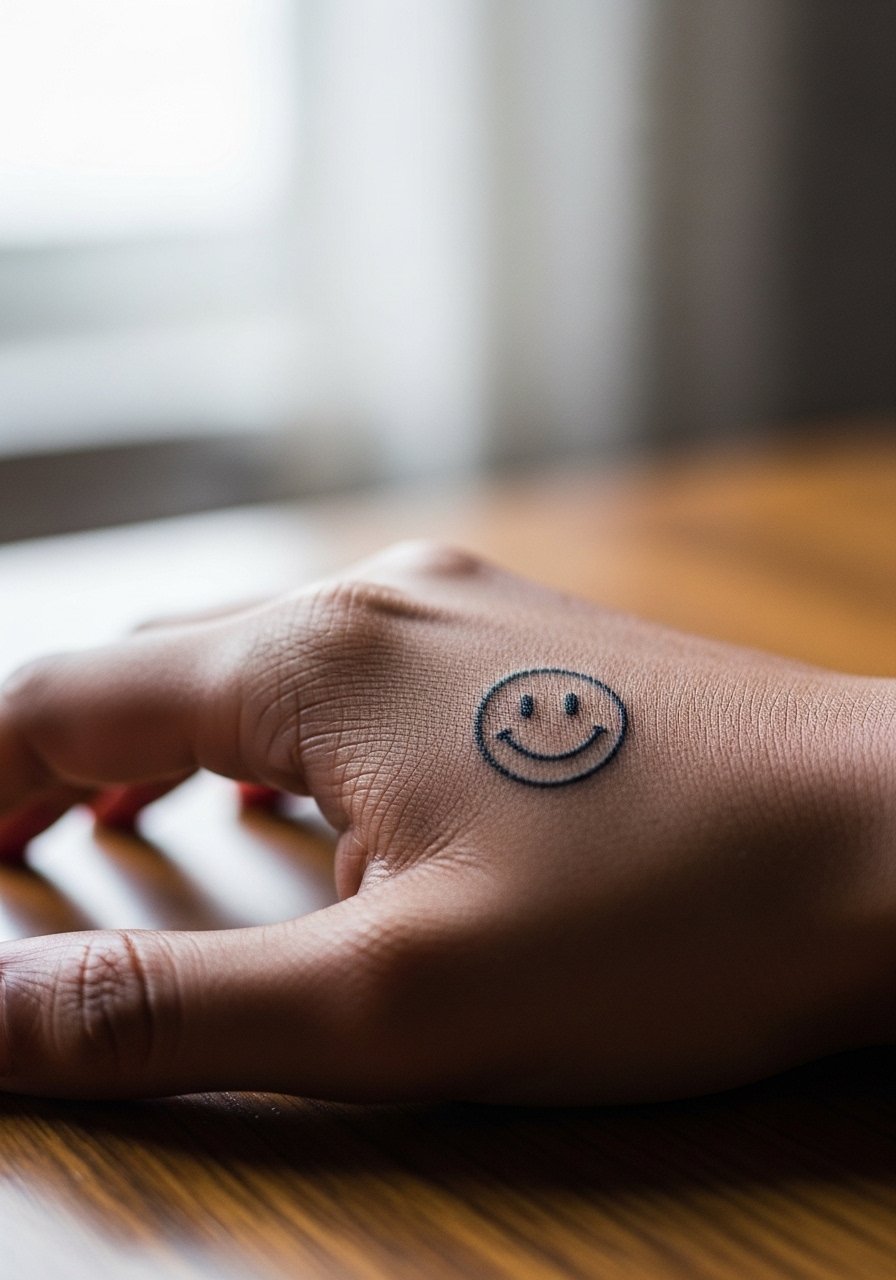
Back-of-hand pieces are always visible and therefore more exposed to sunlight and abrasion. Ask for stronger linework and confirm the artist has experience with hand placements. A common mistake is requesting ultra-fine detail which will soften within months. Be prepared to book a touch-up at around year one. Hand skin interacts with ink differently and may need a two-stage pigmentation approach. This area will sting noticeably, so plan a shorter appointment and stay hydrated. For showing this off keep rings minimal so the tattoo remains the focal point.
9. Smiley with Tongue Variation on Ankle

The tongue adds playful energy and works well on lower visibility spots like the ankle. Ask your artist to keep the tongue as a small splash of color rather than a separate shaded element so it reads at small sizes. Avoid asking for excessive shading which muddies on the ankle where skin rubs against footwear. For outfits choose strappy sandals or cropped pants to show the piece when you want. Ankle sessions are brief and healing is mostly about managing friction from socks and shoes.
10. Monochromatic Smiley on the Ribcage
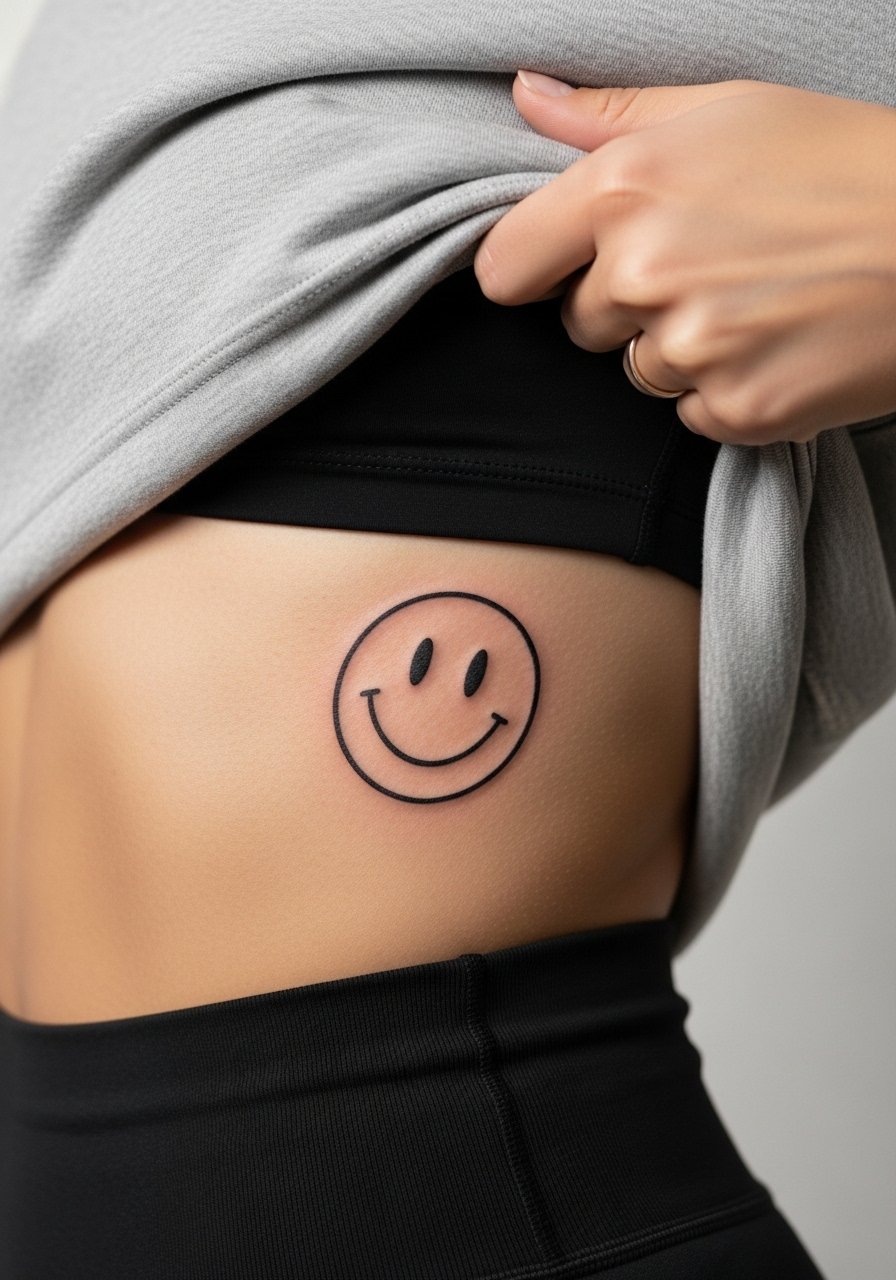
Ribcage placements can look striking when done in blackwork and keep well if spaced correctly. Fair warning ribs are more sensitive on the pain scale than wrists or ankles. Artists differ on fine-line rib tattoos. One camp worries about skin stretch and blur, the other says correct needle depth and spacing will settle fine. Ask for slightly increased spacing between contour lines and plan for a longer session. Rib pieces show best with open-neck or cropped tops, though session wear should be a fitted sports bra you can easily adjust. Expect a steady healing period with lower friction than hands.
11. Sun-Integrated Smiley on Shoulder
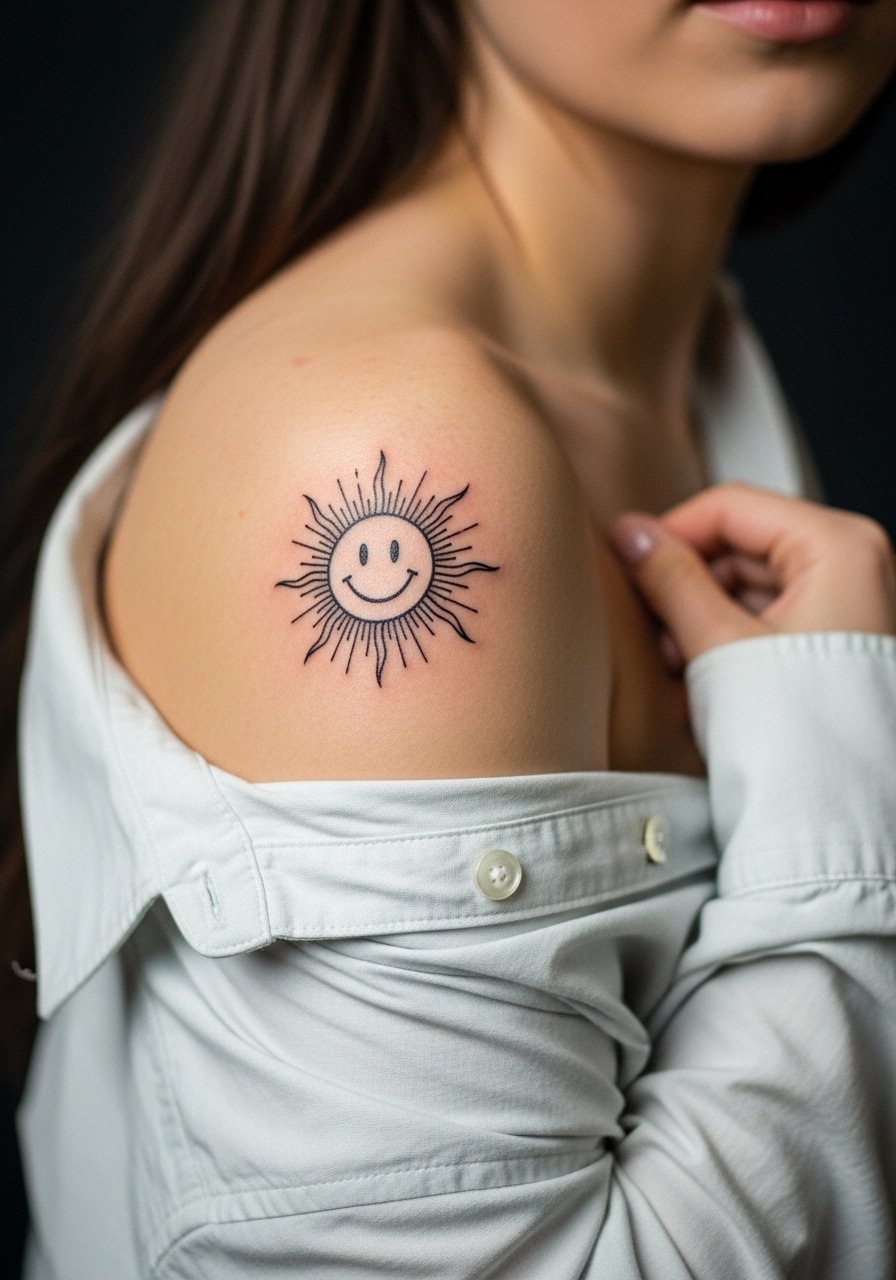
A smiley framed by sun rays reads ornamental and pairs with shoulder-baring clothing. Ask the artist to space rays so they do not converge into a single dark mass over time. A common mistake is tight ray clusters which merge as skin moves. For the session wear a loose button-down shirt you can pull aside so the artist has full access. Shoulder pieces tolerate color well and usually only need small touch-ups if any.
12. Tiny Smiley with Letter Eyes on Finger

Personalized letter eyes are subtle and clever for a micro piece. When text is this small, the image prompt rules matter so specify the exact letters during the consult. The risk is that letters can blur into dots over time. Save letters for slightly larger micro sizes and ask your artist to use a monoline style for clarity. For session wear, go ring-free and comfortable. Fingers need repeat inspections and likely will require a touch-up within one to two years.
13. Smiley with Integrated Date on Collarbone

Integrating dates or discreet initials gives the smiley a private meaning without altering its look. Use exact numerals or letters in your reference because small text renders poorly when improvised. The collarbone holds fine line well if the layout gives breathing room. Avoid squeezing script into the smiley circle. For the session wear a dainty necklace chain you can remove so the artist has clear access. Touch-ups are uncommon here unless the text was too tiny to begin with.
14. Smiley-Sun Complex Blend on Lower Arm

Complex blends like a smiley-sun tell a mini story while still feeling compact. When you combine motifs, tell your artist which element should read first so they prioritize line weight accordingly. A common error is equalizing every element which causes the focal point to get lost. I recommend slightly bolder linework on the smiley and finer rays for the sun. Roll your sleeve or wear a loose button-down for the session. Forearm skin is forgiving and holds micro-realism better than hands.
15. Behind-the-Ear Micro Smiley
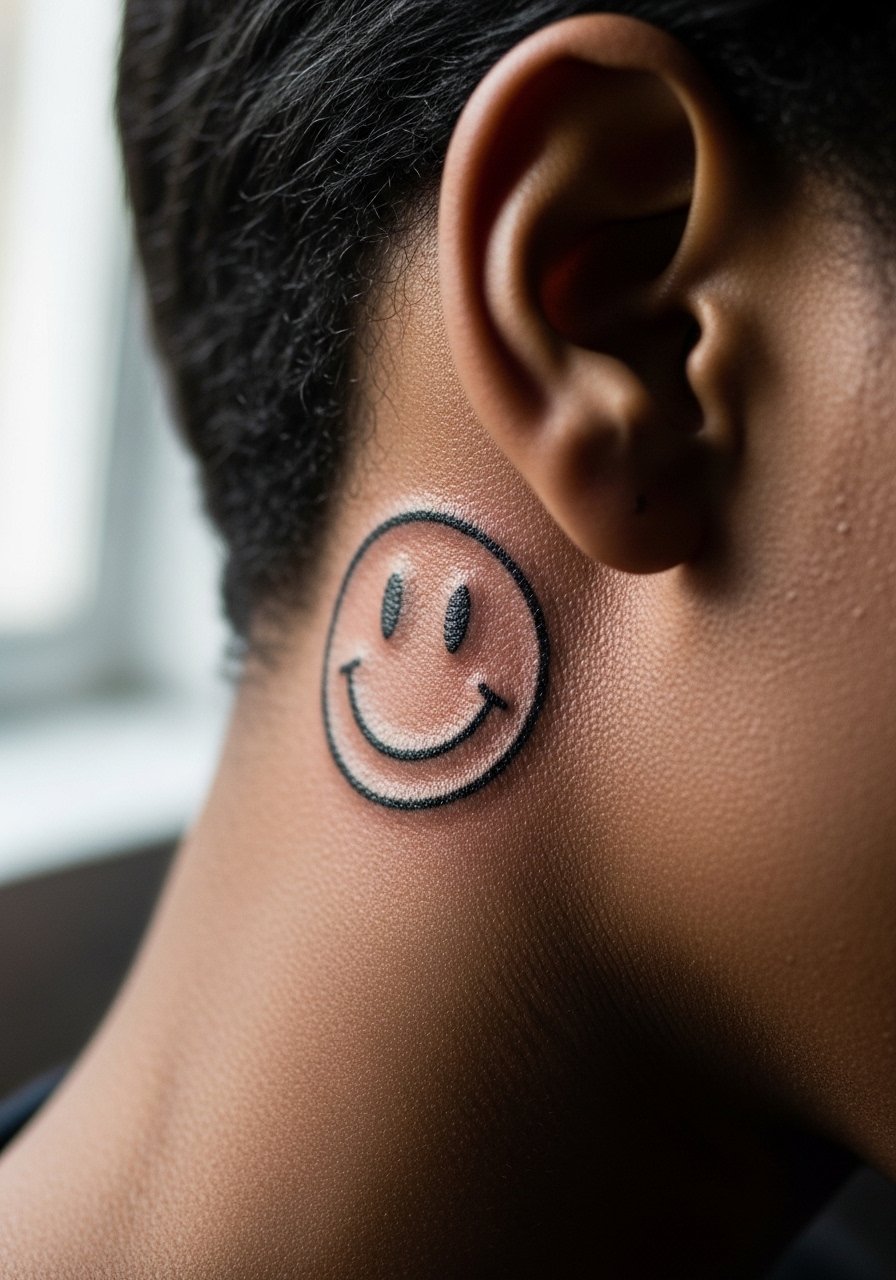
A smiley tucked behind the ear is hideable and fun for people who want a subtle playful mark. The placement needs a delicate hand and typically a quick session. The one-sentence professional note is that odd placements near hairlines do need an artist experienced with small, curved areas. When booking search portfolios with the hashtag #MicroSmileyTattoo and preview healed photos. This area is lower friction but can get caught in hair oils so plan gentle washing for the first week.
16. Cracked or Distressed Smiley on Inner Bicep

A cracked or slightly distressed treatment adds texture and a moodier edge to the classic smile. Inner bicep skin is softer and more forgiving for shading, though it compresses with movement. Tell the artist you want visible separation between crack lines and the core outline to avoid merging as the skin heals. A common mistake is over-shading the distressed areas in such a small footprint. Wear a loose tank top to the session so the artist can access the area. Expect the inner bicep to be more tender than the forearm.
17. Halo or Aura Smiley on Thumb

Thumb placements read as cheeky and discreet. The halo of dots gives an extra visual frame that helps the face keep its presence at small sizes. For thumbs, prioritize spacing and ask for a slightly larger outer negative space. A frequent error is crowding the halo which blurs into a single smudge. Finger and thumb pieces face more frequent touch-ups so plan accordingly. Sessions are short but a bit sharp due to thin skin.
18. Smiley Constellation on Ankle
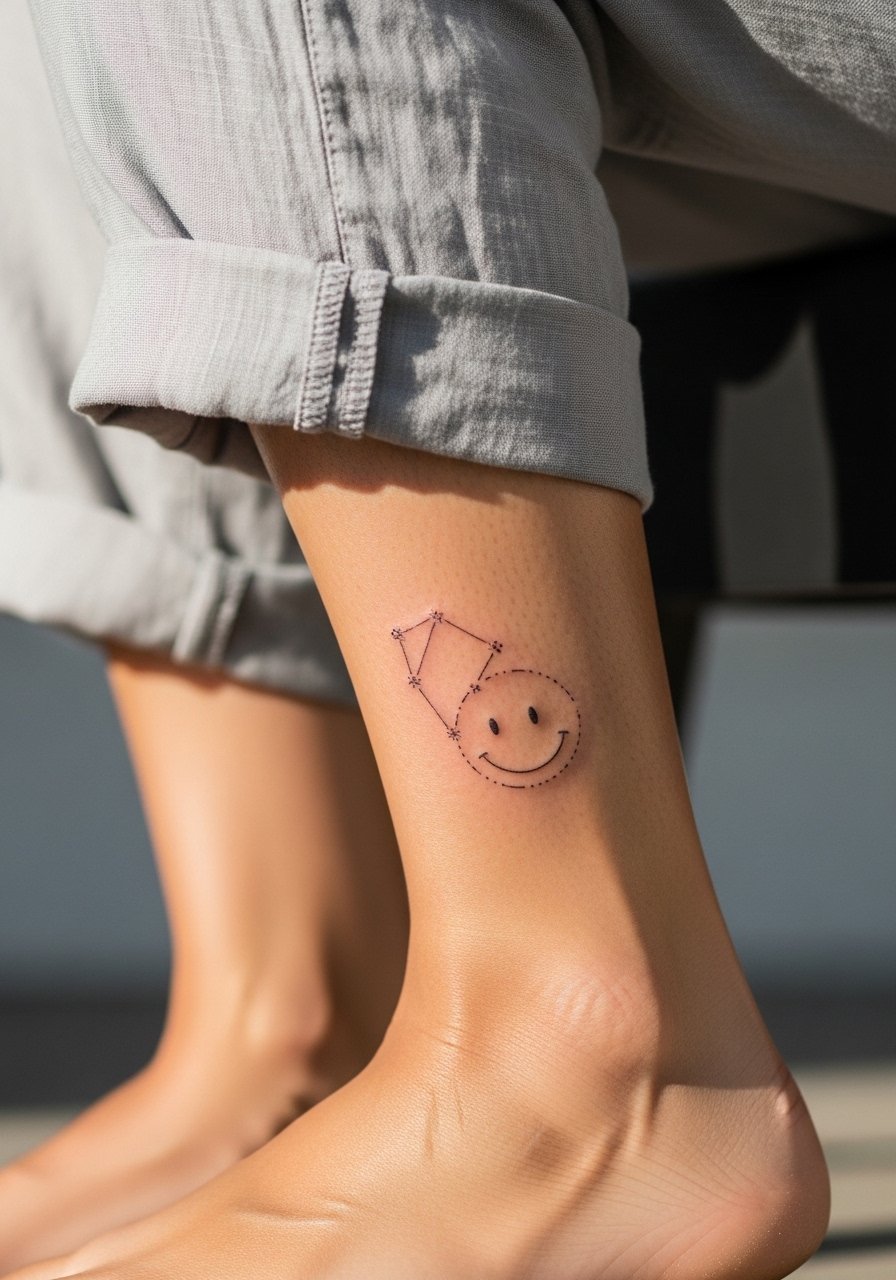
Turning a smiley into a constellation uses dots and connecting lines to imply the face. It looks great on ankles when paired with minimal footwear. Ask the artist to keep connector lines very faint and to emphasize node spacing. For showing this off choose cropped linen pants and sandals. Ankle skin tolerates this look well but watch for blurring where lines cross joints.
19. Stitched or Patchwork Smiley on Calf
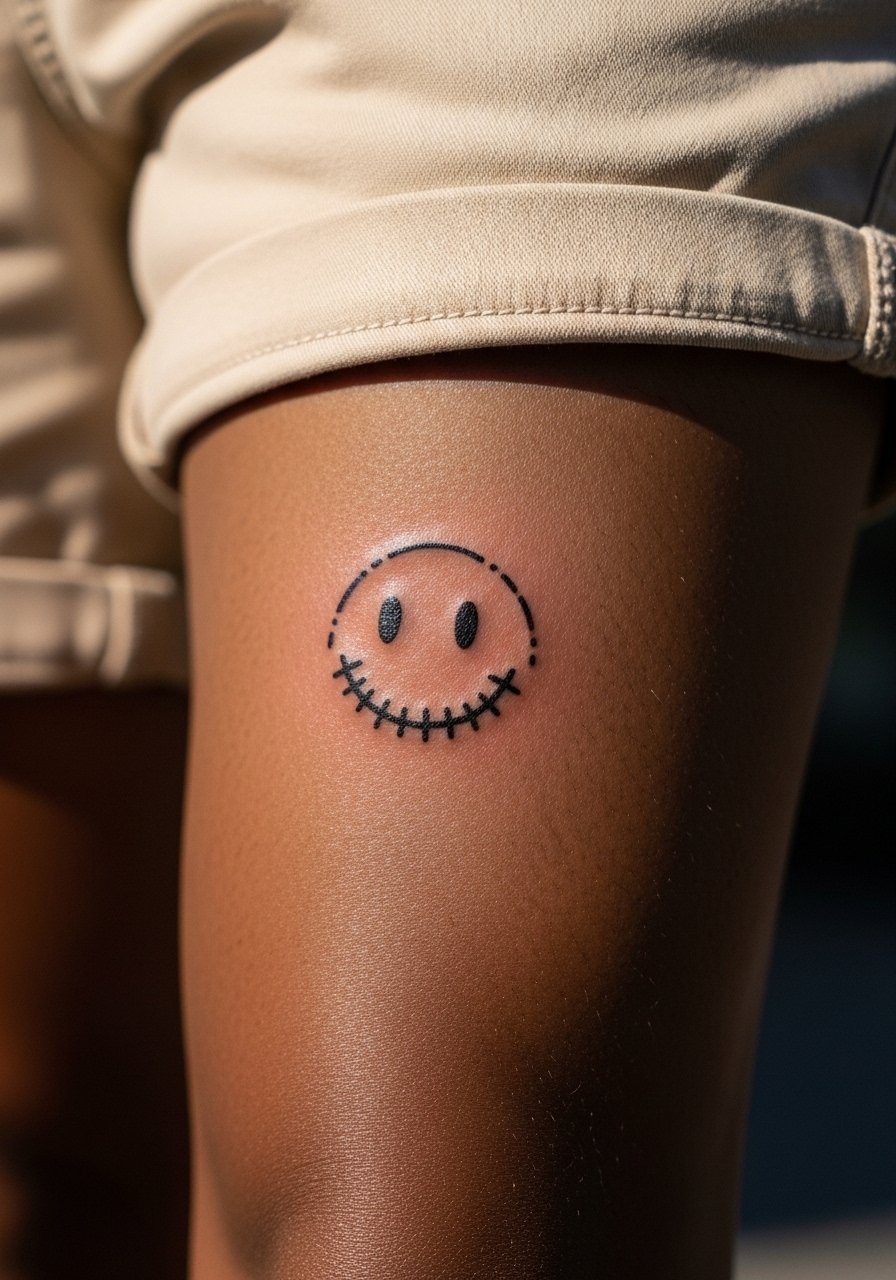
A stitched or patchwork aesthetic gives a craft-like texture and plays well on the calf where there is room to breathe. Tell the artist you want visible stitch spacing and avoid dense fill in the face. Common mistakes include tiny cross-hatching that becomes a gray block over time. Pair this piece with shorts or a skirt to show it off when you like. Calf sessions are comfortable and color retention is usually strong.
20. Smiley with Sunglasses on Upper Arm
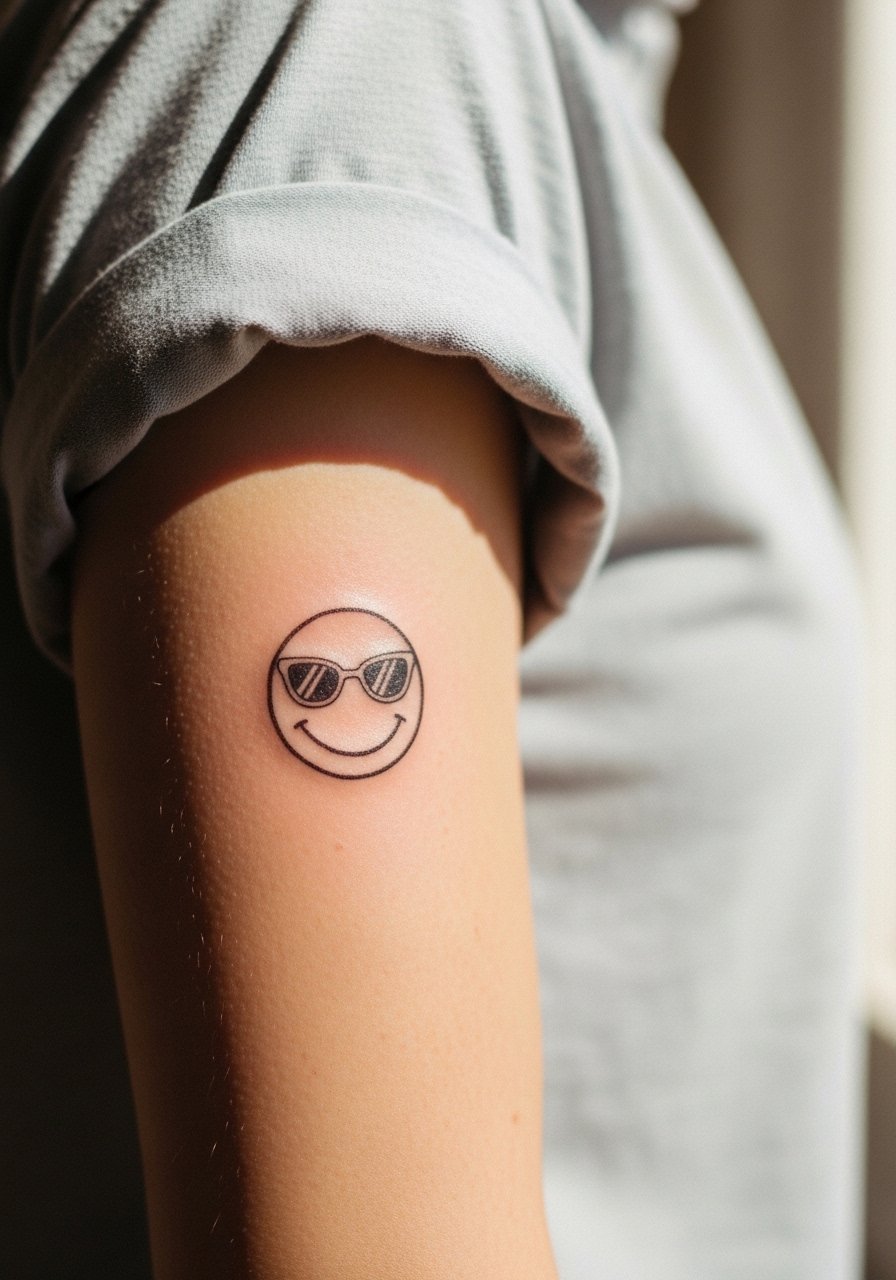
A sunnies smiley reads like a wink at leisure and sits well on the upper arm where you can scale the detail up slightly. Ask for the lenses to be simple black shapes without heavy gradient so the sunglasses stay crisp. Avoid micro gradients in this small size because they can become muddy. For the session wear a shirt with a sleeve you can roll up easily. Upper arm skin is forgiving and this placement often needs no touch-up for several years.
21. Floral Wreath Smiley on Upper Thigh
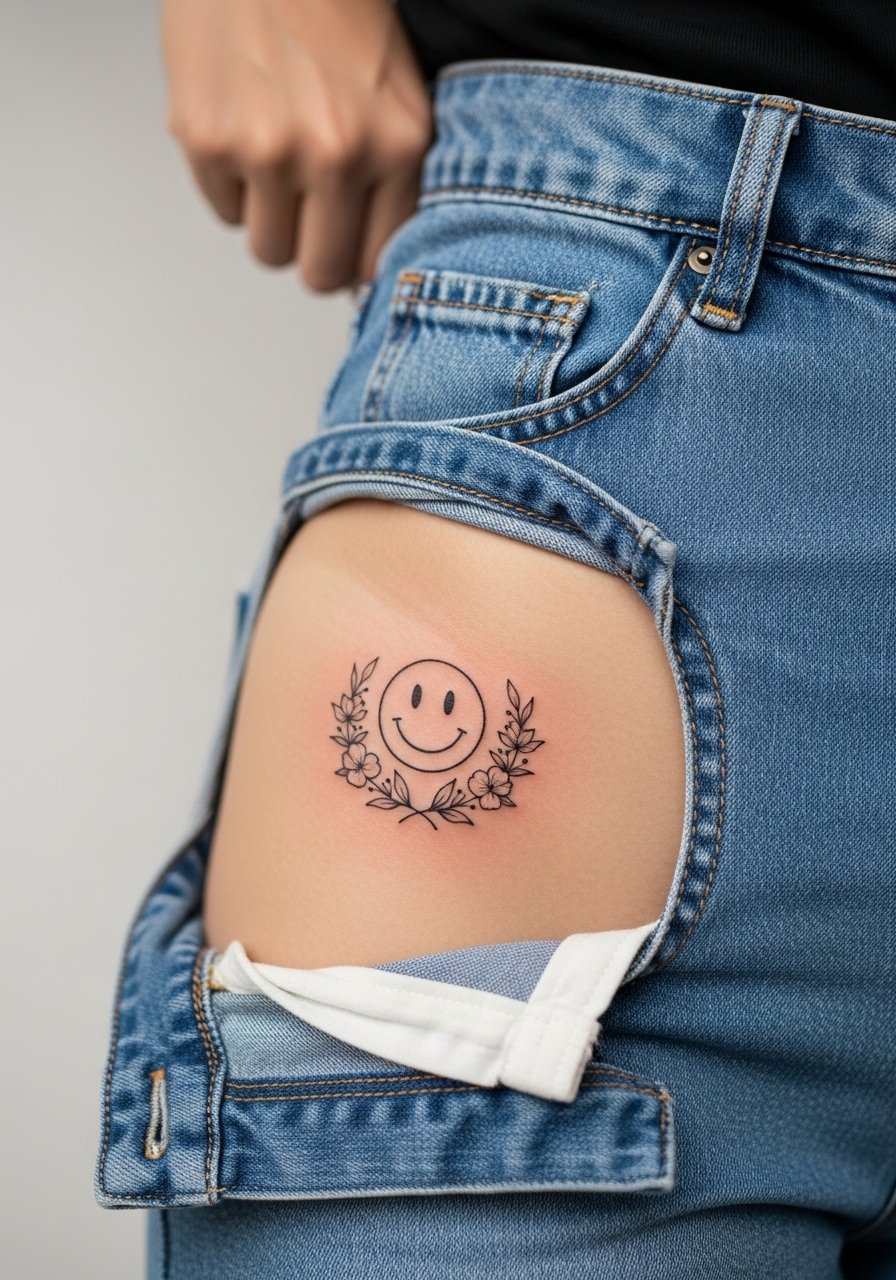
A thigh or hip wreath lets you expand the botanical motif without crowding the smiley. This placement is private and shows well in summer clothing. Because it sits on softer flesh, ask the artist for a balance of single-needle floral detail and a slightly stronger smiley outline. A mistake I see is the wreath being as fine as the face which hides the core symbol. For the session choose high-waisted bottoms you can shift, like high-waisted denim. Thigh pieces heal with minimal friction and touch-ups are less common than on hands.
Frequently Asked Questions
Q: Will a micro smiley on a finger or hand need frequent touch-ups?
A: Yes, finger and hand placements see the most friction and sun exposure, so plan on touch-ups in the first one to three years depending on line weight. Choosing slightly bolder outlines and a micro-spacing strategy helps reduce how often you return.
Q: Is yellow a bad choice for darker skin tones for tiny smileys?
A: Yellow can read differently on darker skin because it relies on saturation rather than contrast. One option is to use a thicker outline and denser fill, or choose monochrome blackwork for longevity. Both camps have valid points so ask your artist which approach they prefer based on healed photos.
Q: How should I describe spacing and line weight to an artist for a tiny smiley?
A: Bring a clear reference and say you want the face to read at one inch or smaller with a specific line weight sample. Ask the artist to show you healed portfolio images from the same placement. If in doubt ask them to err on slightly thicker rather than ultra-fine.
Q: What should I wear to a collarbone or shoulder smiley session?
A: For collarbone or shoulder work wear an off-shoulder top or a button-down you can pull aside. That gives the artist clean access without exposing more skin than needed.
Q: Do melting or micro-realism smileys last as long as simple line smileys?
A: Micro-realism with shading can look amazing fresh but it depends on how much tiny shading you pack into a small area. Fine stipple can hold if spaced well, but dense shading tends to soften earlier than clean linework.
Q: Where can I find portfolios for artists who specialize in micro smileys?
A: Search tags like #MicroSmileyTattoo and #FineLineSmiley on image platforms, check local studio directories with keywords "minimalist tattoo," and look through convention guest lists. Seeing healed photos on similar skin tones is especially helpful.
