
Fine line pieces are everywhere online, but the tattoos that keep feeling intentional years later are the ones planned with aging and wardrobe in mind. Pick a short phrase like "give yourself a reason" and think about spacing, placement, and how often you will see it in daily life. The sections below move from visible wrists to intimate ribs so you can pick a version that fits your tolerance, style, and schedule.
1. Fine Line Script on Inner Wrist

The inner wrist is a classic for short mantras because you see it every day. Expect a session of about 30 to 60 minutes and mild to moderate sensitivity when the needle crosses tendons. Tell your artist you want slightly open letter spacing and a light hand so the script breathes over time. The common mistake is requesting ultra-tiny letters, which often blur within two to three years. For showing it off wear a thin chain pendant necklace that sits above the script and does not compete with the letters. Touch-ups are common at year two for this placement, especially if you wear a watch that rubs the wrist.
2. Micro-Realism Flower on Ankle

Ankle pieces feel intimate and discreet when you want a private reminder. Pain sits at a four or five for most people because the bone is near the surface, and sessions usually run 45 to 90 minutes for a small bloom. Ask your artist for slightly higher contrast in the center so the petals read after a year. A mistake I see is packing too much detail into a coin-sized space. That detail will soften and merge as it heals. For session wear choose shoes and pants you can remove or roll up easily so the area stays clean and undisturbed.
3. Minimalist Collarbone Script
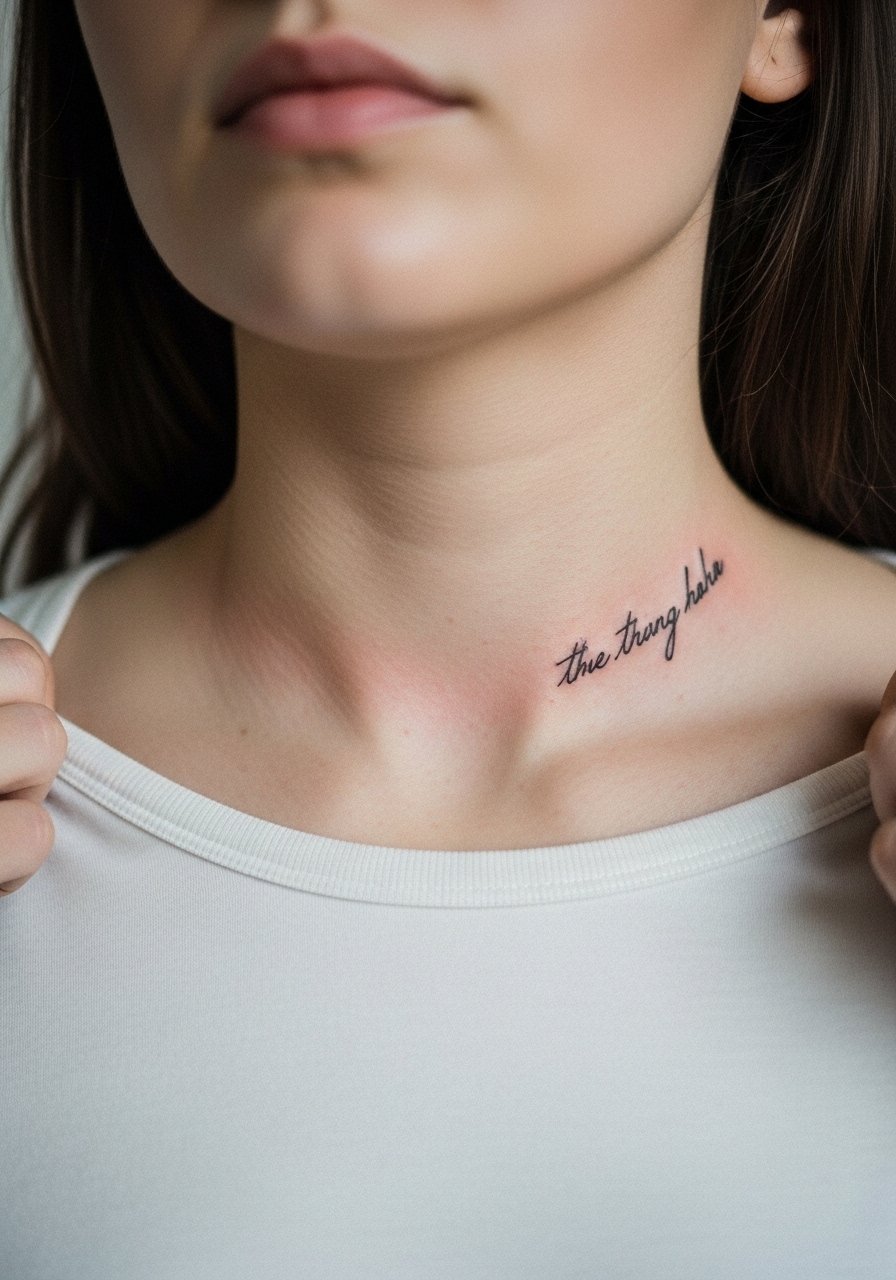
The collarbone is visible and elegant, but it moves with breathing and posture. Expect moderate pain and a session time of 30 to 75 minutes depending on length. In consultation mention you want the phrase to follow the collarbone curve rather than sit perfectly straight. A common aging issue is lettering that looks cramped when placed too close to the bone. For evenings out, pair the piece with an open-neck blouse that frames the area, and for the session wear a button-down you can easily pull aside.
4. Watercolor Petal Cluster on Ribcage

Ribcage tattoos are intimate and come with higher pain for most people. A small watercolor cluster can take 1.5 to 3 hours. The biggest mistake is choosing extremely loose watercolor edges without anchor lines. Those bleed faster on the torso. Discuss with your artist where they will place subtle anchoring contours so the design keeps its shape as the colors soften. Also plan session logistics like wearing a zip-up hoodie or cropped top you can easily adjust. For career-sensitive people this placement stays private until you decide to show it.
5. Tiny Script Behind the Ear
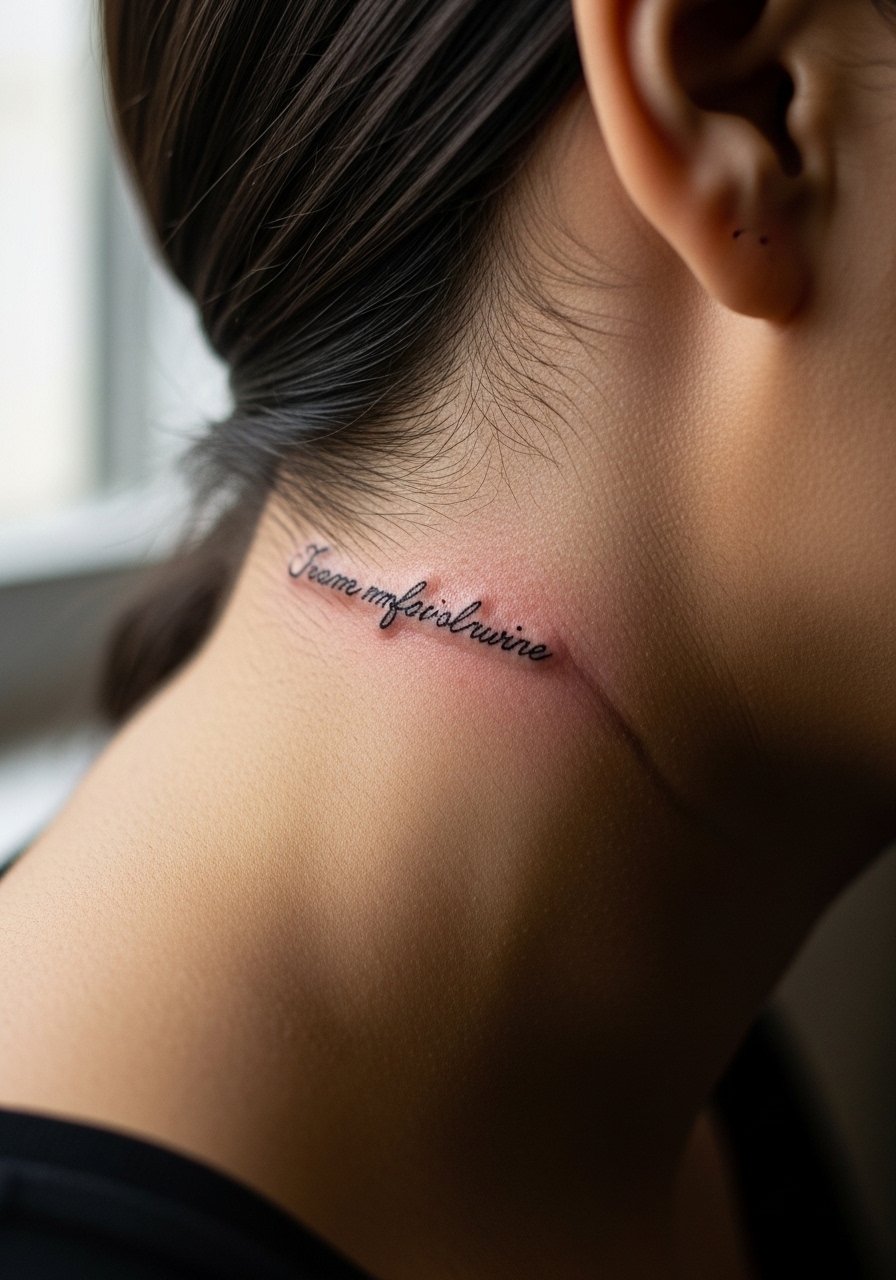
Behind-the-ear pieces are discreet and visible in certain hairstyles. Pain is low to moderate and sessions are quick at 15 to 30 minutes. The common error is asking for super-fine hair-thin lines that the skin behind the ear cannot hold long term. Ask for slightly bolder but still delicate linework so the letters remain legible. During the appointment wear hair tied up and bring a hoodie with a wide neck so the artist can access the area cleanly. Show-off pairing is simple hair changes, but keep in mind some workplaces still have conservative policies about visible tattoos.
6. Stipple Shaded Sternum Motif
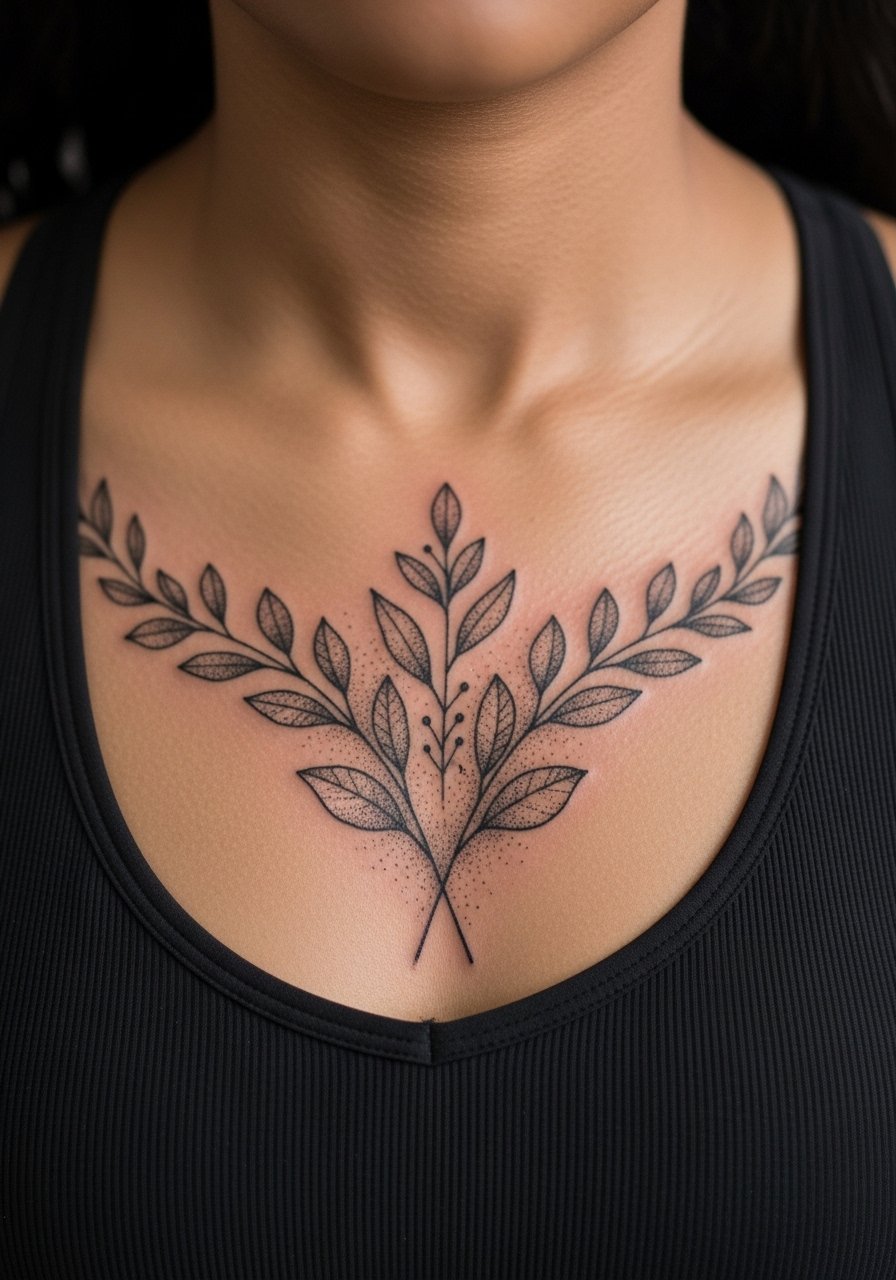
Sternum pieces can be striking and feel very personal. Pain ranges from high to intense near the bone, and a small motif may take one to three hours. Artists debate whether fine dot work on the sternum holds as well as bolder blackwork. One camp says the constant movement makes tiny dots lose definition quickly. The other camp argues that careful stippling at the right depth sets and ages predictably. Bring this up in consultation so your artist can explain their technique and expected touch-up timeline. For the session wear a sports bra or bandeau that reveals only the area you want tattooed.
Studio Day Picks
Those first six placements include wrists, collarbone, and sternum work that behave very differently while healing, so a few targeted items make the appointment and the first week smoother.
- Stencil transfer paper kit. Lets you preview line placement directly on skin, which is helpful for the wrist and collarbone scripts above.
- Topical numbing cream. Applied per directions before the session it can ease rib and sternum sensitivity for people who need a gentler entry.
- Thin protective film roll. Useful for small finger and wrist pieces that face daily friction during the first week.
- Fragrance-free gentle body wash. Cleans the area without stripping delicate linework right after the first few days.
- Aquaphor healing ointment. A thin layer for initial moisture control helps fine line and micro-realism pieces keep crisp edges without clogging skin.
7. Geometric Mandala on Upper Arm

Mandala work reads like sculpture on the arm and holds up well when given room. Sessions vary from ninety minutes to three hours depending on size, and pain is typically moderate. The mistake I see is shrinking a dense mandala into too small a plate. That causes lines to merge within two to three years. Tell your artist you prefer more negative space between the rings so the geometry retains definition. For showing it off roll up a loose button-down shirt or wear sleeveless linen when it is warm. Expect touch-ups around year three for tiny areas if you sunbathe often.
8. Minimal Constellation on Finger

Finger tattoos look sweet but require honesty about longevity. Pain spikes because the skin is thin and sessions are short but can sting. Many people assume fingers will age like forearms. They do not. The biggest issue is constant hand washing and friction that fades ink fast. If you want to commit, plan annual touch-ups and pick a slightly bolder line weight than the thinnest reference images. For career concerns remember fingers remain visible in most interactions.
9. Single Line Portrait on Upper Back

A single line portrait makes a quiet statement and sits well on the upper back where a wide canvas helps composition. Expect moderate pain and session times from one to four hours depending on size. In consultation say you want the line to breathe and avoid crowding details into one continuous sweep. A mistake is asking for a photo-real face in single line at small scale. That often reads as a smudge when healed. For the session wear a button-up or tank top for quick access and consider pairing the piece with open-back tops when you want to show the design.
10. Botanical Calf Sleeve Accent

Calf pieces are forgiving because the skin there holds linework well and sun exposure is often lower. Pain is moderate and sessions can run one to three hours for a medium cluster. Tell your artist you want the stems to follow natural muscle lines so motion keeps the design feeling organic. Avoid cramming thin vines into a narrow band as that will blur over time. For showing off, shift into skirts or shorts and pair with mid-calf boots in transitional months. Expect slower fading when you protect the area from heavy sun.
11. Script Wrap Around Wrist

Wrapping script around the wrist reads continuous and personal. Pain and session time mirror single wrist scripts but you need more time for symmetry and placement. The usual mistake is asking the same small letter size as a single-line piece and underestimating how the skin stretches. Ask your artist to sketch the wrap on and wear a minimalist watch after healing to complement the text without rubbing it. Plan for a touch-up at year two if your daily routine includes bracelets that sit on the same spot.
12. Traditional Matchstick on Forearm

Traditional pieces age reliably because they use bold outlines and heavy saturation. Forearm placement is low on the pain scale and takes an hour or less for a small motif. The common error is trying to make a traditional piece into fine line without increasing saturation. That defeats the style. If you want longevity tell your artist to favor bold contour lines and solid fill. For daily wear roll up sleeves or choose short-sleeve shirts that let the design breathe and avoid constant friction from tight cuffs.
13. Geometric Ankle Band

Ankle bands read crisp when the pattern has breathing room. Expect a poking sensation and about thirty to sixty minutes for a clean band. A mistake is compressing an intricate repeat into a very narrow band which can cause lines to blur. Ask for slightly larger repeating units for clarity. For footwear pair the band with minimalist sandals or cropped trousers so the pattern is visible without being crowded. The ankle tolerates touch-ups well if needed after a couple of years.
14. Small Back-of-Neck Word

Back-of-neck placements are surprisingly public when you wear your hair up. Pain is moderate and sessions are brief. The usual oversight is choosing script that is hard to read at a glance. Ask for letter spacing that reads from a short distance if visibility matters. For consultations use discovery pathways like local shop portfolios and community forums to find artists comfortable with small neck scripts. If your workplace is conservative consider this visibility before booking.
15. Micro-Realism Eye on Inner Bicep
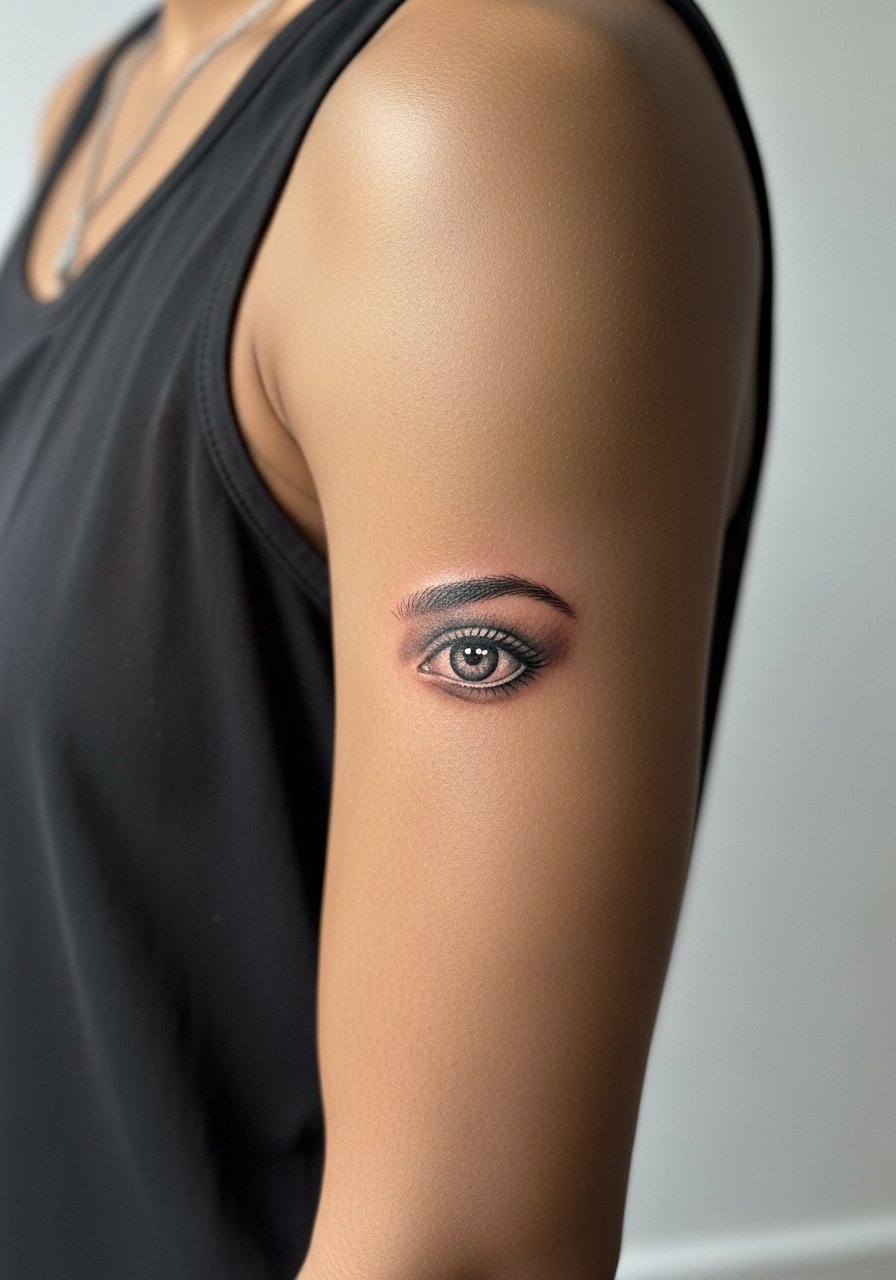
Inner bicep pieces sit in a spot that is private and soft. Pain spikes when the artist approaches the armpit. Sessions for small micro-realism work are usually one to two hours. A common error is compressing a lot of tiny detail into a very small area. Ask for slightly higher contrast and a clean negative space buffer so the piece keeps its definition. For the appointment wear a loose tank top you can lift easily and consider pairing the finished piece with sleeveless tops in warm months. Touch-ups can be necessary once the skin settles.
16. Minimalist Spine Line

Spine work reads architectural and it benefits from symmetry. Pain ranges high when the needle hits the spine itself and small pieces take around 45 to 120 minutes. The common mistake is centering a design without checking posture and how slouching will shift the visual balance. Ask your artist to preview the stencil while you stand and move so placement looks right in motion. For showing it off wear open-back tops. Keep in mind if scarring tendency runs in your family you might need to adapt the concept to lower the risk of raised texture.
17. Watercolor Wrist Band

A watercolor wrap is fresh and painterly but needs planning to age well. Wrist exposure to sun and washing means colors fade faster than on torso work. Ask your artist for a few anchored outlines or soft stippling to help the colors retain their shape as they mellow. A mistake is asking for pure watercolor with no anchors at too small a scale. For daily styling pair this with rolled sleeves or a racerback tank and minimal wrist jewelry so the colors remain the focal point. Expect touch-ups for color revival within a few years if you want brightness maintained.
Frequently Asked Questions
Q: Will a fine line wrist script blur faster than a forearm script?
A: In my experience lines on the wrist face more friction and thinner skin, so they can soften sooner than forearm pieces. Placement, line weight, and how often you expose that area to sun all influence whether a touch-up is needed around year two.
Q: Is it safe to get watercolor on the ribcage if I want it to look the same in five years?
A: Watercolor softens more than bold blackwork and the ribs move with breathing, which speeds blending. Ask for subtle anchoring outlines or stipple support if you want more longevity. If keeping the painterly look is crucial plan for color refreshes and limit sun exposure.
Q: How should I find an artist for micro-realism or stipple work without naming specific studios?
A: Use local shop directories, convention guest lists, hashtag searches, and community forum recommendations to narrow artists who post healed photos of the exact technique you want. Look for healed shots rather than fresh photos and ask about touch-up policies during consultation.
Q: Do hand and finger pieces affect job prospects more than neck or sternum placements?
A: Hand and finger work is visible in nearly every interaction so some industries notice them more. Neck placements may be hidden by hair or clothing. Consider your daily environment and whether visibility will matter before choosing placement.
Q: What should I wear to a sternum or ribcage session to make the appointment easier?
A: Wear a fitted sports bra or a cropped zip hoodie you can adjust so only the tattoo zone is exposed. That keeps you comfortable and helps the artist keep a clean workspace while preserving your modesty.
