
Fine line tattoos dominate feeds right now, but what looks flawless on a screen often needs touch-ups in real life. Fading, surprise price jumps, and flaky appointment schedules are things I see in forums and in-shop conversations all the time. This list skips the glossy pics and gives 21 minimal tattoo ideas with real placement notes, styling tips, and what to ask in consultation.
1. Single Line Portrait on Inner Forearm
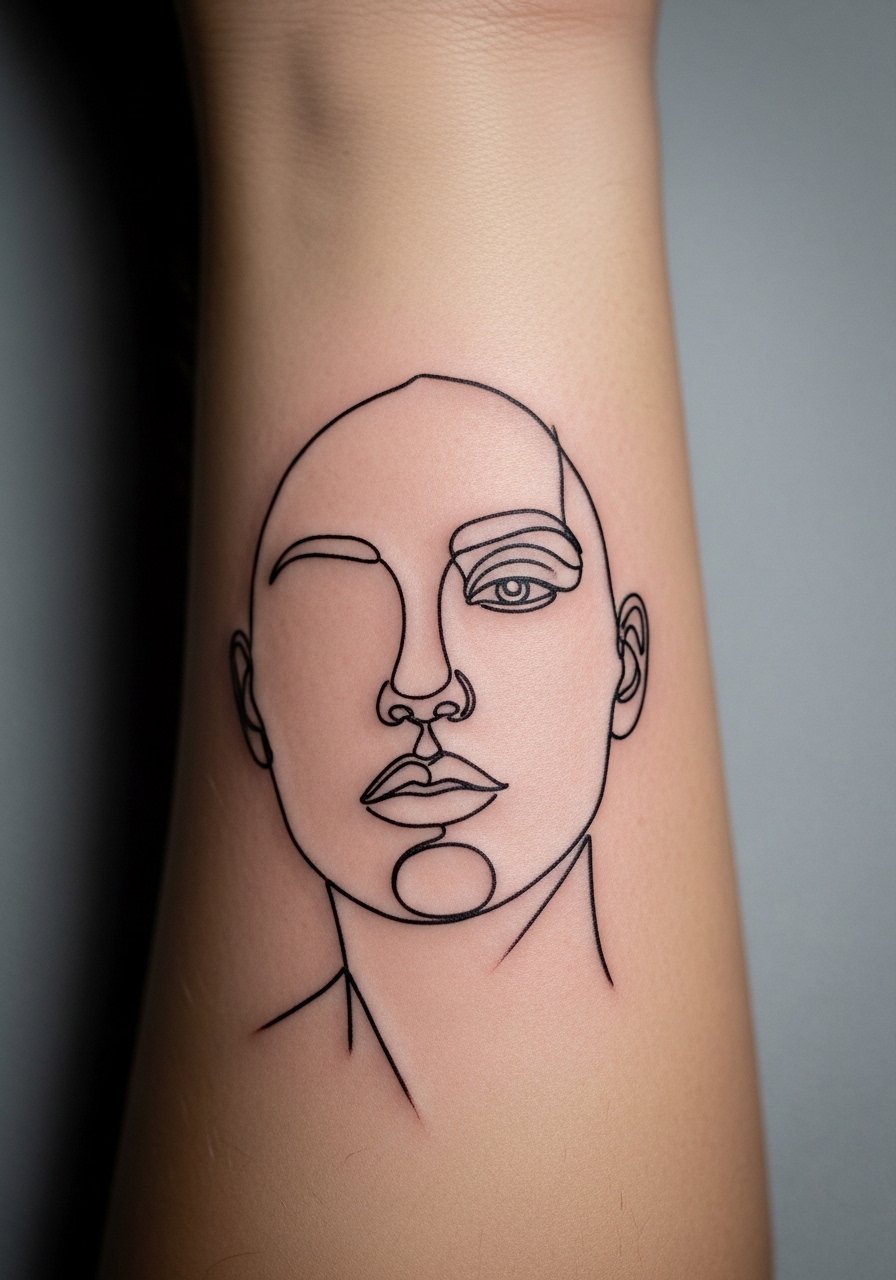
I recommend this when you want a portrait that reads like a sketch, not a photograph. Tell your artist you want a continuous one-stroke contour with varied line weight so the main features hold up instead of filling in. Fair warning, inner forearm sees sun and friction, so expect a touch-up at year two to three if you want the lines crisp. For the session wear a linen button down shirt you can roll up so the artist has full access without tight cuffs. Pain is low to medium and a session is usually under an hour.
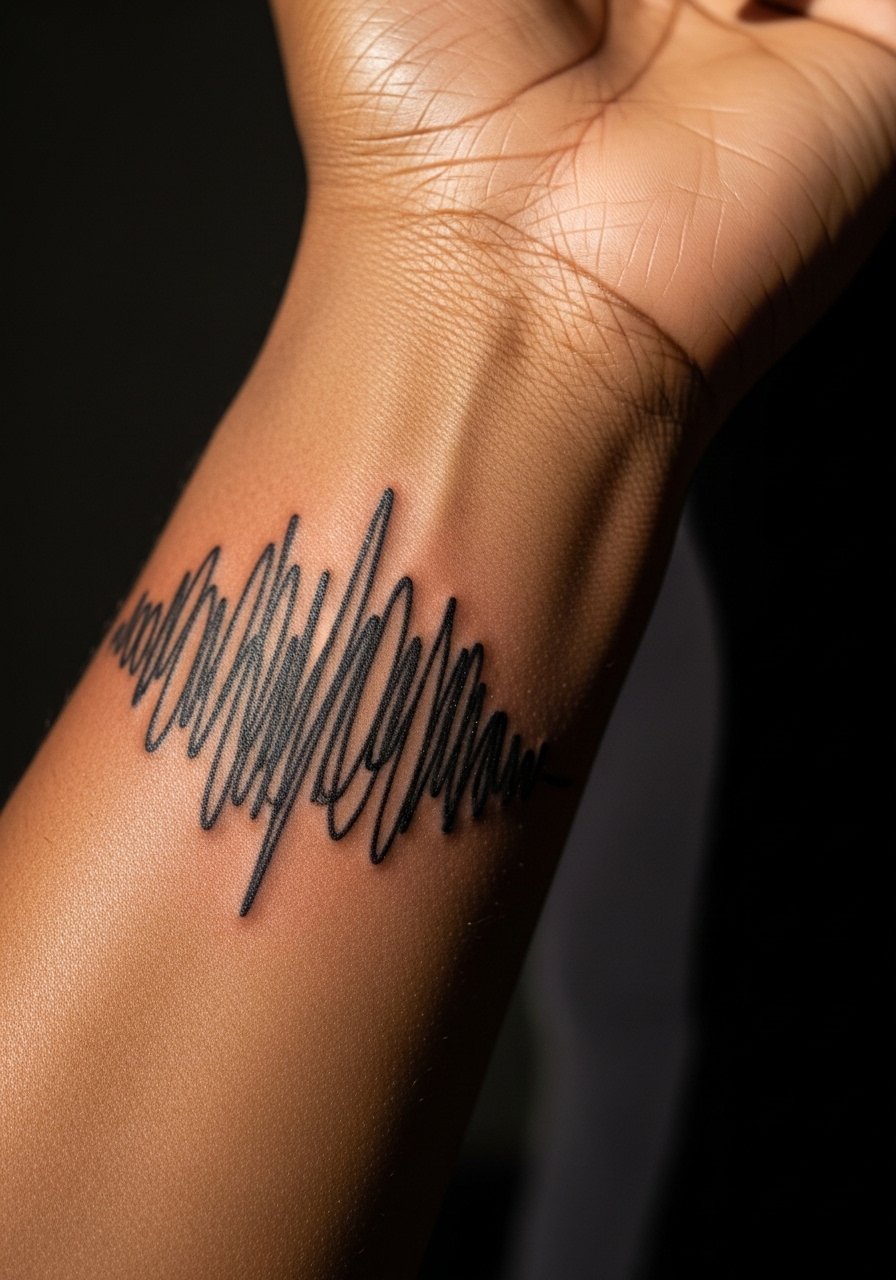
2. Negative-Space Scribble on Outer Forearm

This blackwork approach uses gaps in dense ink to create form, which gives the eye space to complete the image. Ask for thicker fills and clear negative cutouts so the scribble keeps contrast as it ages, unlike thin broken lines that can blur. Outer forearm tolerates the style well because there is less frequent stretching than hands. When you consult, bring a photo showing the exact amount of black you want. Session time is short but expect mild soreness for 48 hours. Pair it visually with rolled sleeves and a linen button down shirt for photos and everyday wear.
3. Single-Stem Botanical on the Collarbone

The collarbone is perfect for a tiny botanical if you want something that breathes with movement. Ask for slightly bolder main stems so the silhouette reads on darker skin tones and after a year. A common mistake is requesting ultra-fine single-needle stems without testing healed photos on similar tones. Expect a one-session piece that hurts briefly at the bone and settles to a subtle healed line. Show-off pairing is an off shoulder blouse that frames the ink, and wear a strapless or button-down on the appointment day so the artist has easy access.
4. Geometric Single Circle on Inner Forearm

Geometric circles need breathing room so the lines do not bunch up over time. The biggest mistake is going too small and packing the circle with extra detail. Tell your artist you want a 1 to 1.5 inch diameter with even spacing between line segments if adding accents. Inner forearm placement is visible and tends to keep its shape, though sun exposure will soften crisp edges over years. For session comfort and later styling, pair the piece with a rolled sleeve blouse when you want to show it off. Expect a short session and light touch-up needs in a few years.
5. Mountain Silhouette on the Ankle
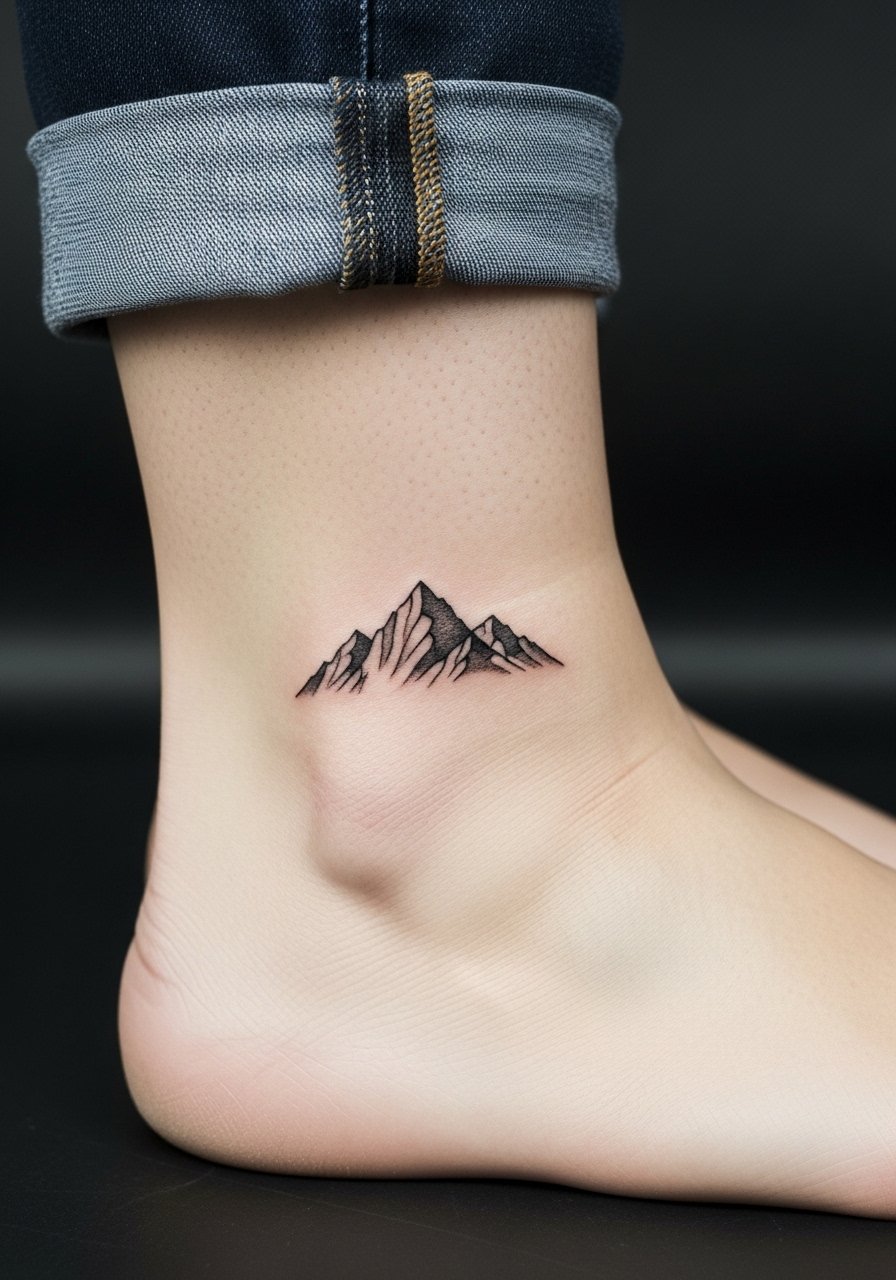
Ankle placement gives an adventurous motif seasonal visibility but watch for stretching if your weight changes. The common fail is placing it too close to the joint where ankle movement and shoe rubbing distort the linework. Ask for a slightly bolder outline so the peaks remain defined on darker or more active skin. The session is quick and the pain is spotty around bone. For summer styling try cuffed ankle jeans or espadrille flats women that show the tattoo without rubbing.
6. Line Art Face Behind the Ear
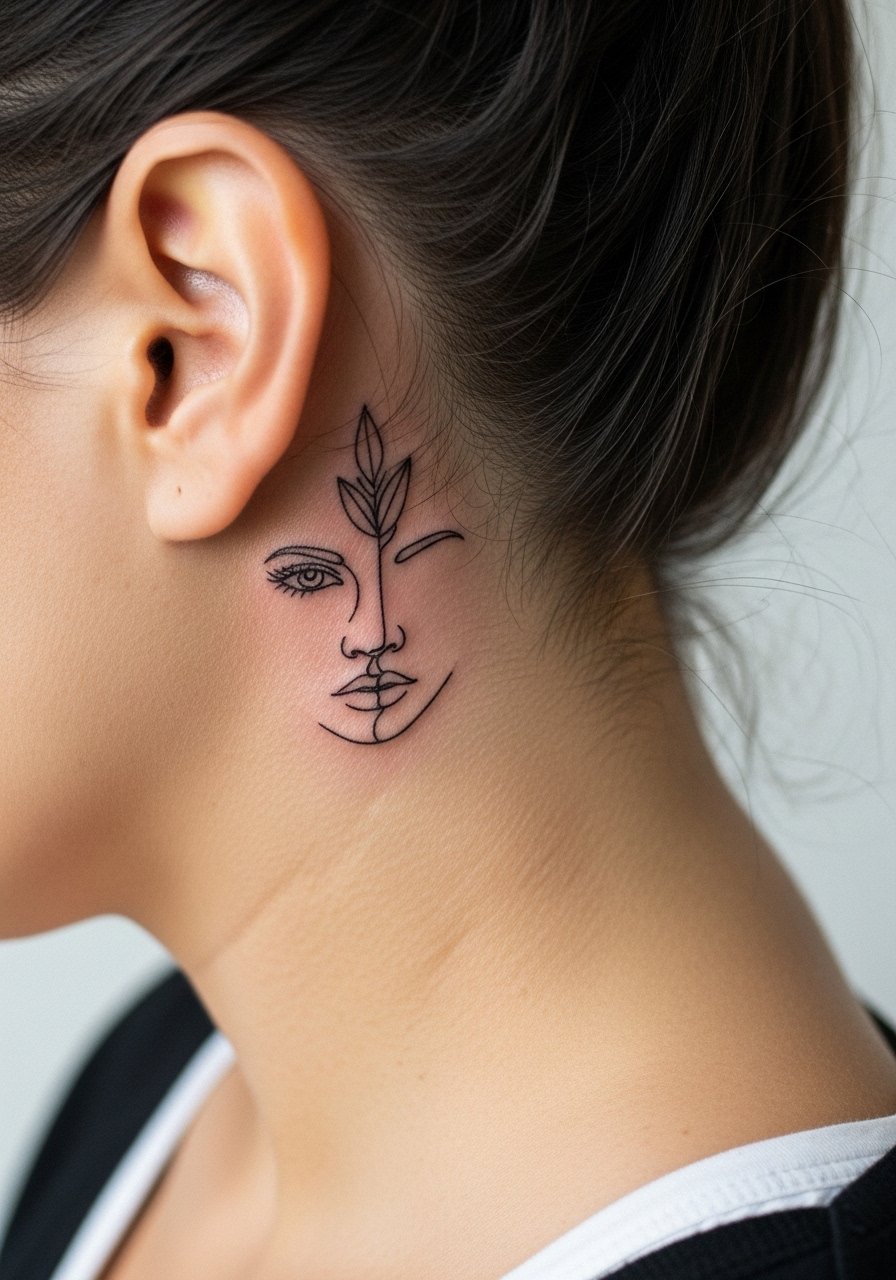
Tiny face profiles behind the ear feel intimate and easy to hide. Make sure you describe exact scale, and ask for a test stencil because small portraits can lose clarity if the features are cramped. Behind-ear skin can be tricky for precise single-needle work, so some artists prefer slightly heavier linework. Expect brief stinging and quick healing. Style it with a high ponytail holder during the session so hair stays out of the way. Note that neonatal redness is common, but the healed look is subtle and discreet.
Studio Day Picks
The forearm, collarbone, and behind-ear pieces above need different prep than ankle or calf work, so a few specific items smooth session day and the first week.
- Tea tree salve. A thinner option praised for not clogging pores, useful for fine line wrist or collarbone pieces where heavy balms can blur tiny channels.
- Japanese rice bran balm. Breathable and less shiny, ideal for humid climates and delicate single-needle work that needs light moisture.
- Eucalyptus aftercare spray. Spray format helps ankle and calf tattoos avoid excessive scabbing from friction with socks and shoes.
- HEMP-derived ointment. Good for dry winter heals on collarbone or sternum work without greasiness.
- Aquaphor healing ointment. A thin layer during the first days can lock in moisture for fine line pieces, especially on wrists and forearms that get frequent washing.
7. Semicolon Wrist Mark
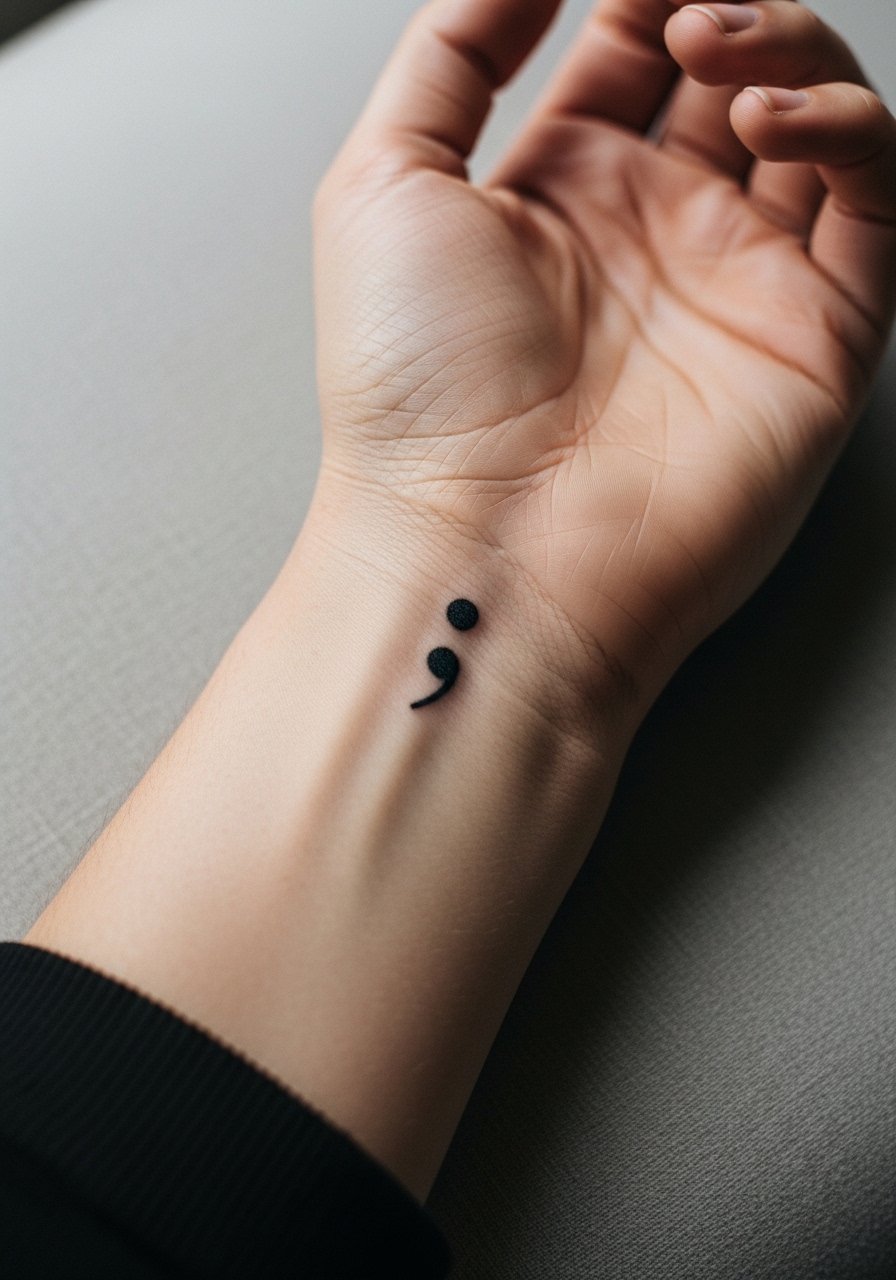
Semicolons remain a compact sign of resilience and are ideal for first-time ink. Keep the size around half an inch and ask for a bold solid dot so the mark does not soften into a blur on hands. Wrists face constant washing and sun, so expect touch-ups sooner than for arm pieces. The needle sensation is mild and the session is under 30 minutes. Style tip is a thin gold chain bracelet or a dainty bracelet stack on the opposite wrist so the semicolon reads as intentional, not accidental.
8. Tiny Airplane Outline on the Finger

Finger tattoos are compact and visible, but they live in high-friction zones and fade faster. If you want this, ask for a slightly thicker outline and plan for a touch-up at year one. The biggest mistake is expecting finger ink to age like forearm work. Sessions are quick but painful at the tip of the finger. For the appointment wear something that gives easy hand access, and remember finger pieces often require upkeep after frequent washing and seasonal wear.
9. Moon Phases with Dots on Collarbone
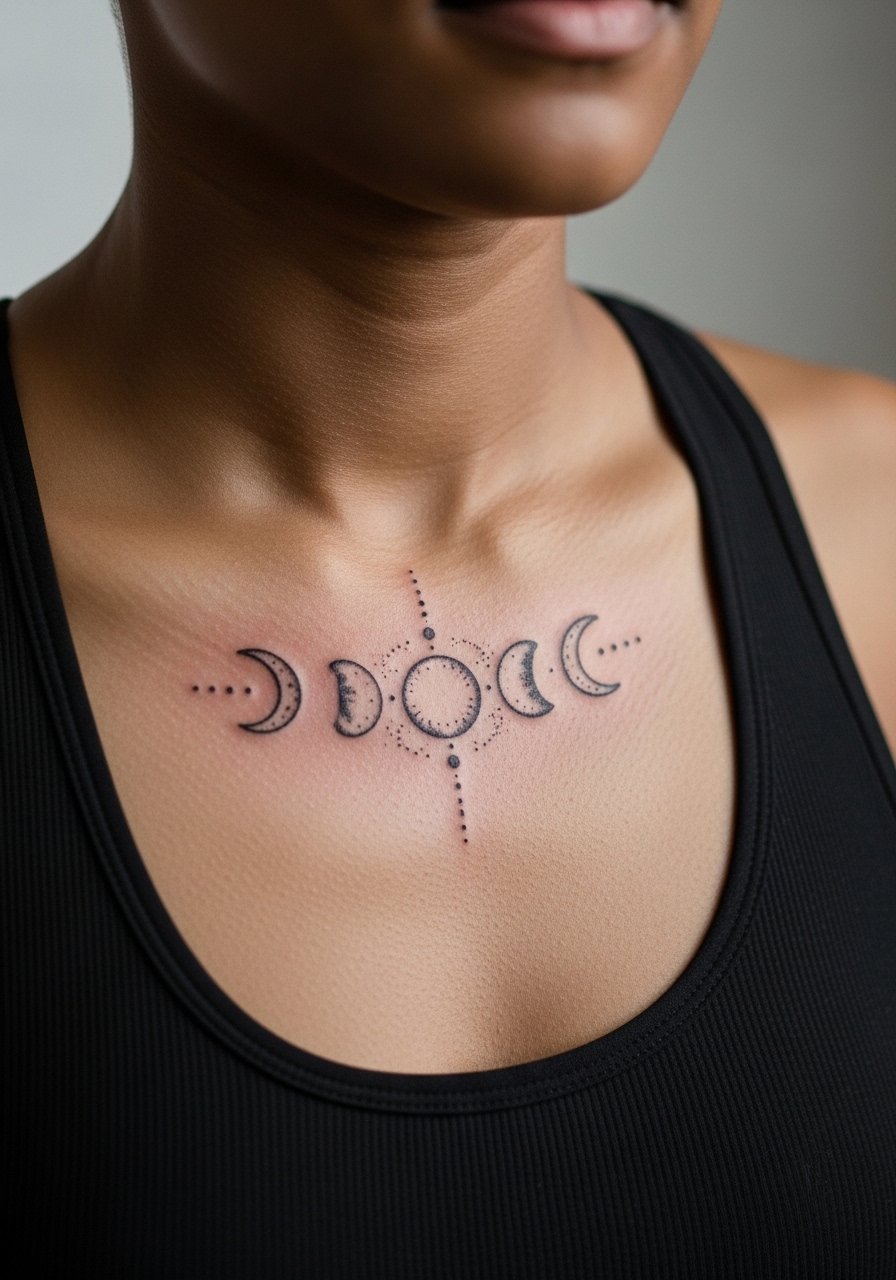
Celestial dot sequences on the collarbone photograph beautifully when the spacing is right. Ask your artist to space the crescents so each phase retains negative space as it heals. Collarbone skin over bone can sting during the session but the healed lines look crisp if the spacing is generous. For showing it off, pair with a V neck silk top or an off shoulder blouse. Expect low maintenance beyond standard sun protection.
10. Wave Line on the Calf
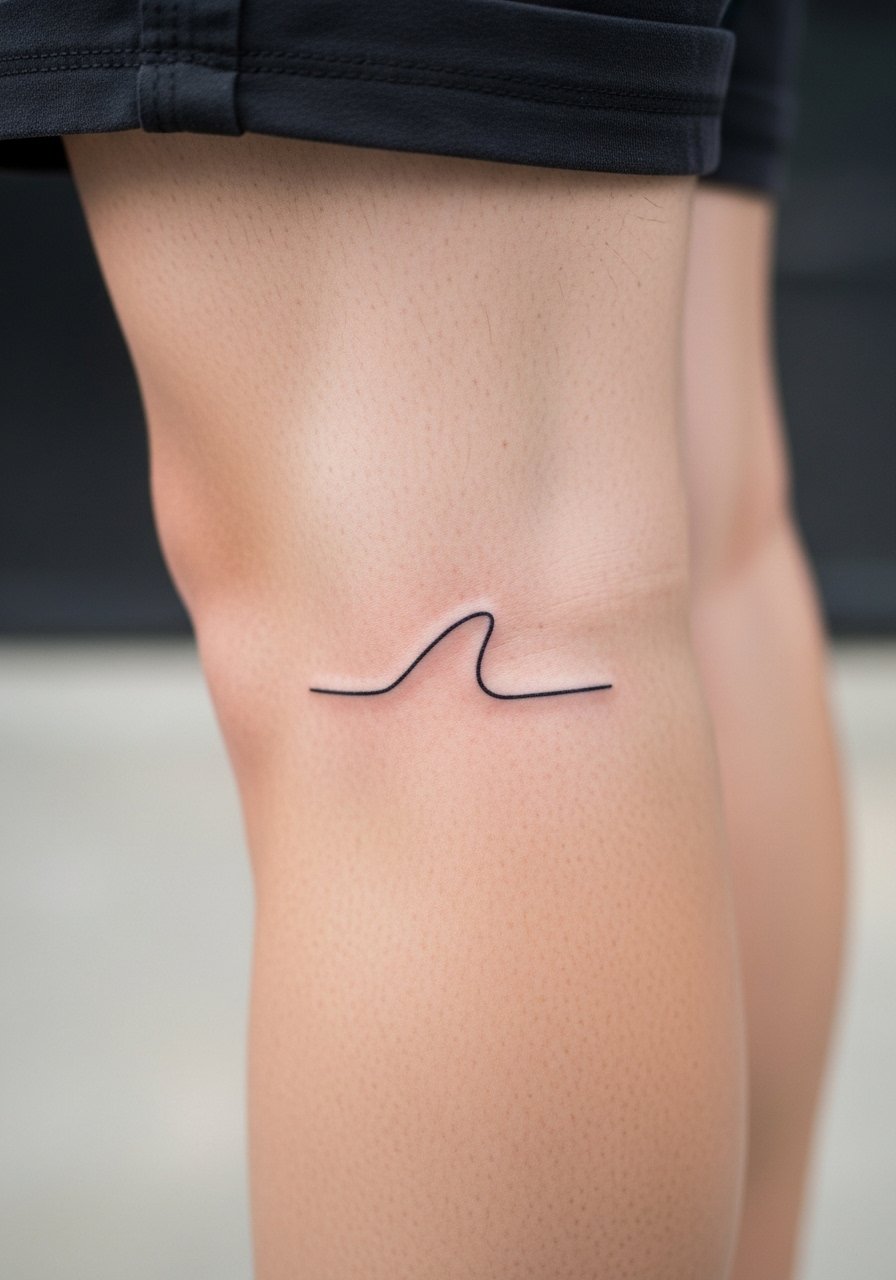
A flowing wave fits the calf because the muscle provides stable skin that moves with the design. Ask for continuous curves with slightly reinforced peaks so the visual rhythm holds after repeated washing and sun. The common error is too-tight curls that merge. Calf sessions are low pain and heal reliably, making this a good pick if you want an easy-to-manage visible piece. For summer show-off, try a midi skirt side slit or rolled joggers when you want to reveal the ink without too much exposure.
11. Minimal Compass Rose on Shoulder
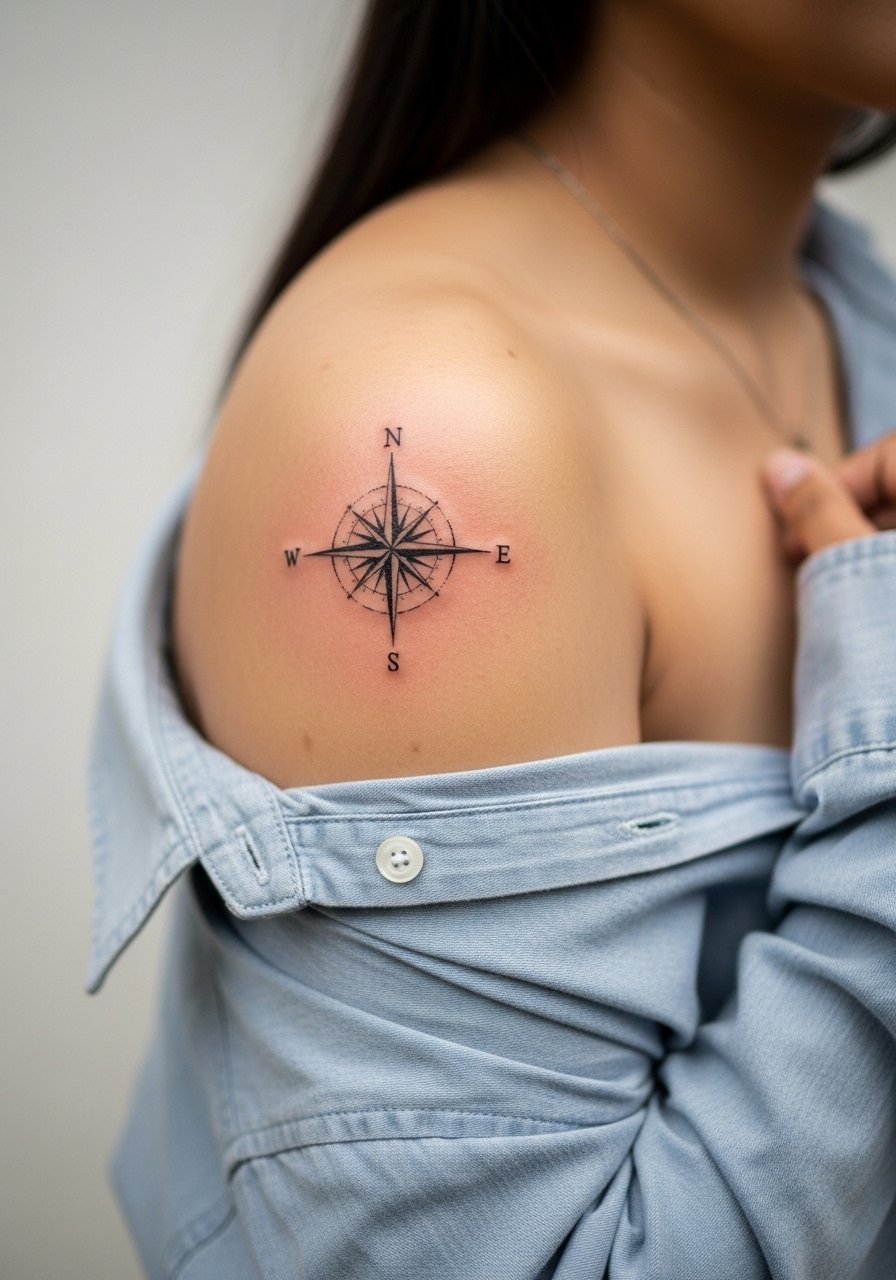
The shoulder gives compass motifs room to breathe and resists stretching. Make sure the artist spaces the points so the intersections do not blur into a star-shaped blot over time. A common mistake is cramming too many directional marks into a small area. Ask for clear radiating points and plan for a 1-2 session job if you want subtle shading. Session wear is a loose button-down shirt you can pull aside. Pain is moderate and healing is straightforward.
12. Ear Line Accent on Skin Behind the Ear
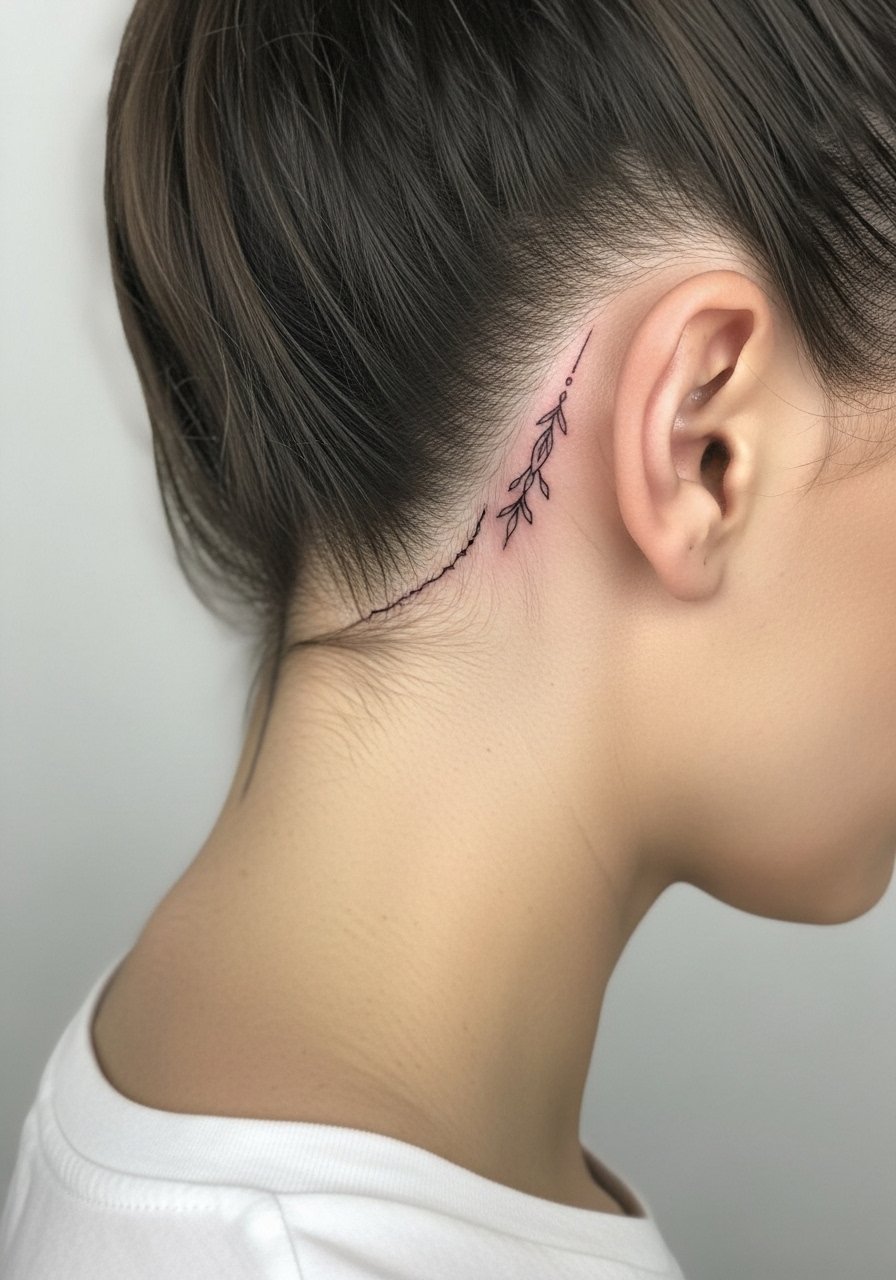
Small ornamental marks behind the ear are an elegant way to address facial asymmetry without overt visibility. Request a clean single-needle contour and specify exact length because even a few millimeters change the balance. This placement heals quickly but is sensitive for some people. During booking mention hair removal or trimming so the stencil seat is uninterrupted. For session prep, wear hair up and avoid earrings that could snag the area.
13. Palm Tree Silhouette on the Ankle
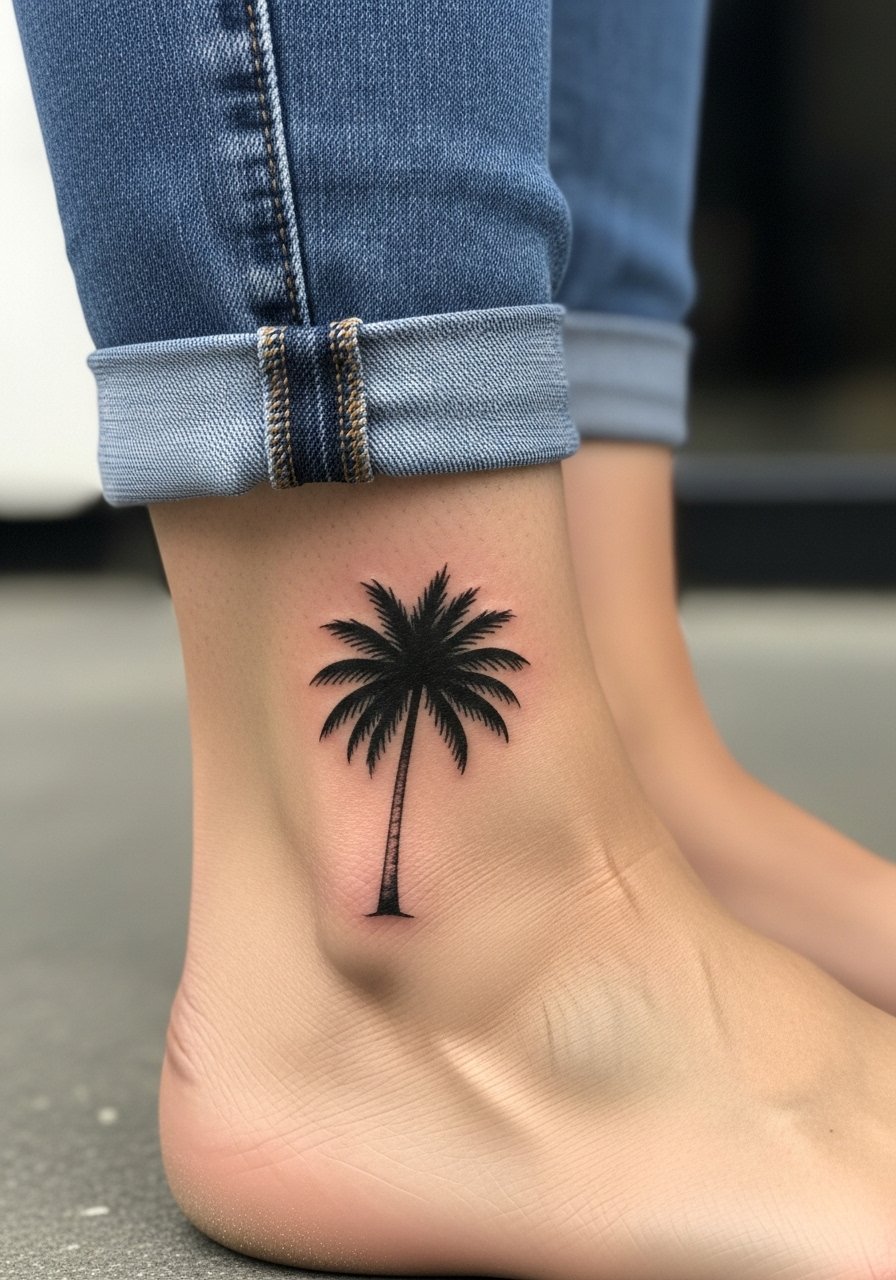
A tiny negative-space palm pairs well with seasonal footwear, but the ankle sees rubbing from socks and shoes. Ask for crisp negative shapes with a bolder trunk so the silhouette holds through wear. The mistake is relying on ultra-thin fronds that vanish after repeated abrasion. Expect quick sessions and localized tenderness. Styling with espadrille flats women or sandals will display the motif while minimizing friction.
14. Forearm-to-Thumb Continuous Line Flow
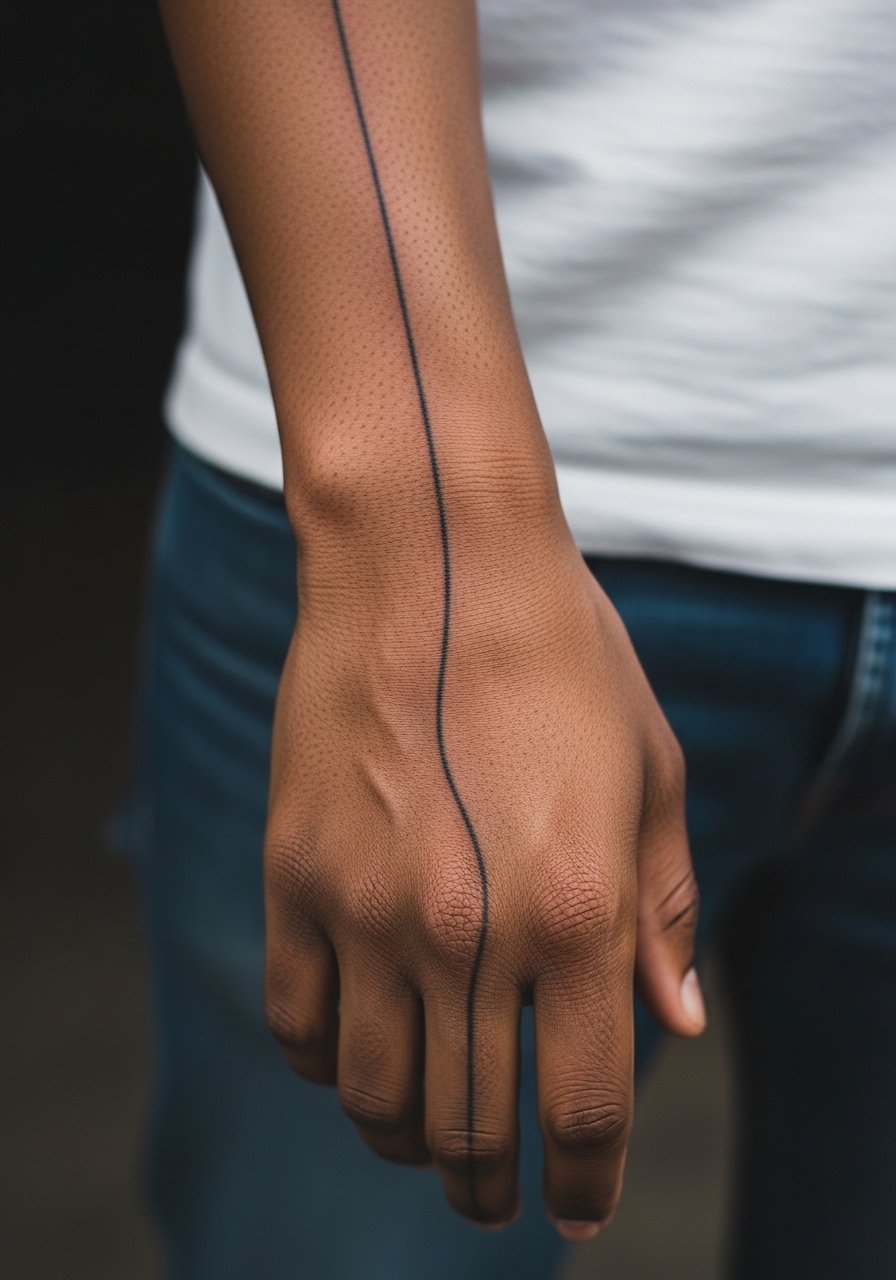
This hand-flow idea wraps movement into the design and guides the eye from forearm to finger. The challenge is wear at the thumb and webbing, which get heavy friction and fade faster. Ask your artist to reinforce transition lines where the forearm meets the thumb so the flow does not break up. The session is longer than a small ring finger piece but still compact. For the appointment wear a loose button-down shirt so you can expose the forearm without tight sleeves. Expect touch-ups on the hand zone sooner than upstream lines.
15. Universe Inside a Silhouette on Upper Arm

A silhouette filled with tiny stars and a moon is a creative negative-space play that photographs well on the upper arm. Tell your artist to keep the internal dot work spaced to avoid clustering into a gray patch with time. Upper arm skin handles dot work well and rarely needs early touch-ups. For showing the piece pair with a sleeveless tank or rolled sleeve. The session can take longer depending on detail, but healing is typically steady.
16. Micro Eye on Inner Wrist

Micro eyes look purposeful in tight spaces but require crisp pupil and lash contrast so they do not soften. For dark or olive skin consider slightly heavier inner lines for the pupil to maintain definition. The inner wrist is a frequent wash zone, so expect staining from soaps to affect clarity; plan a touch-up at year one if you want precise detail. Session is brief and discomfort is mild. For styling, a thin chain pendant necklace sits above the wrist and frames photos without crowding the motif.
17. Constellation Dot Work on Lower Ankle
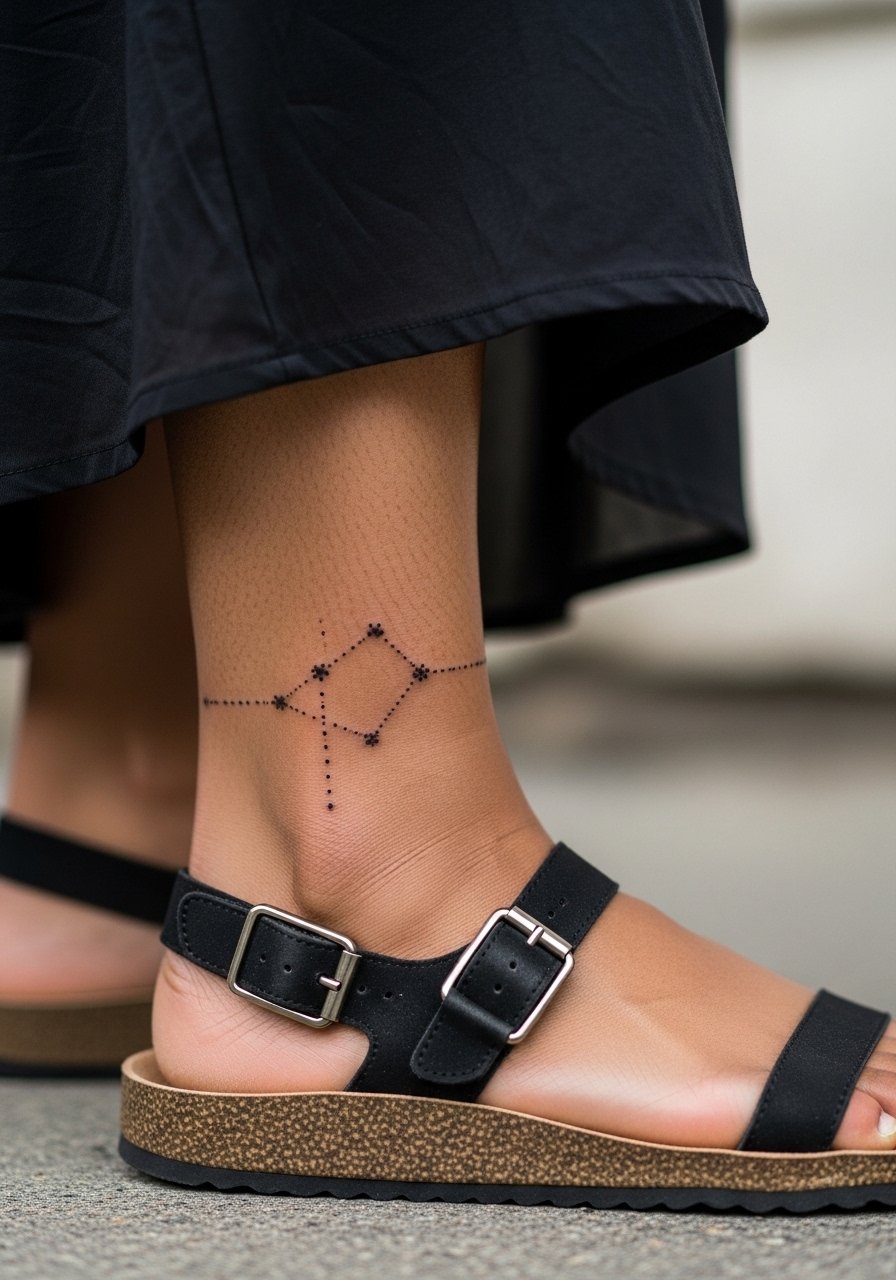
Constellations age nicely when the dots are spaced deliberately rather than clustered. The ankle sees shoe friction so ask for stronger anchor dots on connection points. A common mistake is making connector lines too thin. Healing is normally quick but watch socks and shoe collars for irritation. Keep it visible with cuffed ankle jeans or sandals to avoid rubbing during the first two weeks.
18. Tiny Script Word on Side Neck
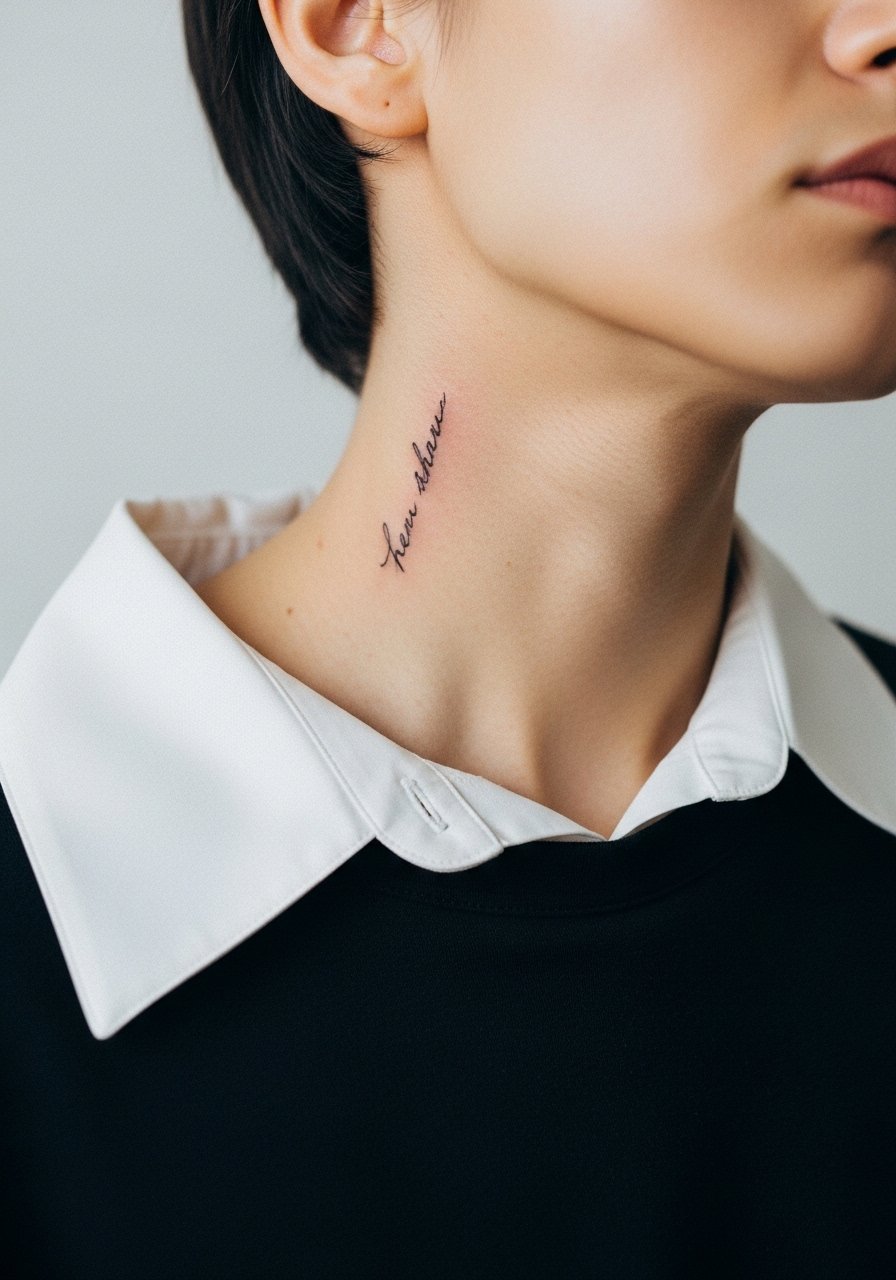
Side neck script reads intimate and deliberate, but neck skin moves a lot. Ask for slightly larger letter spacing than you think you need so the word remains legible over time. The controversy over neck placement is real because some workplaces still react, so consider visibility and future plans. The session is more painful than the forearm and heals with scab patterns you should not pick. For the appointment wear a wide-neck shirt you can pull to one side so the artist has tidy access.
19. Bold Scribble Variant for Dark Skin on Forearm
I've noticed many fine single-needle botanicals blur on darker tones, and the corrective approach is to go bolder. Ask for cleaner negative space and stronger line weights so the shape reads from a distance after healing. This variant acknowledges the fine-line debate: one camp trusts single-needle if the artist has experience on darker skin, and the other camp prefers blackwork to preserve contrast. Name your concern in consultation and ask to see healed photos on similar tones. Expect a short session and steady healing if the fill is solid.
20. Ribcage Coordinates Bar Code

Ribcage placements look dramatic but are high on the pain chart and subject to skin stretch with weight changes. Ask for spacing and line weight that anticipates future stretching so the coordinates do not merge. A common error is compressing vertical bars too closely. The session can be uncomfortable and may require breaks. If your weight fluctuates, consider moving the motif to a more stable area like the upper arm. Discuss touch-up timelines with your artist because ribs can need rework after body changes.
21. Geometric Stack on Thumb Webbing

Webbing and thumb pieces are striking but live in constant motion and sink into folds. Ask for simplified geometry with reinforced anchor points so the stack keeps form as the skin flexes. Expect faster fade and plan for a touch-up at year one. The session is quick and sharper than forearm work due to thin skin. Style-wise, minimal rings and dainty bracelet stack on the opposite hand balance visibility without competing for attention.
Frequently Asked Questions
Q: Will fine line tattoos blur on darker skin more than on lighter skin?
A: From what I have seen, ultra-fine single-needle work can lose crispness faster on darker tones if the line weight is too light. Many artists recommend slightly bolder lines or blackwork alternatives for long-term contrast. Always ask to view healed photos on similar skin tones and discuss touch-up plans.
Q: How should I prep for a collarbone or chest tattoo session to reduce pain and movement?
A: Wear a wide-neck shirt or a fitted sports bra you can pull aside so the artist has clean, repeated access. Hydrate well and avoid alcohol the day before. Some people find a light meal and deep breaths reduce the shock during collarbone work. If mobility matters after the session, schedule it on a day you can take it easy.
Q: Which aftercare approach should I choose for fine line wrist pieces, Saniderm or dry healing?
A: Artists split on this. One group prefers a protective film for a few days to guard against contamination and speed the initial seal. The other group prefers dry healing to avoid trapped moisture and skin reactions. Consider your skin sensitives and ask your artist what they use successfully on wrists, and be ready to adapt if you react.
Q: My shop raised the price after quoting me for a tiny wrist tattoo. How do I avoid that?
A: Get a written quote and the deposit policy before booking. If a price change happens, ask what changed like increased studio minimums or added detail. Getting multiple quotes or booking guest spots can give you options. Expect inflation on small work compared with a few years ago.
Q: Are finger and thumb tattoos worth it despite faster fading?
A: They are worth it if you accept touch-ups as part of the plan. Fingers and the webbing face constant friction and washing, so plan on maintenance at year one and beyond. If you want lower upkeep, move a similar motif to the forearm or shoulder where the skin is steadier.
Q: How can I find artists who specialize in fine line but also understand darker skin healing?
A: Search hashtags with location filters, check forums where people request artist recs, and use platforms that let you filter by style and reviews. Ask to see healed photos on skin tones like yours and mention your concern during consults so they can recommend line weight adjustments or blackwork alternatives.
